Overview
Approval Chains are used to approve requests. System administrators choose which requests require approval and by whom.
In order to use Approval Chains, the Approvals Module needs to be installed. To learn how to install a module, click here.
Example
This example will demonstrate how to set up an Approval Chain.
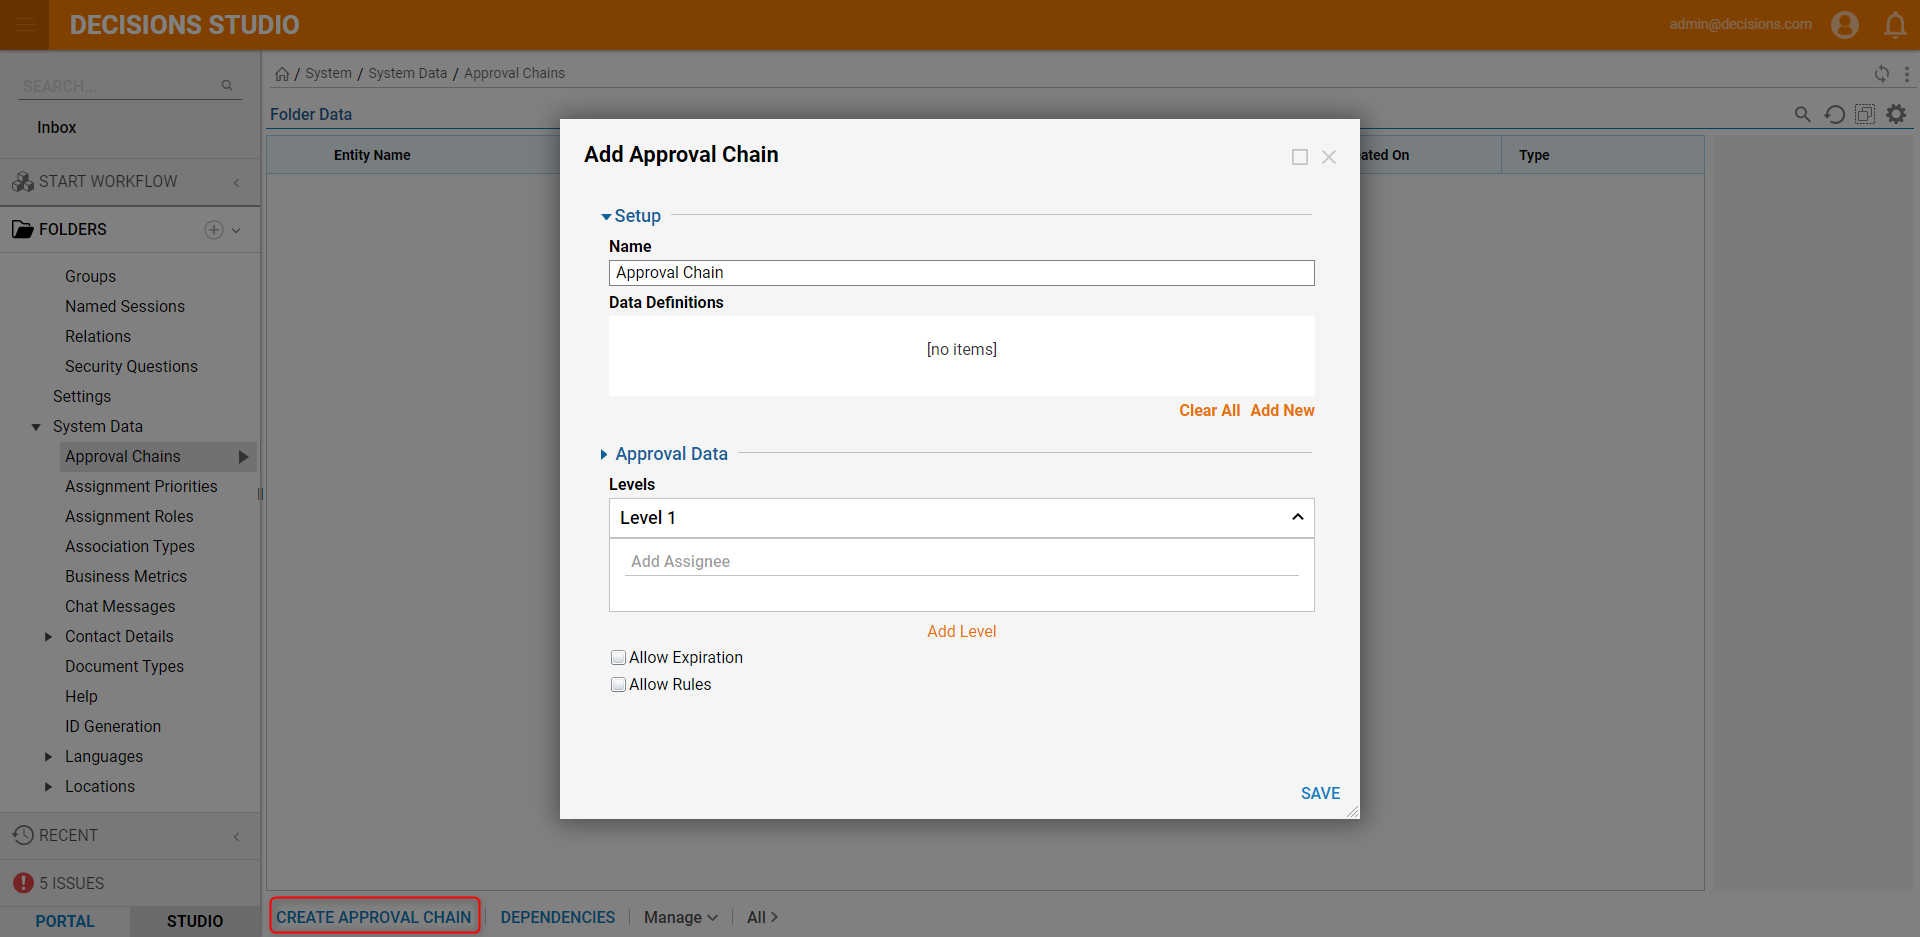
- Open the Approval Chains Folder under System > System Data. Click CREATE APPROVAL CHAIN and provide a name (Approval Chain).The dialog window will automatically populate the APPROVAL DATA category after a few letters are entered
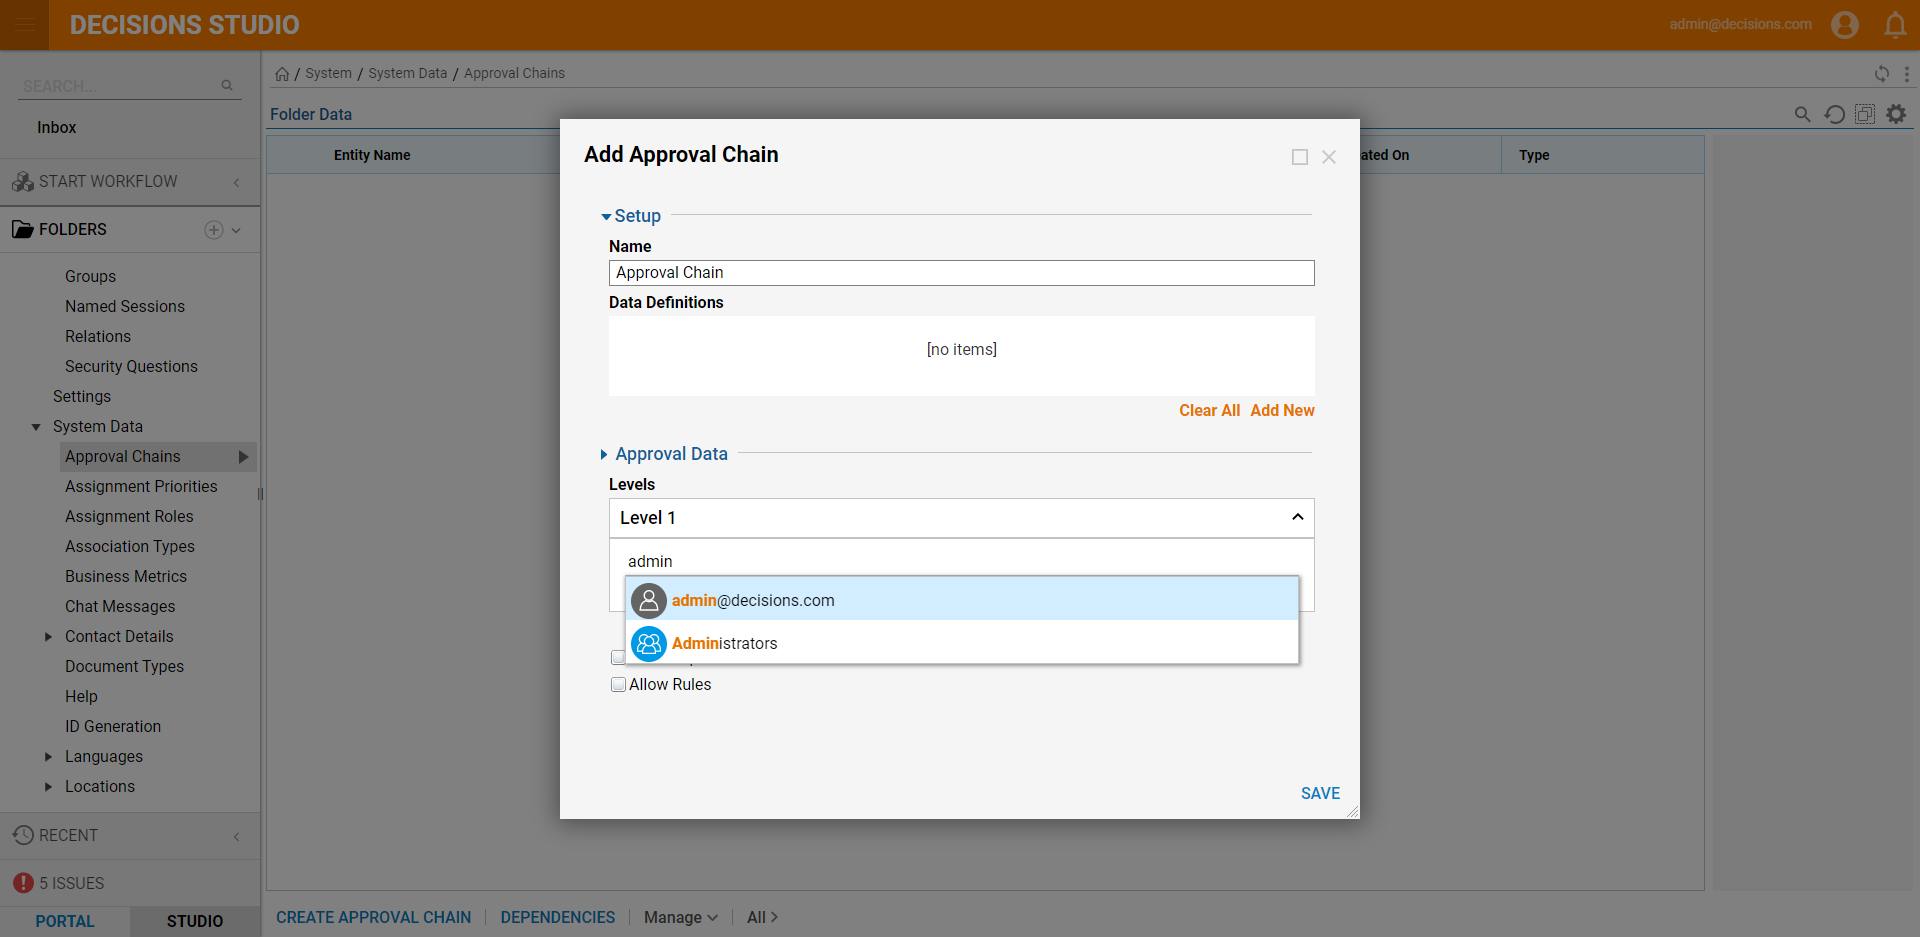
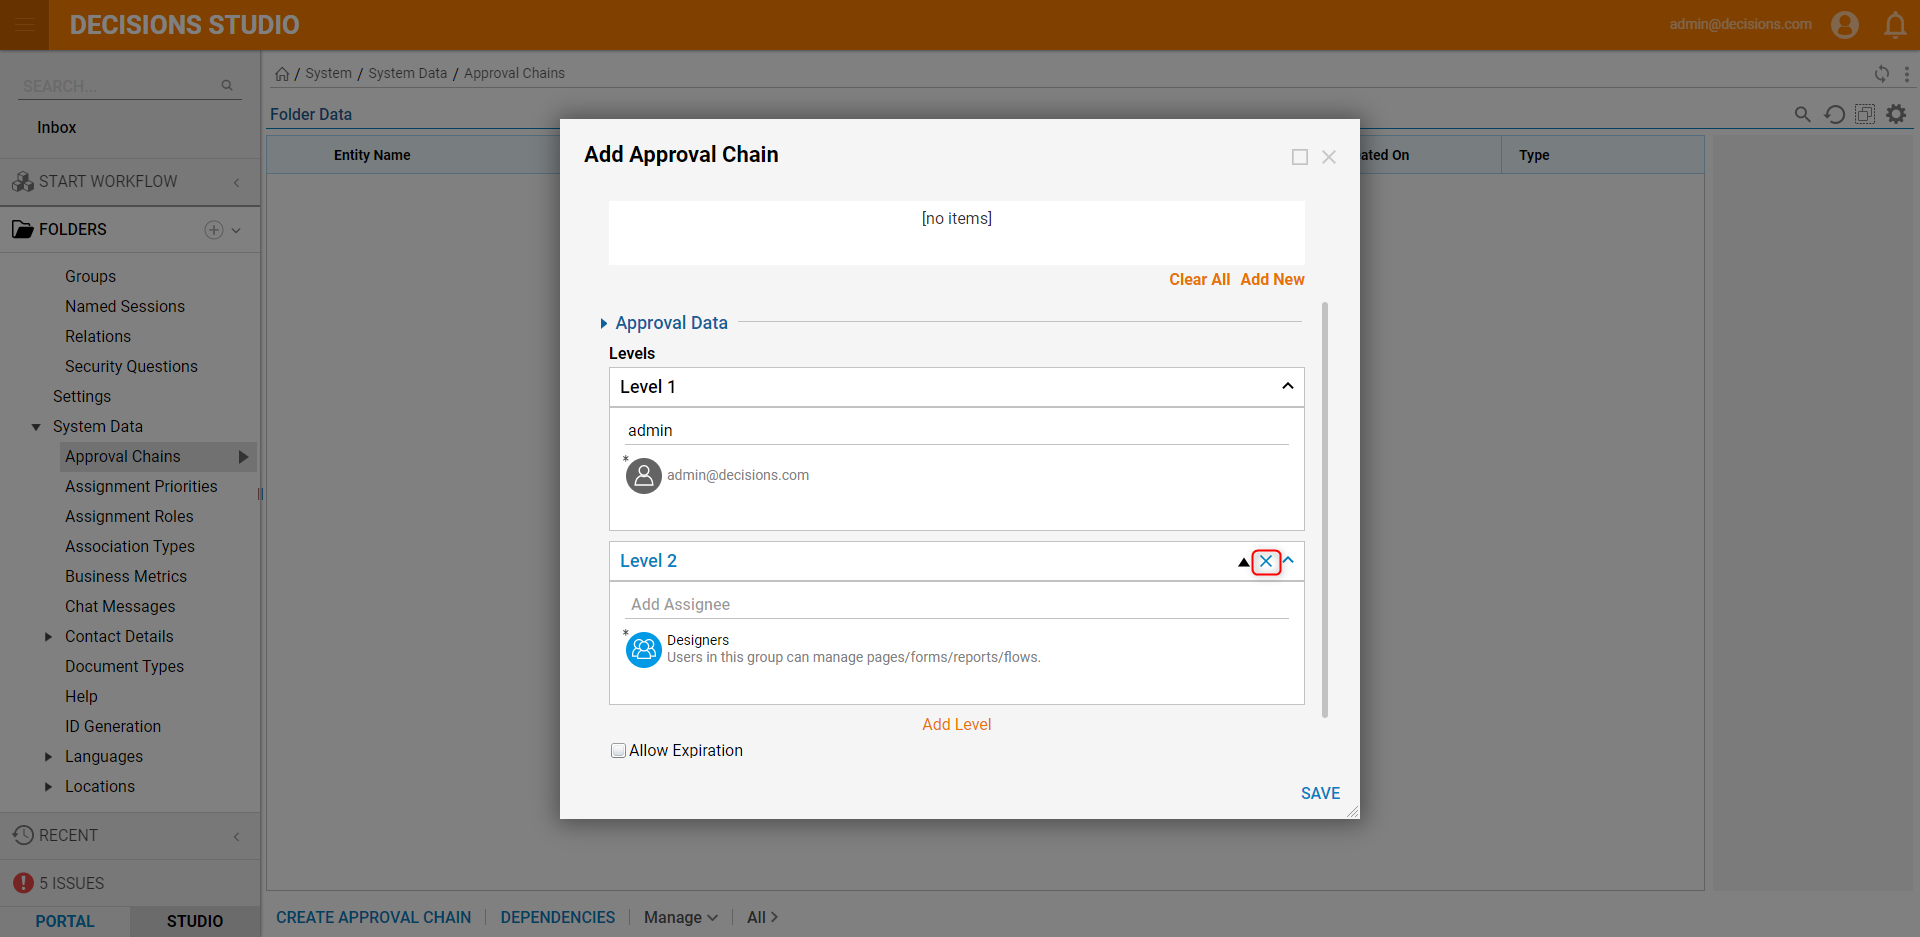
- Under Level 1, enter "admin". As the text is entered a dropdown list appears. Click admin@decisions.com.
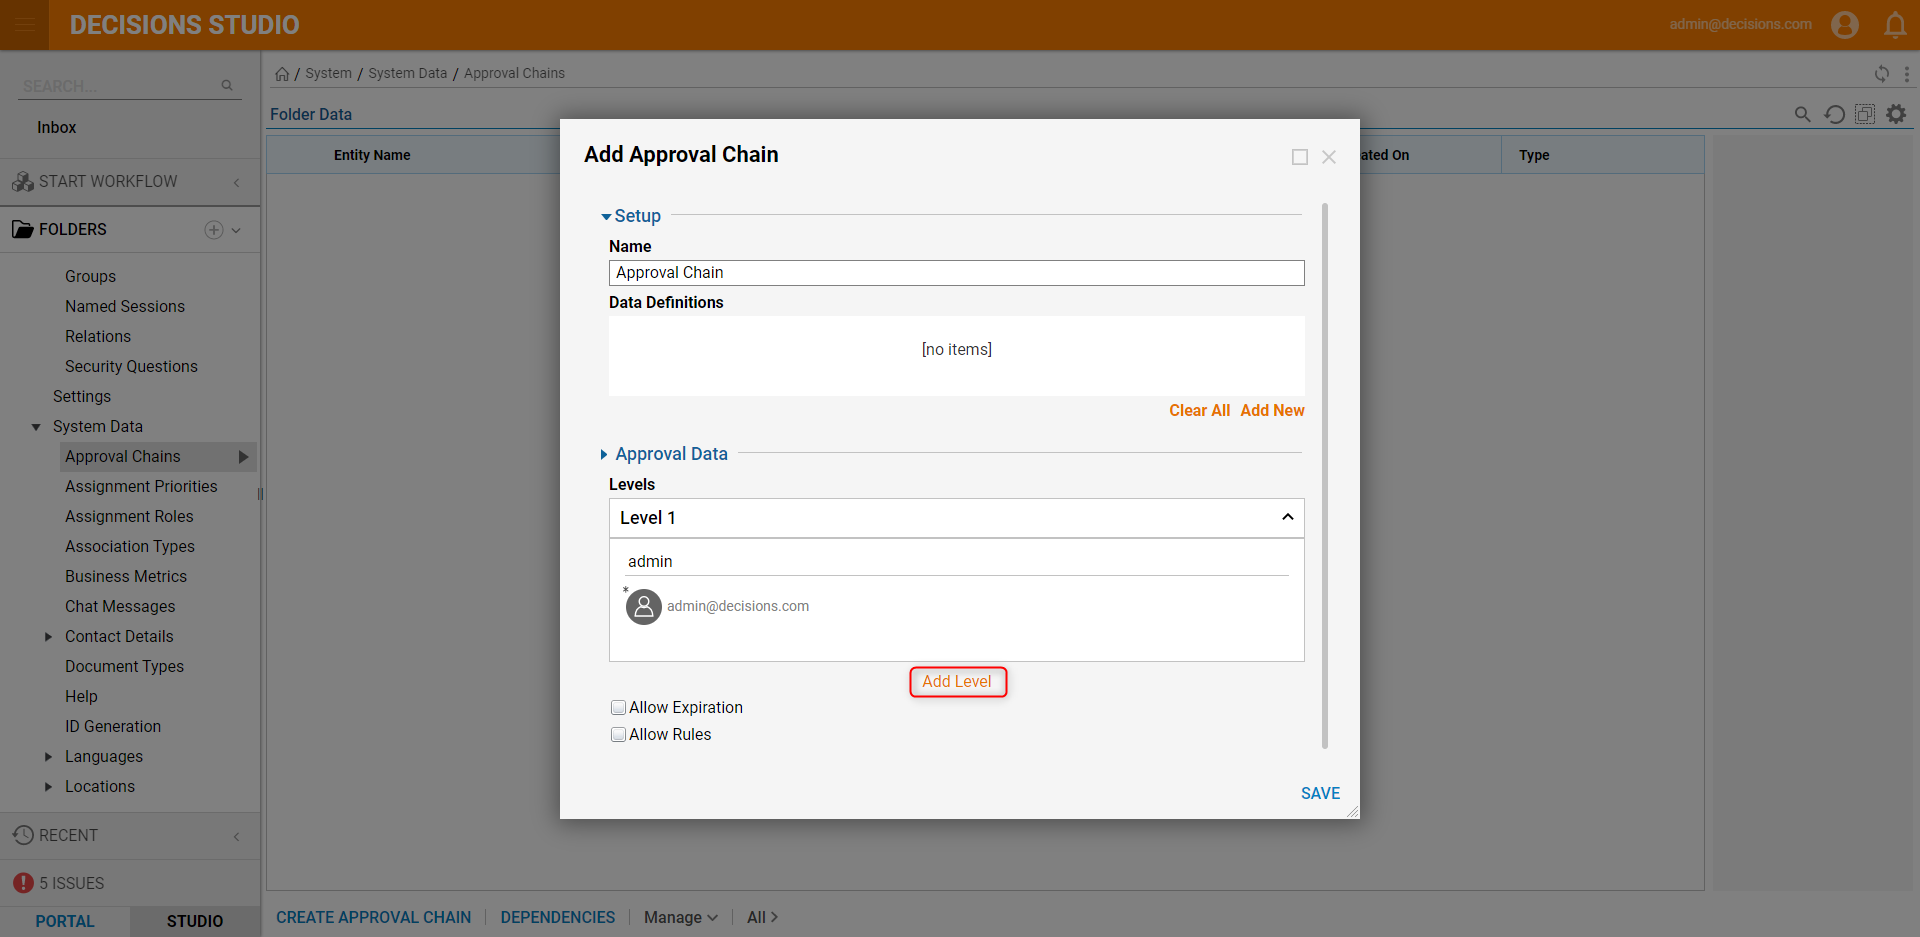
- Click Add Level under Level 1.
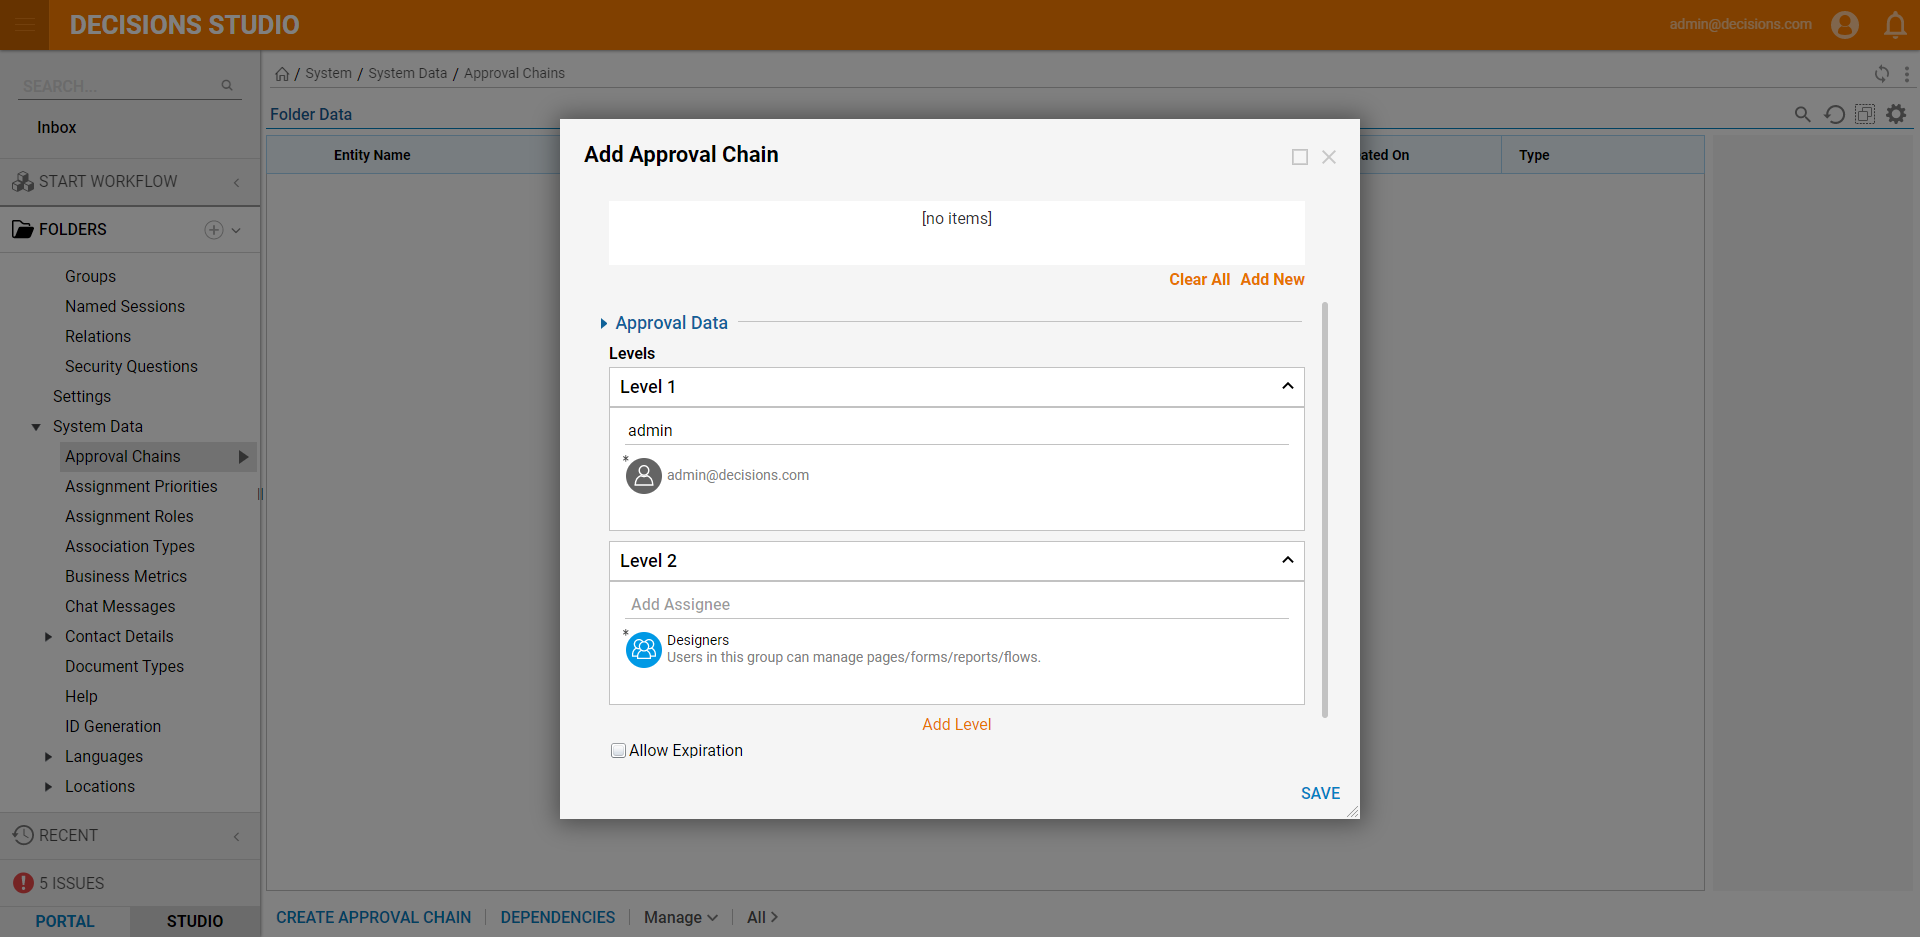
- Add a group to Level 2.
To remove a level or unwanted assignee, click the X icon.
- Select the Allow Expiration option. This will populate an Expires section under each level. Click the pencil icon to update the expiration date.
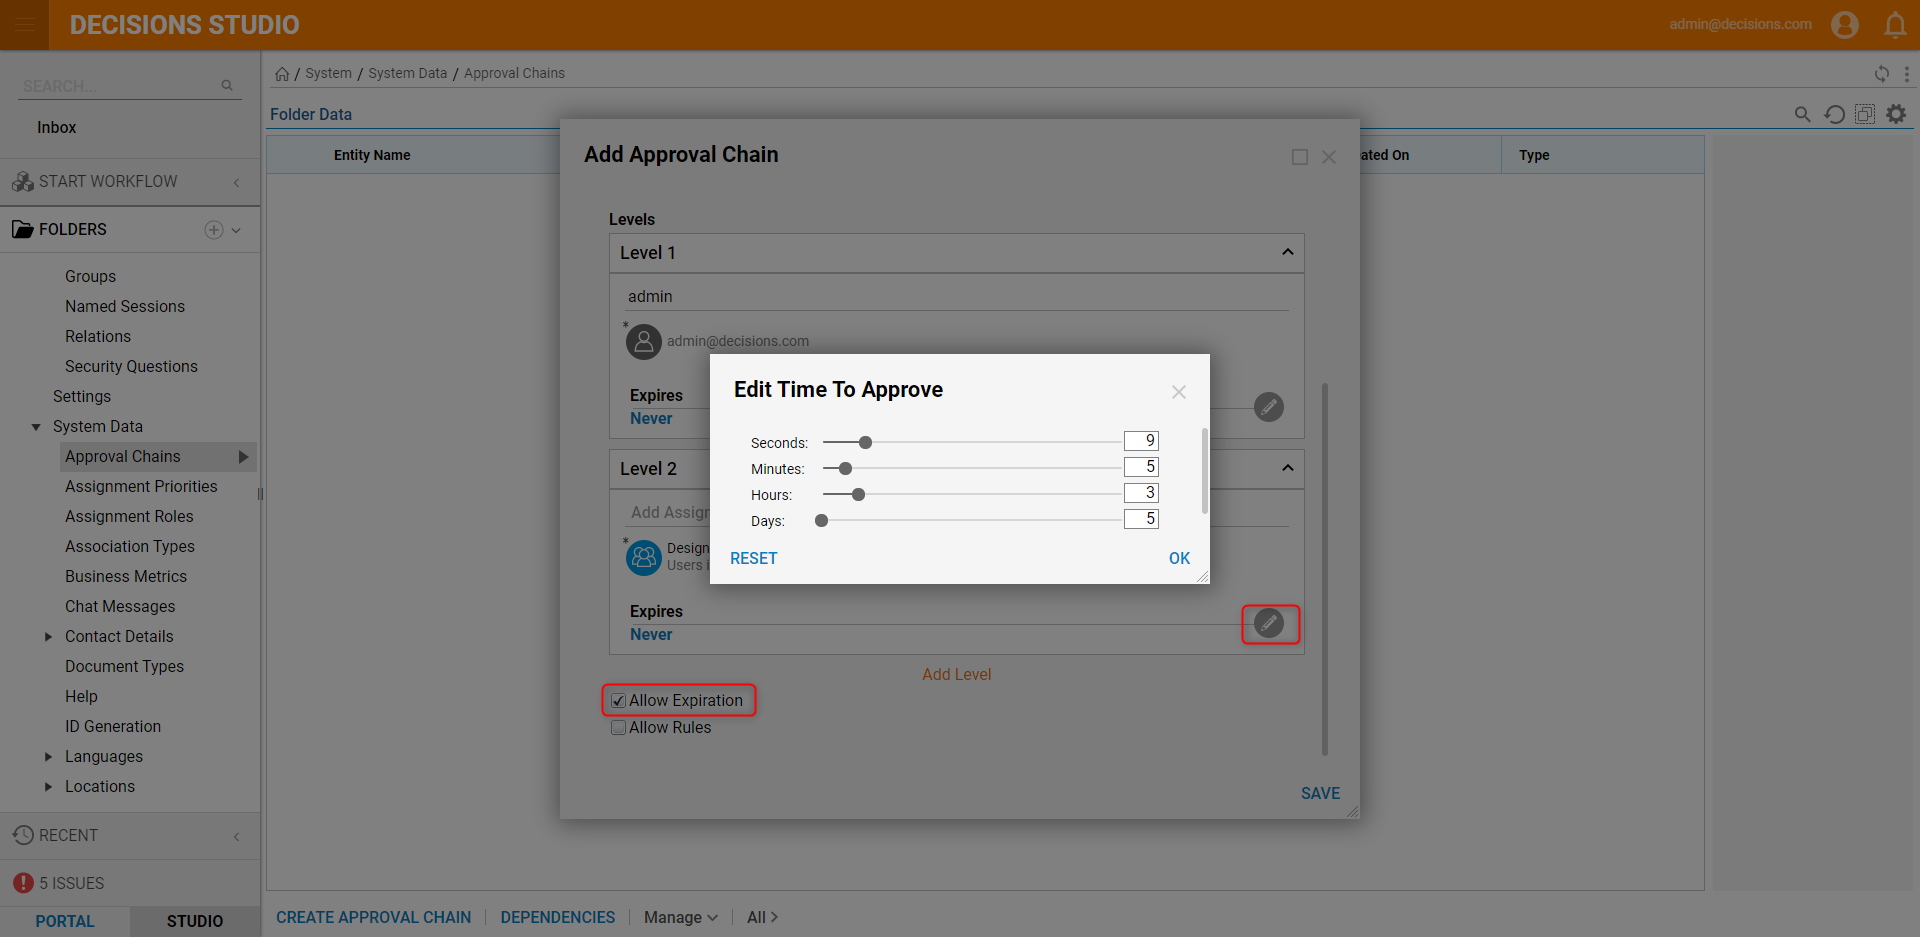
- Click OK to update the expiration and click SAVE to save the Approval Chain.
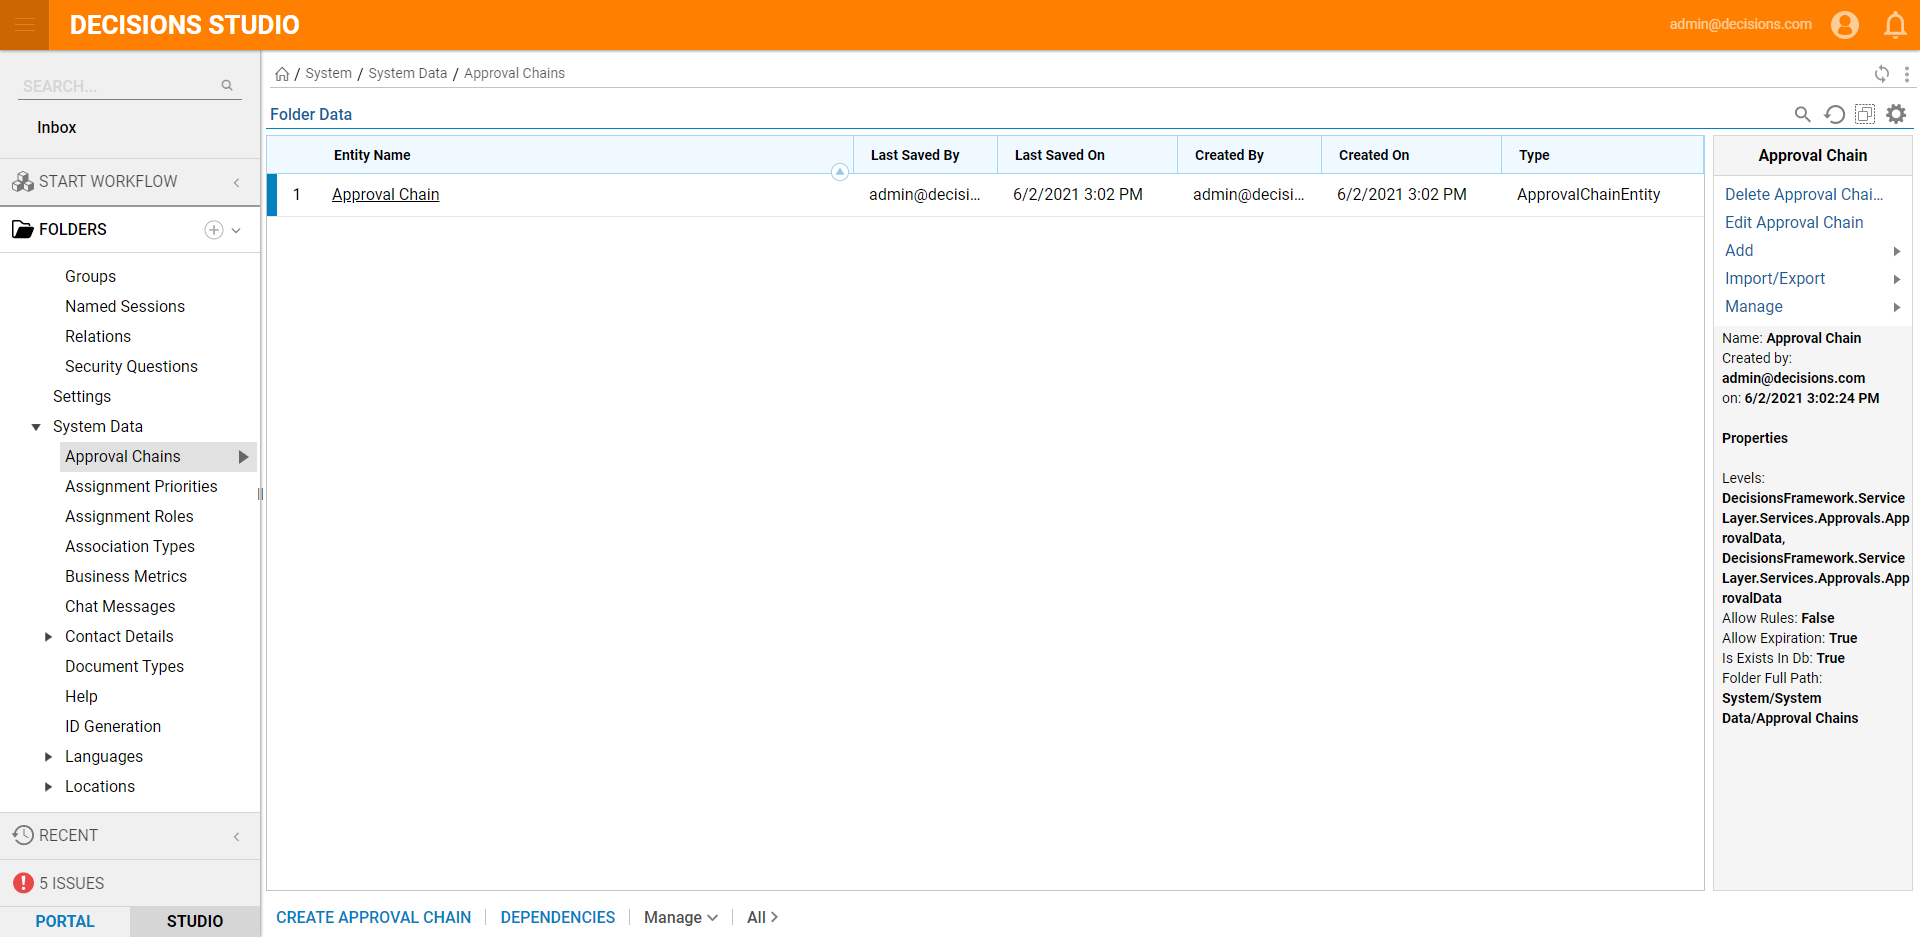
Every person in the group doesn't have to approve for the request to proceed. At least one person from each group and all individual user accounts specified on that level must approve.
| Level and Assignee | Approval |
|---|---|
| Level 1 with 1 Group | Only one of the accounts within the group must approve |
| Level 2 with 2 Groups | Only one of the accounts from each group must approve |
| Level 3 with 2 Groups and 2 individual accounts | One account from each group and both individual accounts must approve |