Overview
This tutorial demonstrates how to use CSV To Object Mapping step. This step can be found in the Data > List > Excel and CSV category in the ToolBox.
Example
In this example, create a Flow that creates an Array of Account Objects from CSV file using CSV To Object Mapping step. Then, for each account in the array, the Flow will create an account in the Portal.
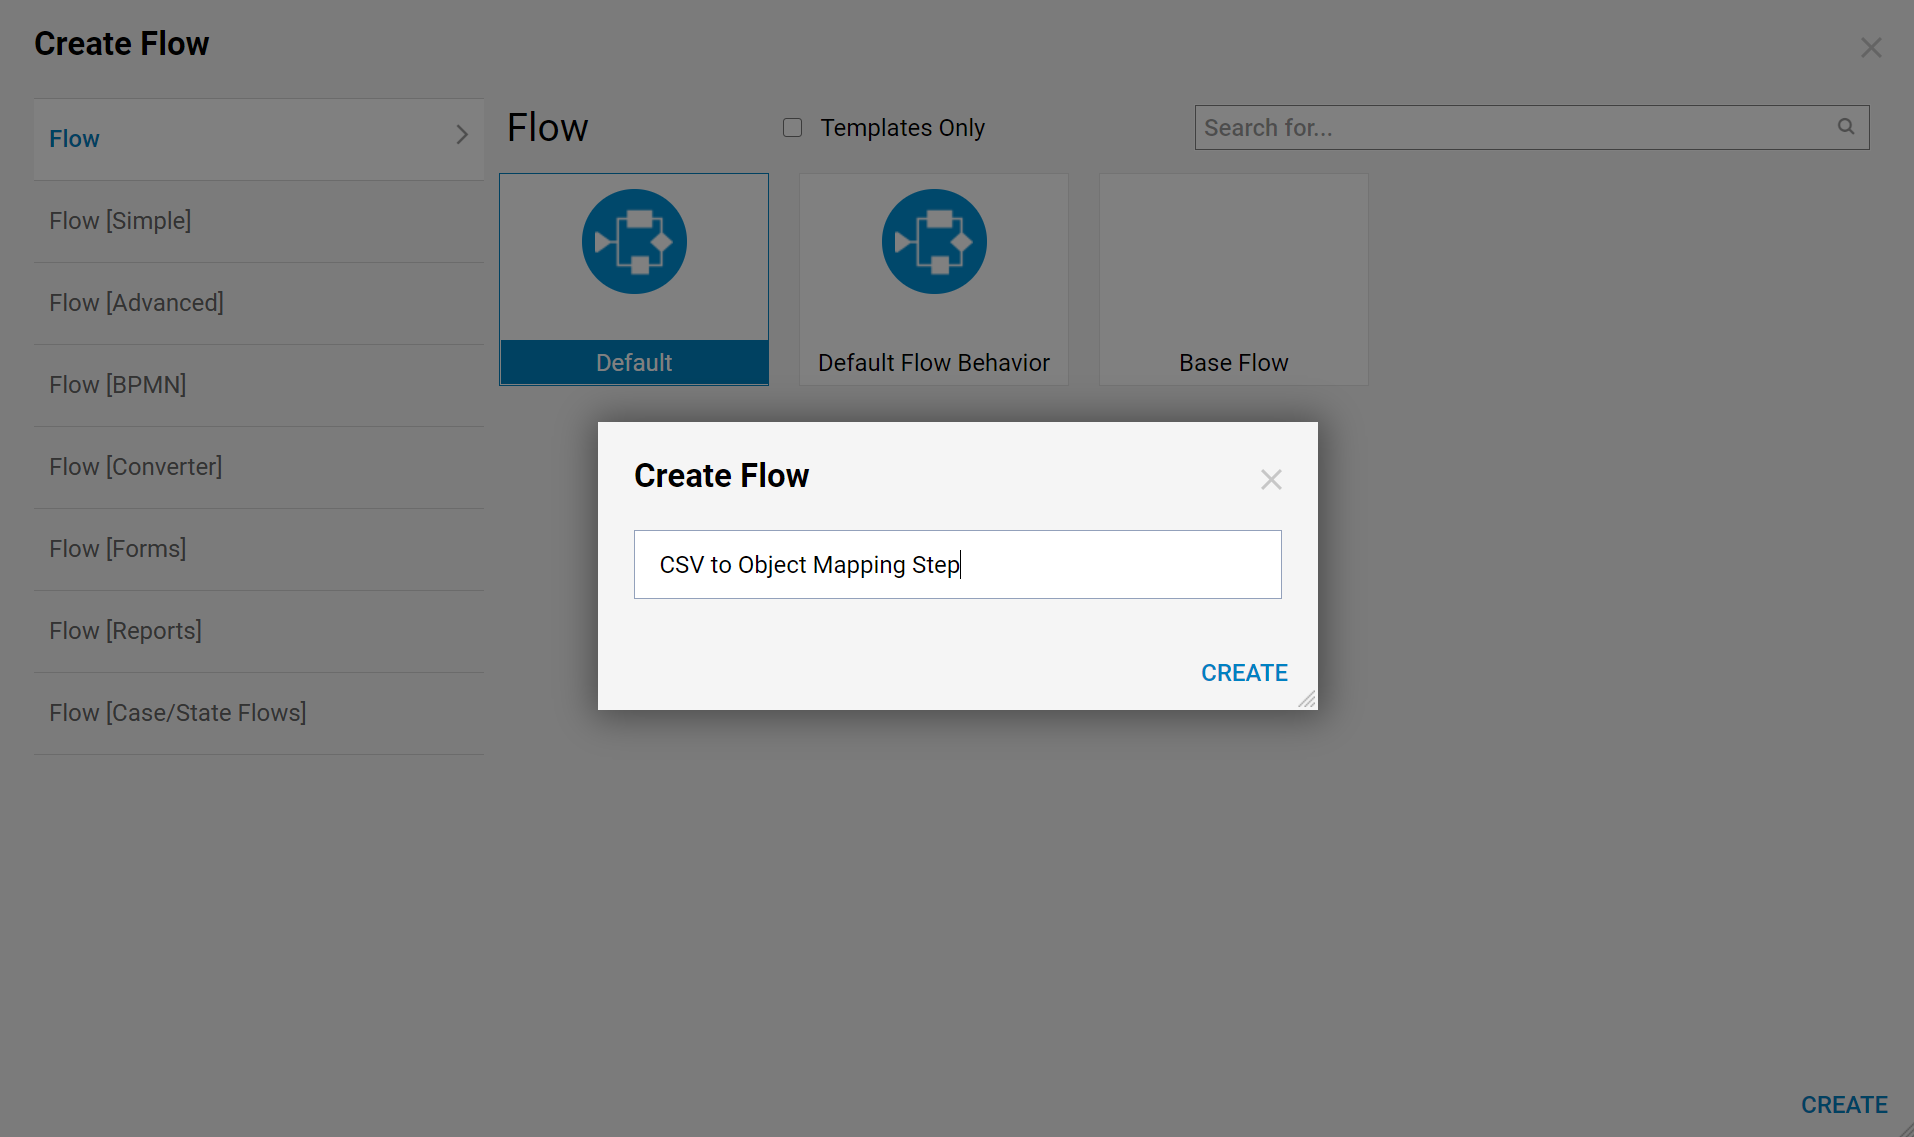
Begin in the Designer Folder, select 'Create Flow' on the Folder Actions panel.

Then, name the Flow and select 'Create' to proceed to the Flow Designer.
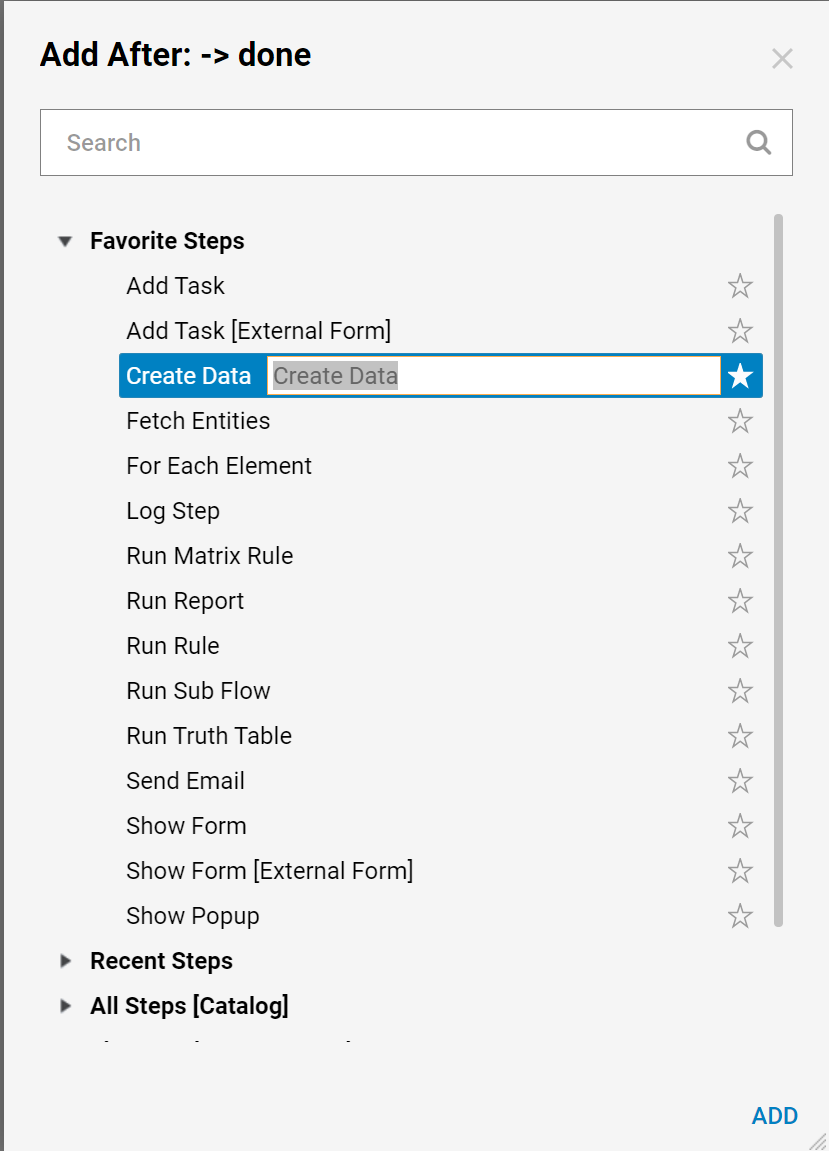
In the Flow Designer, add a Create Data step from All Steps [Catalog] > Data category in the Quick Add Step dialog.
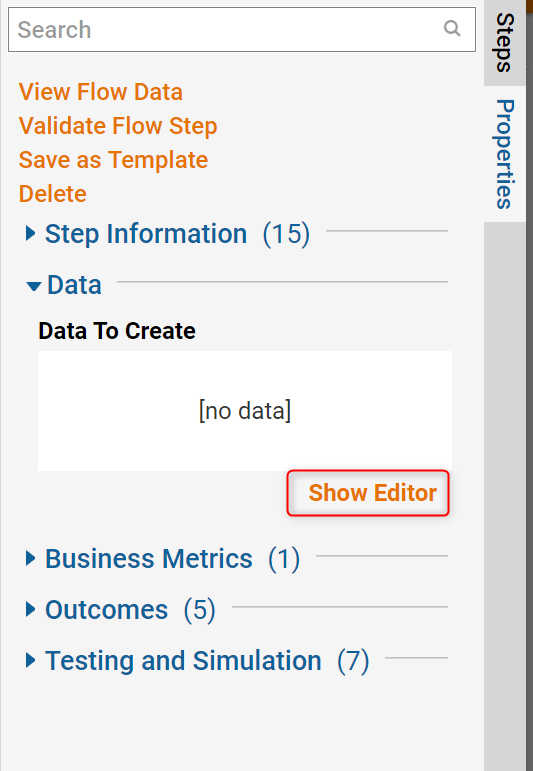
In the resulting Data Definitions properties panel, select 'Show Editor' to add a new data definition.
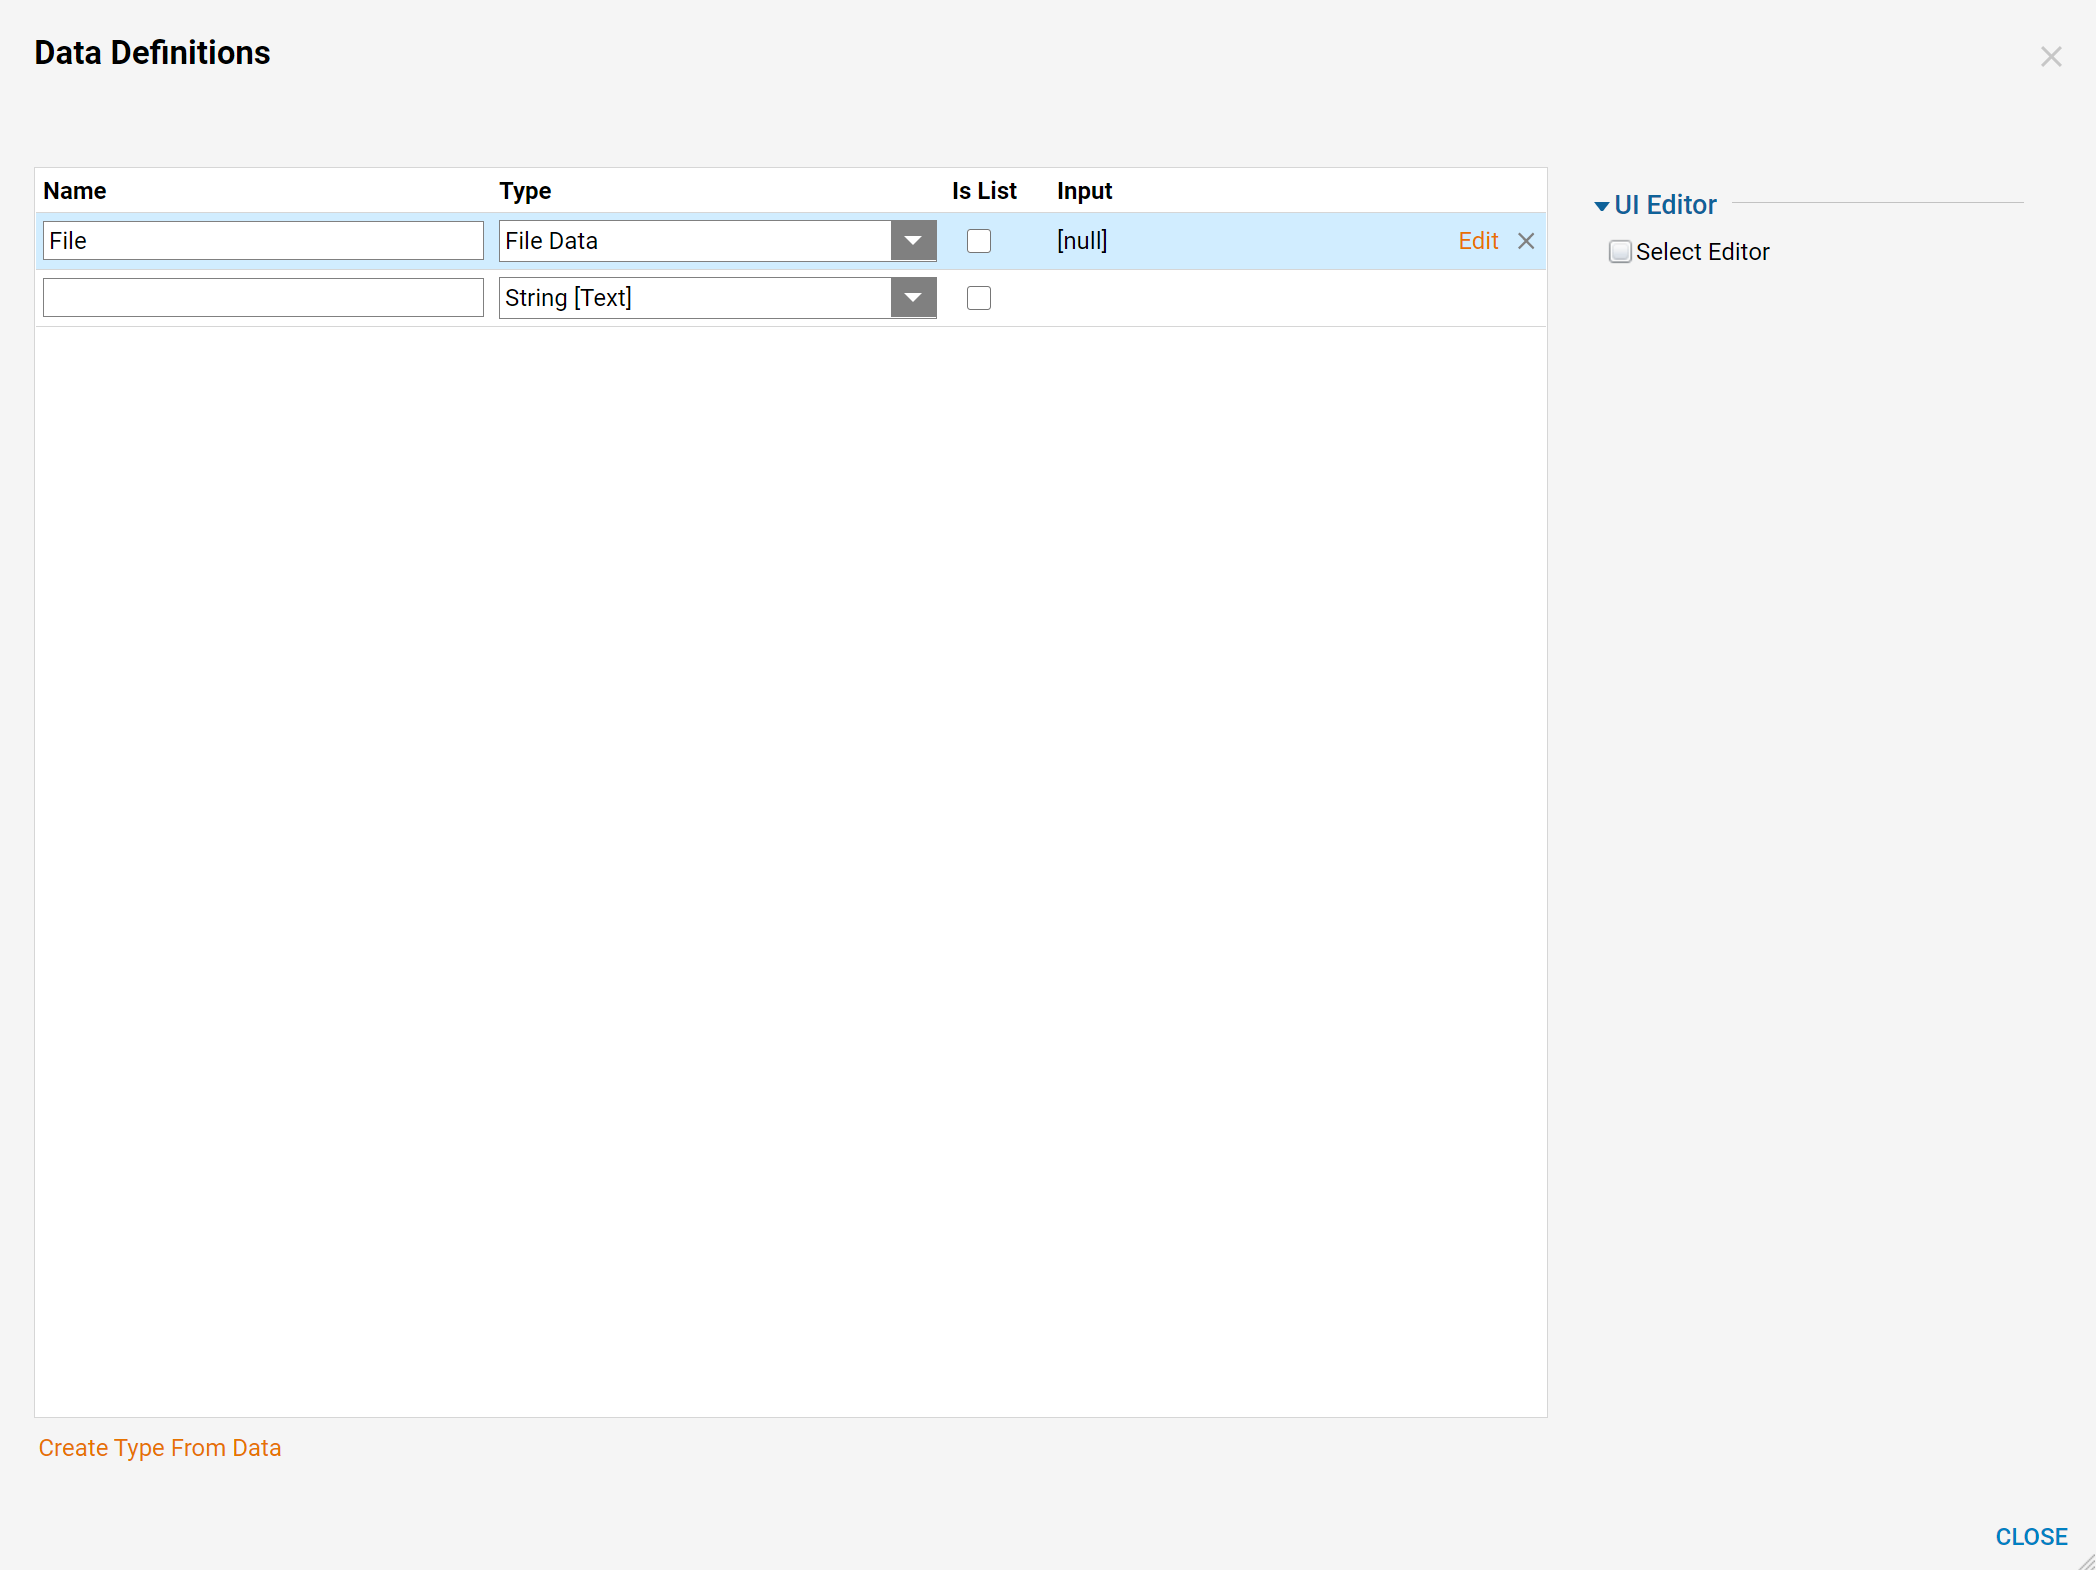
Define the data that can hold the CSV file. Name the data and pick FileData type. Then, select 'CLOSE' to save and close this window.
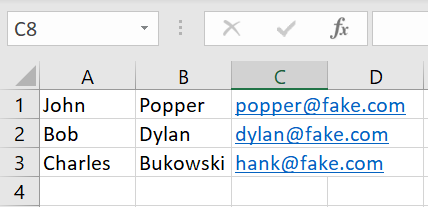
Next, pick a CSV file for Data that was just defined. CSV file for this tutorial looks as following: It has 3 rows of data. Each row has 3 fields: First Name, Last Name, and Email Address.
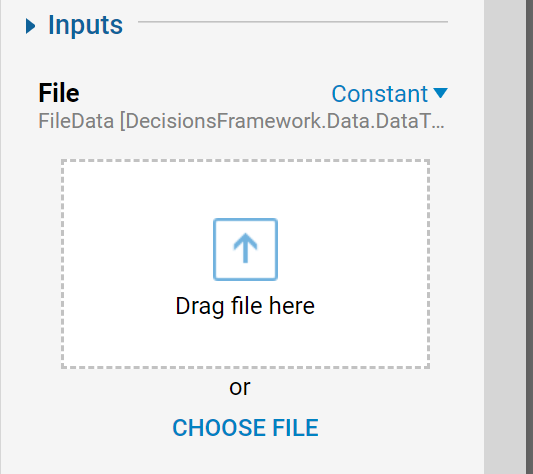
Select the Create Data step on the workspace, in the Properties panel under Inputs > File, choose the file for the File Data.
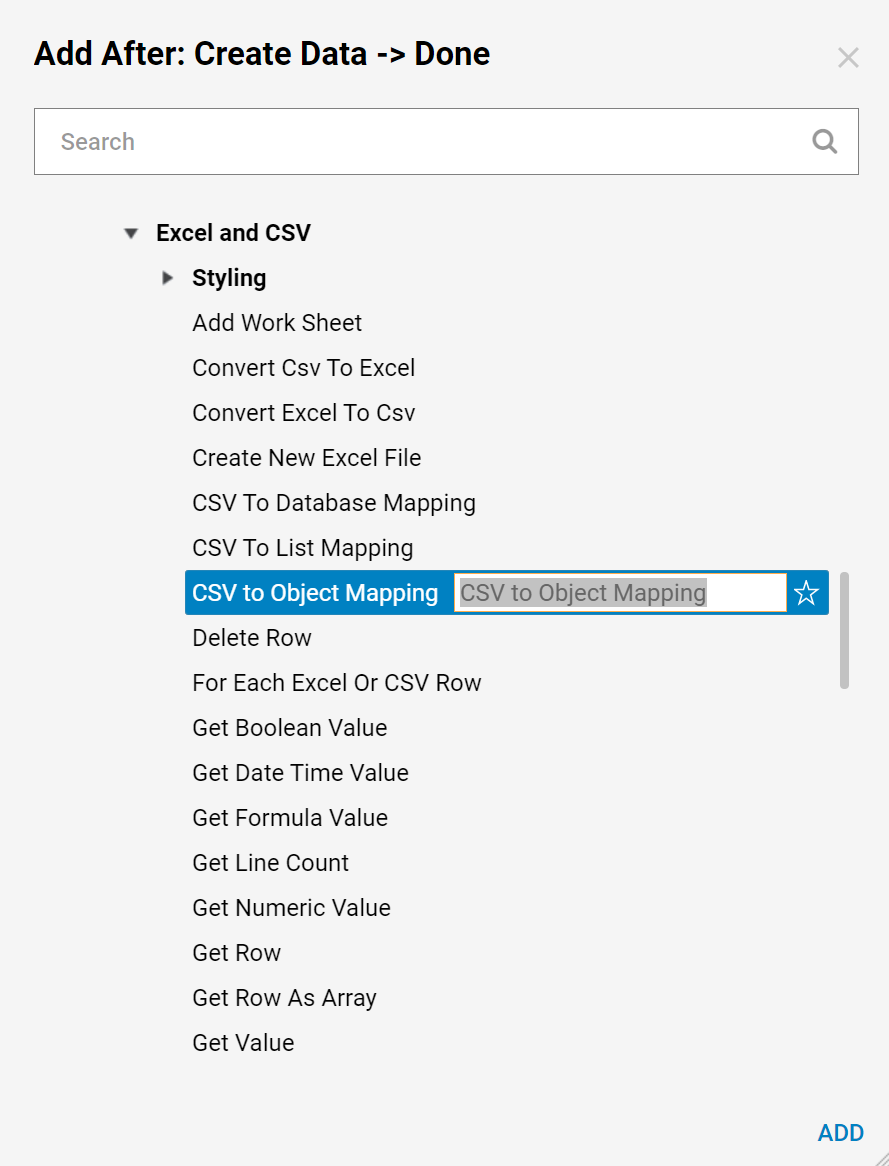
Add a CSV To Object Mapping step from Integrations > All Integrations > Excel and CSV category.
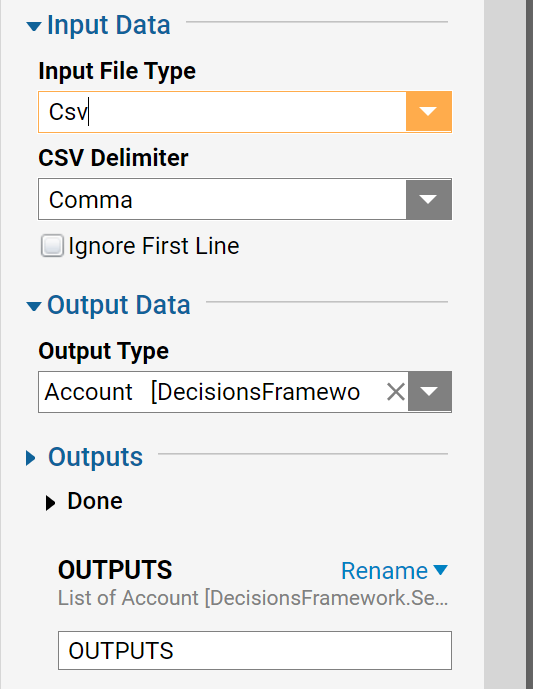
Next, configure CSV To Object Mapping step. First, select CSV from Input File Type dropdown in the Input Data section. Then, in the Output Data section select Account Type using Output Type picker.
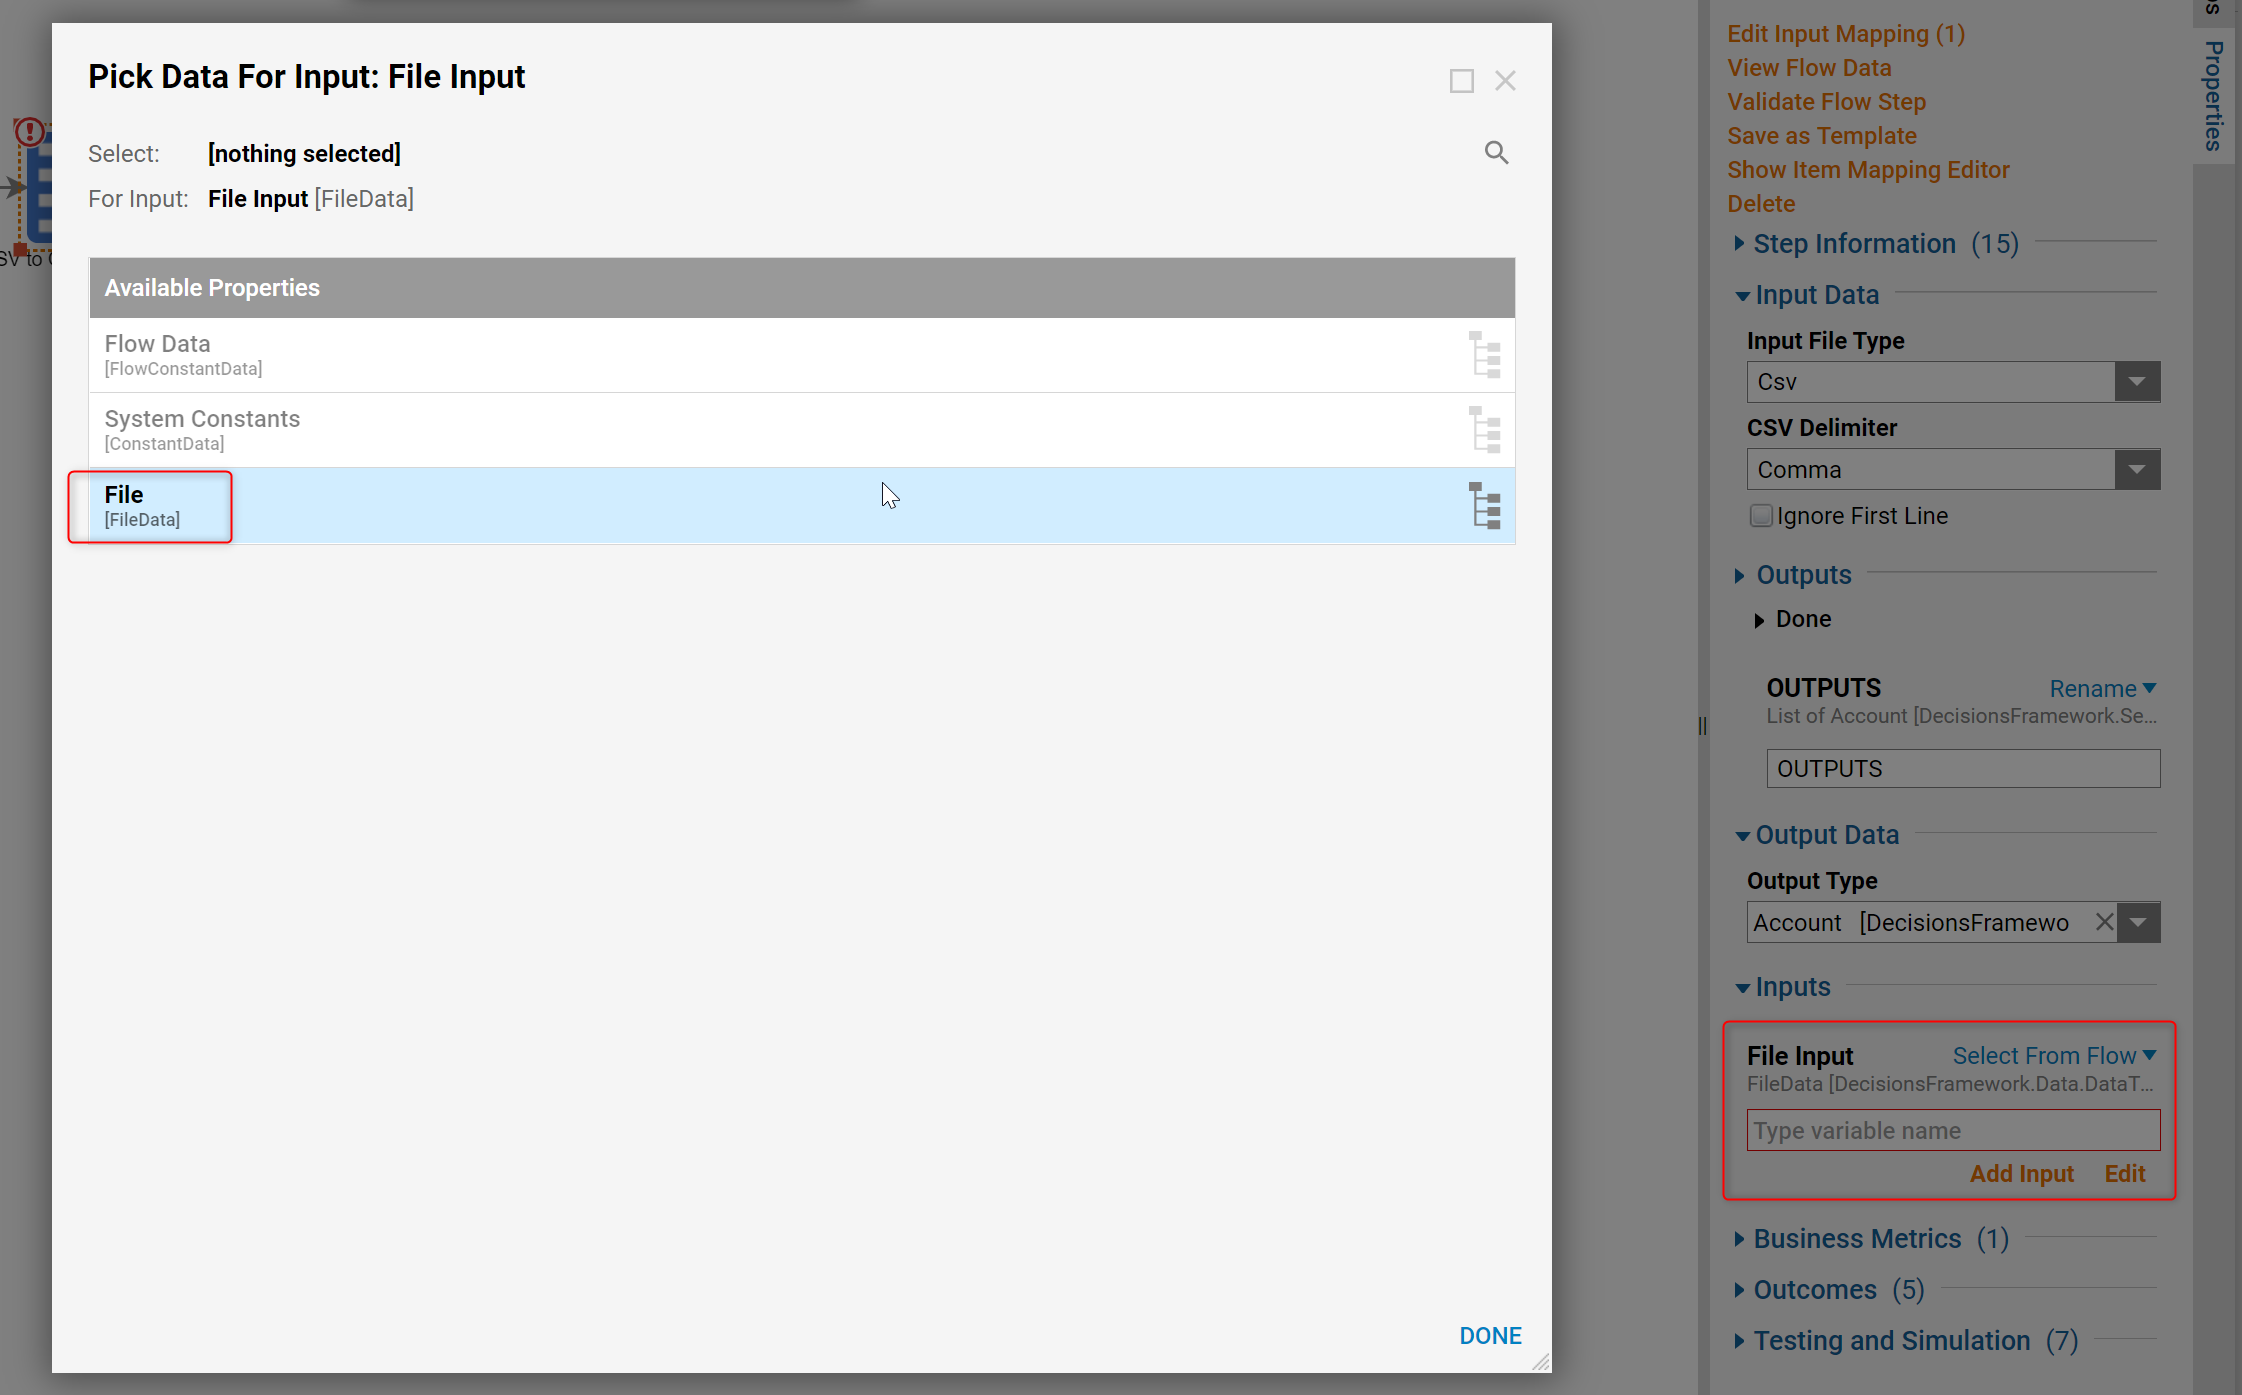
In the Inputs section, pick Select Value for the File Input mapping type. Next, pick File from the Create Data step for the File Input.
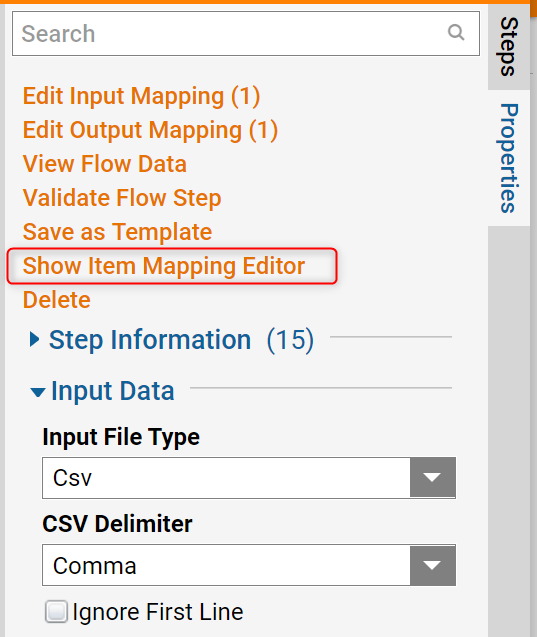
Select Show Item Mapping Editor from the CSV To Object mapping options menu.
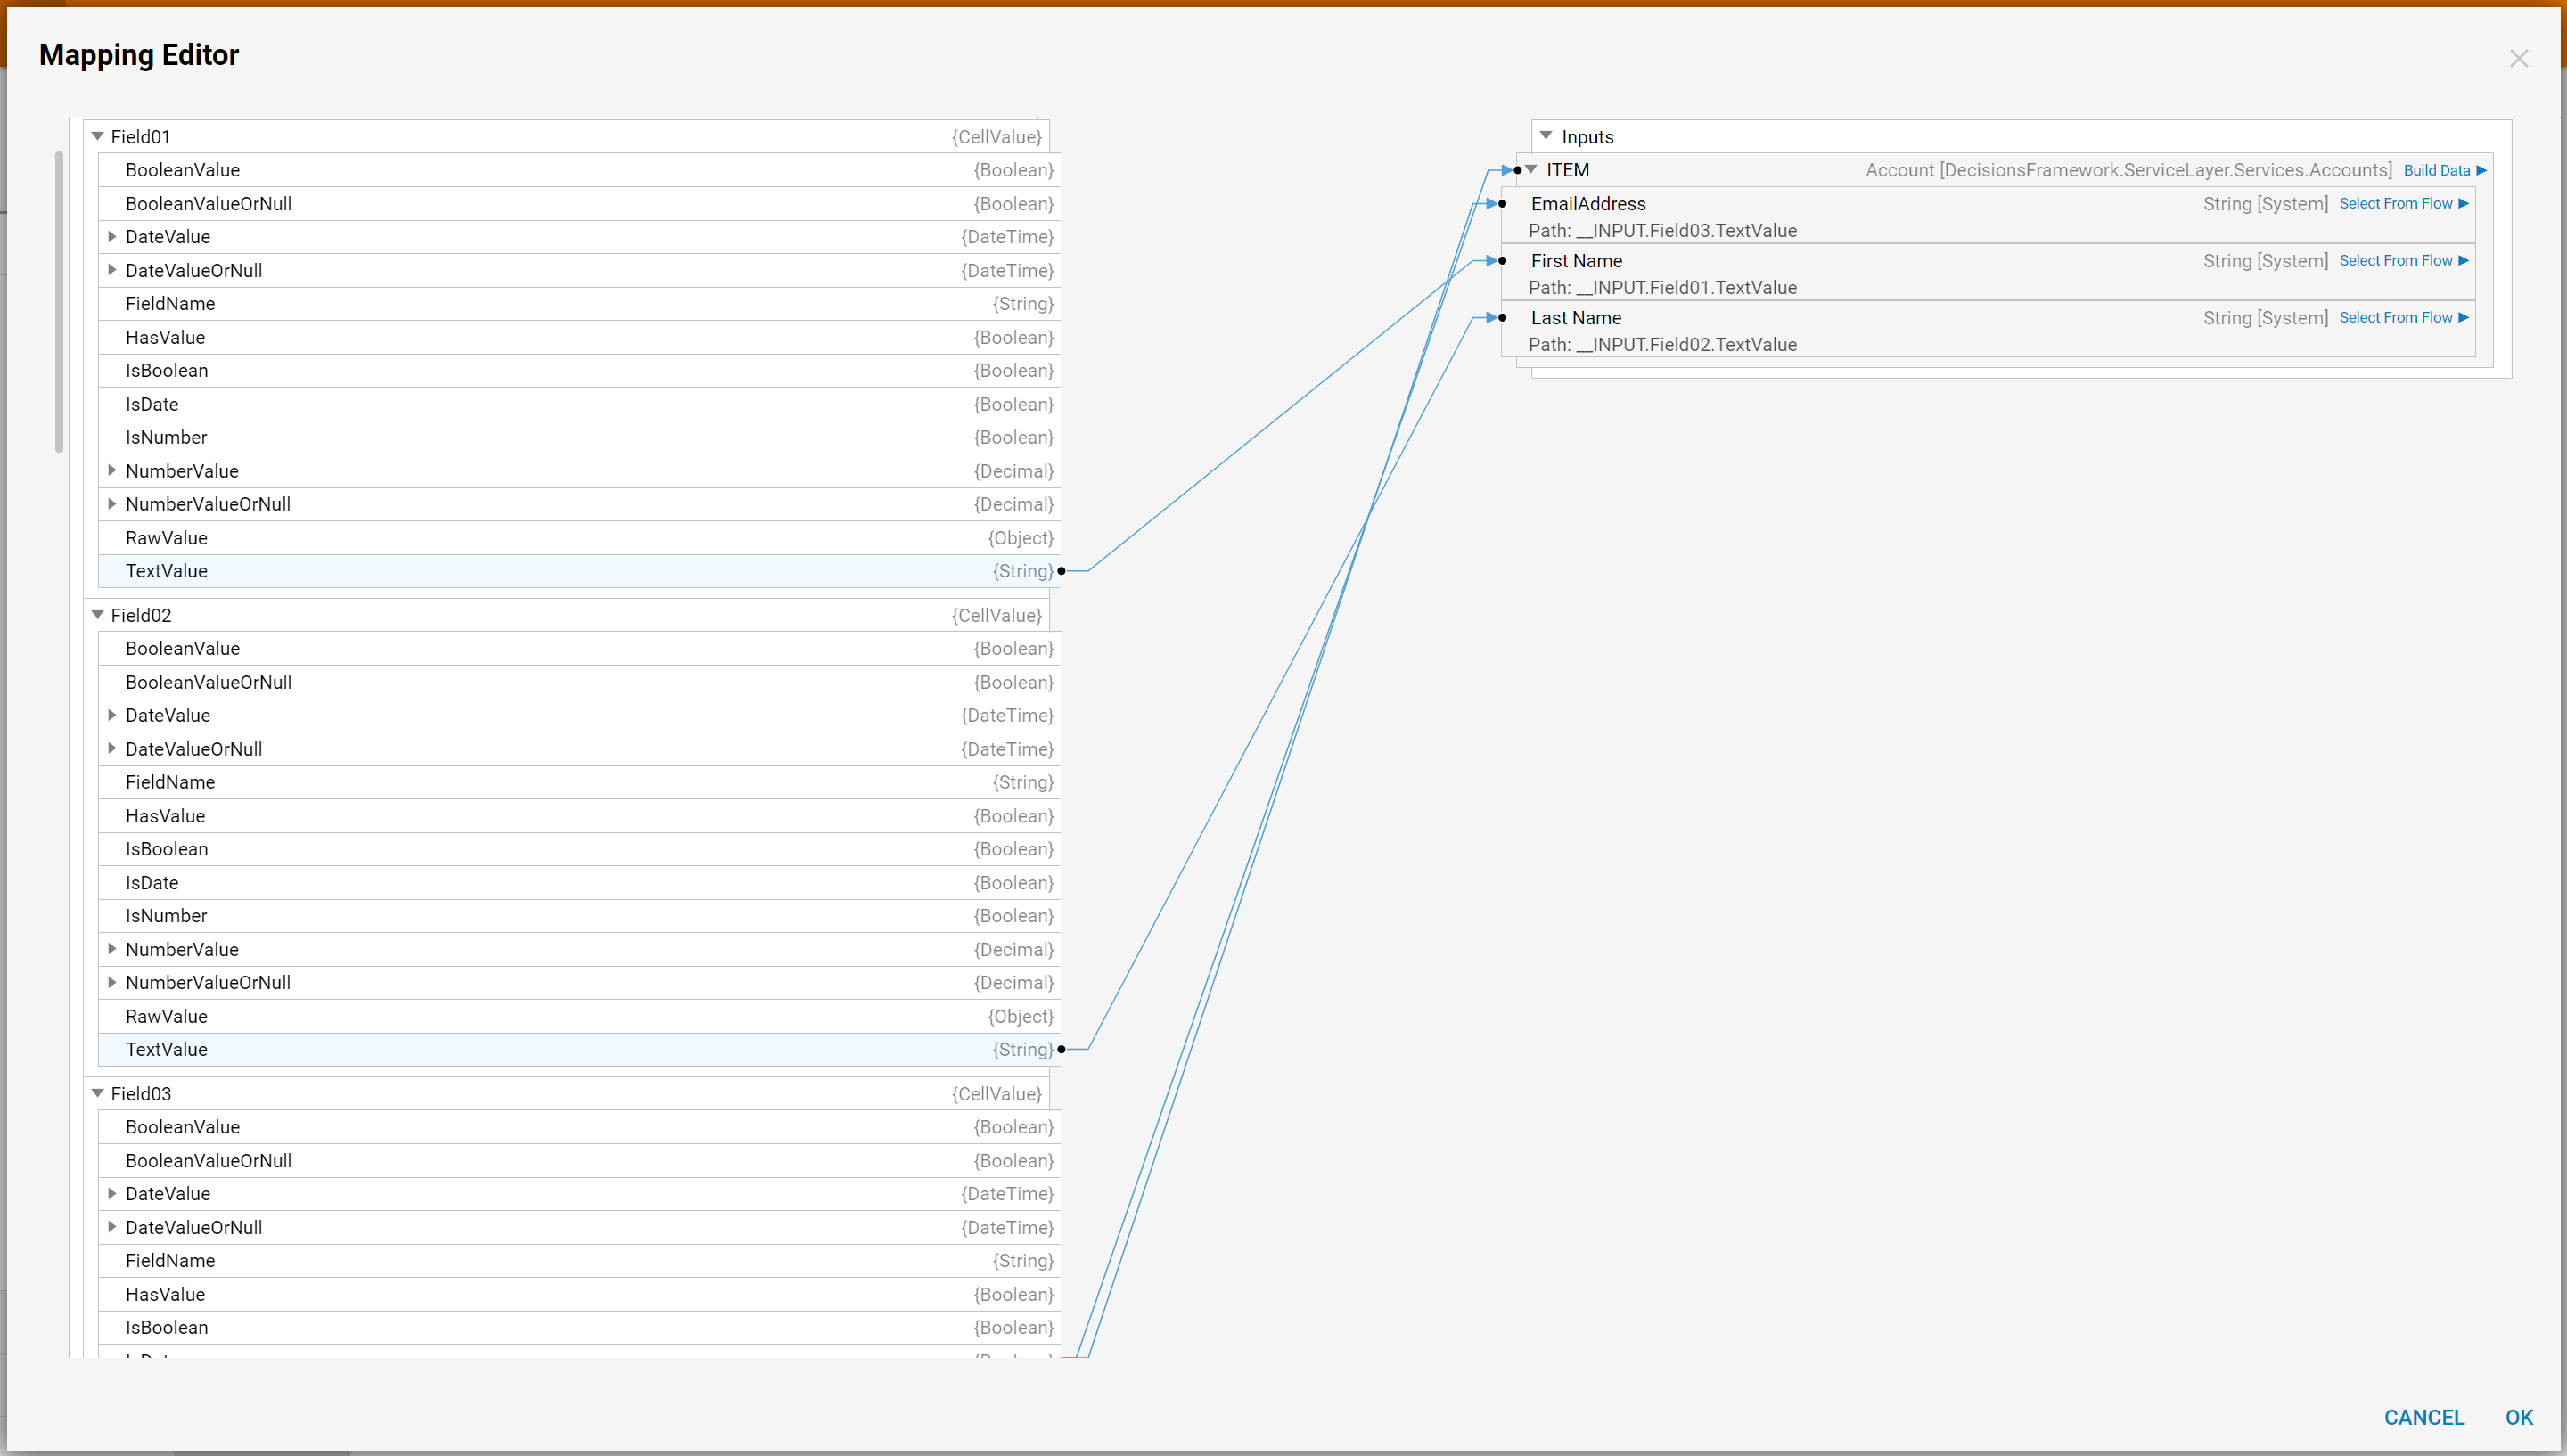
In the Show Item Mapping Editor, select Build Data mapping type for the ITEM field.

Upon selecting Build Data, a Specified Data will appear on the left allowing the designer to chose with fields of data to build on. In this example, select EmailAddress, First Name, Last Name.
.png)
Then, expand the _INPUT category. In the CSV file, the Email Address is stored in the third column. Expand Field03 and connect its TextValue to the EmailAddress field for the Account object.
In the same manner, connect TextValues from Field01 and Field02 to the First Name [Person Info] and Last Name [Person Info] fields in the Account object. Then, select 'Ok' to save and close the Item Mapping Editor.
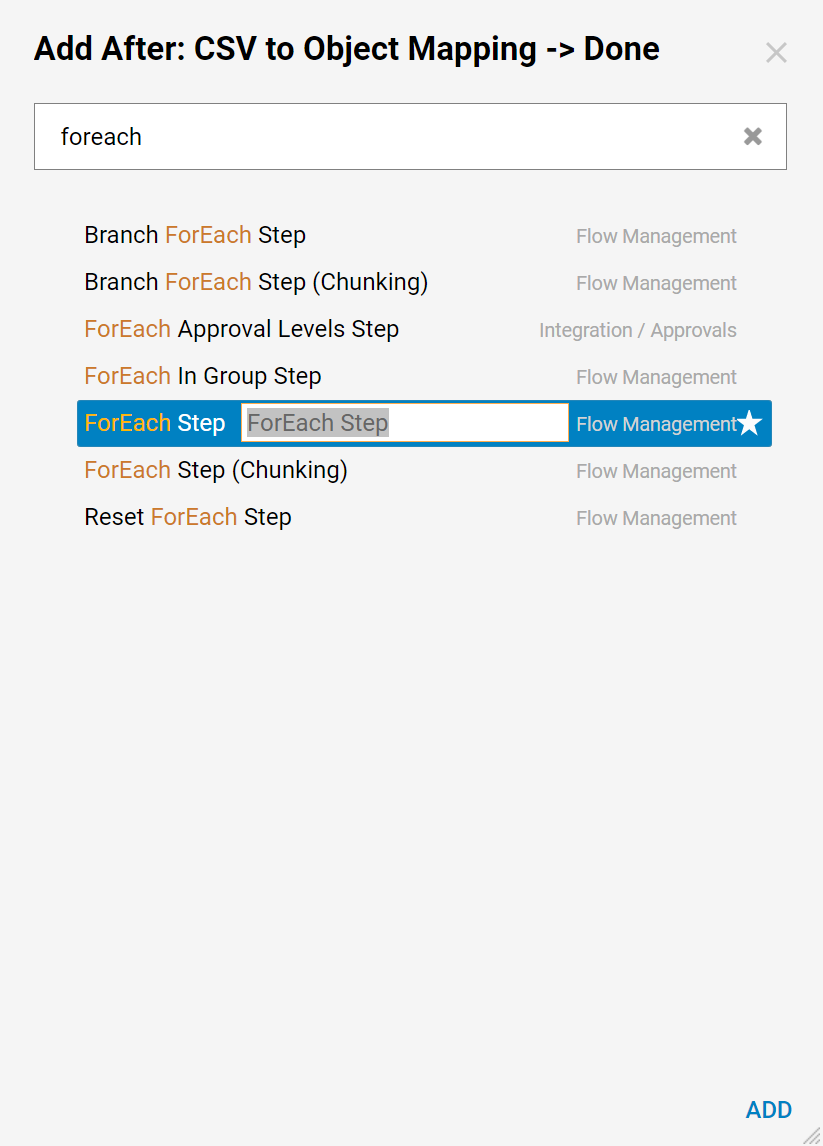
Then add a ForEach Step from All Steps [Catalog] > Flow Management category.
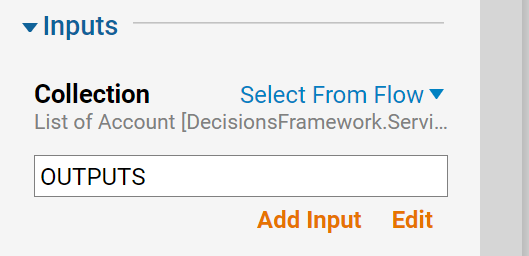
In the resulting dialog, pick a collection of Inputs for the ForEach Step. Under Inputs > Collection, select OUTPUTS.
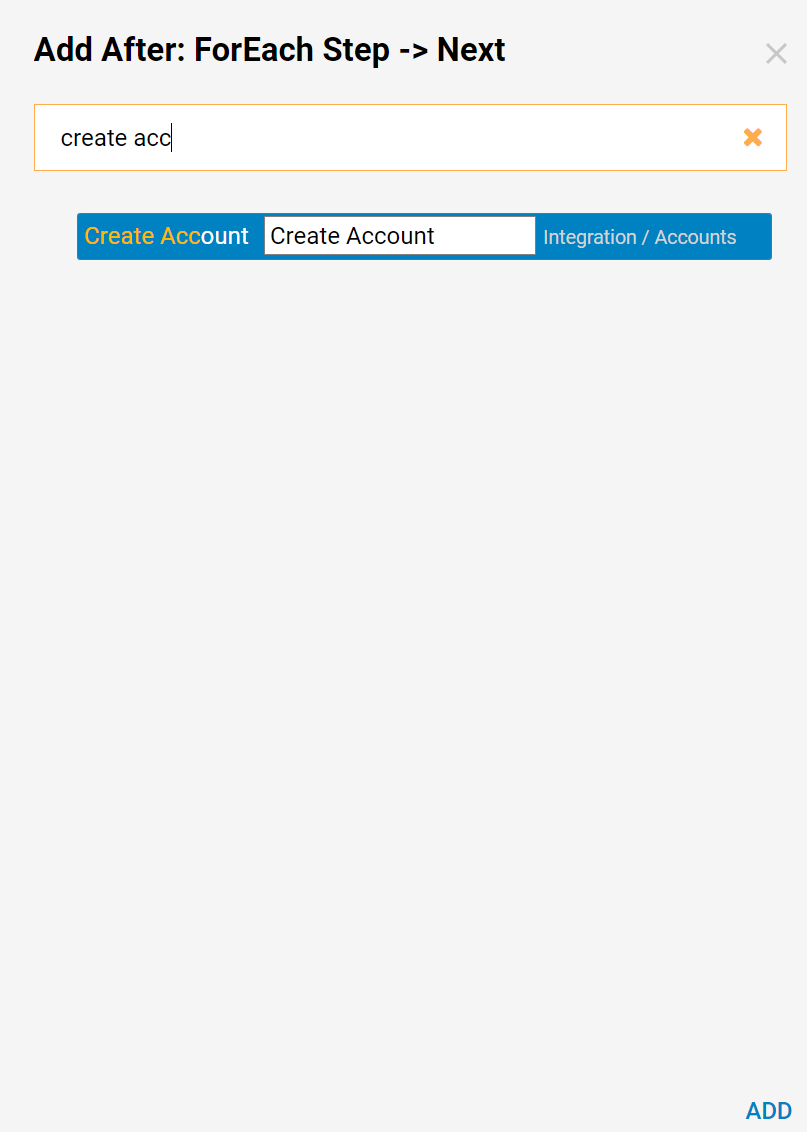
On the 'Next' outcome from the ForEach step, add a Create Account step form Integrations > All Integrations > Accounts category.
Next, connect the 'Done' outcome from the Create Account step back to the ForEach Step, and then connect the 'Done' outcome from the ForEach Step to the End Step in the Flow.
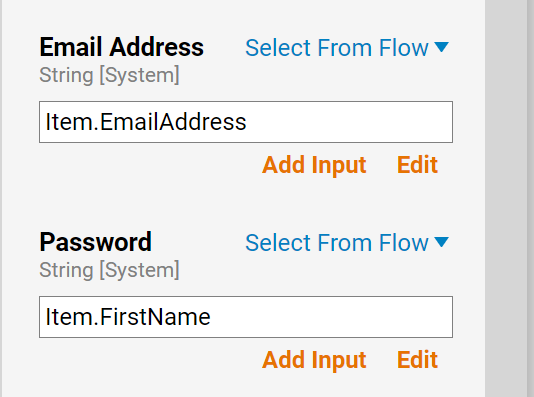
Under Inputs select Select From Flow for both email Address and password. Expand Item, pick EmailAddress for emailAddress. Use User’s First Name for the password field.
Debug
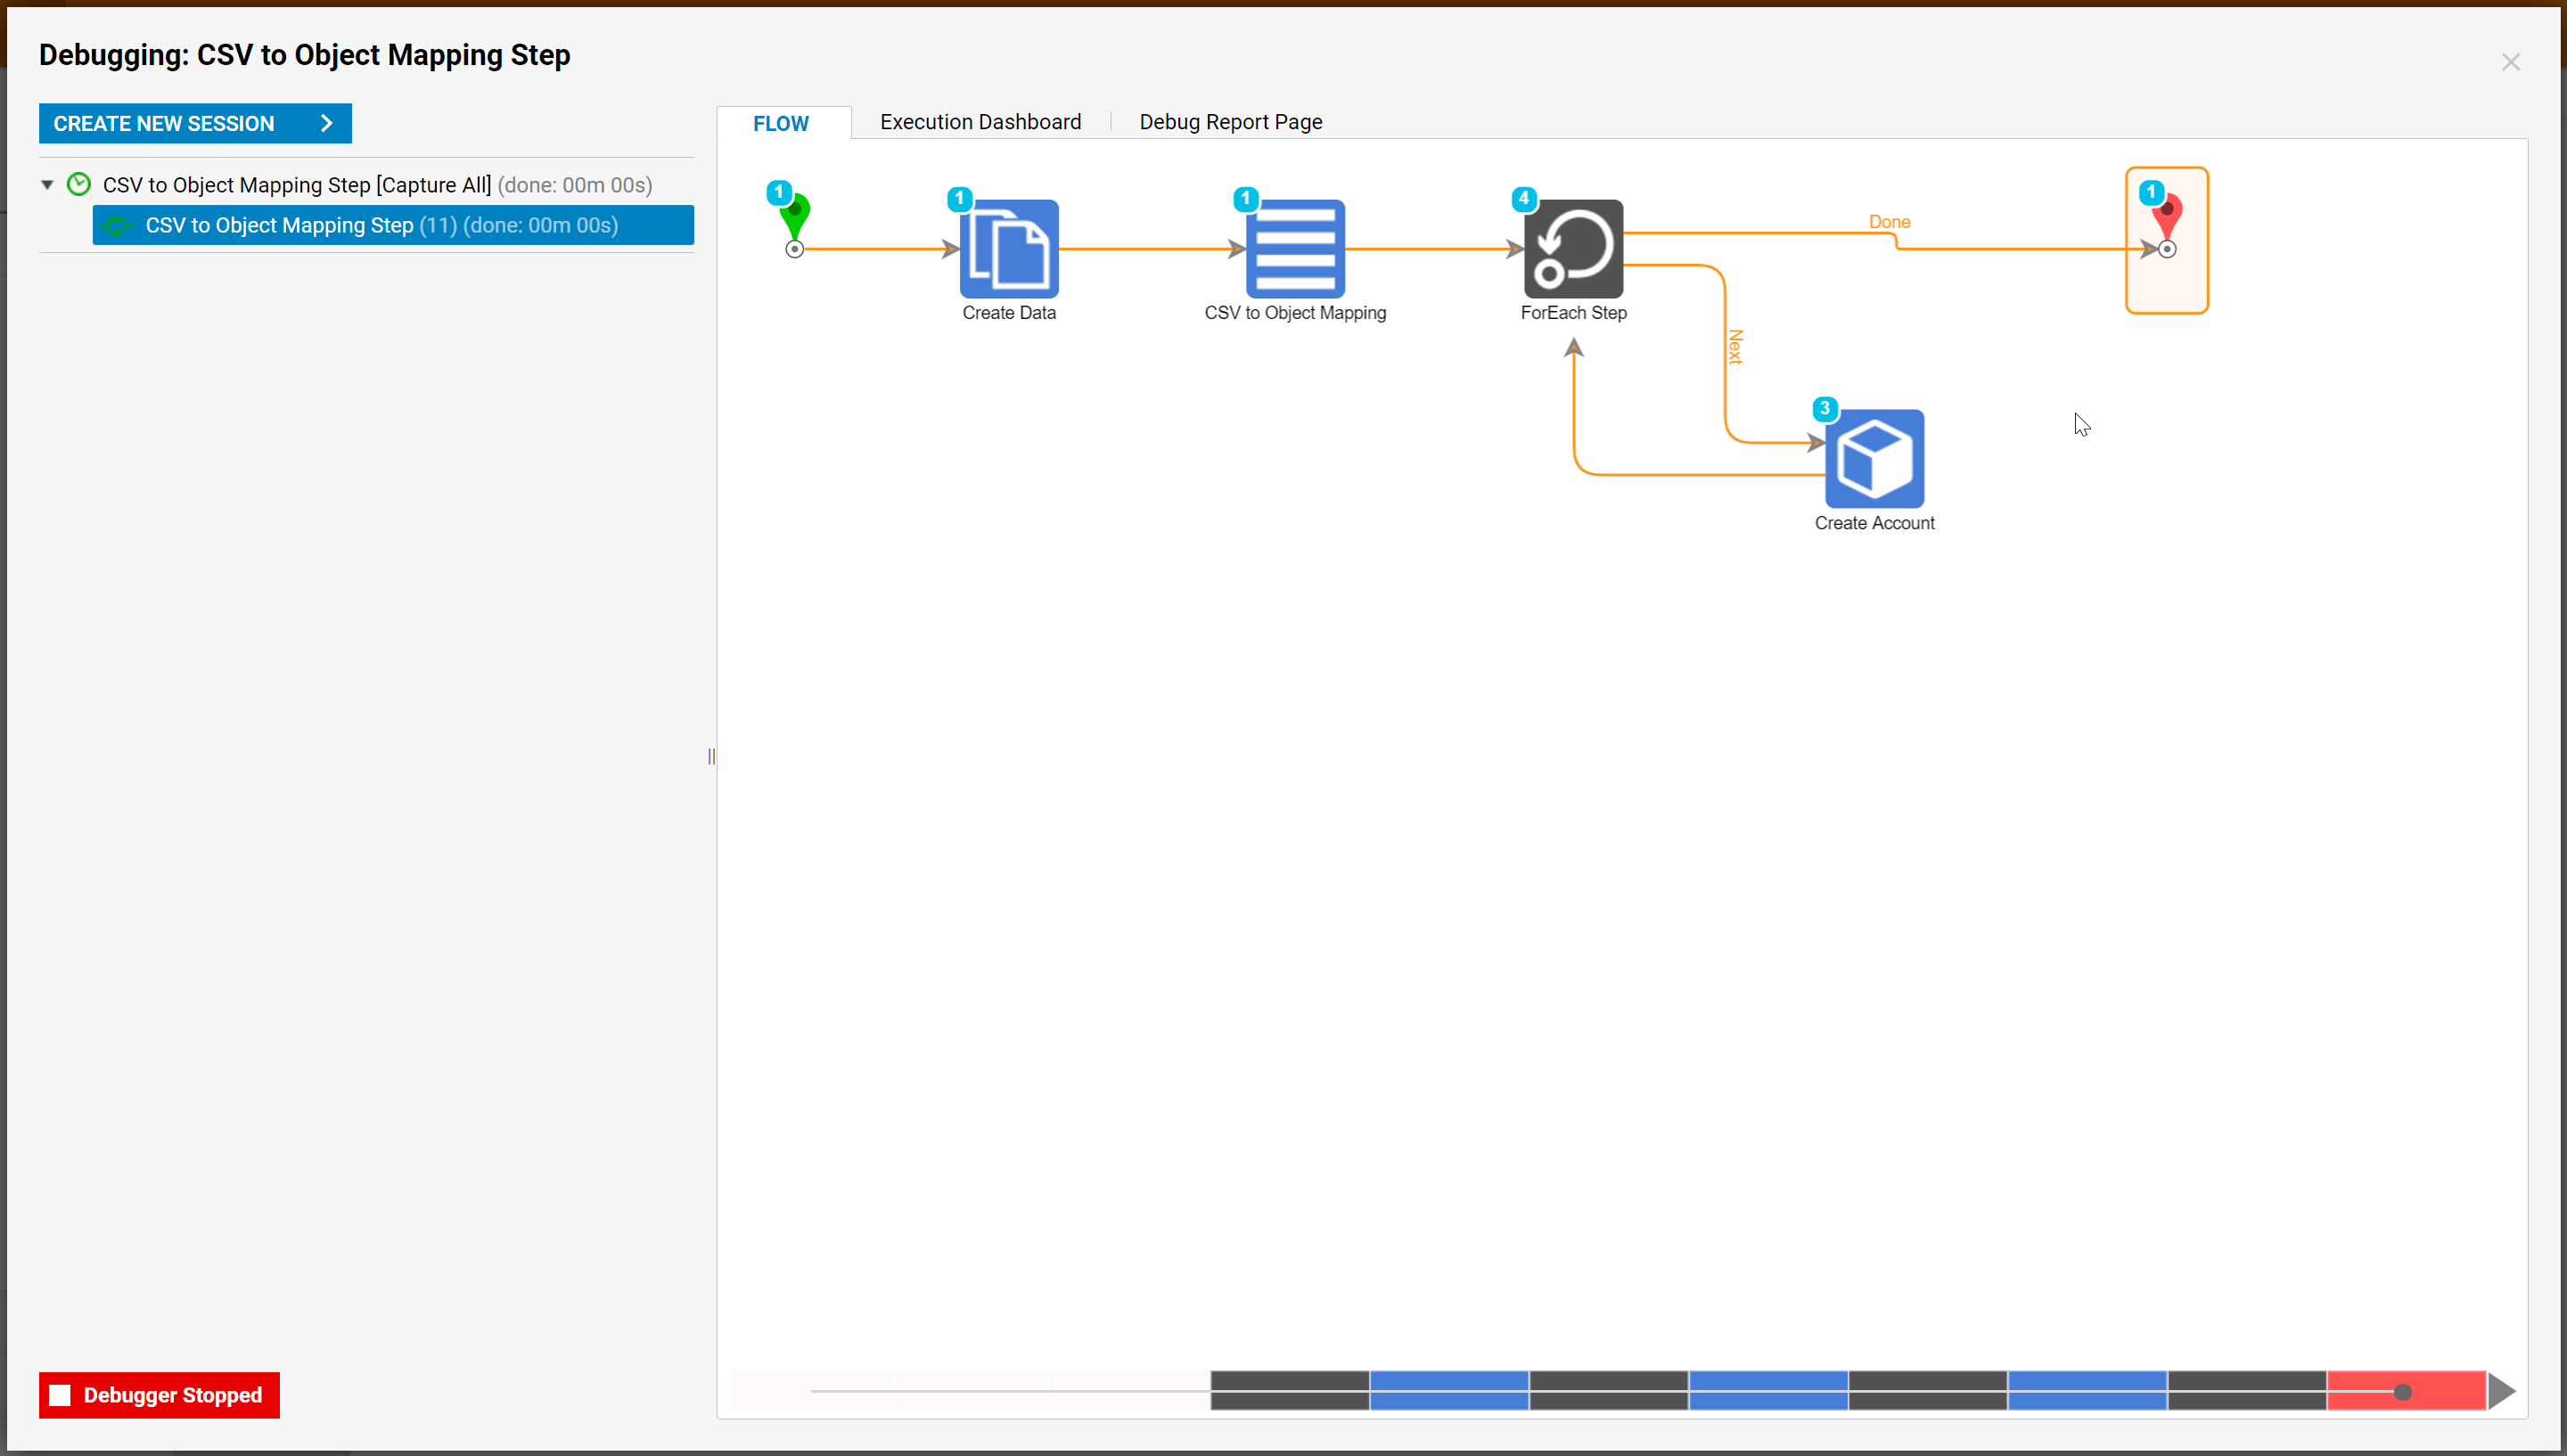
This completes the Flow. Select Debug in the Top Panel in the Flow Designer to test the Flow. The Flow opens in the Debugger and executes with no errors.
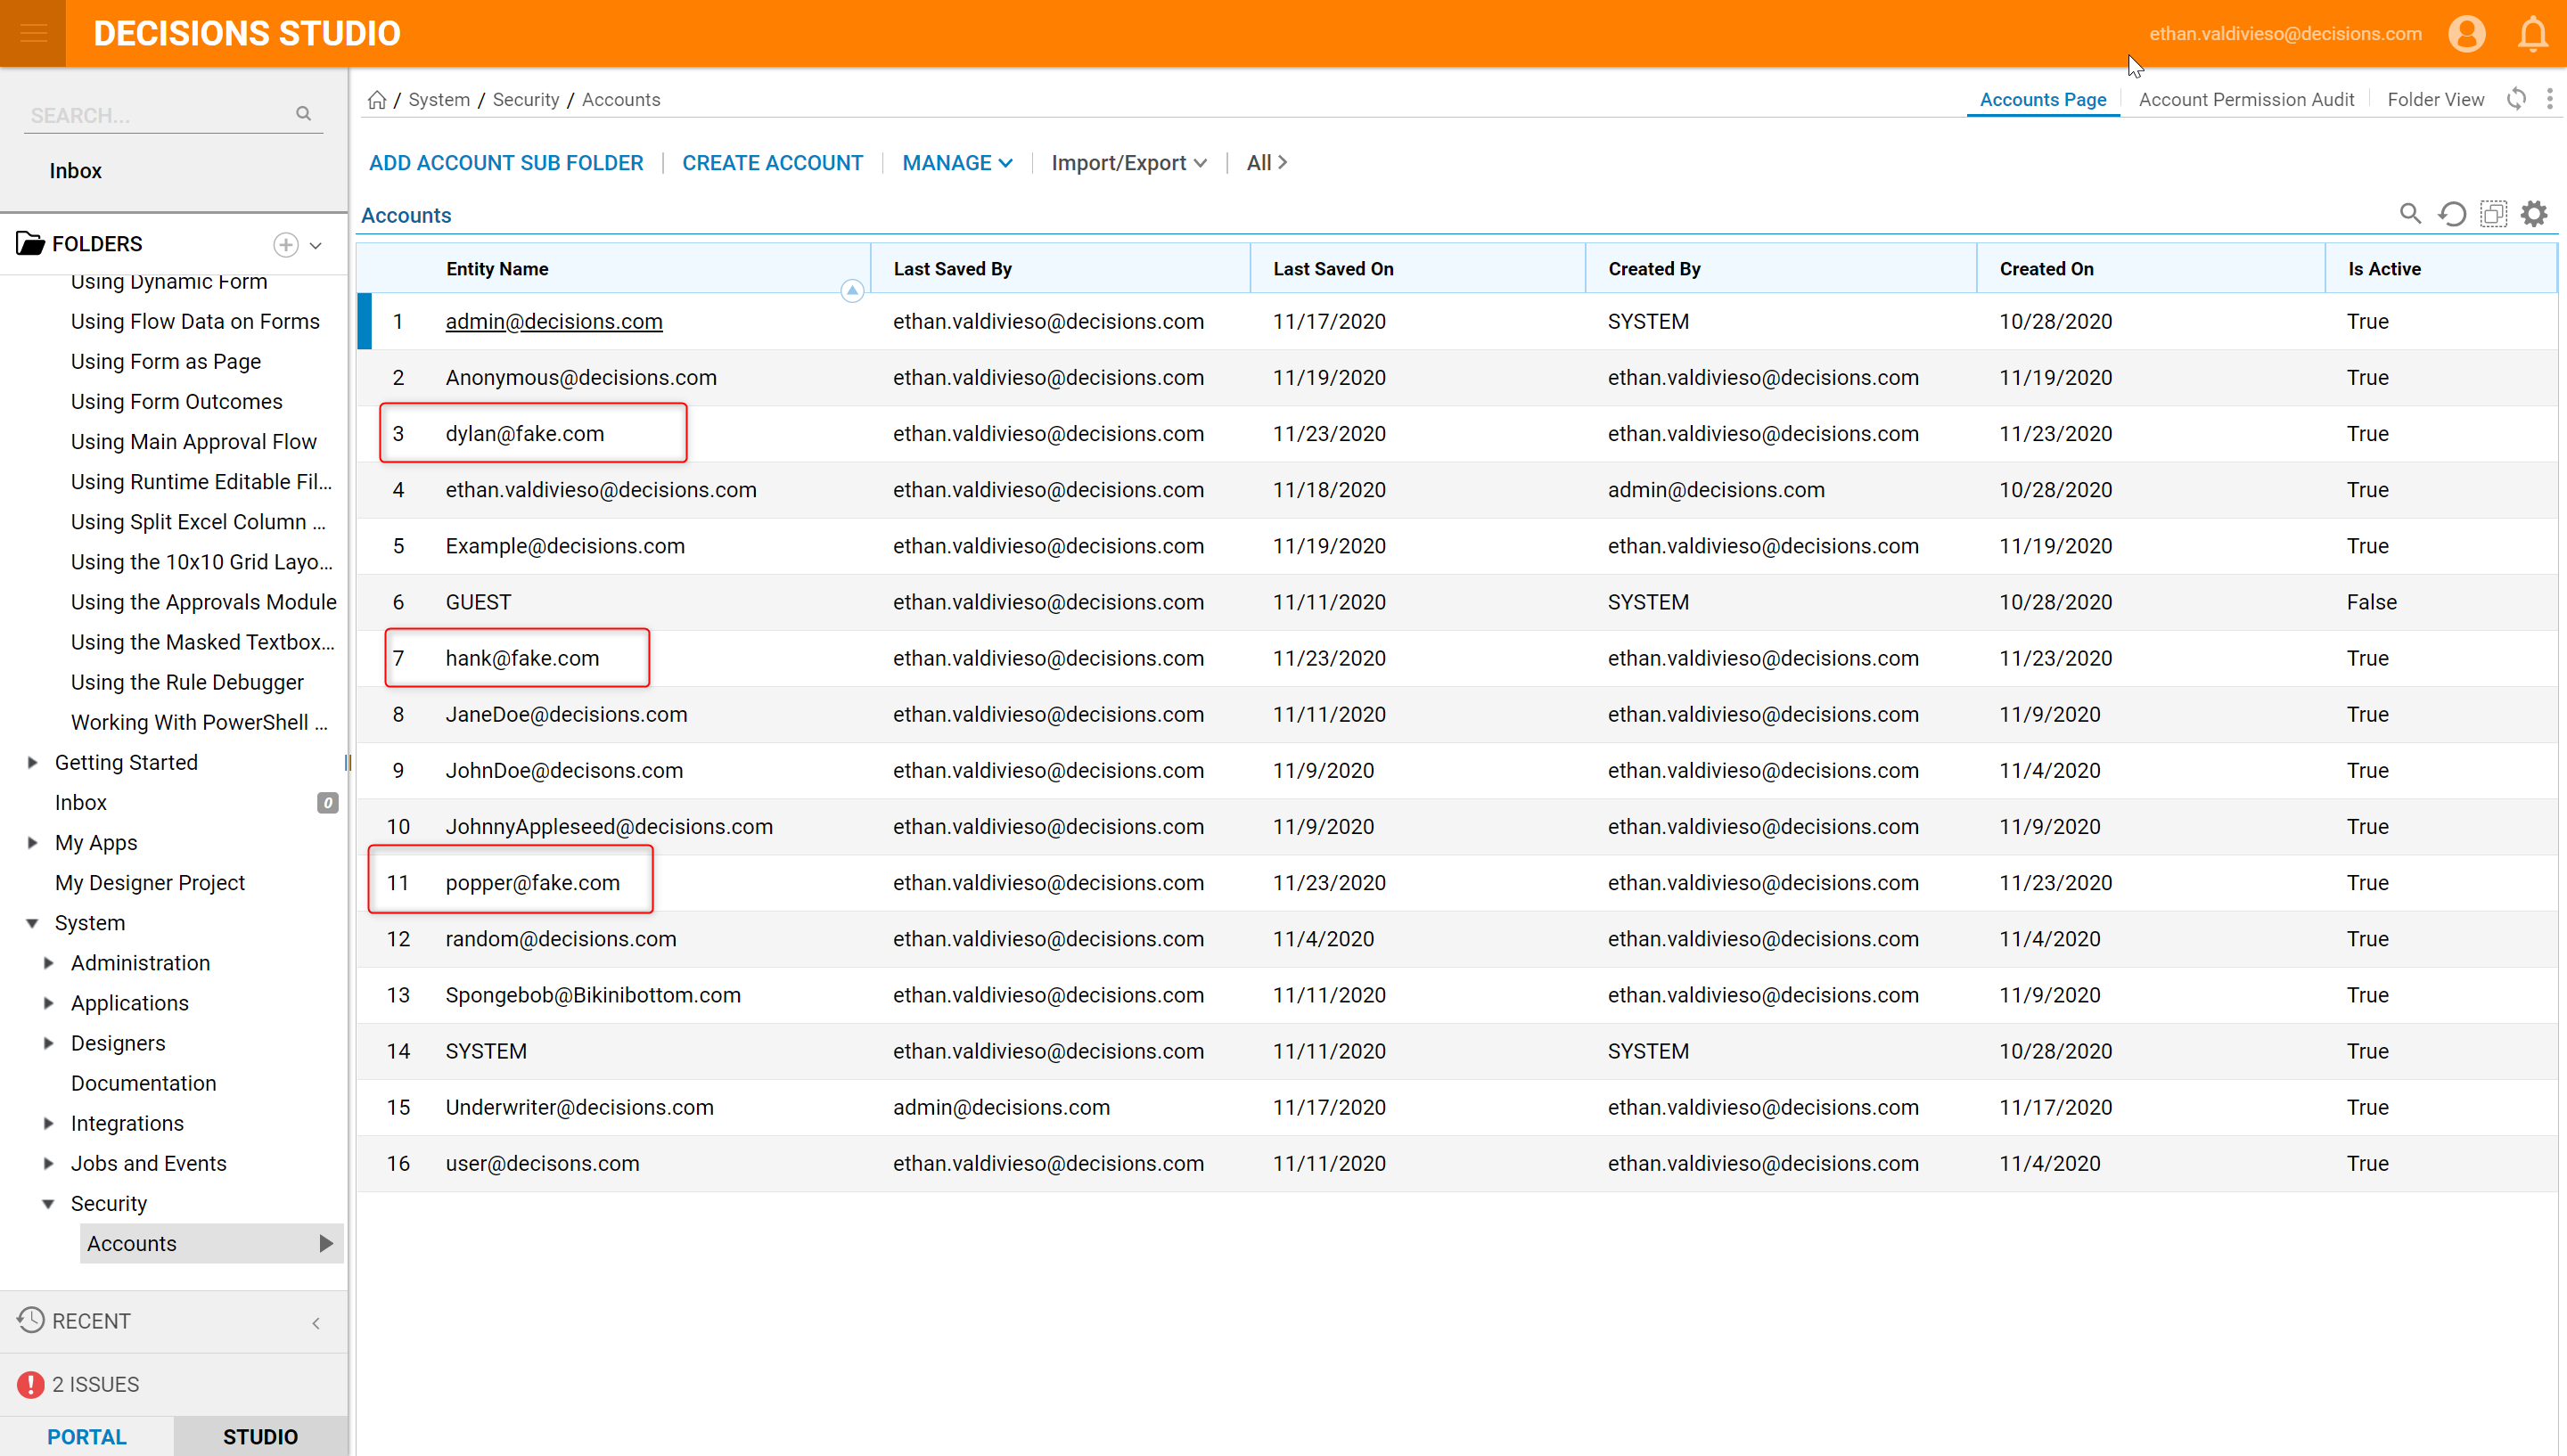
Close the Flow Designer and navigate to the Accounts Folder in the Portal, validate that three new Accounts were added to the Portal.