Overview
The following document discusses Multi-Tenant setup by means of changing the Server Type from Standard to Hosted, or by updating the Settings via the Installer.
Example A: Settings.xml
To setup Multi-Tenancy via Settings.xml:
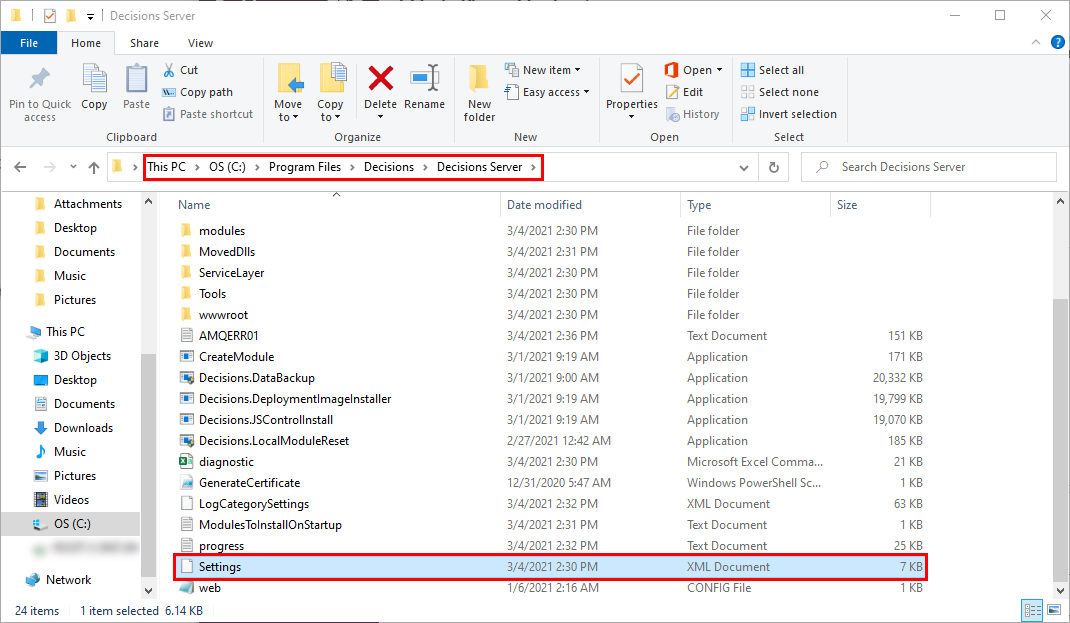
- From the File System, navigate to C:\Program Files\Decisions\Decisions Server.
- As an Administrator, open Settings.xml in a text editor. Backup This FilePlease make a copy of the Settings.XML file and move it to a secure location before modifying the file itself.
Using the search feature (CTRL+F on Windows), search for "servertype."
Between the two <ServerType> tags, change the value from Standard to Hosted.
Exercise extra caution when changing the Decisions Settings to avoid causing errors in the Decisions environment.
Save the file.
Proceed to the Restart Decisions section.
Example B: Decisions Installer
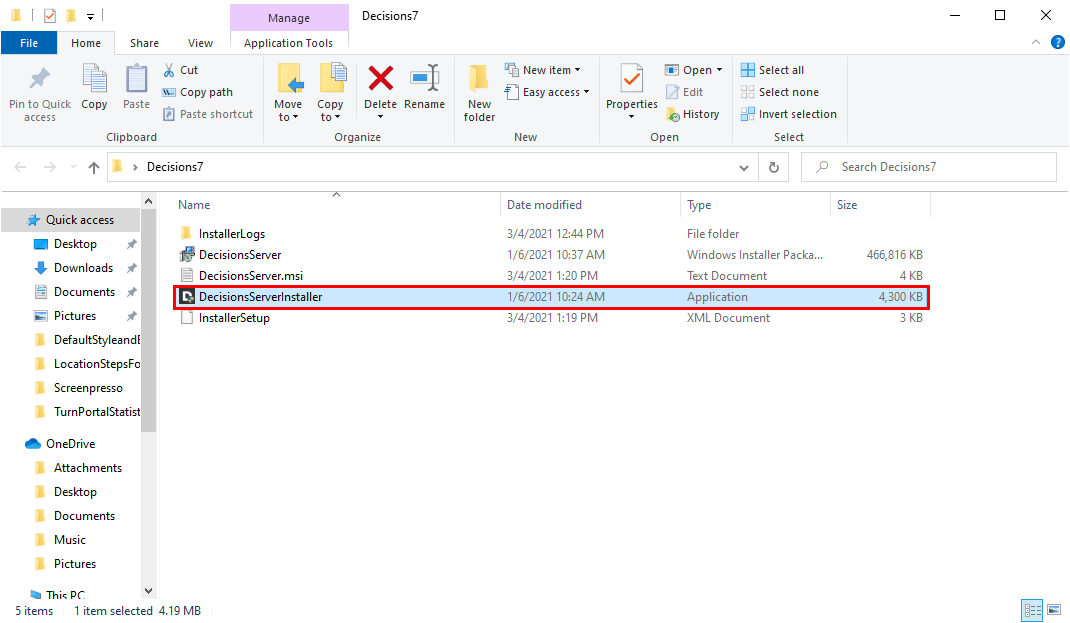
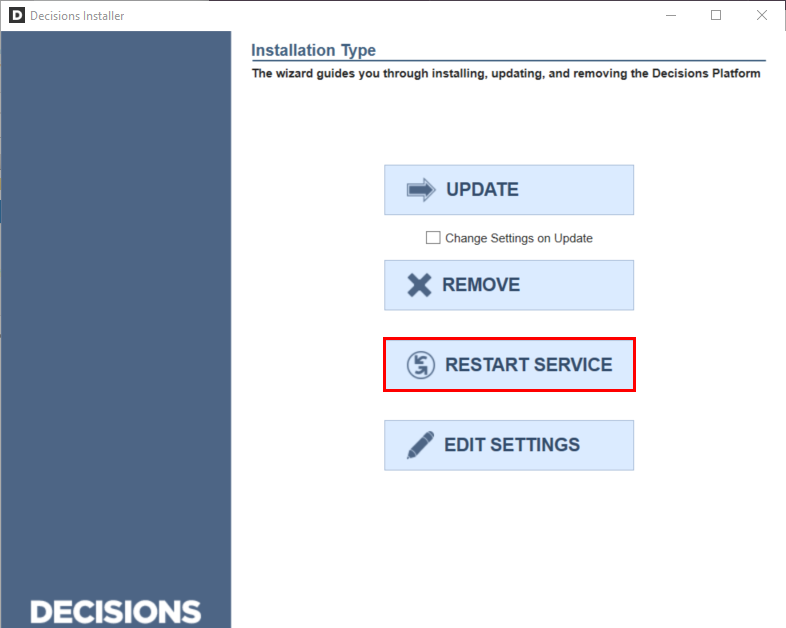
- From the File Sytstem, open DecisionsServerInstaller.exe.
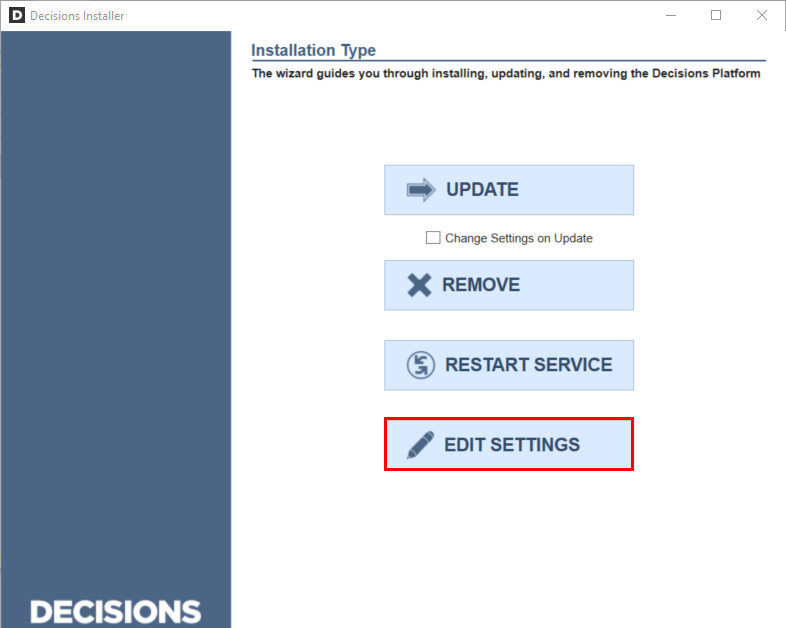
- Click EDIT SETTINGS.
- From the Settings window, scroll to ServerType and change the value from Standard to Hosted.
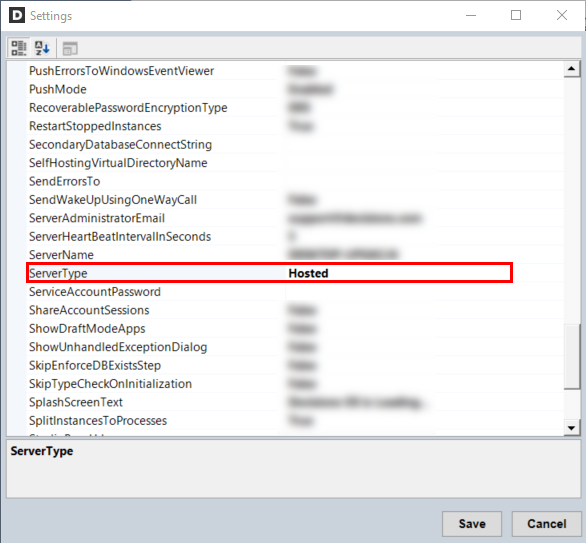
- Click Save to apply changes.
- Proceed to the Restart Decisions instructions.
Restart Decisions
Once changes have been made to the Server Type, Decisions will require a Restart to fully apply the changes.
Save Work Before Restart
Restarting Decisions from the Installer will cause the Decisions environment to restart. Please save all work before proceeding.
- Open DecisionsServerInstaller.exe.
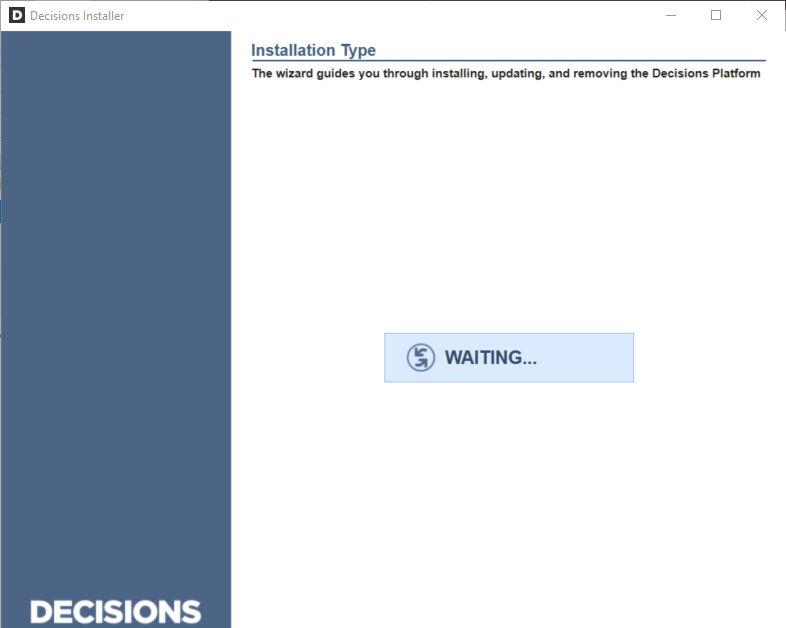
- Select RESTART SERVICE.
- Wait for the Restart to finish, then exit the installer.
- Login to and navigate back to the Decisions Studio.
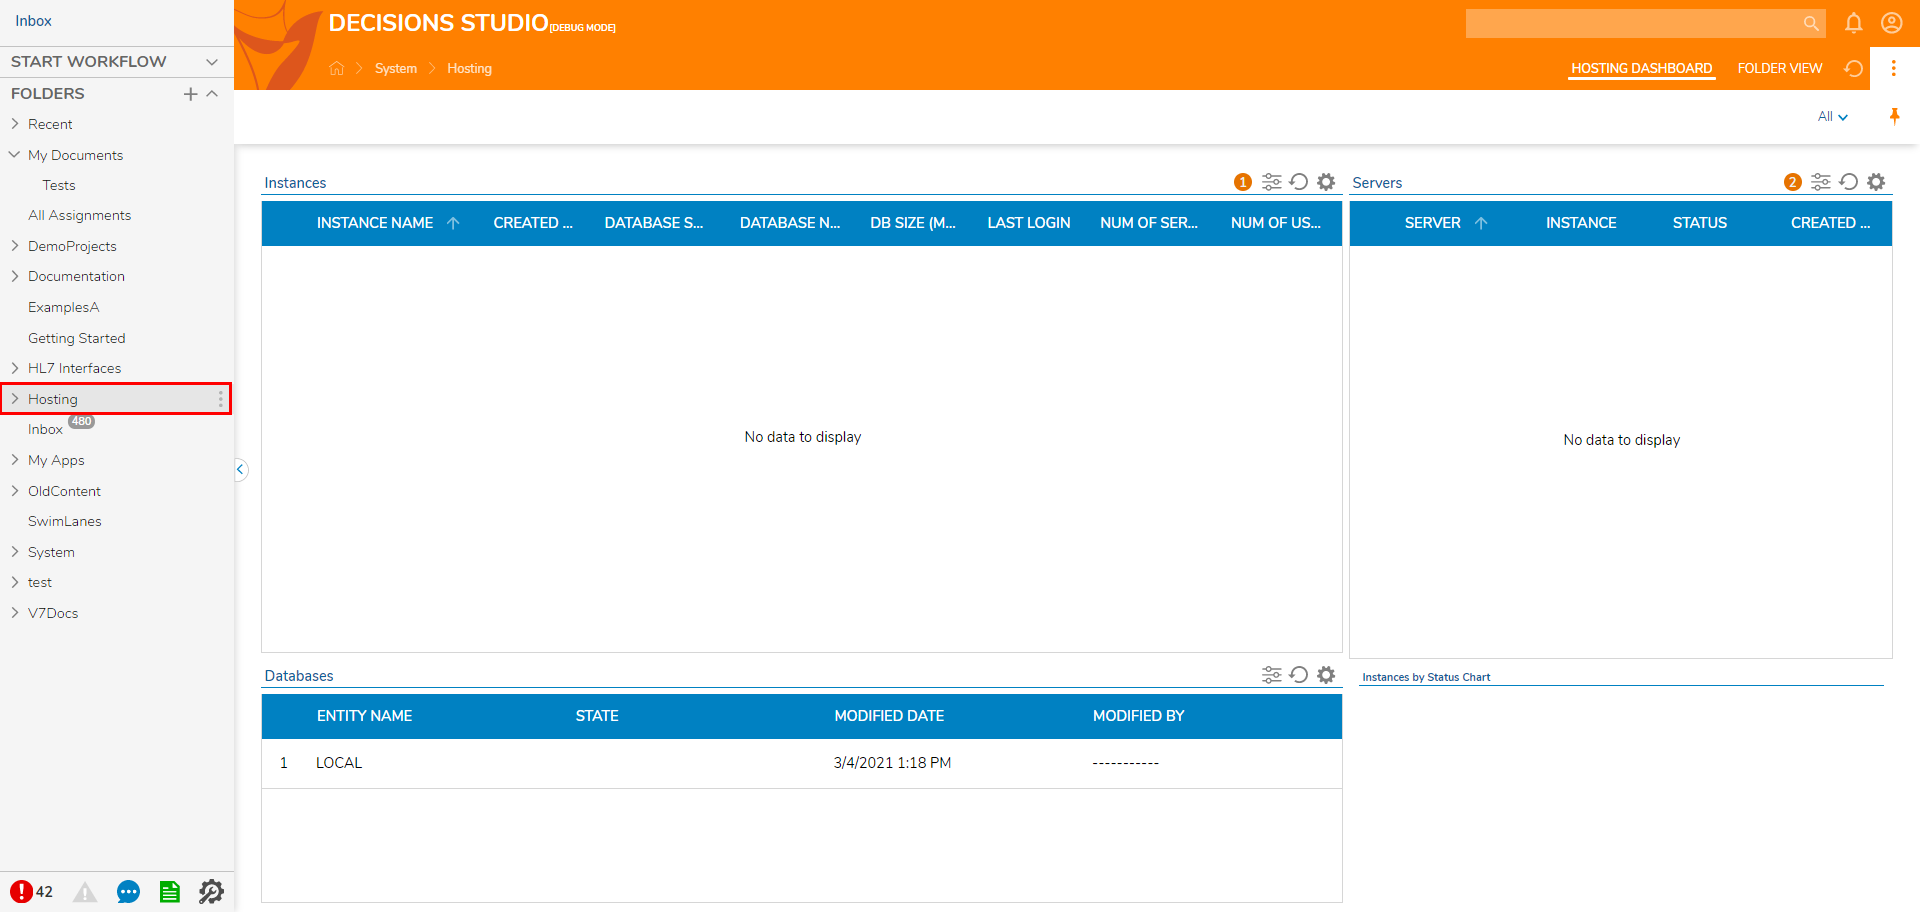
- Verify that the Server is set to Multi-Tenant by checking for the Hosting Folder in the Folder Tree on the left.