Overview
Rule logic can be tested using the Debugger built into the Rule Designer. Test information can be entered into the debugger for a one-time evaluation against the Rule or it can be saved as a Unit Test. It is common practice to create a Unit Test that will render both a true and false scenario for accuracy purposes.
This article will cover how to create Sample Data and Unit Tests.
This example uses a Rule that checks to see if the country is the US, and either the state is in a list or the age is between 20 and 40.
The Rule will receive values for each piece of input data: Country [String], State [String], and Age [Int32], which are evaluated against the conditions. The Debugger provides a place to enter sample data that corresponds with the expected input data types.
Starting in v9.21, the Debugger includes an Auto Fill Inputs action (star icon) that automatically generates sample values for inputs based on their data types. This helps speed up testing when setting up input data before creating Sample Data or Unit Tests.
Creating Sample Data
- Select the Debug button from the top Action Bar in the Rule Designer to test the logic.
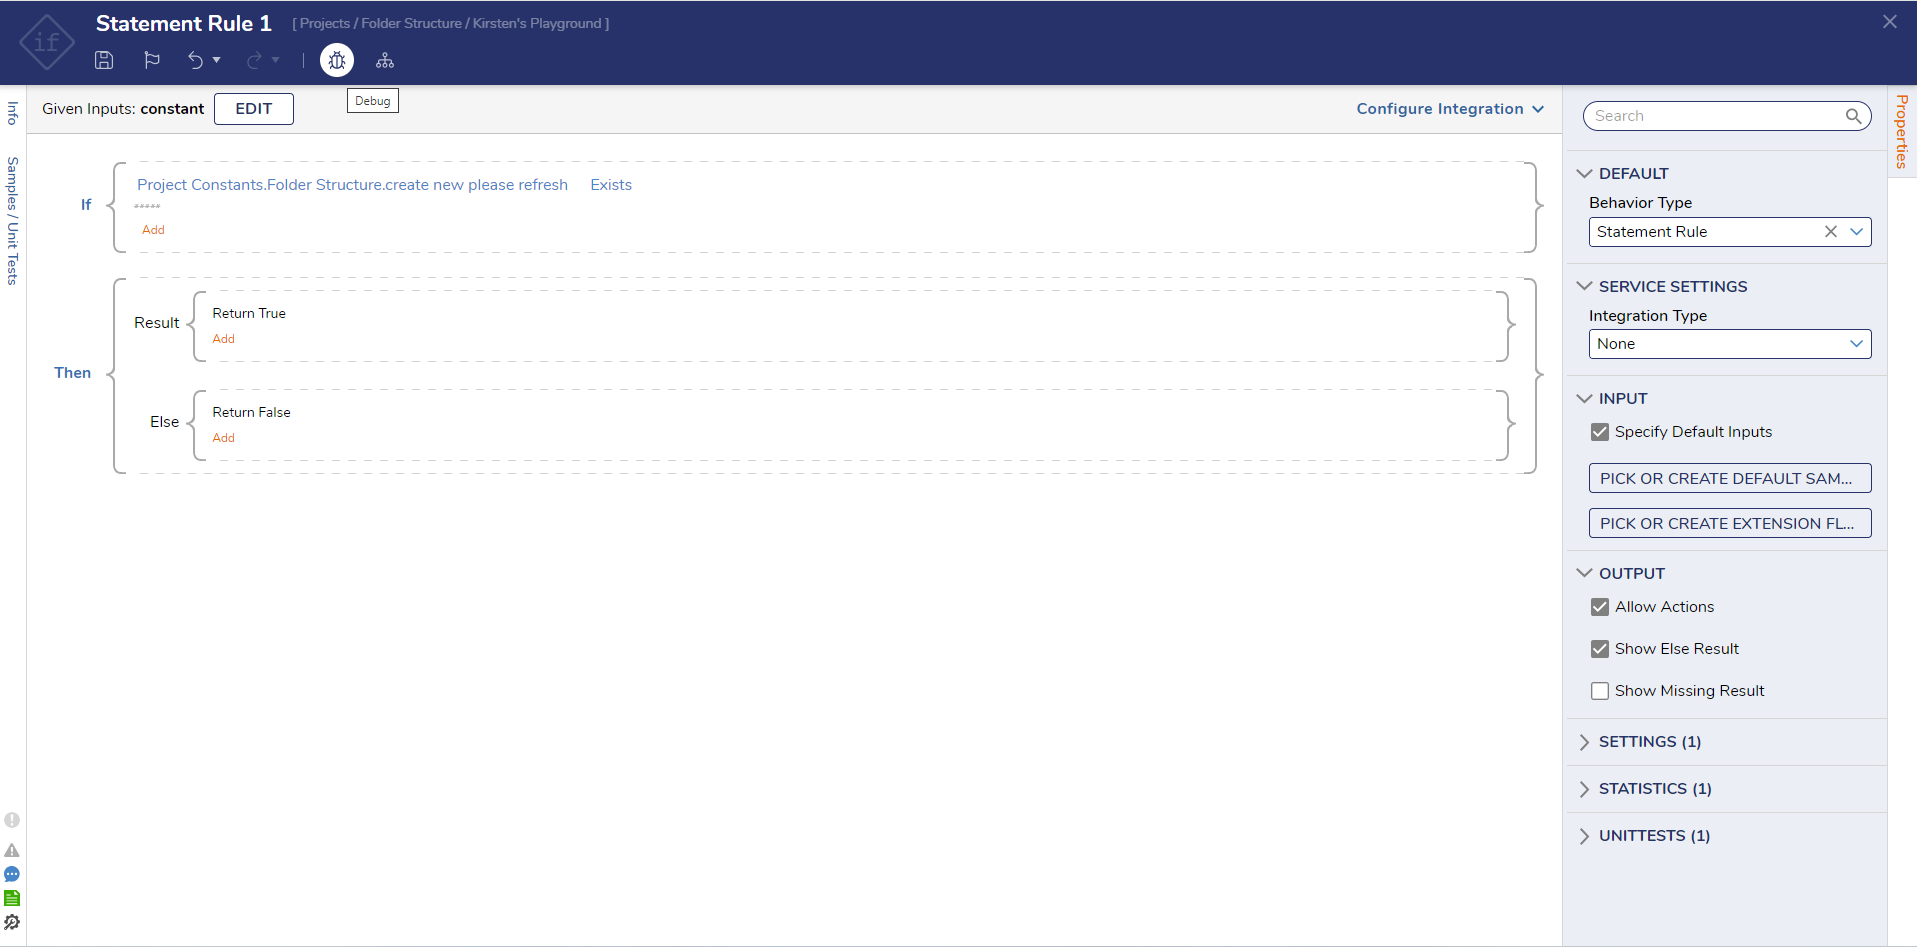
- The first available function in the Debugger is to enter sample data in the INPUT DATA section. Here, we can add the needed inputs for the Rule.
- To generate sample values automatically, select the star icon (Auto Fill Inputs). The Debugger populates inputs based on their data types. For complex data types, only required fields are populated. Unsupported data types (for example, File Data) are skipped and left empty. Auto-filled values can be edited after generation.
- Once the inputs have been added, select START DEBUGGING.
- The information that is entered should be expected to either evaluate true or false. The result will be shown in the Debugger.
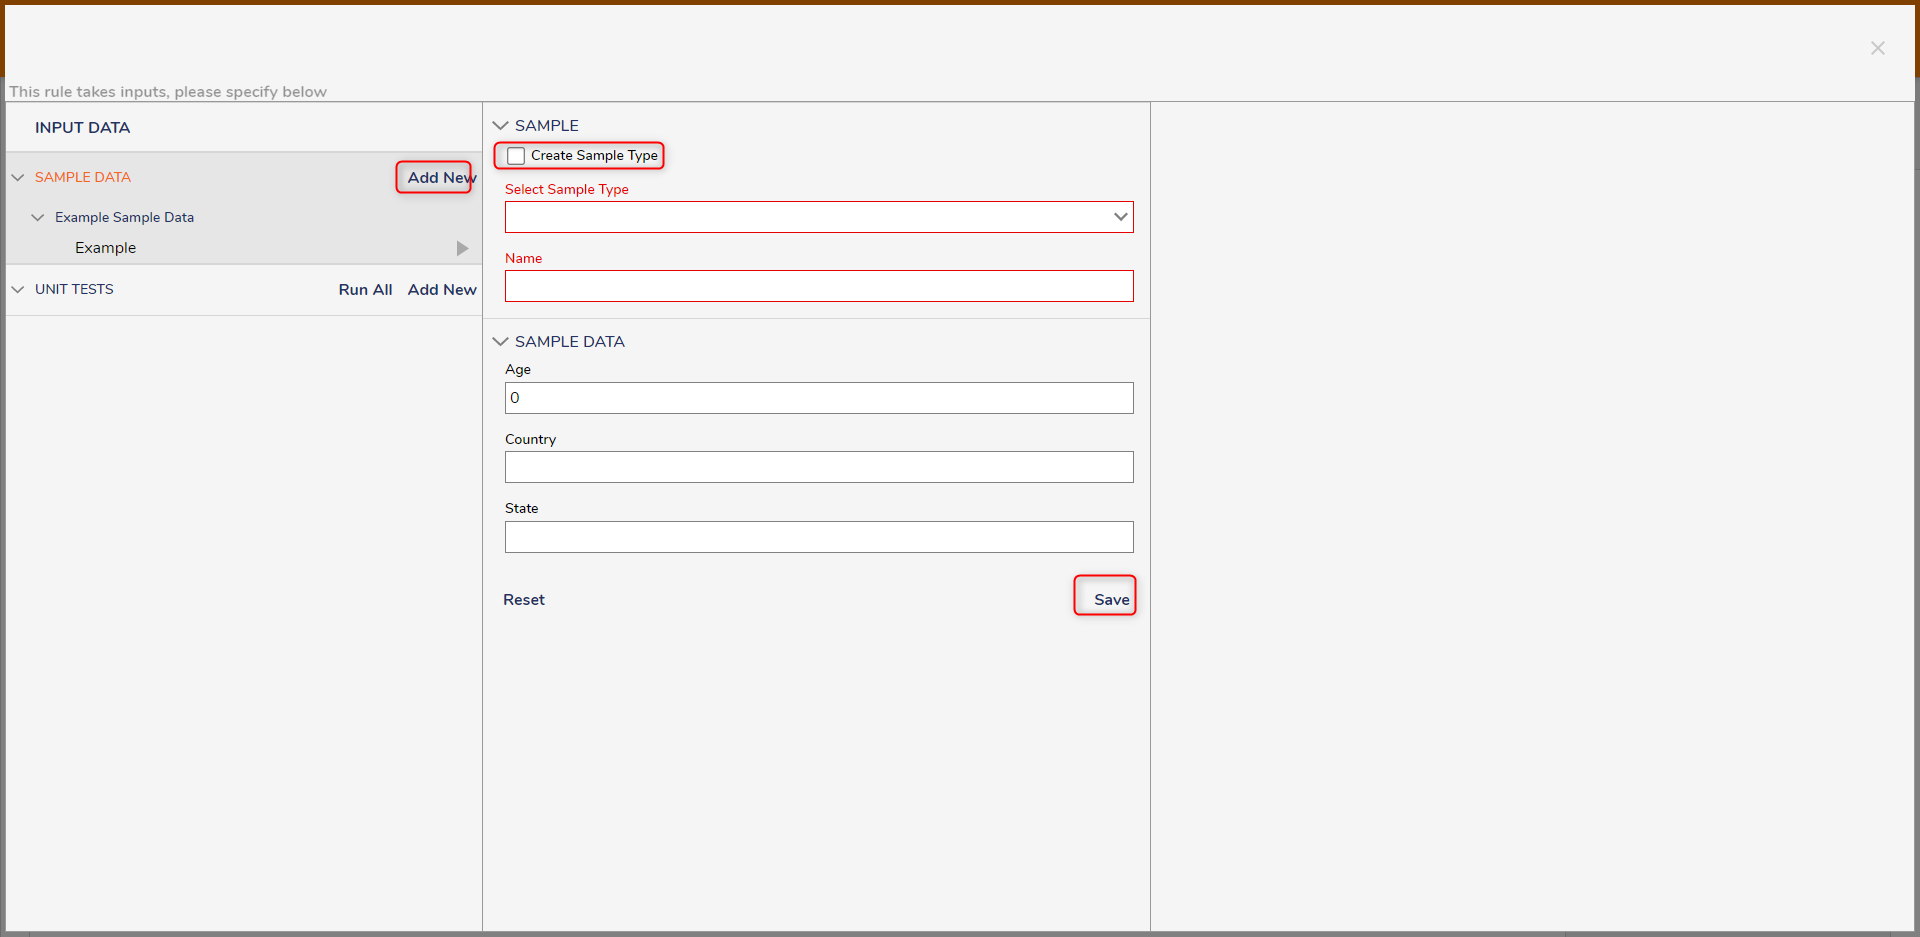
- Once finished, select the Save As Data Sample button to create new SAMPLE DATA.
- Select the Create Sample Type checkbox to create a new type or deselect and choose an existing type. Once finished, Save. New Sample data will appear under the SAMPLE DATA header on the left.
Creating a Unit Test
- The Save As Unit Test button or the Add New button under the INPUT DATA section can be used to create new Unit Tests. Typically, Unit Tests are configured to include sample data that exercises both the true and false evaluations of the Rule.
- To create a Unit Test, provide a Test Name and some sample data to the [UNIT TEST DATA] section. If needed, use the star icon (Auto Fill Inputs) to generate sample values in the INPUT DATA section before saving the Unit Test.
- The EDIT UNIT TEST RULE button can be used to configure additional conditions on specifically the true or false evaluation of the Rule.
- When either SAMPLE DATA tests or UNIT TESTS are available, select the play icon next to a Unit Test to run that test with its saved data.
Running All Unit Tests
When Unit Tests are saved for a Rule, the Debugger provides an option to run all Unit Tests at once and display pass/fail results for each test.
- Select the Debug button from the top Action Bar in the Rule Designer.
- In the Debugger dashboard, locate the UNIT TESTS section, then select the Run All Unit Tests play icon.
- As each Unit Test runs, a status icon appears next to the test:
- Green check mark: the Unit Test evaluation returned true (passed).
- Red X: the Unit Test evaluation returned false (failed).
The following video demonstrates running all Unit Tests and reviewing results.