Overview
As a means of customizing the experience and maintaining brand standards and company ethos, Decisions offers users the ability to change the branding of their Decisions installation. This includes customizing the License screen, the Portal, the Designers, and the Installer itself.
Branding the Installer
- License.rtf: This file is used to populate and customize the License screen with the proper legal verbiage for the customer's needs.
- InstallerSetup.xml: Used to brand installer.exe itself and can be updated to the customer's specific needs. This file can be updated to set the logo and certain defaults such as default Admin User, Install Location, DB name, etc.
- admin@example.com
- admin
- C:Program FilesMyNewFolder
- http://localhost/MyCompany
- MyDatabaseName
- www.example.com
- My Product Successfully Installed
- My Company
- My Product Installer
- logo.png
Settings.xml: used to brand the Portal and can be updated to the customer's specific needs. If this file is provided in the same folder as InstallerSetup.xml, it will be used instead of the default Settings.xml.
The following is the list of tags that can be edited for branding purposes:
- Portal loading splash screen: [Updated Loading Message]
- Product title shows in System Information: [Name of Product and Version]
- [Logo].png: The Logo image used by the Installer; the path to this file is configured in the InstallerSetup.xml file.
- Modules (typically zipped folders): May include any of the Decisions Modules or Modules created specifically for the customer to include Flows, Reports, Pages, Service Catalog, and so forth.
Designer Studio Settings
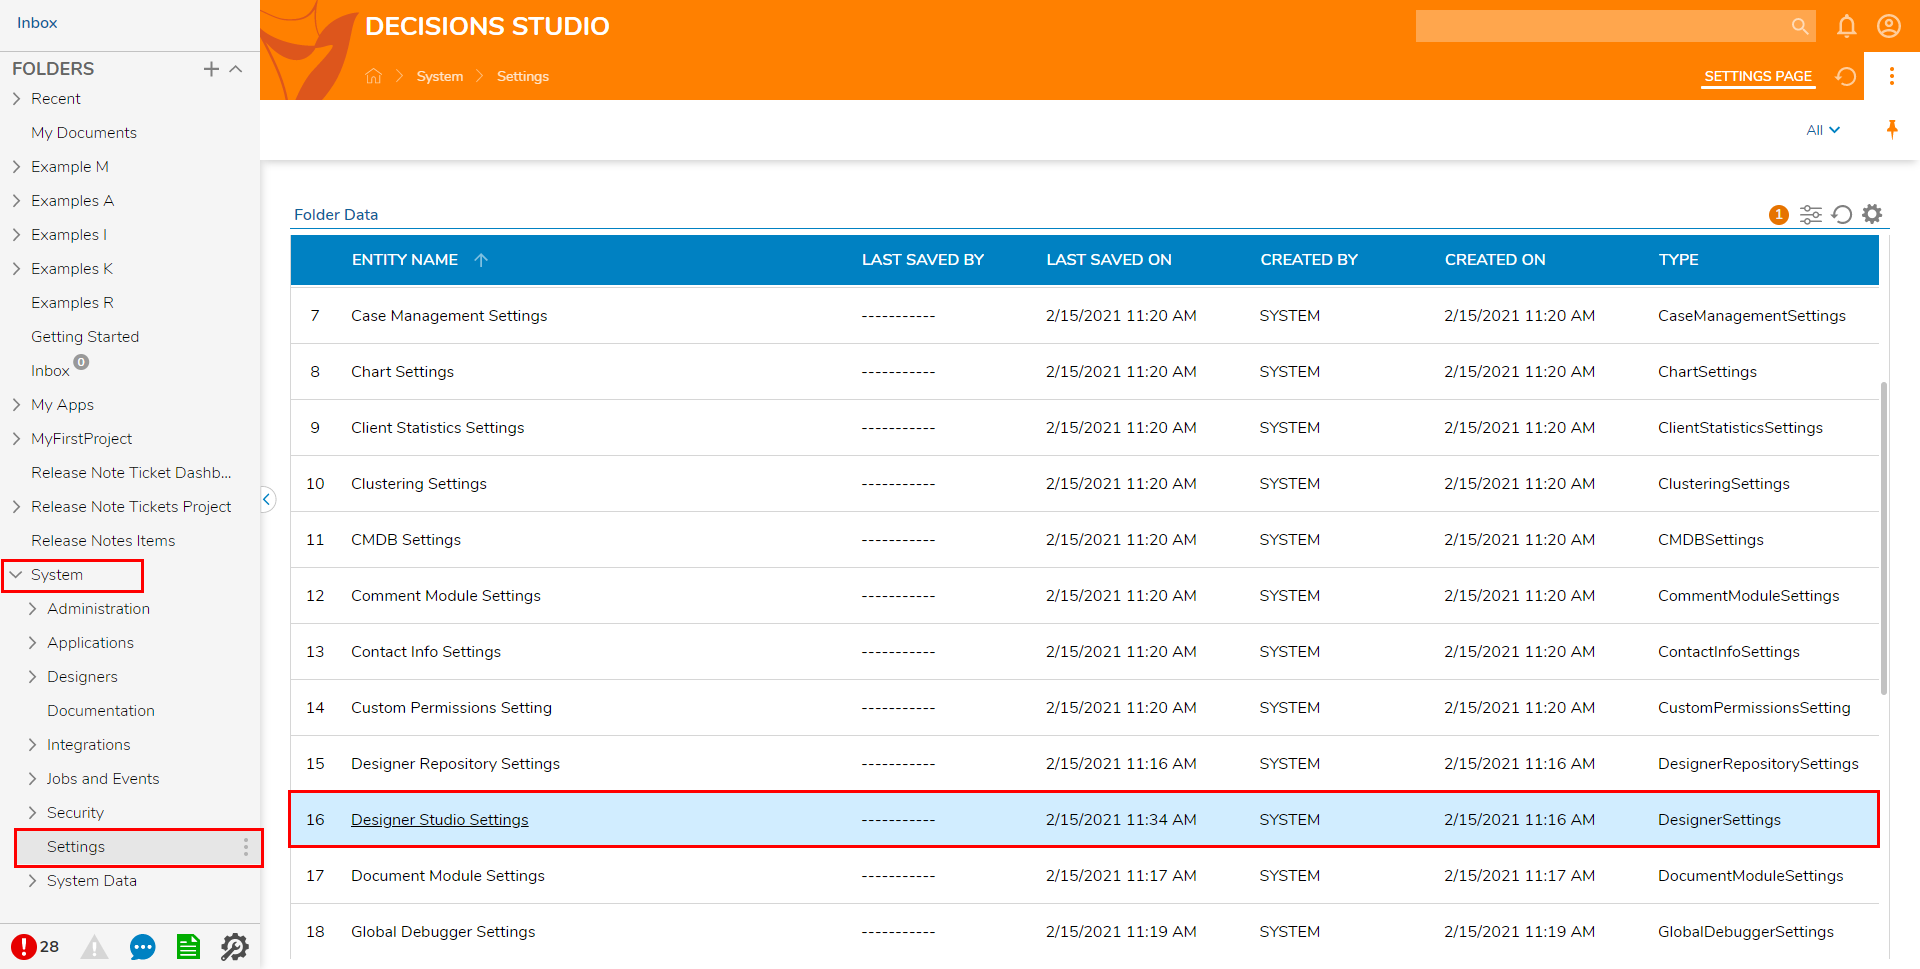
- From the Studio, navigate to System > Settings, then select Designer Studio Settings.
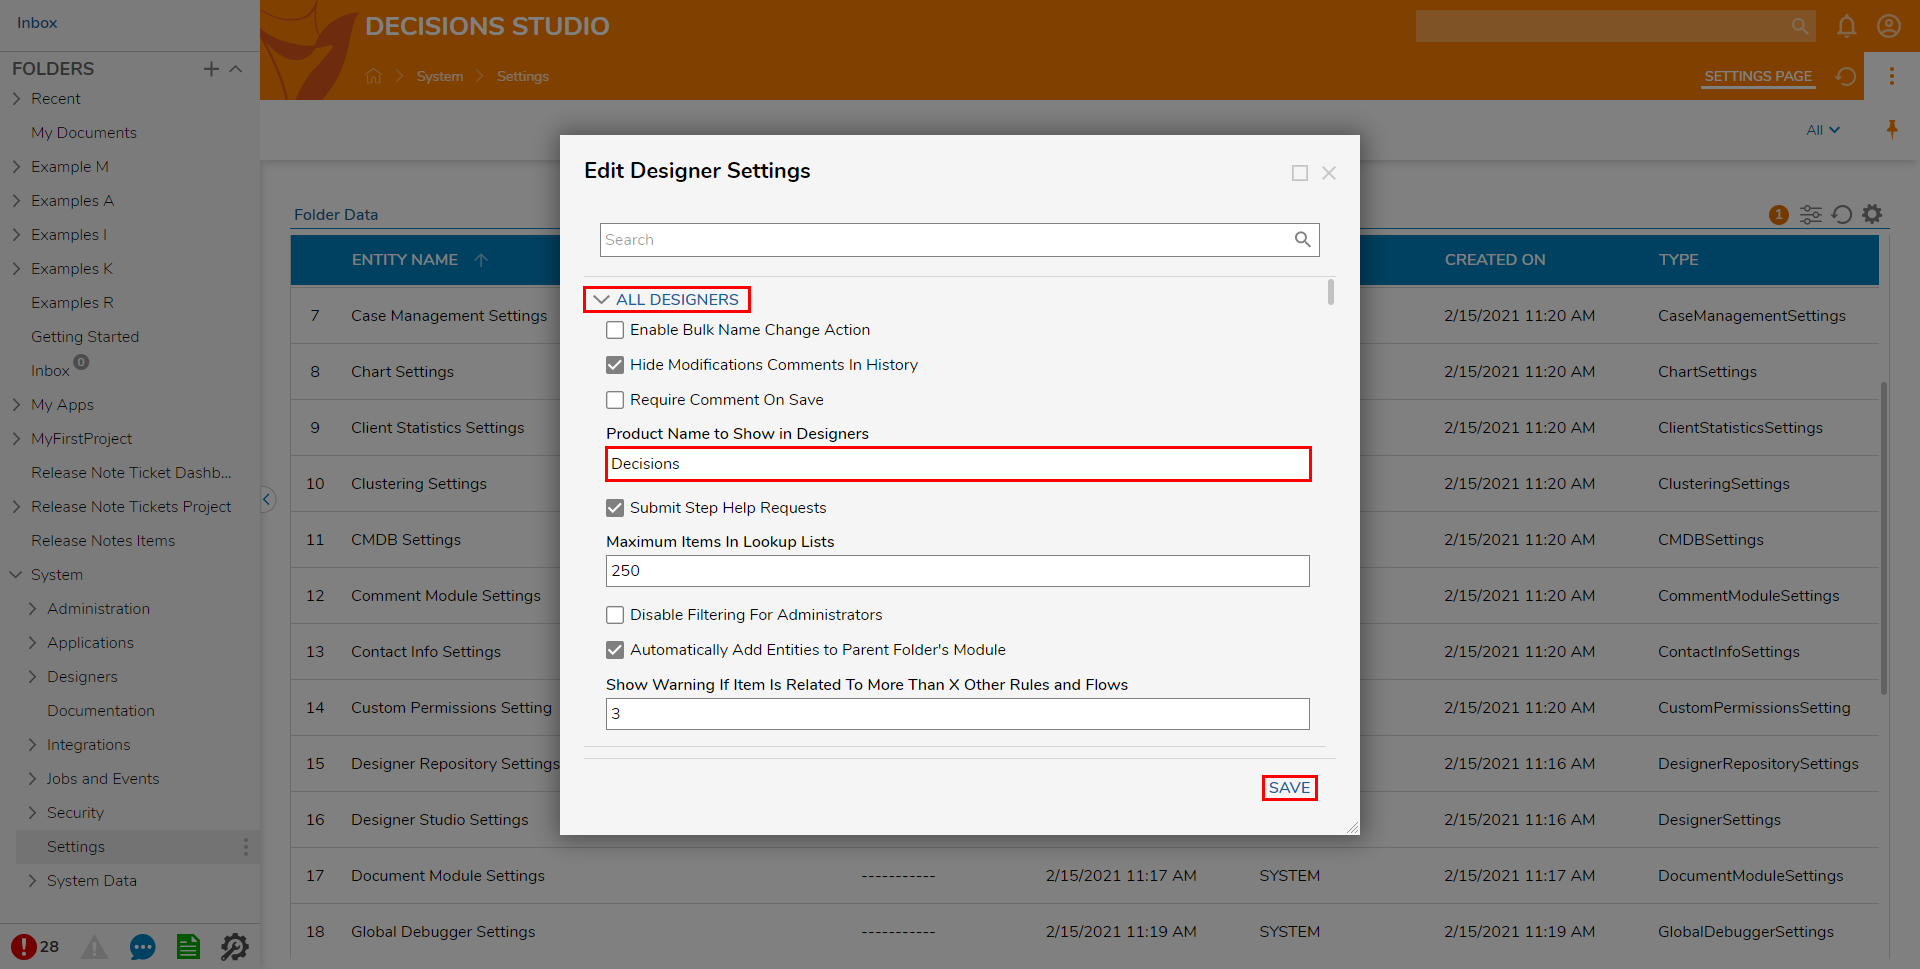
Under ALL DESIGNERS, adjust the Product Name to Show in Designers to match branding.
Click SAVE to apply and save changes.
Portal Settings
- From the Studio, navigate to System > Settings, then select Portal Settings.
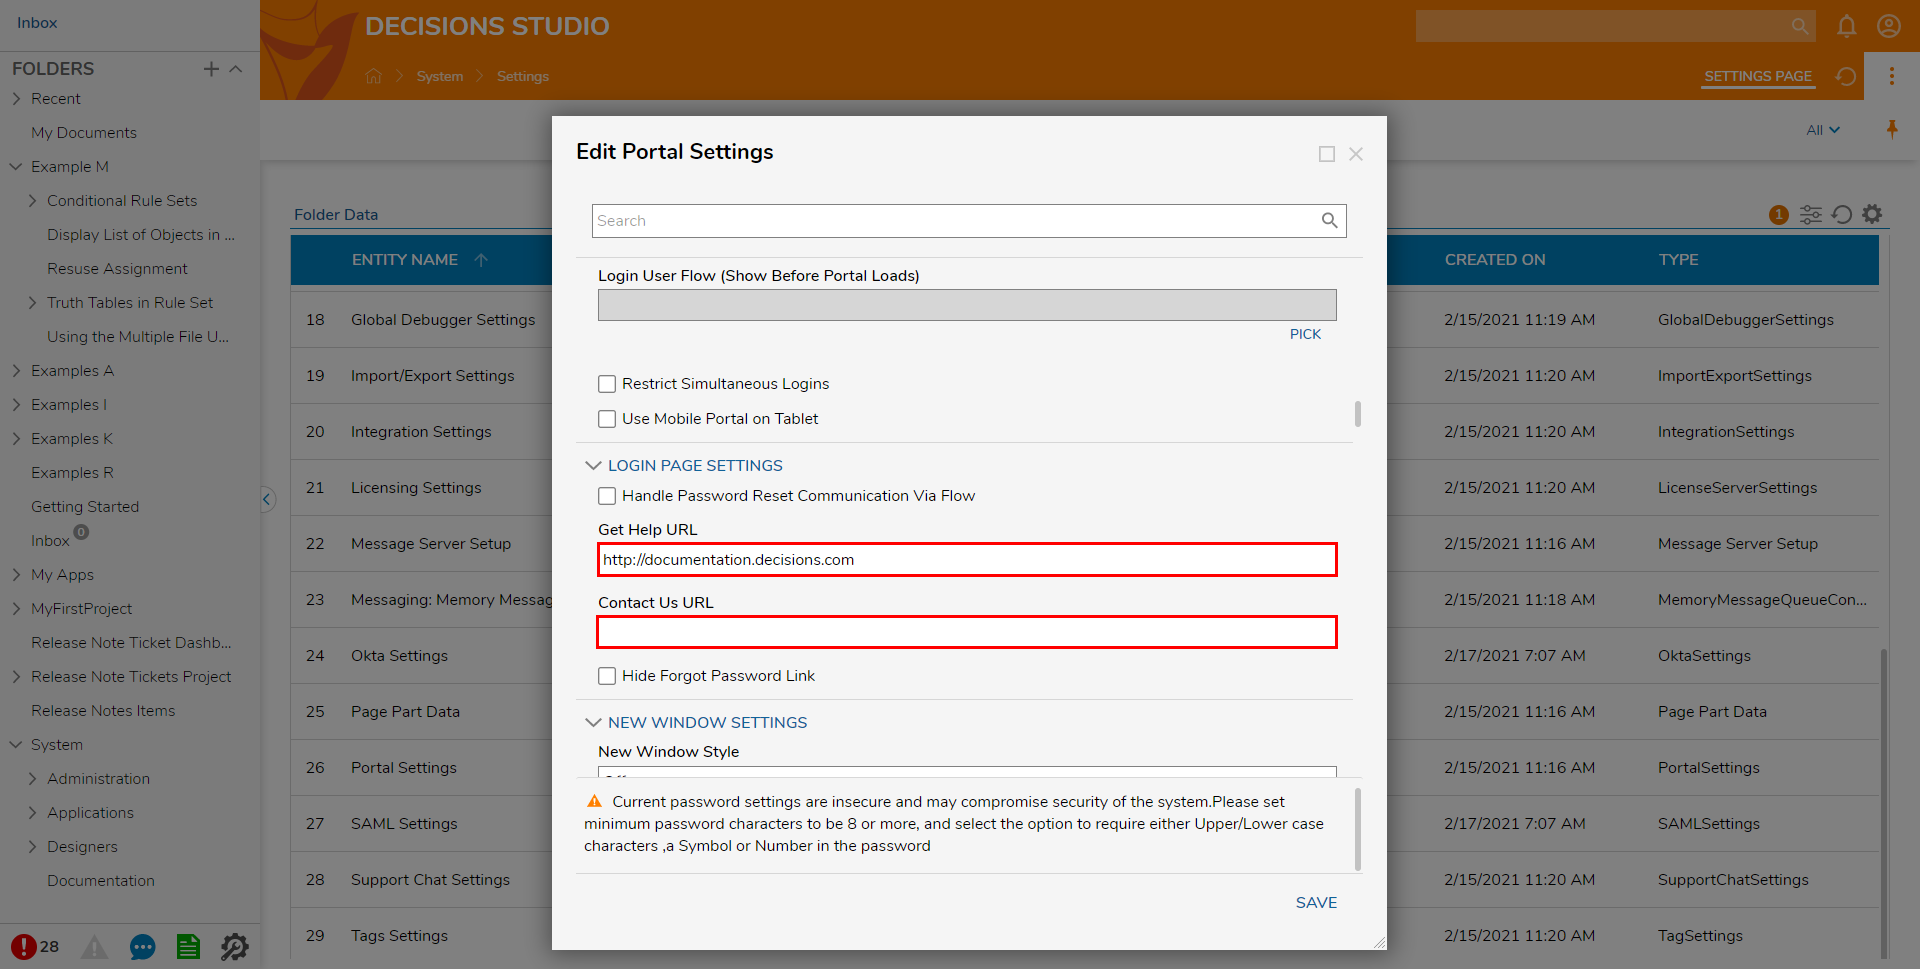
From the Edit Portal Settings window, scroll to LOGIN PAGE SETTINGS, then update the Get Help URL and Contact Us URL.
Navigate to PORTAL HEADER and update the Logo and Slogan Text.
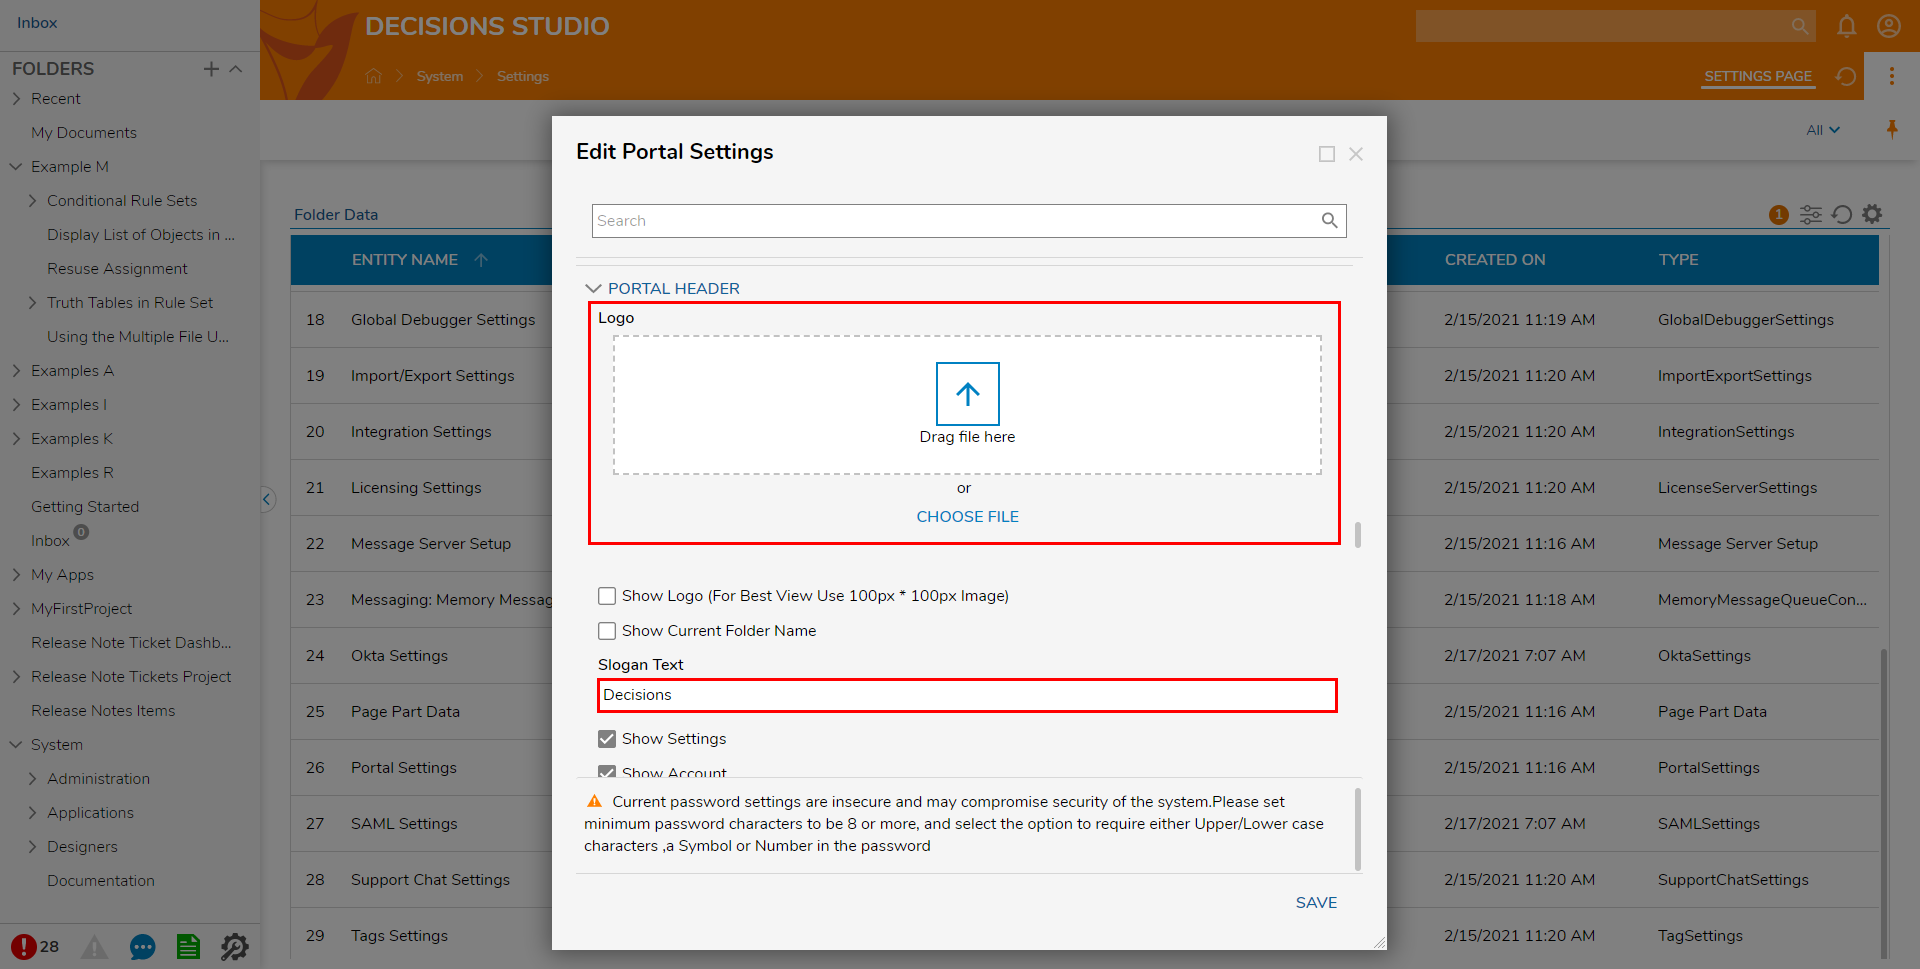
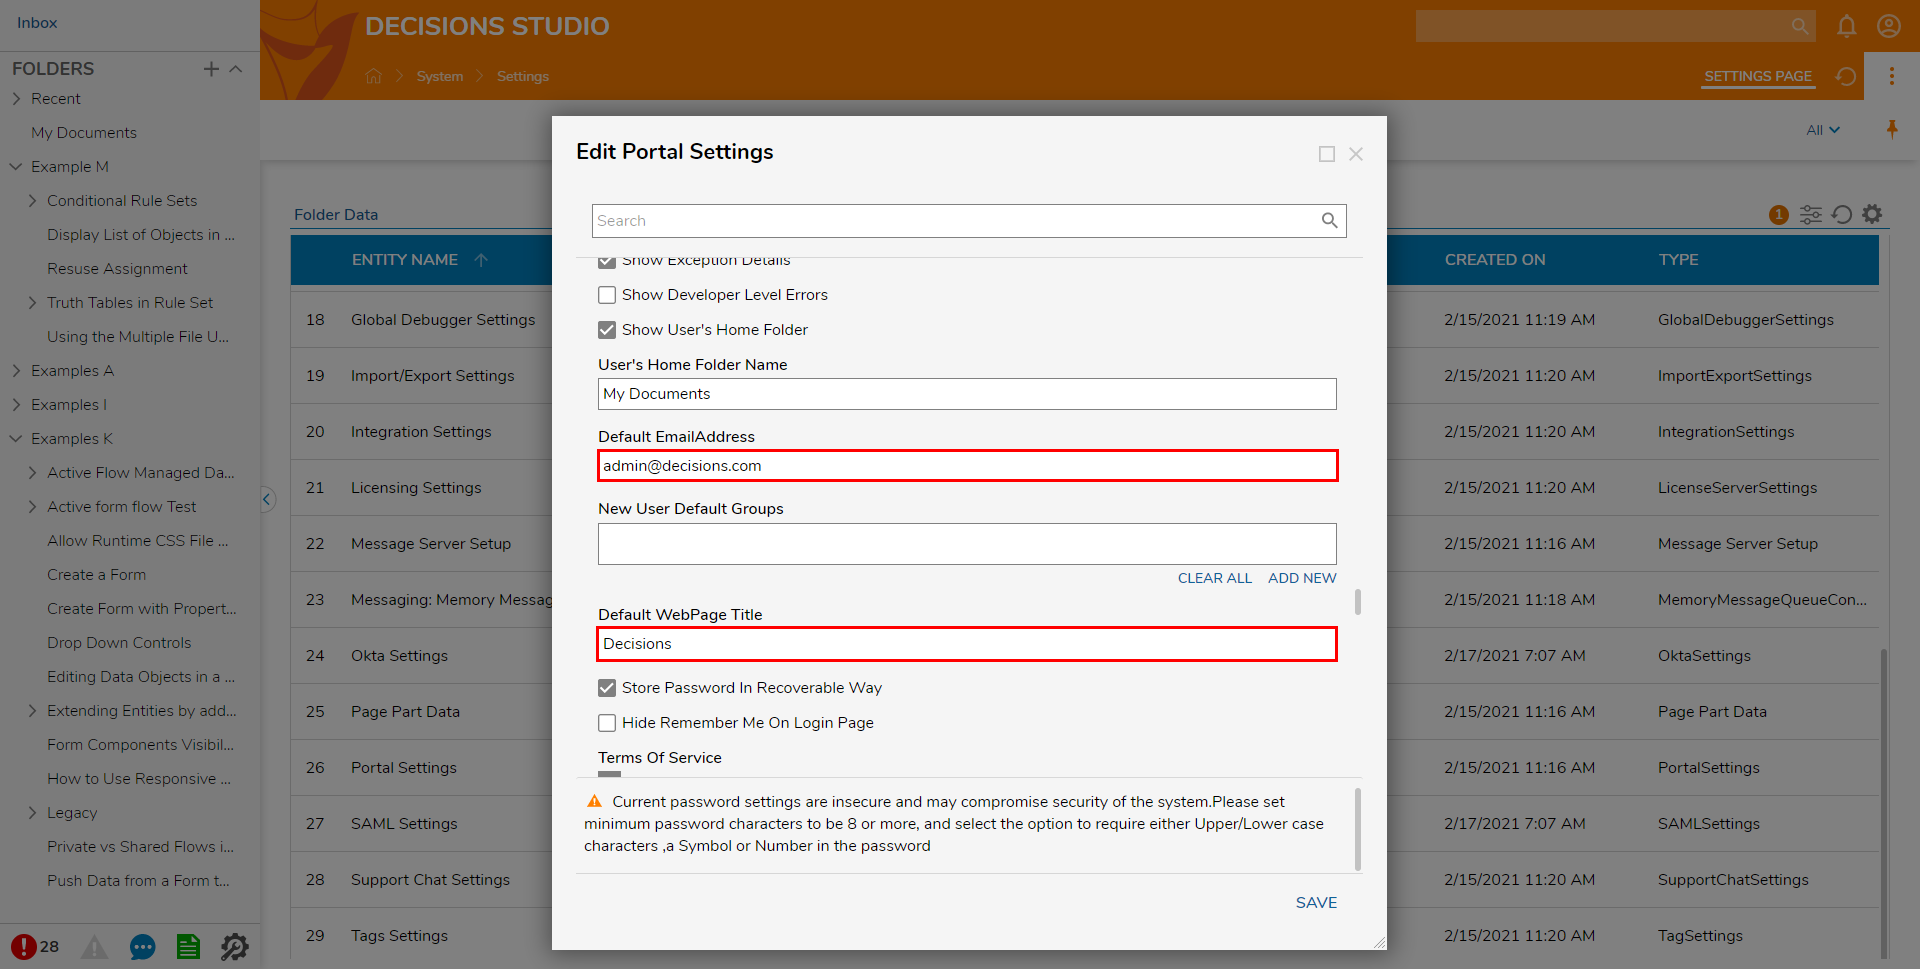
Scroll to the PORTAL SETTINGS section and update the Default EmailAddress and the Default WebPage Title.
Once the desired branding has been established, click SAVE to apply and save changes.