Step Details | |
| Introduced in Version | --- |
| Last Modified in Version | 8.10.0 |
| Location | Data > Excel & CSV |
The CSV to List mapping component takes an Excel or CSV file and outputs a defined Decisions type. The step includes a custom mapping editor where the input fields can be mapped into the type.
The step can only map in 99 data rows.
Properties
Inputs
| Property | Description | Data Type |
|---|---|---|
| File Input | The CSV or Excel file that is used as input. | FileData |
Input Data
| Property | Description | Data Type |
|---|---|---|
| Input File Type | Defines the type of file used as an input to the step. Currently, the options are Csv, Excel_xls, Excel_xlsx and AutoSelect | --- |
| Worksheet Index | Determines which worksheet that will be evaluated. | Int32 |
| Ignore First Line | If the file has a header row, this property can be toggled to ignore it. | Boolean |
| Ignore Empty Rows | Ignores any rows that do not contain any data. | Boolean |
| CSV Delimiter | Determines which delimiter will be added with the values for CSV files. | --- |
Outputs
| Property | Description | Data Type |
|---|---|---|
| OUTPUTS | List of the Object that the CSV was mapped to. | List of --- |
Output Data
| Property | Description | Data Type |
|---|---|---|
| Output Type | The desired Data Structure to map the CSV values to. | --- |
Example
The following example will take a CSV file and convert the data to a list of strings to display on a Form.
Before proceeding with the example, download the following CSV file; this file will be imported and mapped via the CSV To List Mapping step.
- From a Designer Project, click CREATE FLOW on the Global Action Bar; select Flow, provide a Name, then click CREATE.
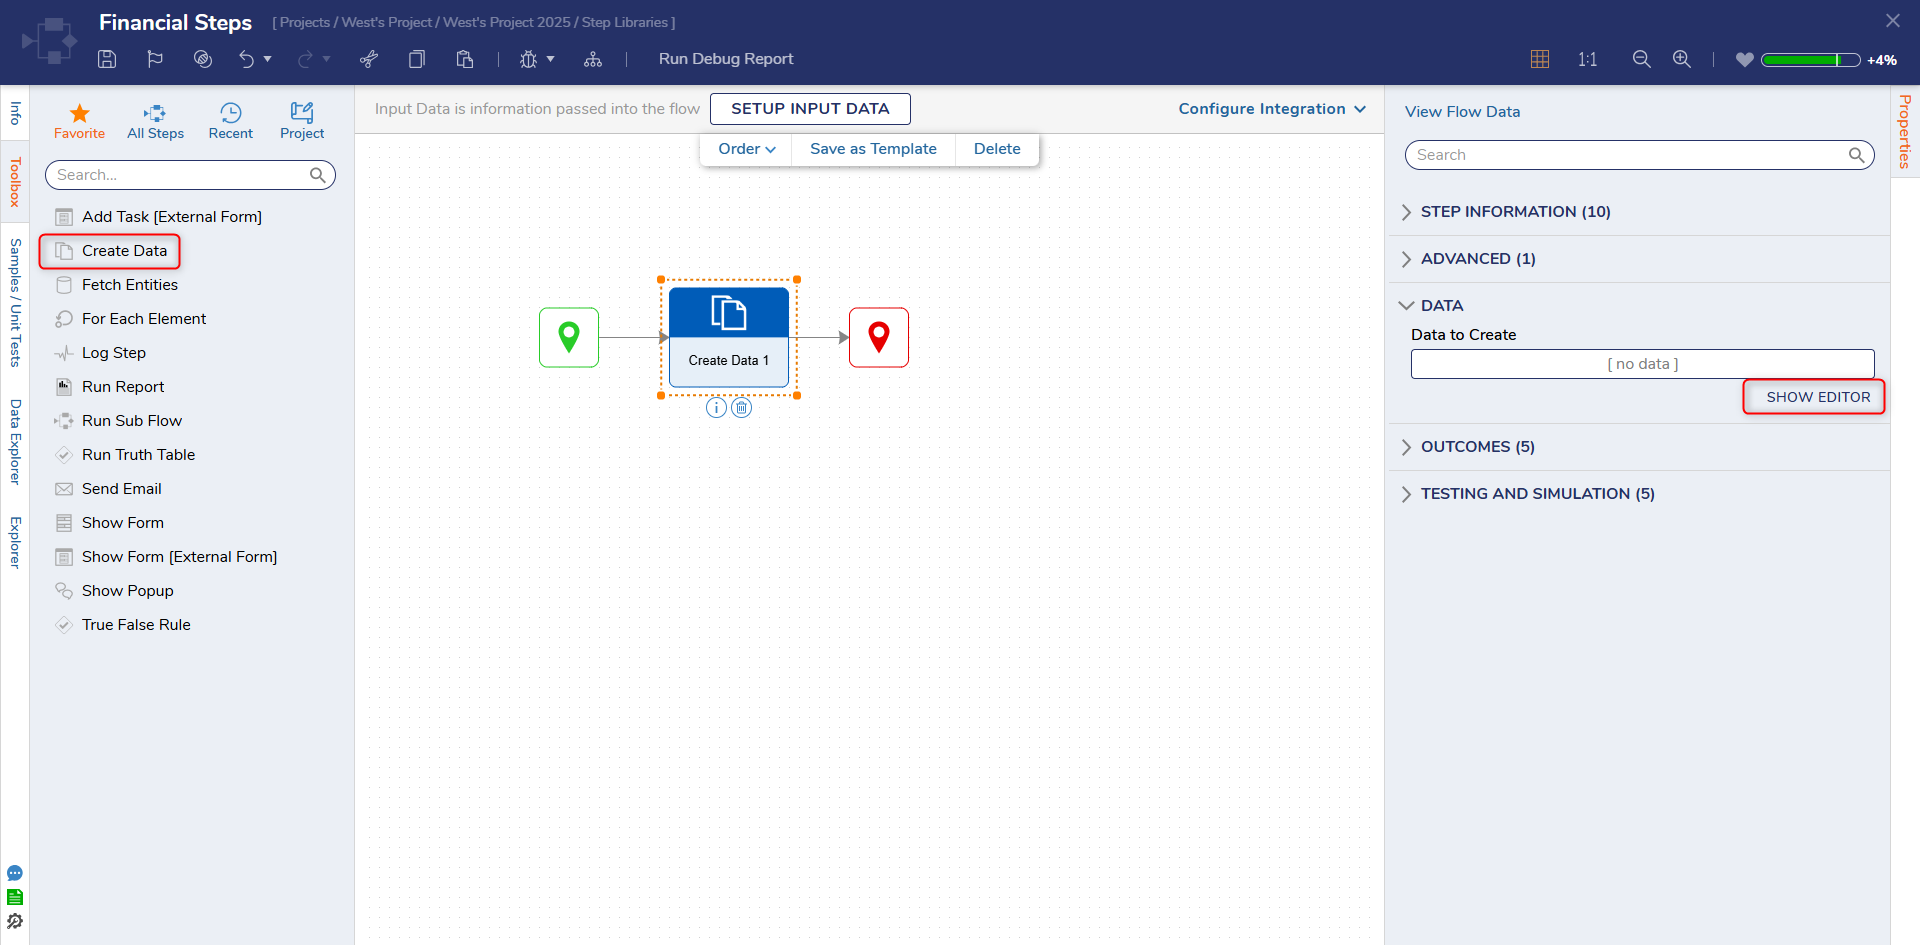
- From the Flow Designer, attach a Create Data step from the FAVORITE STEPS category of the Toolbox panel, to the Start step. On the Properties panel, click SHOW EDITOR.
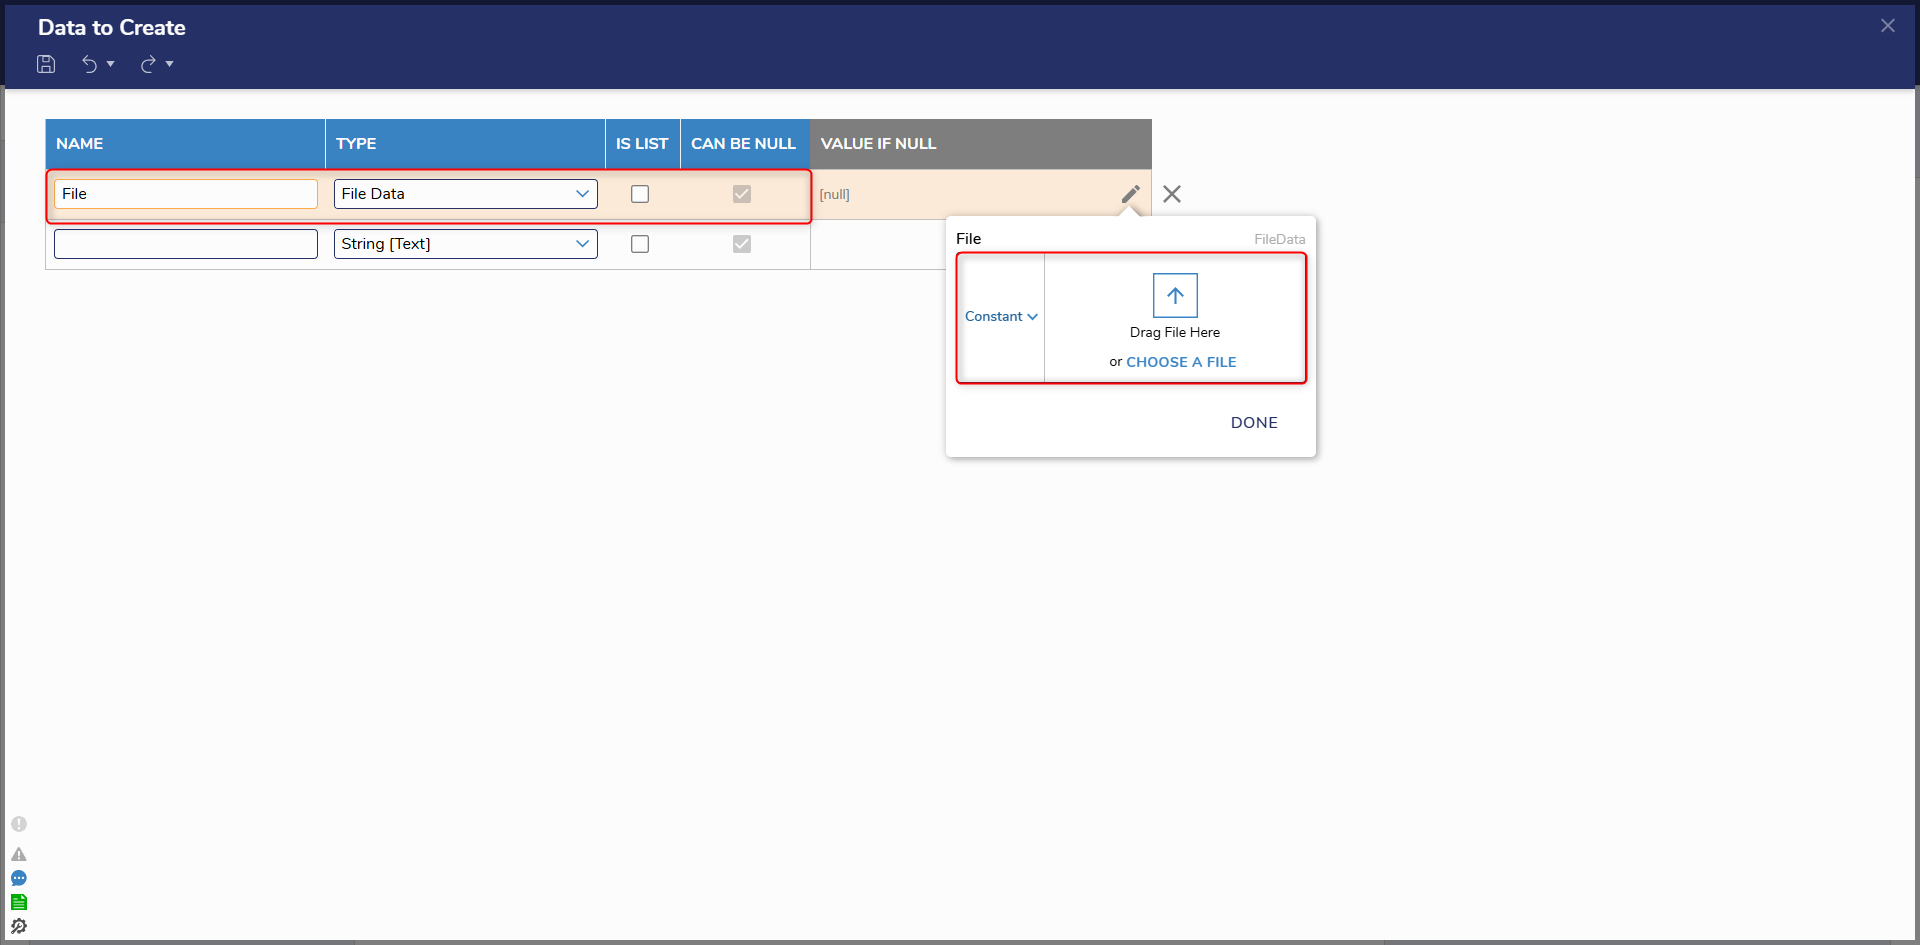
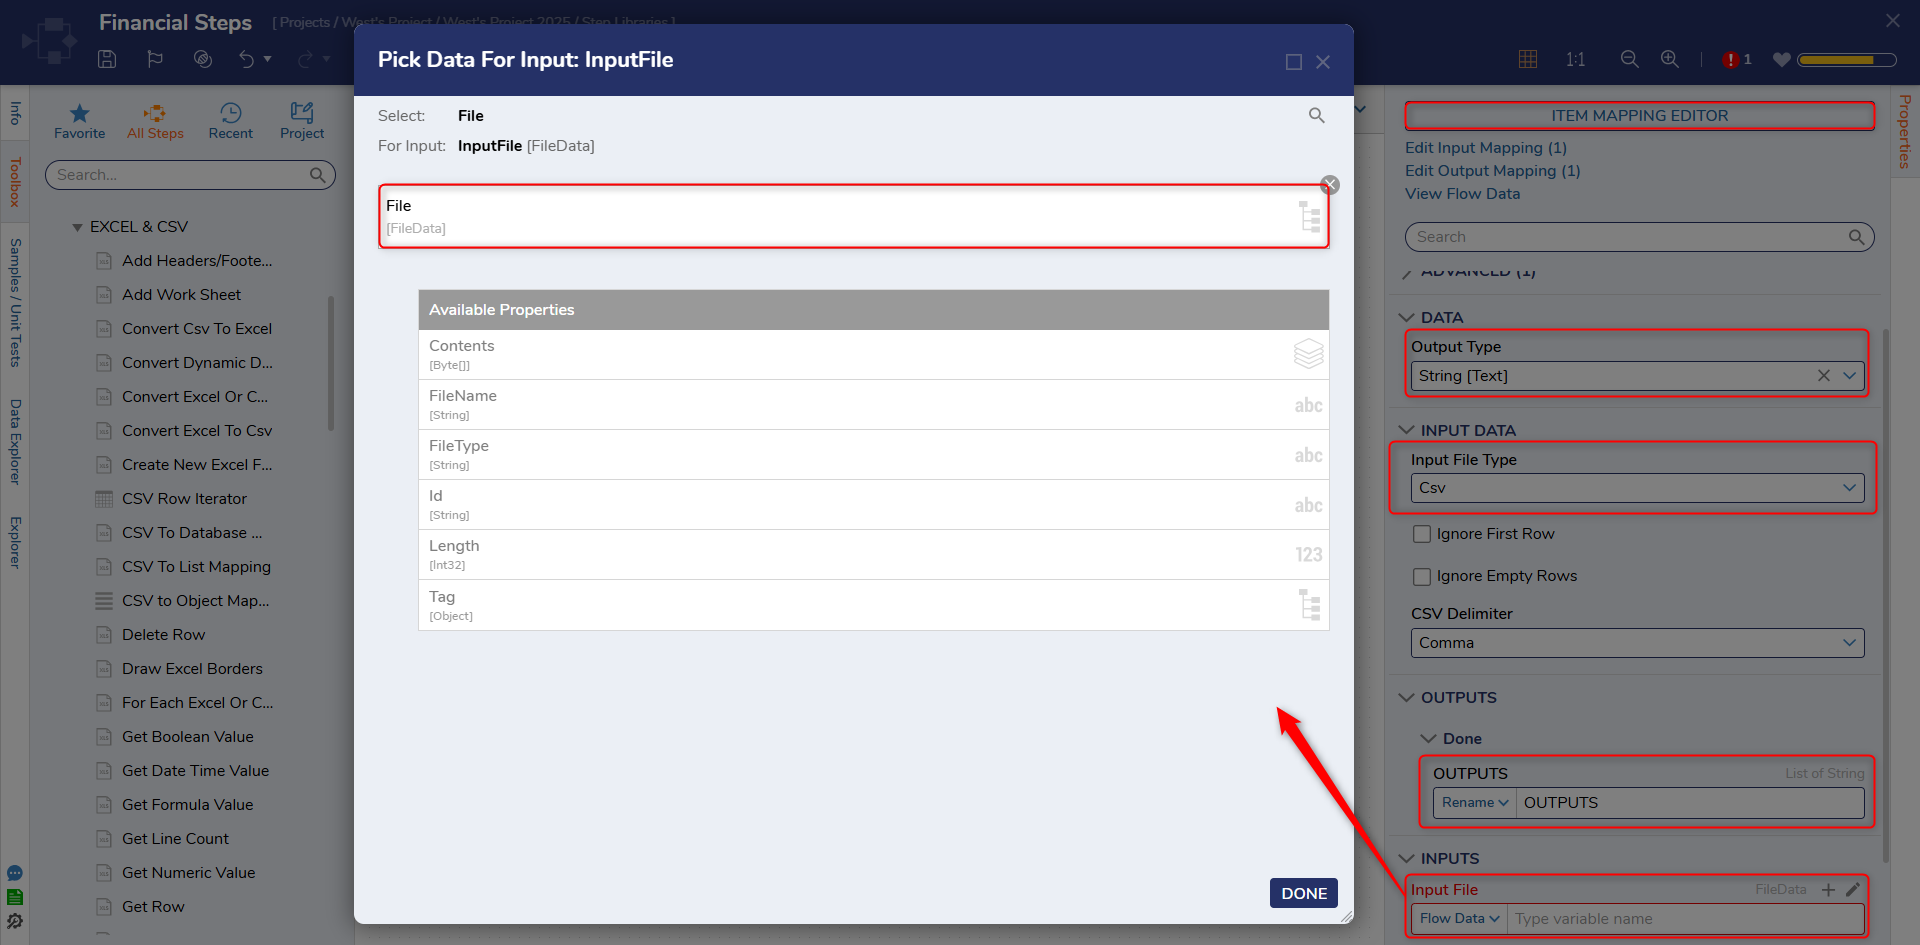
- From the Data Definitions window, enter "File" under NAME and select FileData from the TYPE dropdown. Click the pencil icon under INPUT and Constant map the CSV file by selecting CHOOSE FILE. Click Save and close the Data Definition window.
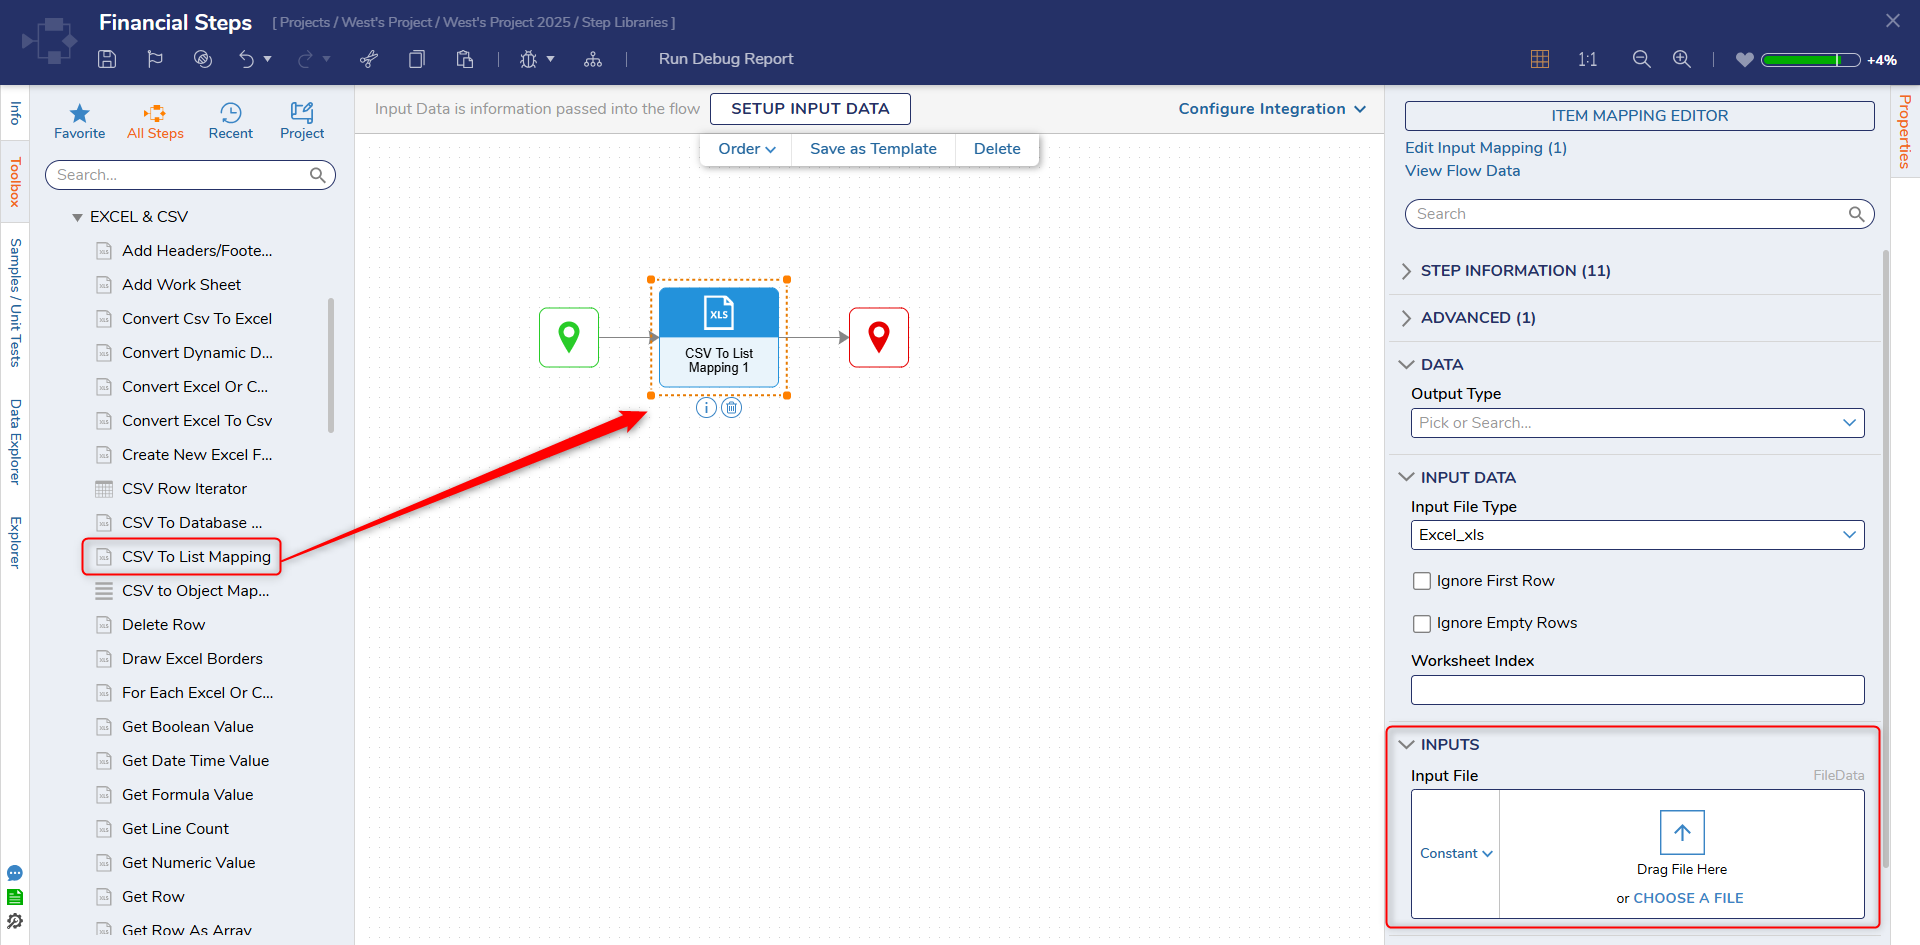
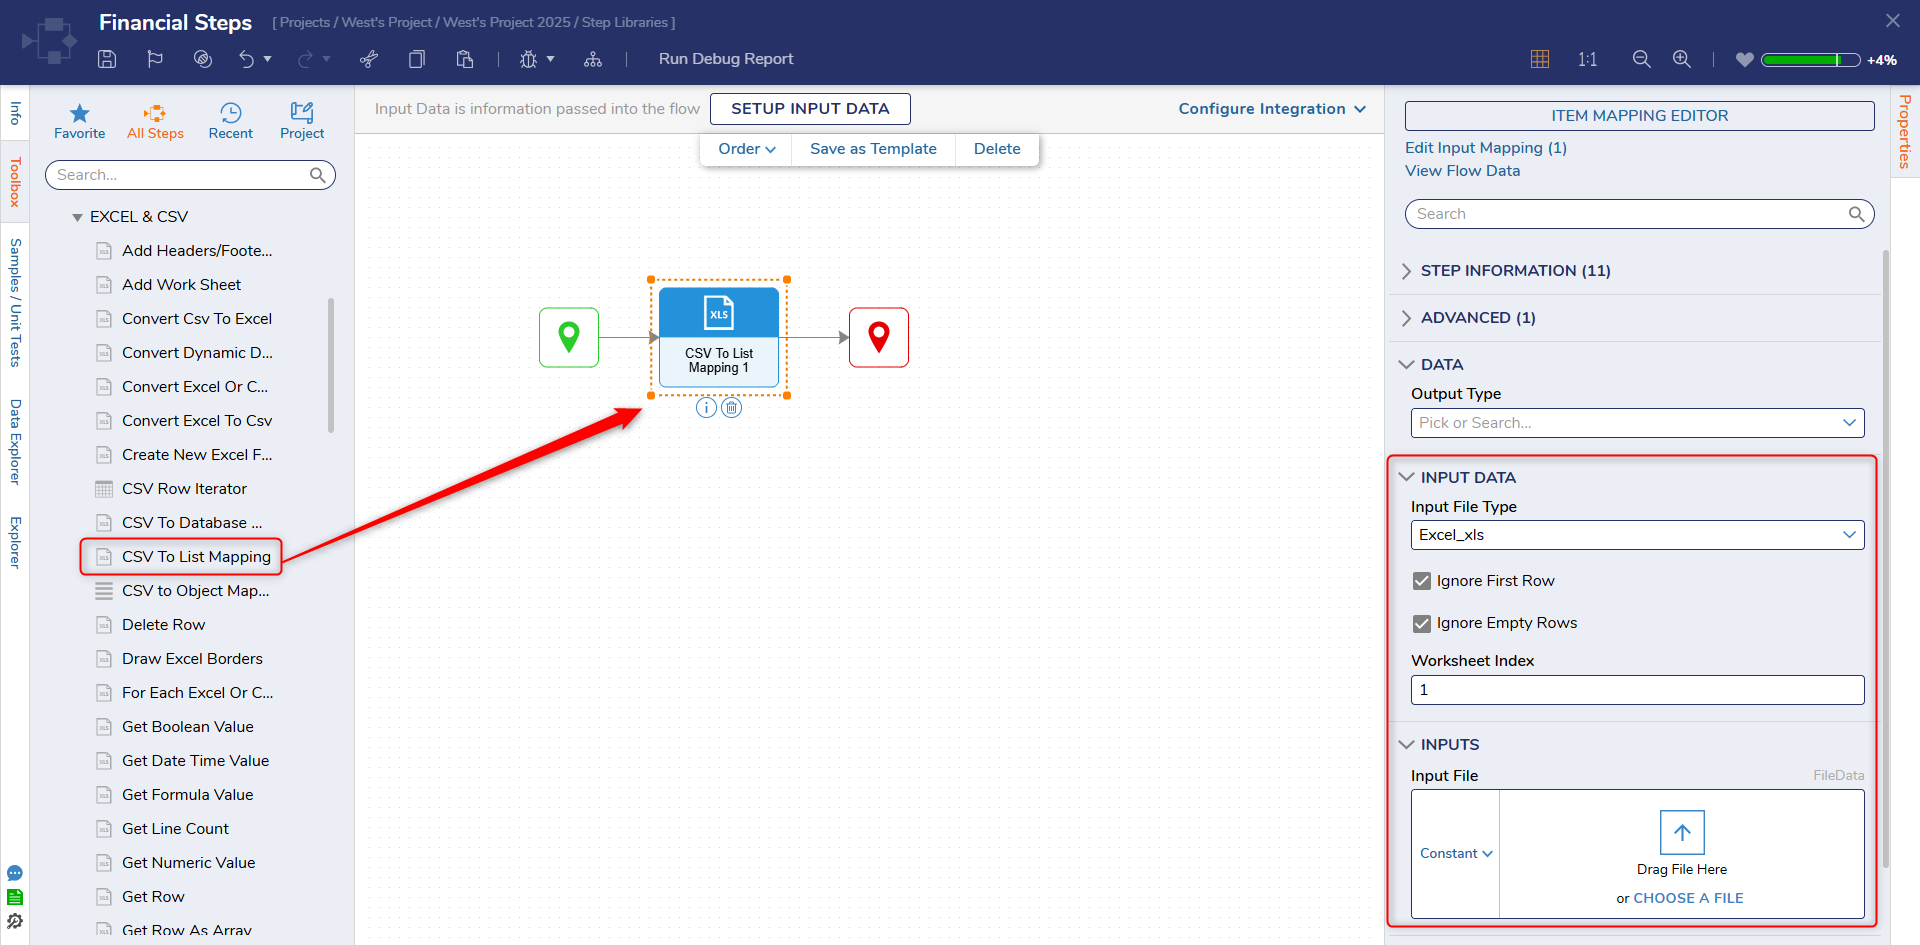
- From the DATA > EXCEL & CSV category of the Toolbox, attach a CSV To List Mapping step to the Create Data step.
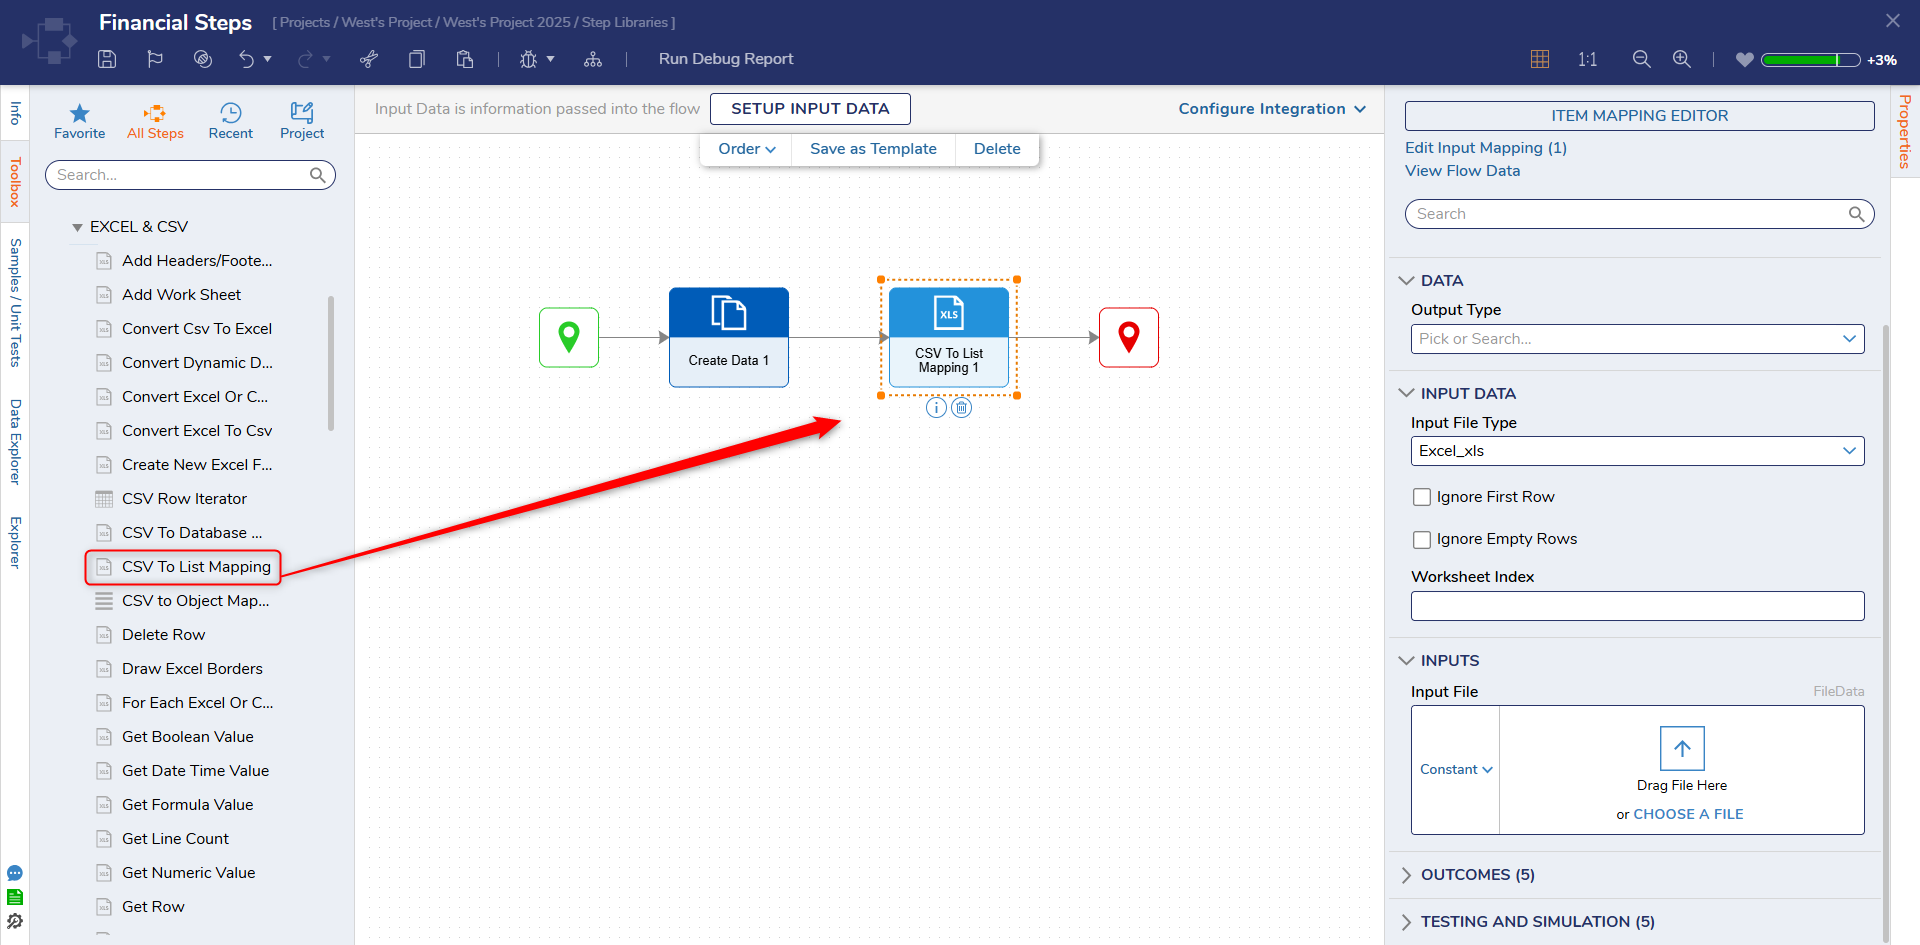
- From the Properties panel, click Unknown next to the Input File field and select Select From Flow. Select File and click DONE. For the Output Type field, select String. For the Input File Type dropdown, select CSV. Click Show Item Mapping Editor.
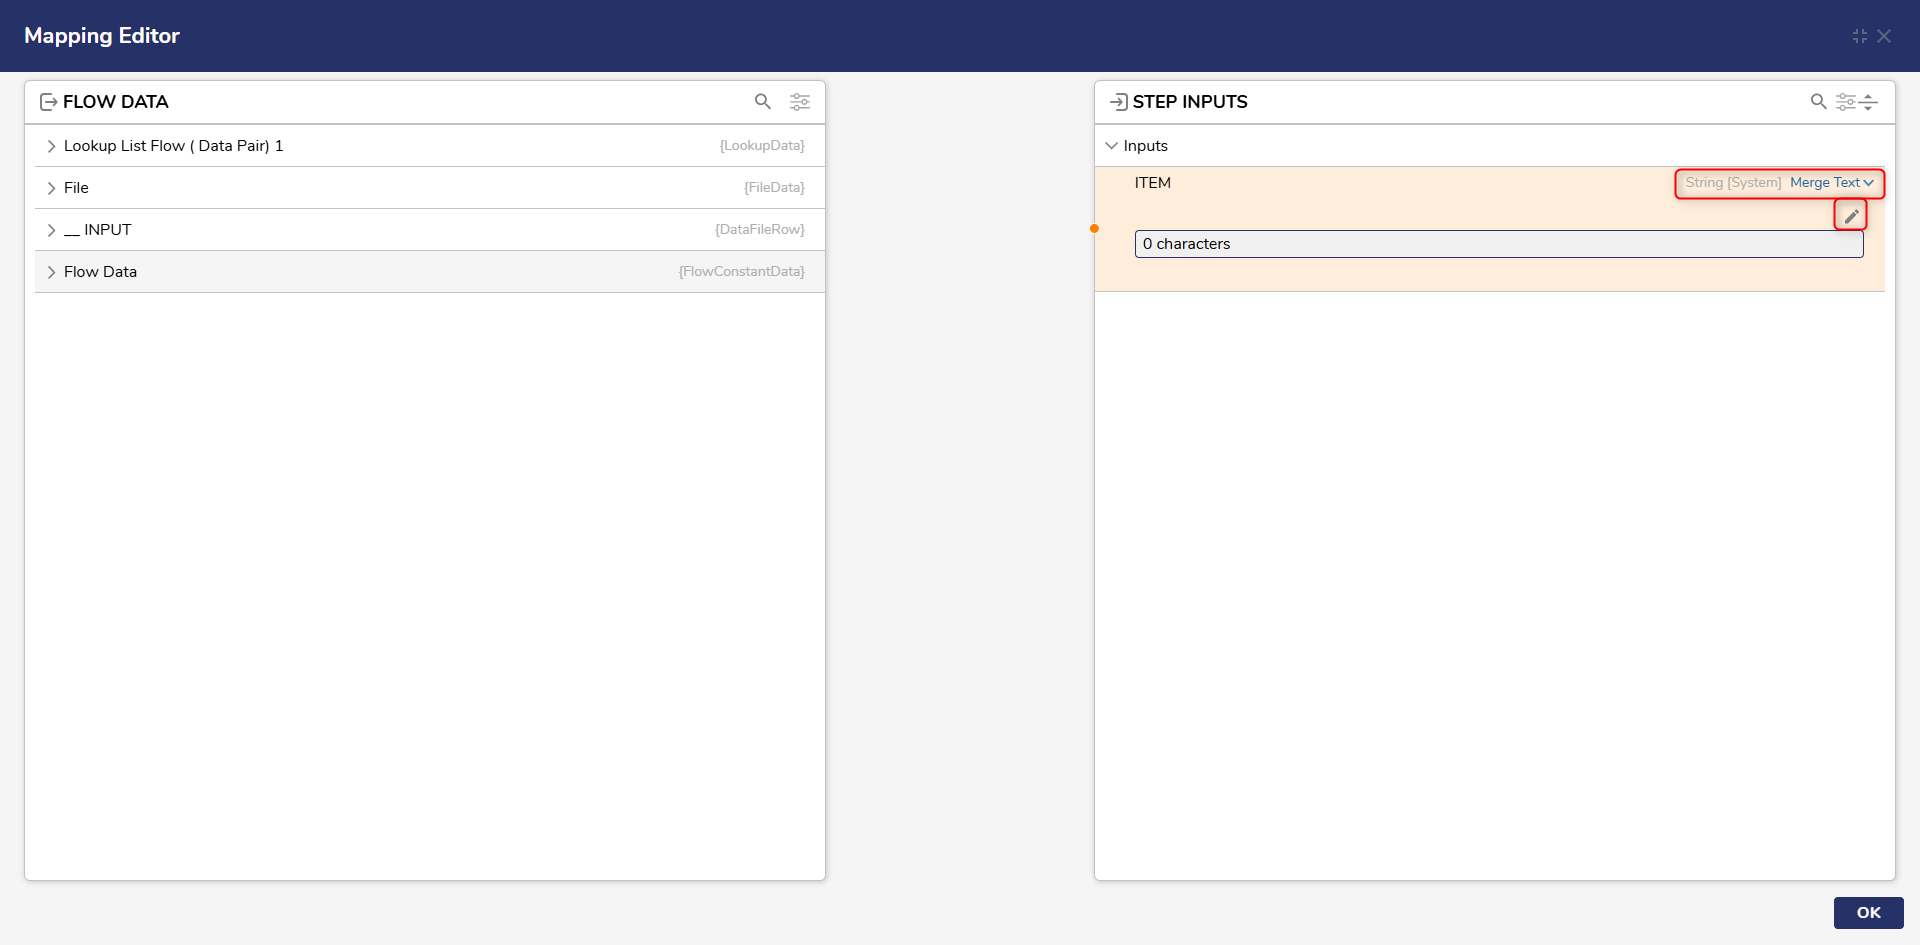
- From the Mapping Editor, set the mapping ITEM to Merge Plain Text, then click Show Editor.
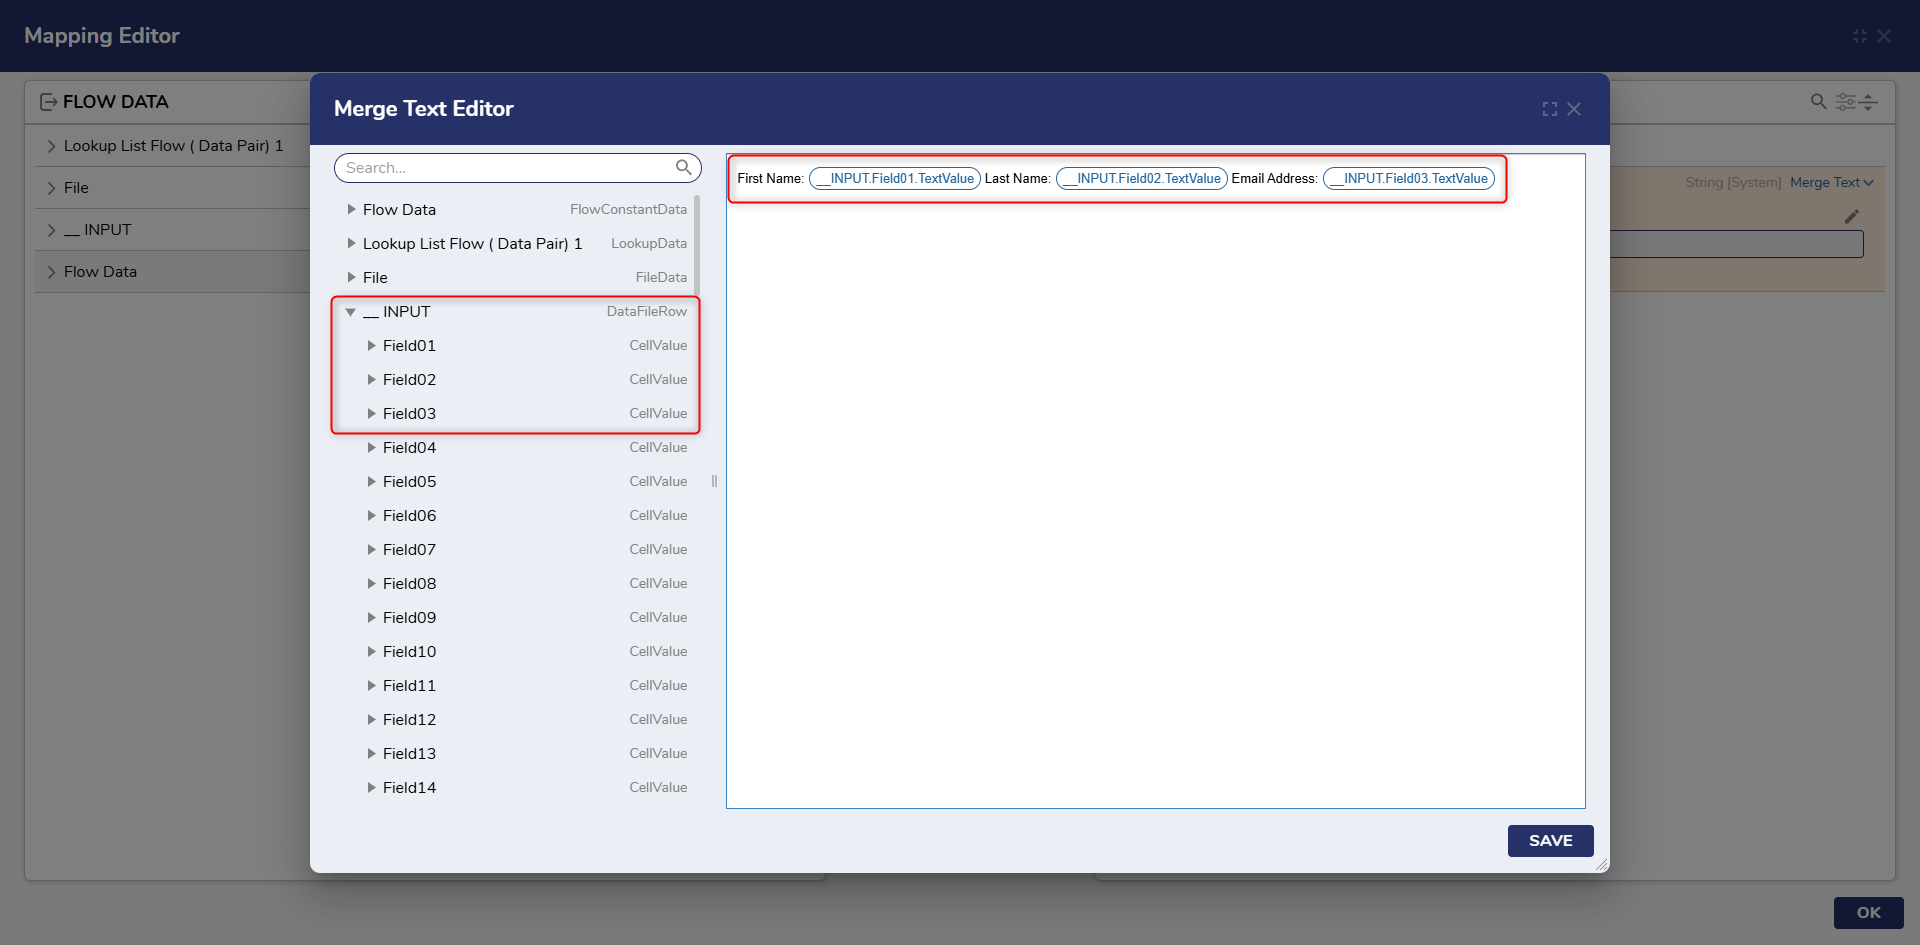
- In the Text Editor, configure the message to read "First Name: [_INPUT.Field01.TextValue] Last Name: [_INPUT.Field02.TextValue] Email Address [_INPUT.Field03.TextValue]" by selecting the plus sign icon under the fields under _INPUT category from under DATA. Click SAVE and then OK.
- Back in the Flow Designer, attach a Show Form step from the FAVORITE STEPS category to the CSV To List Mapping step. From the Show Form step's Properties, click PICK OR CREATE FORM. then CREATE a new Form.
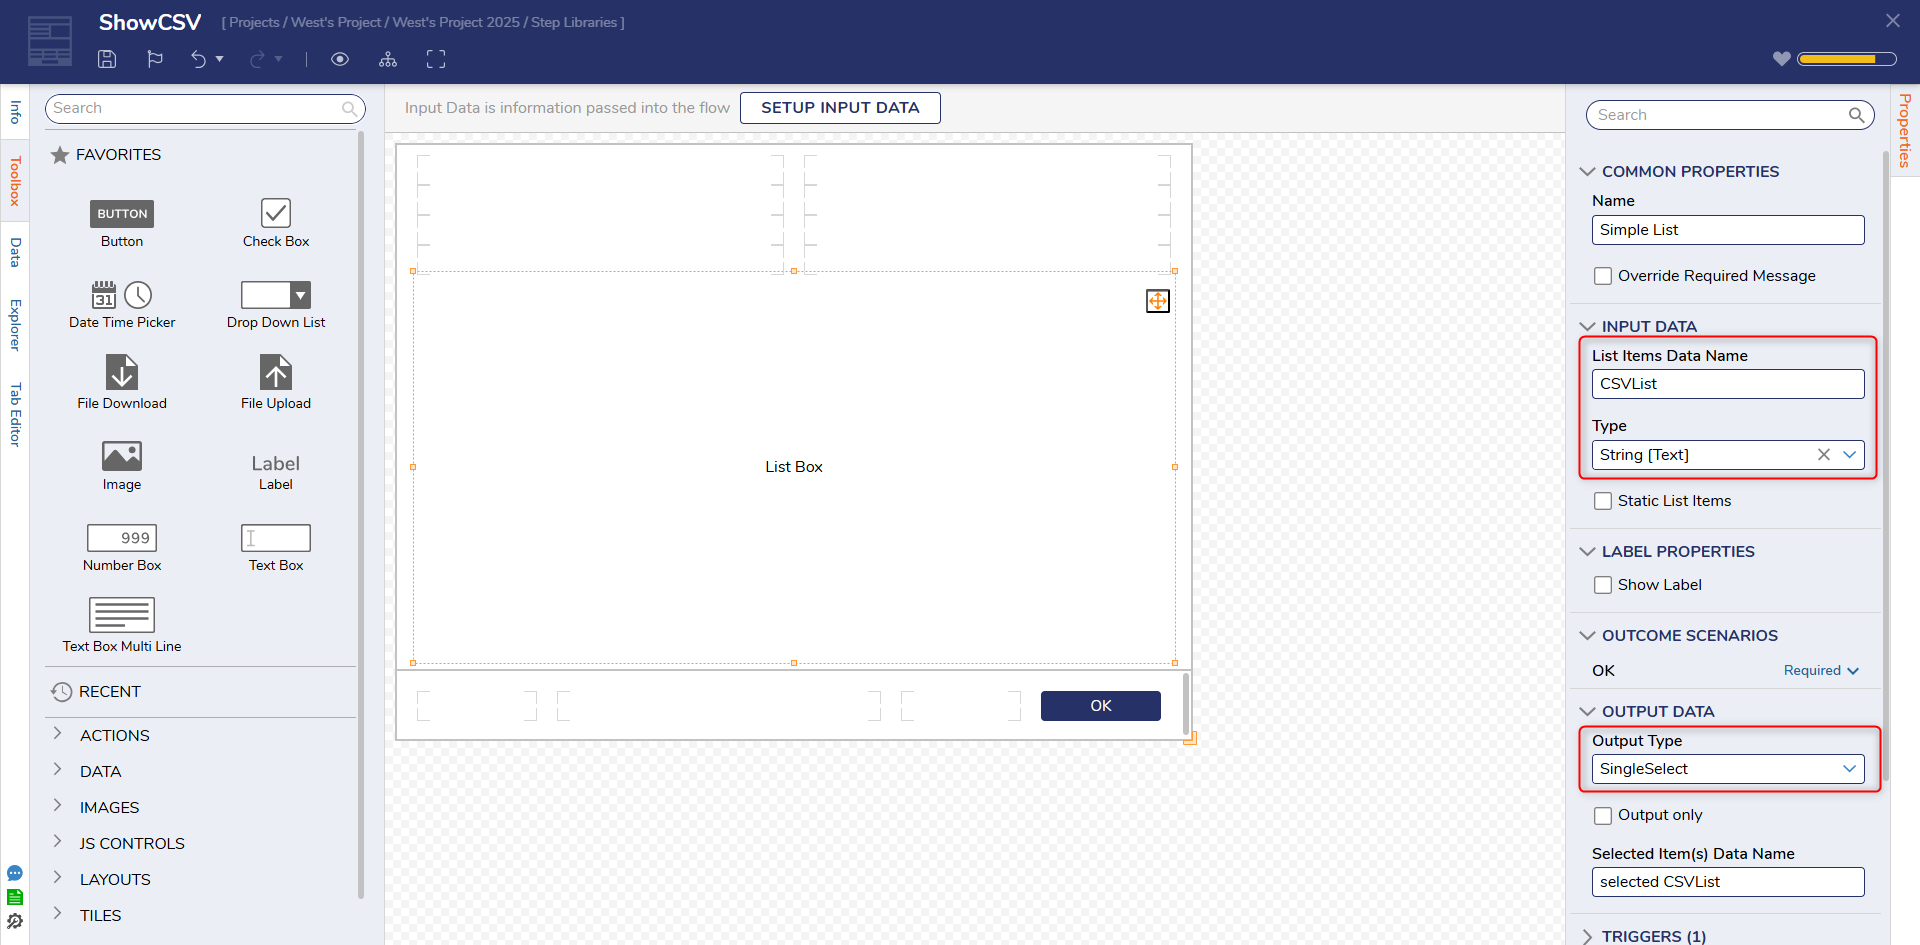
- From the Form Designer, design a Form using a List Box component from the DATA category of the Toolbox, and a "Done" Button.
- Select the List Box on the Form to navigate to its Properties; provide a List Items Data Name, select String [Text] from the Type dropdown, then select SingleSelect from the Output Type menu. Save and close the Form.
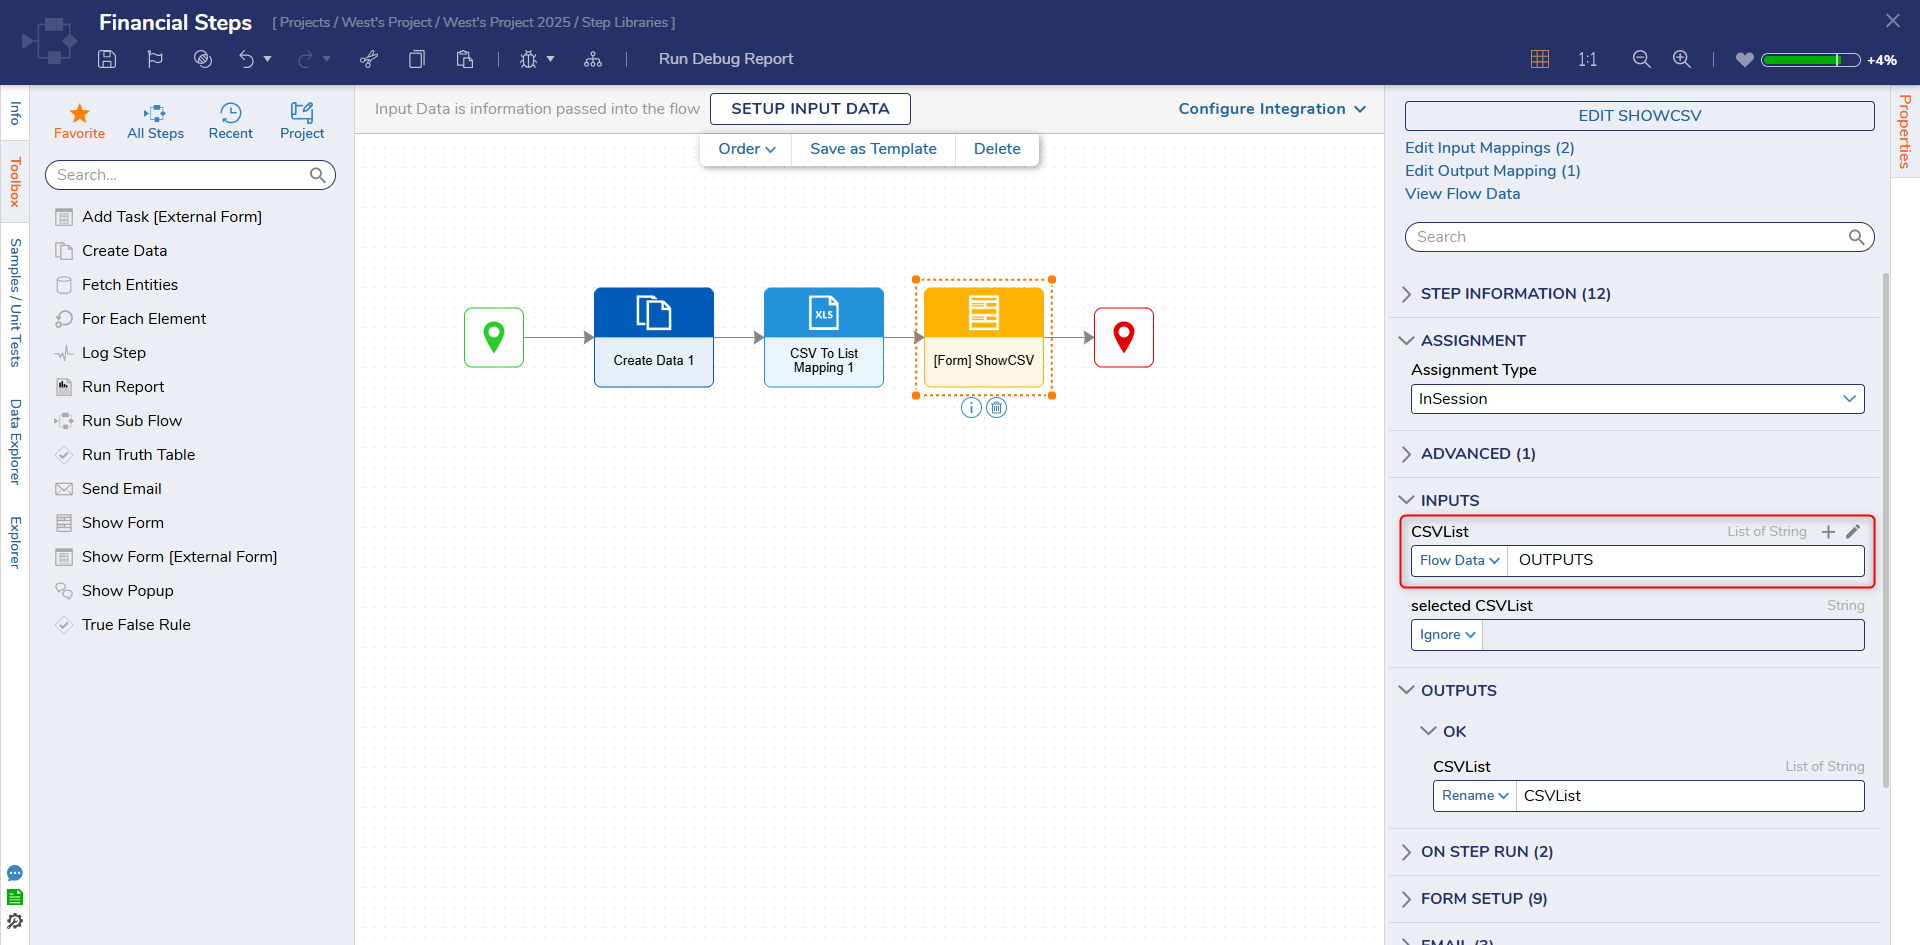
- From the Flow Designer, connect the Show Form step to the End step. On the Properties panel, map OUTPUTS to List and set List Display to Ignore.
- Save the Flow, then if desired close the Flow Designer.
Debug
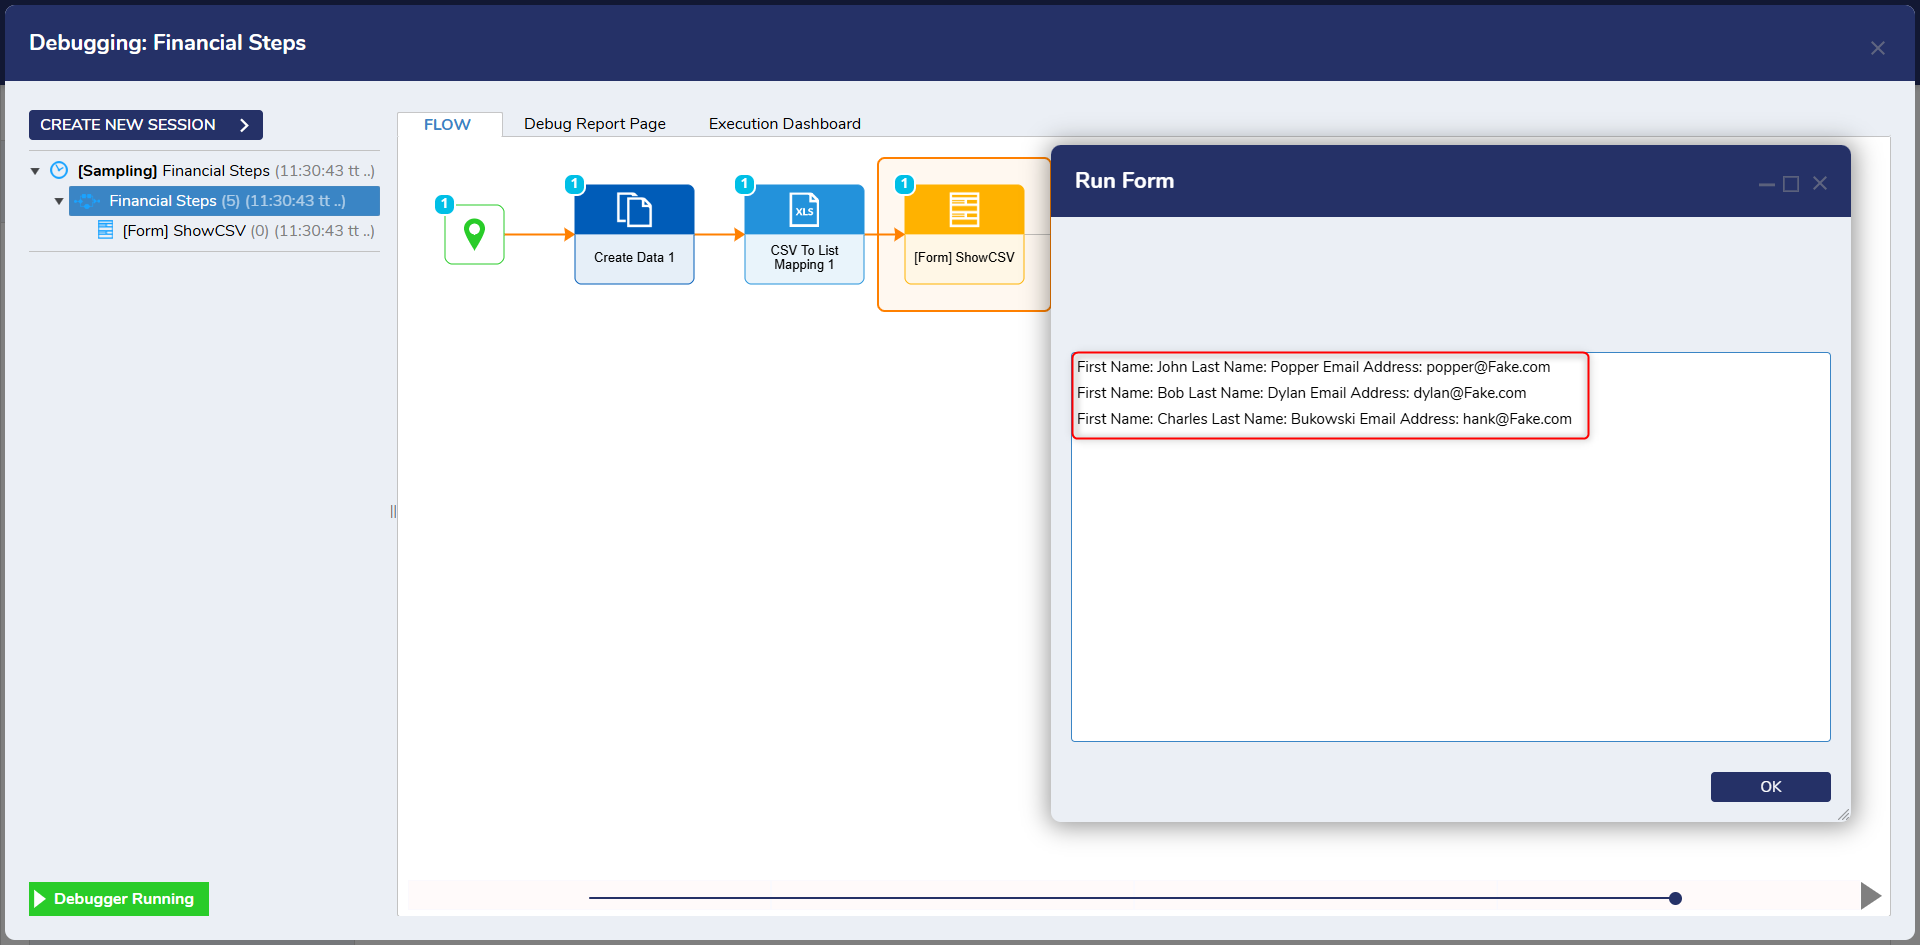
- Click Debug from the top action bar.
- Click START DEBUGGING. When the Flow runs, the Form will open and display the data from the file according to how it was mapped via the CSV To List Mapping step.
Related Information
Forum Posts:
Using 'CSV To List Mapping' Step
Training Video:
Dynamic Excel Creation