- 13 Nov 2024
- 4 Minutes to read
- Print
- DarkLight
Email Traffic Control
- Updated on 13 Nov 2024
- 4 Minutes to read
- Print
- DarkLight
The Email Traffic Control Accelerator generates SMTP Servers all while automating the process of creating, managing, and copying associated Folders and Flows to their corresponding Designer Folders.
This Accelerator features several key Flows like the Server Send Email Flow which determines which SMTP server will deliver an email. If the Default Server is selected, an email will be sent from the Default SMTP Server, otherwise emails will be sent from a specified SMTP server as long as it remains active.
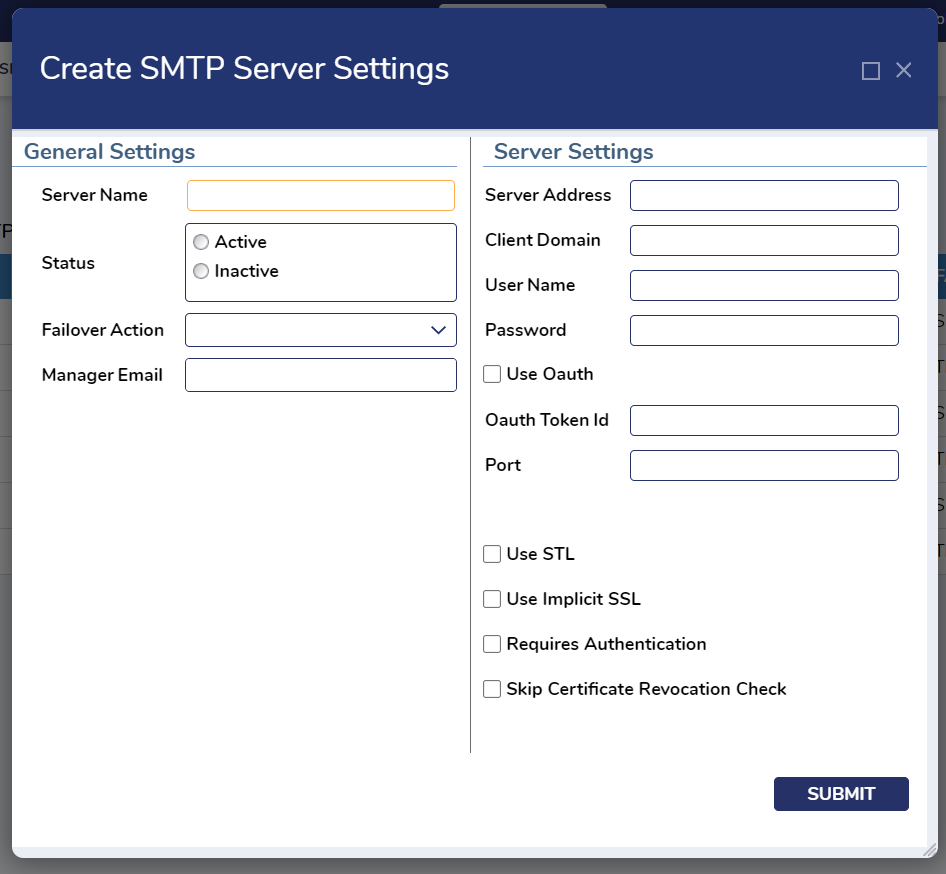
The SMTP Server Dashboard displays a list of active and inactive servers and includes two Entity Action buttons. Users can select Create SMTP Server Settings to submit general and Server specific settings for an SMTP Server, and Sync Projects for Email Traffic Control Job to run a Scheduled Job that fetches existing Modules in the Server and generates a record if one does not exist in the system already.
The Email Traffic Control Accelerator maximizes efficiency for Email Traffic Control through structured Workflows, Scheduled Jobs, User Actions, and Reports.
Key Features:
- Dashboard that displays SMTP Server Settings
- SMTP Server Settings Creation
- Sync Projects for Email Traffic Control Job
- Pre-configured Scheduled Jobs
Considerations
All Projects that include Scheduled Jobs have them disabled by default. Users need to enable these jobs to work after importing this and other projects. For Email Traffic Control, Users must enable: Email Traffic Control-Sync Projects. To enable the Scheduled Job, navigate to:
- System > Jobs and Events > Scheduled Jobs > Email Traffic Control-Sync Projects.
- Right-click on the job and select Enable Job.
- By default, this Scheduled Job will run daily.
Main Flows
Create SMTP Server Settings
This Flow allows Users to create a new SMTP Server. After mandatory fields have been completed, this process will generate a record in the SMTP Server Settings and will set the status for a particular Folder ID.

Server Send Email Flow
This Flow is used to determine which SMTP Server will deliver an email. If the Default Server is selected, an email will be sent from the Default SMTP Server, otherwise the email will be sent from a specified SMTP as long as the status remains active. Emails will be sent from the Default SMTP Server if the failover action of the selected SMTP Server is SMTP settings.

Create Email Controller User Action for SMTP Server
This Flow fetches Projects and creates a new Email Controller for the selected Project in the Dropdown menu. This process copies the Email Traffic Control Folder and Flows. After both elements have been copied, this Flow will update the Folder Name and Entity Folder ID of the copied Folder and then will copy the Send Email Flow into the selected Folder. The Flow will then fetch the Flows from the copied Folder, refresh the Dashboards, and display a confirmation message.

Sync Projects
This Flow runs as a Scheduled Job that fetches the existing Modules in the Server and will generate a record within the Project structure if one does not exist.

Copyable Email Controller Template
This Flow fetches the Email Controller based on the current FlowID and checks its status. If the state is active, it will run the Server Send Email Flow.

Dashboards
SMTP Server Settings
The SMTP Server Settings Dashboard is the primary Dashboard of this project and houses four Pages.
SMTP Managment
This Page displays two Entity Actions that enable Users to create a new SMTP Server and trigger the Sync Projects Scheduled Job. The following User Actions can be accessed by right clicking on any of the SMTP Servers
.png)
The following User Actions can be accessed by right-clicking on any of the SMTP Servers.
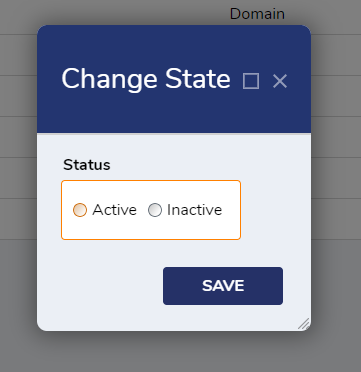
Change Status: This action allows Users to change the status of record to active or inactive.
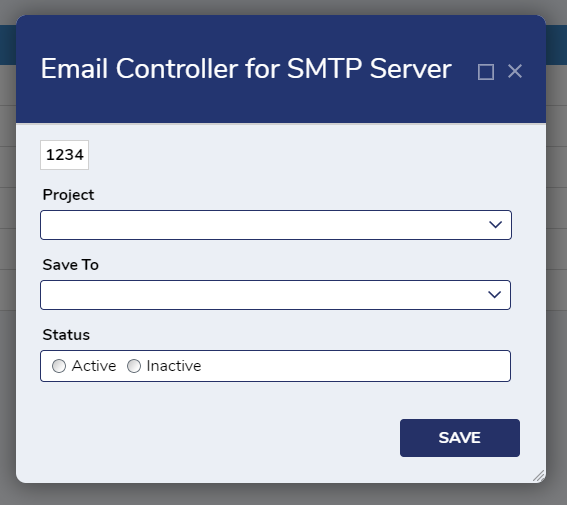
Create Email Controller: This action enables Users to create an Email Controller.
Edit SMTP Sever Settings: This action enables Users to edit the SMTP Server Settings.
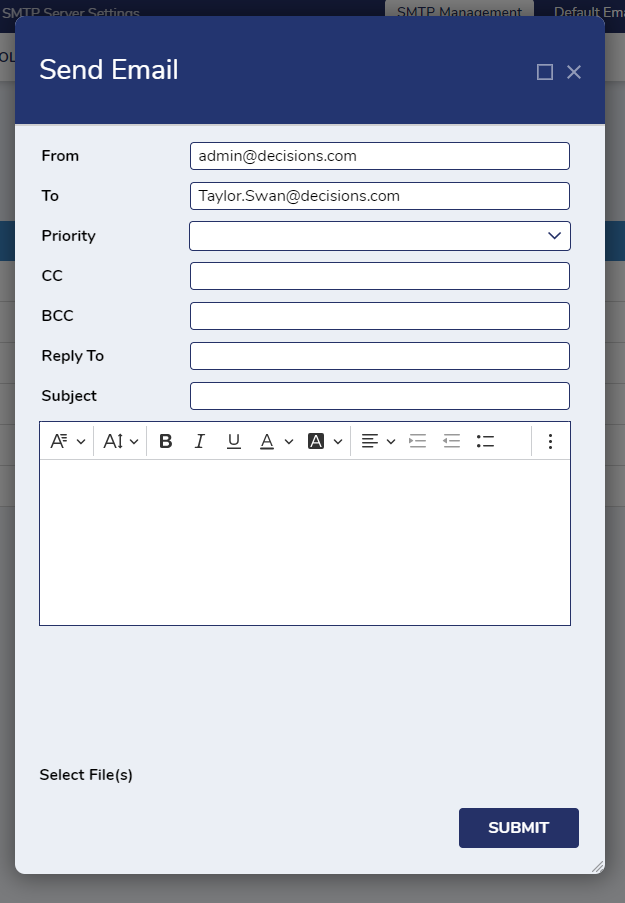
Send Test Email: This action allows users to send a test email using the SMTP Server.

 Change State
 Create Email Controller
.png) Edit SMTP Server Settings
Edit SMTP Server Settings
 Send Test Email
Default Email Controller
This page displays Default Email Controllers.

All Email Controllers
This Page contains two sections, Email Controllers and Projects without Email Controller IDs.
Email Controllers
This section displays all Email Controllers joined with the SMTP Server, and contains the following User Actions:
- Change Status: This assists in changing the status for multiple records.
- Go to Email Controller Flow: This action opens the Email Controller Flow in another window and fetches the component Registration ID.
- Move Email Controllers: This User Action assists Users with moving the selected Email Controllers with the selected SMTP Server.
.png)
Projects Without Email Controllers
This section displays all Projects in the Decisions environment without Email Controller IDs and contains the following User Actions:
- Create a New Email Controller: This action allows Users to create a new Email Controller.

All Send Emails in Decisions
This Page displays the data of emails sent in Decisions and groups each email by Folder path and Flow Name.

How to Use Email Traffic Control
Creating SMTP Servers and Editing a Default SMTP Server
Creating SMTP Server Settings
- To create SMTP Server settings, Users can navigate to the SMTP Server Settings Dashboard and select Create SMTP Server Settings.
- This action will display a Form enabling Users to fill out details for the General Settings and Server Settings for a SMTP Server.
- After the required fields are entered, click Submit to save entered details and close the Form.
- Once the SMTP Server has been created, information will be displayed on the SMTP Management Page under SMTP Servers.

- Once the SMTP Server has been created, information will be displayed on the SMTP Management Page under SMTP Servers.

Editing a Default SMTP Server
- To edit the Default SMTP Server, navigate to the SMTP Server Settings Dashboard and right click on Default SMTP Server Settings.
- This action will populate the Edit Default SMTP Server Form for Users to edit.
- Once the Form contains the desired details, select Save to close the Form and save any changes.


