Overview
The Time Tracking Submission app provides an example workflow that allows a user to submit hours and dates for tasks into a data grid commonly used in HR processes. This app, like every app in the App Store, can be implemented as-is or customized to fit any business's needs.
Upon installation, the workflow consists of the following Designer Elements:
| Designer Element Type | Designer Element Name | Function |
|---|---|---|
| Flow | Time Tracking Flow | Parent Flow containing the sequential logic for the entire process |
| Data Flow | Add Time Entry | Creates an entry based on the user's submitted data |
| Data Flow | Calculate Total Hours | Calculates sum total of hours of entries by the user |
| Data Flow | Calculate Total Pay | Multiplies sum total hours by pay rate input to create total pay |
| Form | Confirmation Form | Form displays confirmation message upon successful user submission |
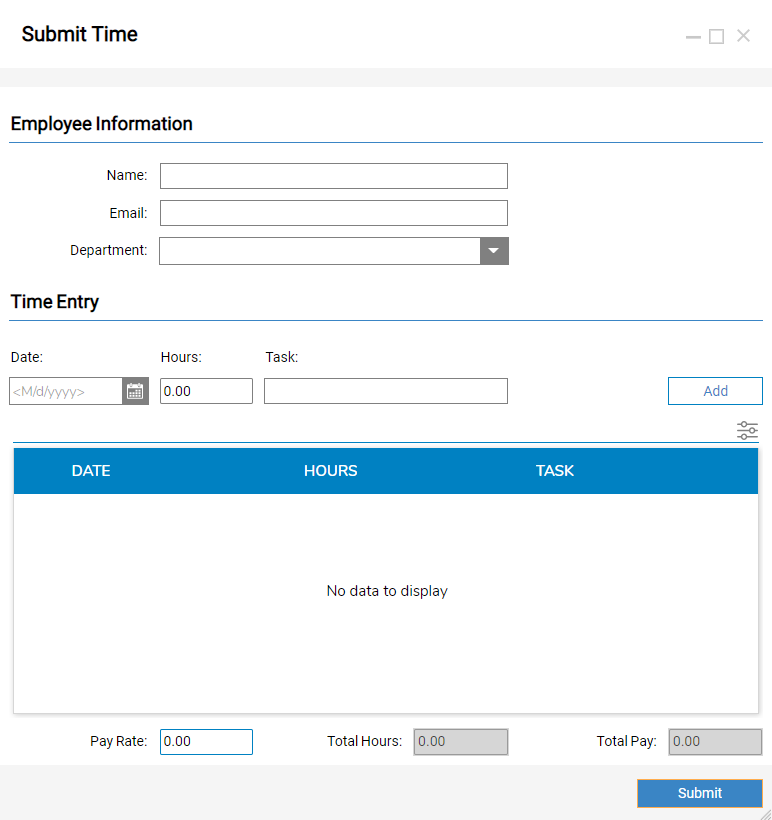
| Form | Time Tracking Submission Form | Form displays inputs for user submission |
| Simple Data Structure | HoursData | Stores data members such as Date, Hours, Task, etc. in an entry |
Walkthrough
After installing the Time Tracking Submission app, it can be located within the My Apps Folder in the 'Time Tracking Submission' Designer Folder unless named otherwise.
Upon starting the parent Flow, the Time Tracking Submission Form appears.

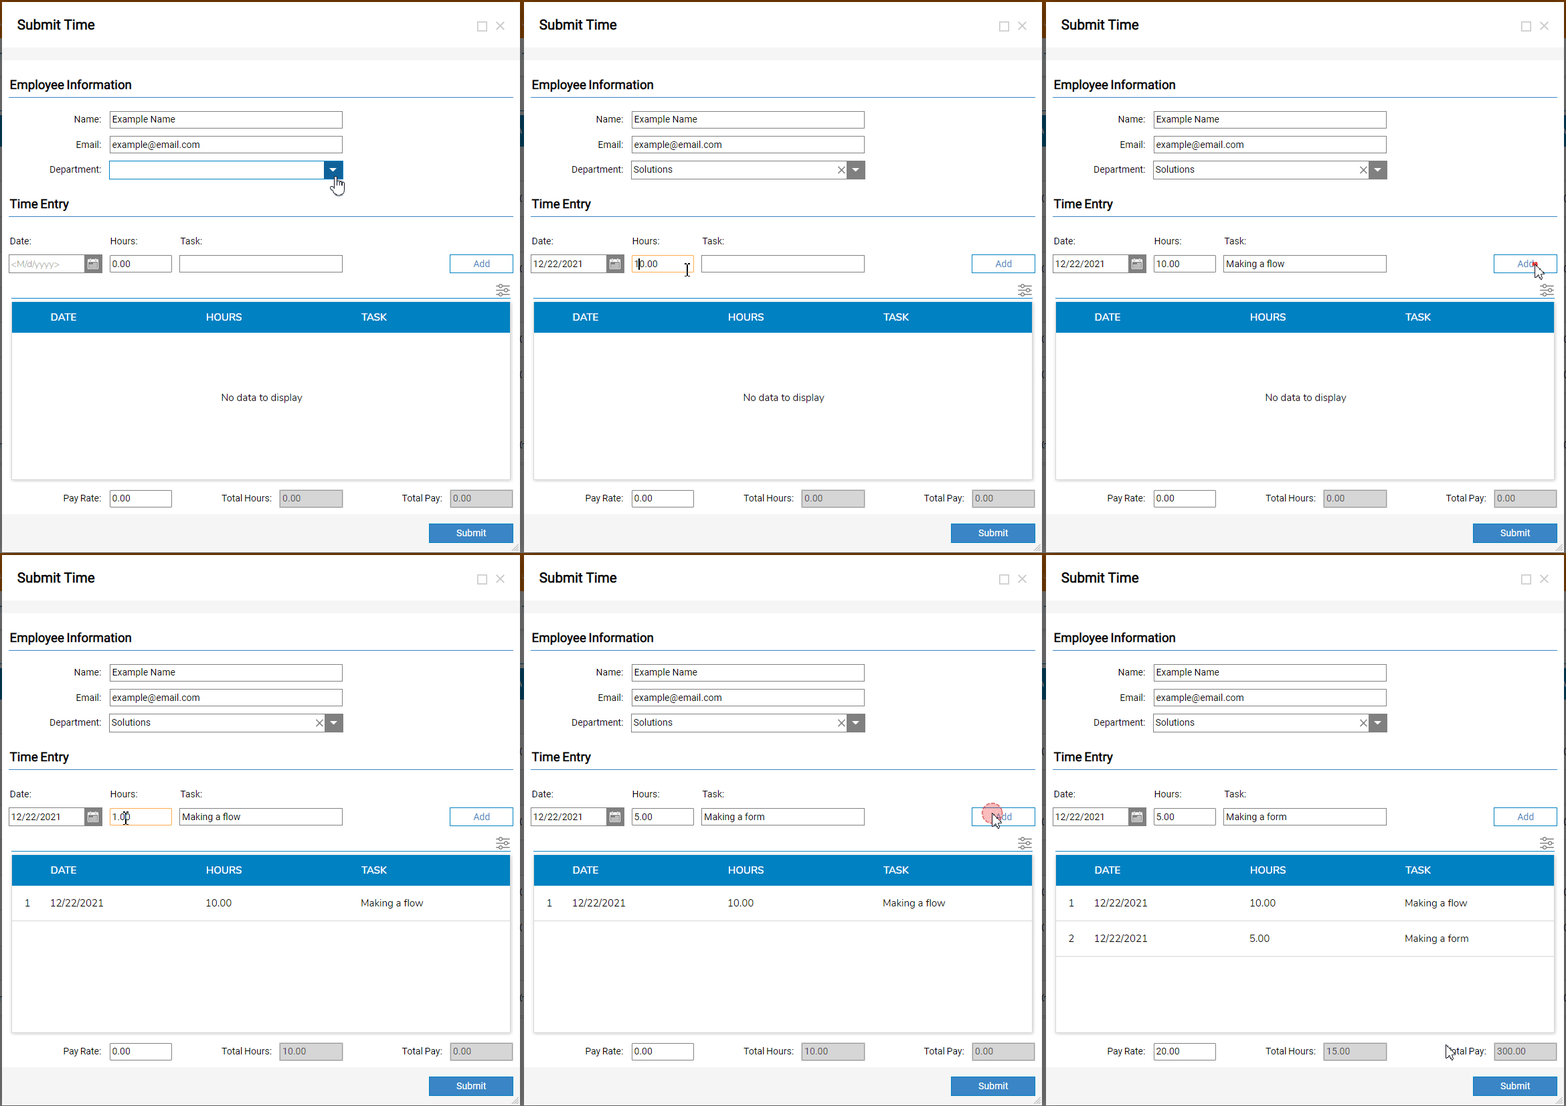
Users may submit personal information within the Employee Information section. The Add button generates a new row entry in the Data Grid with the date, hours and task inputted by the user.
The Total Hours is re-calculated upon adding a new row entry and determines the Total Pay field by multiplying it by the provided Pay Rate. 
Once all desired row entries are created, hitting the Submit button then opens the Confirmation Form ensuring successful submission of the inputted data.