Overview
This tutorial demonstrates how to adjust and design step Shapes in Decisions. Shapes in the Flow Designer are customizable to satisfy any designer needs.
Example
In this example, customize step Shapes in the Flow Designer.
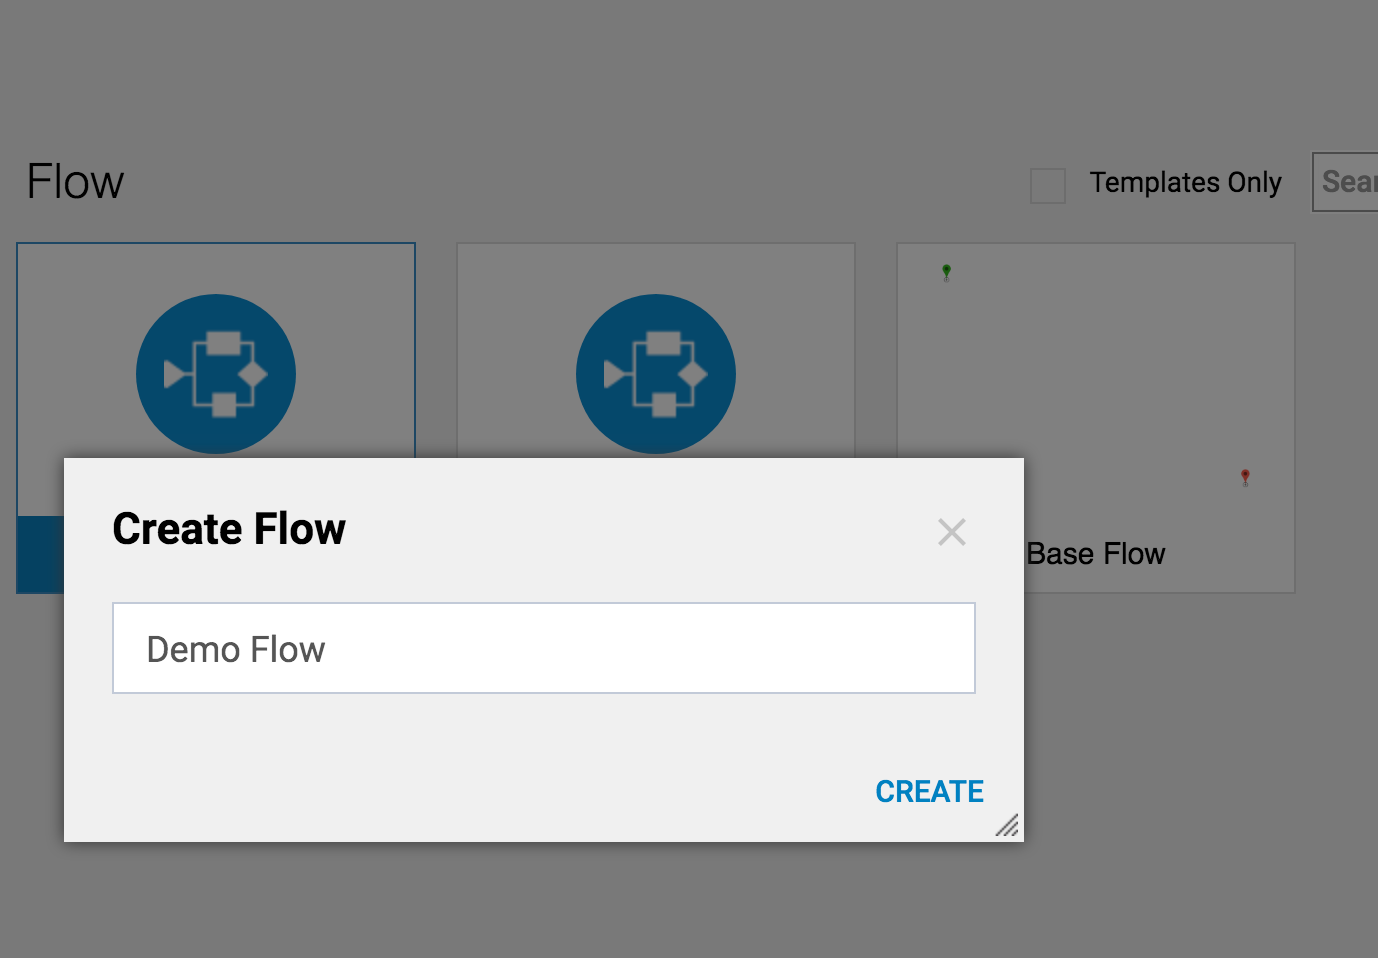
Begin in the Designer Folder and select Create Flow in the bottom action panel. Then, name the Flow and select 'Create' to proceed to the Flow Designer.
The Flow Designer opens with the Start and End steps on the work space. The Shapes for these steps are set by default.
First, select the Start step on the work space. The step size is adjustable by dragging the selection corners.
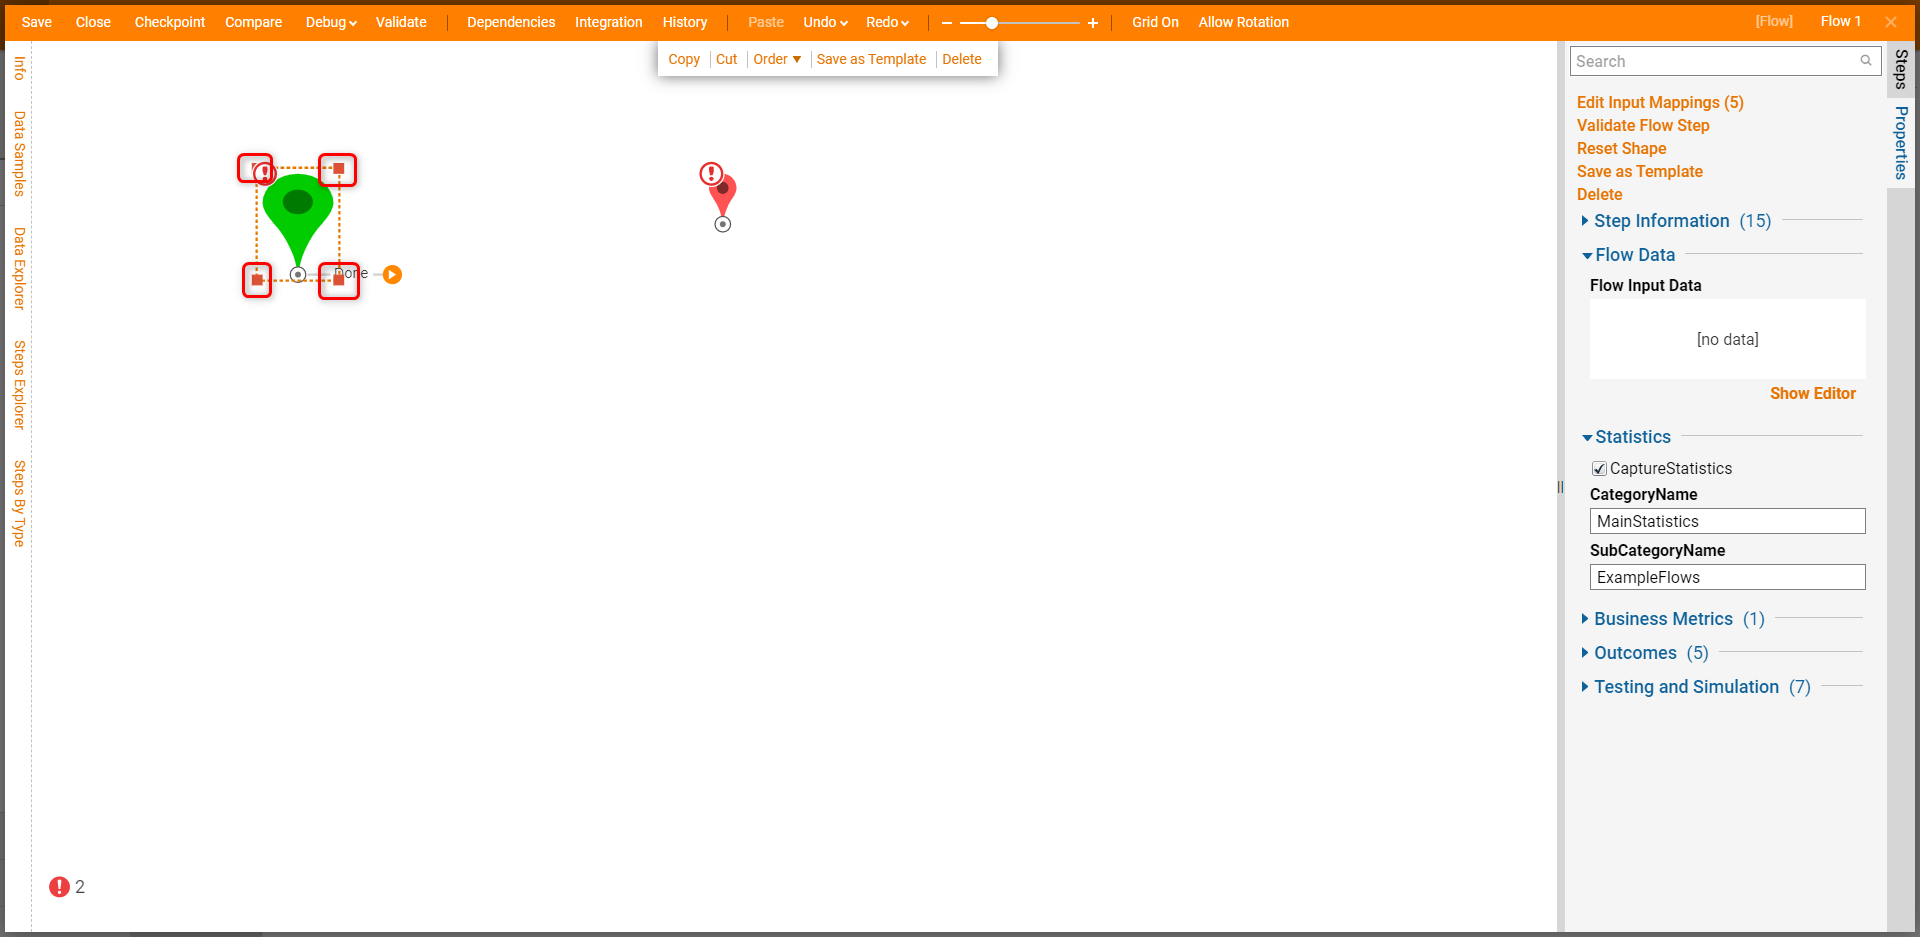
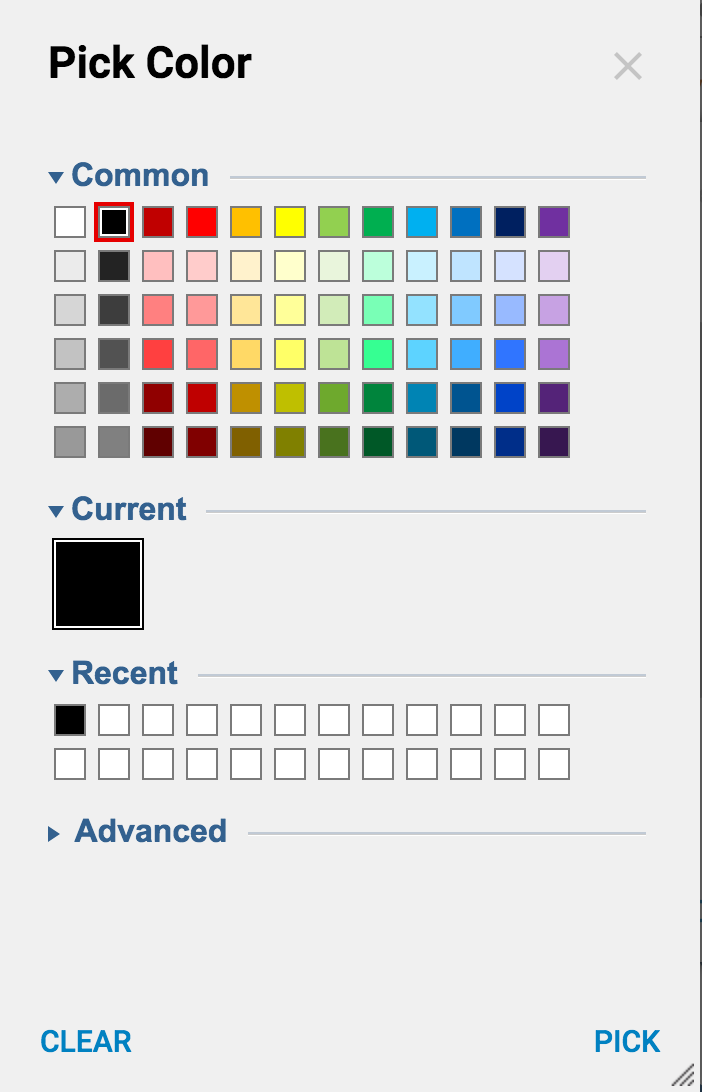
With the Start step selected on the workspace change its color by navigating to Common Properties > Shape Settings and selecting the ellipses button next to Background Color.
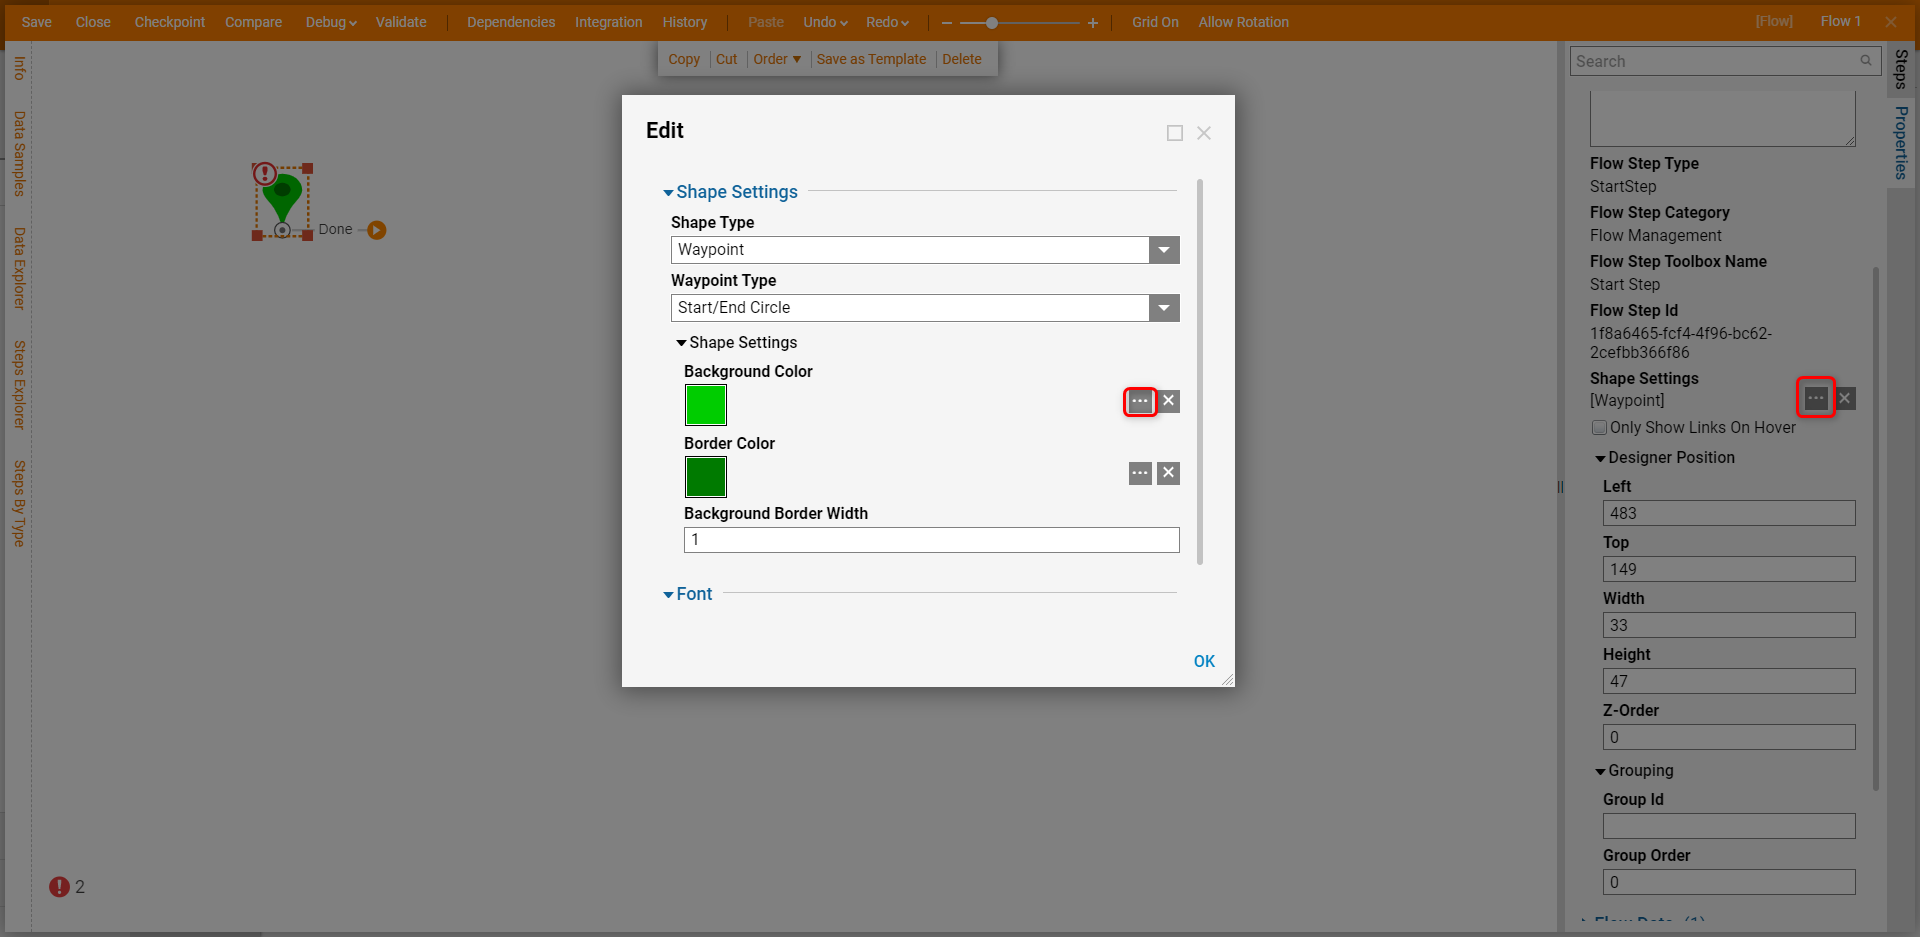
Select a color and click PICK.

Next, pick a different Shape Type. Each Shape Type may have its sub-types and additional Shape Settings like background color, border color, and more.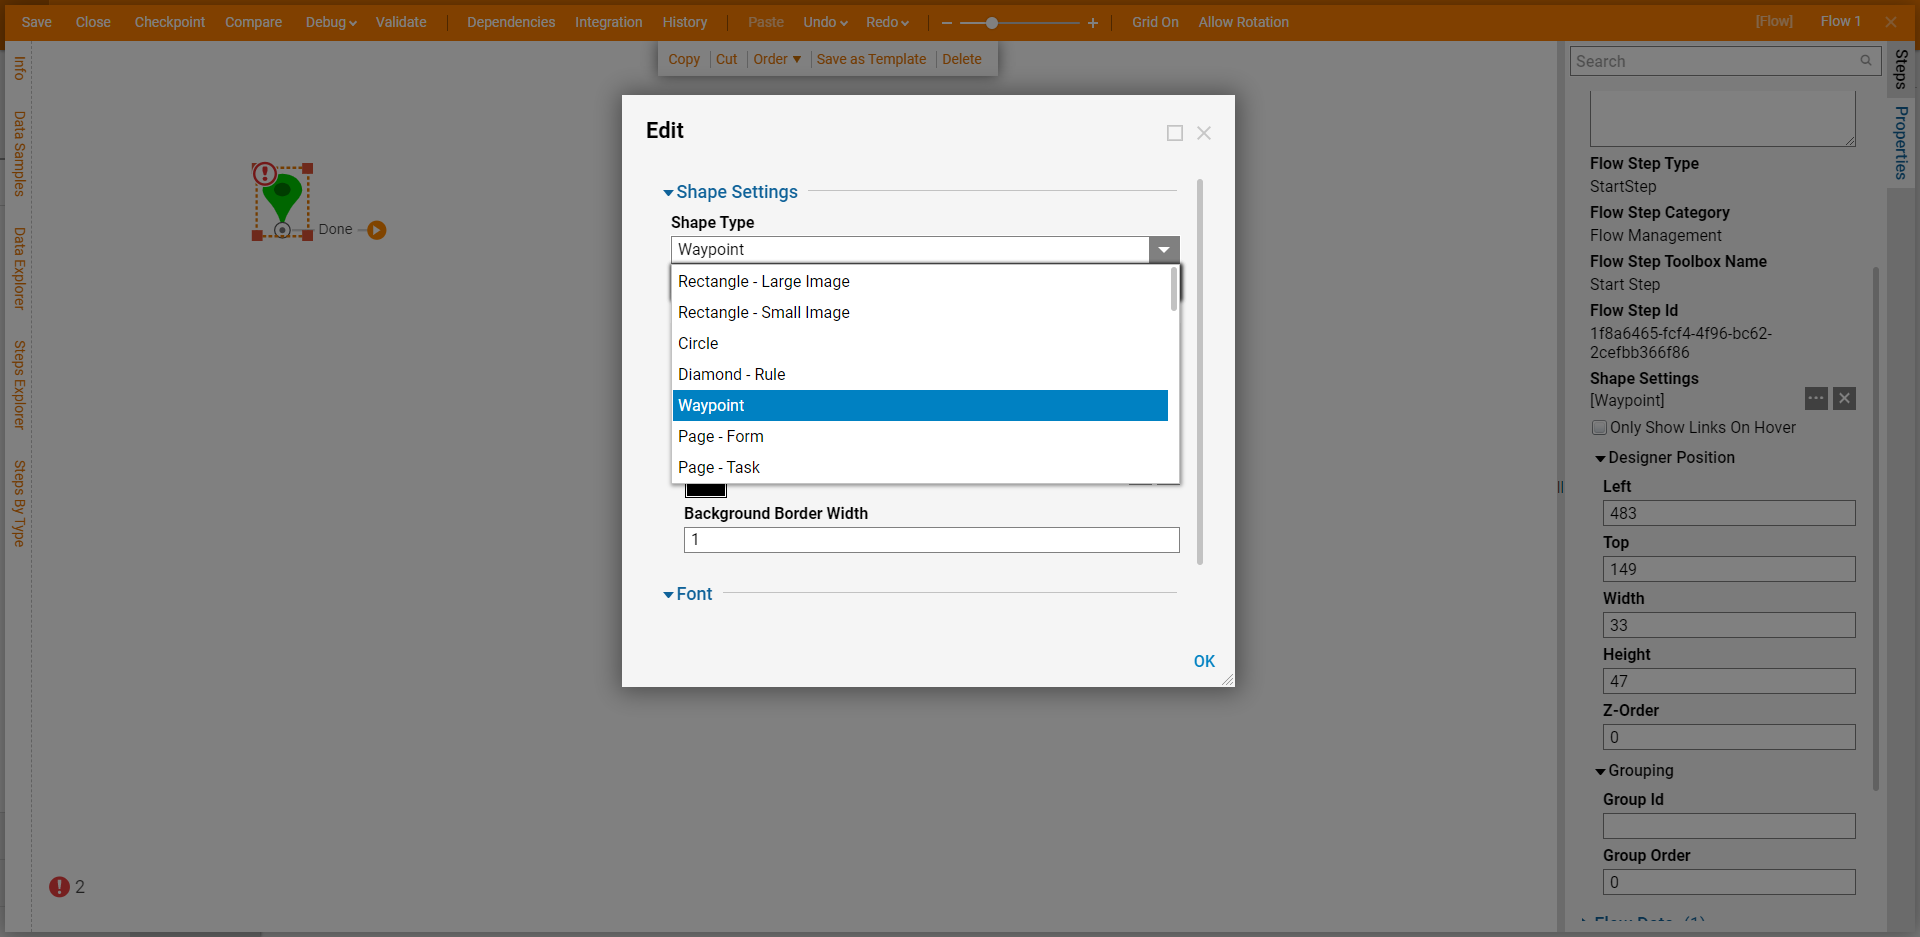
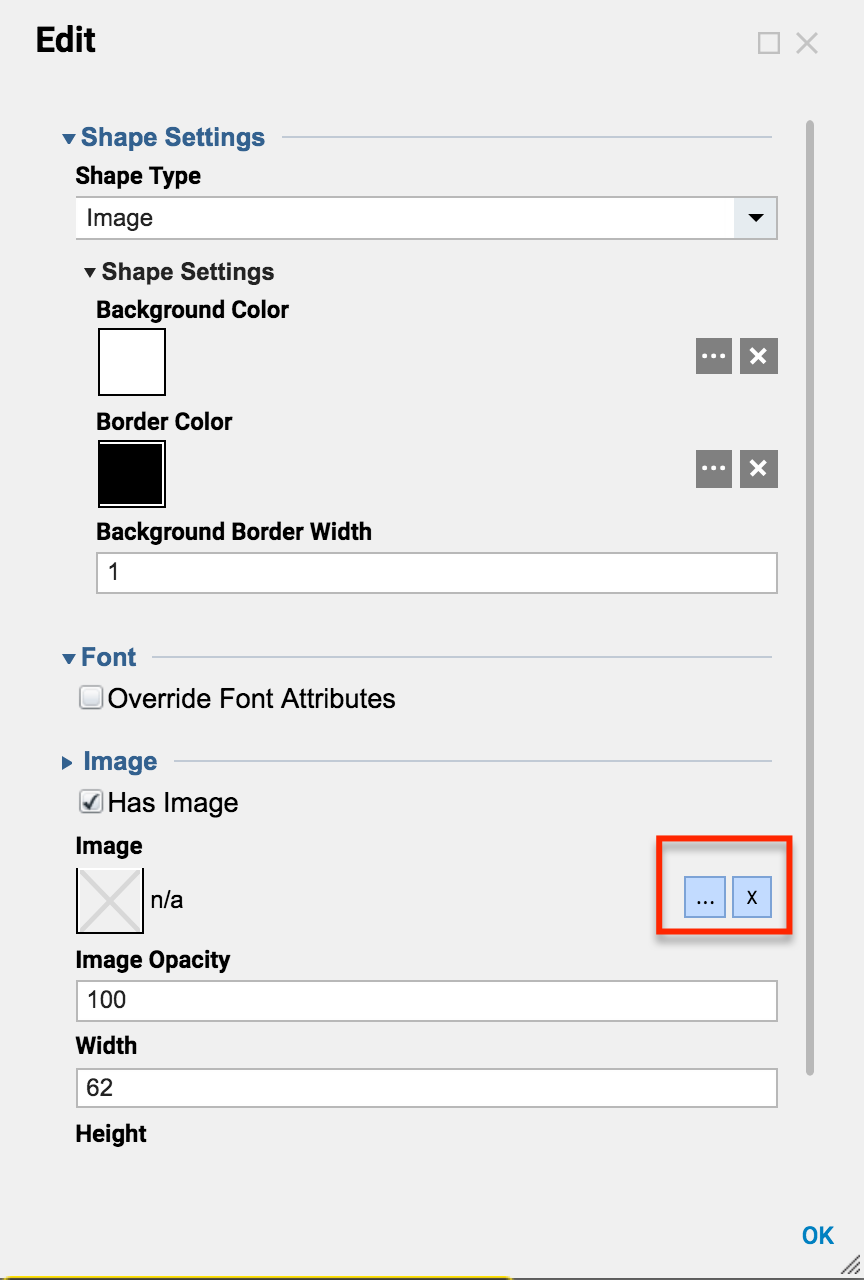
In this example apply an Image to be the Shape Type. Then, in Image settings, check Has Image. Using Image picker and choose an Image file or provide a URL to our file.
In this example pick an image from the icon library by selecting ... next to the image.
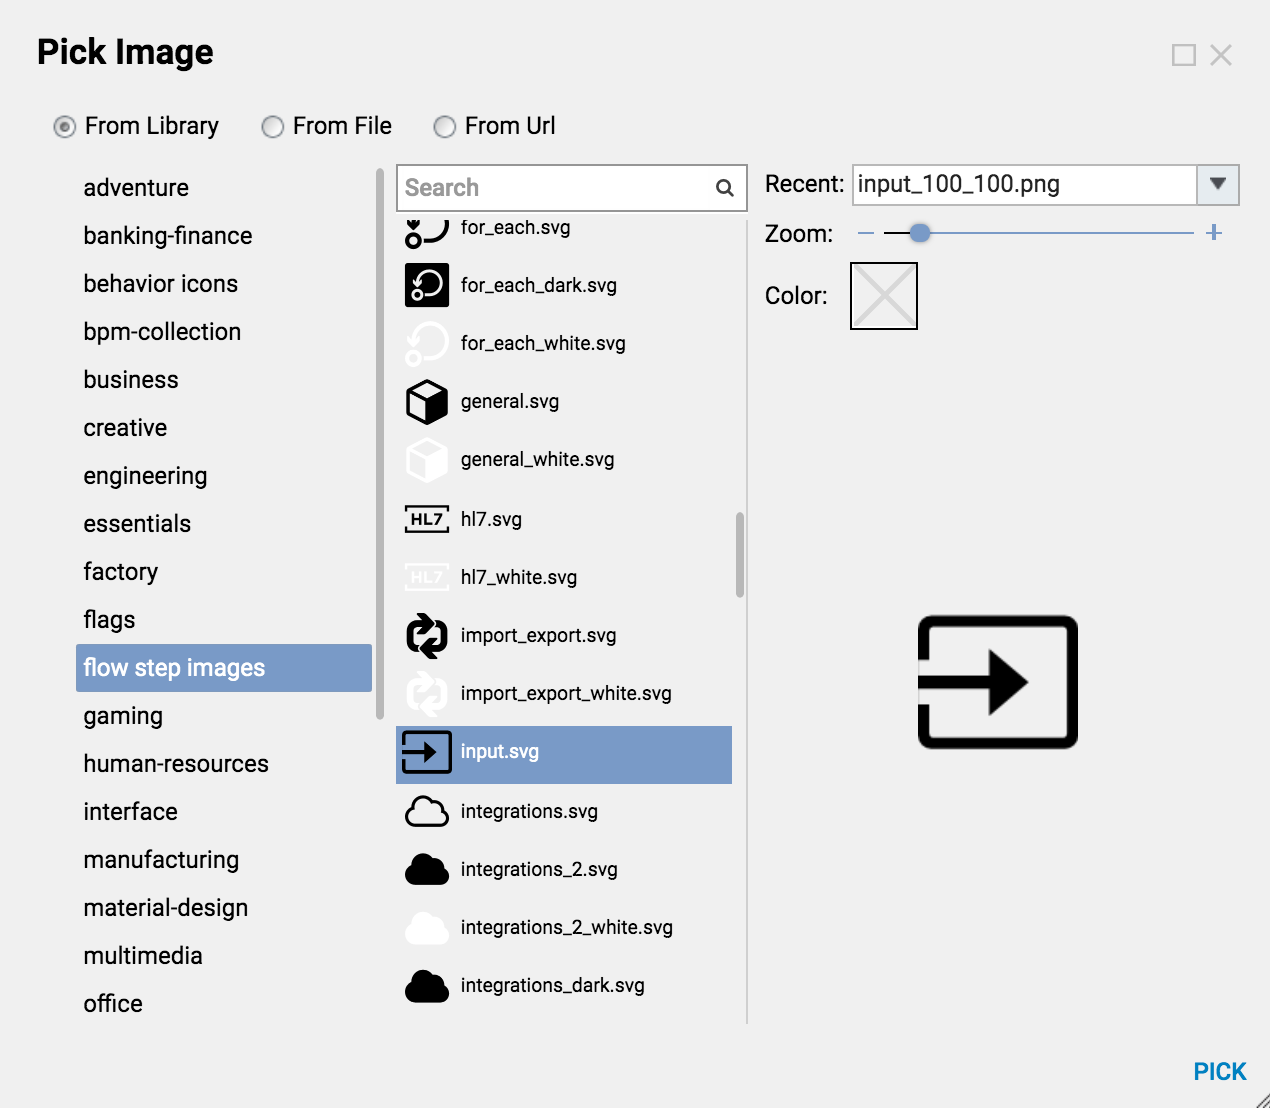
In the Pick Image dialog, there are options to pick an image from Library, upload an image from a file, or pick an image via URL. While selecting an image from the library there is the option to change the color of the image. Pick an icon and select Pick.
Back under Shape Settings, adjust Background Color and Border Color for the Shape. Select 'Ok' to save and continue.
The Start Step Shape now looks as follows.
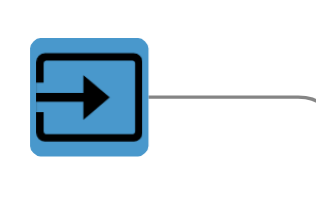
The End Step was also modified in a similar manner.
