Overview
This document will go over setting up Single Sign-On for Azure Active Directory. To follow along with this document users need an Azure iDP setup inside their portal - SAML 2.0. The application needs to be created inside Azure (Be sure to create a Non-Gallery App). A metadata document generated from their application in Azure. SAML module needs to be installed, to learn how to install modules in Decisions please read: Installing Modules in Decisions.
Example
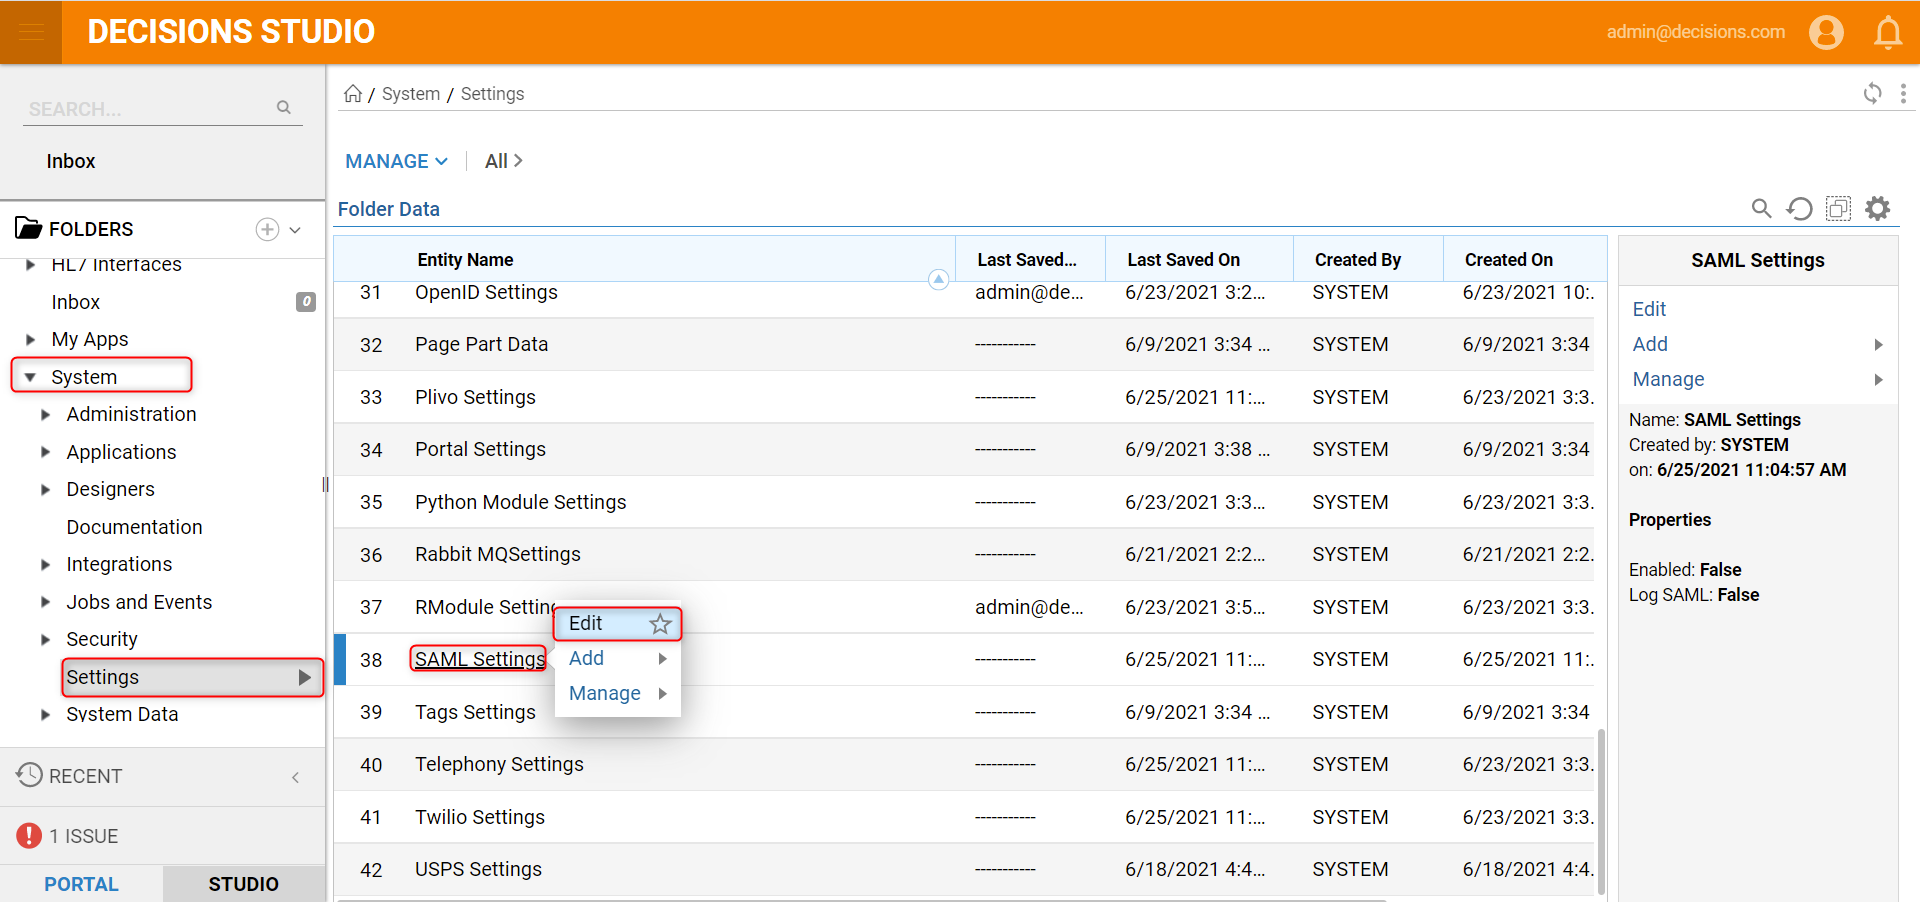
After Service Host Manager is restarted, navigate to the System > Settings in the Portal, locate SAML Settings, right-click and select Edit action.
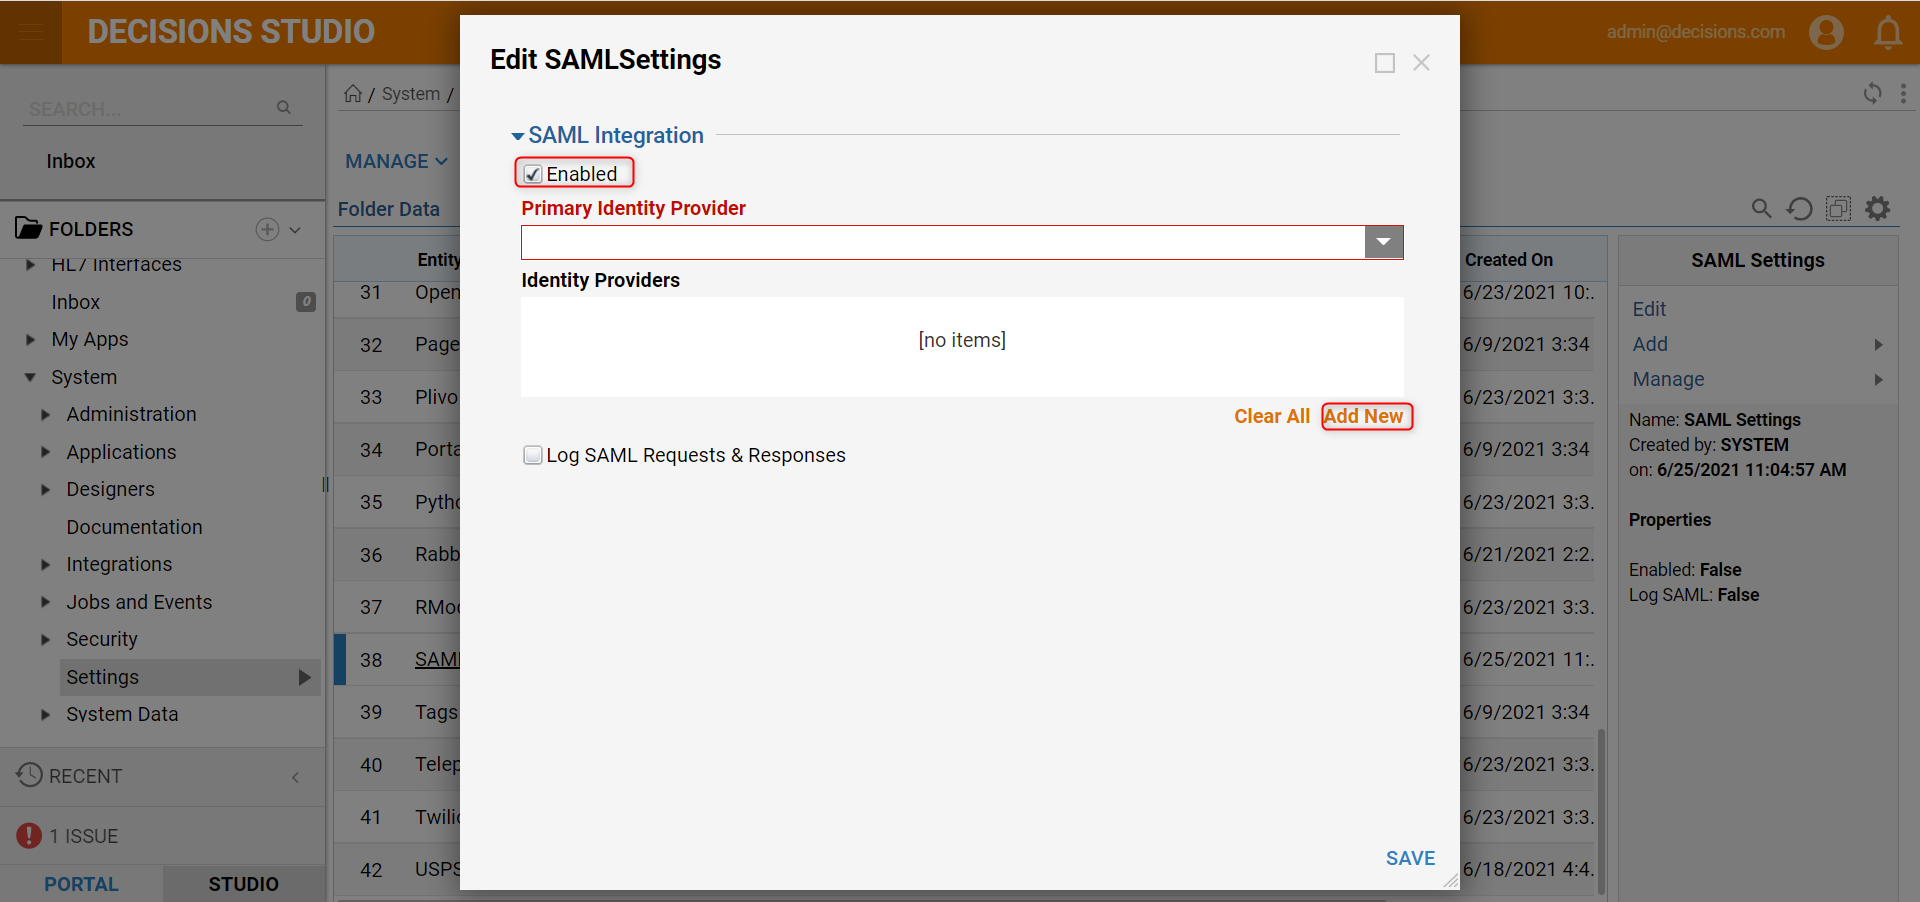
In the resulting Edit SAMLSettings window, under SAML Integration check the Enabled checkbox. Then, in the Identity Providers select Add New.
Give the Identity Provider a Display Name. Metadata Document Preference should either “Fetch Metadata from URL” or “From File”. The Metadata URL is generated by the AD server and is required. This will fill all fields in the module automatically except for the SP Issuer ID. SP Issuer ID is the portal base URL.
Below is a SAML module configured from the metadata URL. The Logout URL is not required.
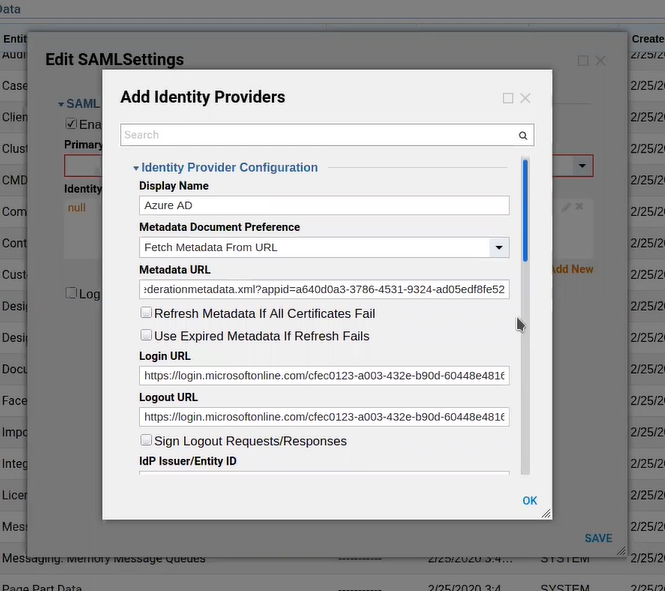
Below is an example Azure Portal and where you can find the metadata URL for a created app.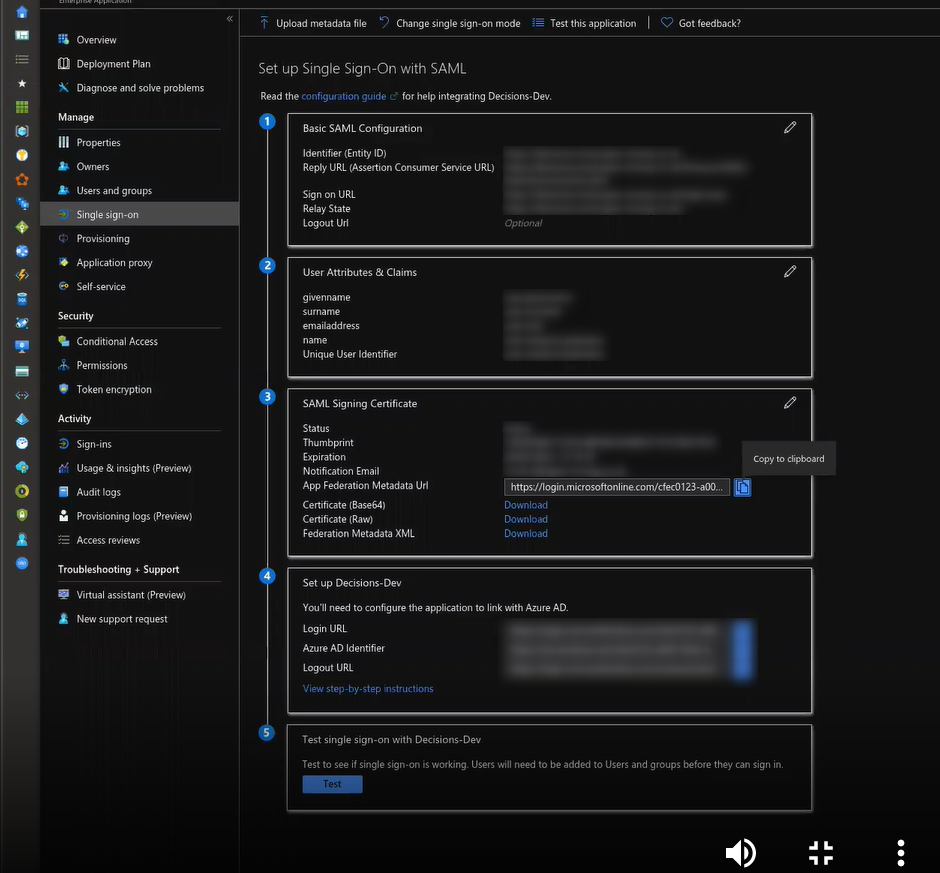
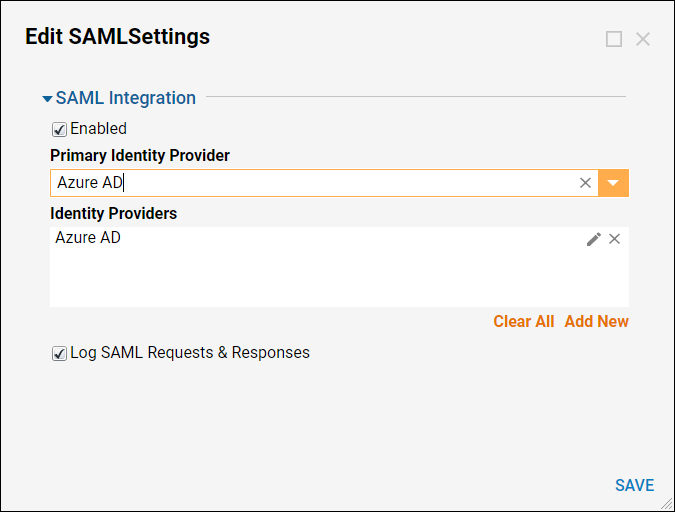
Under Process If User Not Found > Run Flow select 'Pick'. In the Pick Entity dialog search for and select ‘SAMLDefaultCreateAccount’ flow. Select 'Ok'.
Check the checkbox for 'Log SAML Requests & Responses'. These requests and responses are kept in a set of logs called SAML in the Log directory located at C:\Program Files\Decisions\Decisions Services Manager\Logs\SAML.
Enable Single Sign-On for the instance in the Decisions Settings.xml file located at C:\Program Files\Decisions\Decisions Services Manager.
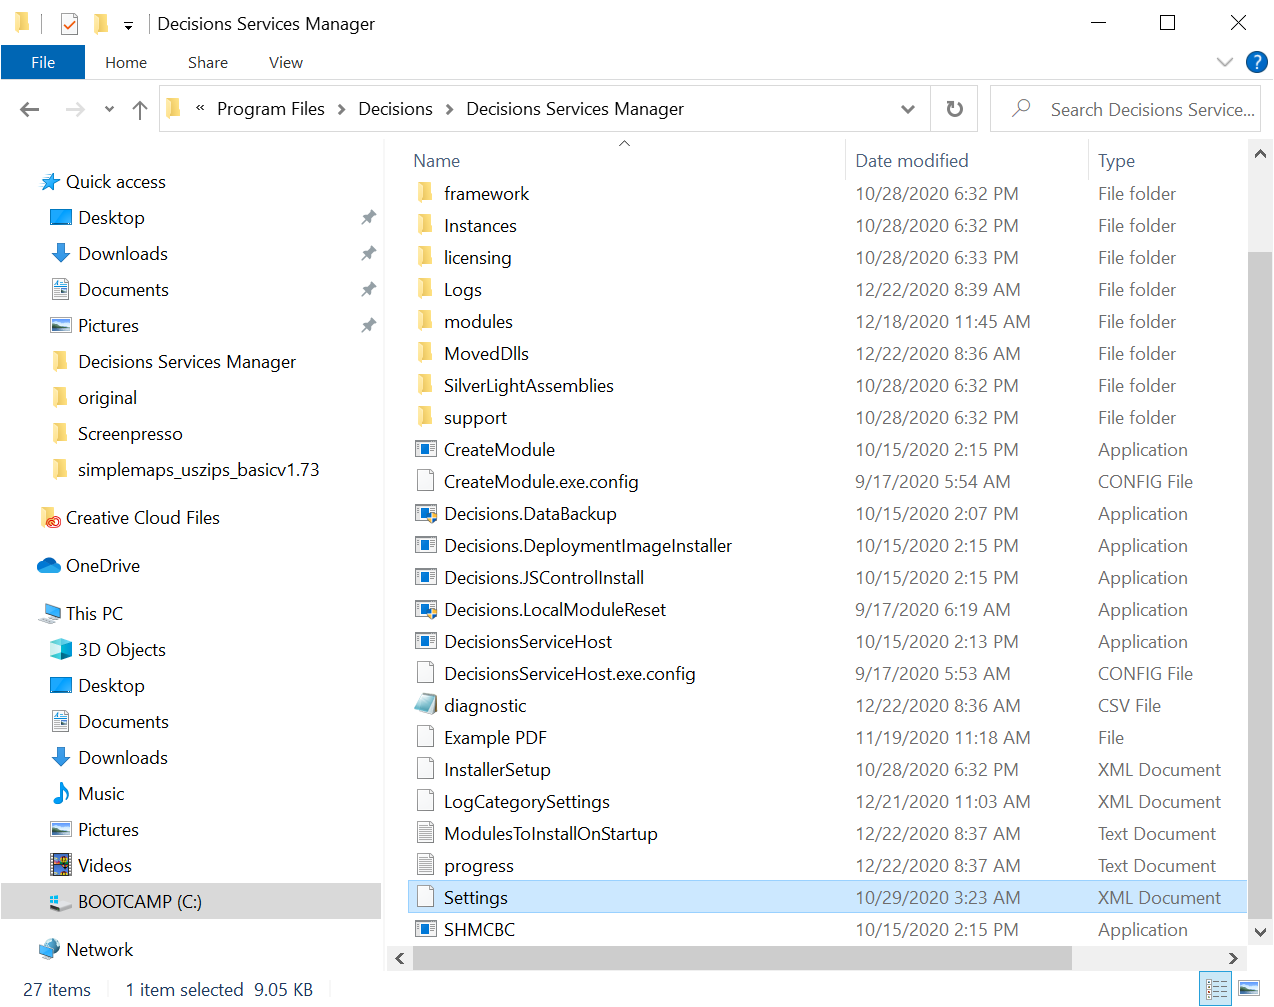
Be sure the following line exists (add it if it doesn’t) and is set to true. After editing and saving settings.xml, restart Service Host Manager. You are now in SAML SSO mode.
<EnableSingleSignOn>true</EnableSingleSignOn>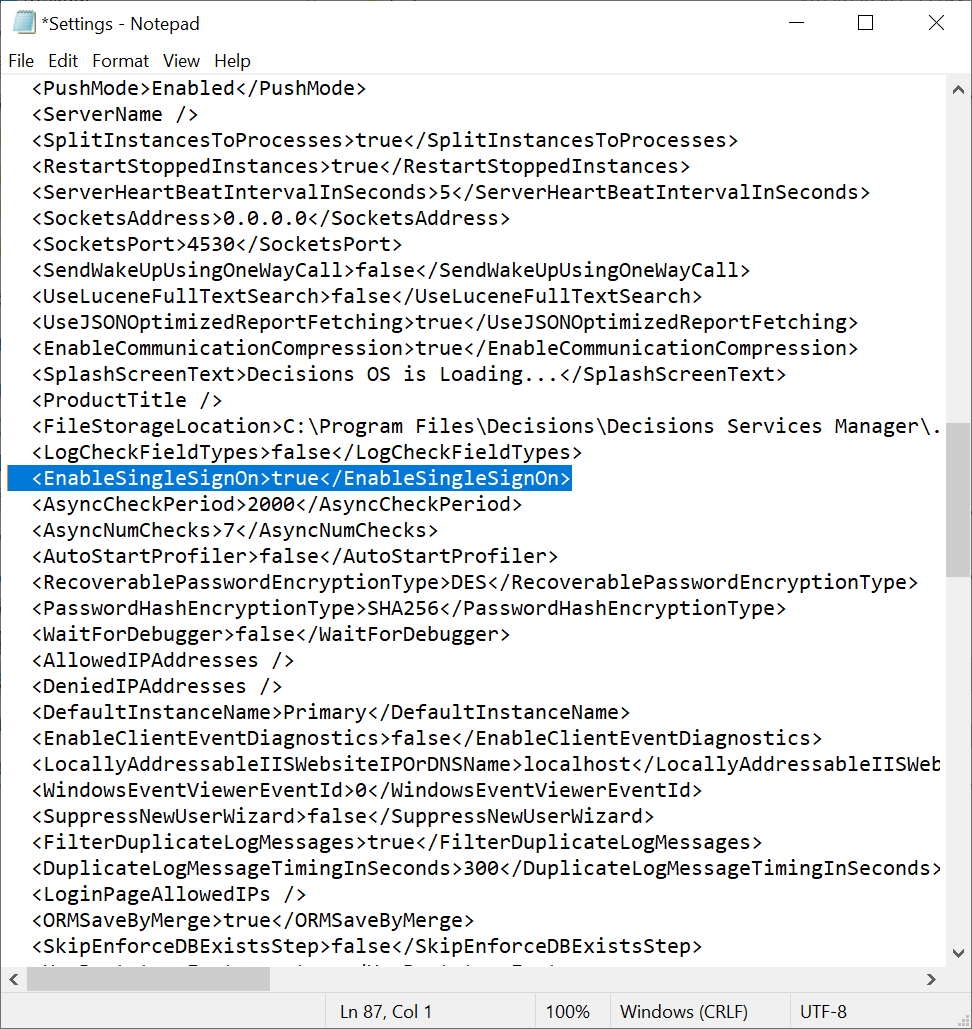
Continue testing on an INCOGNITO SESSION - Use the first open session to uncheck the ‘Enabled’ button in the SAML module should something not work. This saves users from having to set EnableSSO to false and restarting Service Host Manager again.
Troubleshooting
Converting a local account to a SAML/SSO account? Updating the User Identifier still errors out.
- Modify the UserID of the account
- Could also use SQL to modify the entity_account table and change the type of account
- Create a new account after SAML has been turned on and add it to the admin group
Redirect is working only on refresh on initial login;
- Check the ‘retry on log-in’ checkbox
- Ensure they have “/Login.apx” at the end of the Sign-on URL (case-sensitive)
“Context can only be used from localhost” error
Add the IP/Domain to the list of ‘LoginAllowedIPs’ in the Settings.XML file
(1.1.1.1 used as an example)
