Overview
In the Report Designer, the Data Fields that are added appear as columns and the corresponding data appears in each row. When the name of a Data Field is selected, the Properties for the selected field will automatically populate. There are typically four configuration sections associated with a Data Field column, but there can sometimes be more. The default settings for columns are in place to ensure that the Report populates with data as expected during runtime.
Example
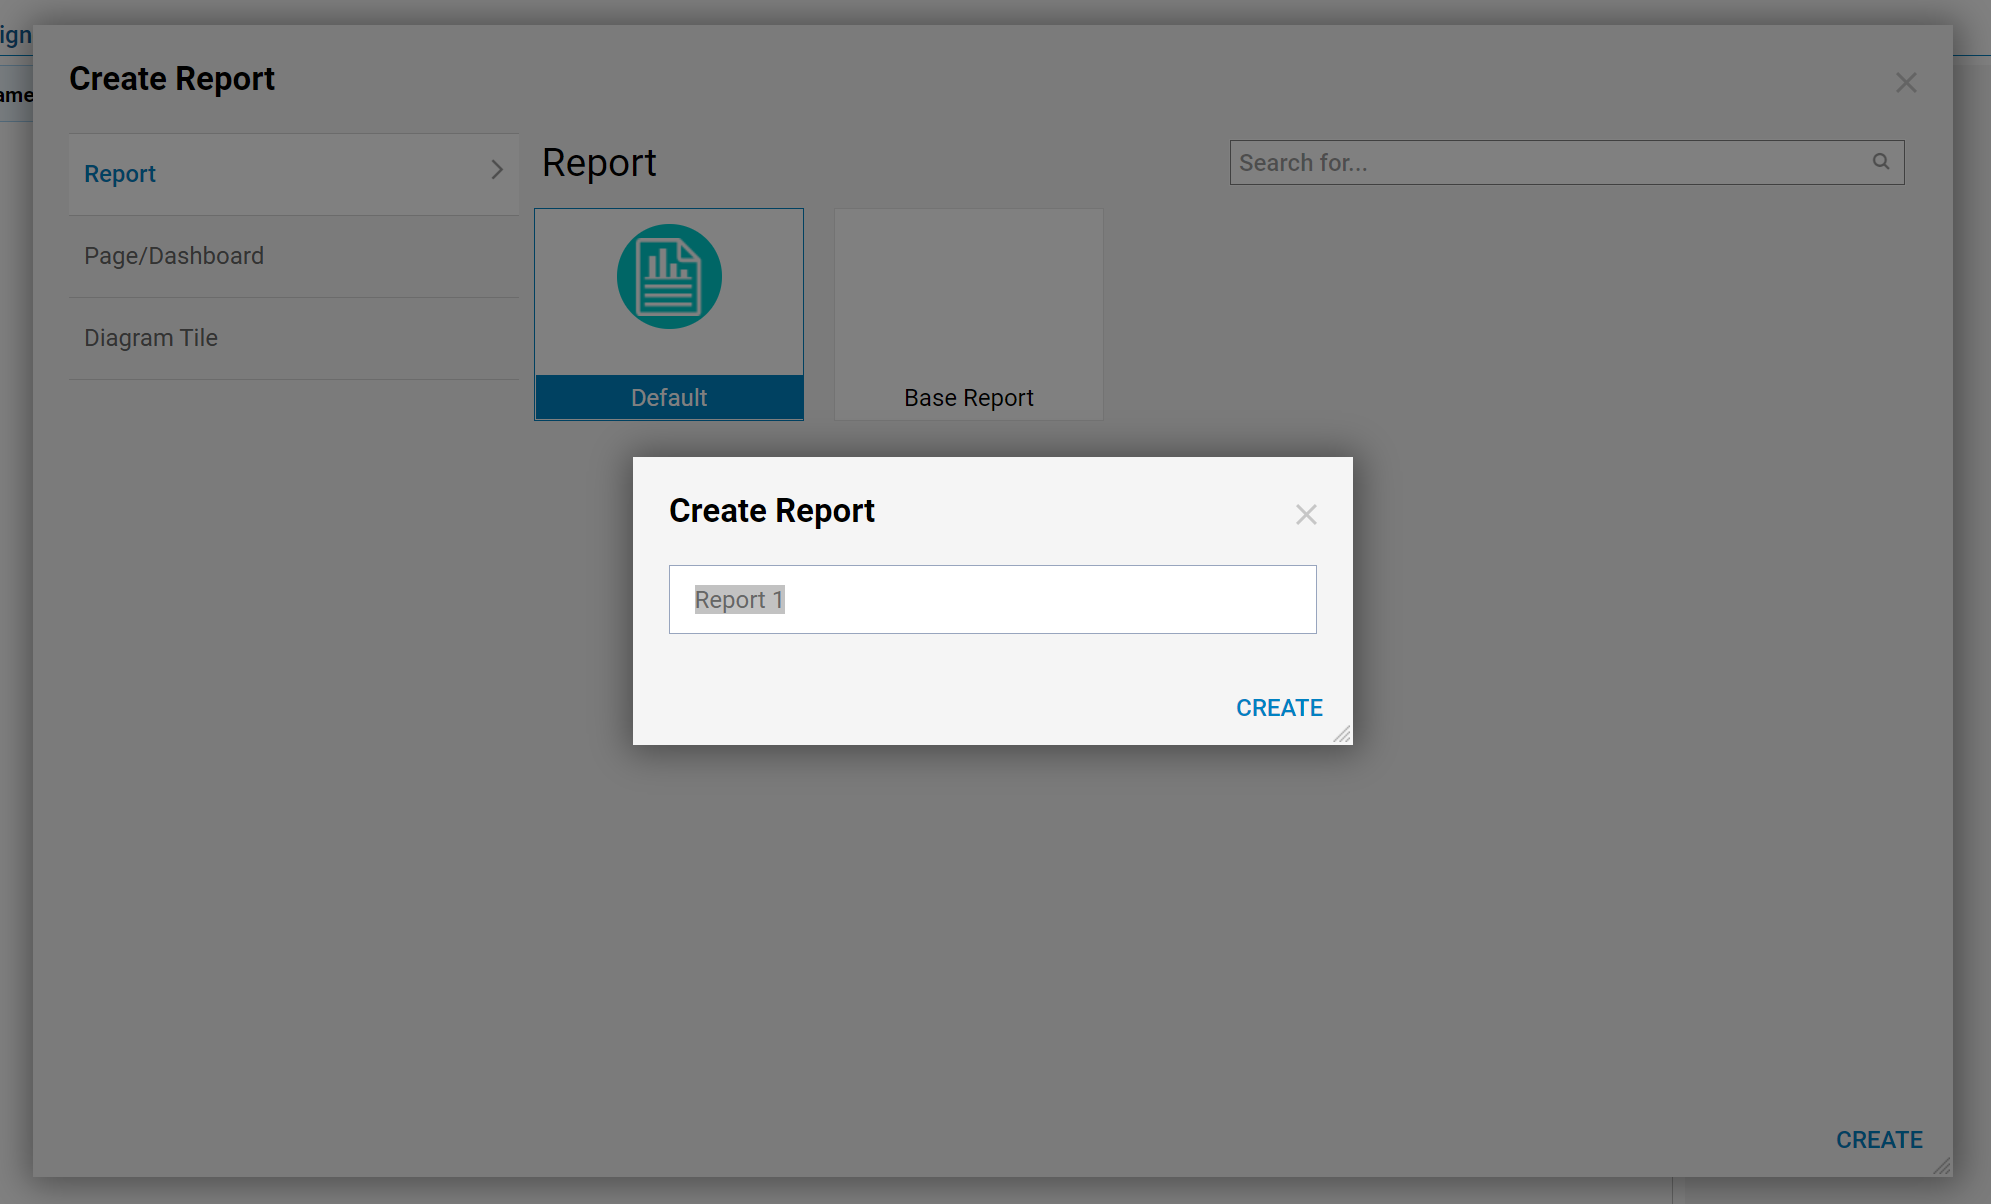
- To begin, navigate to a Designer Folder and click on the CREATE REPORT button in the bottom action panel.
- In the Create Report window, select and name the Default Report and click CREATE.
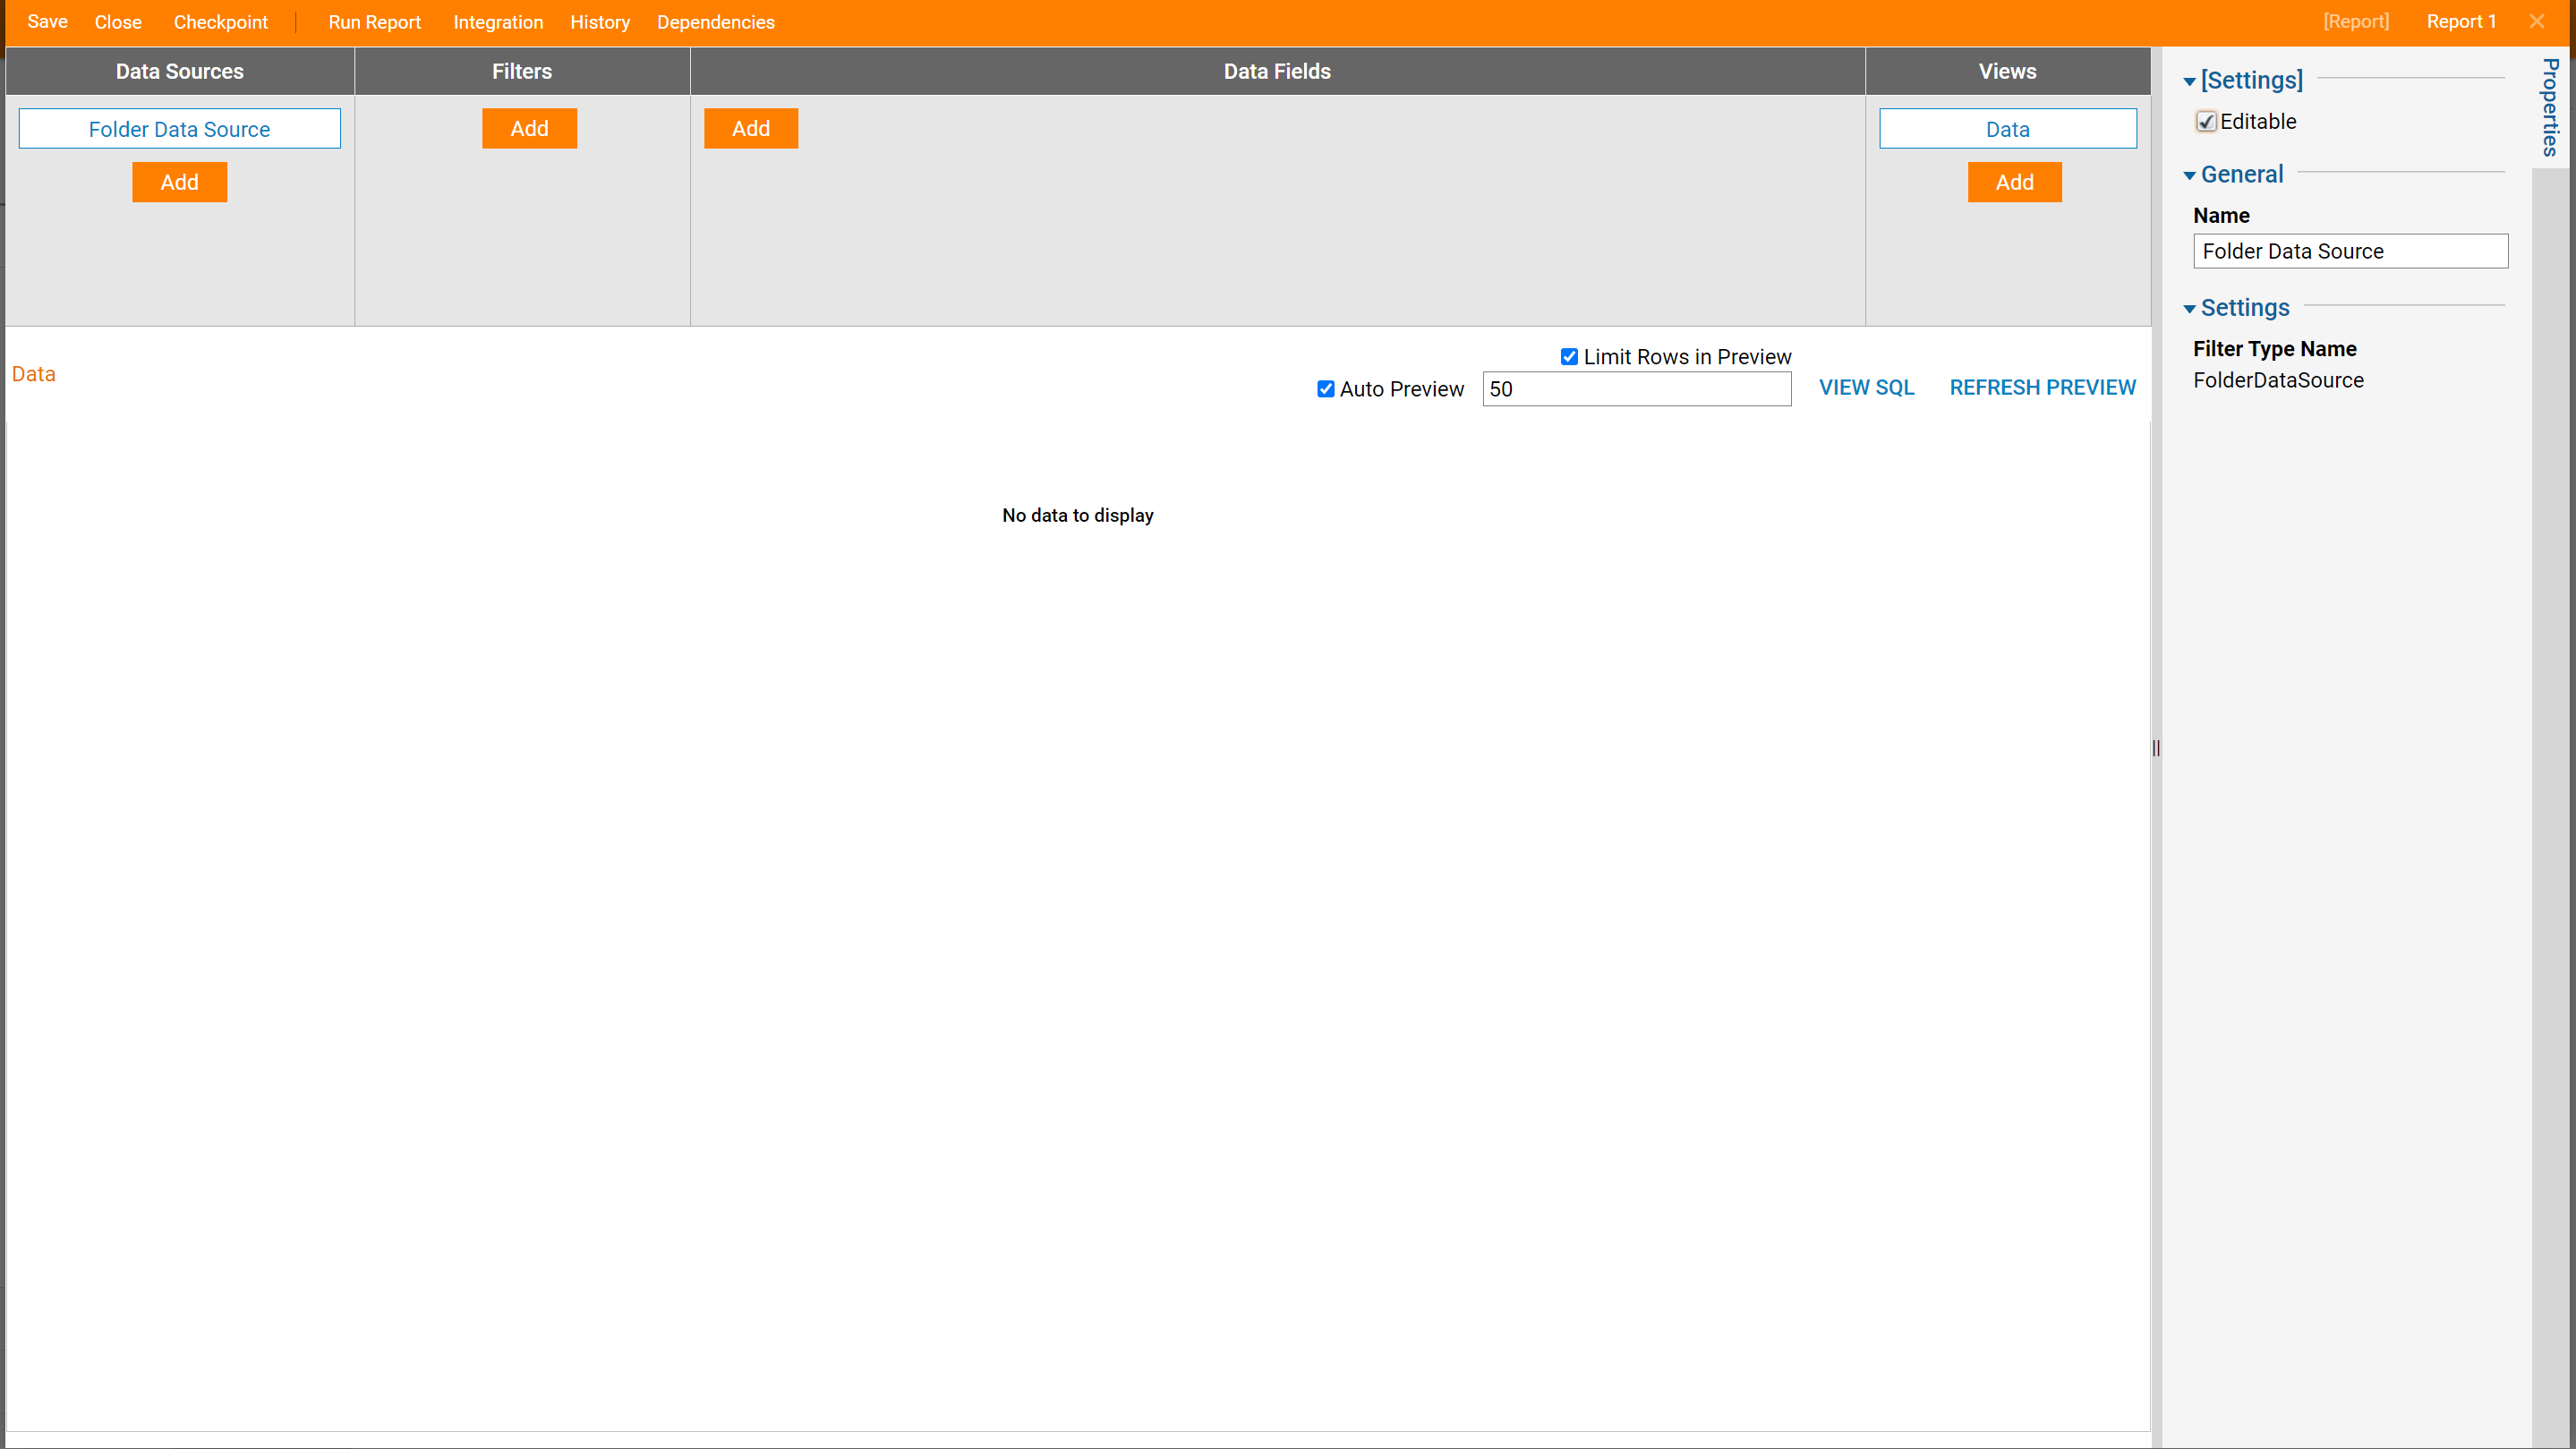
- Define a Data Source for the Report by selecting Folder Data Source for the Sources list from the Data Sources > Common category in the Toolbox Panel.
- From the Data Field field select the Add button and choose Entity Name, Folder Type Name, and Nesting Level as our columns.
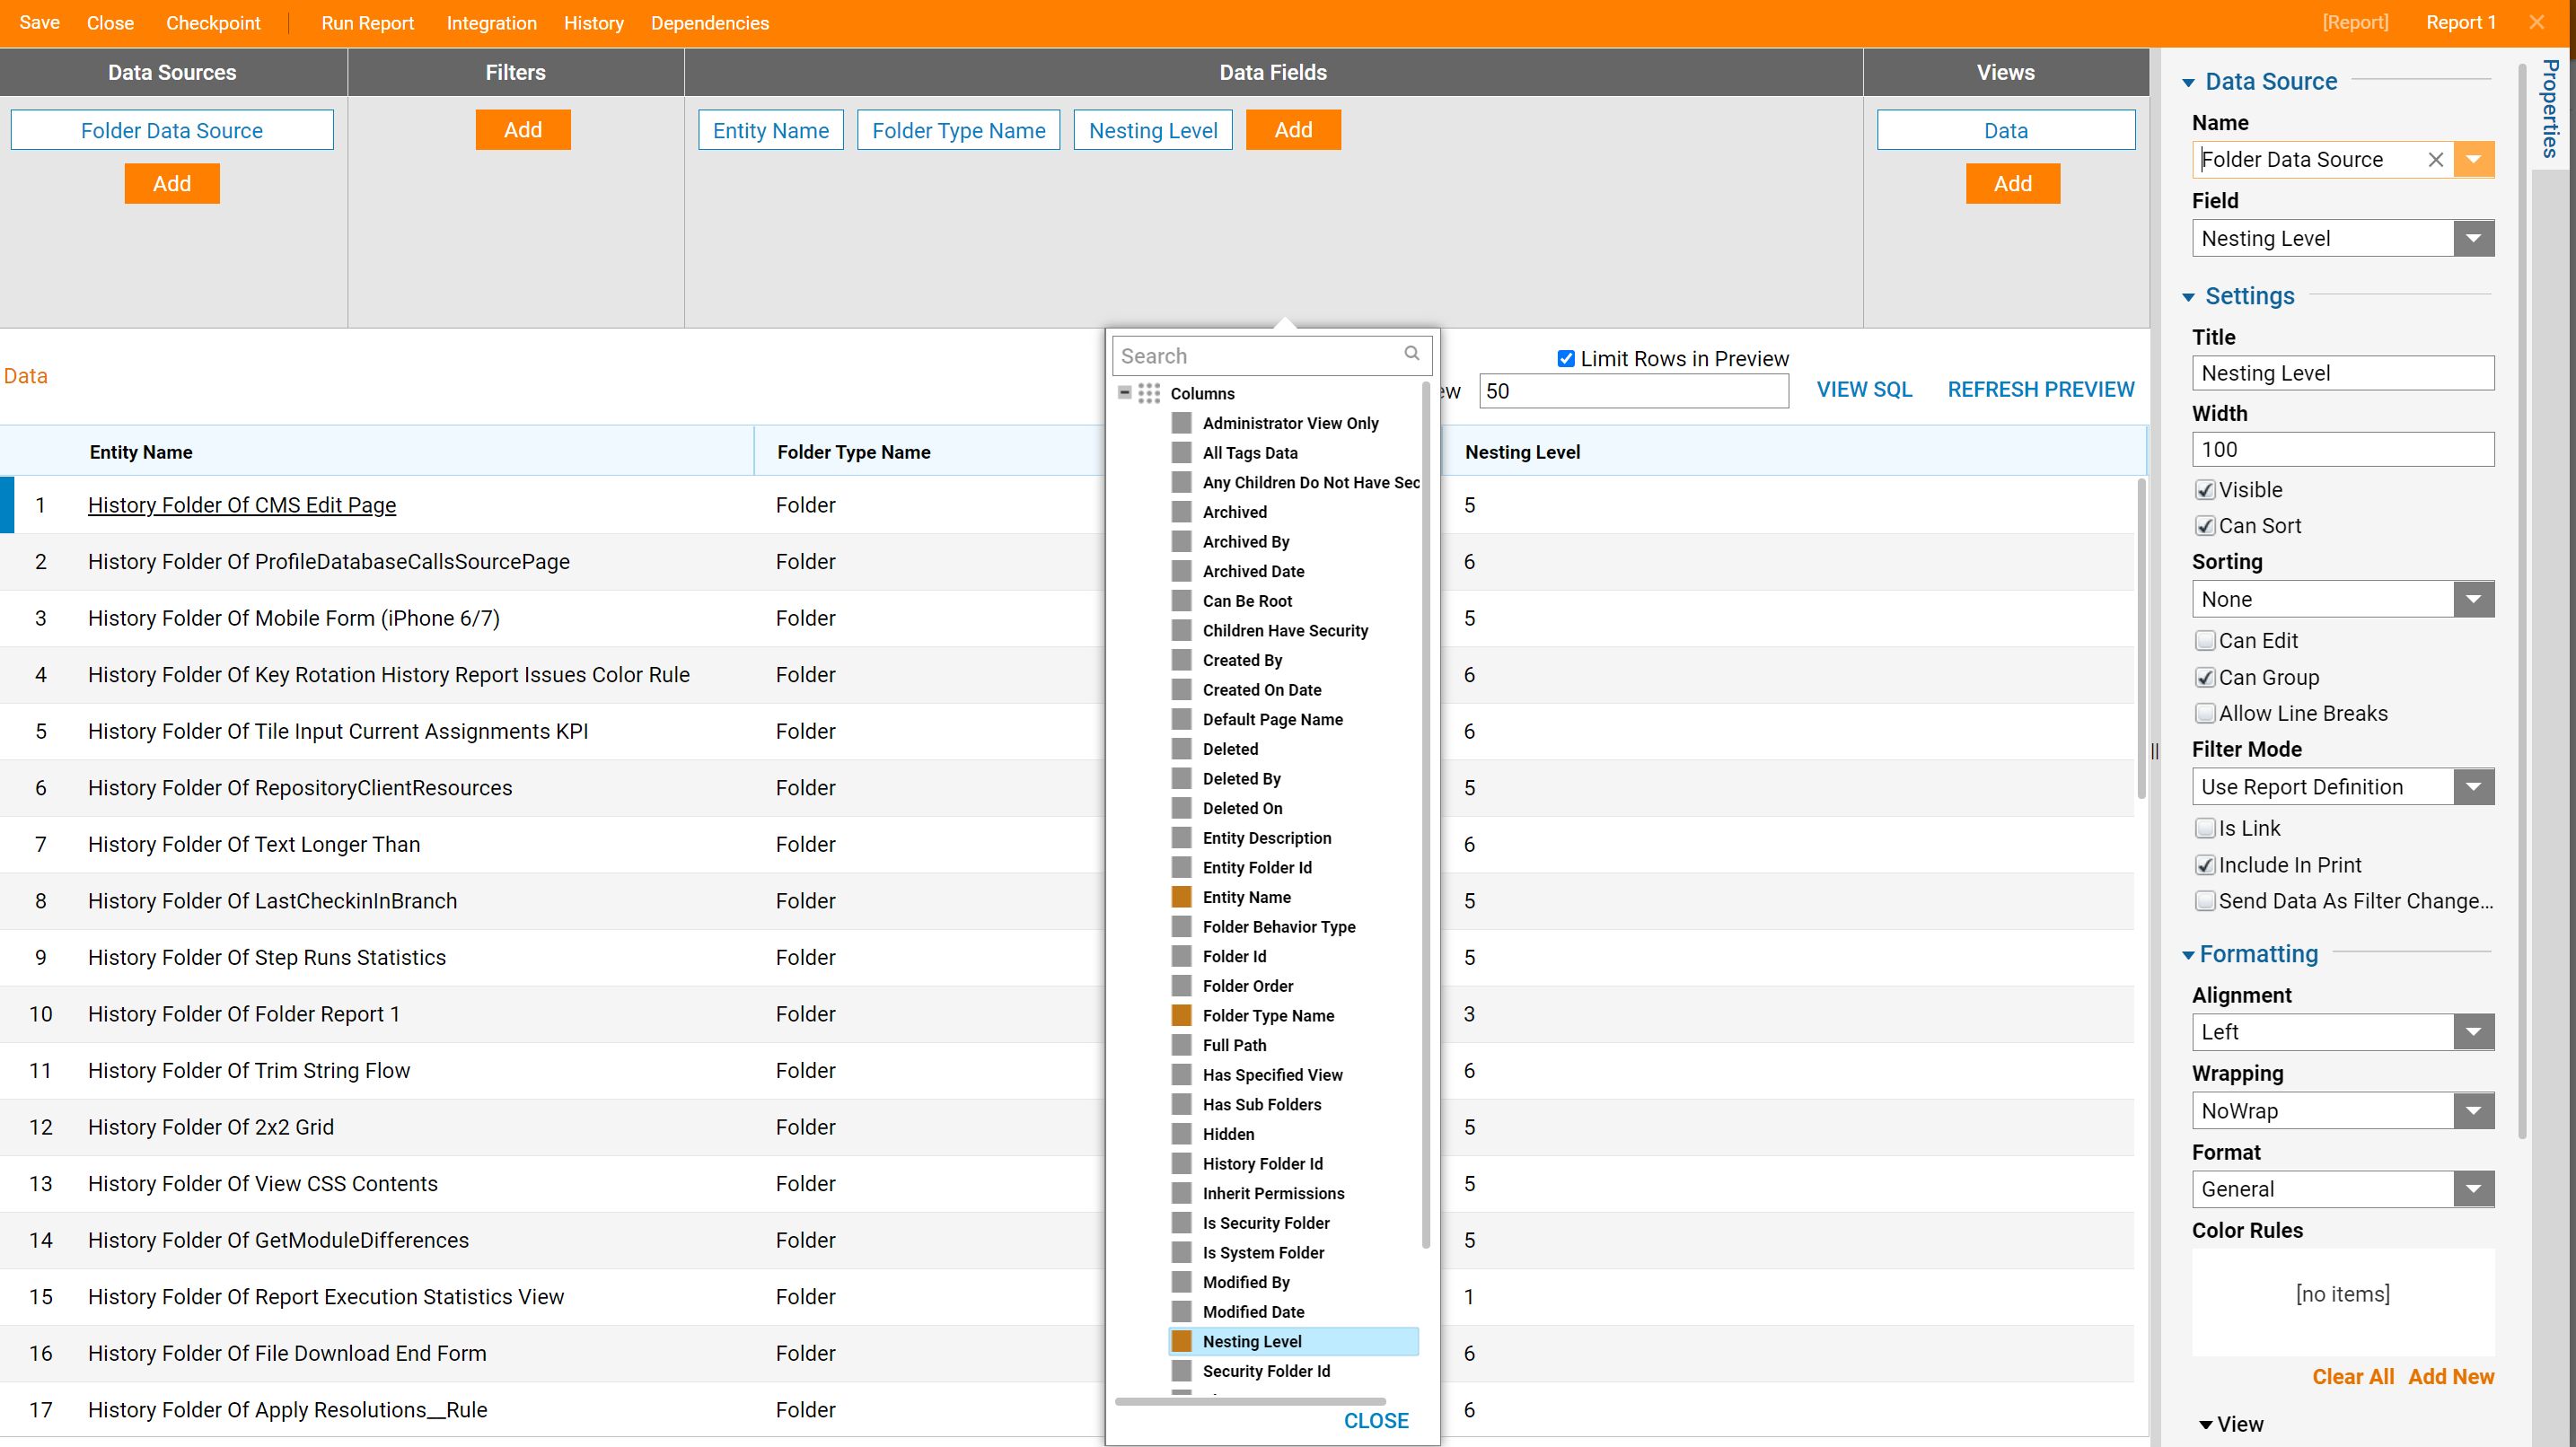
- Next, resize the Entity Name column to be 250 pixels wide.
- In the Properties panel, under the Settings section, select the Width field and type “250”.
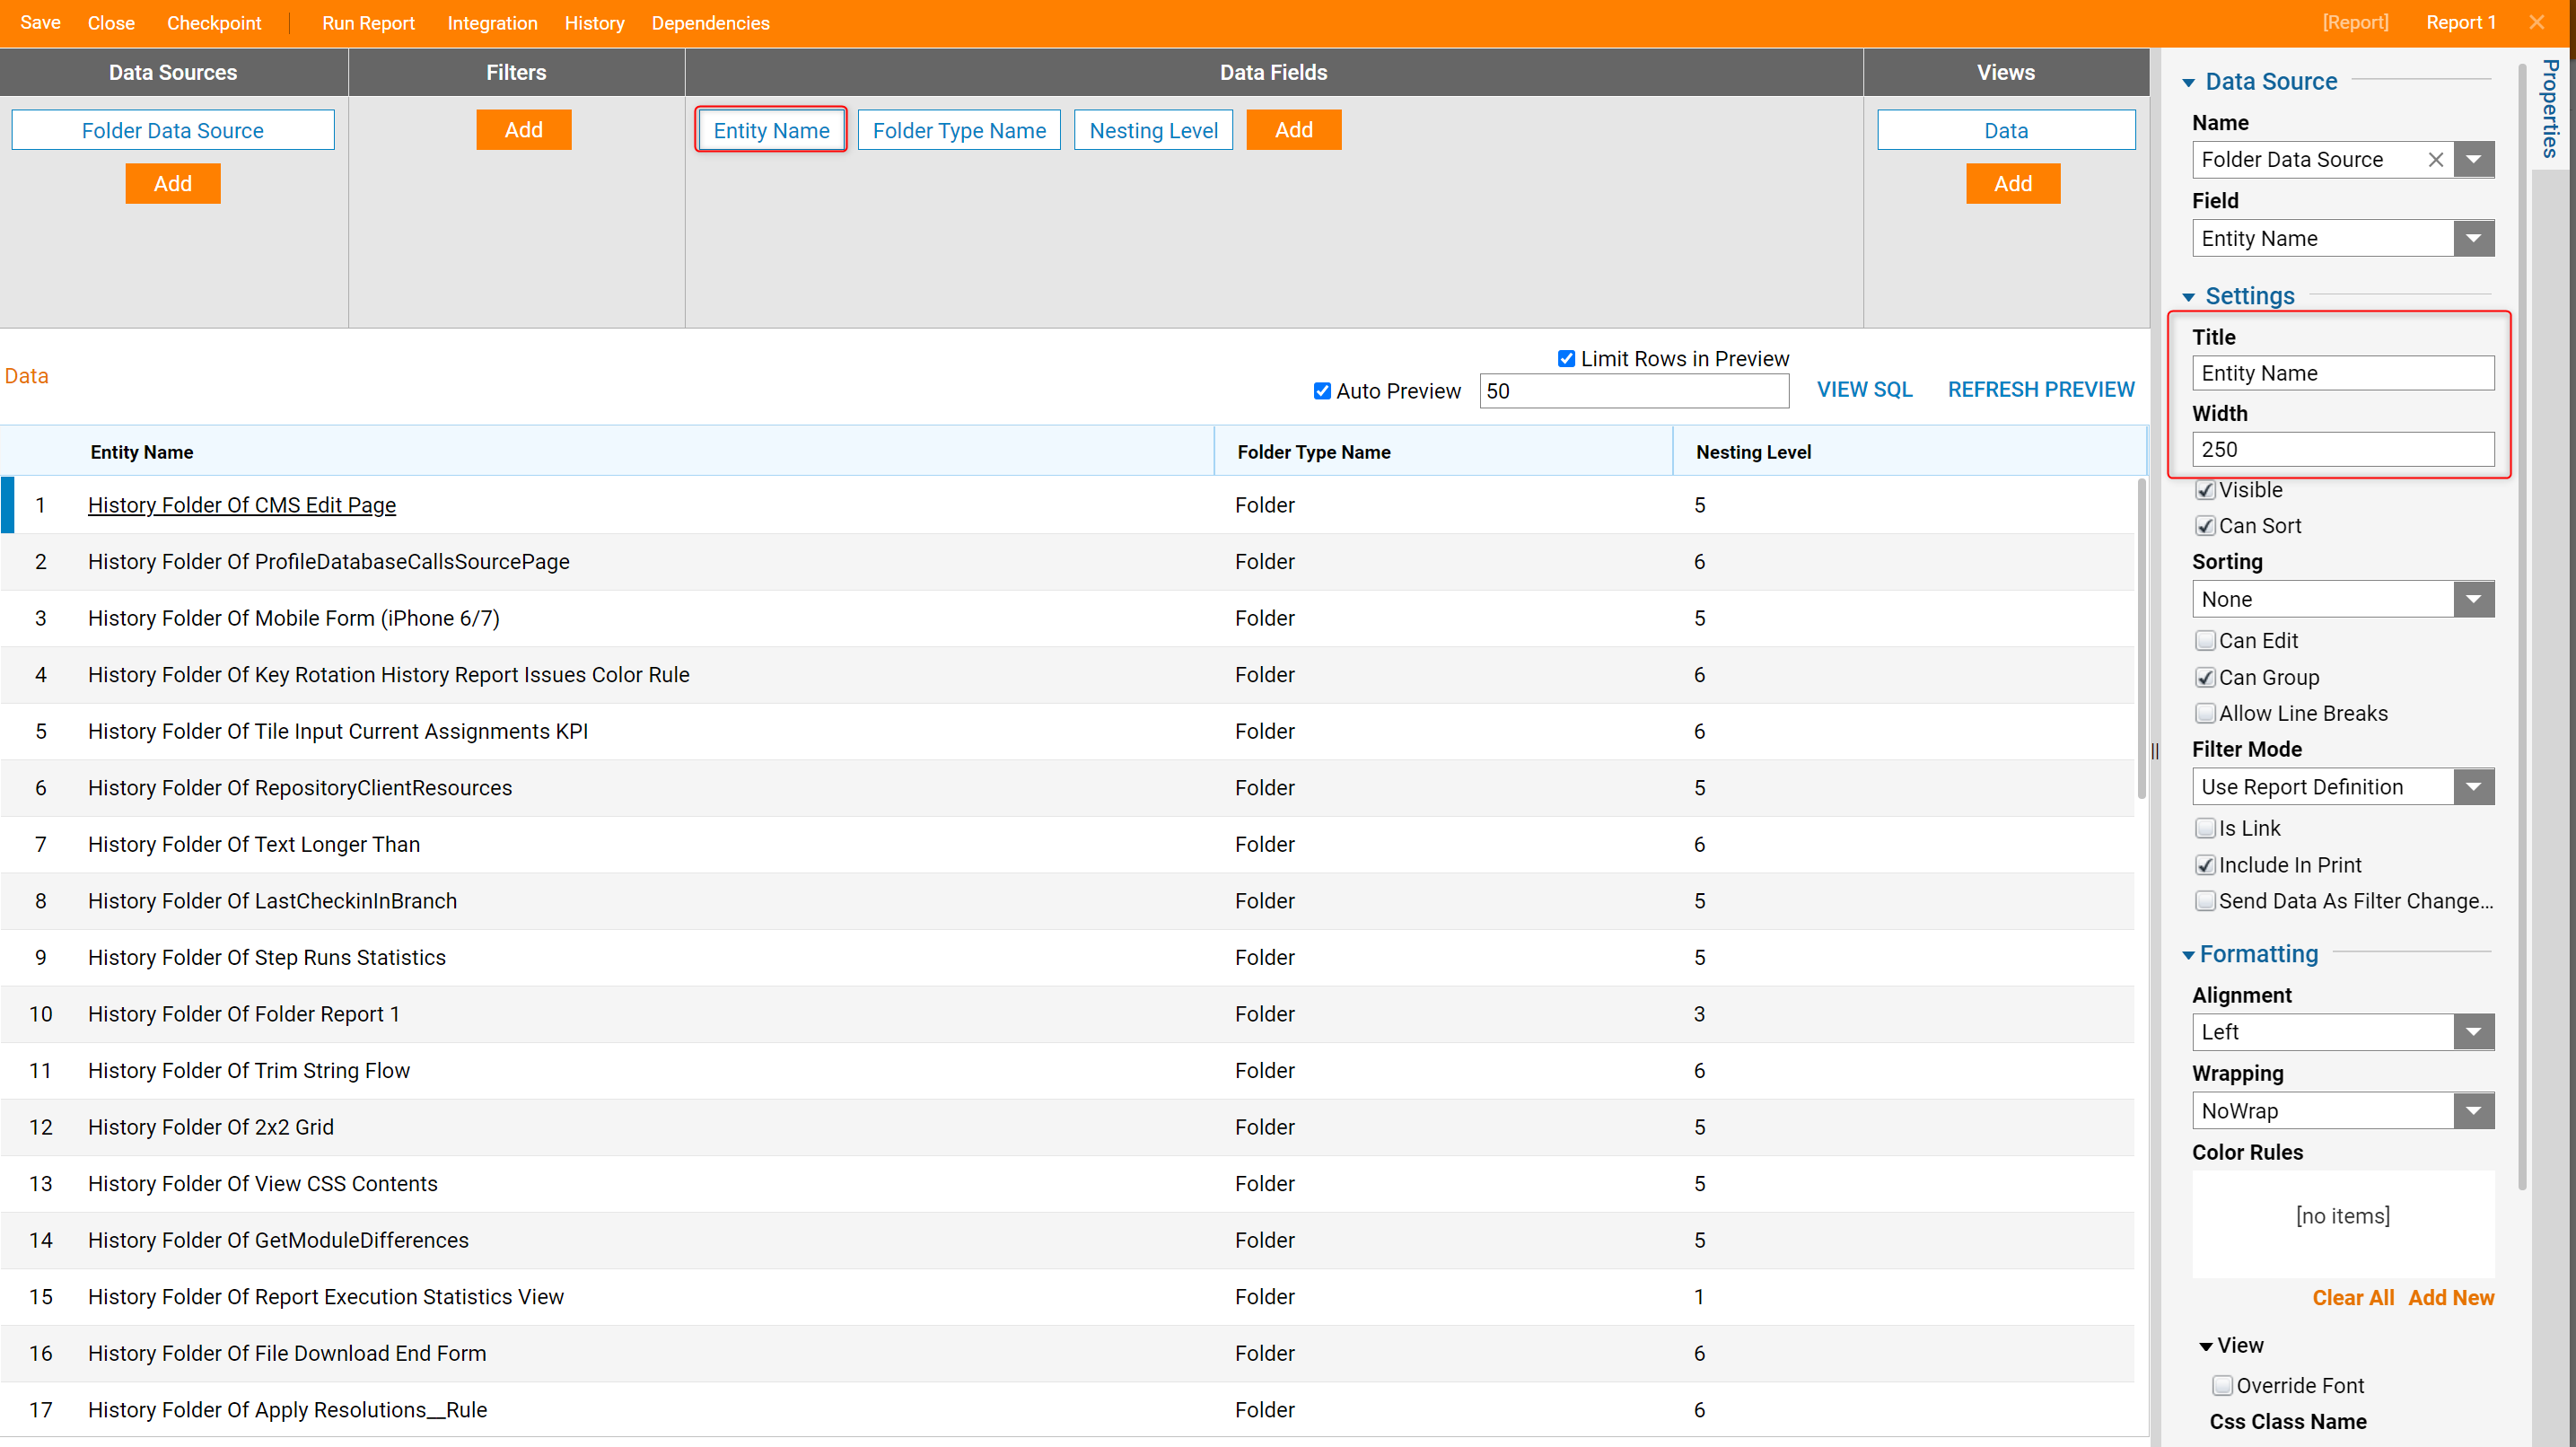
- To see the change, click the Refresh Preview button; the Entity Name column will be 250 pixels wide.
- Next, resize the Folder Type column to be 250 pixels wide.
- In the Properties panel, under the Settings section, select the Width field and type “250”.
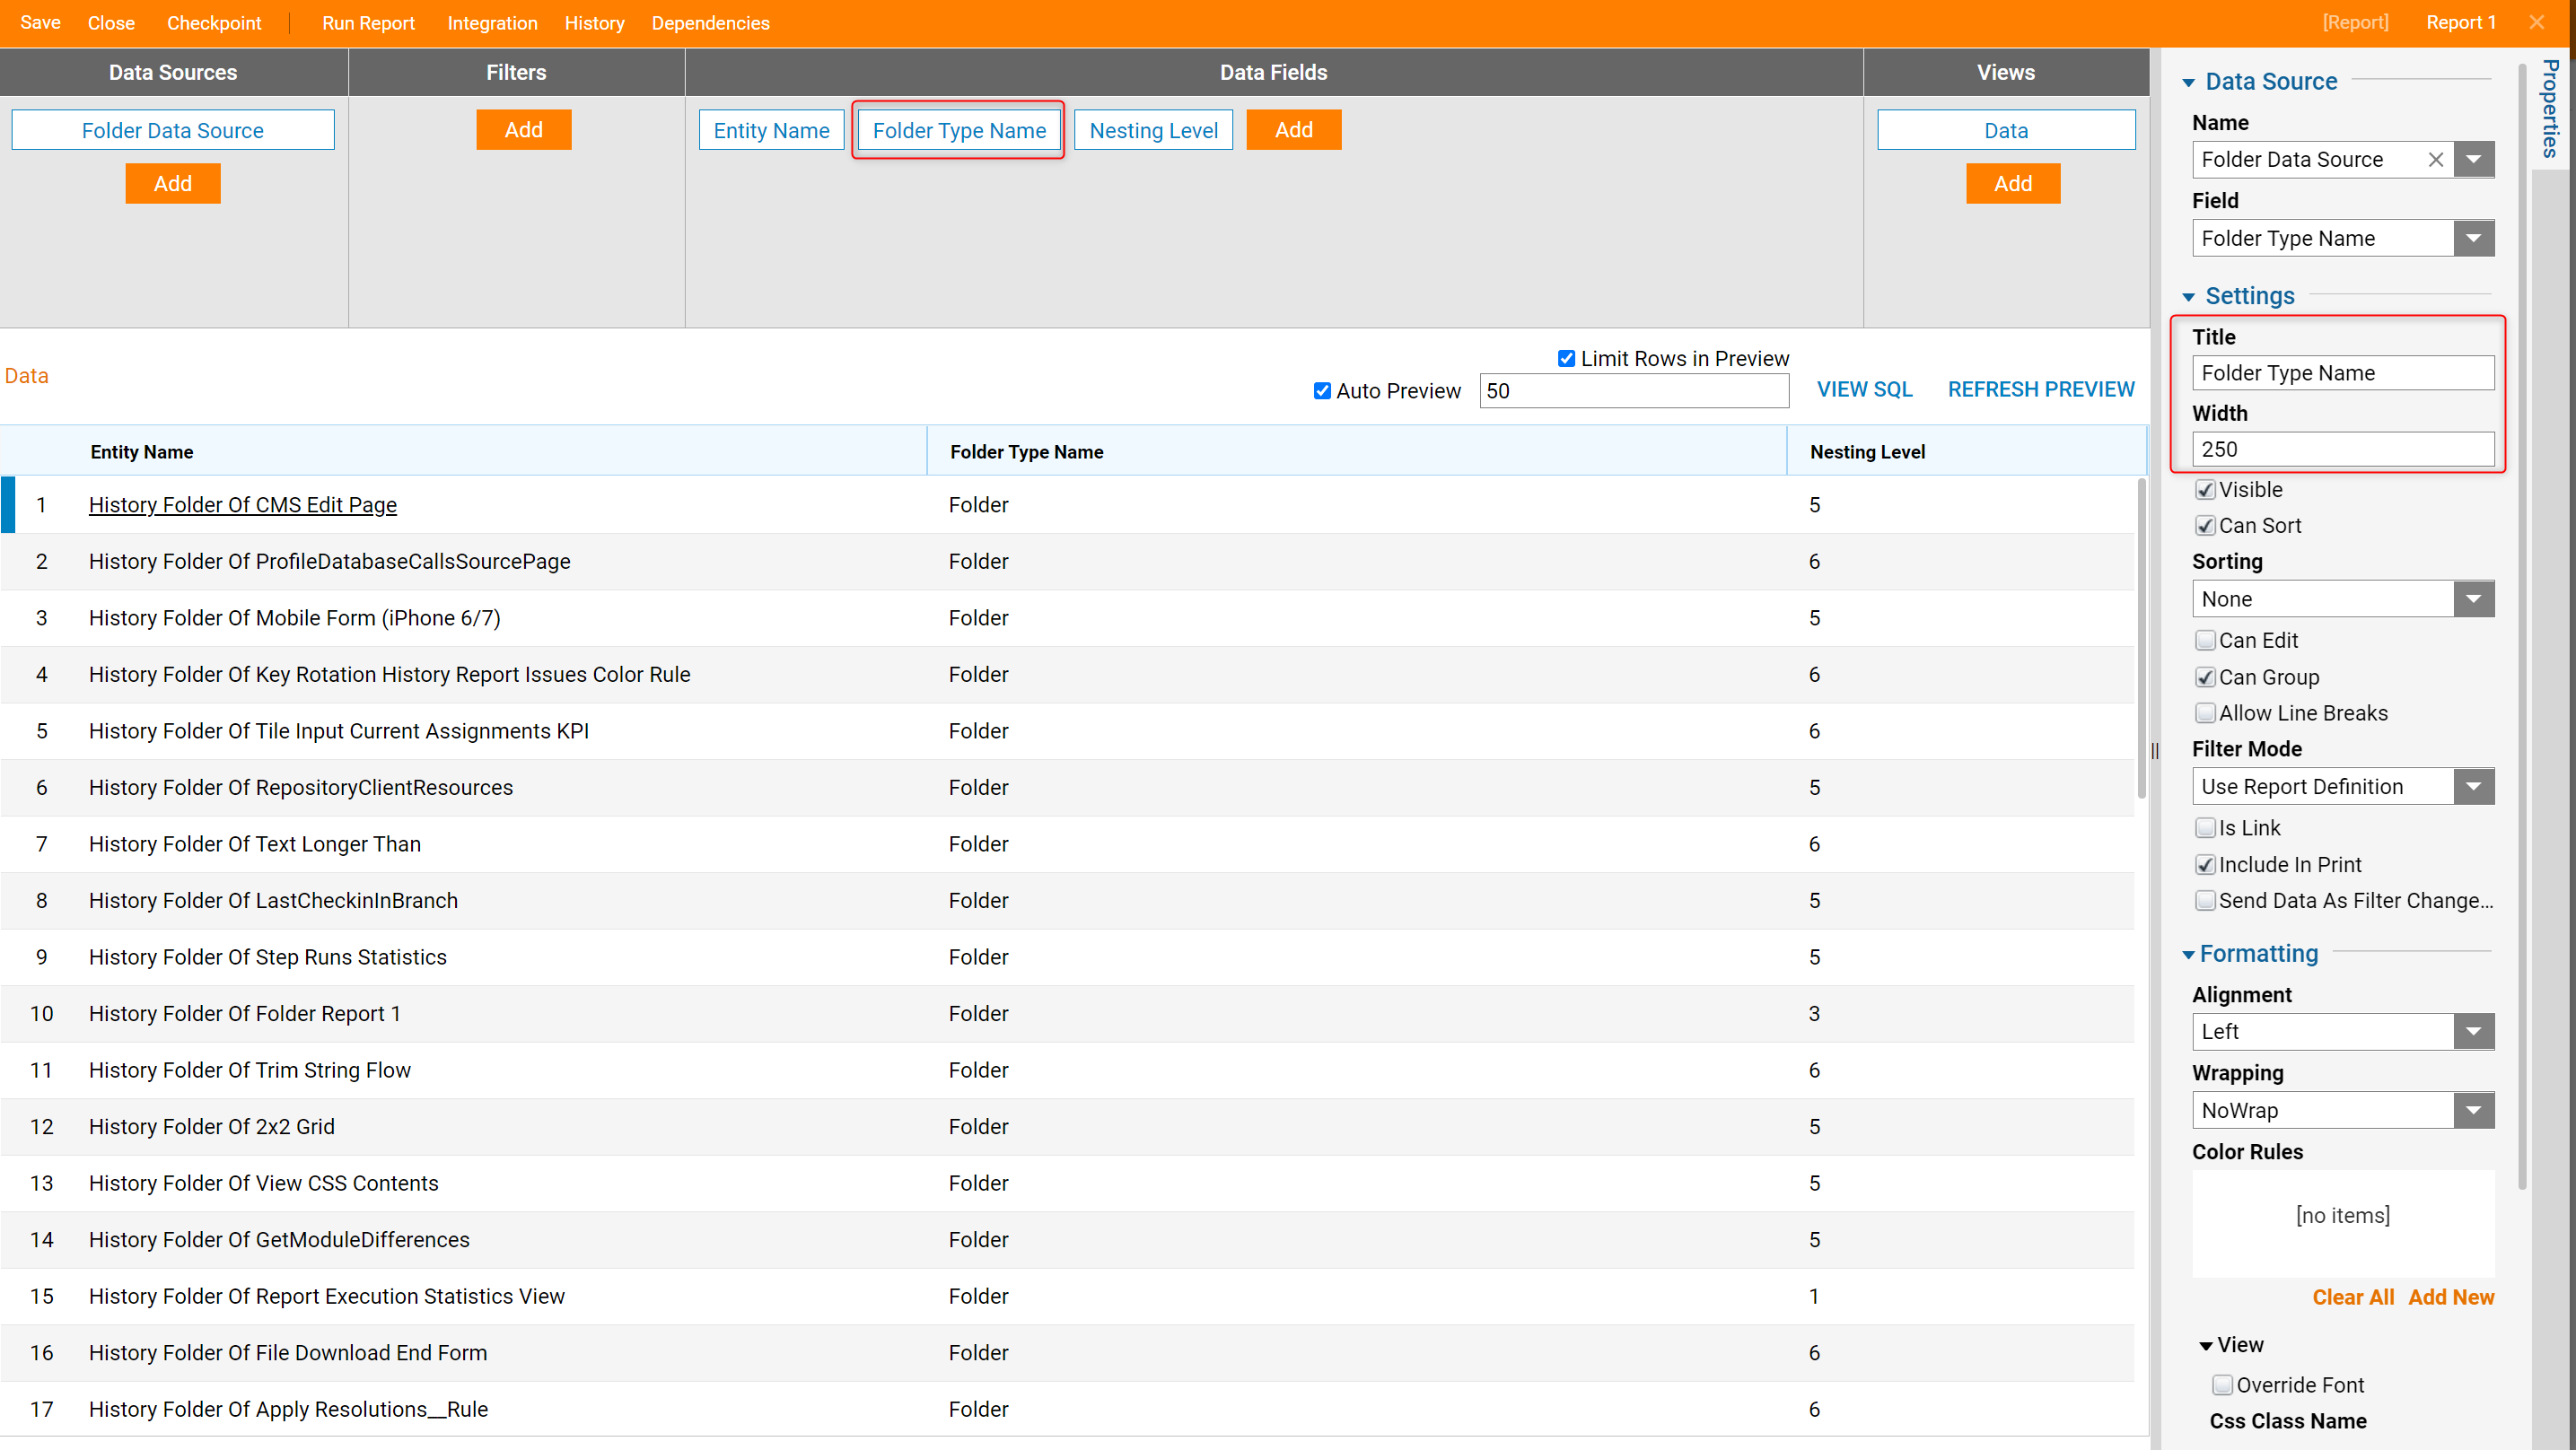
- To see the changes, click the Refresh Preview button. The Folder Type column will be 250 pixels wide.
- Save it and close the Report Designer.
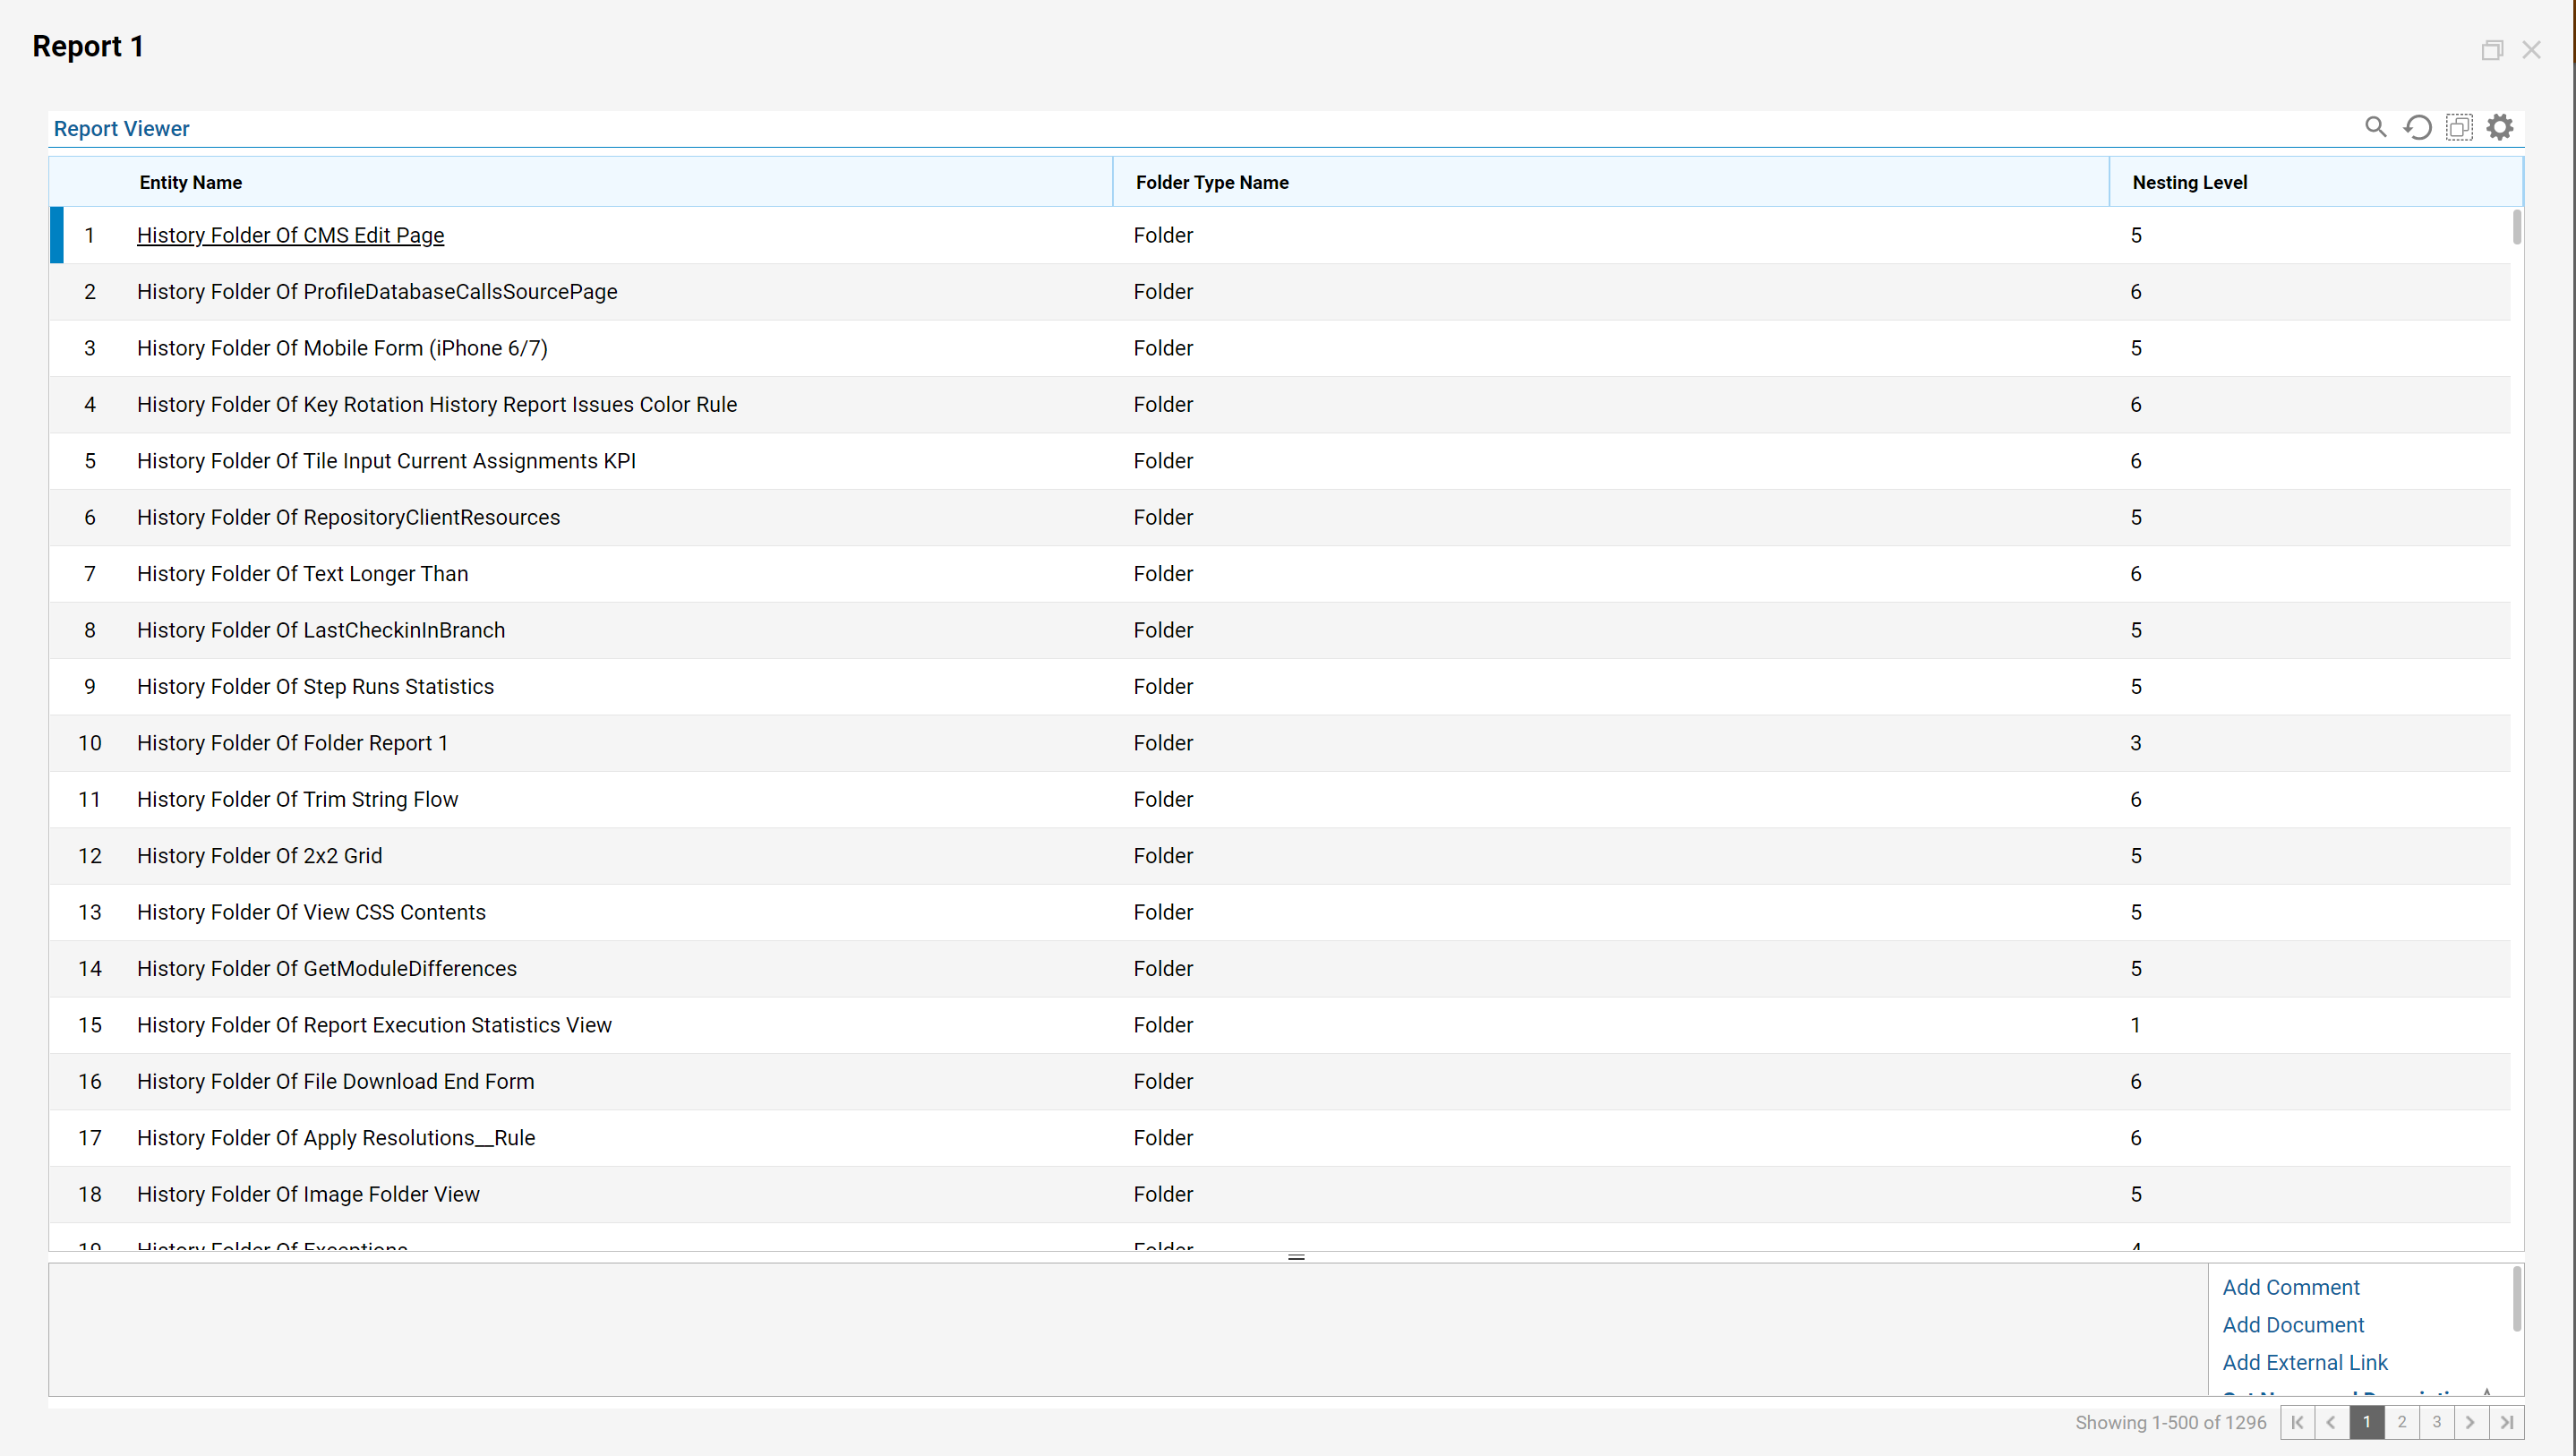
- Back in the Studio, select Folder Report and in its Action menu, select Run Report.

- The Report will open in a new window where the user can see the Entity Name and Folder Type Folders are both 250 pixels wide.