Overview
This article reviews how to create and use the Schedule Data Entity feature. Schedule Data Entity is an Entity that stores and tracks custom schedules. Different Schedule Data may be created in the same Folder in Decisions, allowing all Schedule Data Entities in that Folder to be treated as a single complex schedule. This feature saves time when building processes that require complex schedule calculations.
Example
This example creates a Schedule Data Entity that simulates 'working days schedule' and demonstrates how to use it in a Flow.
- Begin in a Designer Folder.
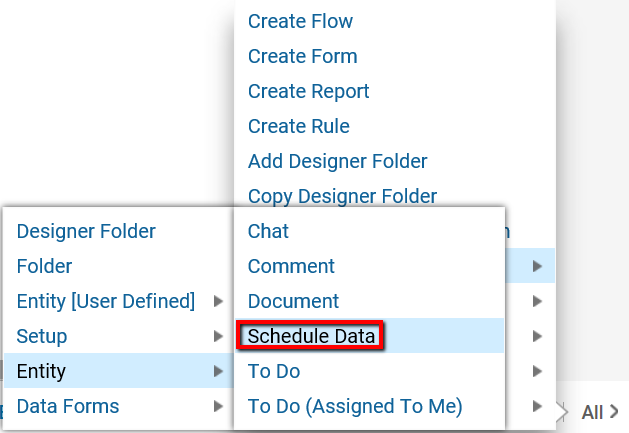
- Select All > Add > Entity > Schedule Data on the Folder Actions Panel.
- In the Schedule Data dialog, provide a name for the Schedule (ex: Meeting).
- Click Start Date Time (when the Schedule starts); set the time to 9:00:00, the equivalent of 9 am.
- Set the Type Of Schedule to Included.
Type of Schedule Property Included will run on defined days/times Excluded will NOT run on defined days/times - Set the Schedule Length (duration of each instance of a schedule) to 8 hours.
- In Schedule Type, select a suitable schedule template (ex: Daily Schedule).
- Select the desired days of the week in Schedule Data > Day Info (ex: Monday - Friday).
- Use the EndType drop down to set when the Schedule should end, then select OK to save the changes.
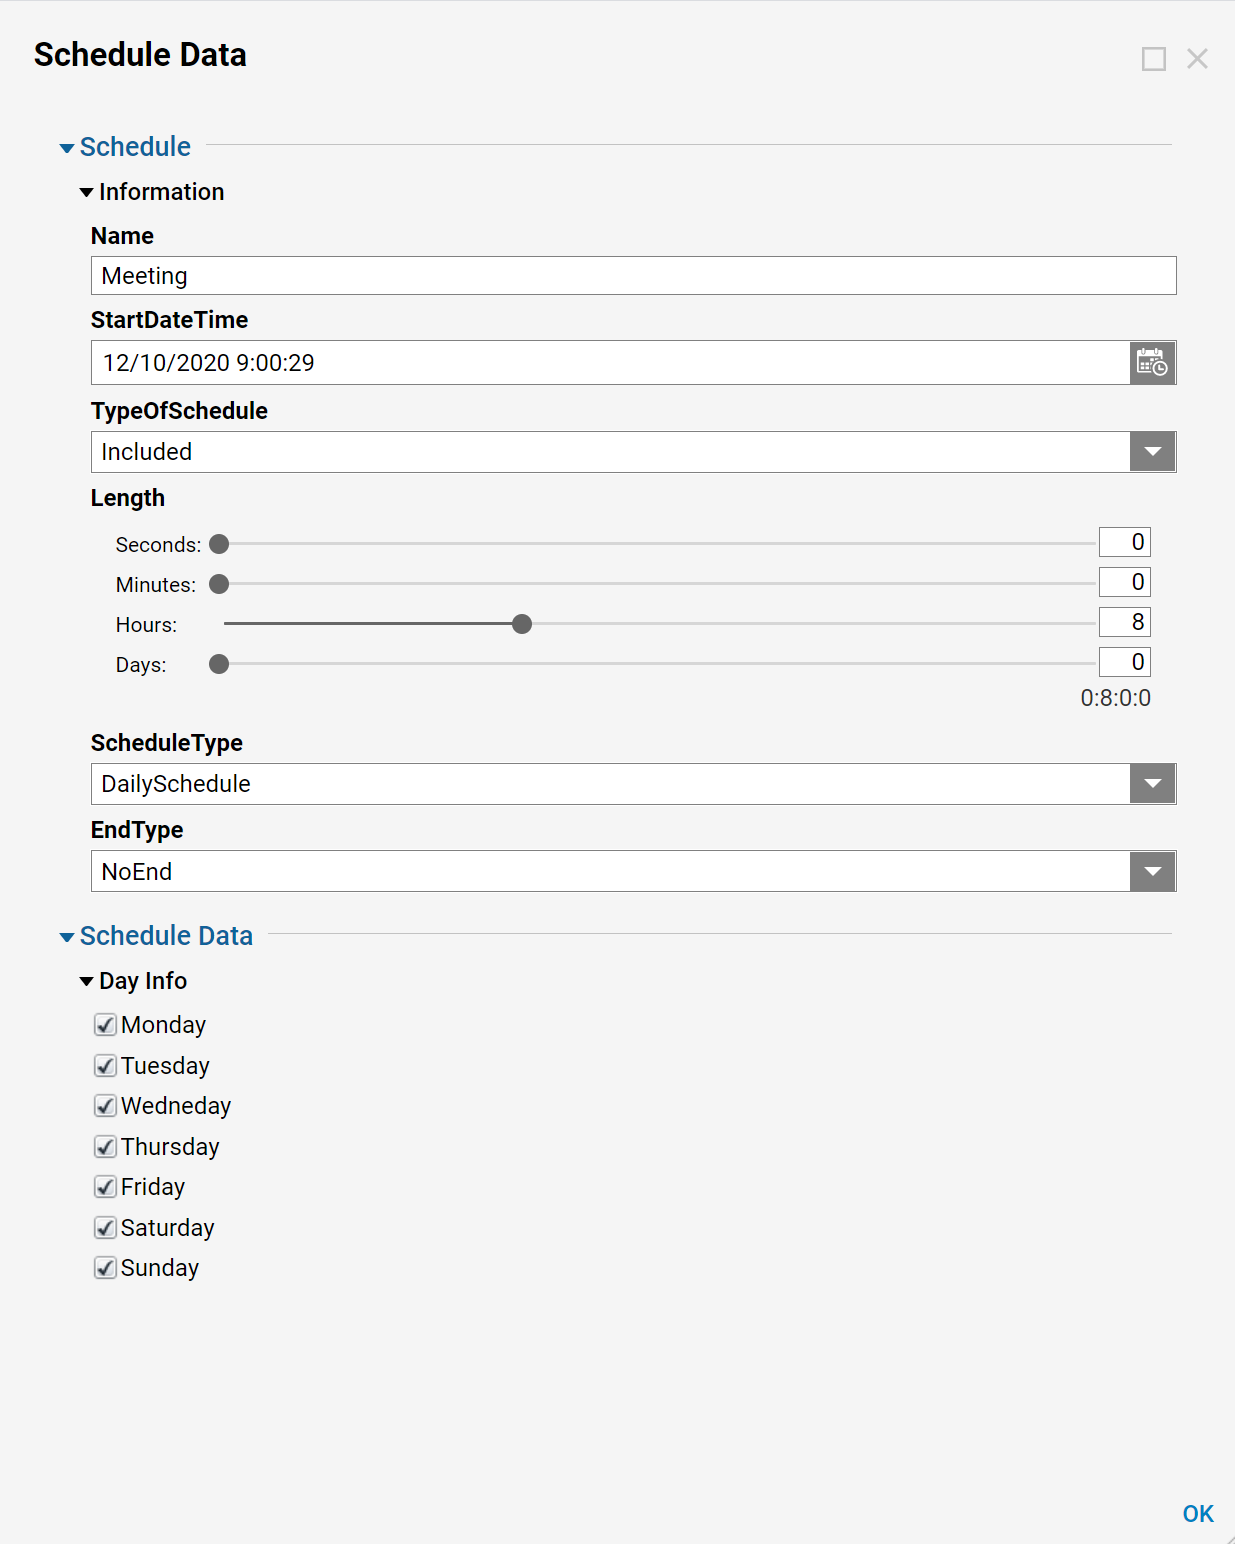
EndType Property No End Schedule is indefinite, or has no end By Date define a constant date when the Schedule ends. By Occurrences ends the schedule after a provided number of runs. - The Schedule Data is created and can be managed in the Folder it was created in.

Schedule Data Entity in a Flow
- In a Designer Folder, select CREATE FLOW in the bottom Folder Actions Panel.

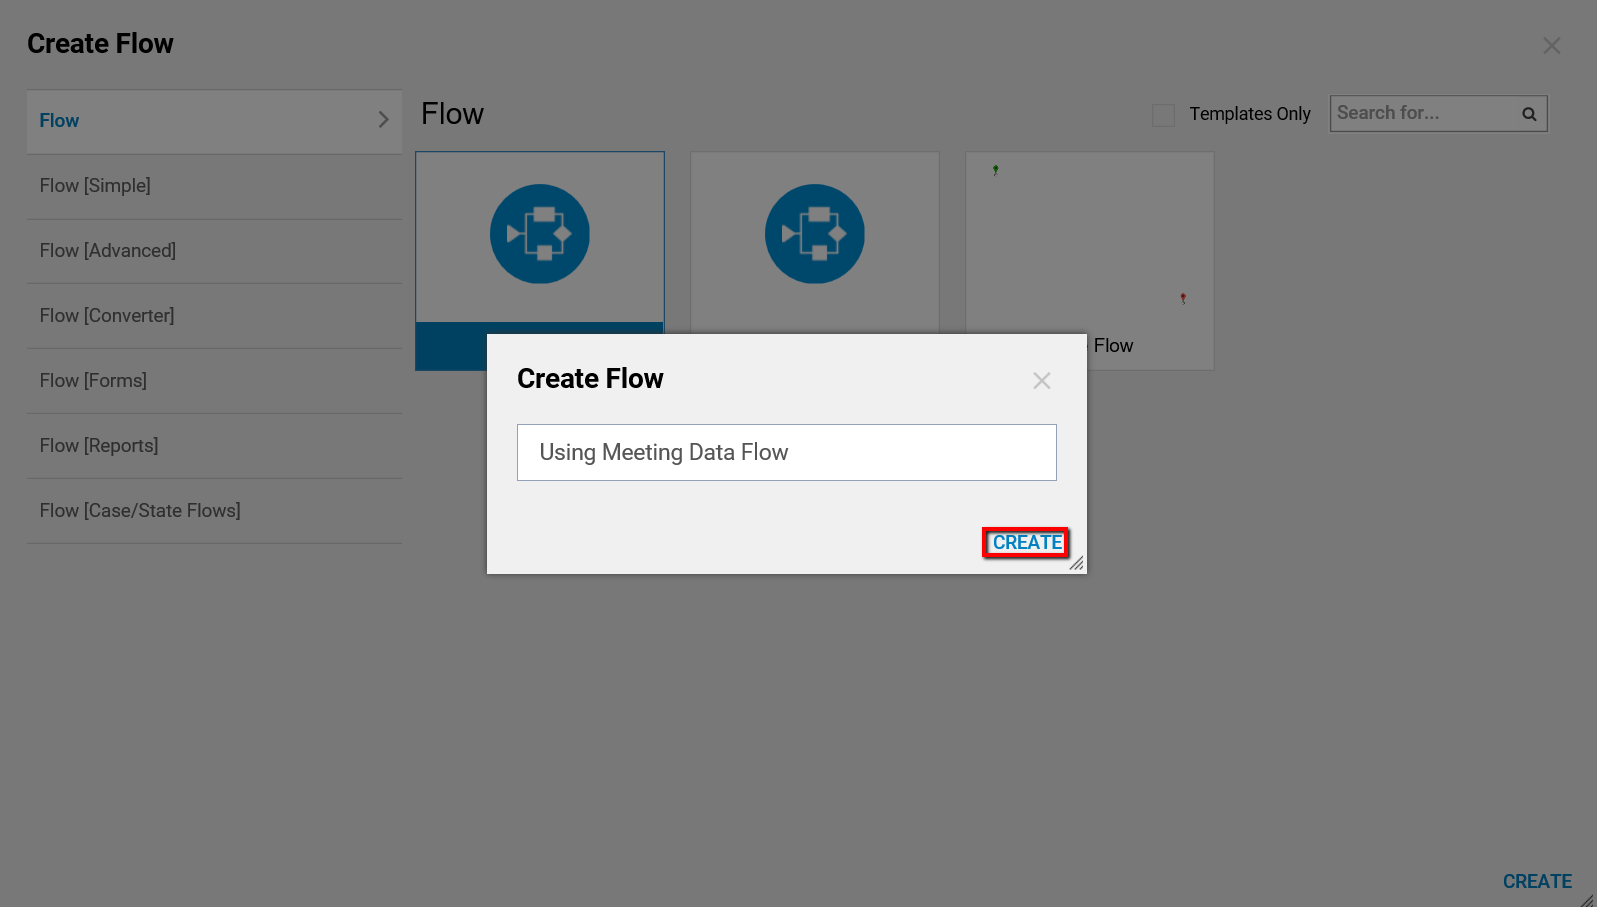
- Name the Flow and select CREATE.
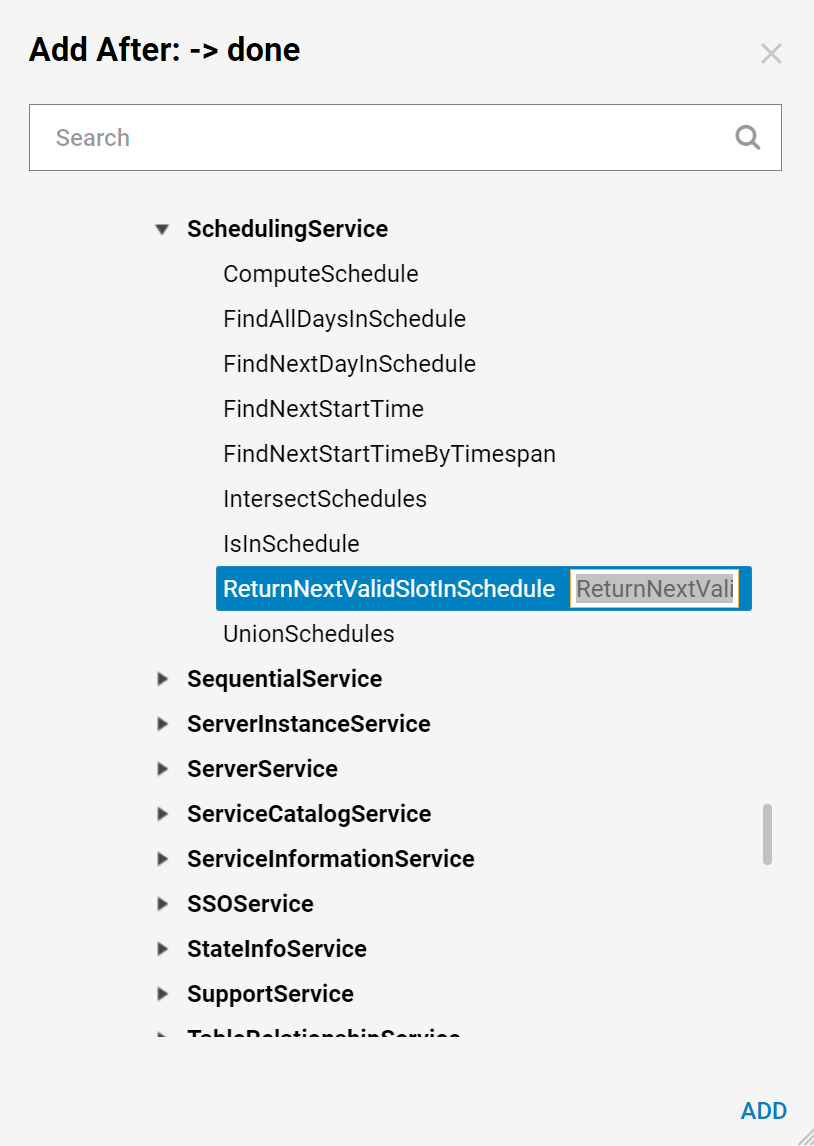
Navigate to All Steps [Catalog] > Integrations > Internal Services > Scheduling Service in the Flow Designer.
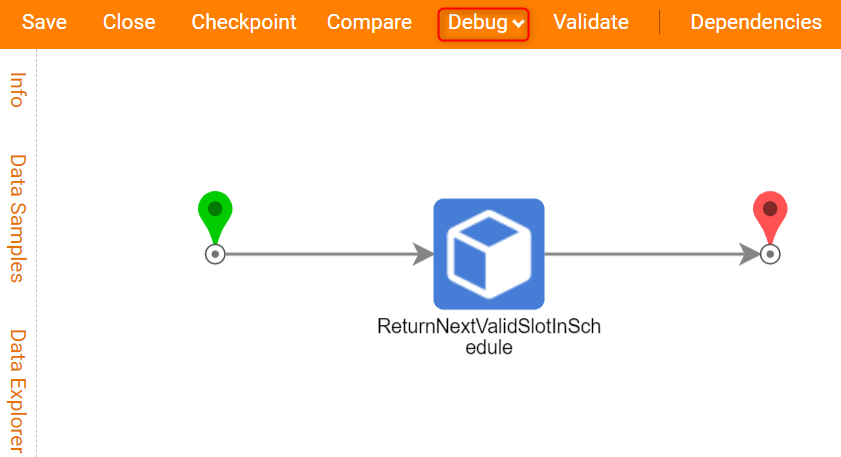
- Add the ReturnNextValidSlotInSchedule step to the Flow.
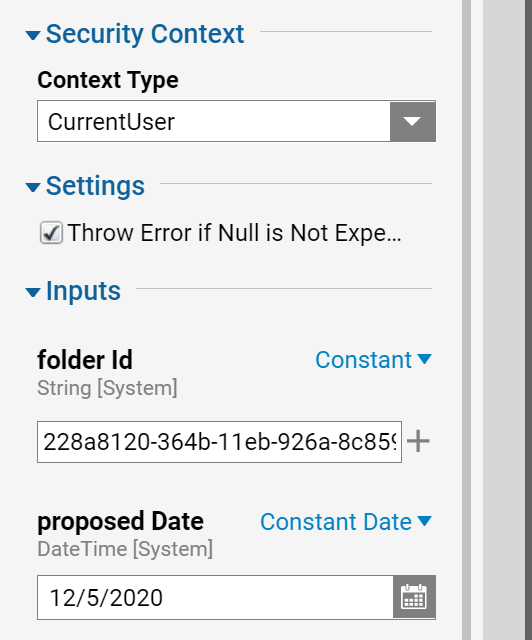
- Provide the Input data (Folder ID and proposed Date).
Folder ID
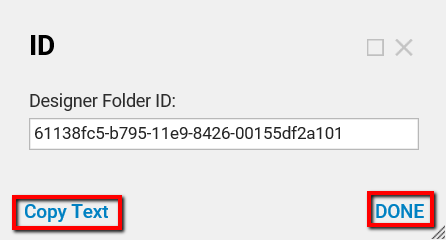
- This is the Folder ID of the Designer Folder where the Schedule Data lives; To find it, select All > Manage > Get Designer Folder ID on the Folder Actions Panel.
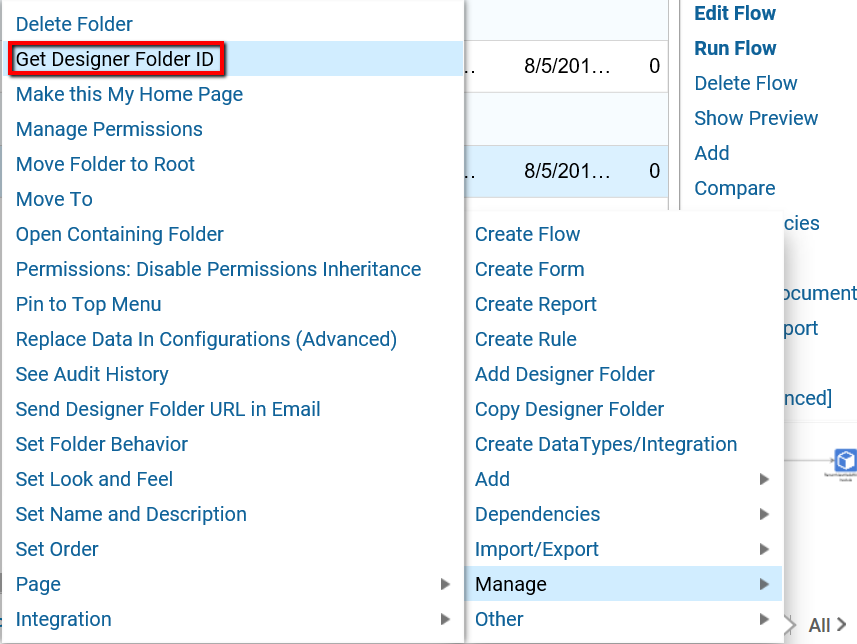
- Copy the Folder ID (click Copy Text) and select DONE to close the dialog window.
- Return to the ReturnNextValidSlotInSchedule step in the Flow Designer.
- Paste the Folder ID into the folder Id > Constant input field.
Proposed Date
