Overview
To capture or transform data on a regular basis, Flows can be set to run on an hourly, daily, weekly or monthly schedule using the Scheduled Jobs feature. The following document demonstrates how to utilize and configure a Schedule Job Flow via Decisions Studio, as well as how to access/utilize Schedule Job steps.
Example
In the example, users will schedule a Flow to run immediately on a TimeSpan schedule.
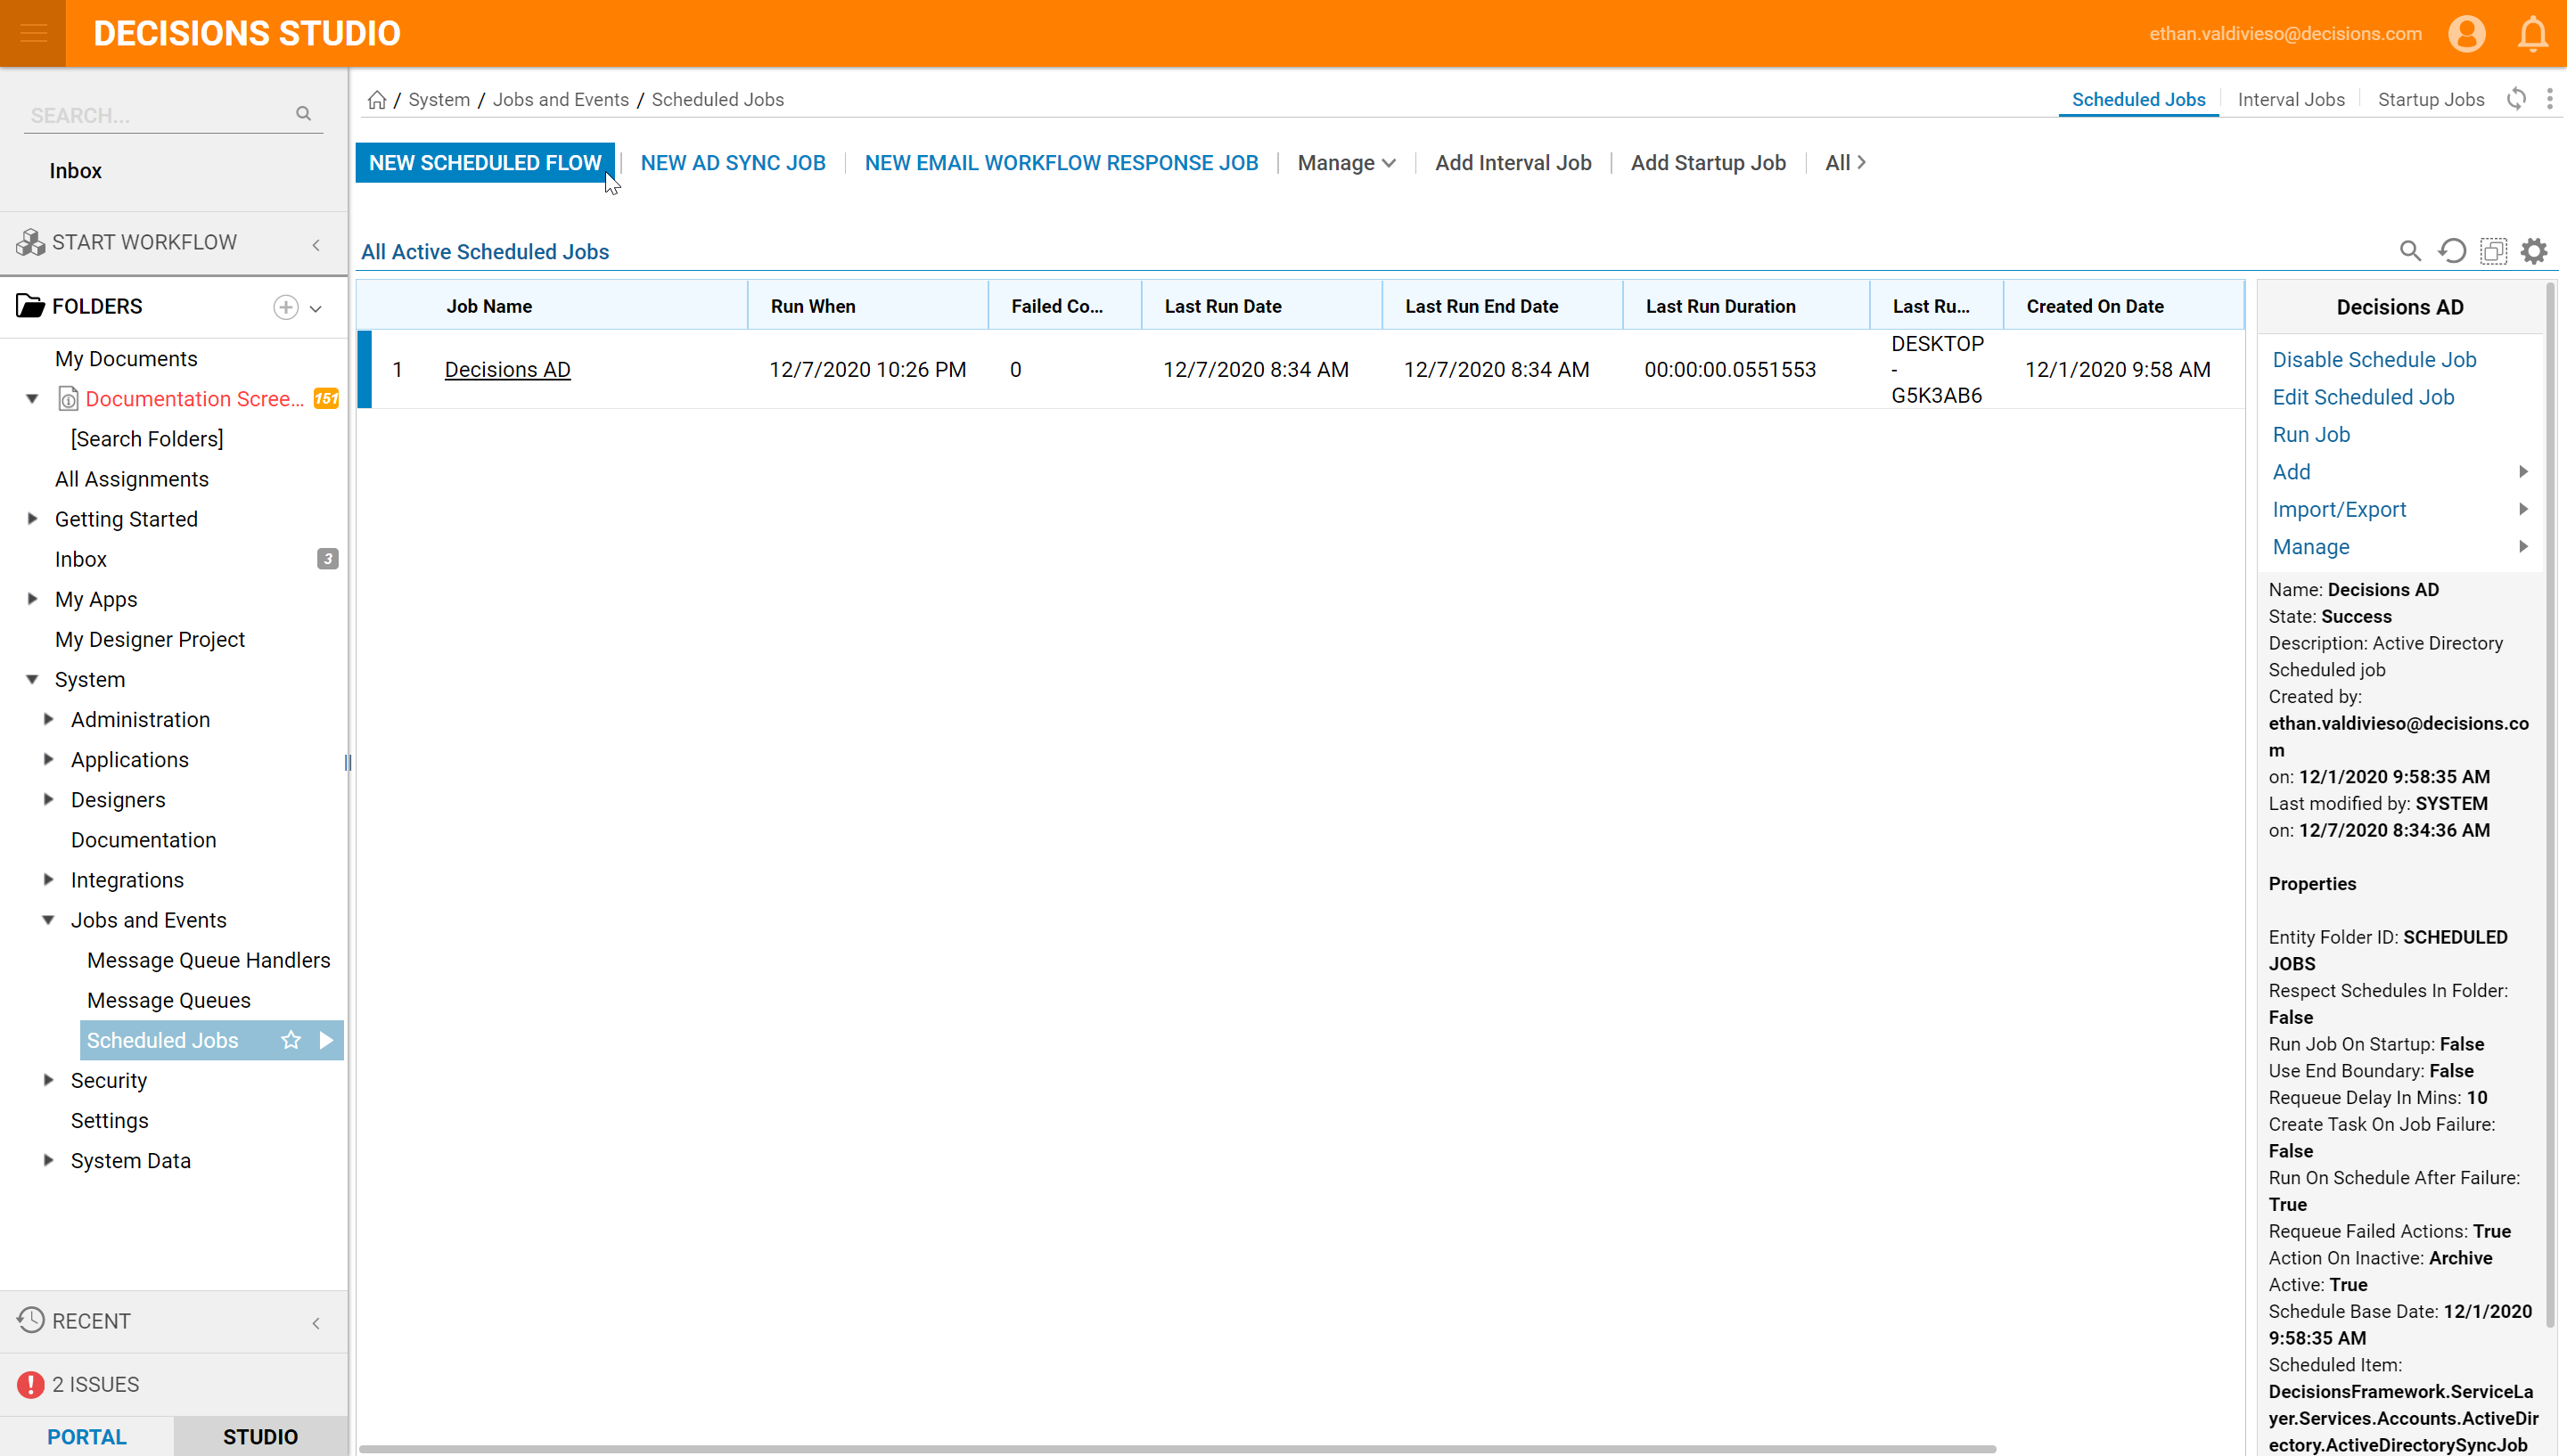
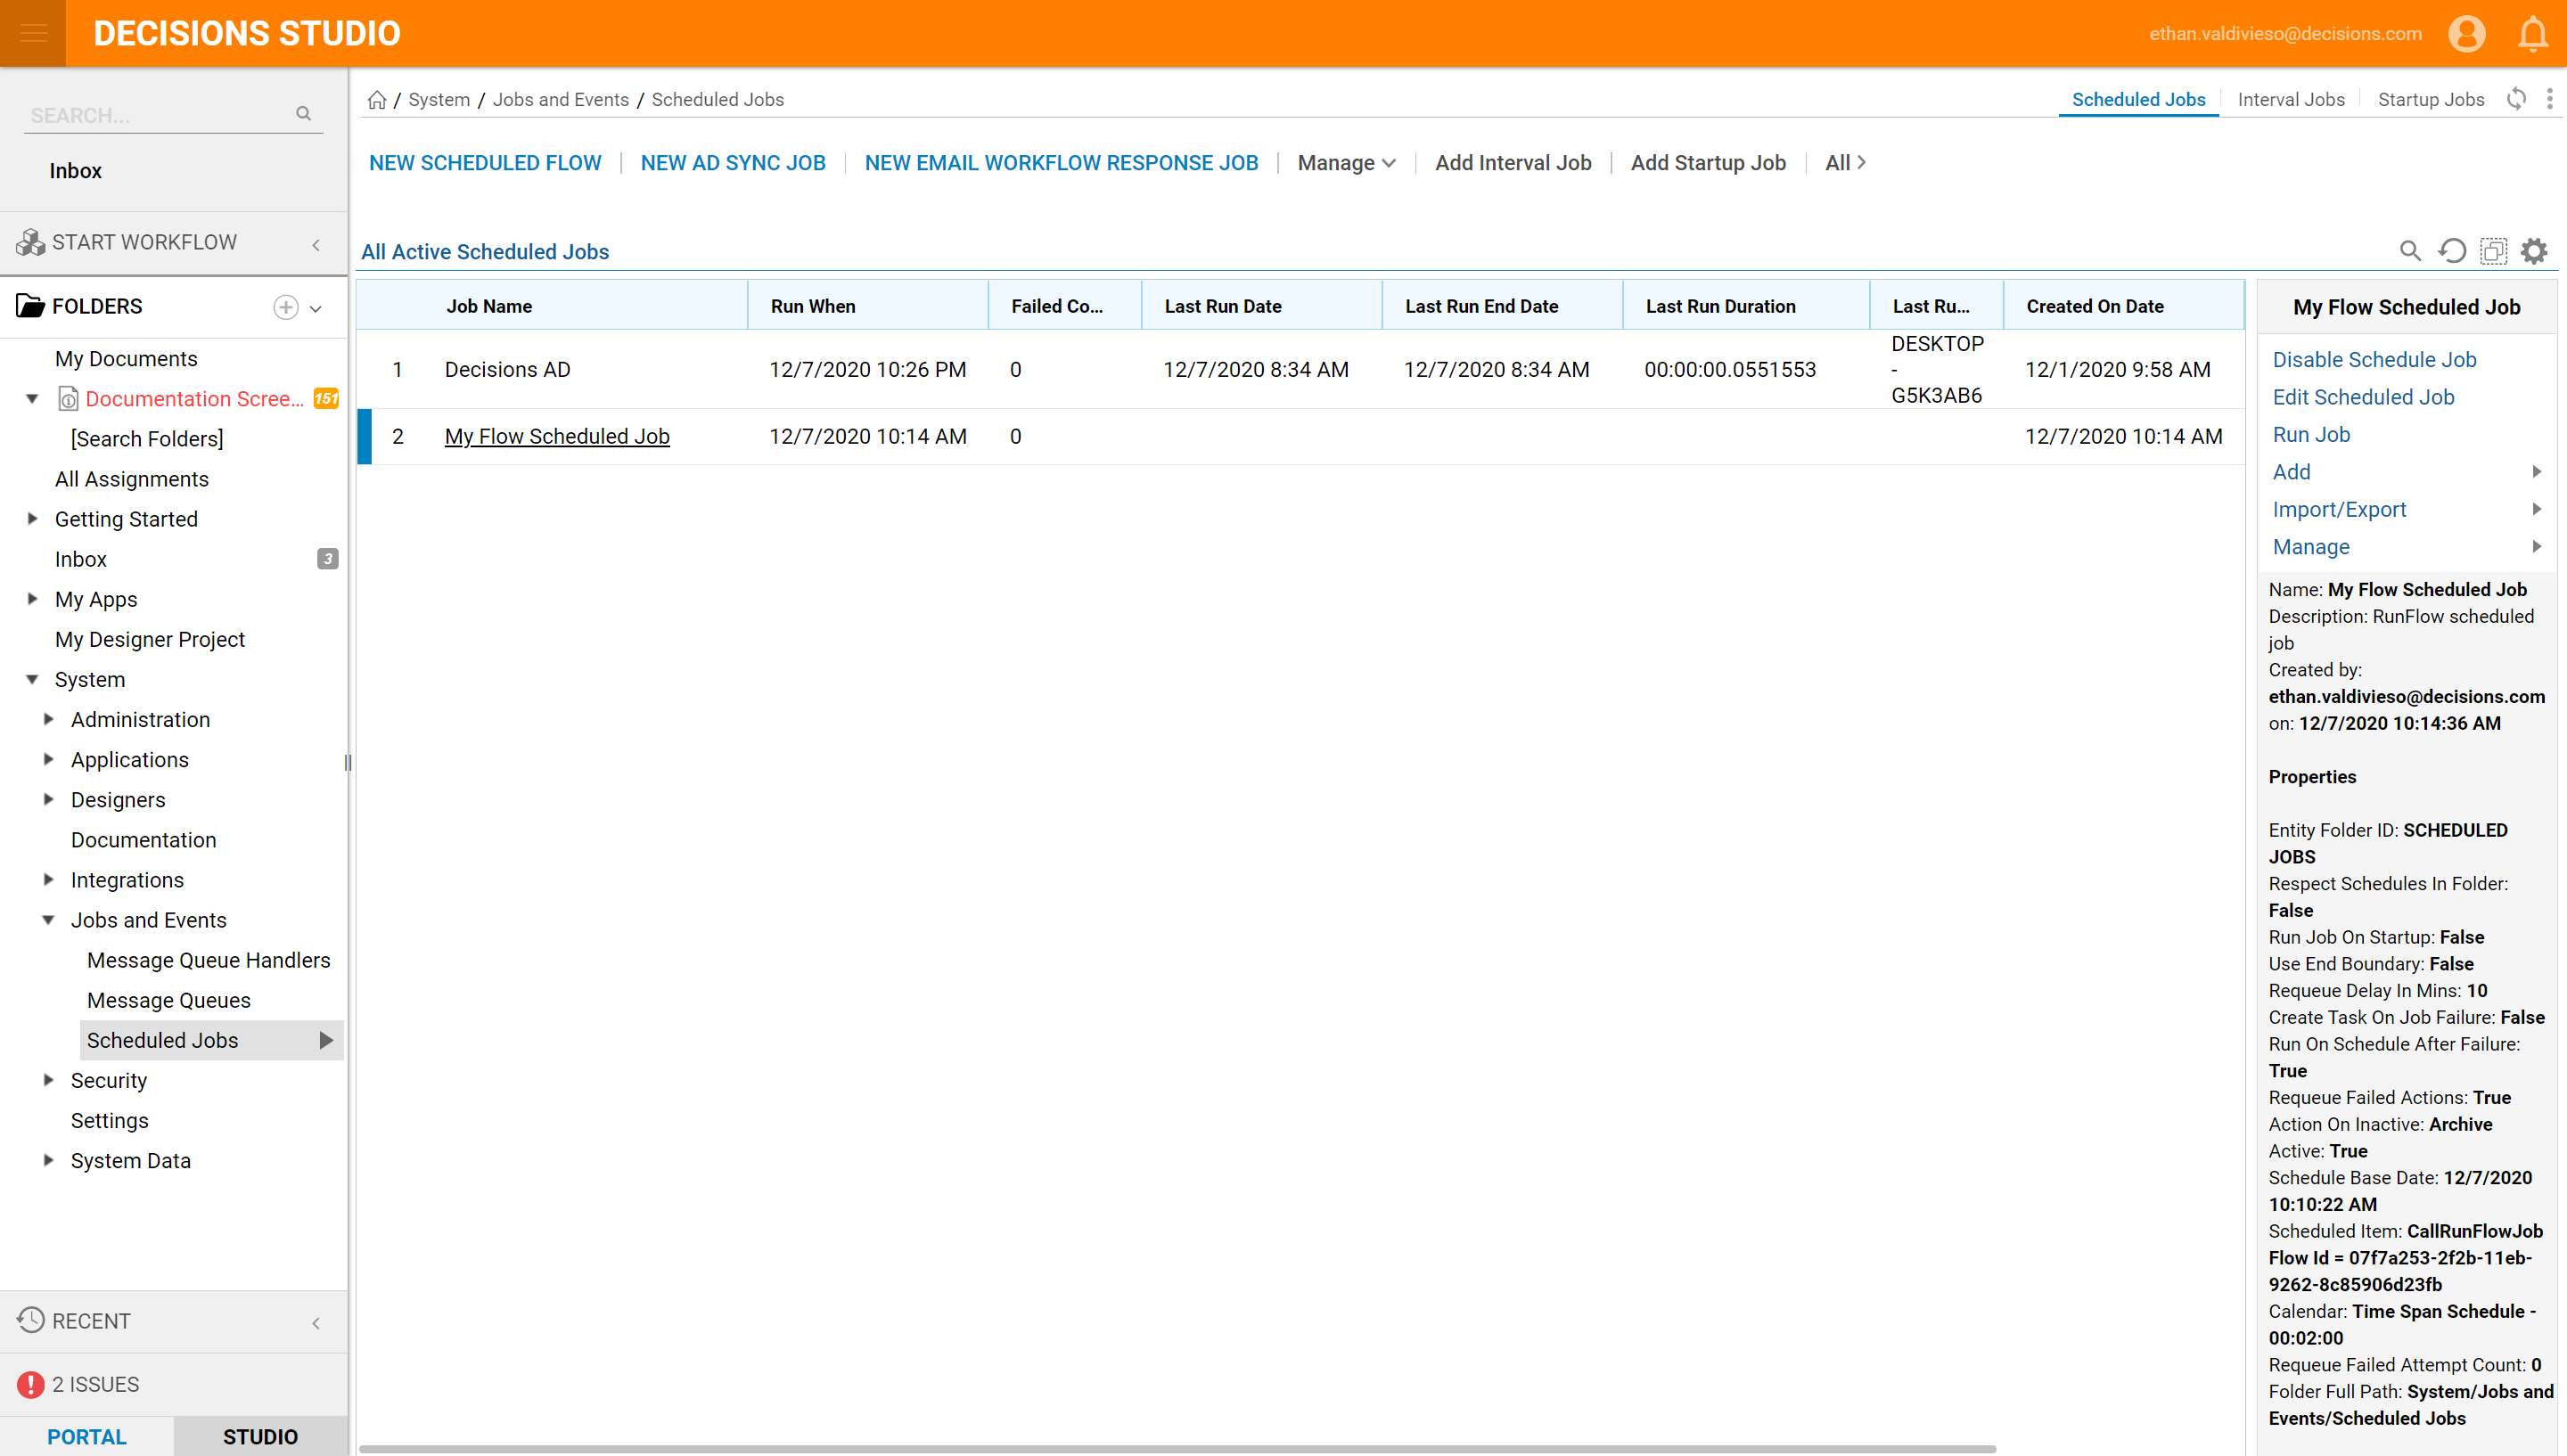
Begin by navigating to the folder System > Jobs And Events > Scheduled Jobs and clicking the Add Schedule Job button. Users can schedule many types of jobs, including an Active Directory Sync job, an Email job, or a URL job.
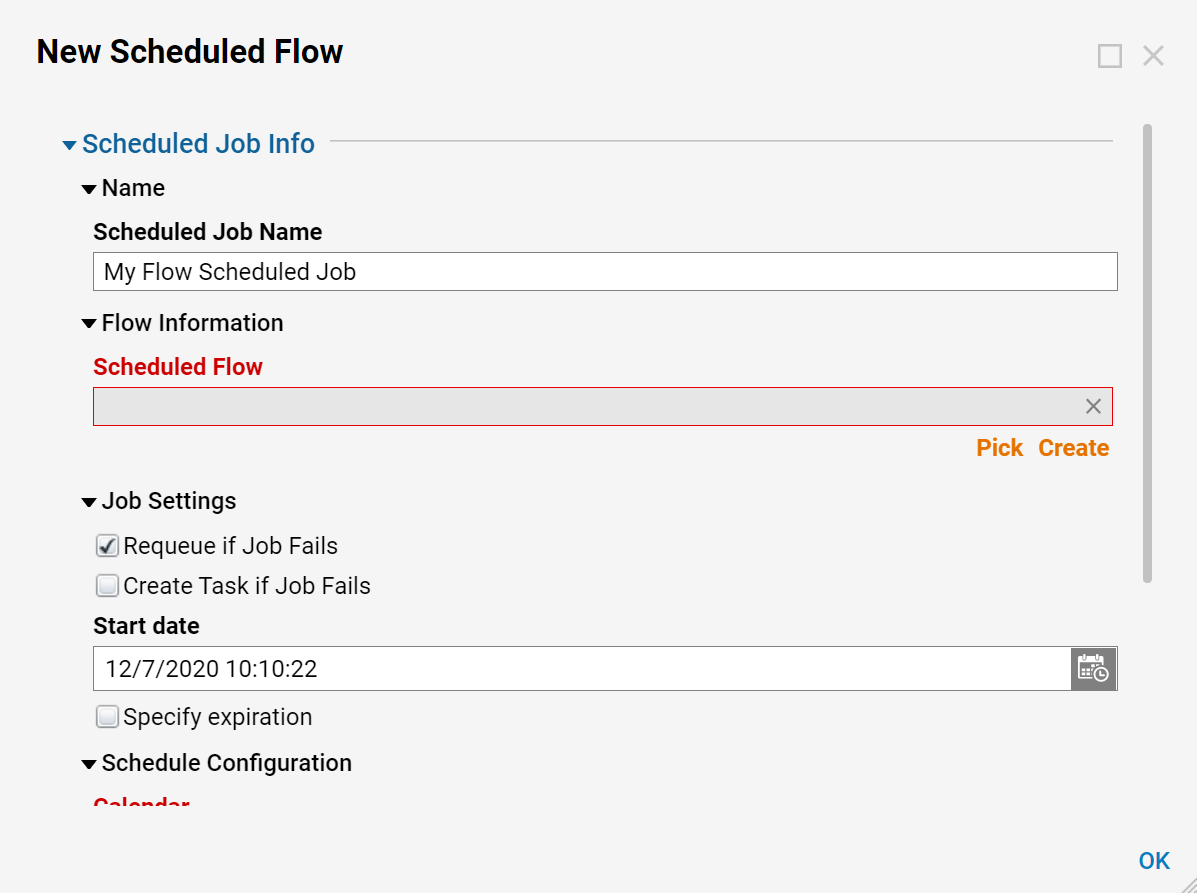
The Schedule Job dialog opens. This Dialog has multiple settings that be configured for the Scheduled Job.
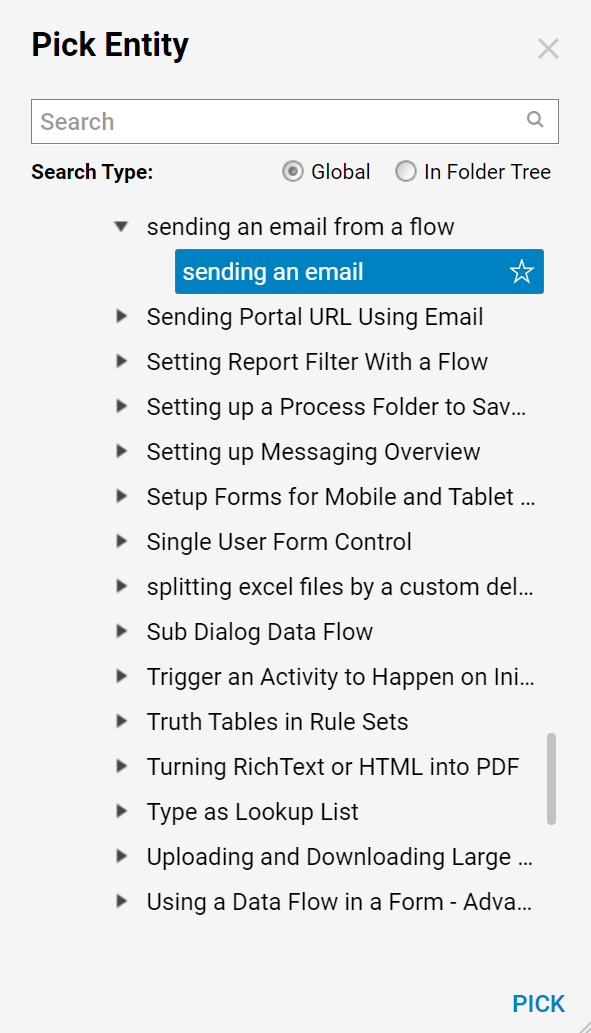
On the Flow Job Information step, in the Flow drop-down list, navigate to the folder containing the Flow to schedule, then select the Flow and click Next.
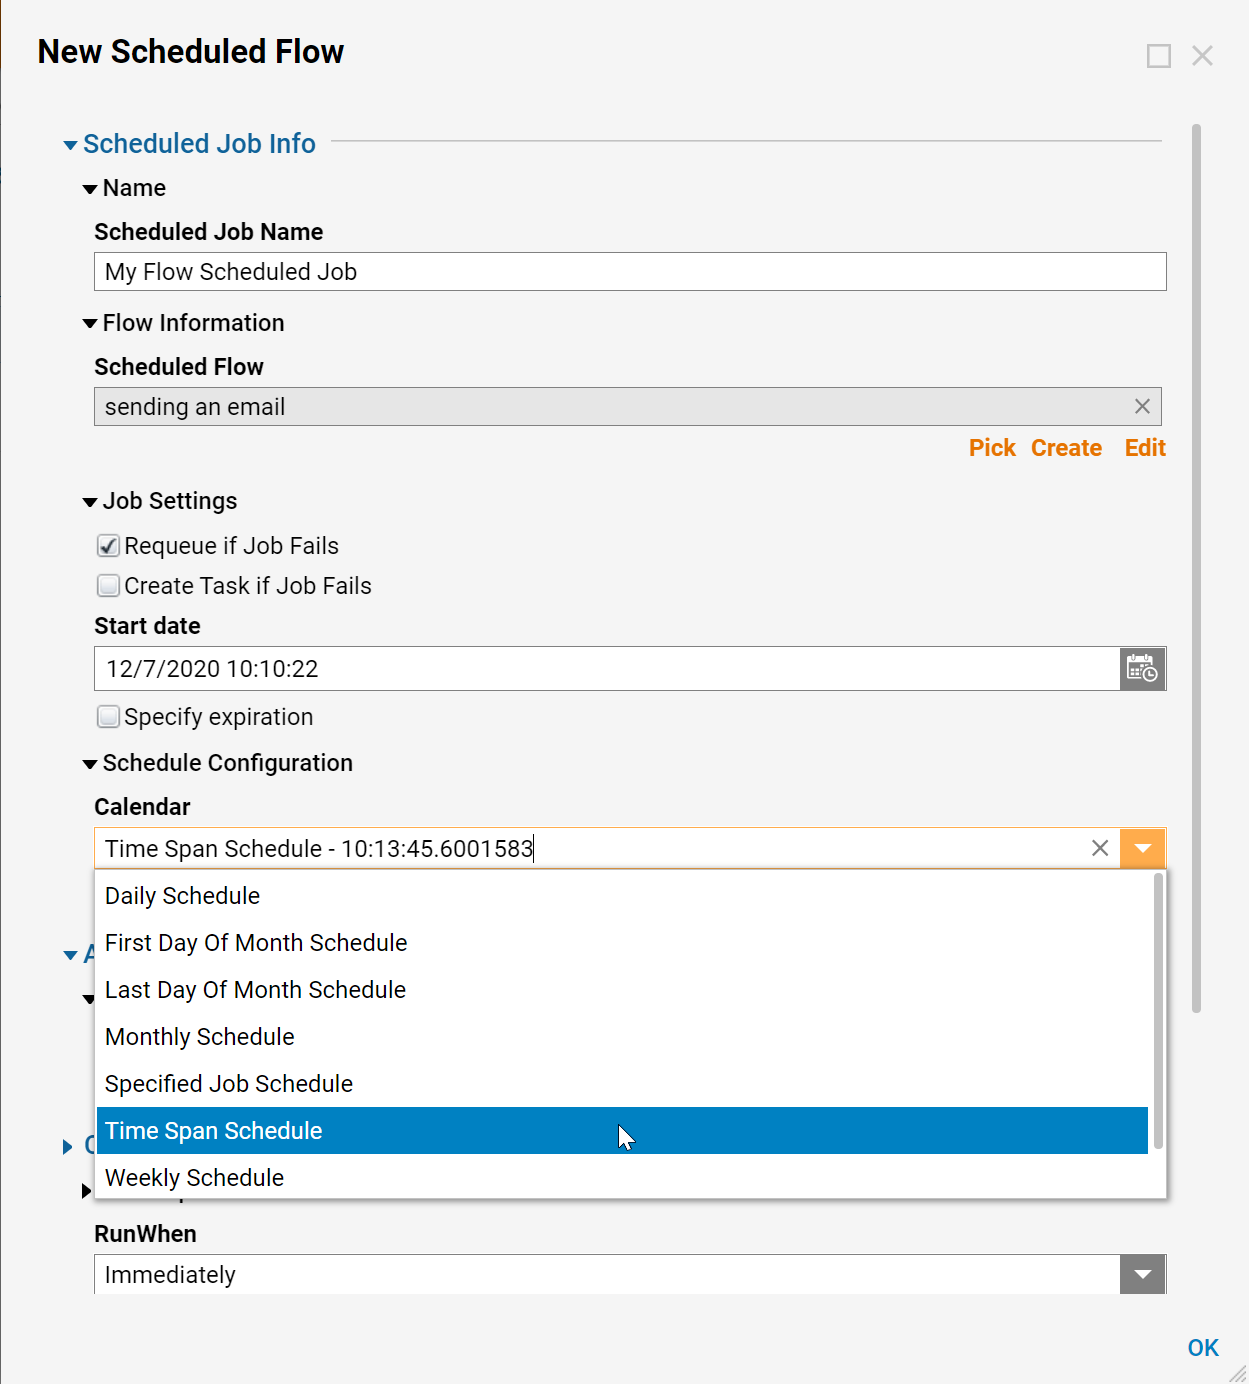
Under Schedule Configuration, in the Calendar drop-down dialog, select the Time Span Schedule option.
A Time Span schedule sets a job to run regularly, with the interval defined between each instance.
On the TimeSpanSchedule Information step, select Immediately in the Run when drop-down list.
To set the time span between each job, use the slider control or enter a value in the Seconds, Minutes, Hours, Days.
For example, use the Minutes slider to move the interval to two minutes.

Then, click 'OK'.
Schedule Job Properties
Schedule Jobs have multiple configurable properties. Once a scheduled job is created, go back and edit the scheduled job to view more properties. Right-click, Edit schedule Job. The information provided below is for each property for a scheduled job organized in sections.
Edit Job Settings

| Property | Description |
|---|---|
| Start Date | sets the job's start date/time |
| Specify Expiration | sets the job's desired Expiration date checking the box reveals the Expiration Date selection menu |
| Run Job on Startup | configures the Schedule job to start once the User logs-in to the Decision Instance |
| Schedule Job Name | specifies the Schedule Job name to distinguish between other jobs |
| Description | contains the Schedule Job Description to further distinguish between other jobs |
| No. of Attempts | sets the number of times a Schedule Job will run if there are any failures (default is Zero which represents Infinite attempts) |
| Assign Failure to User | allows Users to select an assigned user that will receive a task when there is a failed job |
| Requeue Failed Action | allows the failed action to be added back into the Queue |
| Create Task on Job Failure | allows a task to be assigned to the "Assign Failure to User" user when the Job Fails |
| Respect Schedules In Folder | allows the job to be configured based on existing schedules in a folder "Pick Folder with Schedule" section appears on being checked to select the desired folder |
Edit Job Info and Flow Input Data
v6.12 introduced the ability to declare Input Data for selected Scheduled Job Flows that are configured to expect it.

| Property | Description |
|---|---|
| Flow | specifies the Flow that runs during the scheduled time |
| Input Data* | declares data to be supplied as Input to the Flow (*revealed if selected Flow expects Input) |
Edit Calendar Info
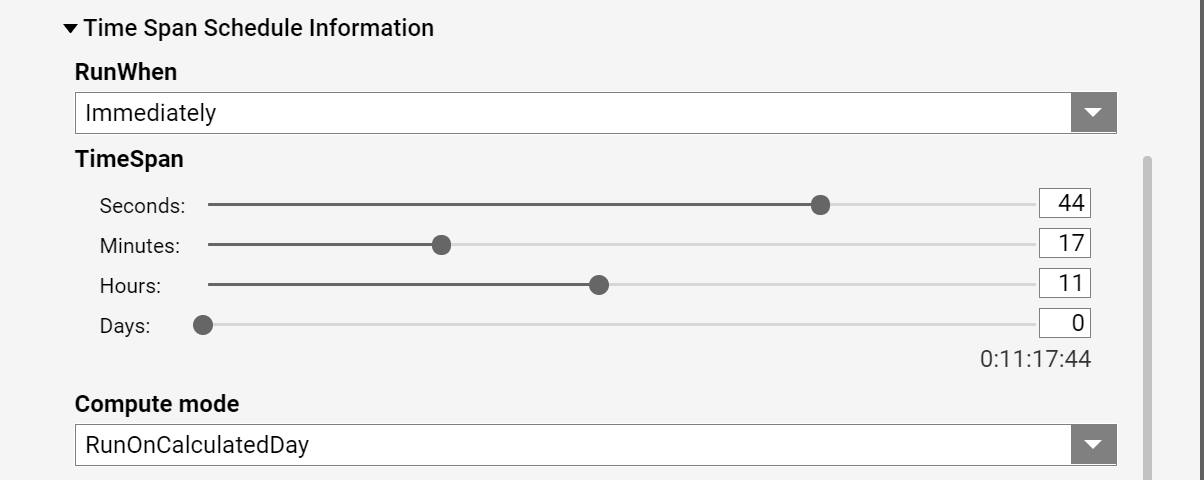
This section contains the configuration settings for the selected Calendar setup when the Schedule job was created. This section will vary based on which Calendar selection was made. This example has the Time Span Schedule configuration settings displayed.
The different Calendar selections are:
- Daily Schedule
- First Day of Month Schedule
- Last Day of Month Schedule
- Monthly Schedule
- Specified Job Schedule
- Time Span Schedule
- Weekly Schedule
- Yearly Schedule
Advanced
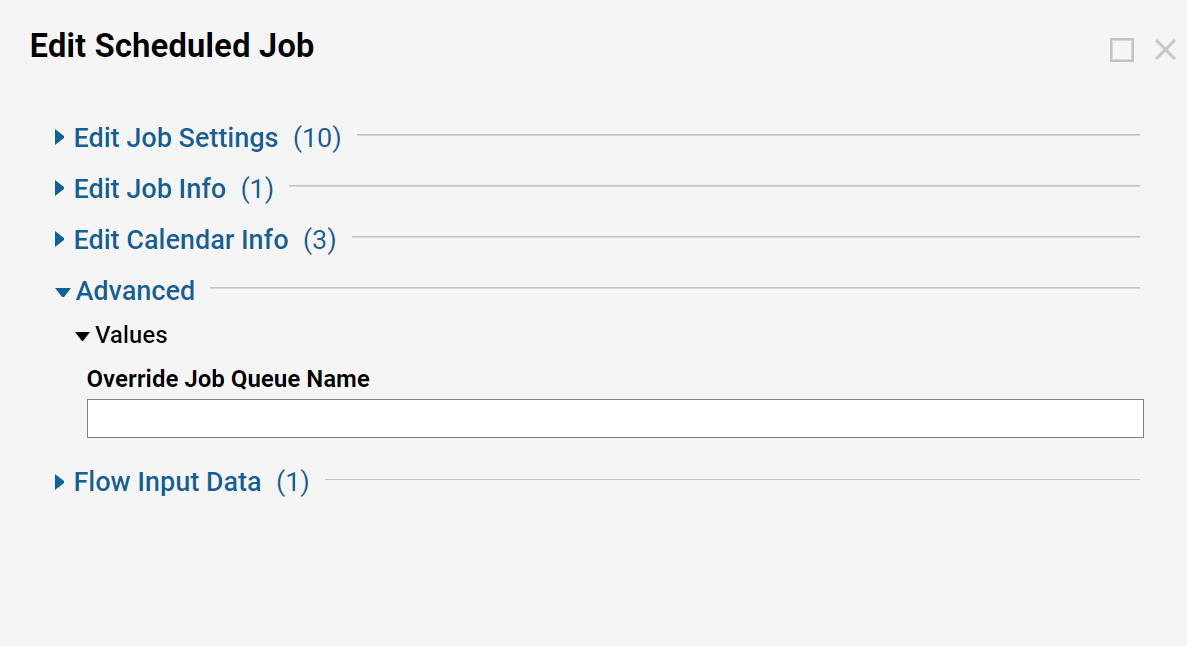
Under the advanced category, there will be a text box that allows users to override the name of the queue.
Scheduled Job Steps
As an additional method of handling Scheduled Jobs, users may edit or establish Scheduled Jobs via the Scheduled Job steps.
These steps can be found in the Flow Designer by navigating to Steps > Integration > Internal Services > ScheduledJobService..png)
Scheduled Job Steps Chart
The following chart represents some of the major steps offered to users in the ScheduledJobService Folder.
| Step | Description |
|---|---|
| AddEventSchedule and AddJobSchedule | Creates a Scheduled Event and Job respectively. |
| Delete | Deletes a Scheduled Job. |
| Disable/Enable Job | Disables and Enables a Scheduled Job. |
| GetAll, GetJobs | Outputs a List of all Scheduled Jobs. |
| GetByFolderID, GetByID | Outputs a Scheduled Job based upon a Folder ID or ScheduledJob ID respectively. |
| GetPendingJobs | Outputs a List of Pending Jobs. |
| RunEvent, RunJobNow | Runs a Scheduled Job at its scheduled time, runs a Scheduled Job immediately. |
| Save, SaveList | Saves a Scheduled Job configuration, saves a List of ScheduledJob configs. |
| UpdateEvent, UpdateJob | Used to update a Scheduled Event/Job configuration. |
Creating a Scheduled Job via Flow
To create a Scheduled Job:
- From the ScheduledJobService category, attach an AddJobSchedule step to the Start and End steps.
- From the Properties tab of the Add Job Schedule step, set job Schedule to Build Data, then select the Edit button.
- From the Edit window select the desired SelectedProperties, then click OK.
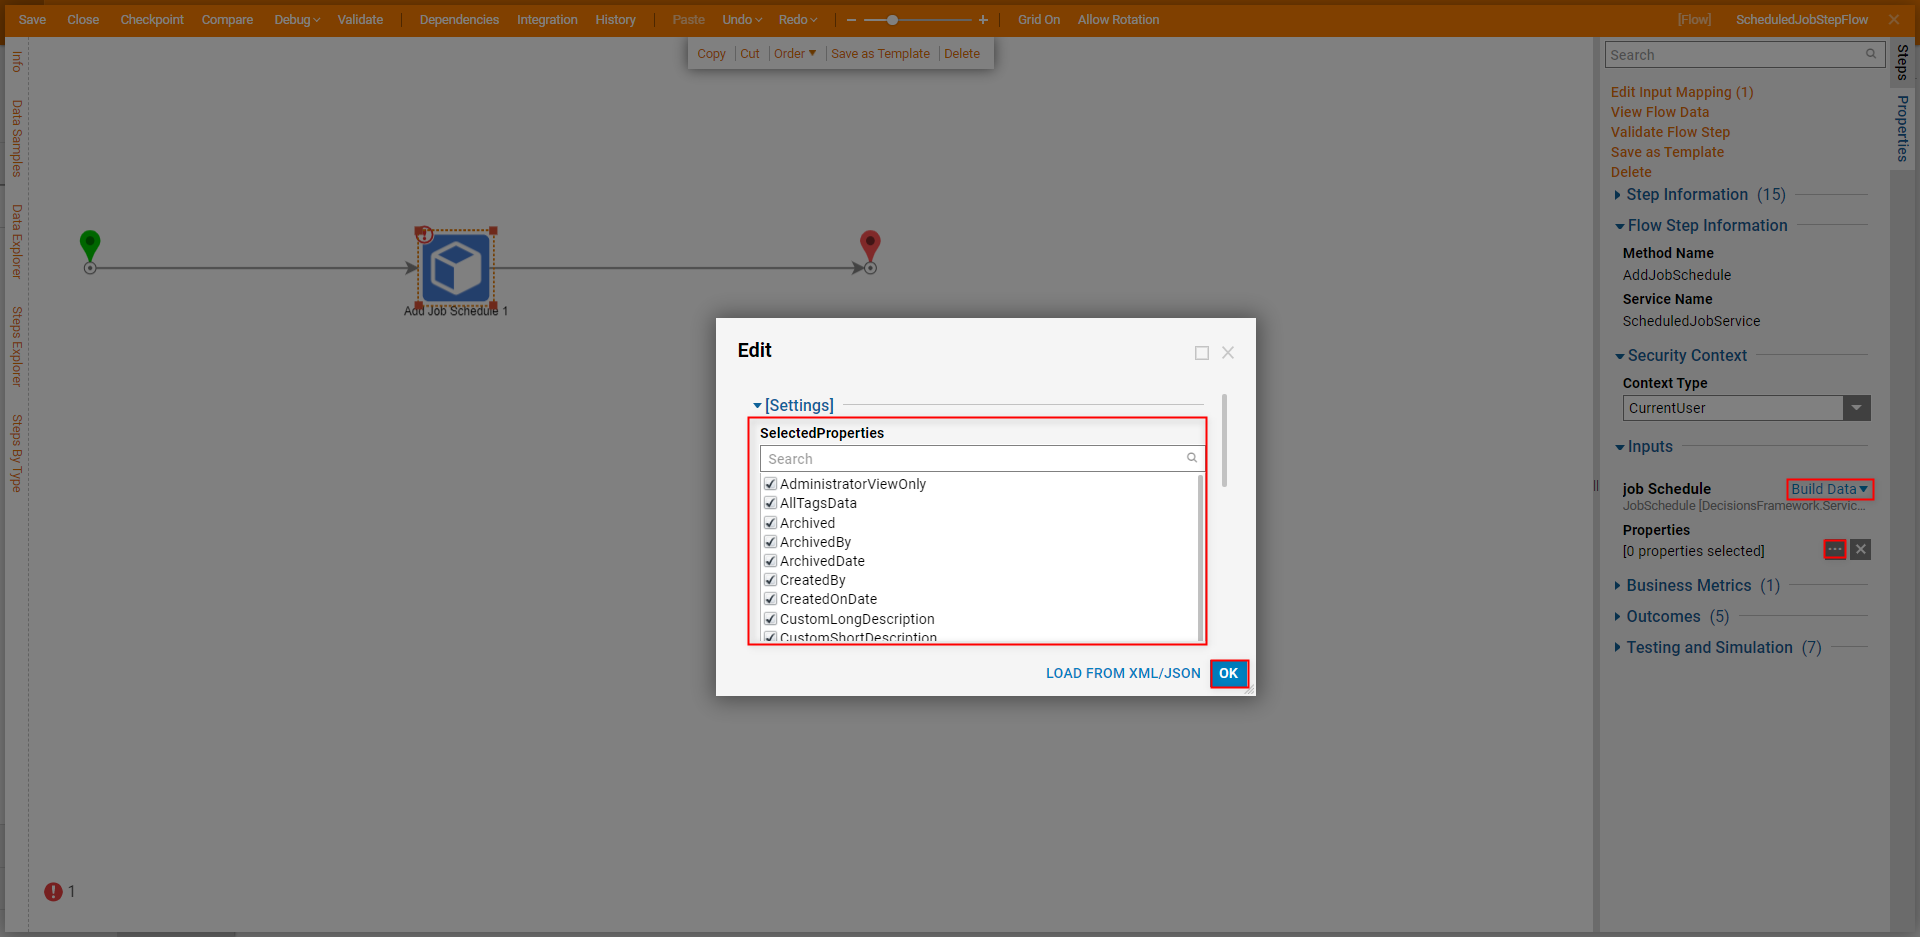
- From the Properties tab, map each SelectedProperties, Save the Flow, then either Debug or Run the Flow.