Overview
The Rule Collection Filter Step allows for the Designer to create a custom Rule to filter collection of any type in Decisions. The Rule is applied to a collection of a defined type and any items that are triggered are filtered by the rule and returned.
Example
In this example, use the Rule Collection Filter Step to filter a list of Accounts.
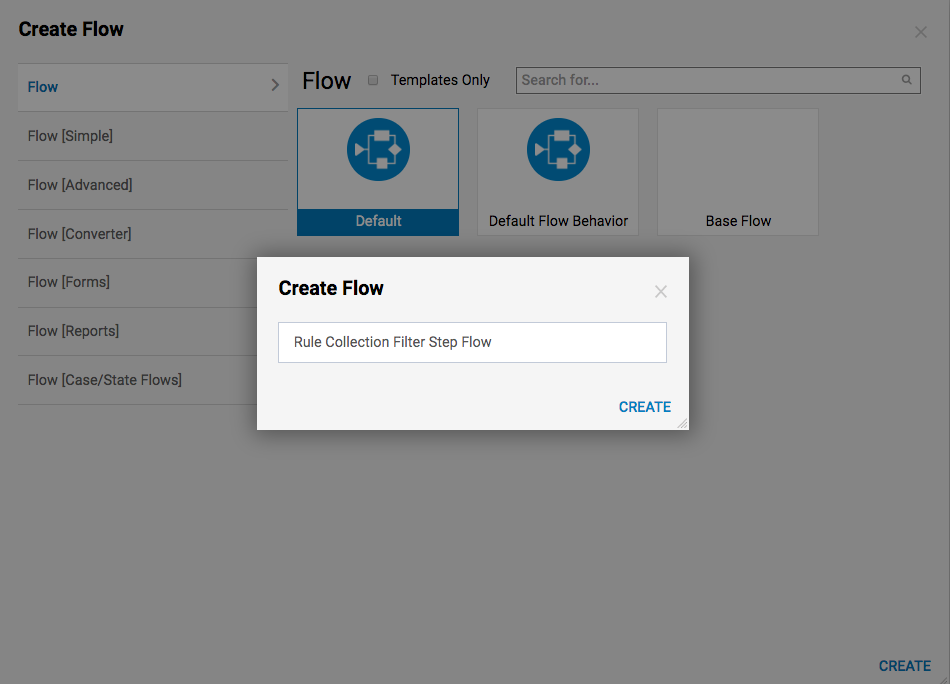
- Begin in the Designer Folderby selecting CREATE FLOW.

- In the resulting window, give the Flow a Nameand click CREATE to proceed to the Flow Designer.
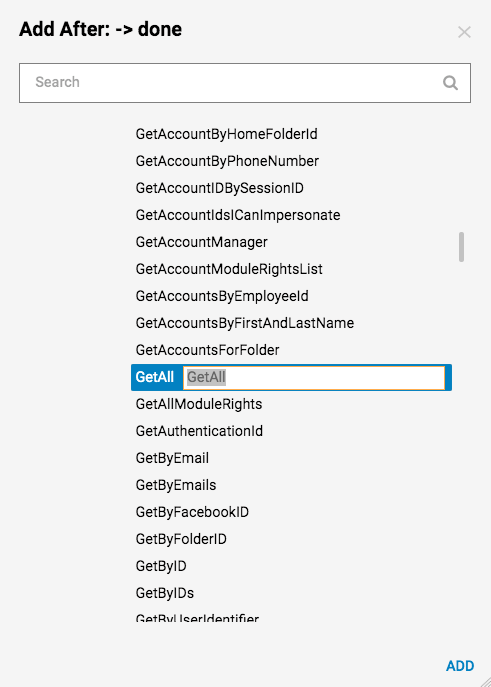
- In the Flow Designer, add a GetAll step from Integration > Internal Services > Account Service.
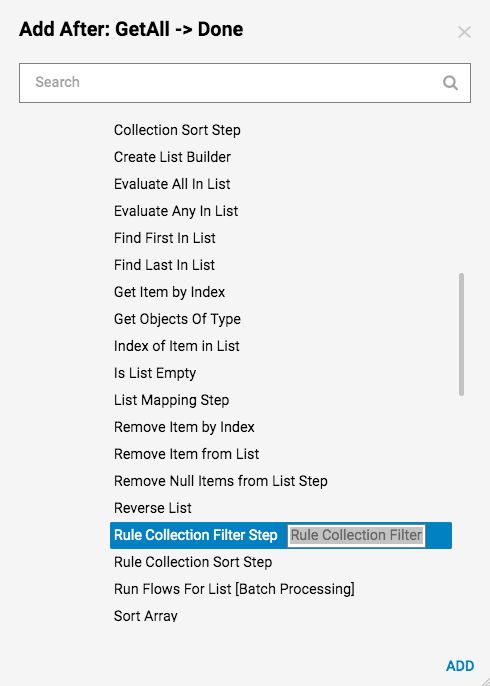
- Then add and connect a Rule Collection Filter Step from All Steps [Catalog] > Data > List to the GetAll step in the Flow.
- Next, set up a Rule Collection Filter Step. In the Inputs section of the Step settings, check the Expose Flow Data Check-Box to use all Flow Data in the Filter Rule.
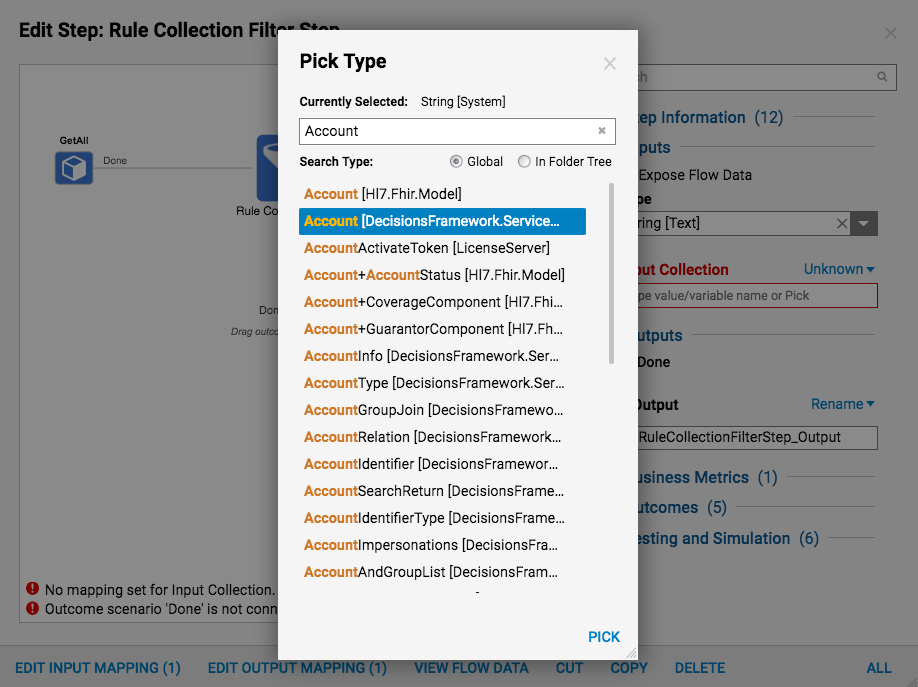
- Then, with the Type Picker, use the All/Search category to select a type in the List to filter with the custom Rule.
- In this case, it will be the Account type.
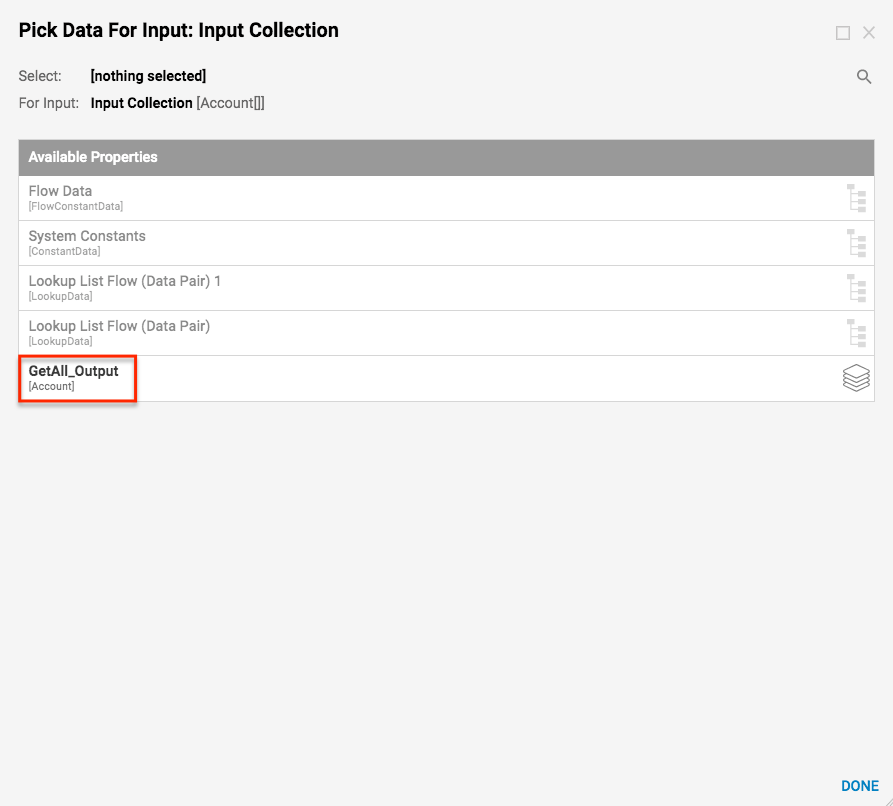
- In the Input Collection setting, use the Select From Flow mapping type and select the GetAll_Output in the Flow.
- Then, with the Rule Collection Filter Step selected, click Edit Rule to create the custom Rule Filter.

- Define the If as Entity.EmailAddress Contains admin.NoteEntity is a single item from the Input Collection established within the Flow.
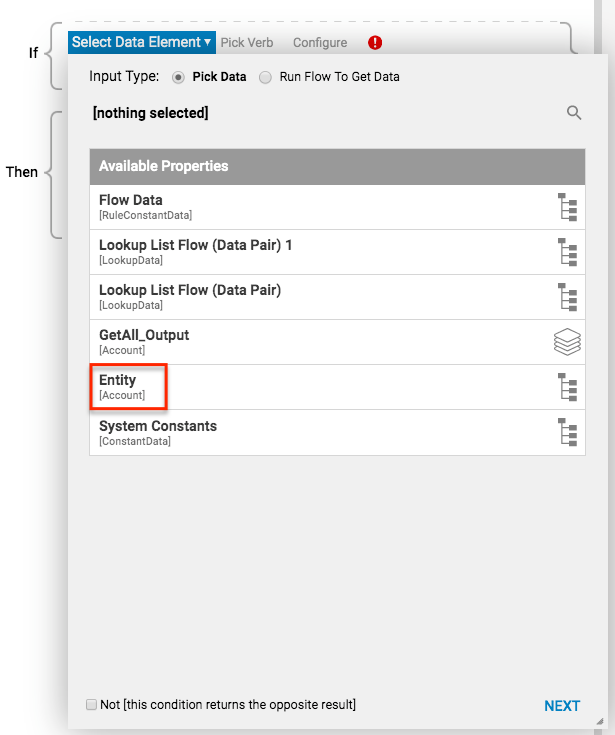
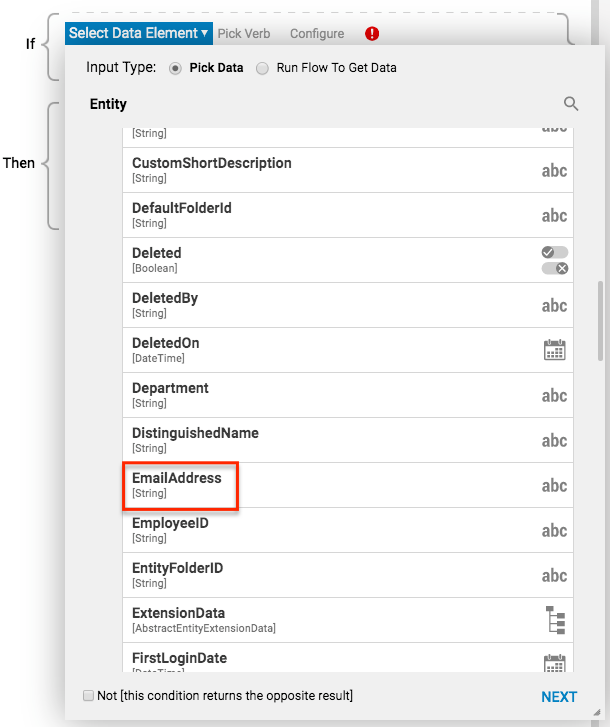
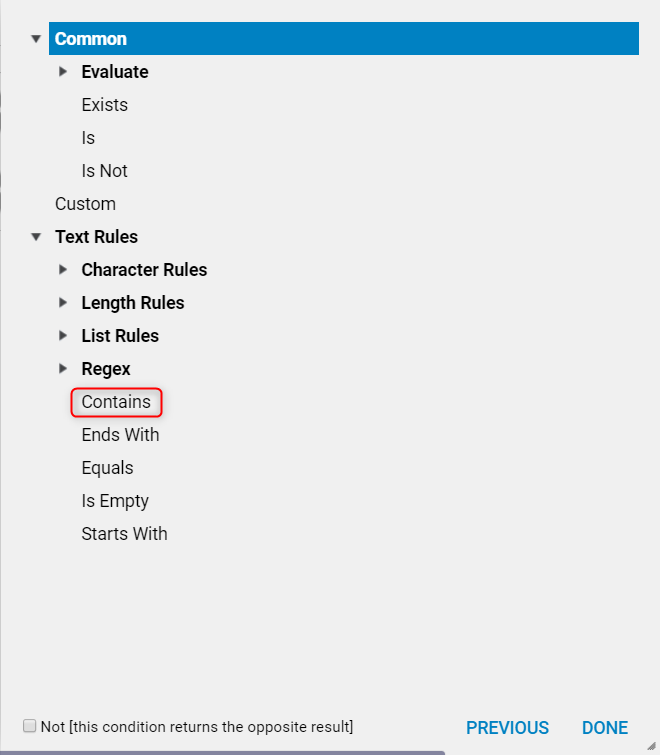
- Finally, as the value for this condition, define the Constant as admin.
- Click Done when finished.
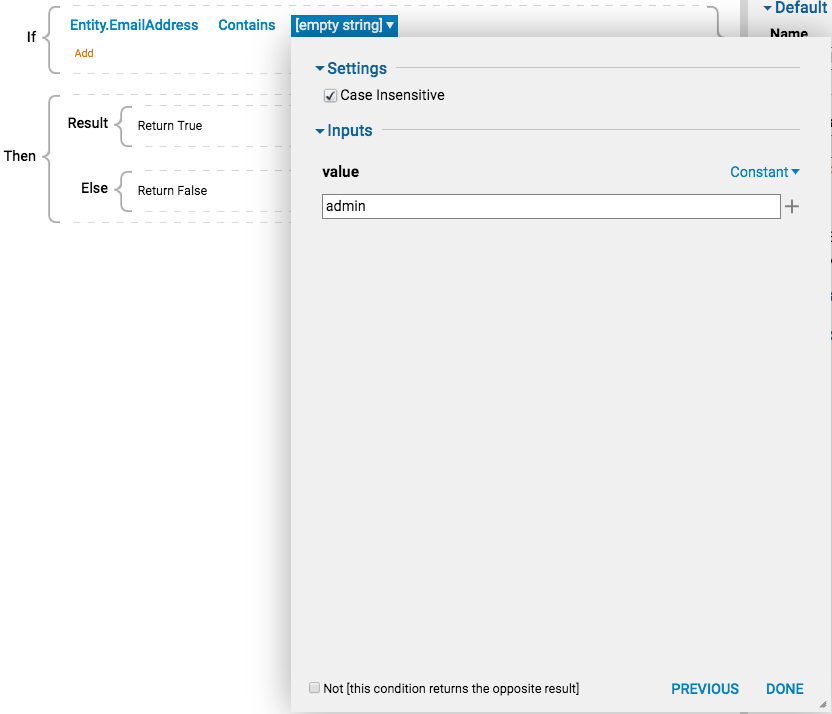
- The Rule reads Entity.EmailAddress Contains admin, therefore the output from this step will be a list of Accounts in which the email addresses contain ‘admin’.
- Save and Close the Rule Designer.

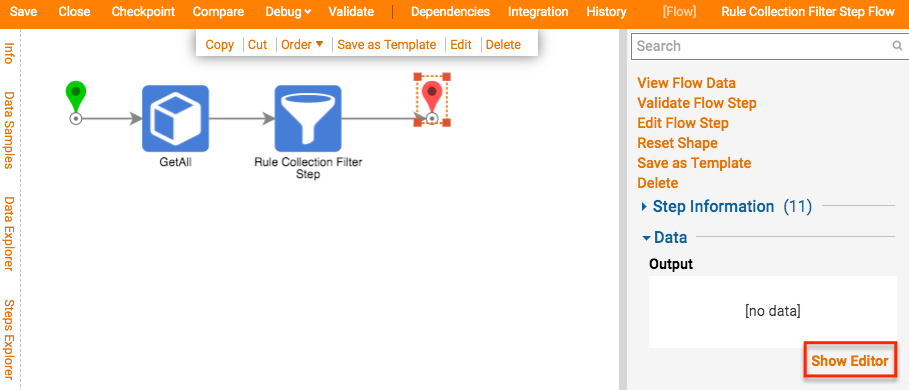
- Back in the Flow Designer, connect the Rule Collection Filter Step outcome to the End Step in the Flow.
- With the End Step selected on the workspace, click Show Editor under data
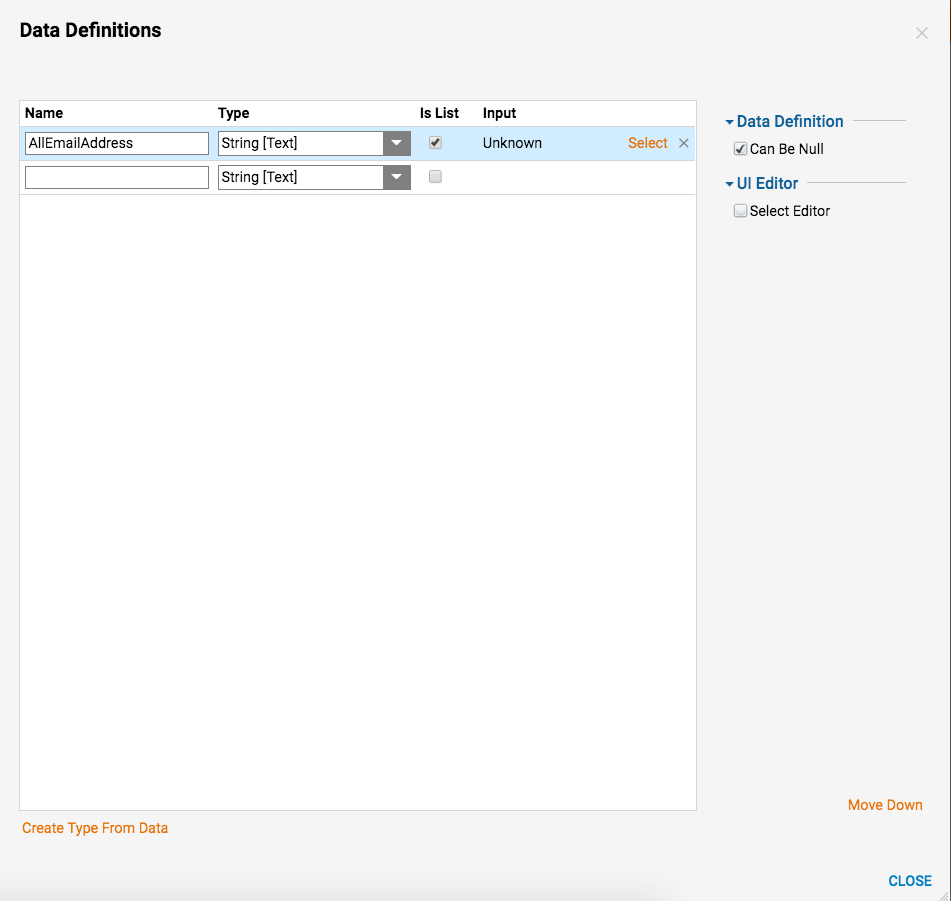
- In the resulting Data Definitions window, specify a data member of the type String called AllEmailAddress.
- Then check Is List and Can Be Null.
- Save and close this window.
- Back on the Edit Step window, a new section called Inputs has appeared with All Email Address in it.
- Specify the Mapping Type as Select From Flow and then click Pick.
- Expand the Rule Collection Filter Step Output and then select EmailAddress. Click DONE.
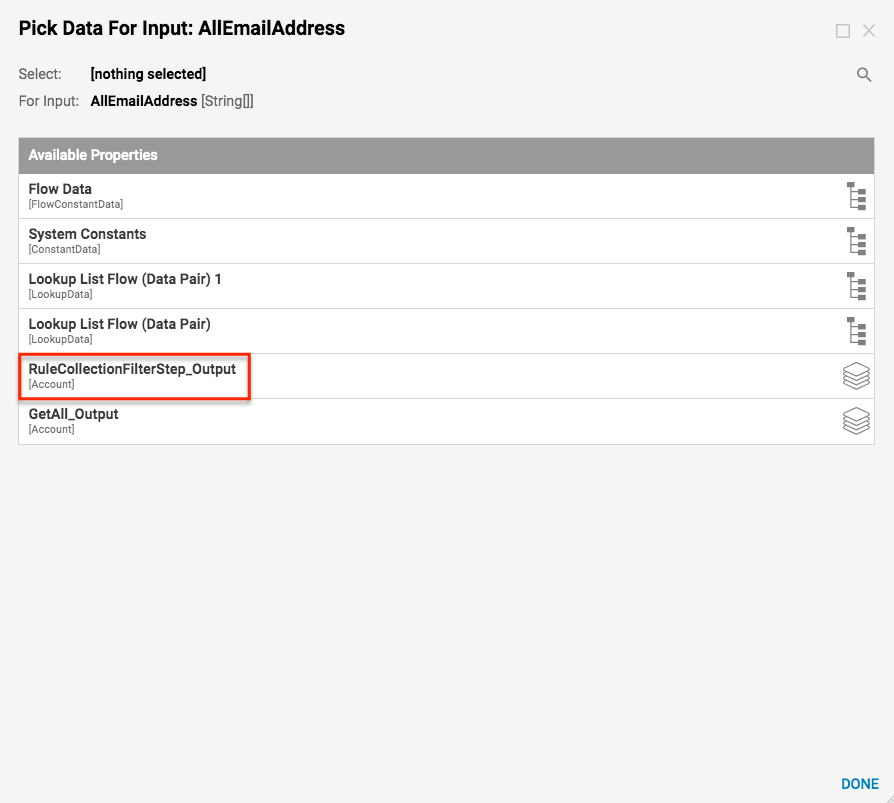
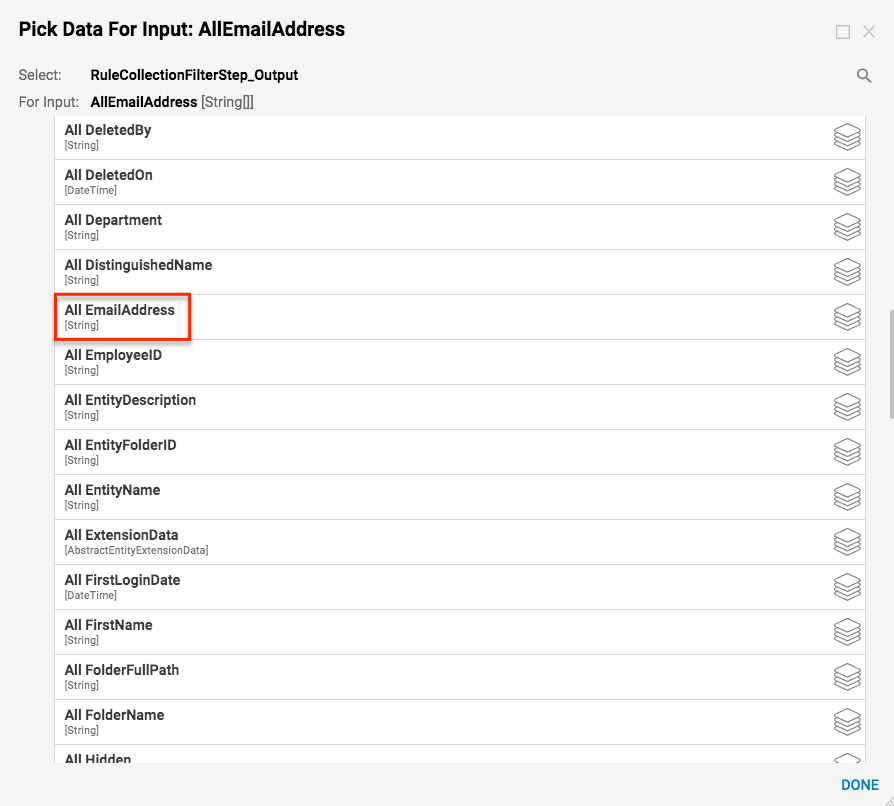
- When finished Adding Data, close the Edit Step window.
- This completes the Flow.
Debug
- From the Flow Designer, select Debug from the top action bar.
- Debug the Flow using the FULL button.
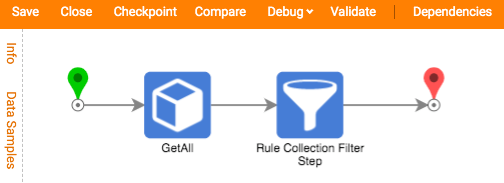
- The Flow executes in the Debugger with no issues. Checking the Rule Collection Filter Step Show Step Info shows a list of all Accounts.
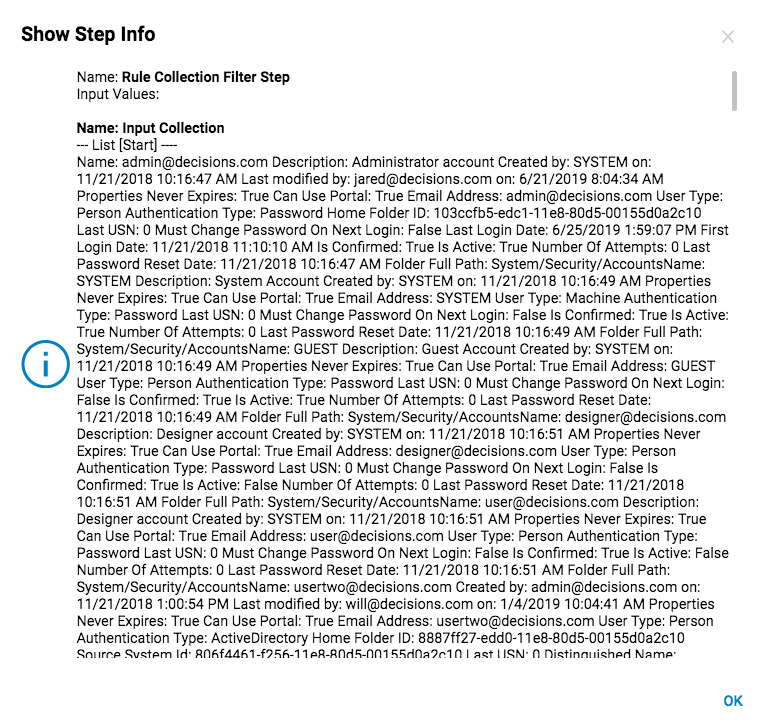
- The Output from the Rule Collection Filter Step is a list of filtered Accounts for email addresses that contain admin.
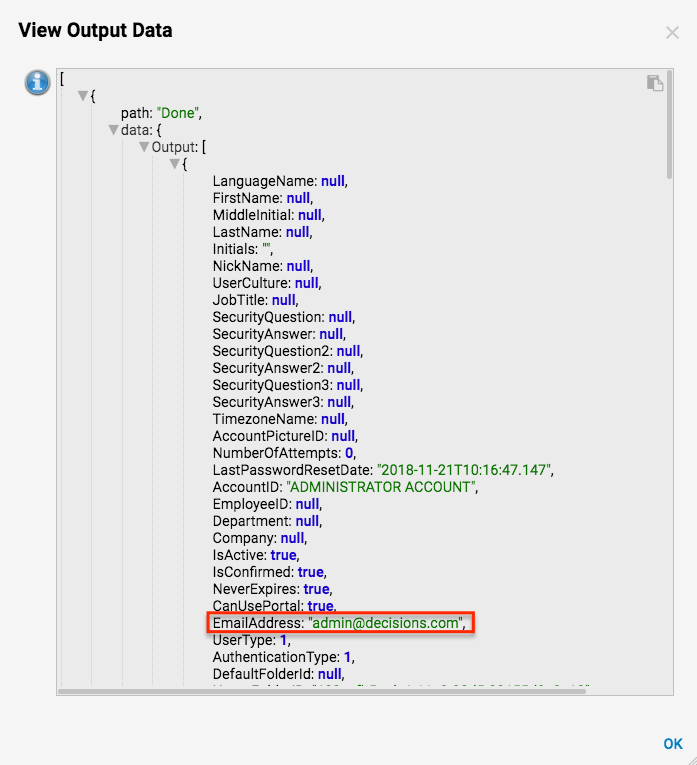
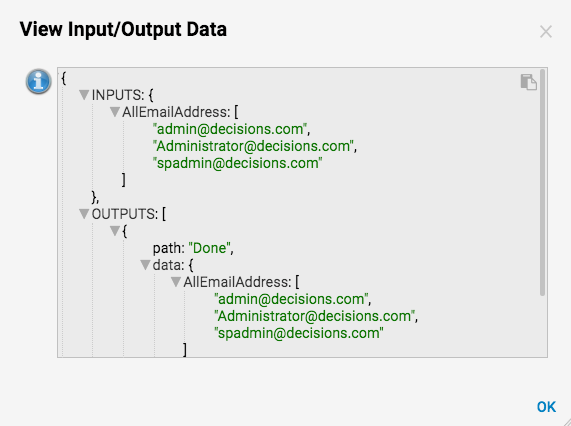
- Finally, the End Step outputs a list of Email Addresses from the Filtered List of Accounts.
