Overview
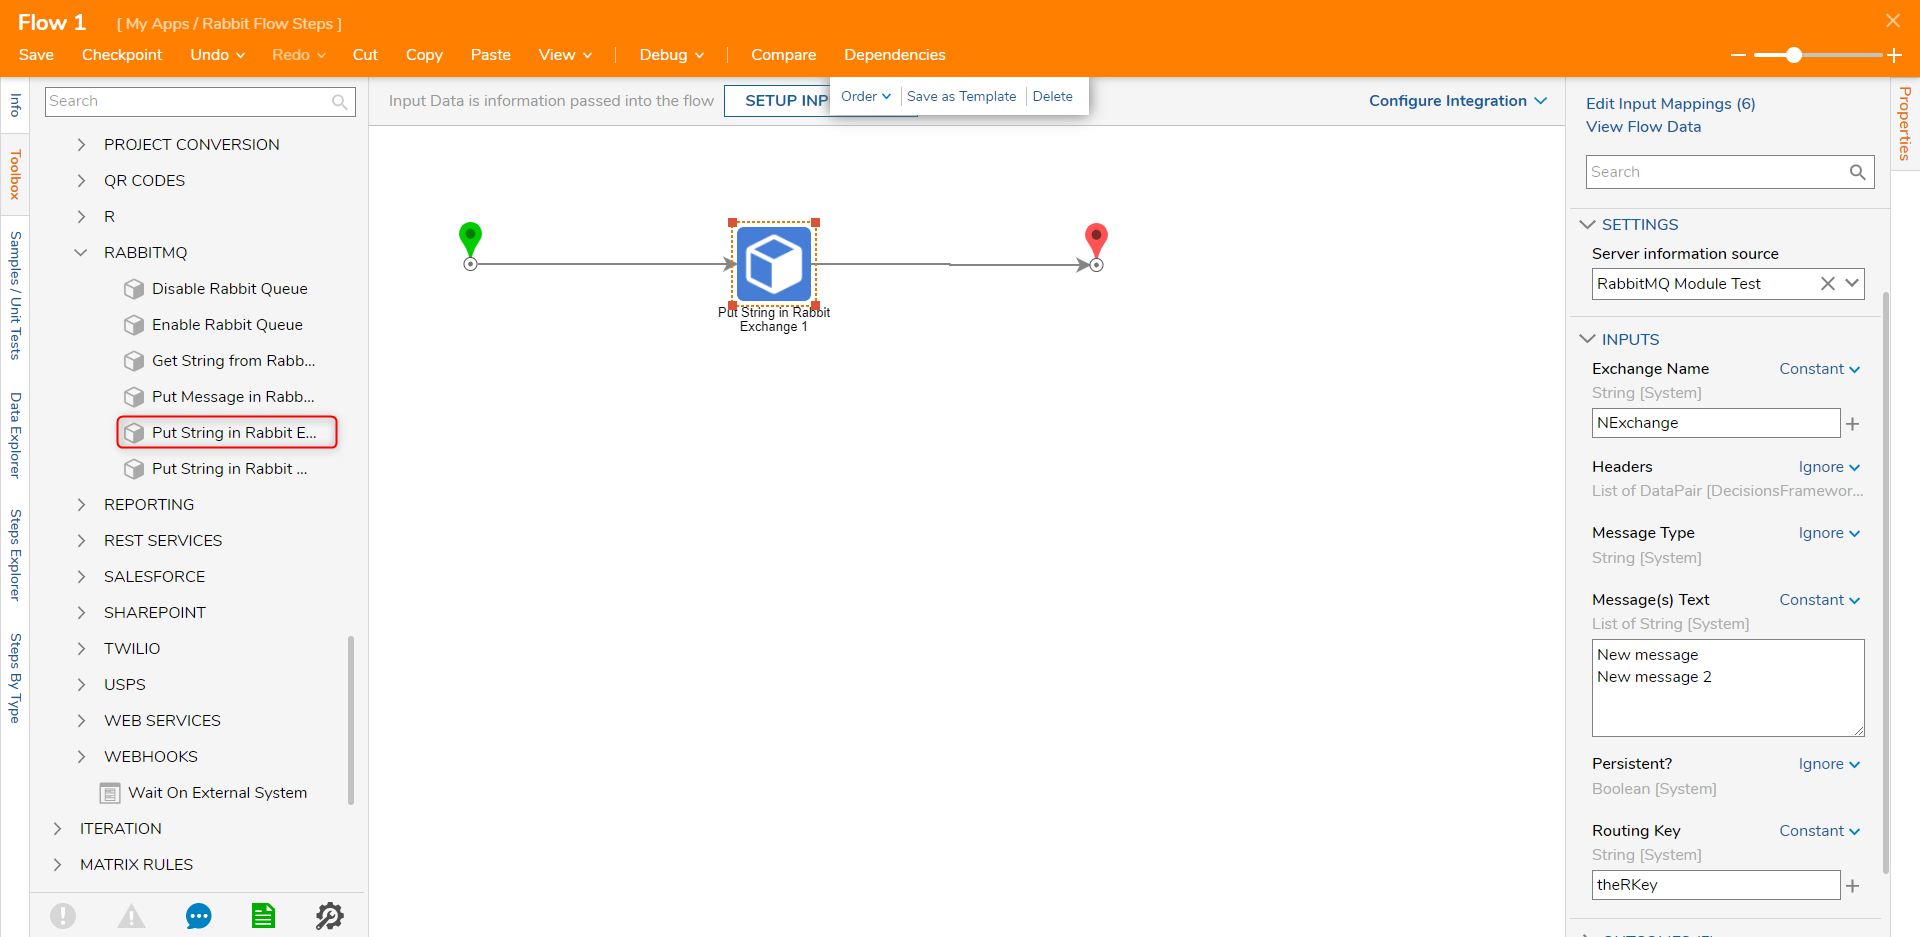
Once the RabbitMQ module has been installed in Decisions, Flow steps to interact with the MQ server will be made available to users. The RabbitMQ module steps are Enable Rabbit Queue, Disable Rabbit Queue, Get String from Rabbit Queue, Put Message in Rabbit Queue, Put String in Rabbit Exchange, and Put String in Rabbit Queue.
Disable/Enable Rabbit Queue
These two Flow steps allow a user to either disable or enable the integrated Message Queue. The input to both of these steps is a dropdown list of integrated queues called QueueName.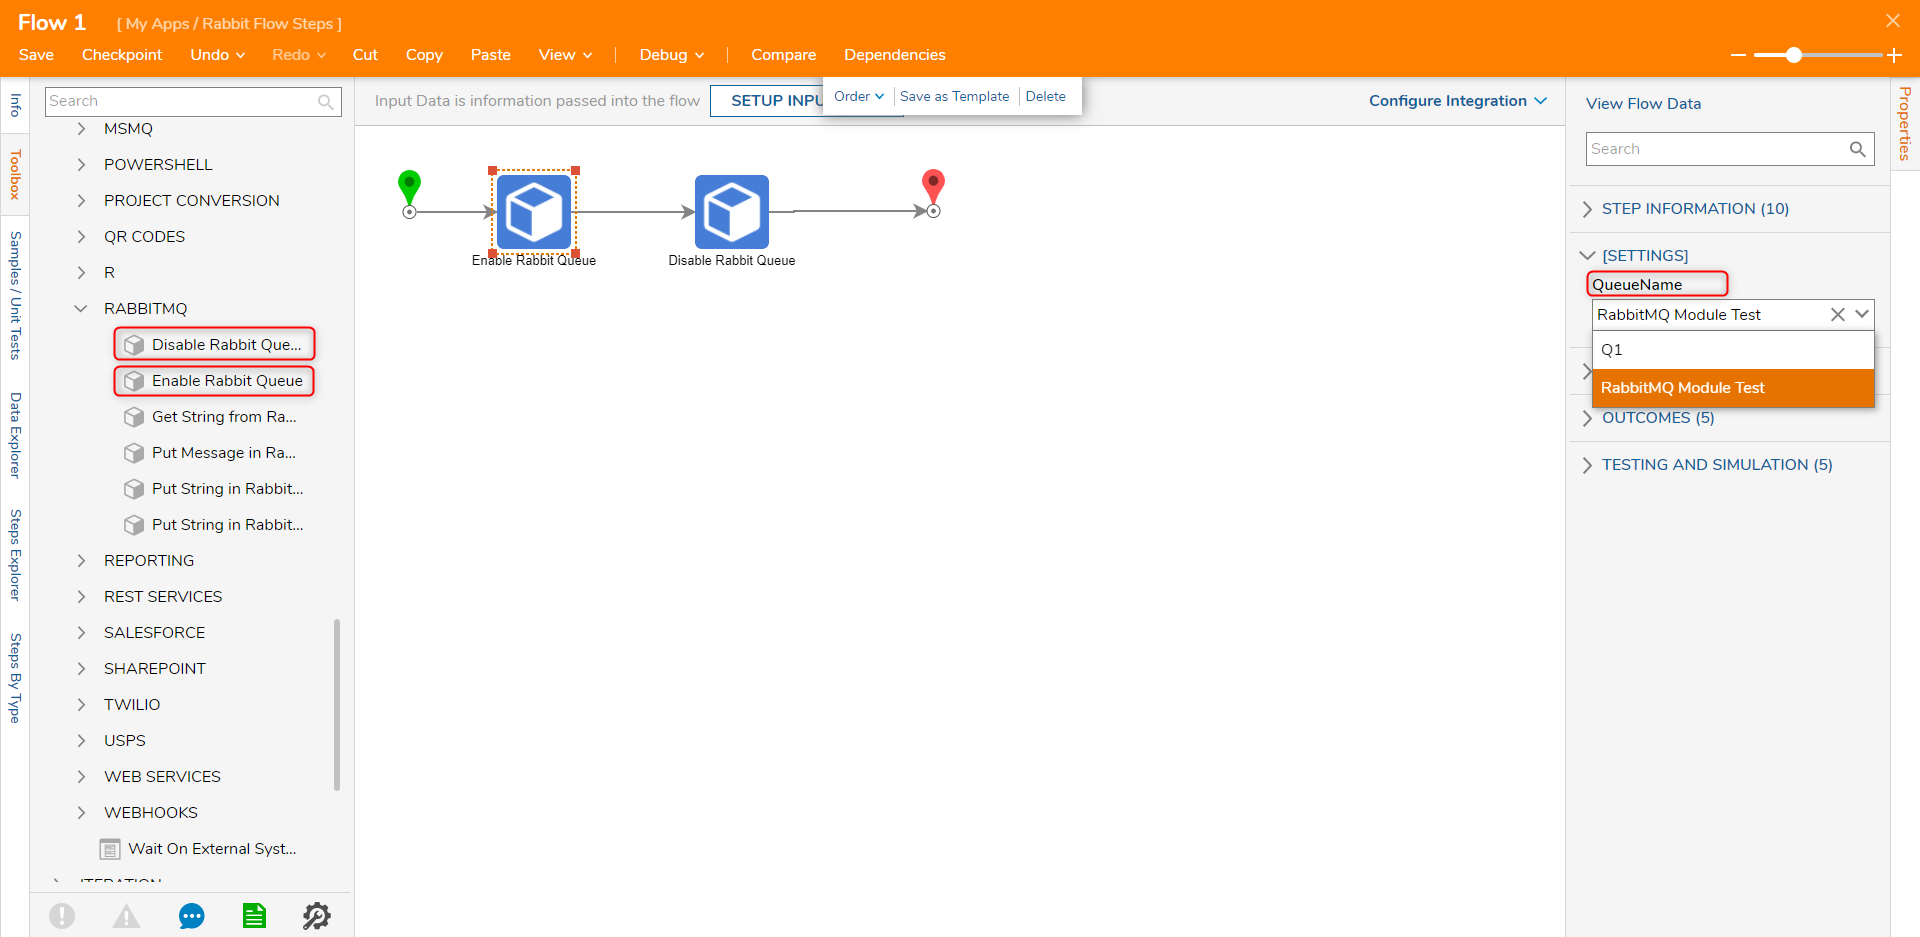
Get String From Rabbit Queue
This step will get a String message from the Message Queue Server. The inputs to this step are the name of the queue server and the index number of the message that is desired for retrieval.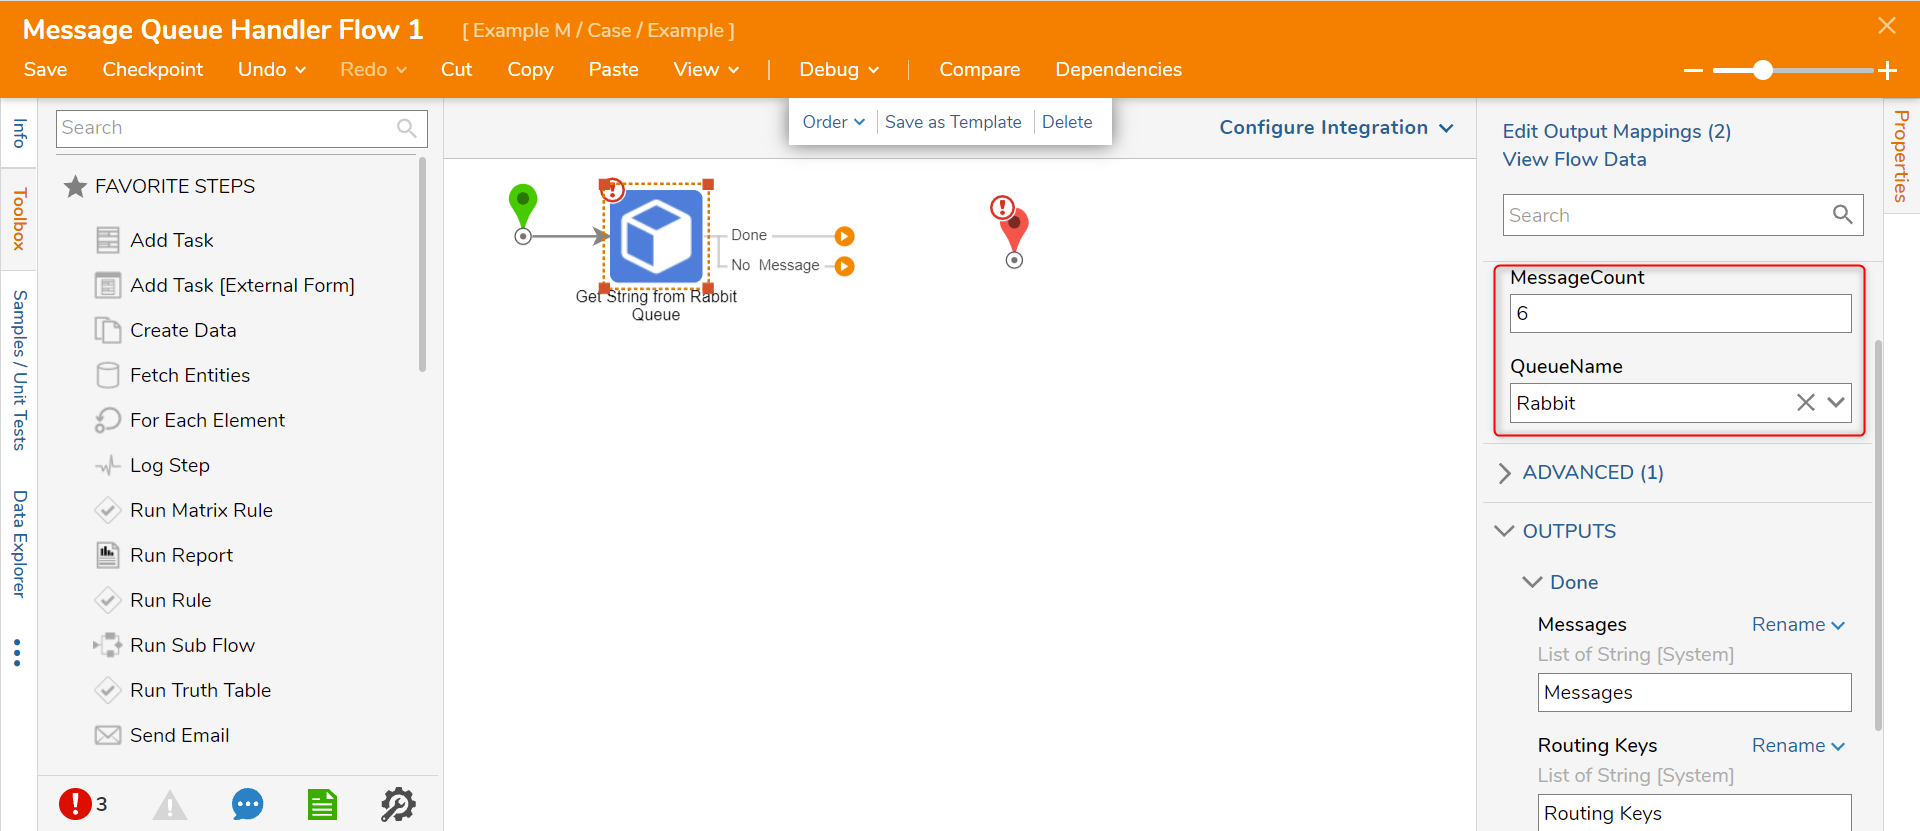
Put Message in Rabbit Queue
This Flow step will place messages in the message queue. Using this Flow with Get String from Rabbit Queue will allow users to retrieve the message. The Put Message in Rabbit Queue step expects the message part of the step to be in bytes. In order to pass a String type into the step, the String will need to be converted into a list of bytes and then mapping that output into the Put Message in Rabbit Queue step.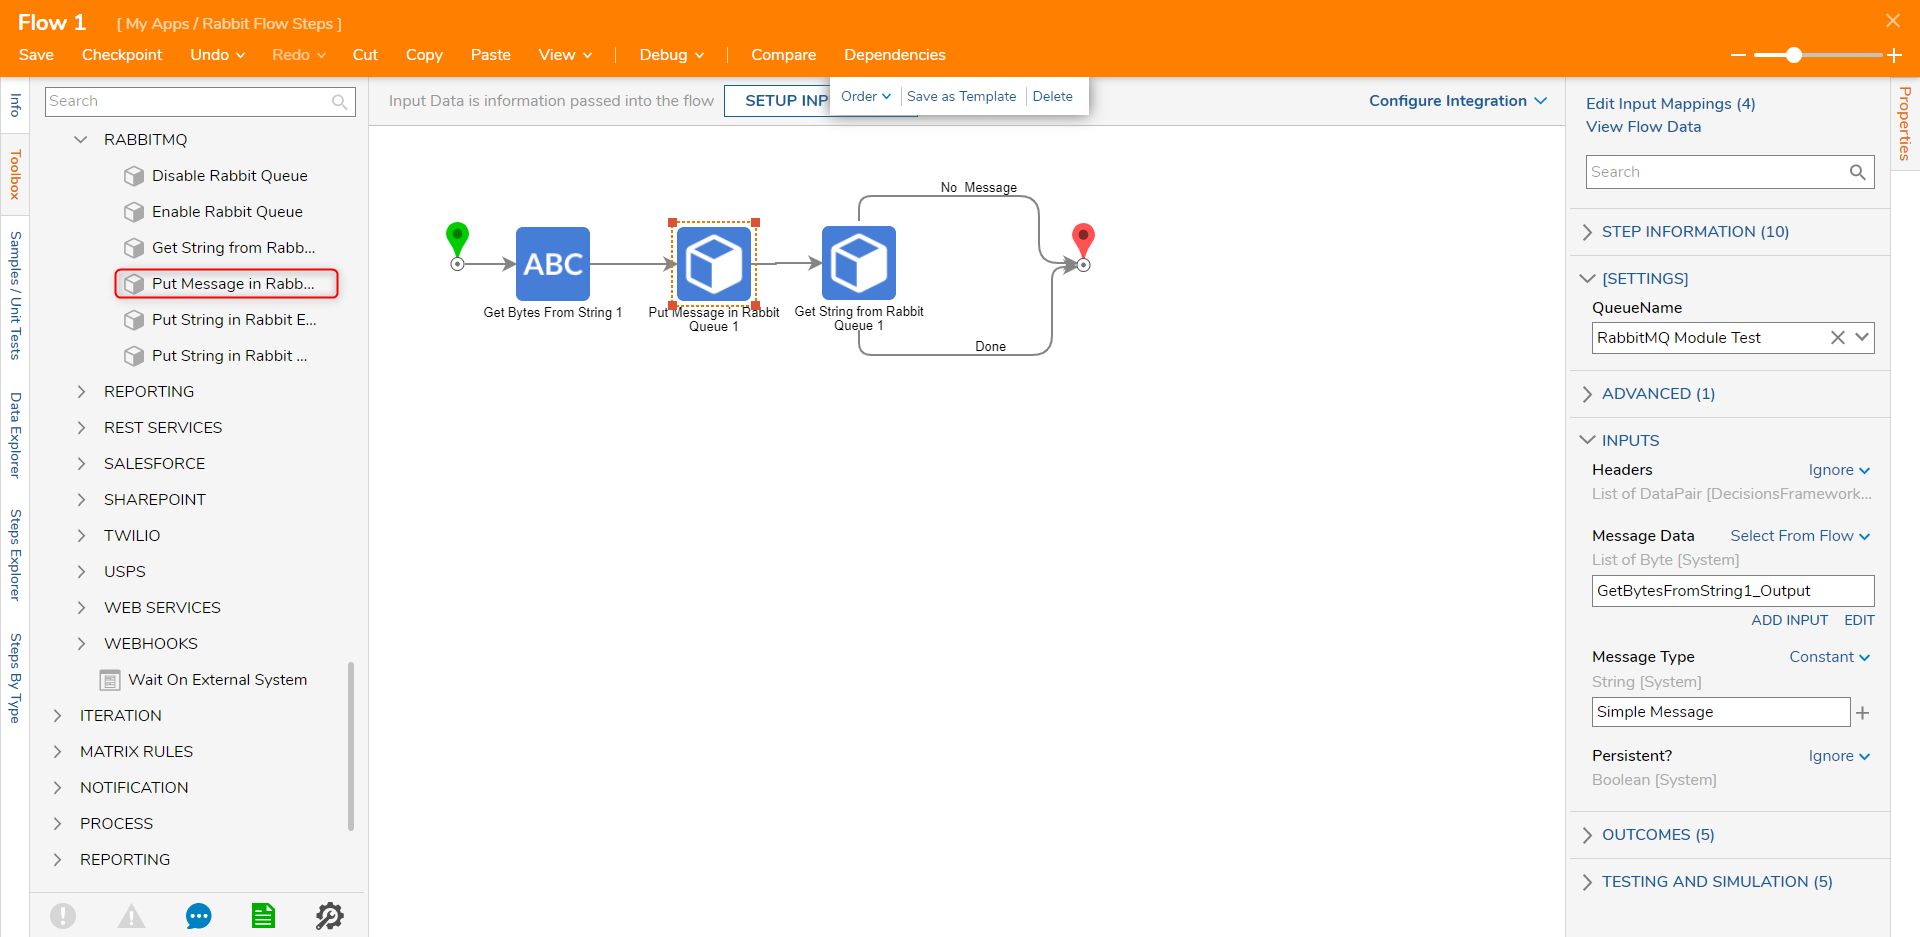
Put String in Rabbit Queue
This Rabbit MQ Flow step behaves similarly to the Put Message in Rabbit Queue step. The primary difference between the two is the Put String in Rabbit Queue allows users to pass in a list of String data as the message. There is no need to convert the text into bytes and pass it to the step.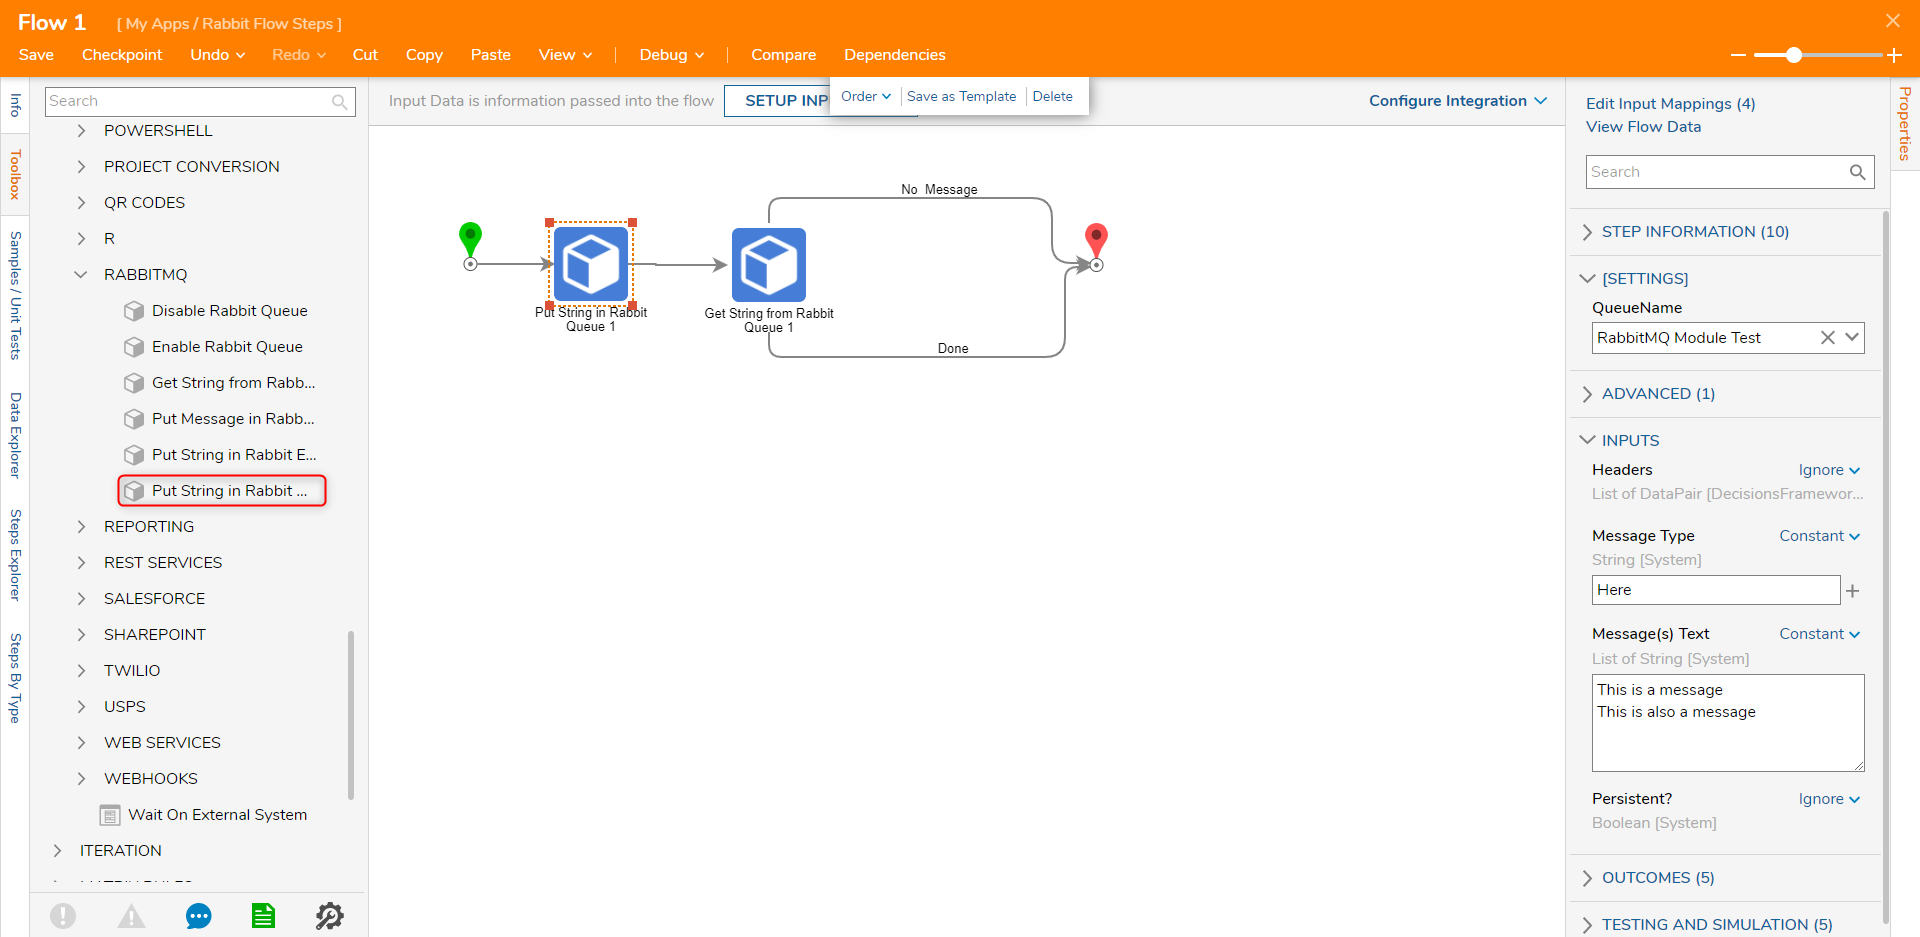
Put String in Rabbit Exchange
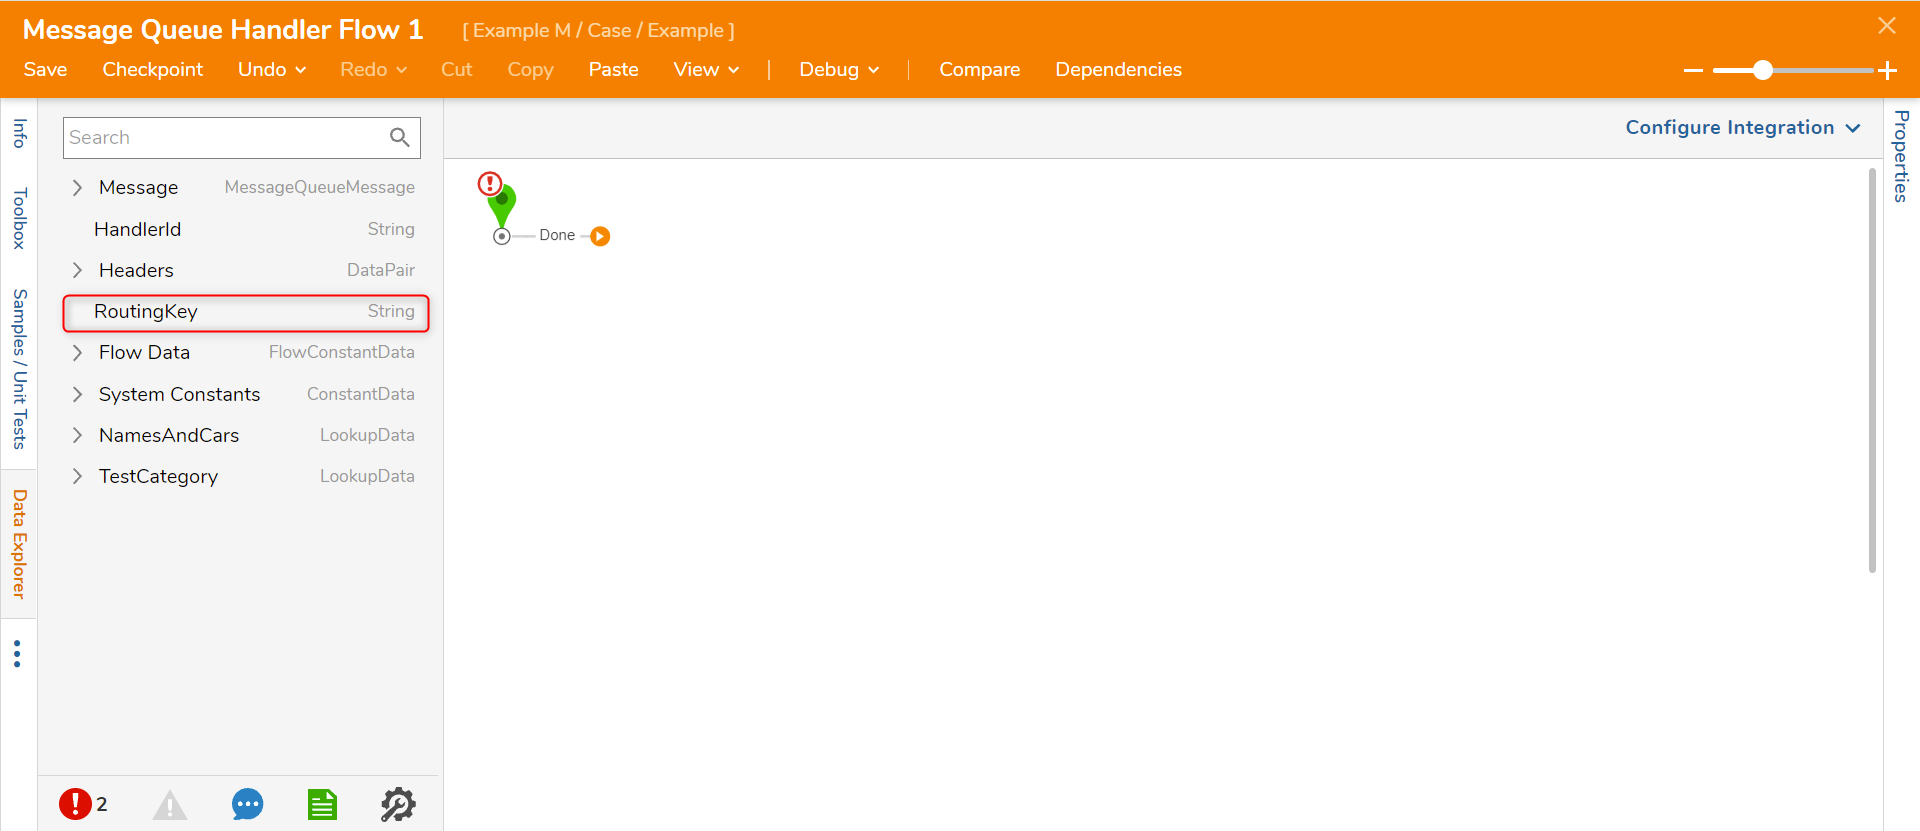
This Flow step allows users to place a message in a Rabbit MQ Exchange. The configuration parameters are the Exchange Name and the Routing Key which are configurable on the Rabbit MQ server.