Overview
This tutorial demonstrates how to use Private and Shared Flow modes in Form steps. These Flow modes are used in the Flow Designer in Form steps. If the Form is Assigned it is possible to perform some additional Actions when the Form is being assigned.
The differences between Private and Shared Flows:
- Private Flows can pull data from the Parent Flow. They are tied to a specific Form component and will not be visible in the Folder tree.
- Shared Flows will not have Flow data available, but it is reusable on other Form steps (not tied to a specific Form component).
Example
In this example, create a Flow that will notify administrative users. Trigger this Flow from the Main Flow with the Form Assignment. Then show the difference between Private and Shared Flow modes in the Form steps.
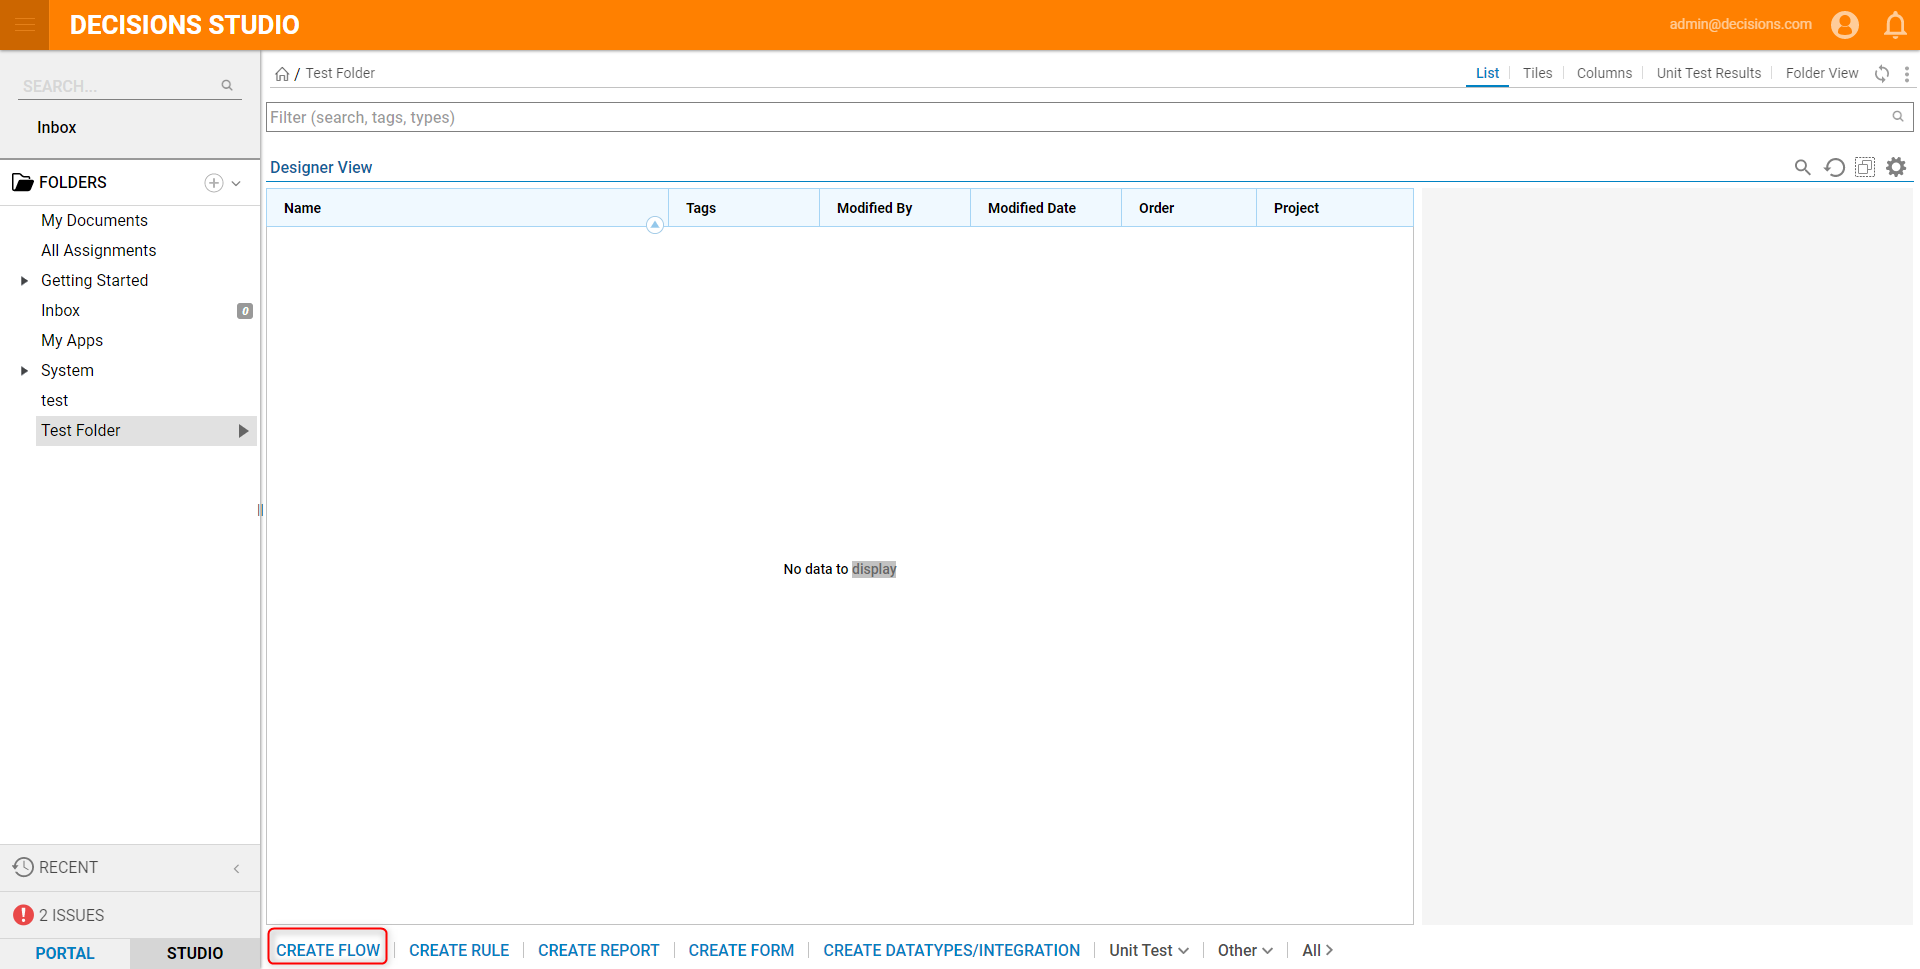
- First, create a Notification Flow that will be triggered by the Main Flow. In the Designer Folder, select CREATE FLOW on the Folder Actions Panel.
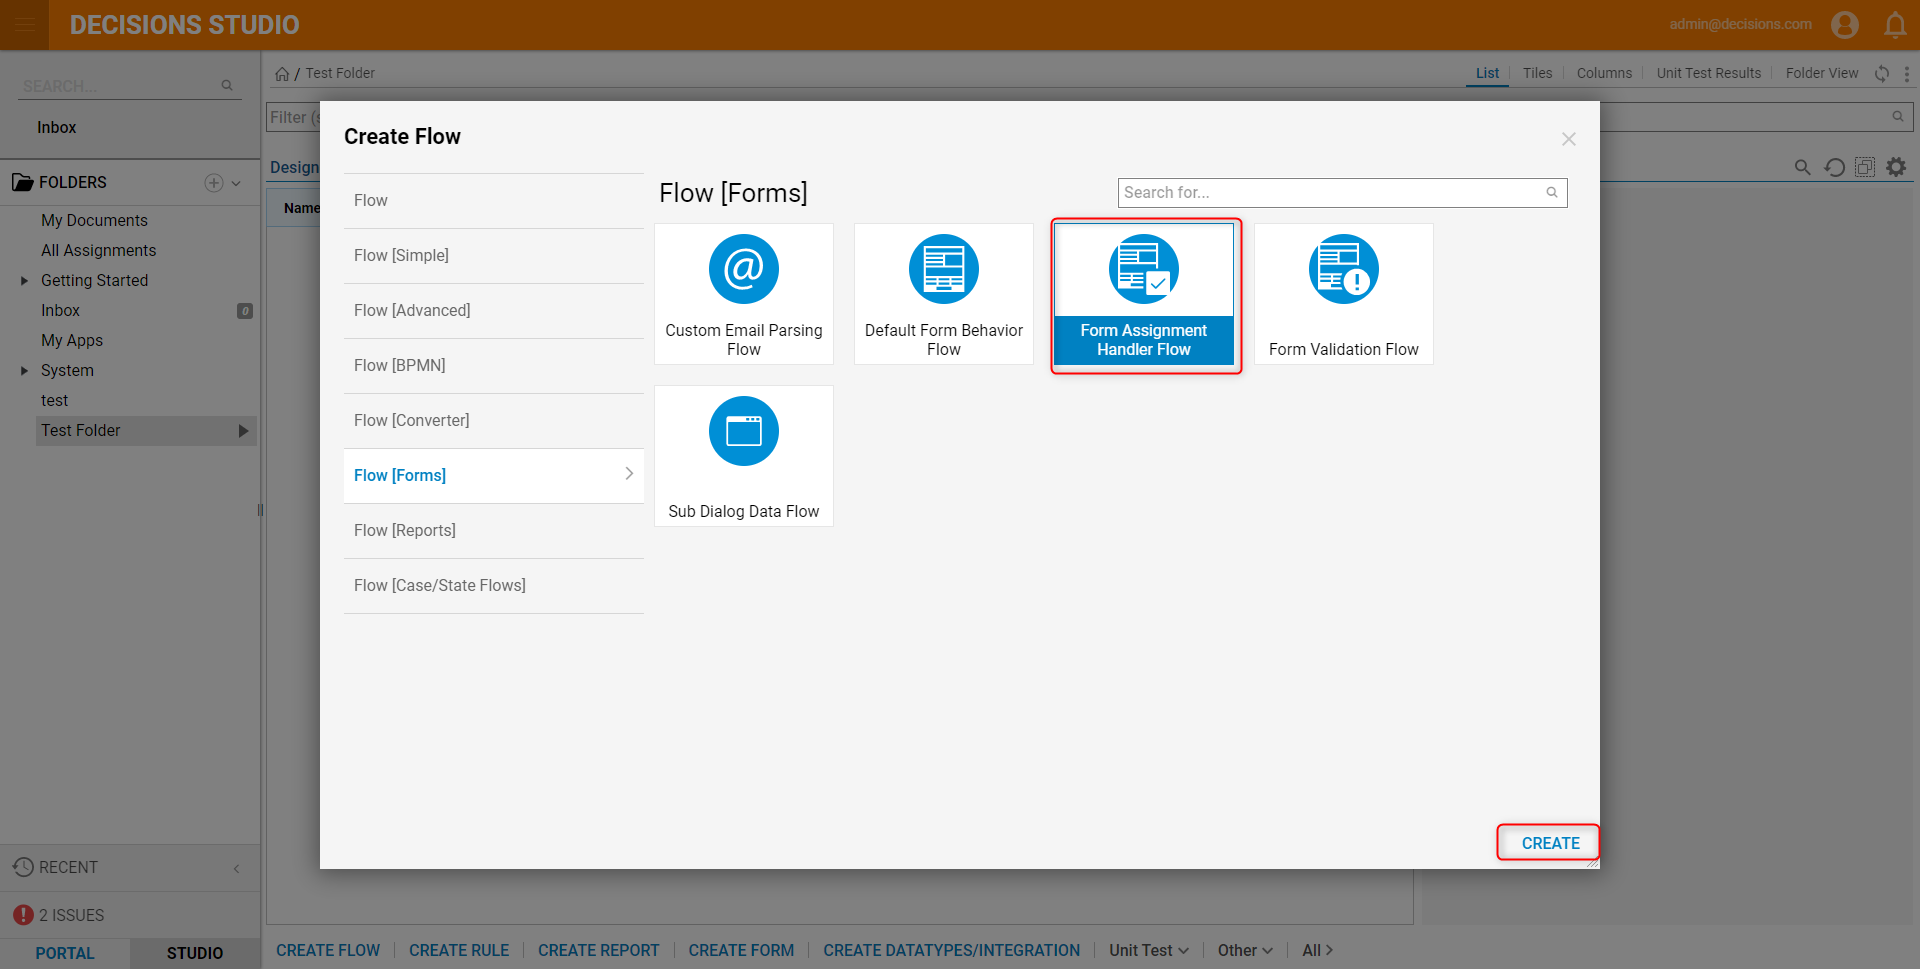
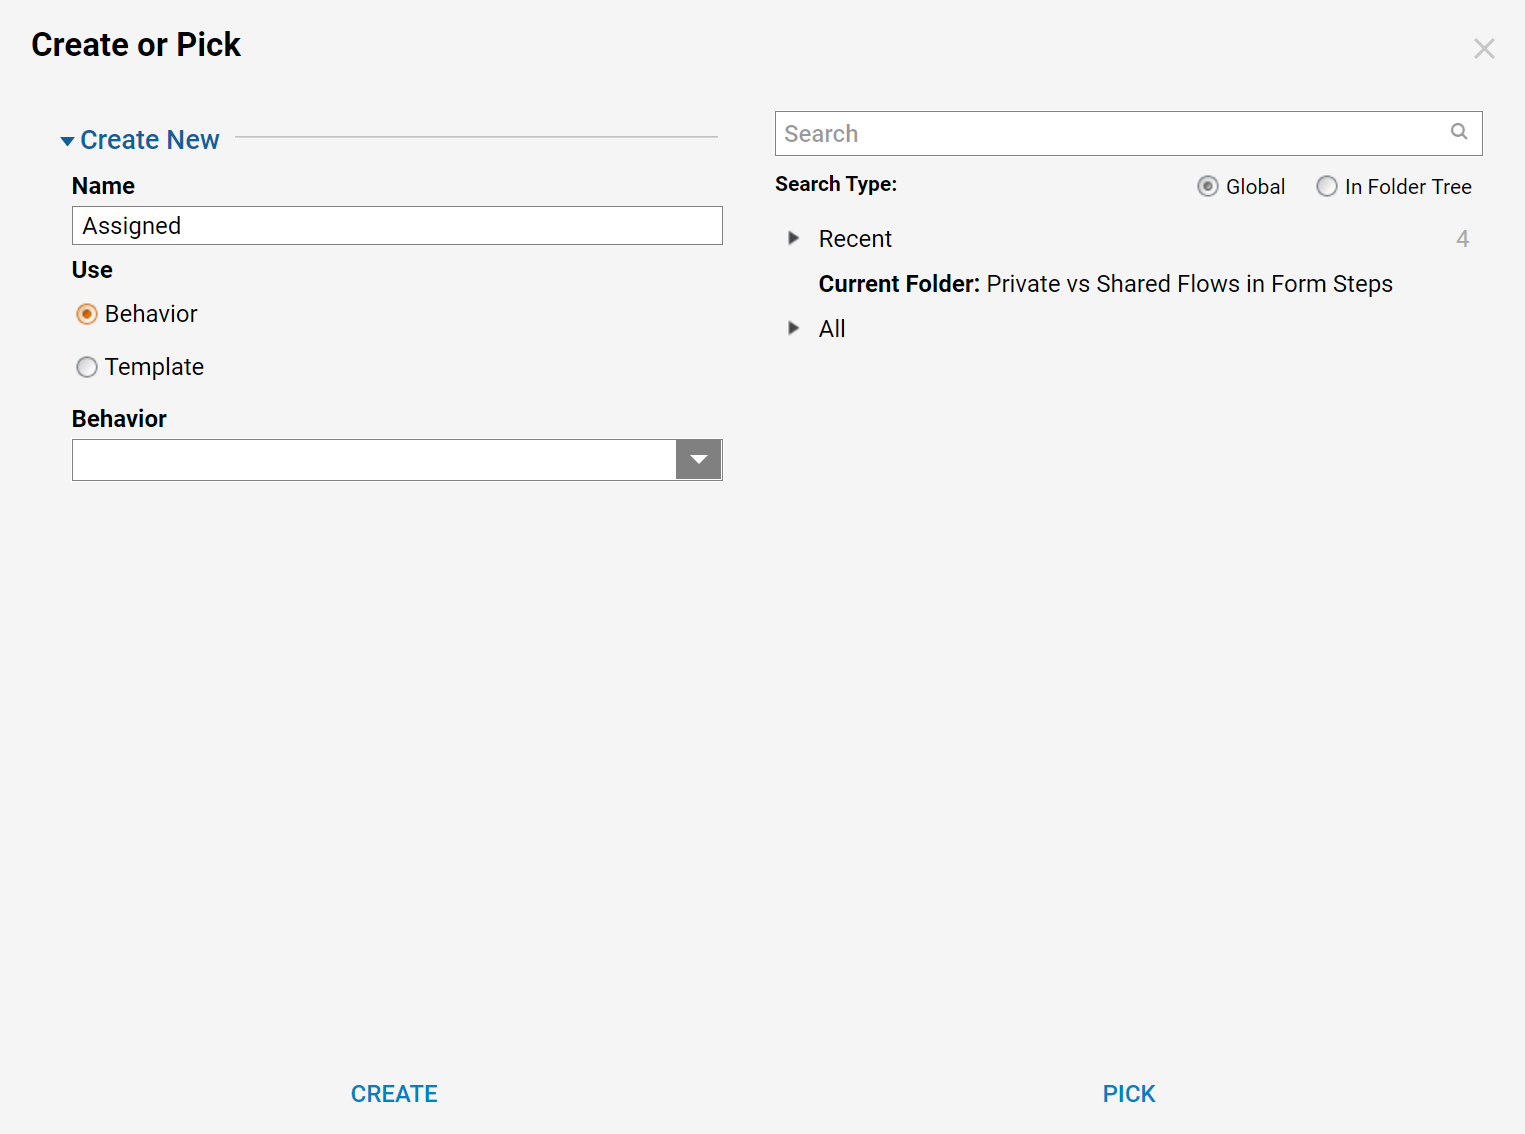
- Name the Flow, set the Flow behavior to Form Assignment Handler Flow, and select CREATE to proceed to the Flow Designer.
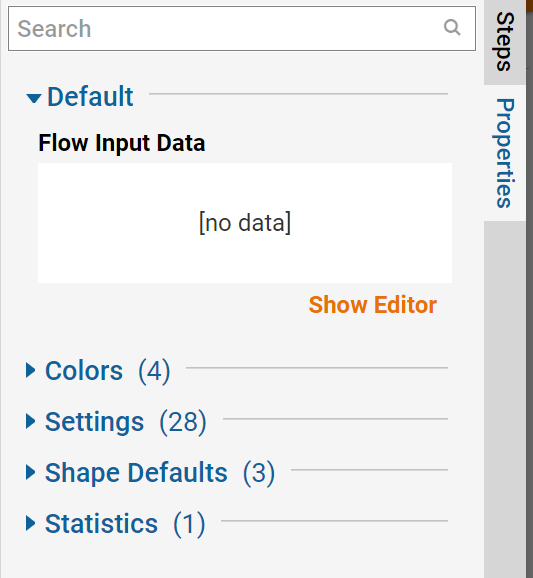
- In the Flow Designer, select the Start step in the Properties tab under common properties.
- Under Flow Input Data, select the Show Editor link to add input parameters to the Flow.
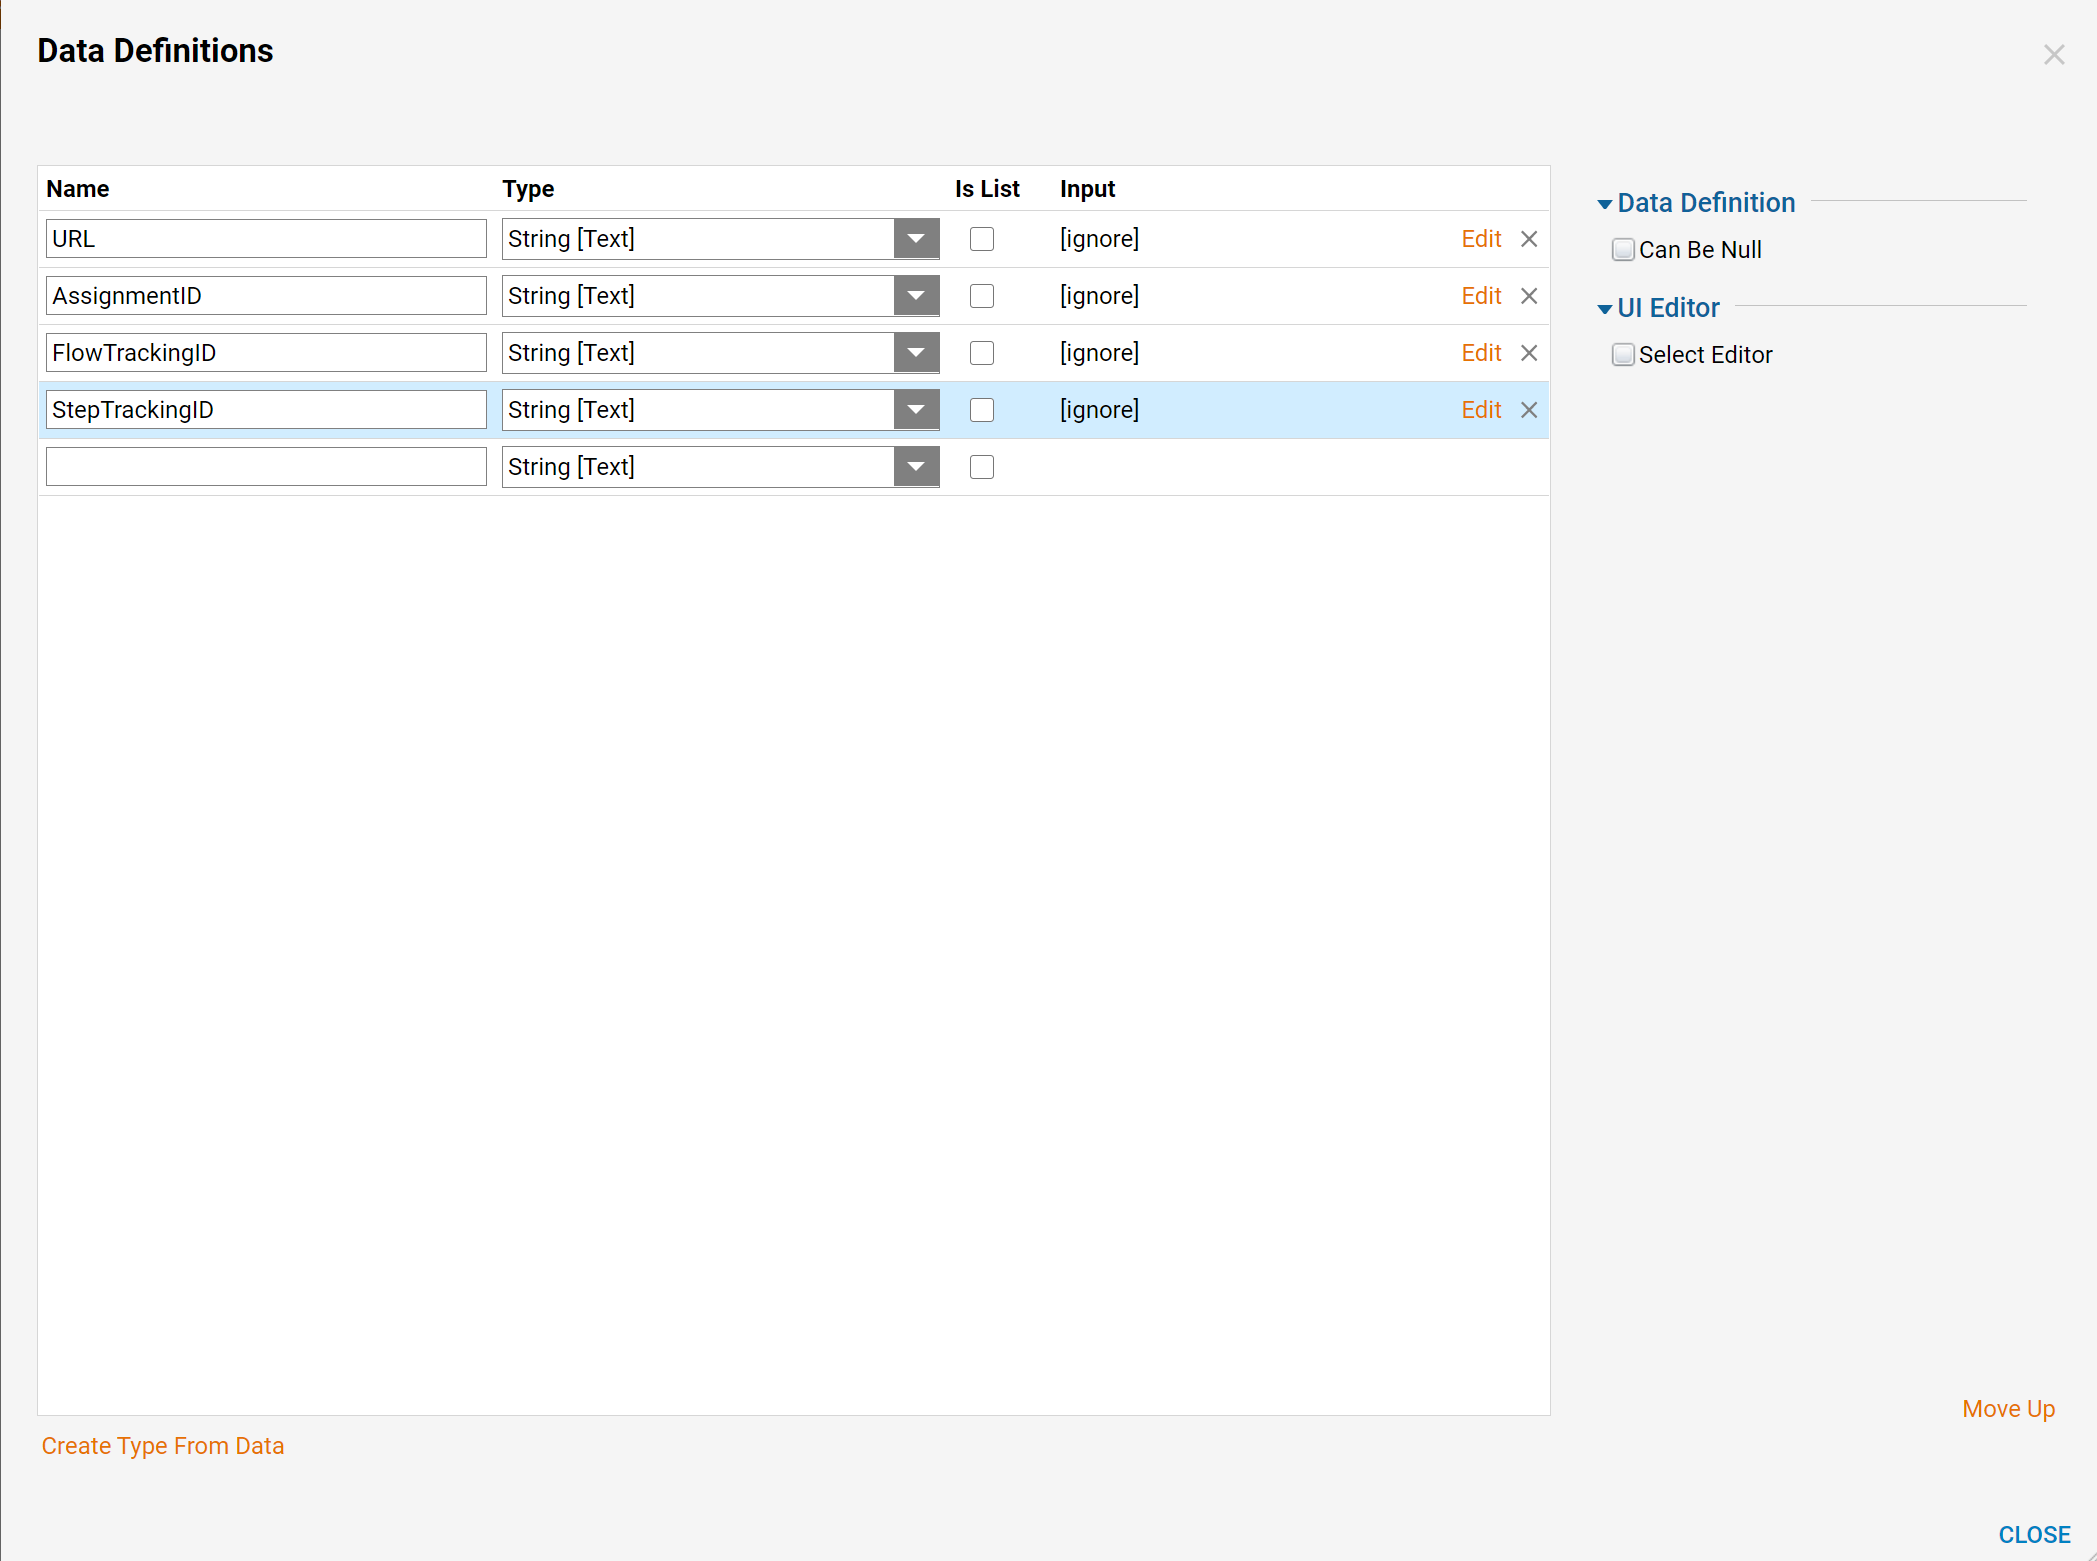
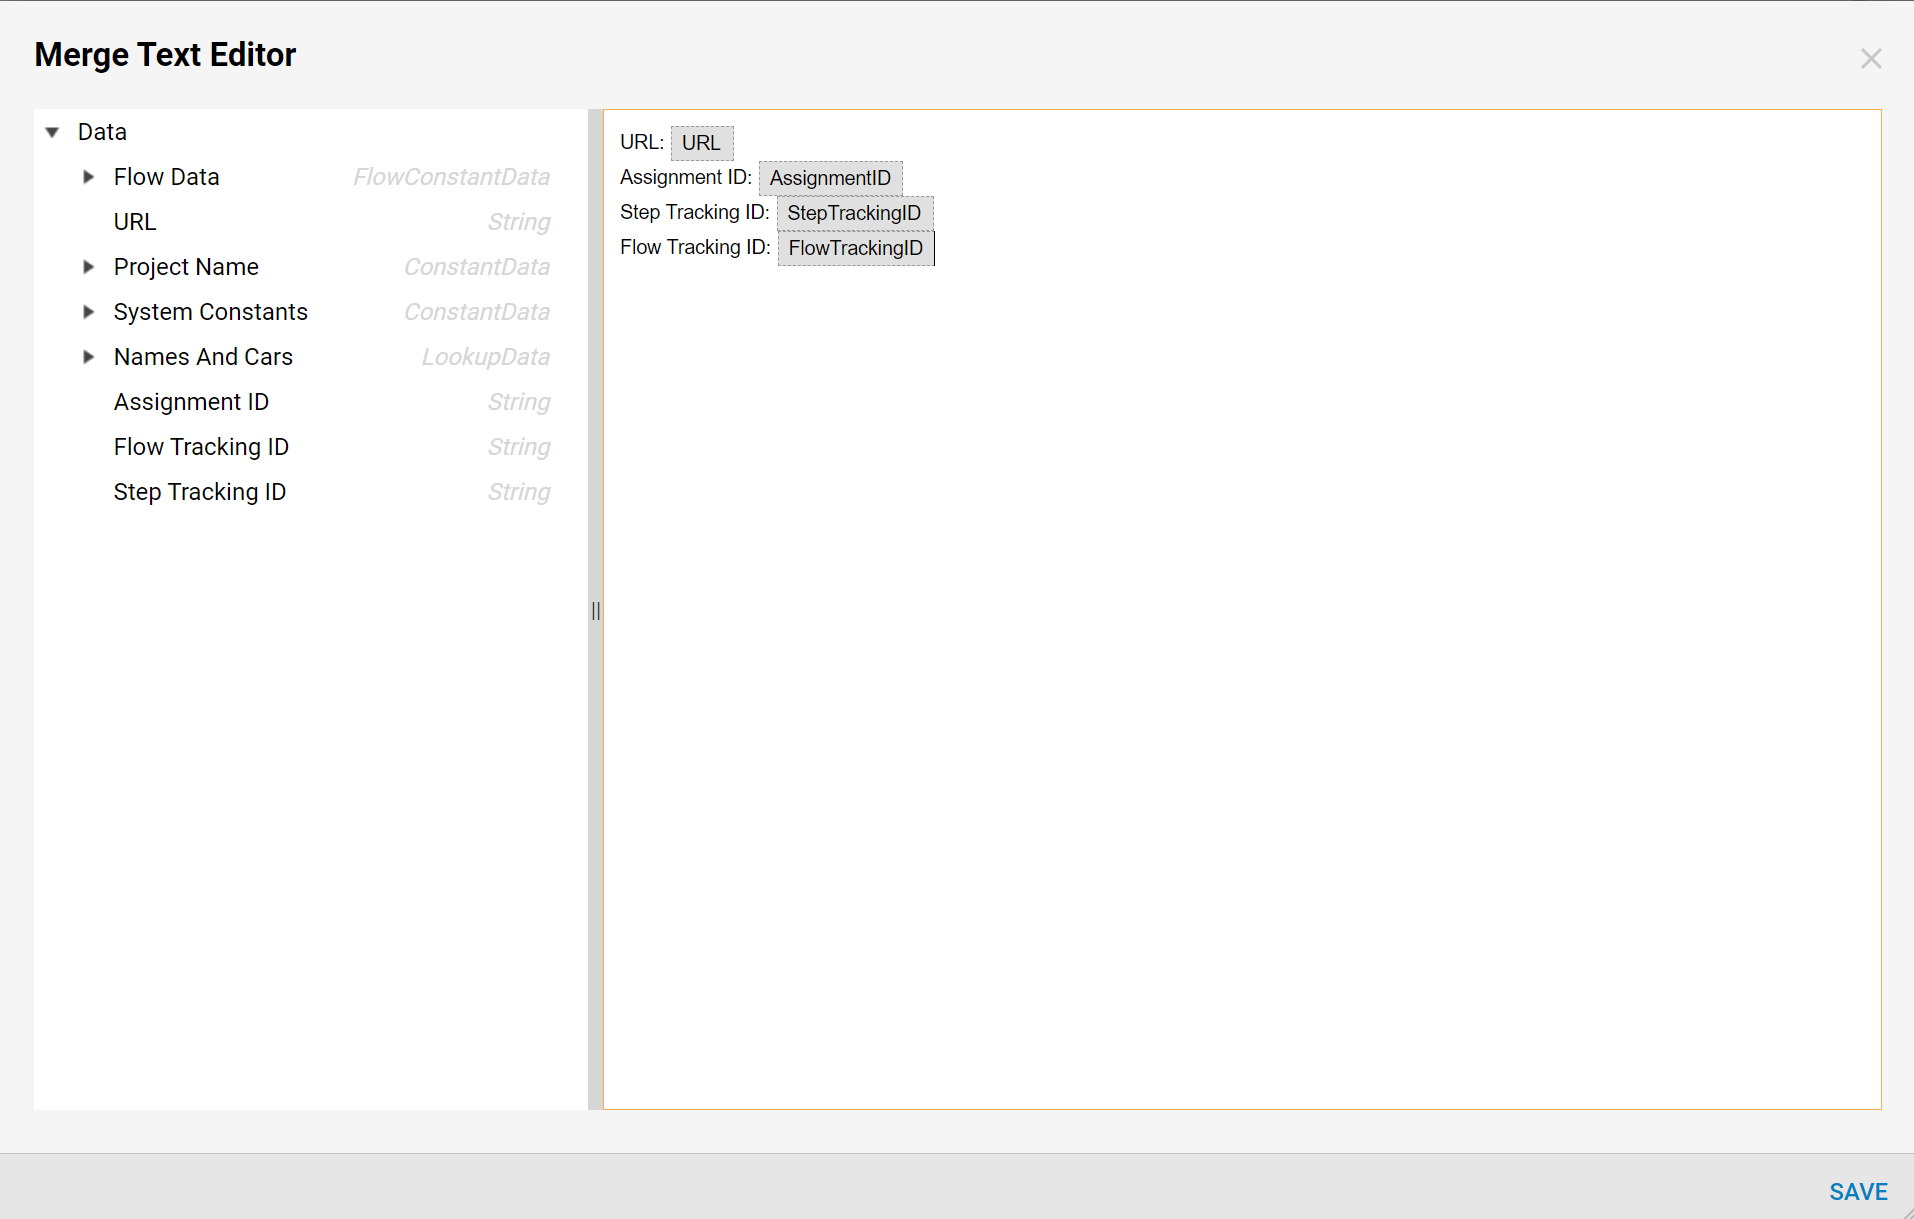
- Add four inputs to this Flow: URL, Assignment ID, Step Tracking ID, and Flow Tracking ID. All Data is of string type and Can be null.
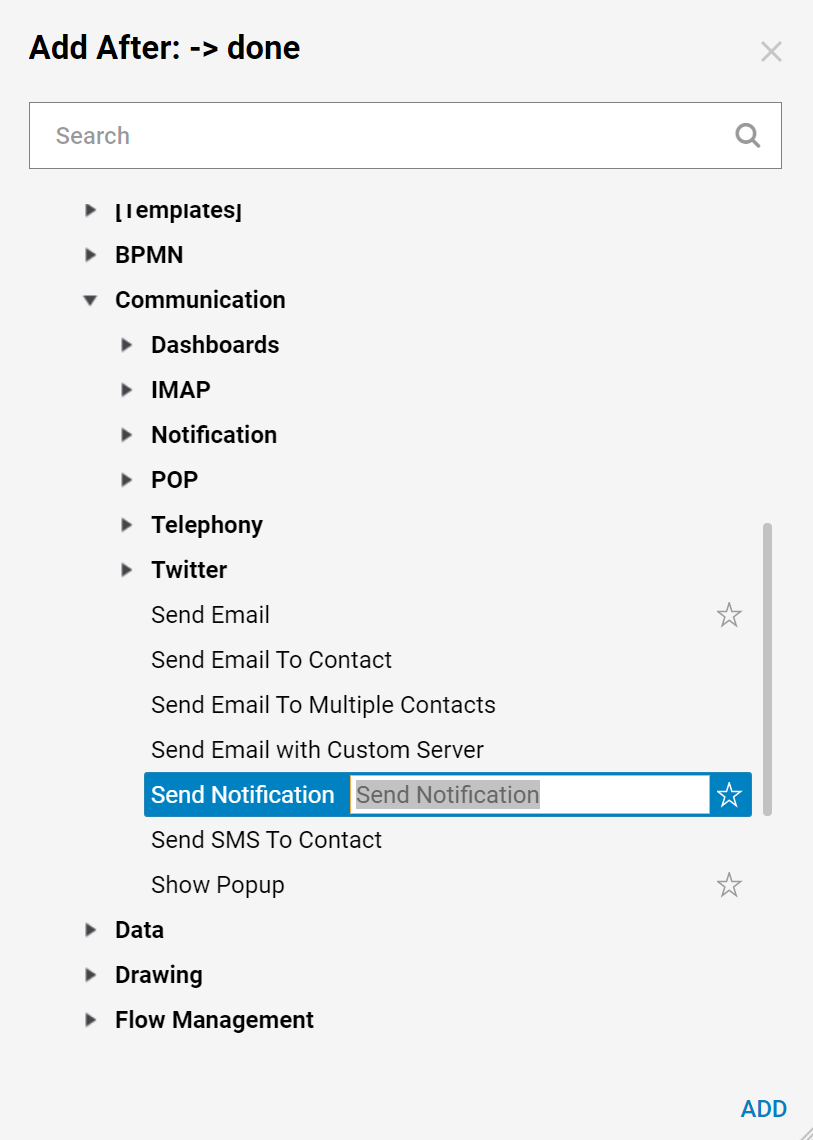
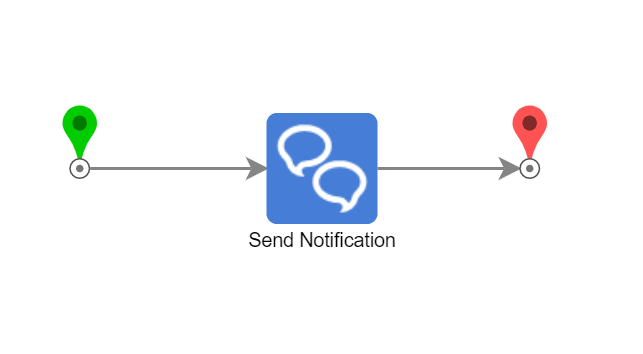
- Next, add a Send Notification step from the All Steps [Catalog] > Communication category.
- Then, connect the outcome from this step to the End step in the Flow.
- Then, select the Send Notification step.
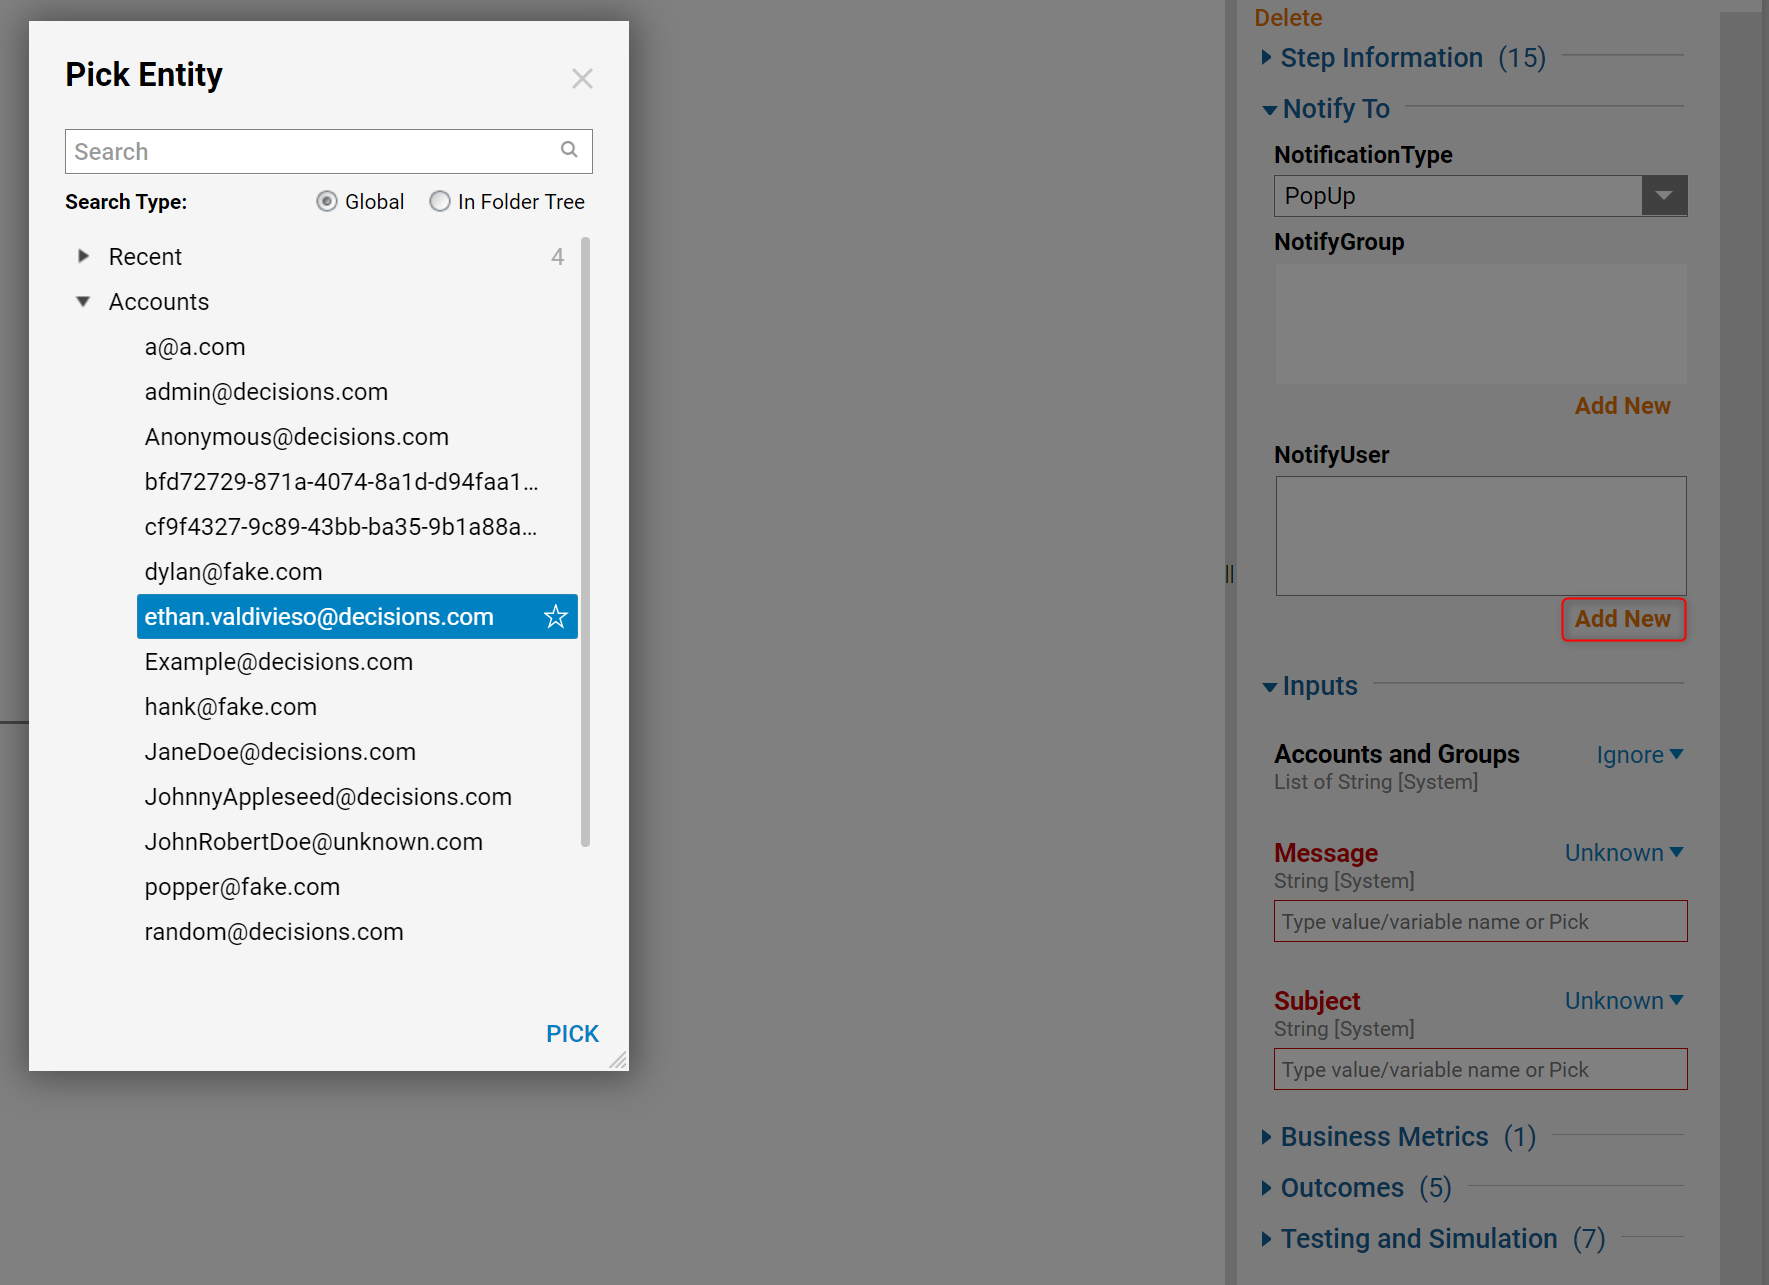
- In the Step Information Layer, locate the NotifyUser box and using Add New link, add Admin user.
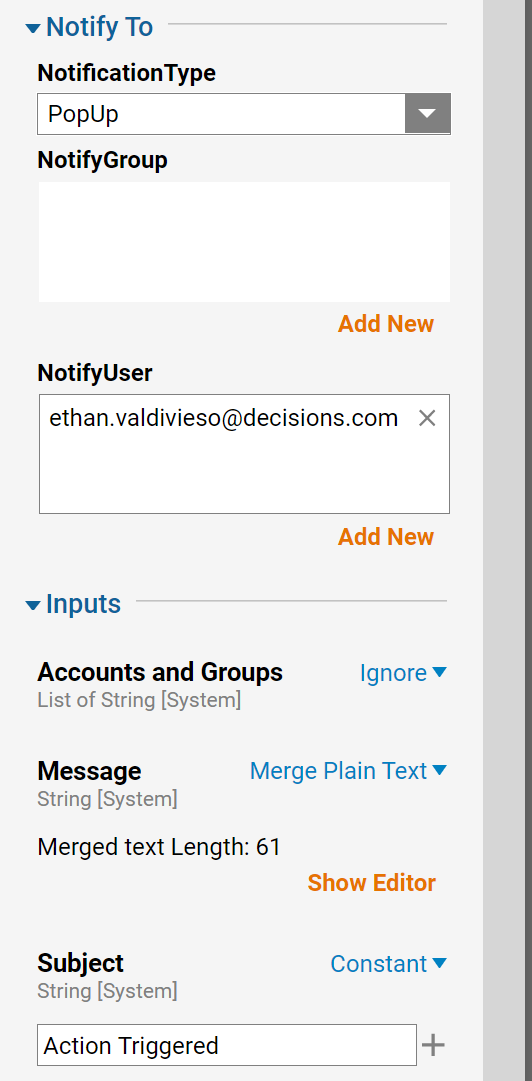
- Next, define Constant Subject for the Notification and Text Merge.Plain Mapping type for Message field and select Show Editor.
- In the Text Merge Editor, use the Flow Inputs for informational purposes. Select SAVE to save and close Text Editor.
- This completes the Flow. Save and close.
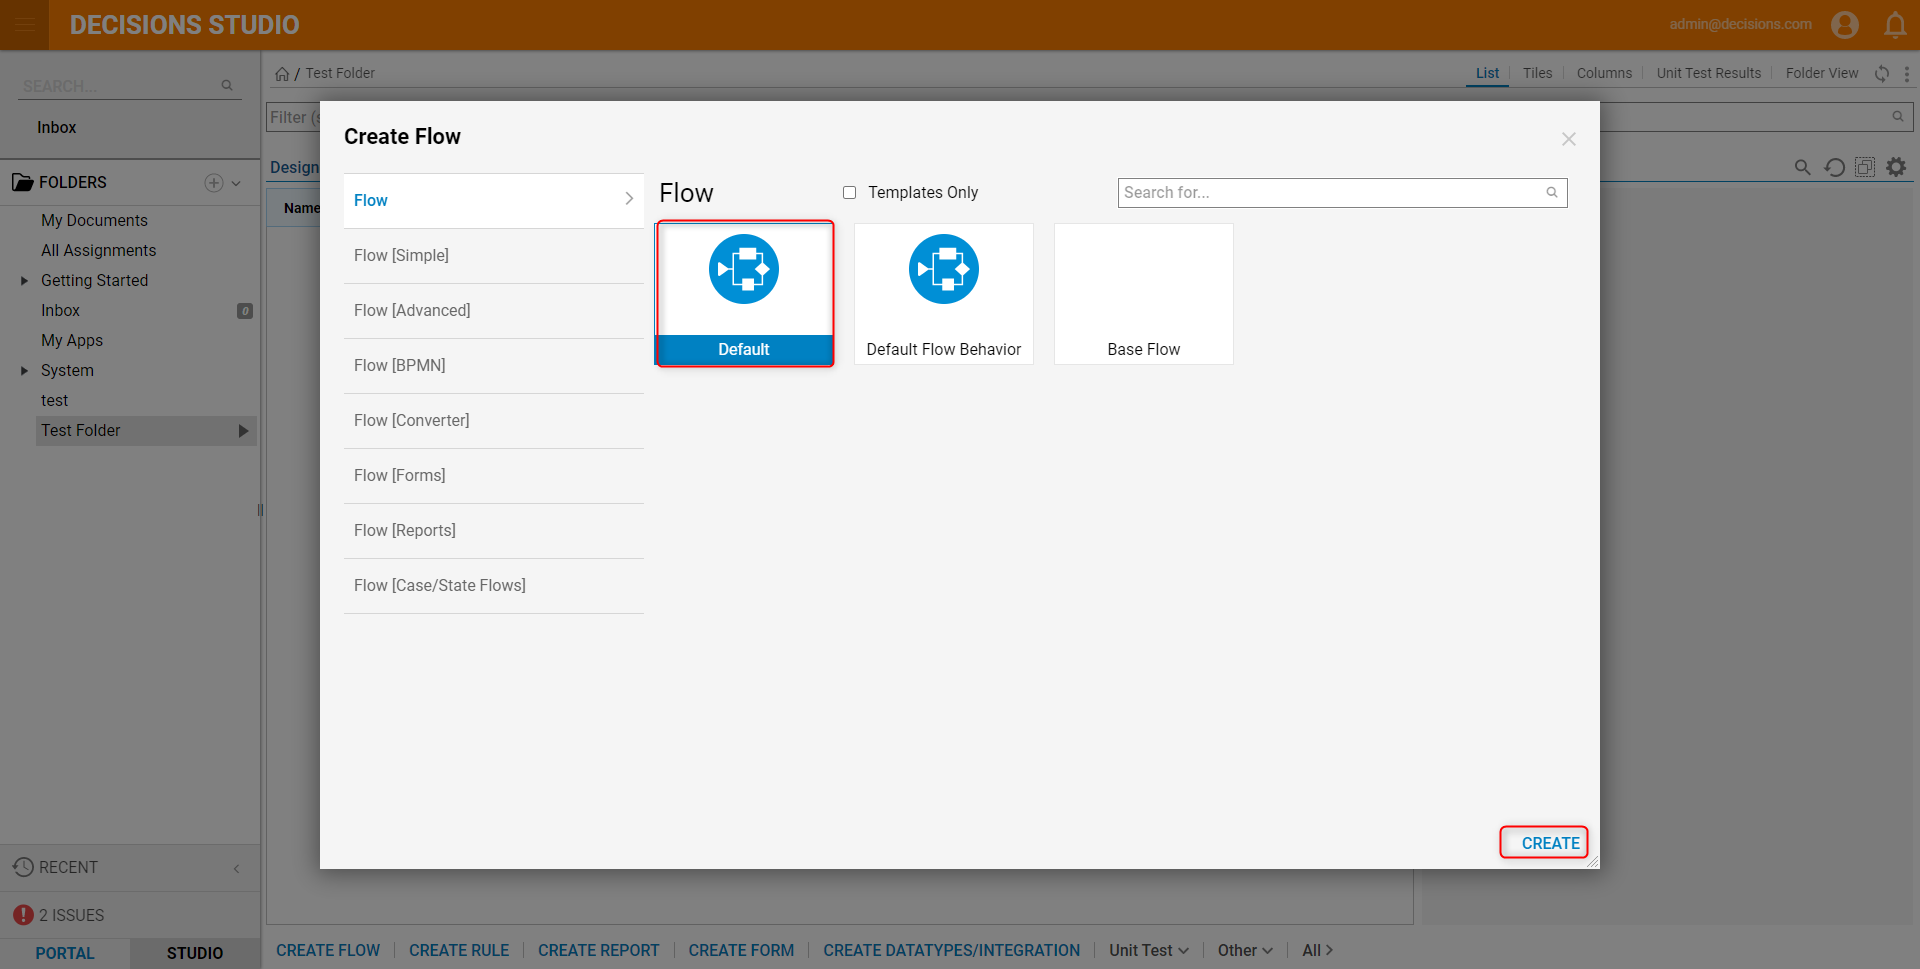
- Now, create the Main Flow. Select CREATE FLOW on the Folder Actions Panel.

- Then, name the Flow and select CREATE to proceed to the Flow Designer.
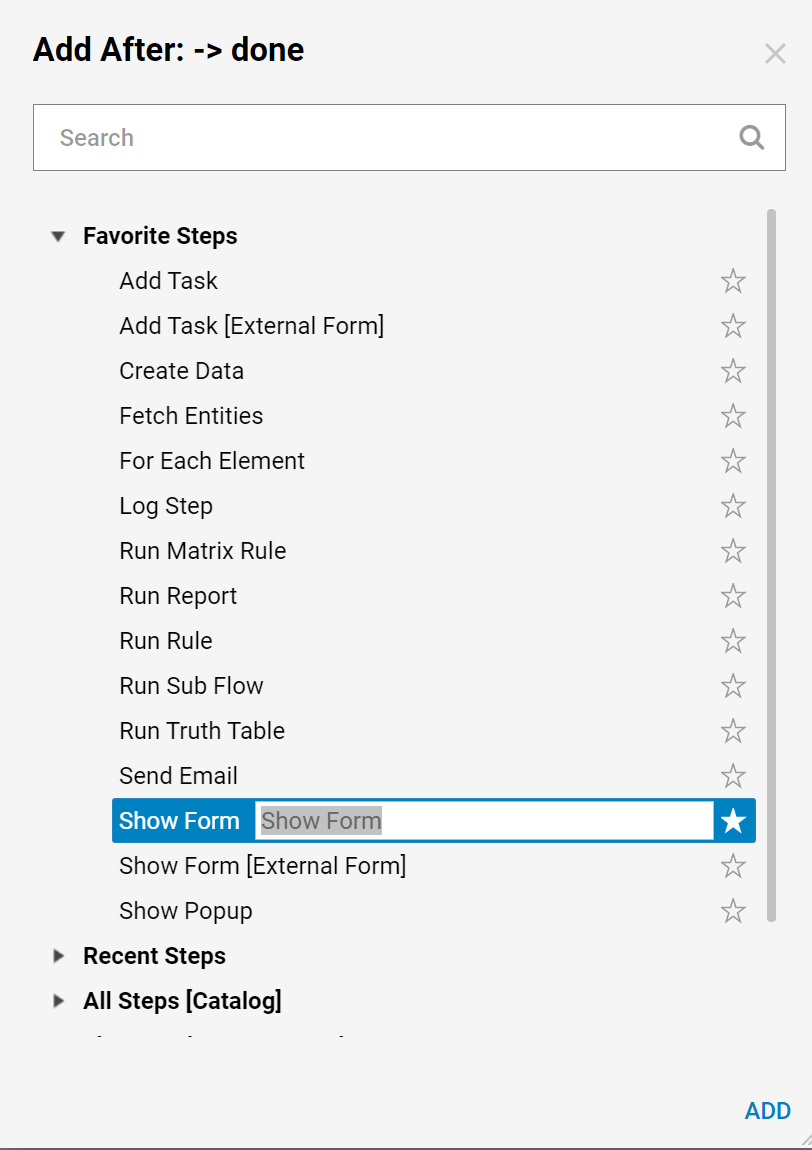
- In the Flow Designer, add a Show Form step from the Favorite Steps category.
- In the resulting window, name the Form and select CREATE.
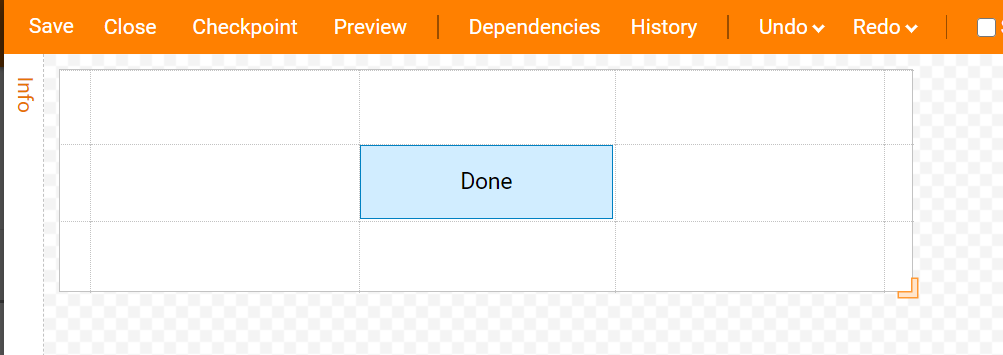
- The Form for this example has only one Button component.
- When finished designing the Form, save and close.
- Back in the Flow Designer, connect the outcome from the Show Form step to the End step in the Flow.
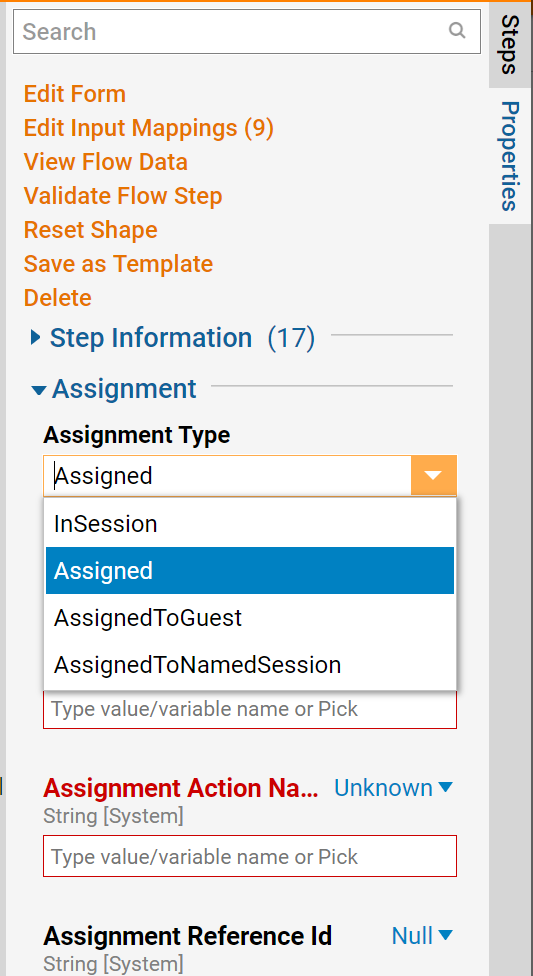
- Then, change the Assignment Type for the Form step from InSession to Assigned.
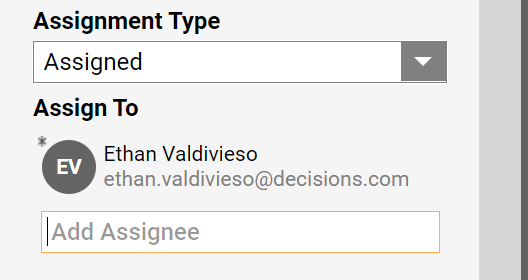
- Next, choose and Assign the Form to a user.
- In Form step properties, locate under Assignment Set Up and then On Step Run section and in the drop down select from the three options.
- Choose between Private or Shared mode for the Flow to run.
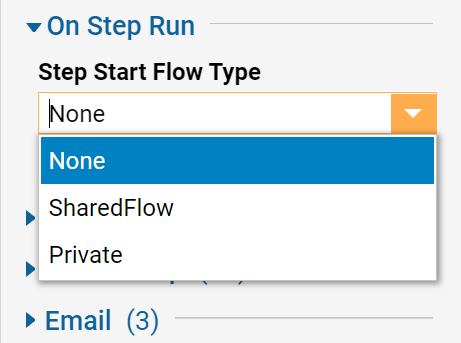
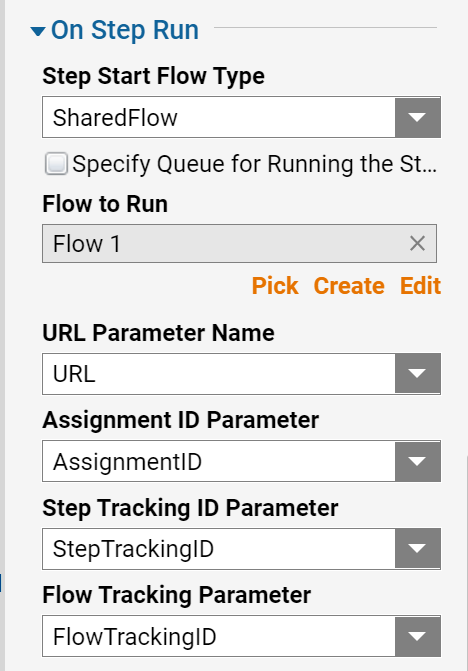
- Pick Shared Flow. There are additional Parameters available now (URL, Assignment ID, Step Tracking ID, Flow Tracking ID).
- This is Data that can be sent to the Shared Flow.
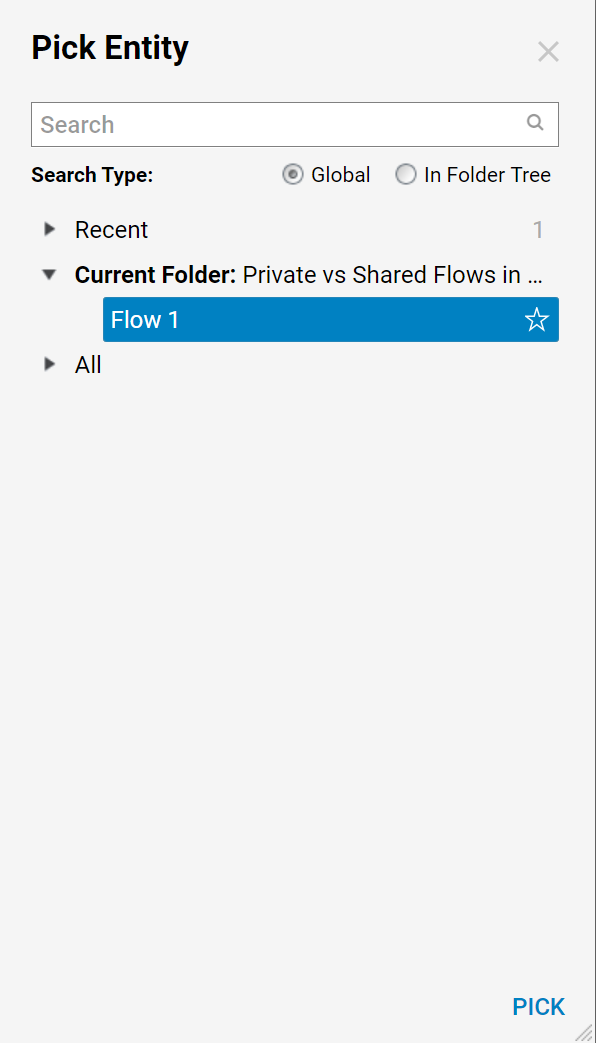
- Use the Flow picker to select a Flow to Run.
- Then, pick the Notification Flow that was created previously in this tutorial and select OK.
- This completes the Flow. Save it and close.
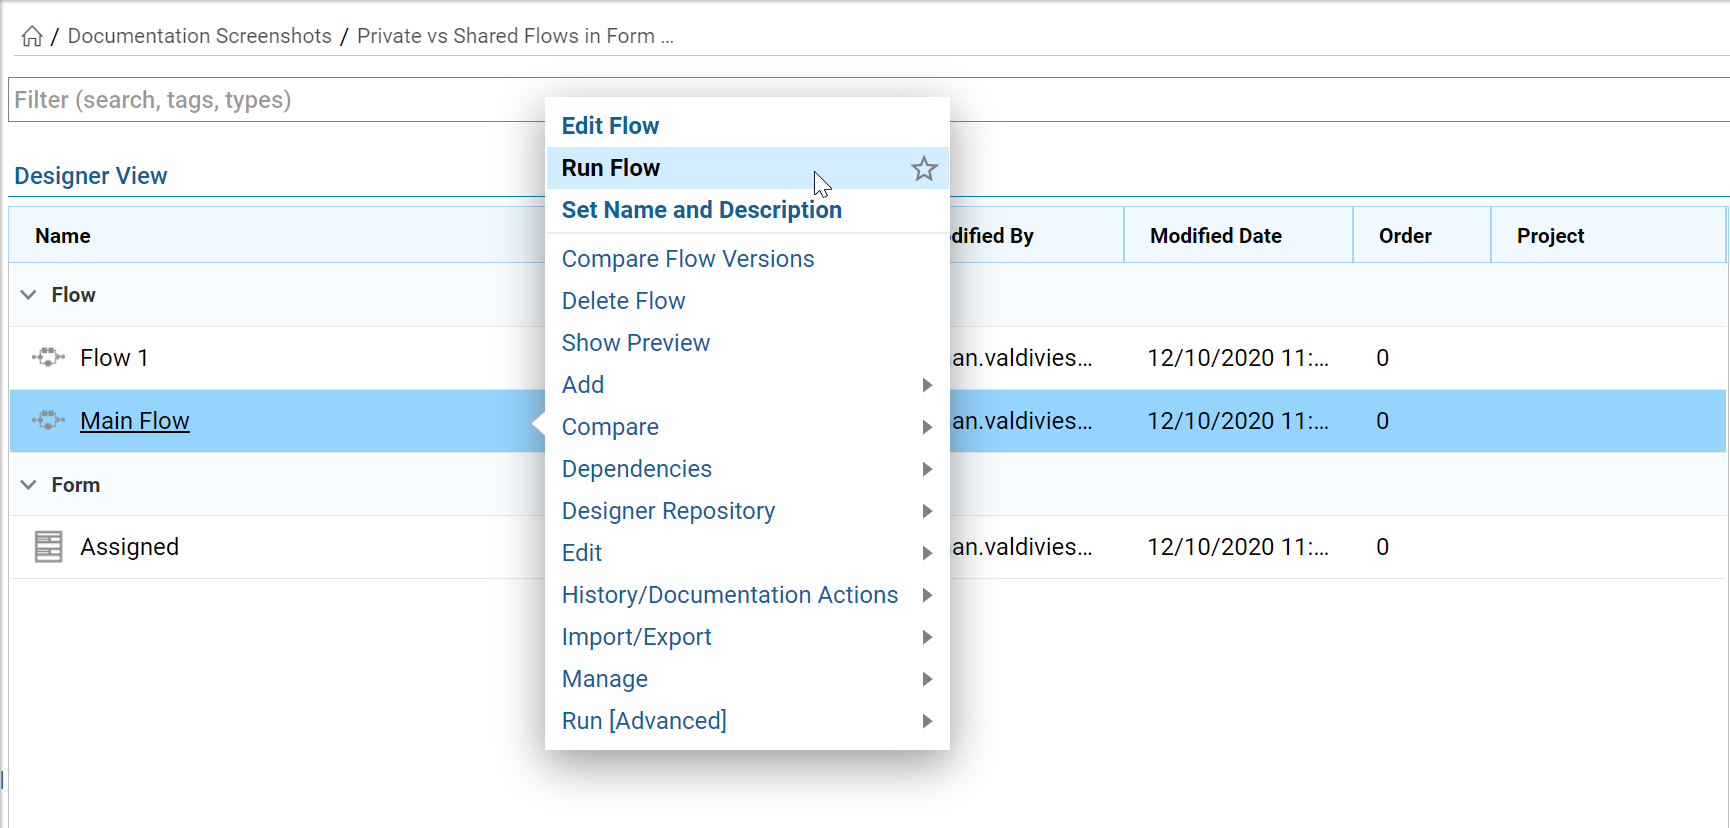
- In the Designer Folder, locate the Main Flow and select Run Flow.
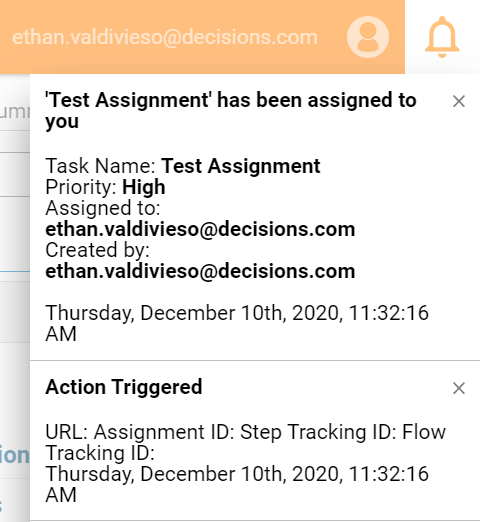
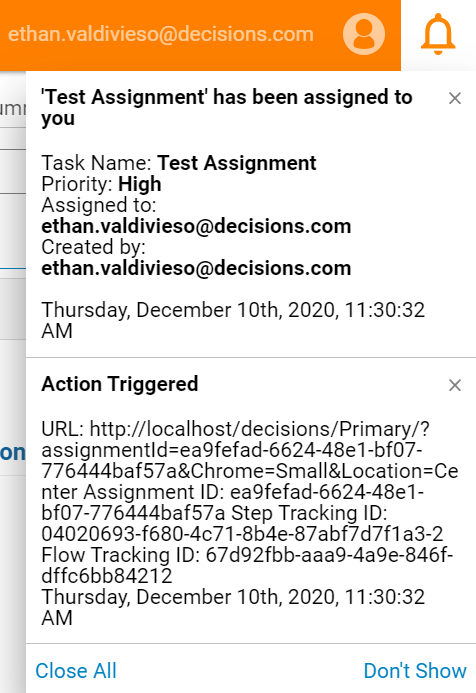
- Two Notifications pop up. One explains a Form Assignment. Another is the custom message, from the Notification Flow.
- It contains Data that was passed from the Main Flow. This is how a Shared Flow mode works in Form steps.
- Edit the Flow to switch the Run Flow mode to Private.
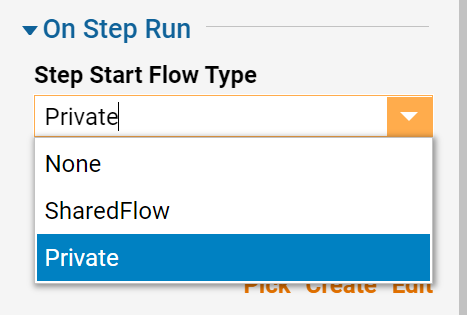
- Select the Form step on the workspace, locate Show Flow To Run drop down menu and pick Private.
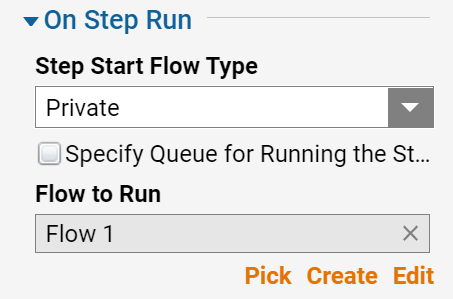
- Once Private is selected the parameters: URL, Assignment ID, Step Tracking ID, and Flow Tracking ID are no longer available.
- This is how Private mode differs from Shared Flow.
- Then, use the Flow Picker to select the same Flow that was selected for Shared Flow mode. Save and close.
- Two notifications will pop up. This time the custom Notification has Null values of URL, Assignment ID, Step Tracking ID, and Flow Tracking ID. This is because Private was selected.
