Overview
Folder entities can be moved with the Move Entity component. It can be found in the Toolbox tab, under the category Integration > Entity Framework.
Example
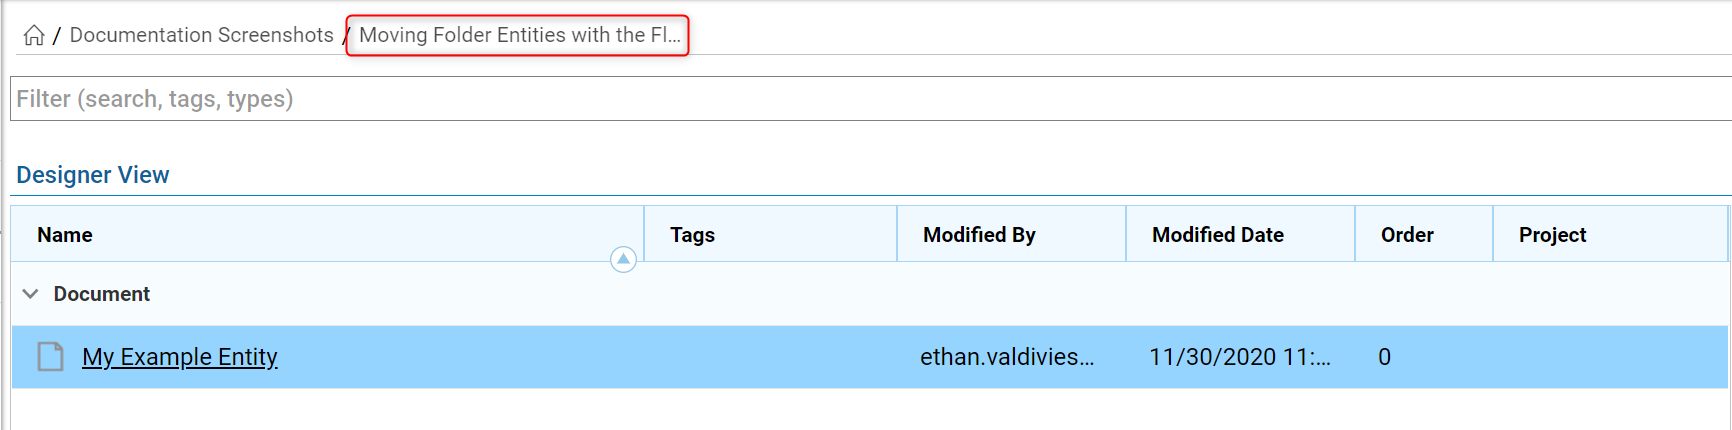
This document will describe how to move Entities around Folders using the workflow engine. We will be using a document for ease of use, but the same principles apply to any Entity.
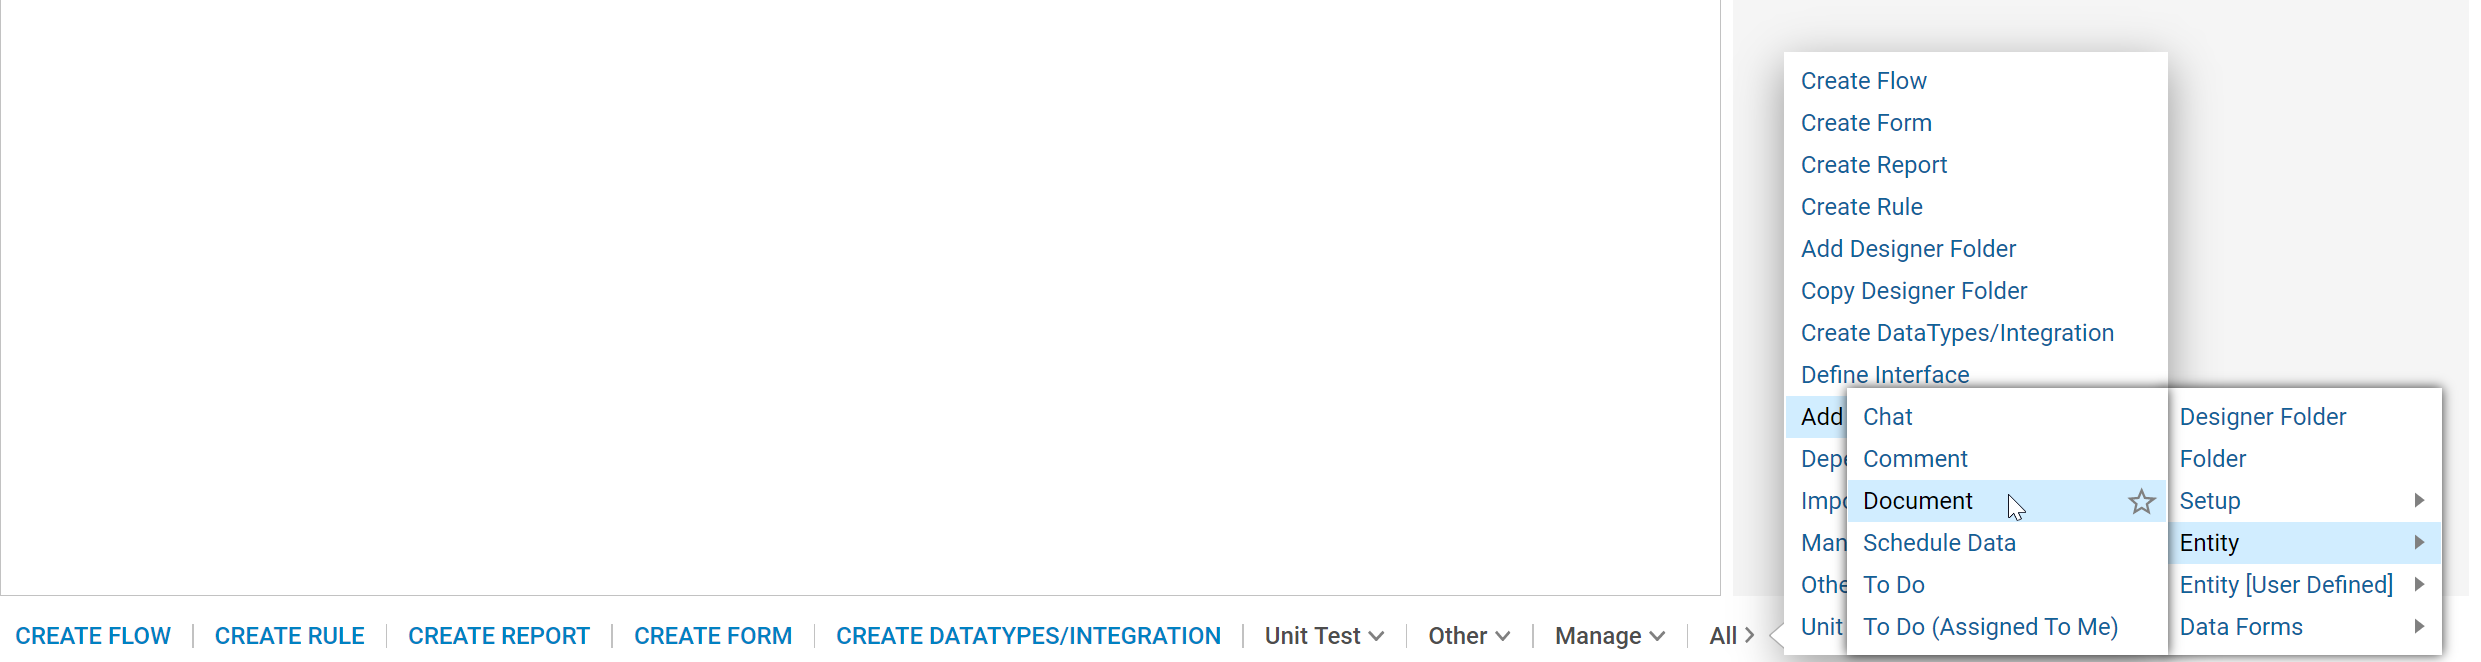
- Begin creating an Entity in Folder 1 by following the path All > Add > Entity > Document.
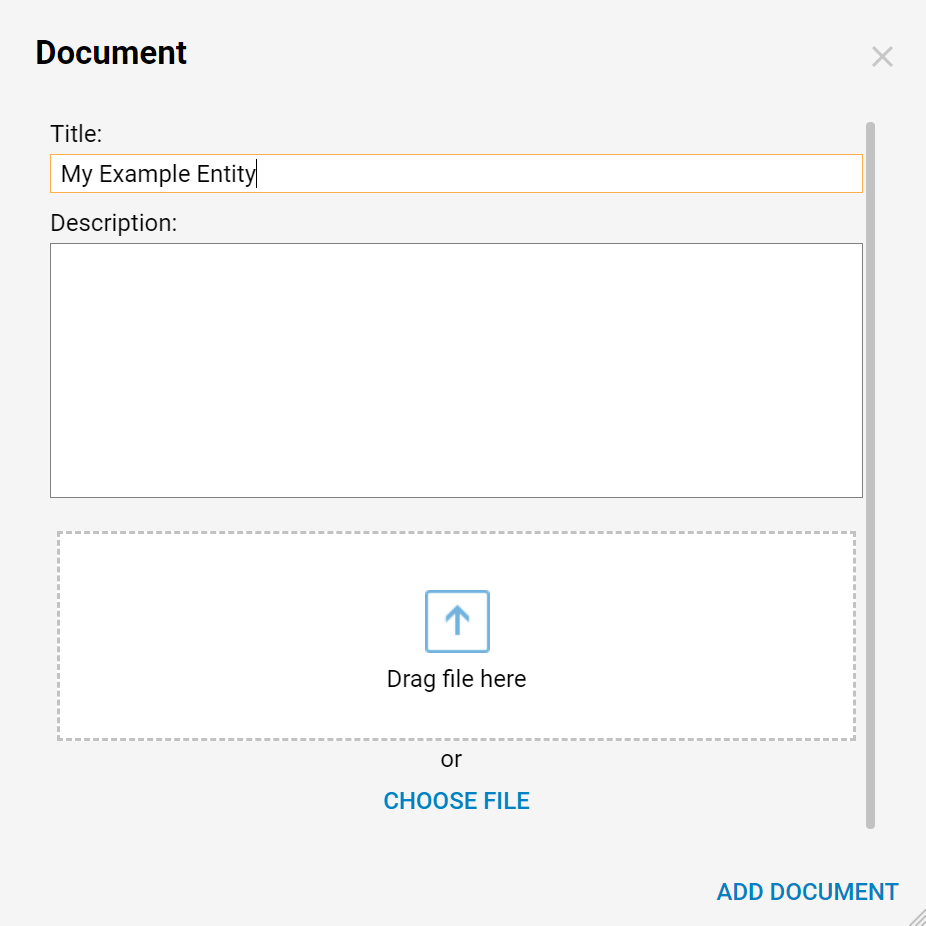
- Name the Entity, then drag or choose a file to add into it. Then, click Add Document to save the Entity into Folder 1.
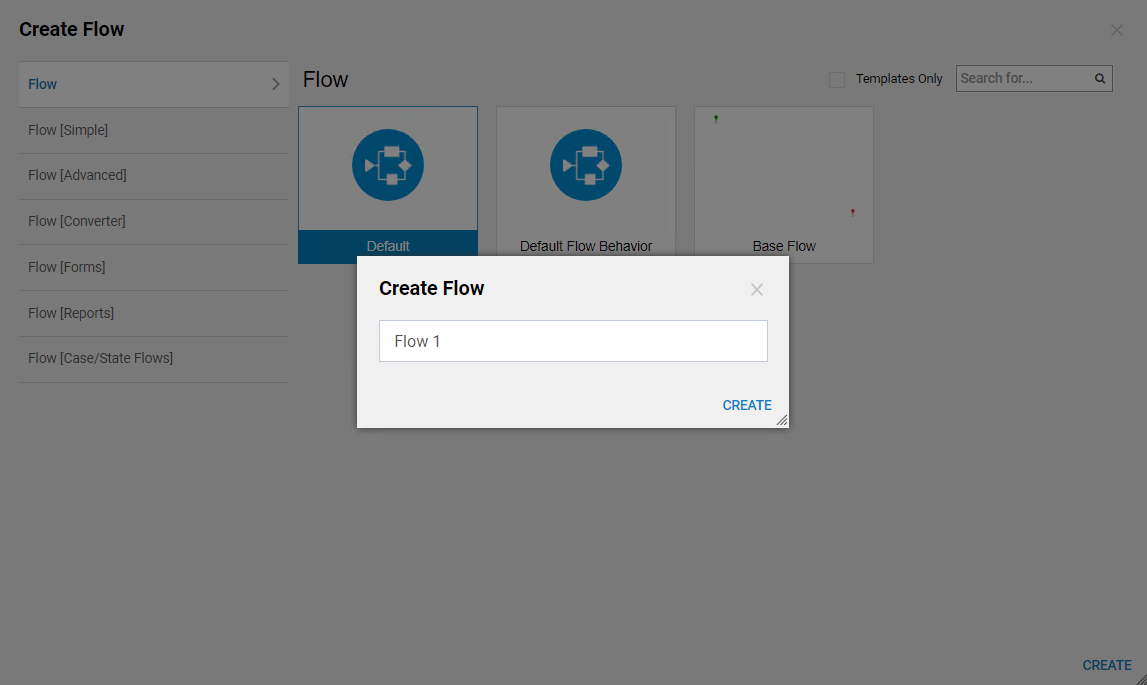
- Next, create a Flow by clicking on the Create Flow button.
- Name the Flow and proceed into the Flow Designer.
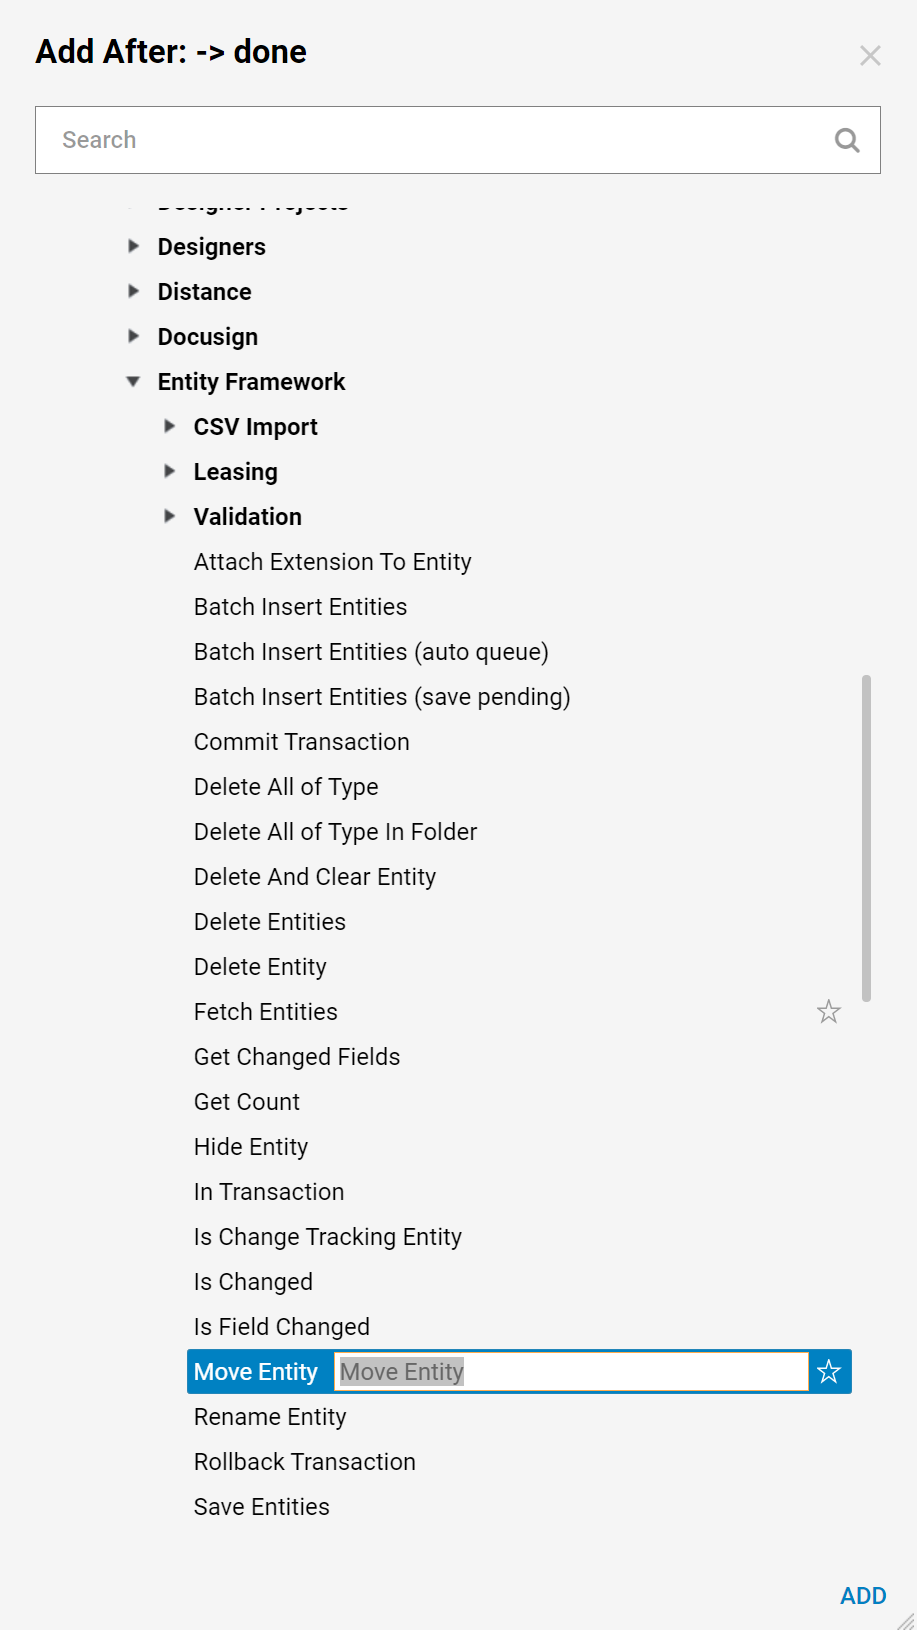
- In the Flow Designer, click on the arrow after the start step to reach the Add After Step screen.
- Following the path Integrations > All Integrations > Entity Framework, scroll to find the Move Entity step and click ADD to add it into the Flow.
- To accurately map the step and ensure the desired outcome, find the ID of entity to move ("My Example Entity") and the Folder to move it in to (Folder 2).
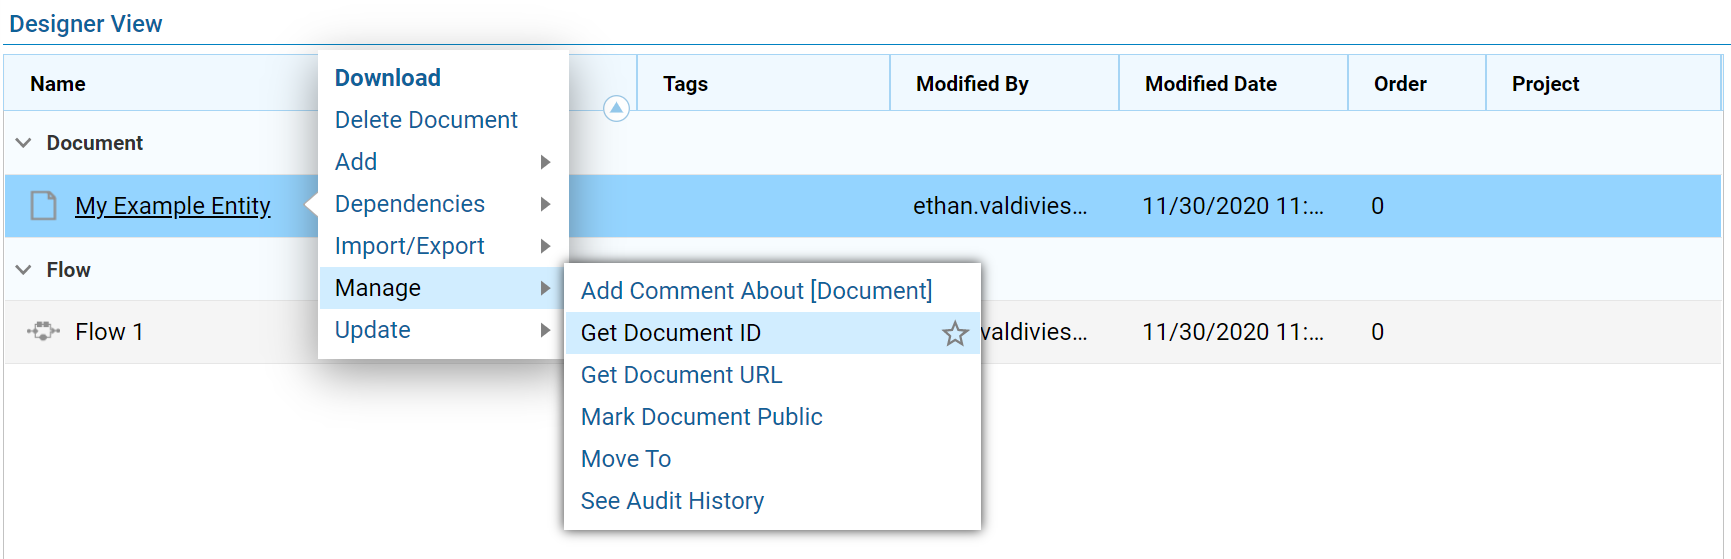
- To find the Entity ID, right click on "My Example Entity" select Manage and then Get Document ID.
- Copy the ID to later place it into the Flow step's mappings.
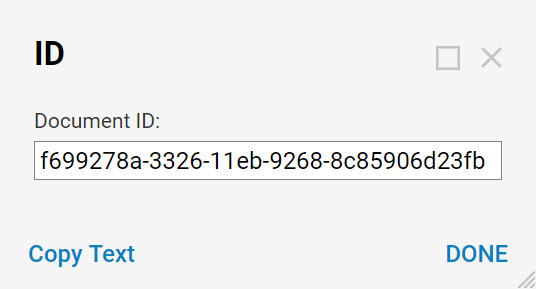
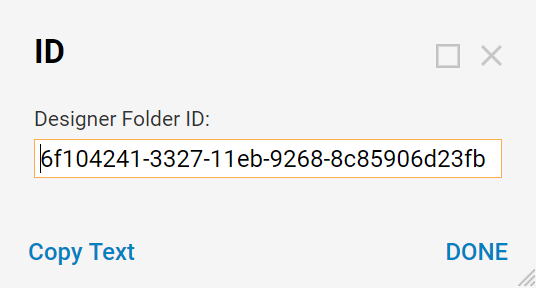
- Getting the Folder ID for Folder 2 requires the same steps. It is also needed to add into the mappings, as well.
- Click the Move Entity step to view the properties panel screen.
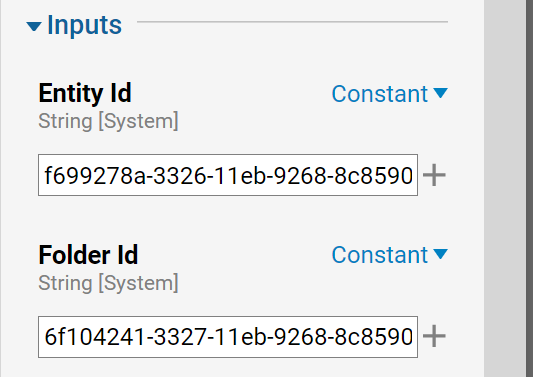
- Change the Input type of Entity Id to Constant.
- Paste the Entity ID into the area provided. The same needs to be done for the input of the Folder Id.
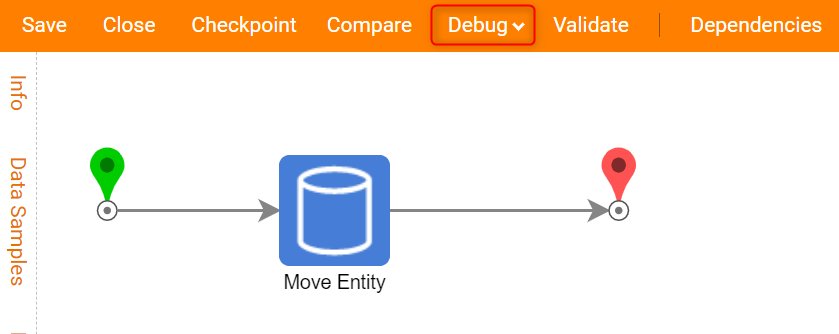
- Connect the Move Entity step to the End step. The Flow is now complete.
- Click Debug on the top of the designer to debug the Flow.
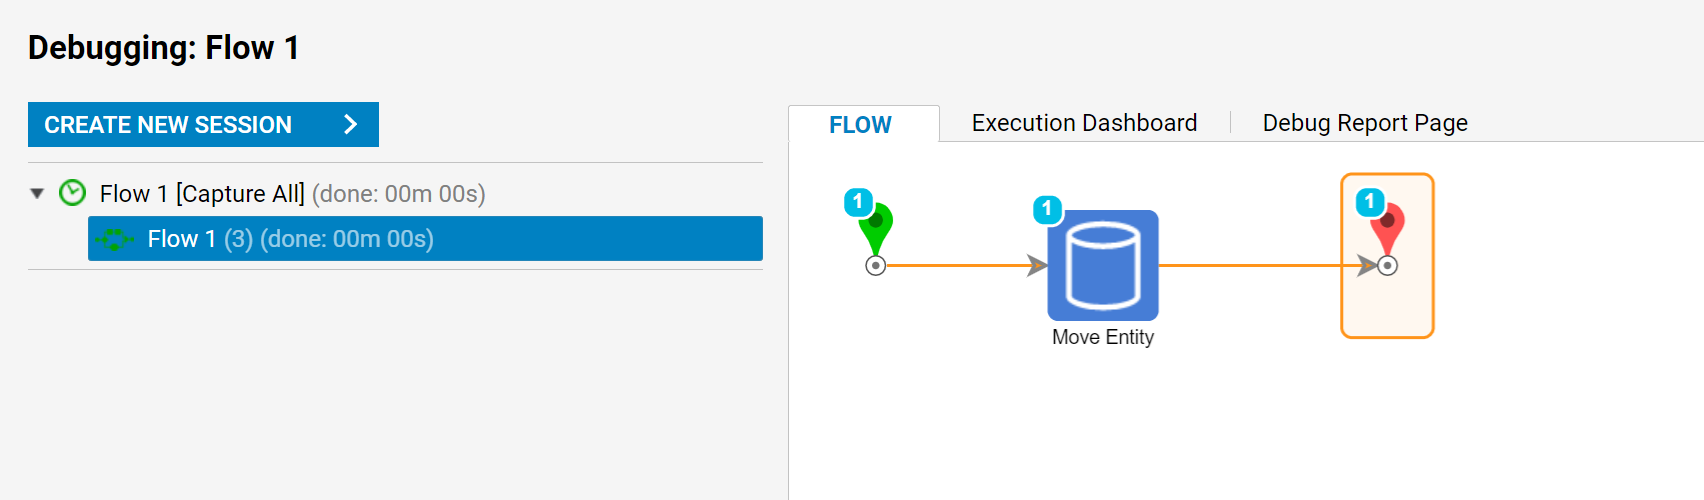
- The Flow runs through the debugger successfully.
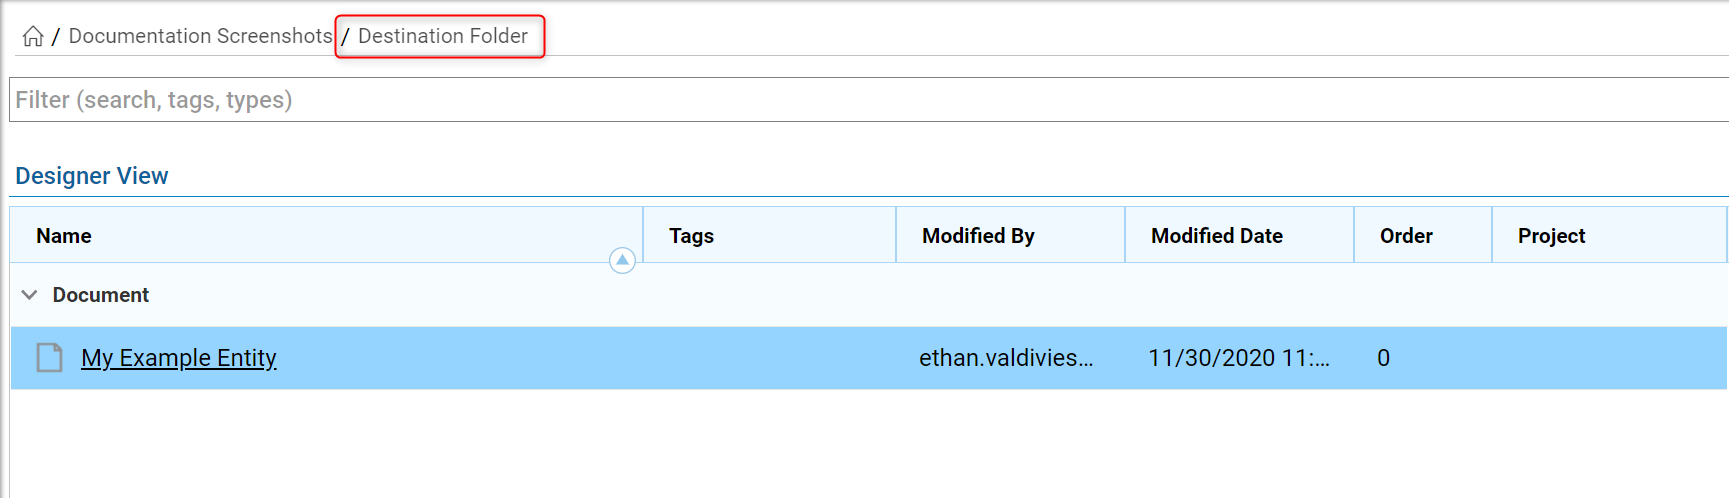
- Navigating back to the Decisions Studio, the My Example Entity has been moved into Folder 2.