Overview
An External Truth Table is a new type of Truth Table that was introduced in Version 6. This type of Truth Table allows the Designer to use external data to populate the rows of a truth table. This source is written in the reporting engine and can use any data that Decisions can report on, including Excel files and integrations.
For more information on Truth Tables and Reporting, please see About Truth Tables and About Reporting articles.
Example
The following example will demonstrate how to create a Truth Table that sources data externally via a Report from Excel data.
To follow this example, download the sample excel file below.
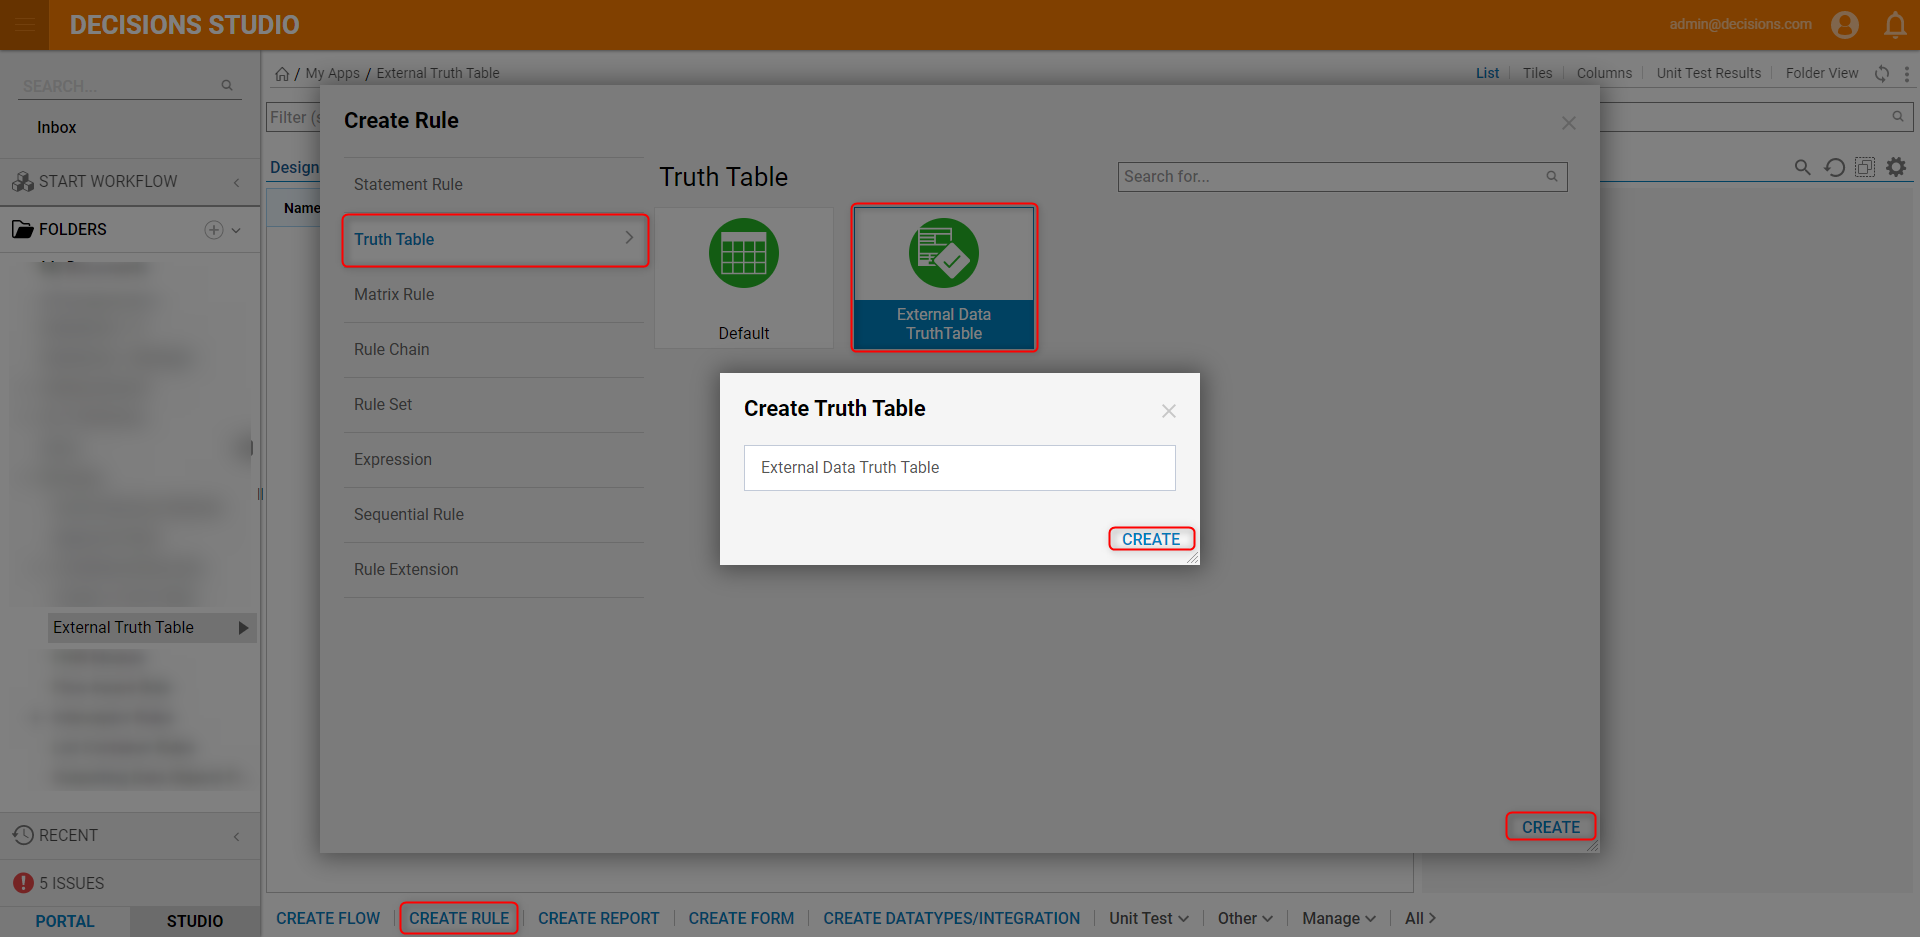
- In a Designer Project, click CREATE RULE on the action bar and select Truth Table. Select External Data Truth Table and click CREATE. Name the Rule and click CREATE to open the Rule Designer.
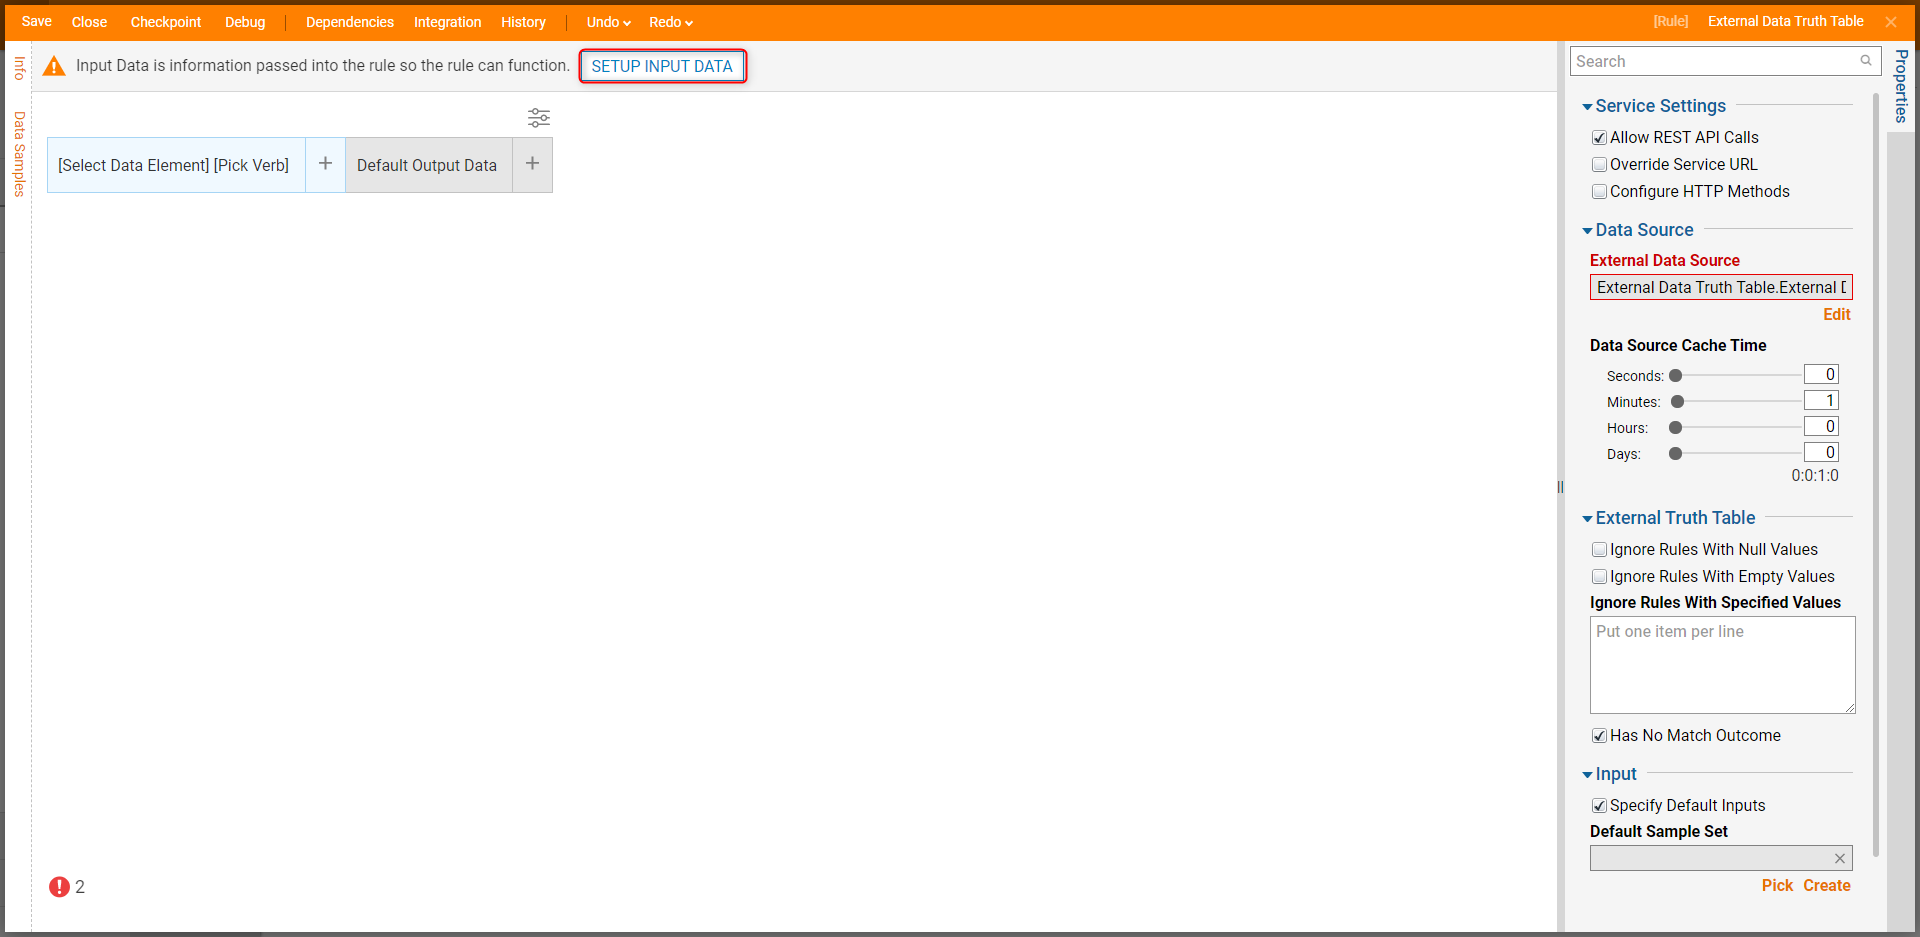
- Click SETUP INPUT DATA.
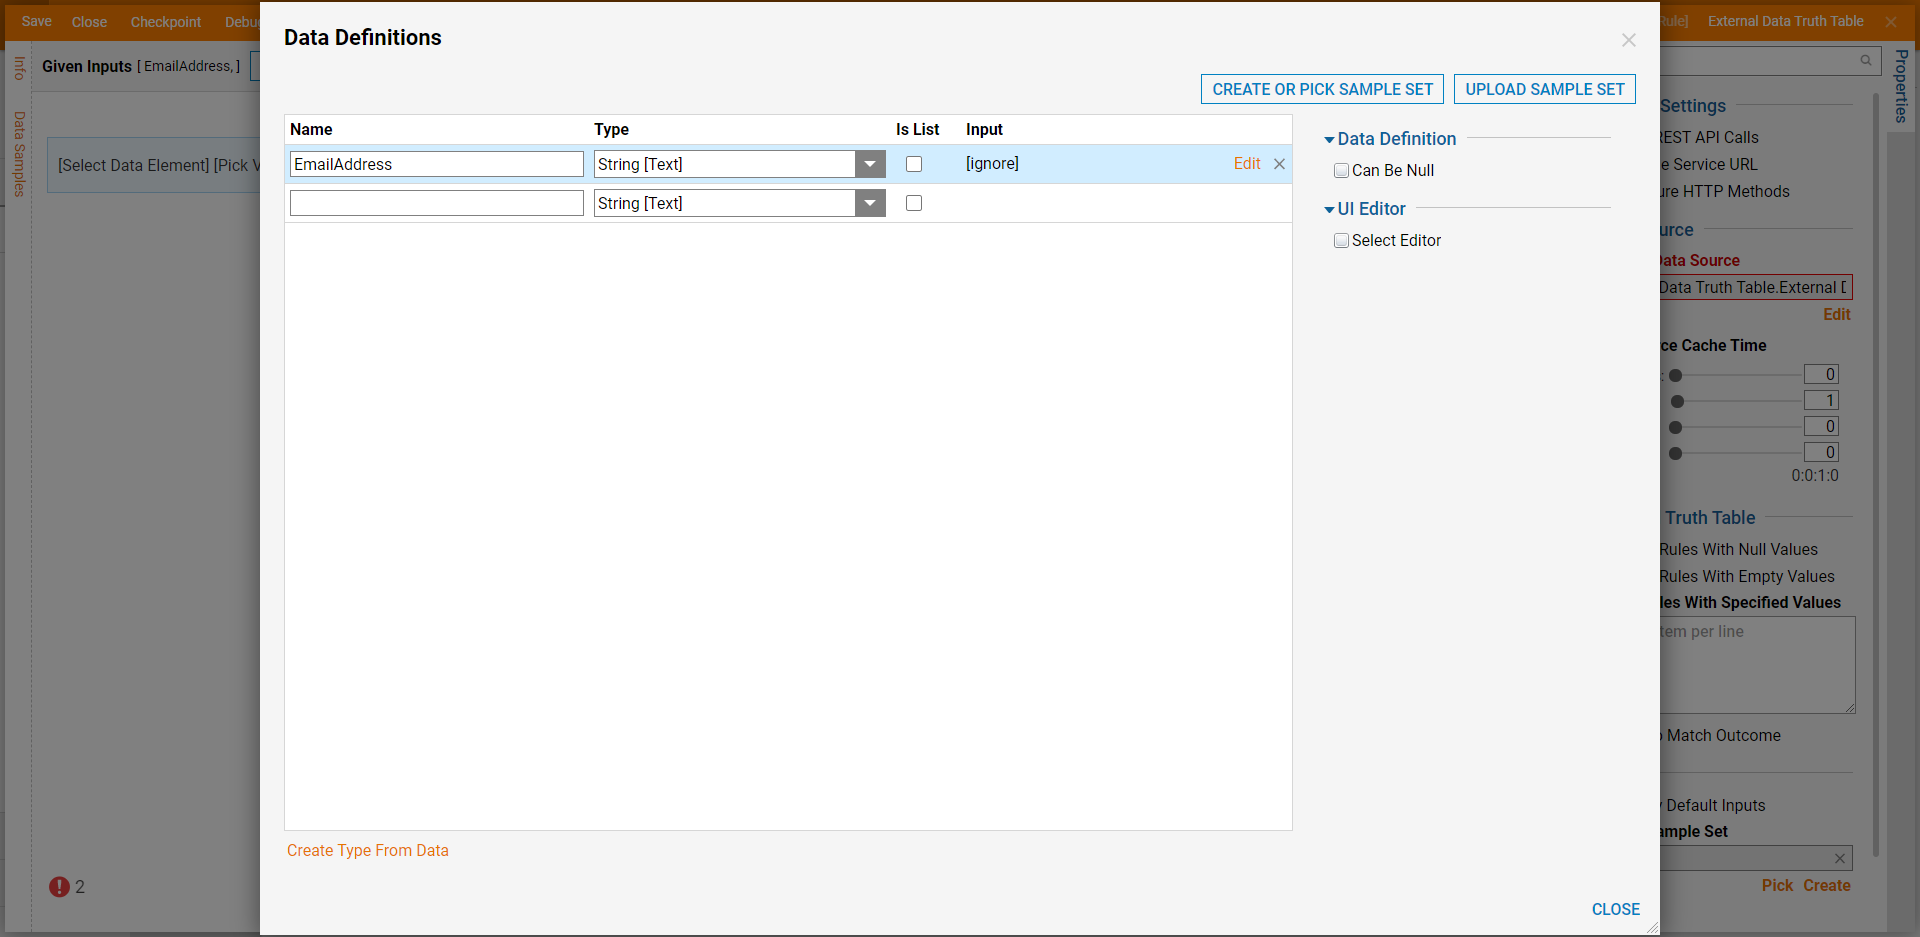
- In the Name field on the Data Definitions window, enter "EmailAddress" and in the Type field select String [Text]. Click CLOSE to save the input parameter.
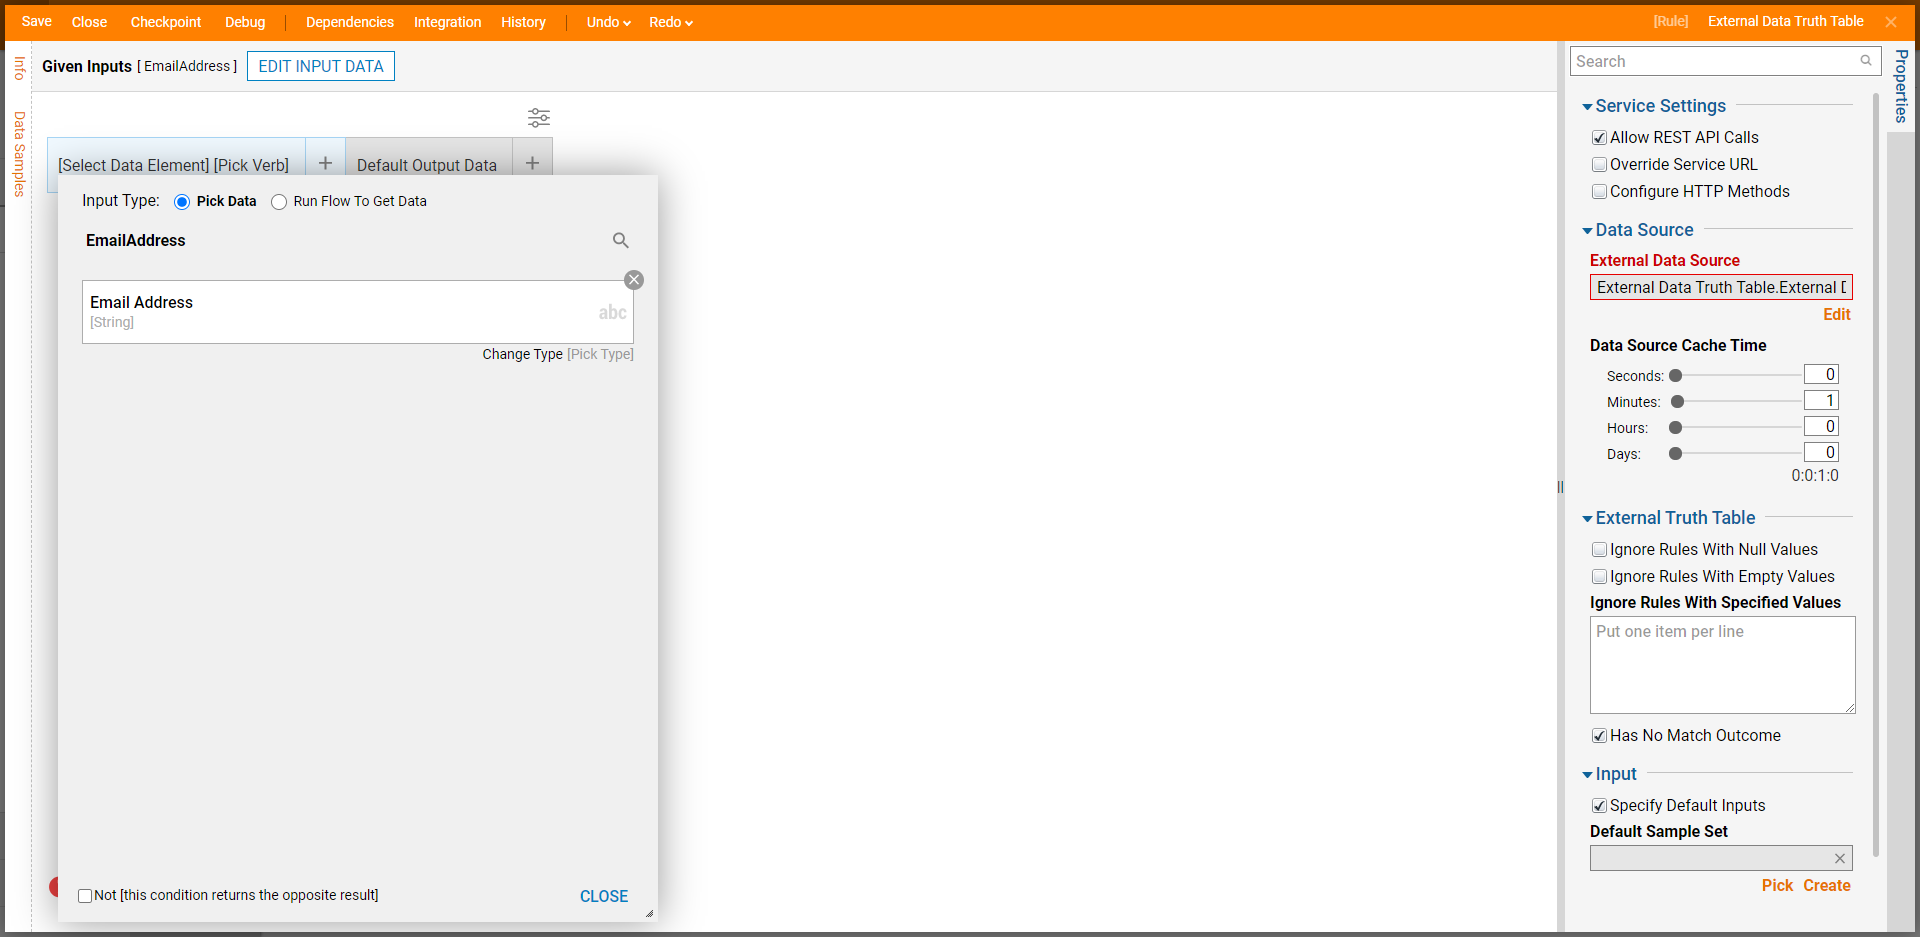
- Click [Select Data Element]. Click Email Address [String] and click CLOSE.
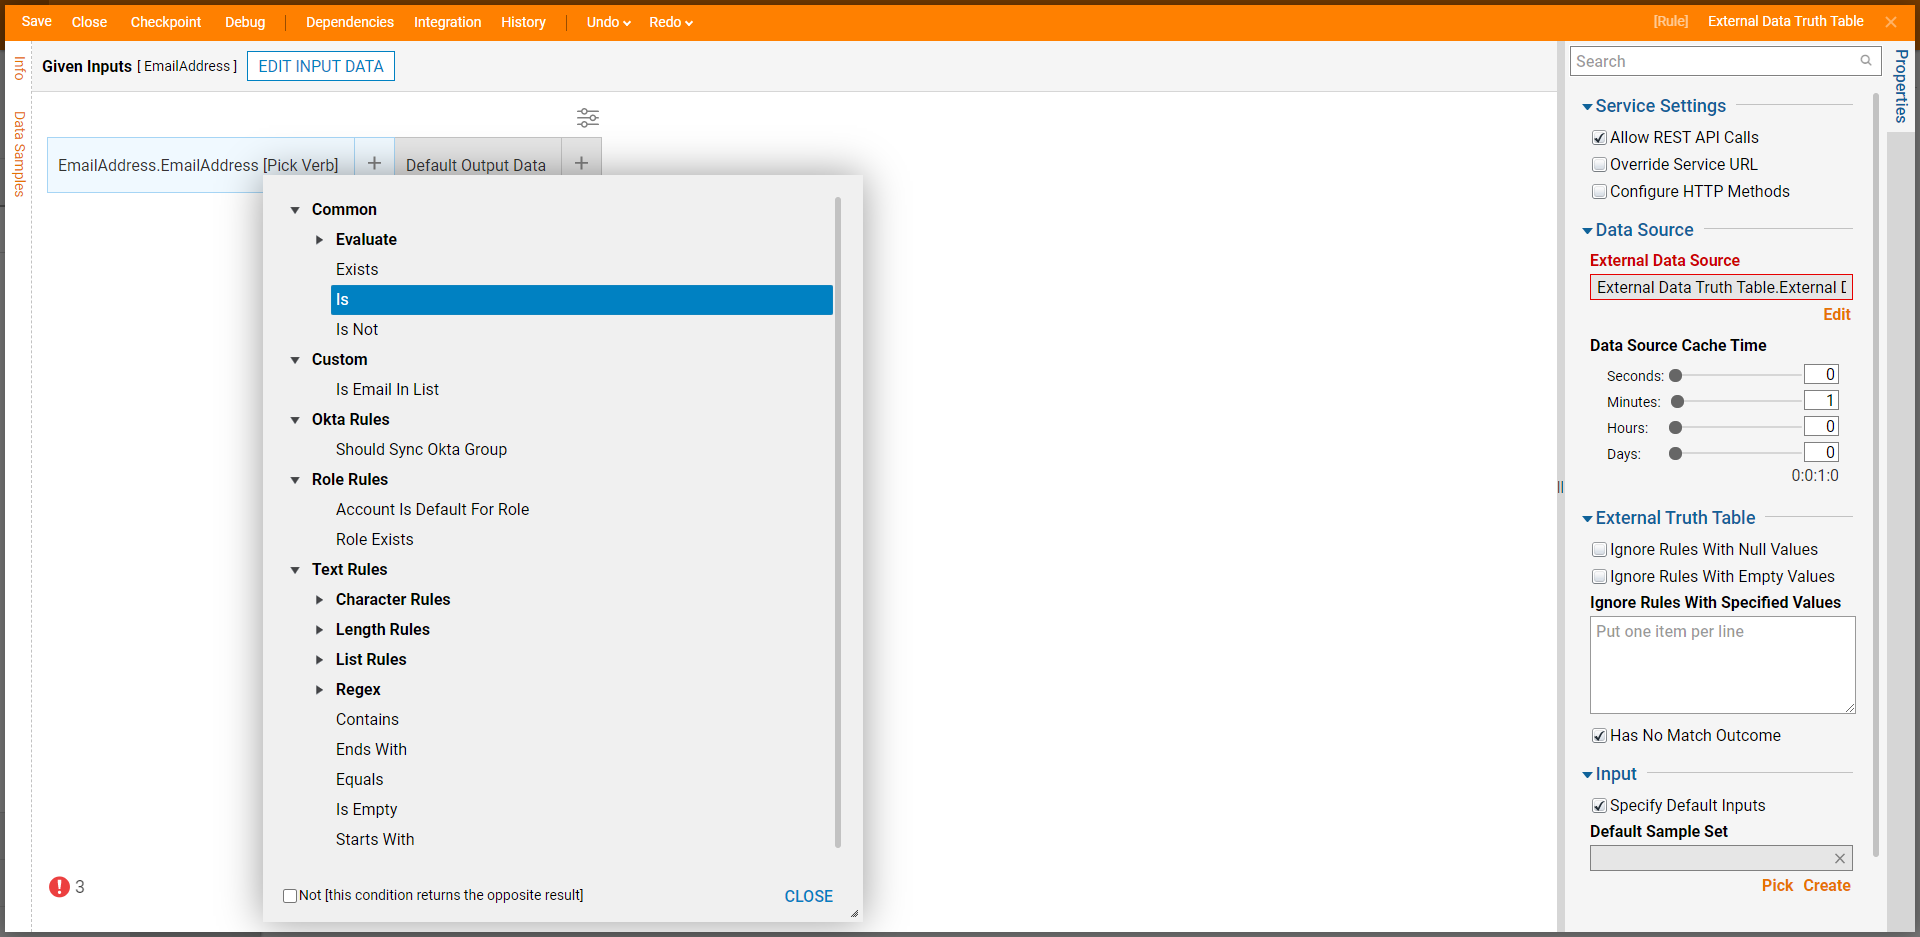
- In the [Pick Verb] window, select Is under the Evaluate category and click CLOSE.
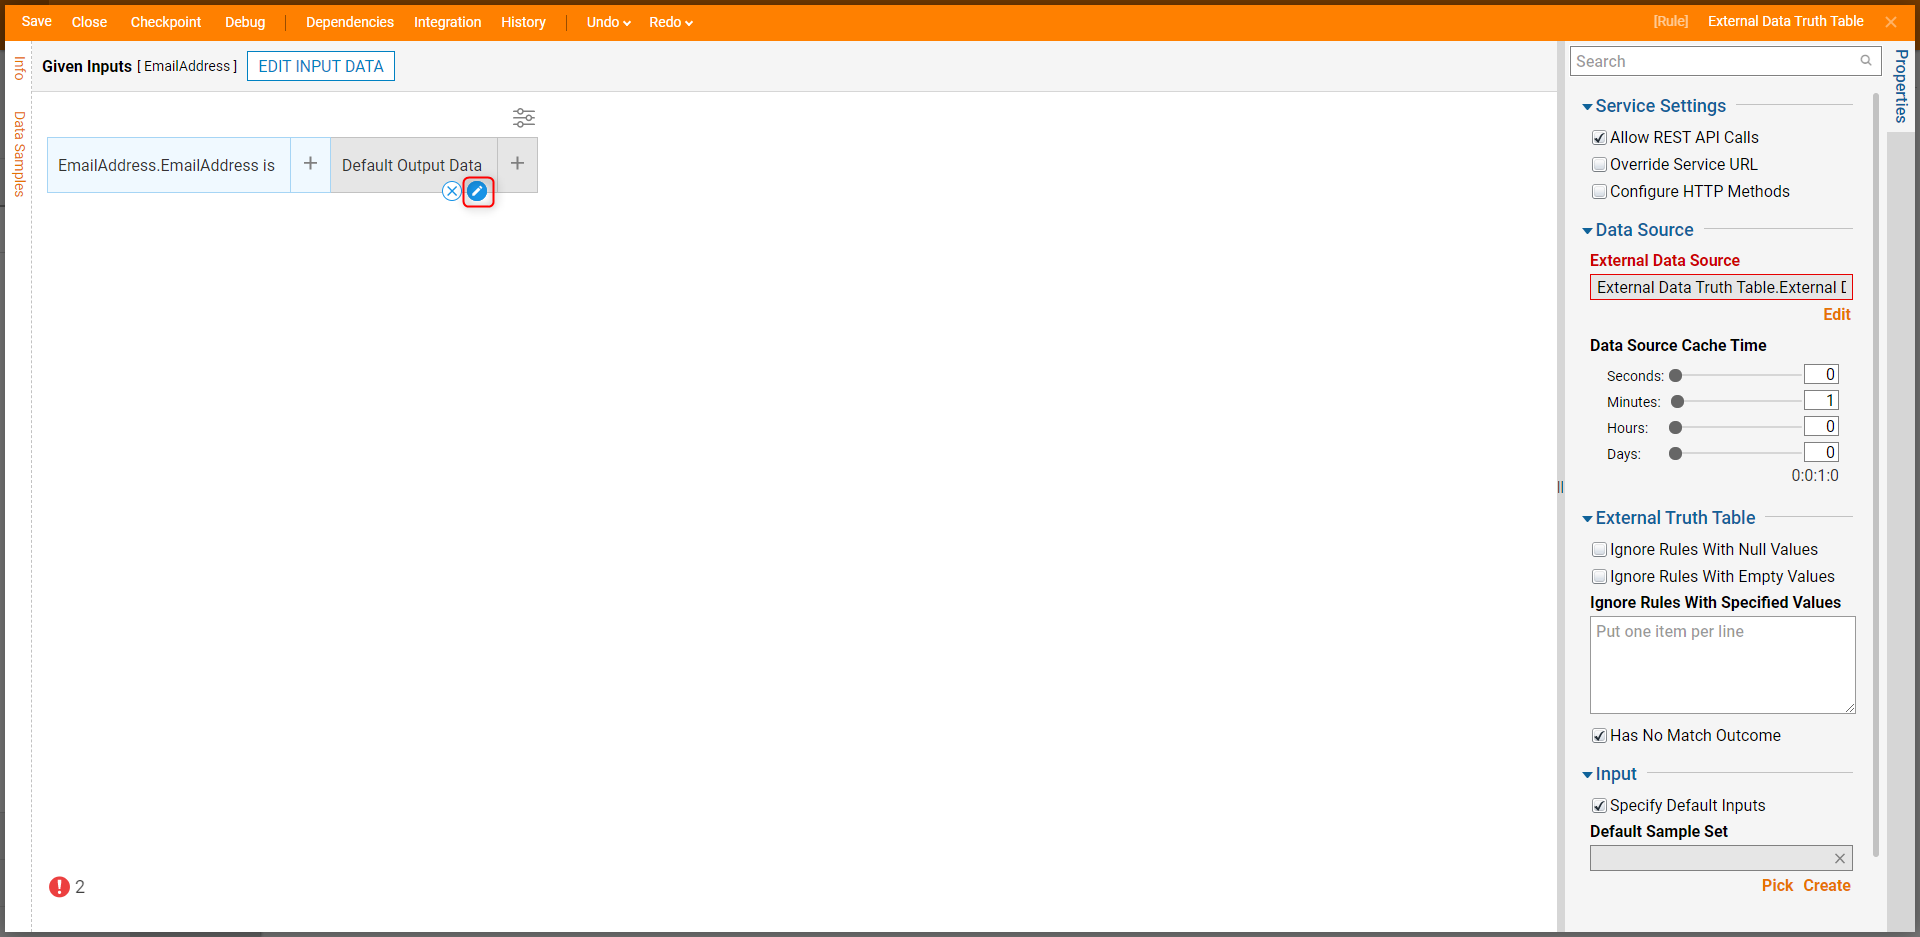
- In the Output Data Column, click the pencil icon when hovering over the Output Column.
- The Output Column will be used for displaying the corresponding Last Name and First Name associated with the account found in the Input Column. Name the data (Last Name Is) and select String [Text] as the Type. Repeat this for the First Name.
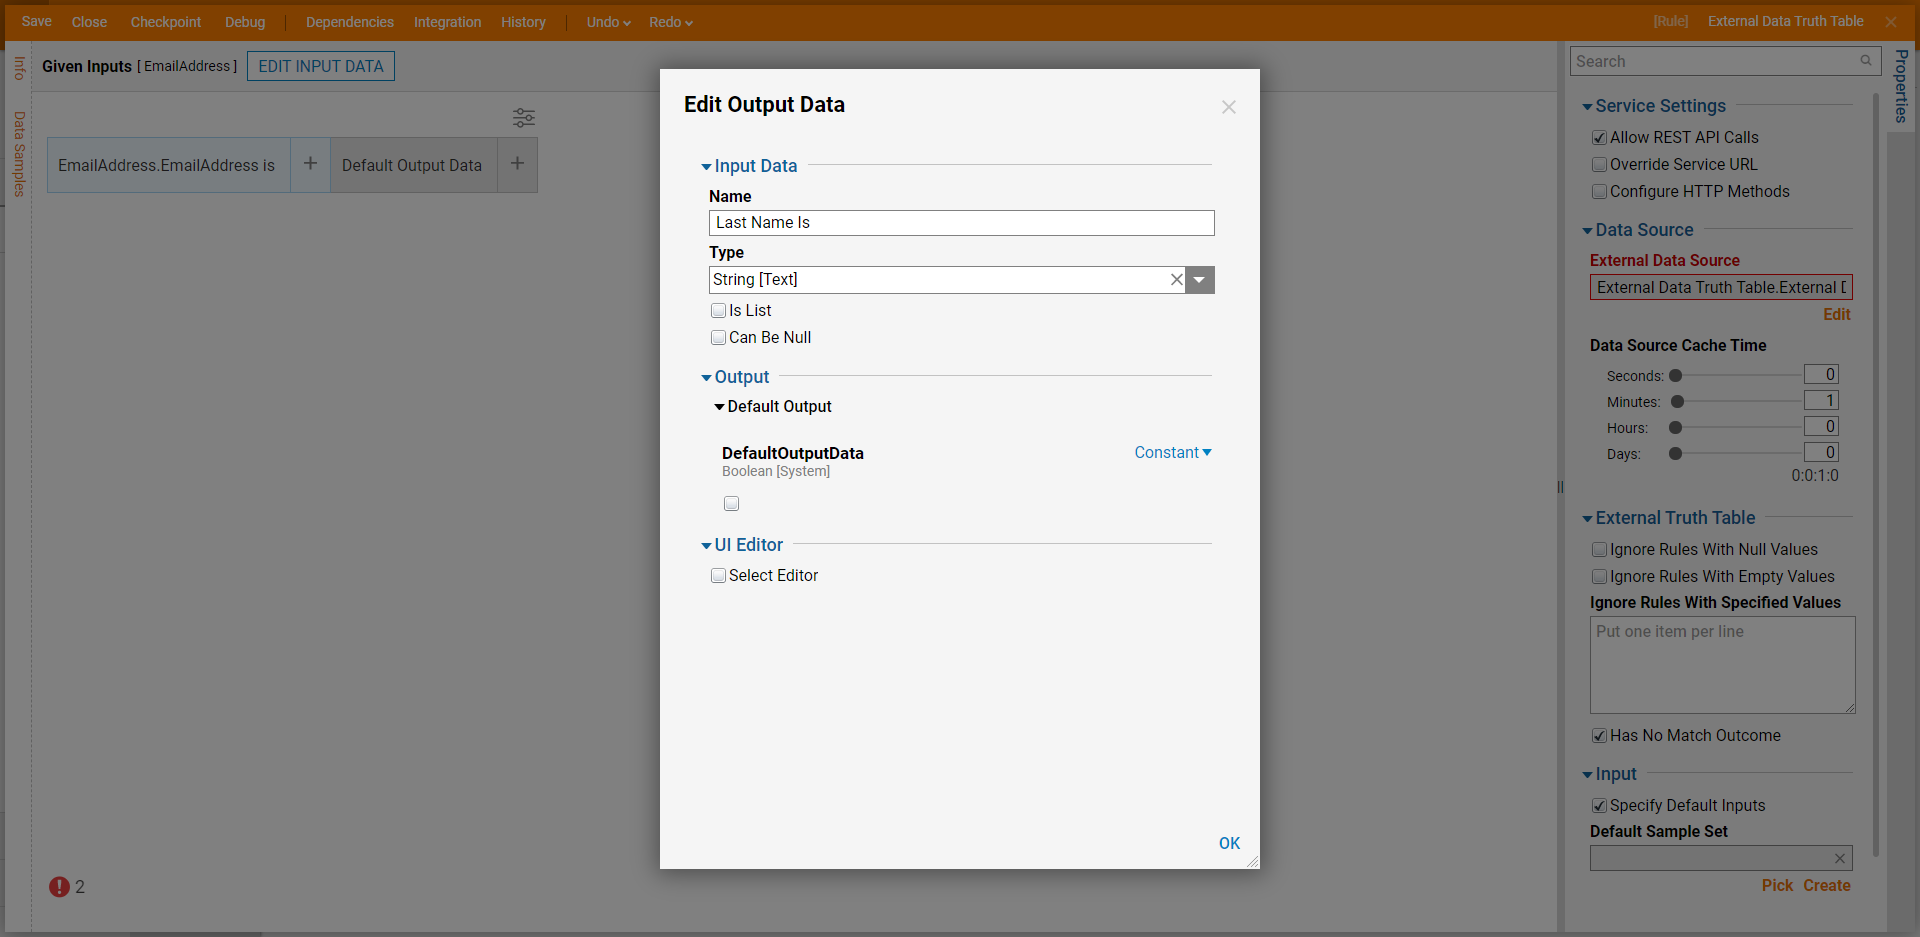
- Click OK to save the configuration.
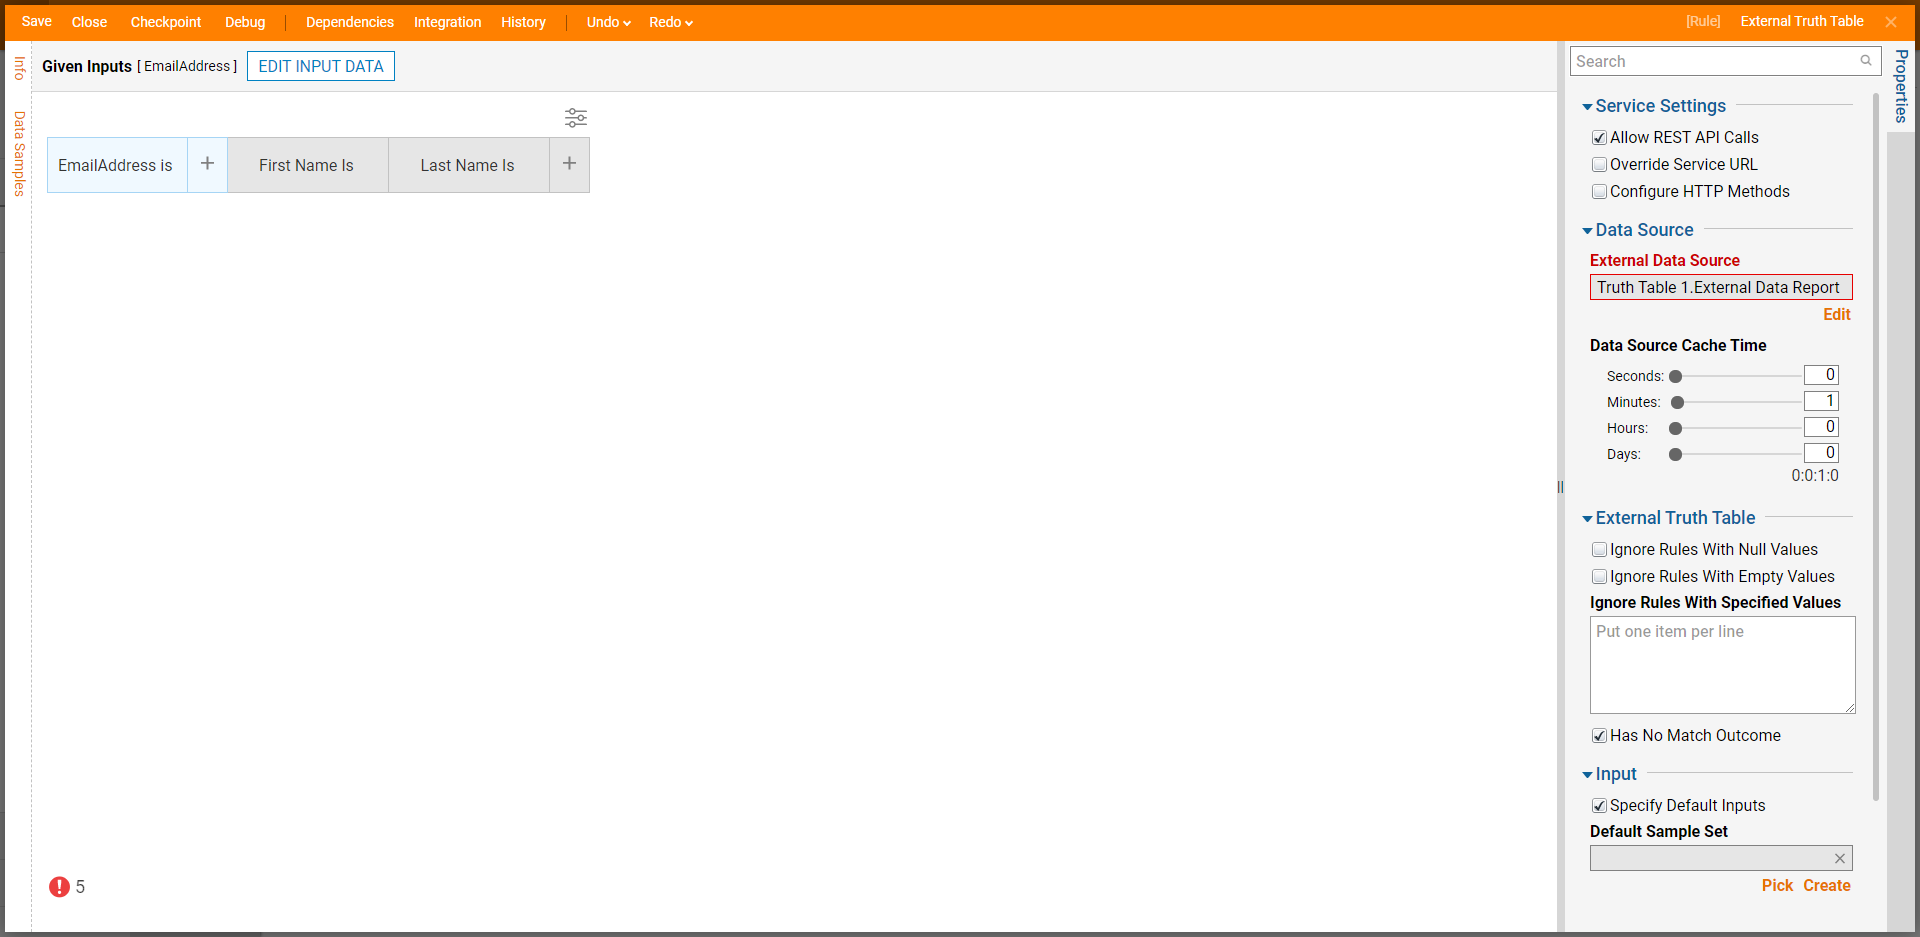
- After defining the Output Data, establish a Data Source via a Report by navigating to the Properties panel and select Edit under External Data Source to open the Report Designer.
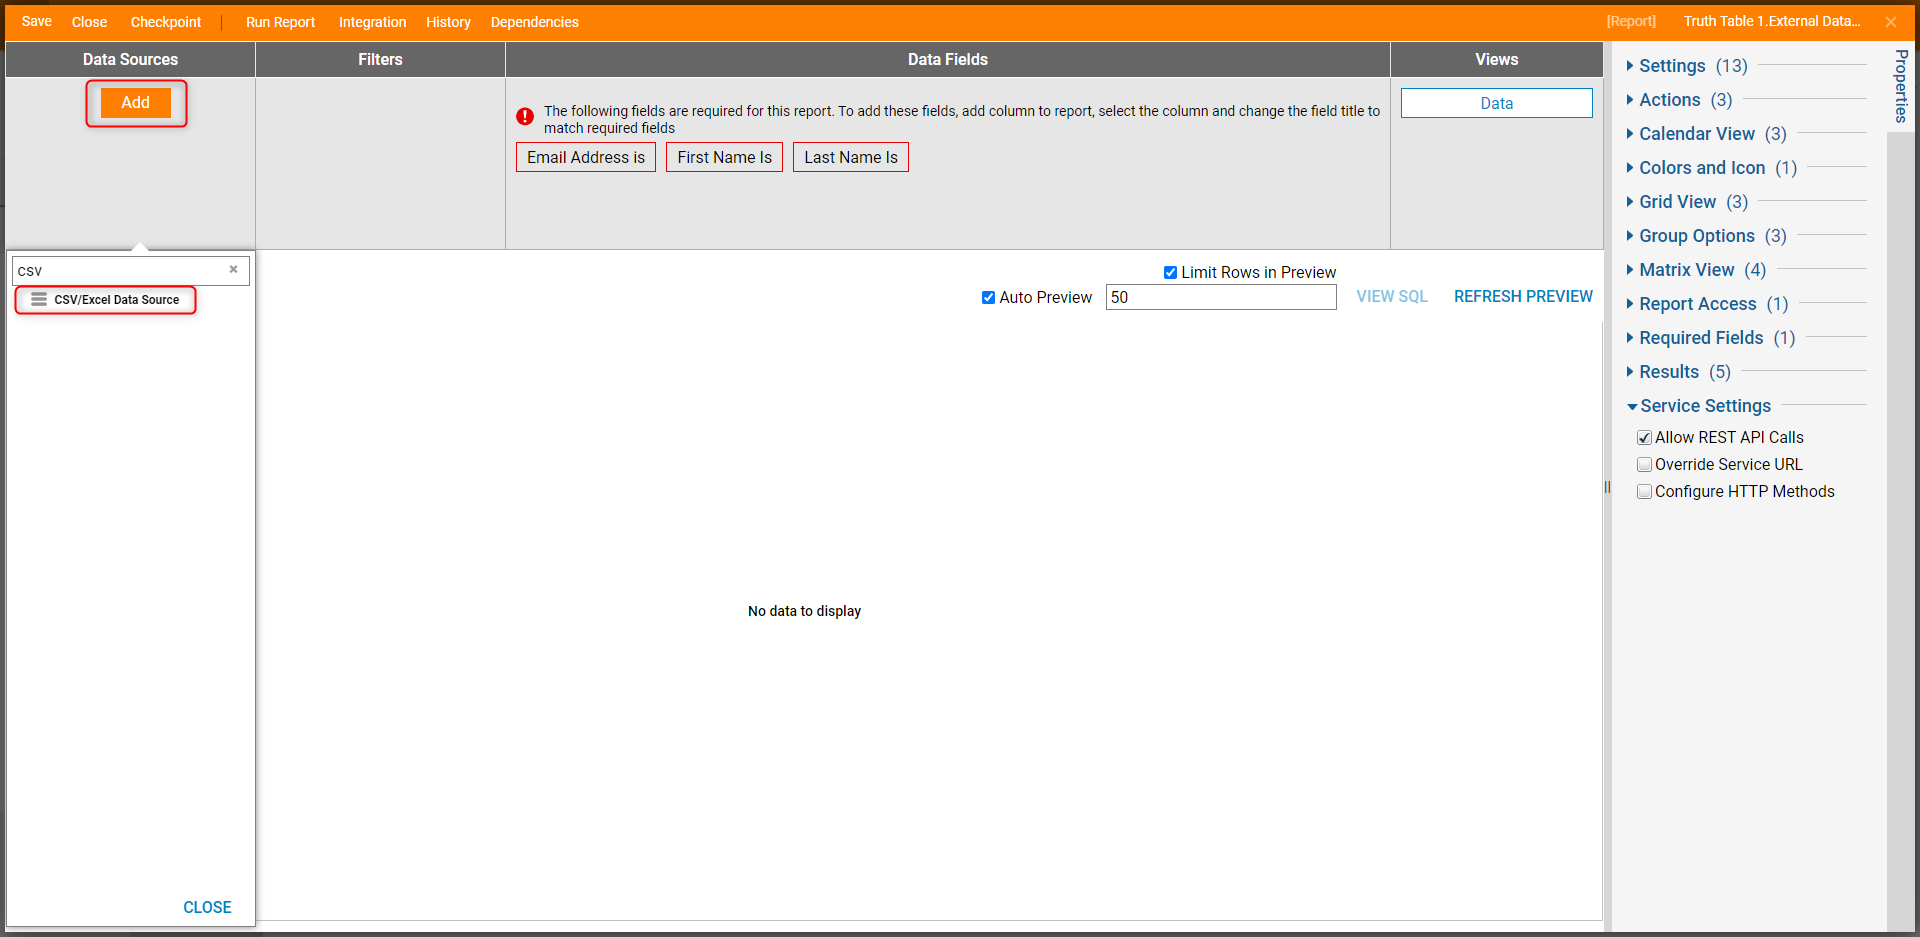
- Under Data Sources, click Add and enter "CSV" in the search bar. Then, select CSV/Excel Data Source.
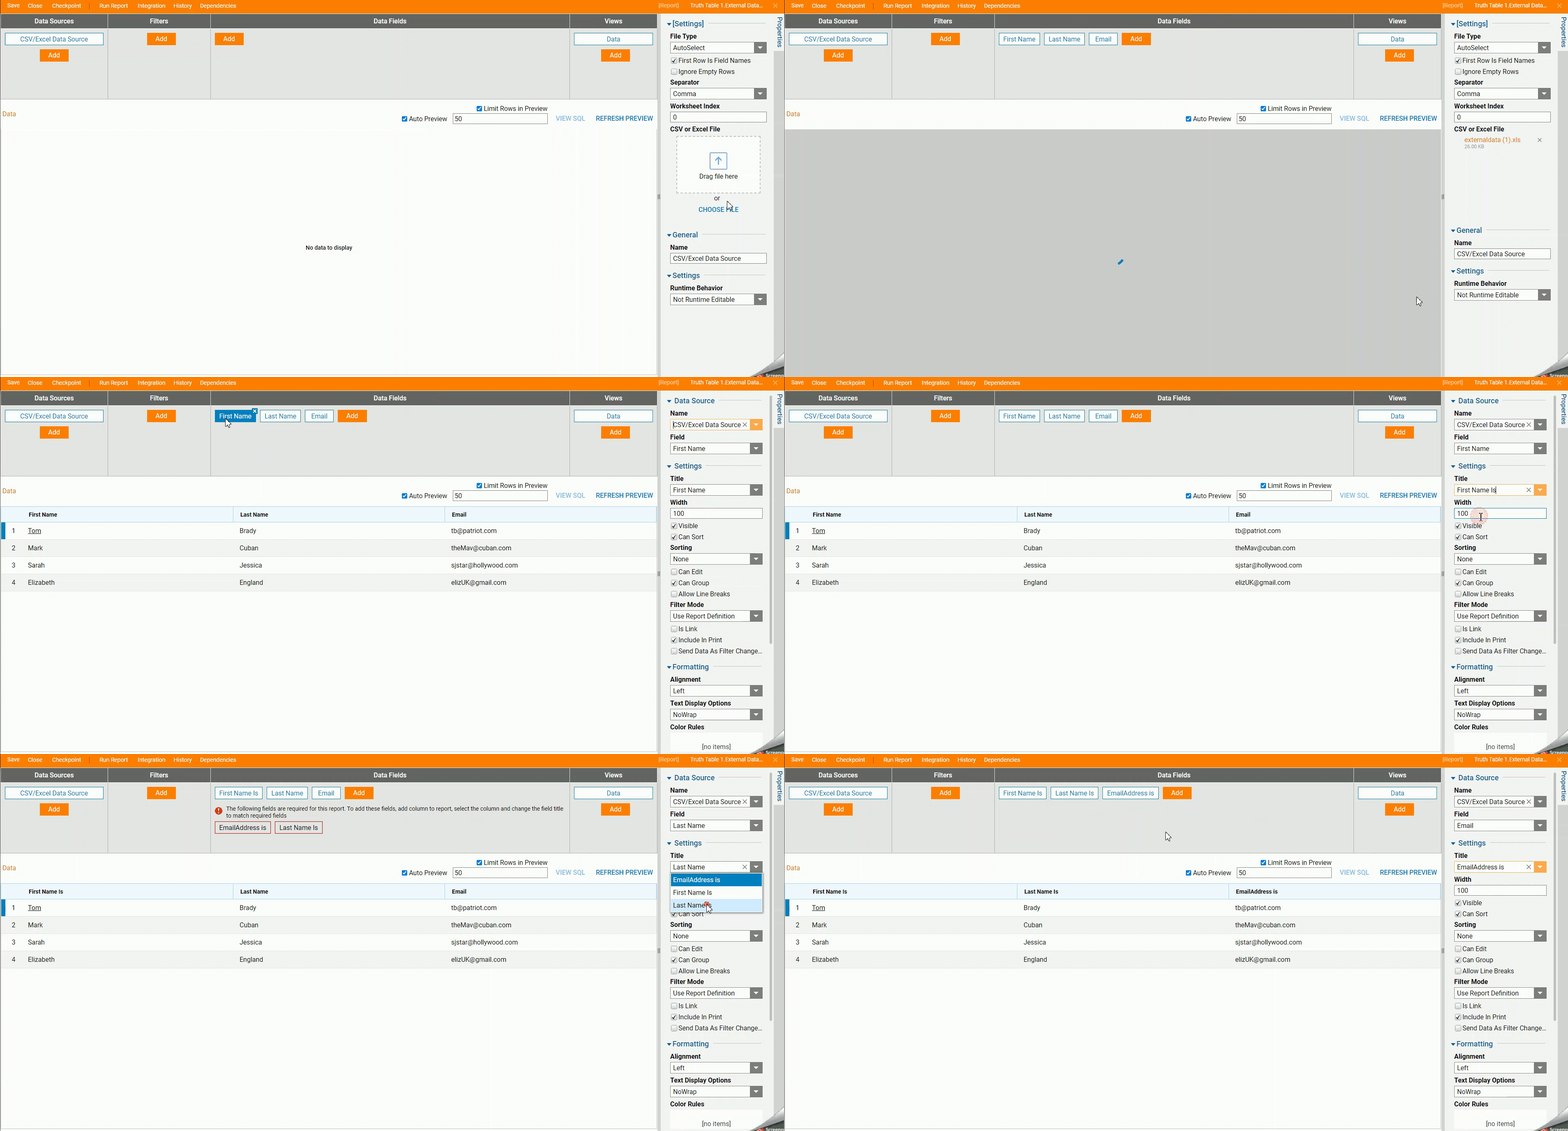
- On the Properties panel, select CHOOSE FILE and select a CSV or excel file to use. Select the First Name data field. On the Properties panel, navigate to Title under Settings. Select the dropdown and select First Name Is. Repeat this for the Last Name and Email data fields.For the data fields to correlate to a title, the data field needs to be the same specified data type. If not, the title will not appear for the data field to be referenced to it.
- Click Save and then click Close to return to the Rule Designer.
- Completing the previous configurations will populate the Truth Table with the External Data Report. Click Save to save changes to the Truth Table.
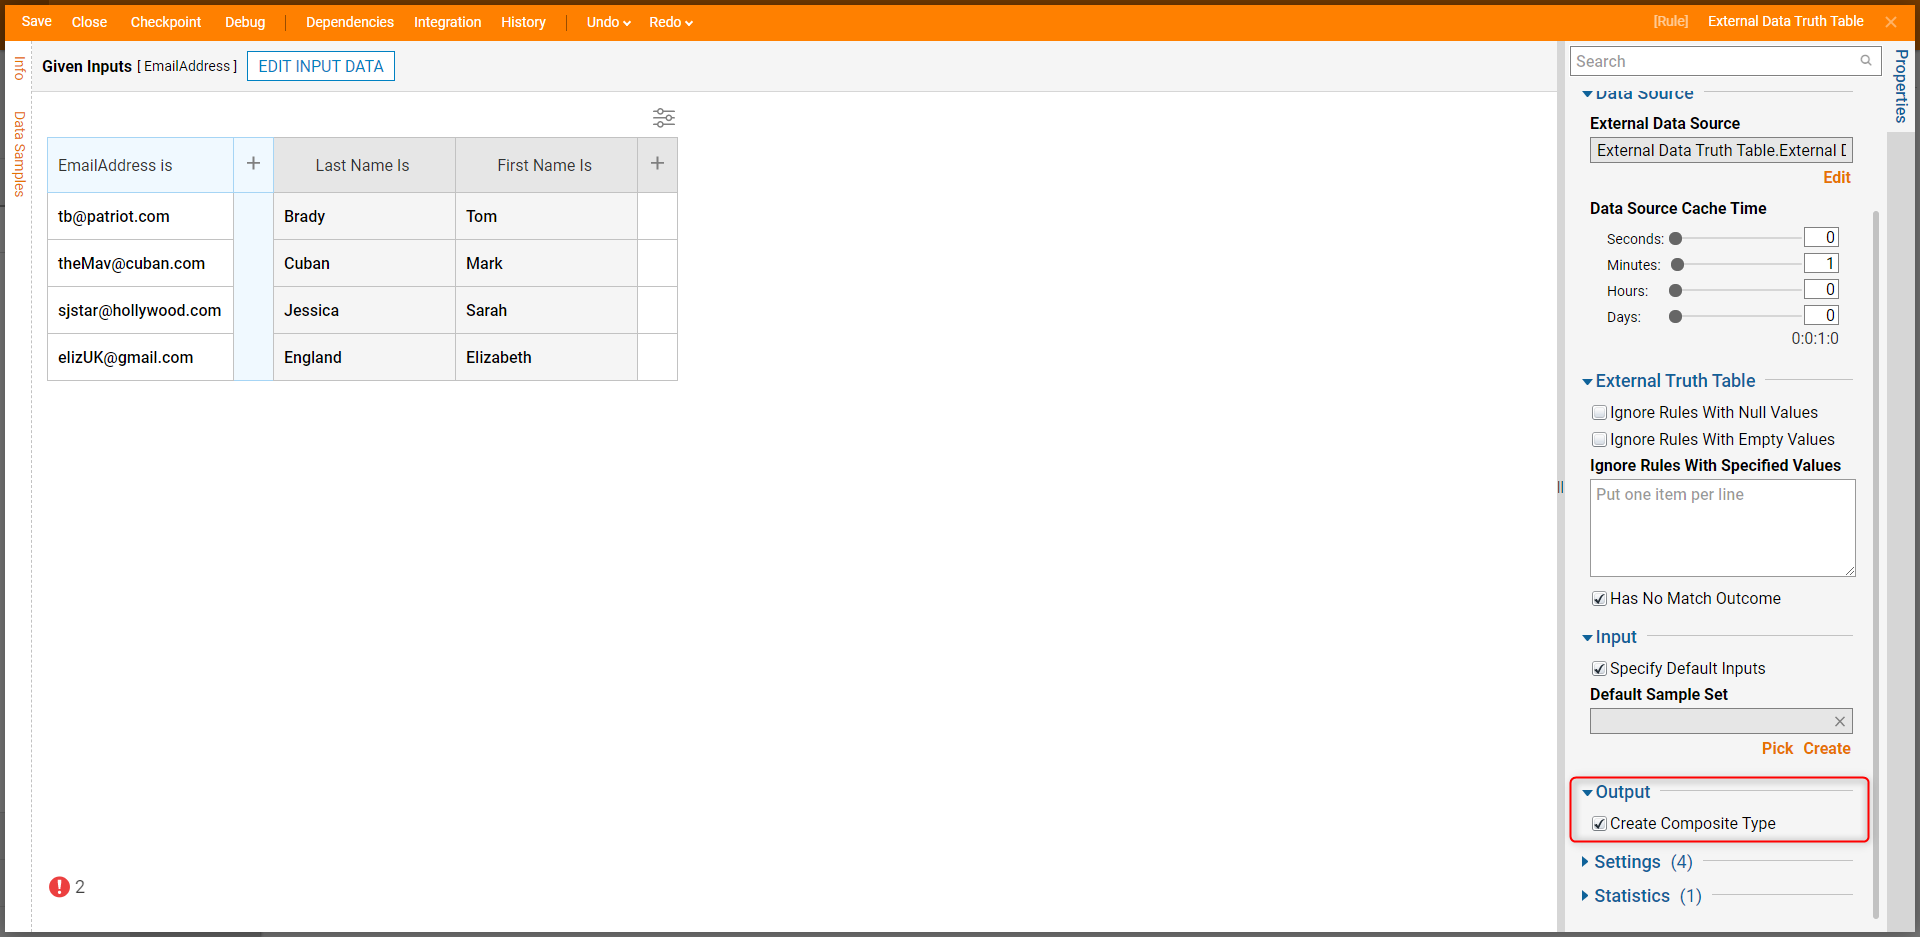
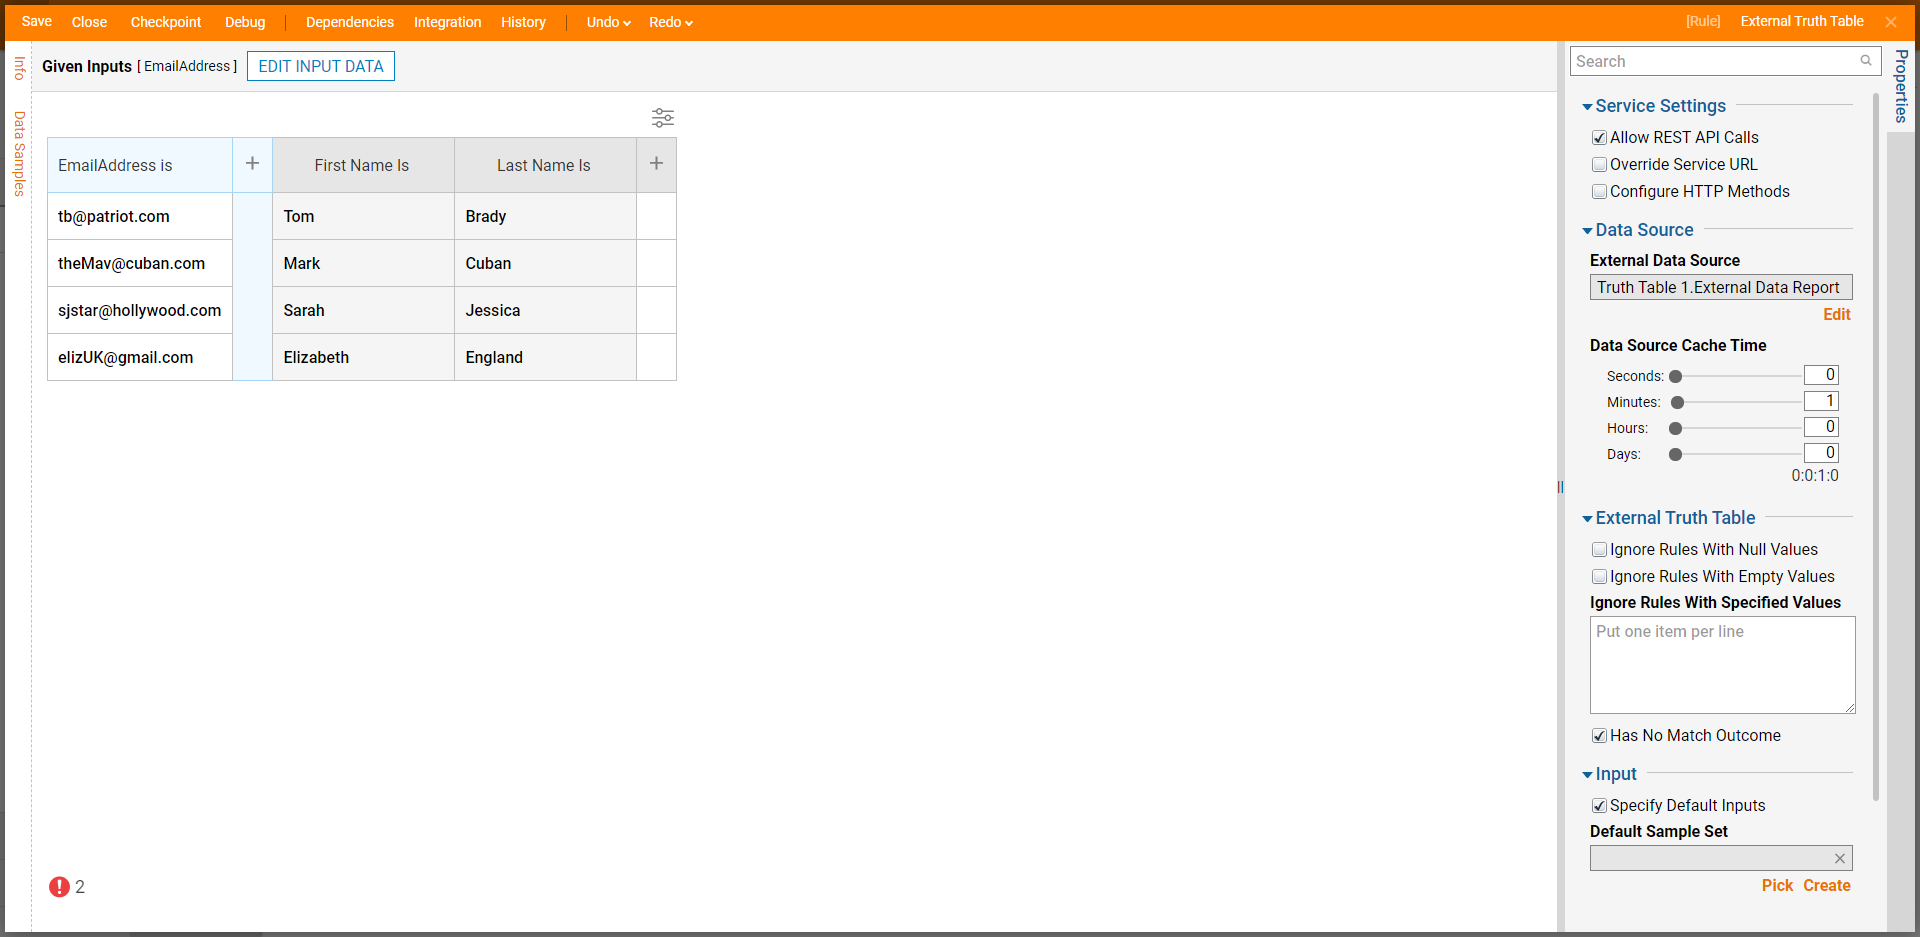 If returning multiple outcome values, the option Create Composition Type is displayed. When multiple rows are returned from the truth table, all values are merged into a single list.
Truth Table Filtering
For additional control over filtering rows in a Truth Table or for the option to filter the Table based on the Output Column rather than the Input, Truth Tables contain a filtering feature. This feature can be helpful for situations that involve larger Truth Tables and offer a more controlled approach to filtering through Data.
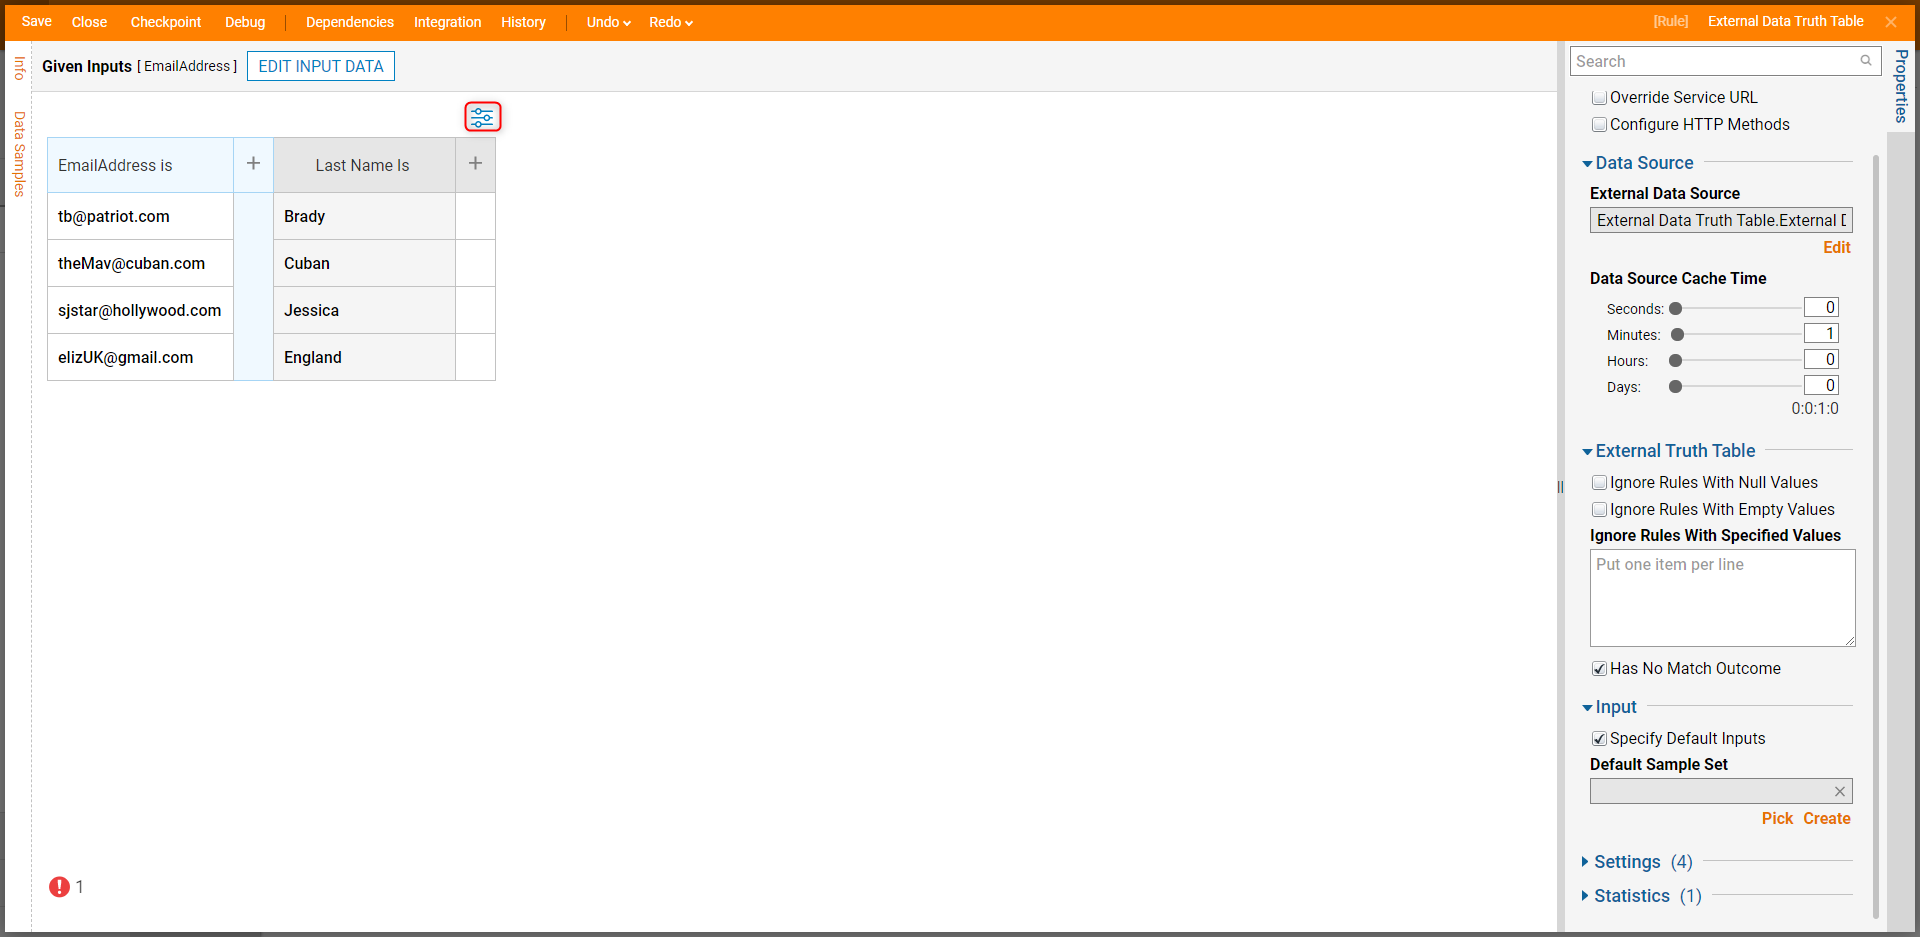
- To access this filter, from the Rule Designer, select the abacus button located above the Truth Table.
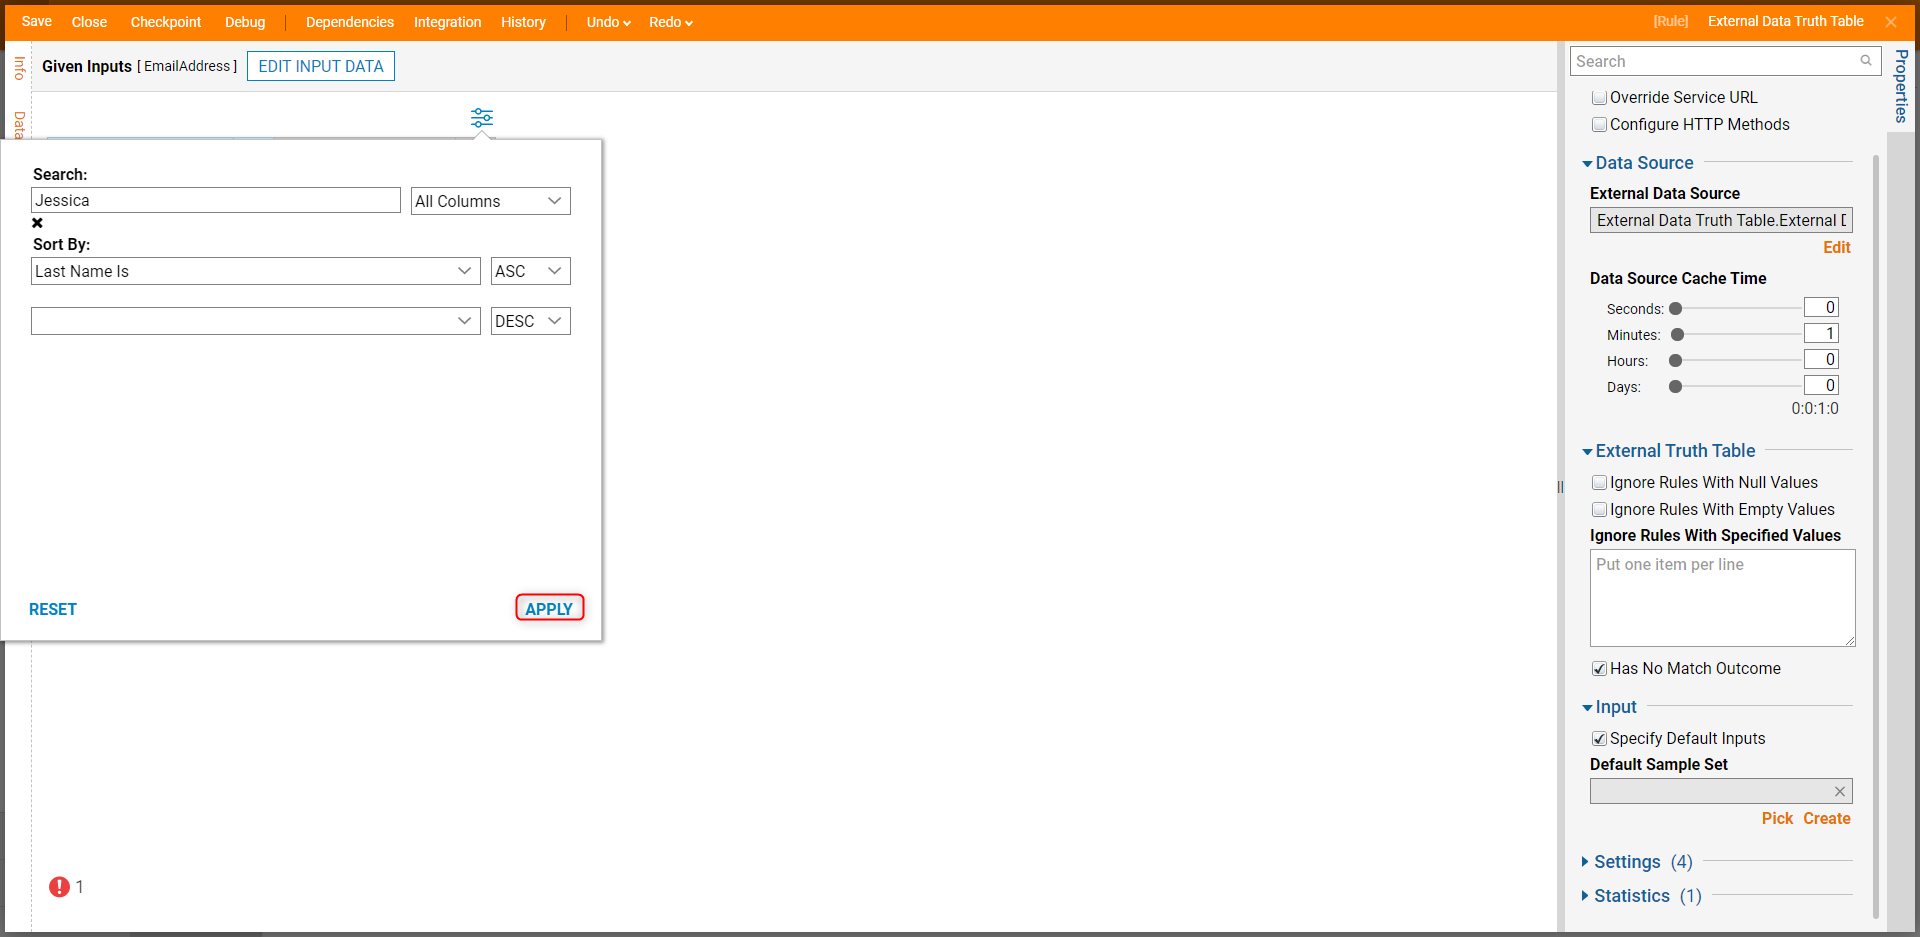
- Input the desired filter in the Search box; this can be just a few characters or an entire Input/Output value. By default the filter is set to search for the Search value in All Columns; if desired, users may select either Column by itself by choosing an option from the dropdown selection.
- Additionally, if desired, the filter offers the ability to sort the Columns in either ascending or descending order by selecting one of the Columns from the Sort By dropdown and then choosing either ASC or DSC. Note on SortingNote that sorting is determined by ICU order; this prioritizes Strings leading with special characters first, then those leading with numbers, and finally those leading with letters.
- Once the desired parameters have been selected, click APPLY to save changes and filter out the Table.
Debug
- Click Debug on the top action bar.
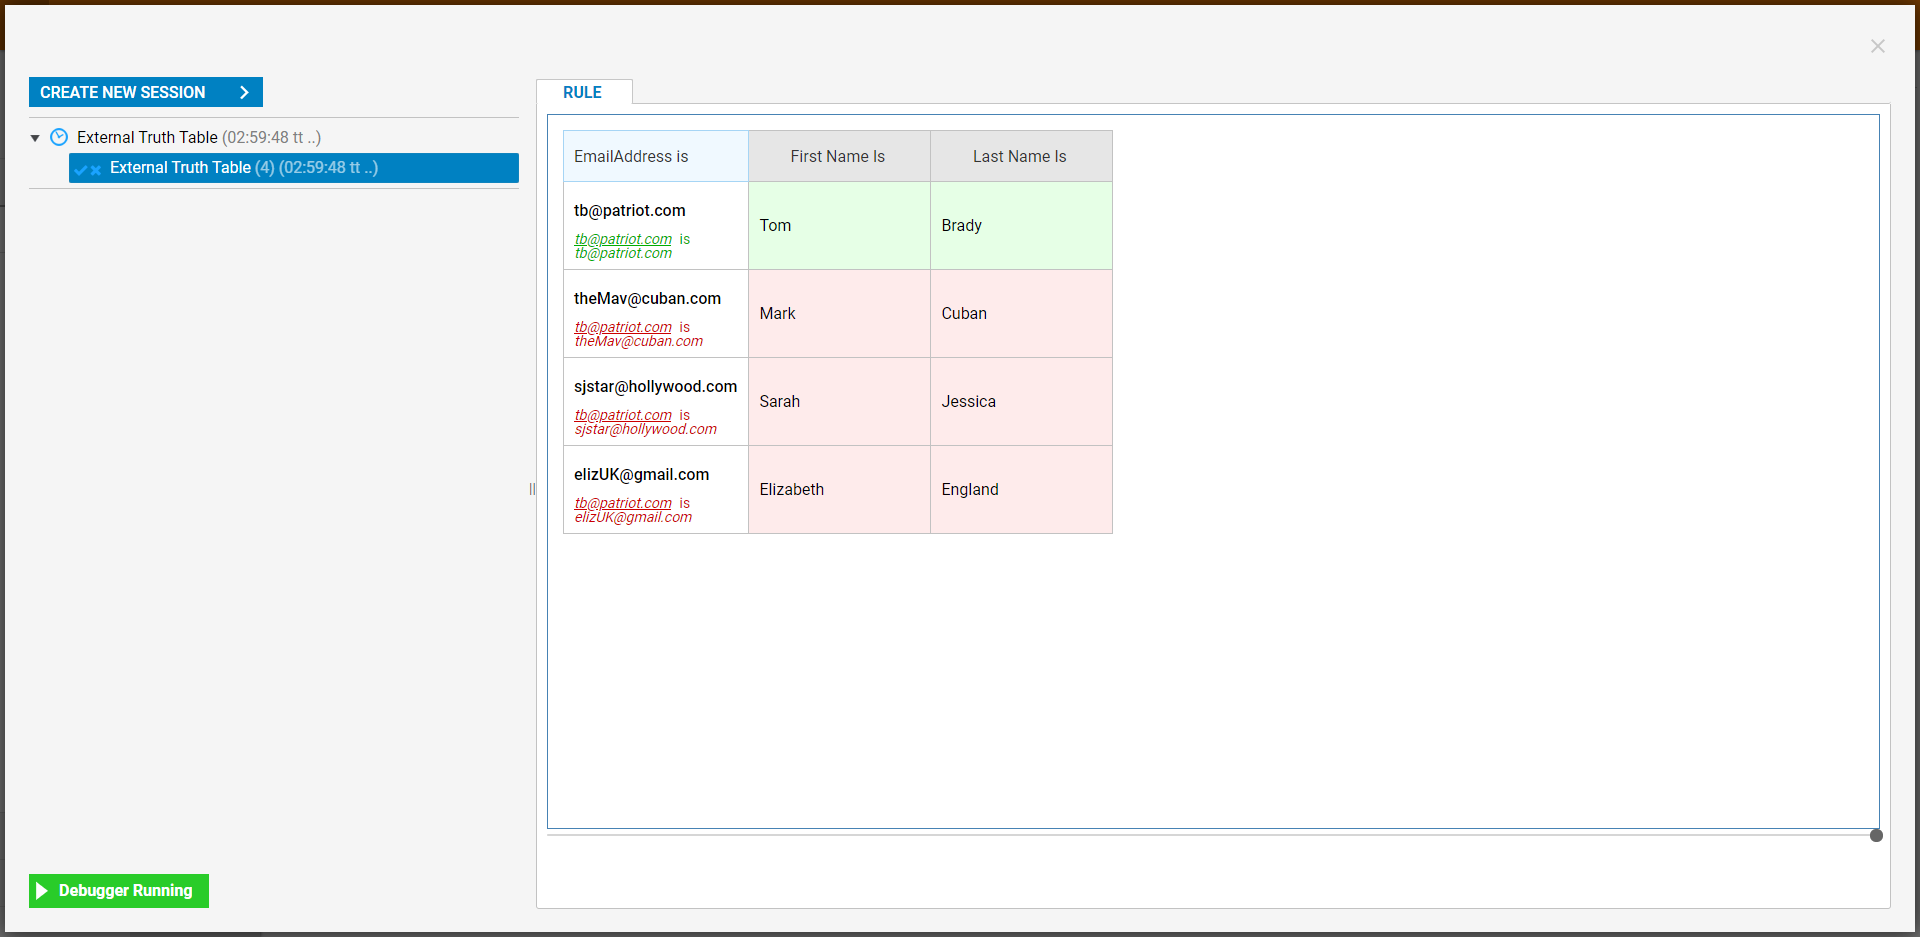
- Under Email Address, enter "tb@patriot.com" and click Run Capturing All to run the Debugger with the selected Input.
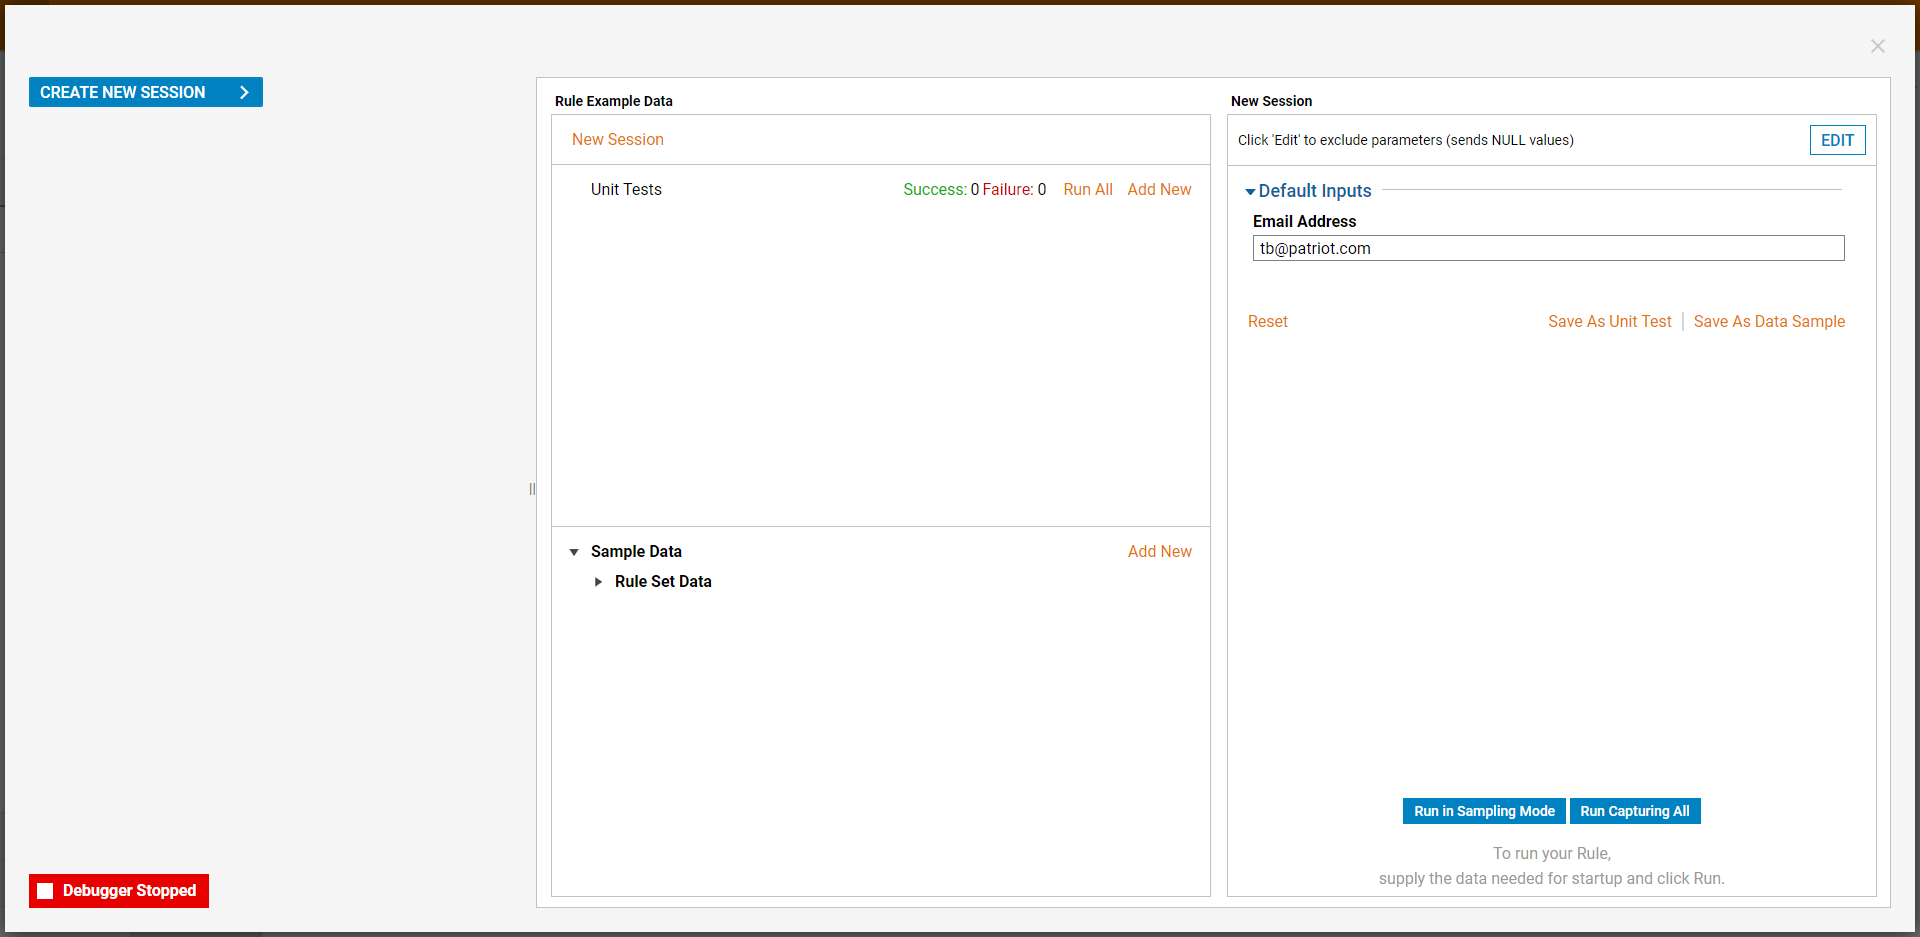 Running the Debugger will evaluate which row contains the selected Input and display those rows alongside their associated First and Last Name value pulled from the Data Source and evaluate this combination as True. All other values will be displayed as well, with a False evaluation instead.