Overview
Entity Events make it possible to run a Flow when certain events occur to an Entity. An example of an event that could occur on the saving and/or deleting of an Entity is to send a notification message to a manager when a new Entity like a project quote or travel request is submitted or changed, so the manager can do a review. Another use case might be to insert an audit record into a database or directory when an Entity is deleted that records details such as who deleted the Entity.
Example
In this example, a pop up message will be sent to the Managers' group to let them know a new Entity, a travel request, was created. The event that will trigger the pop up is "After Save."
- Begin by navigating to the Configuration Folder for the Entity. In this example, the Folder is a TravelItinerary type.
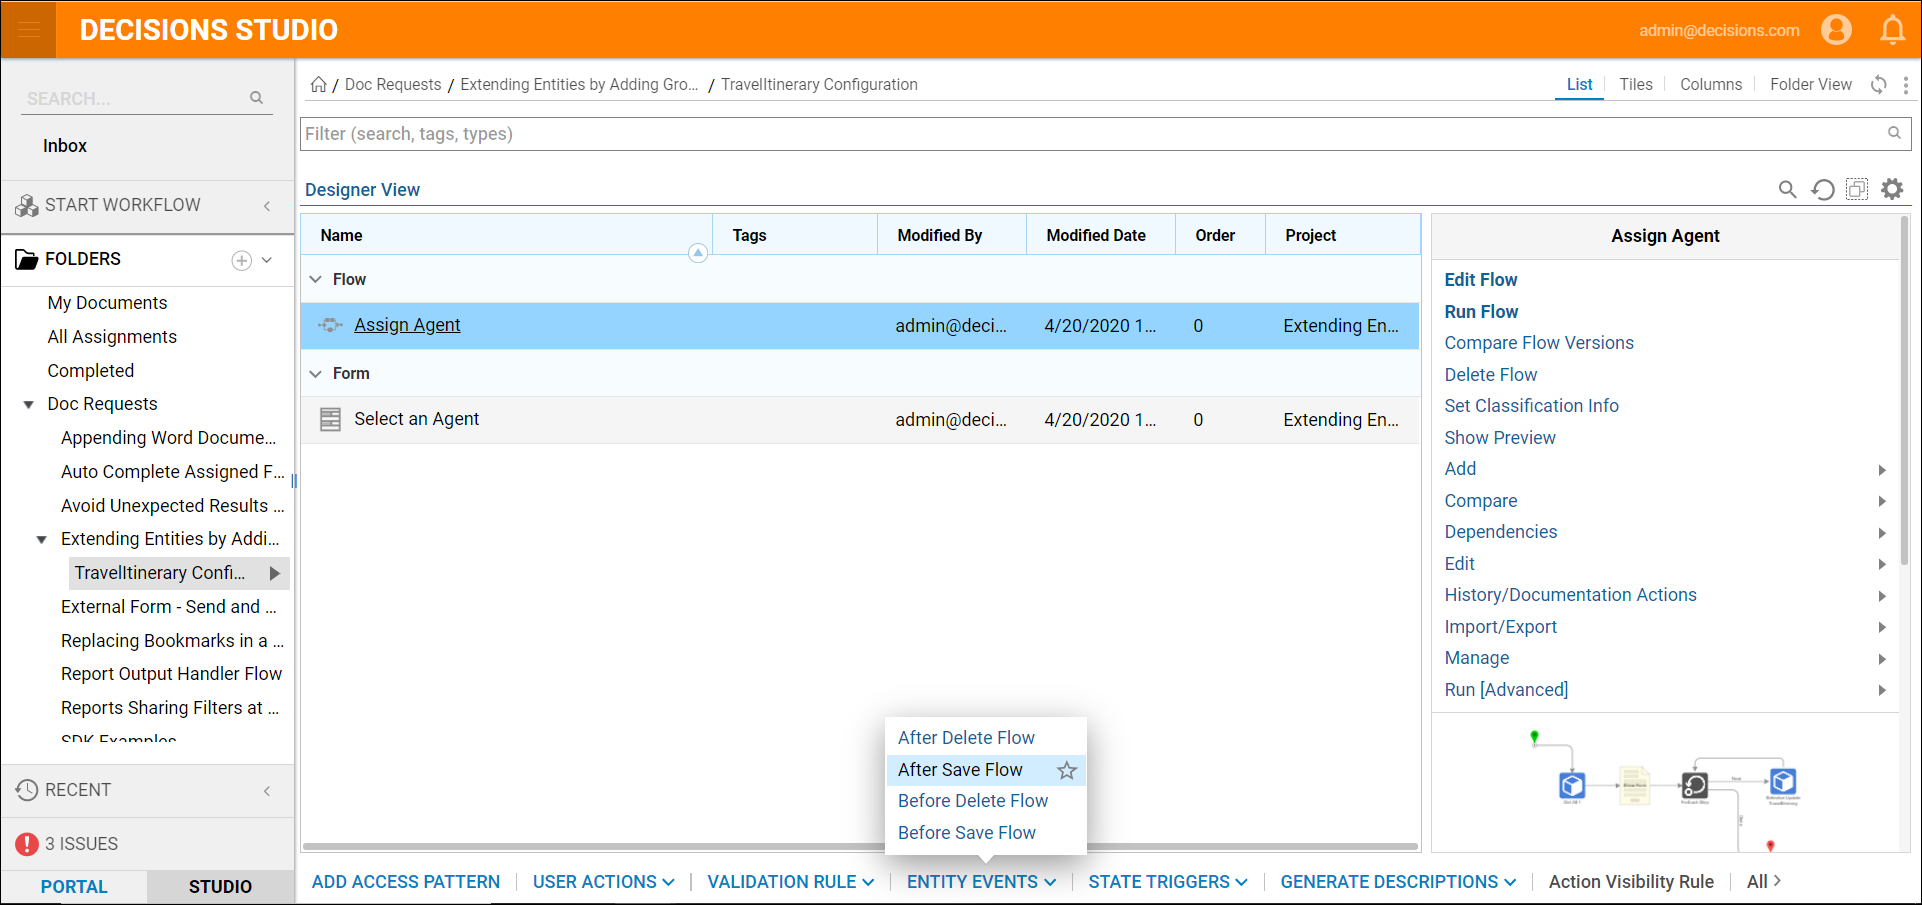
- Notice the ENTITY EVENTS button available in the bottom action panel.
- Select ENTITY EVENTS and then select After Save Flow.
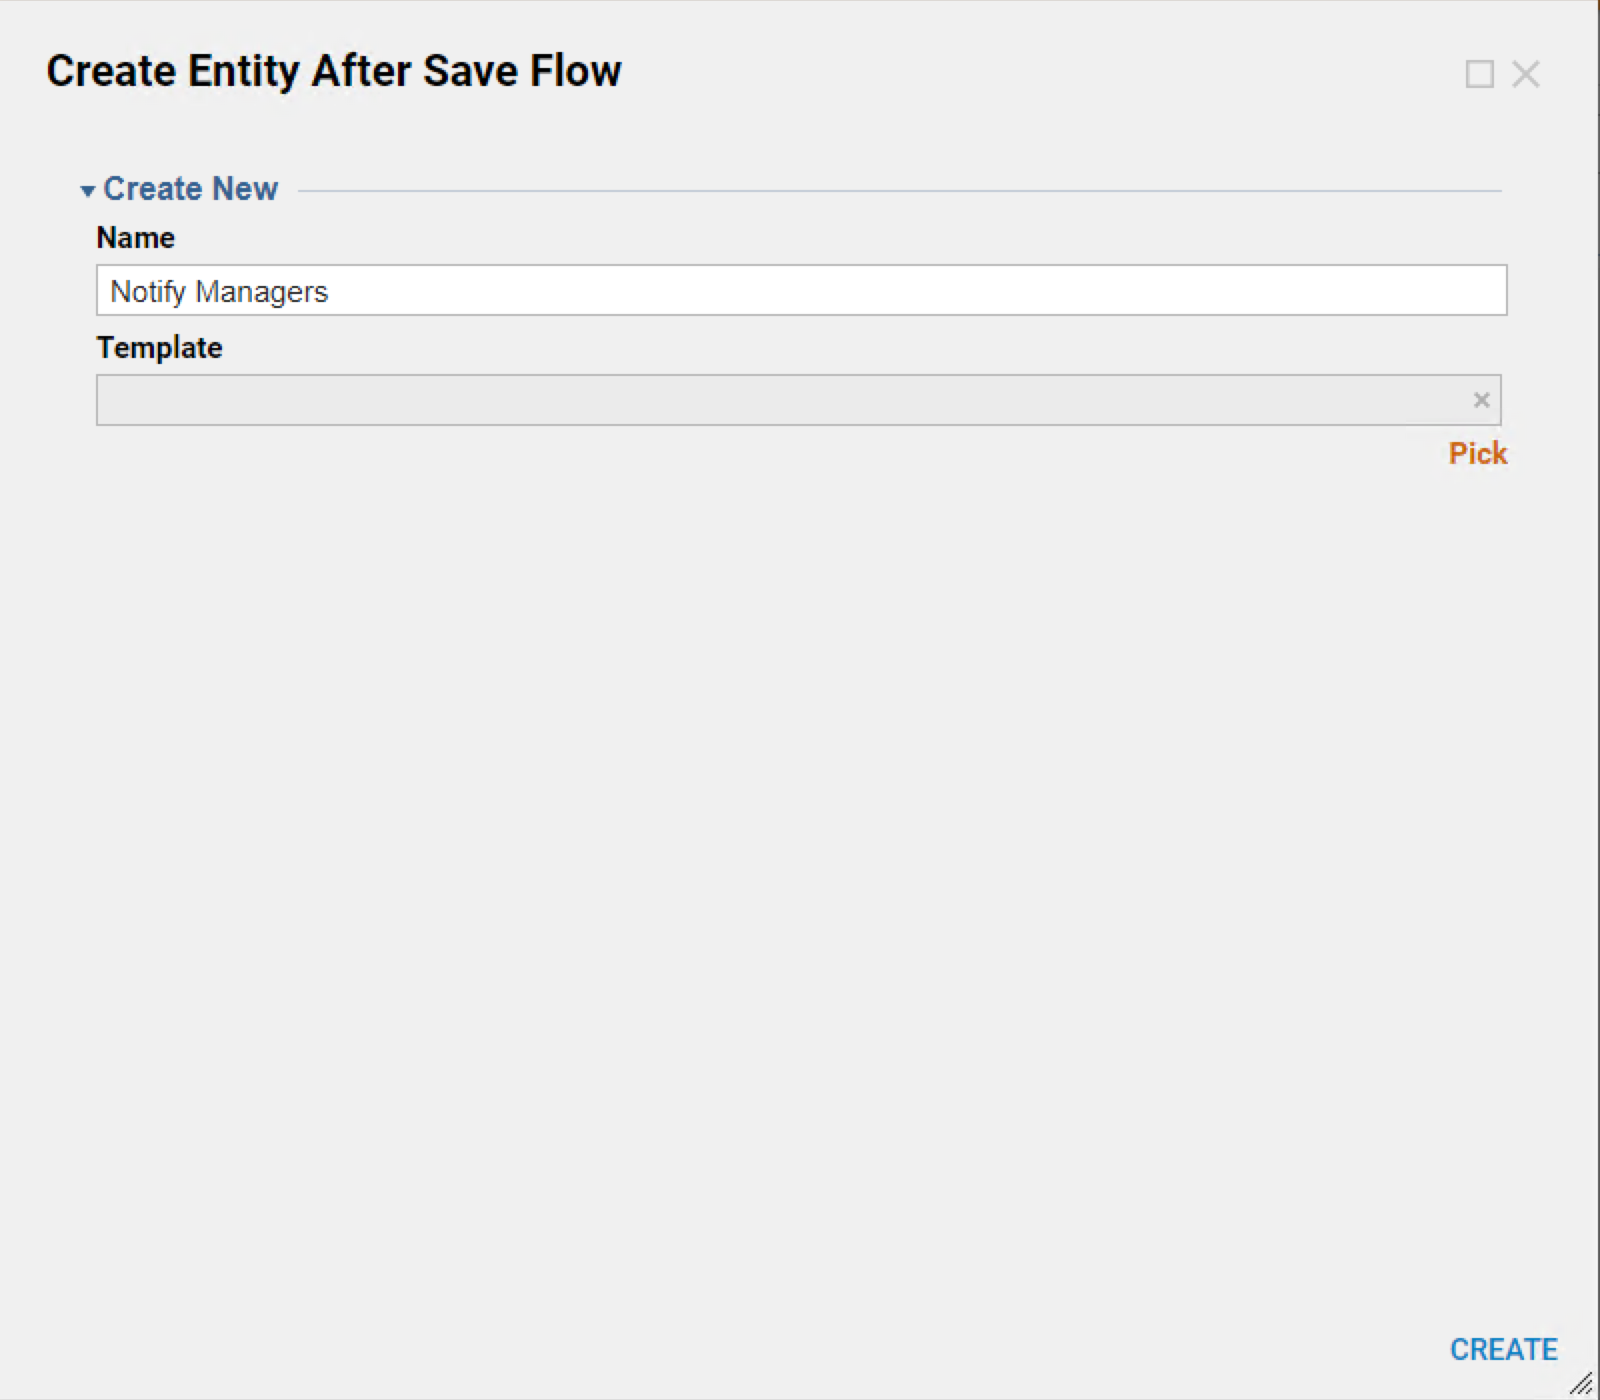
- In the Create Entity After Save Flow dialog name the Flow "Notify Managers" and select CREATE.
- In the Flow Designer, select the Done outcome path from the Start step.
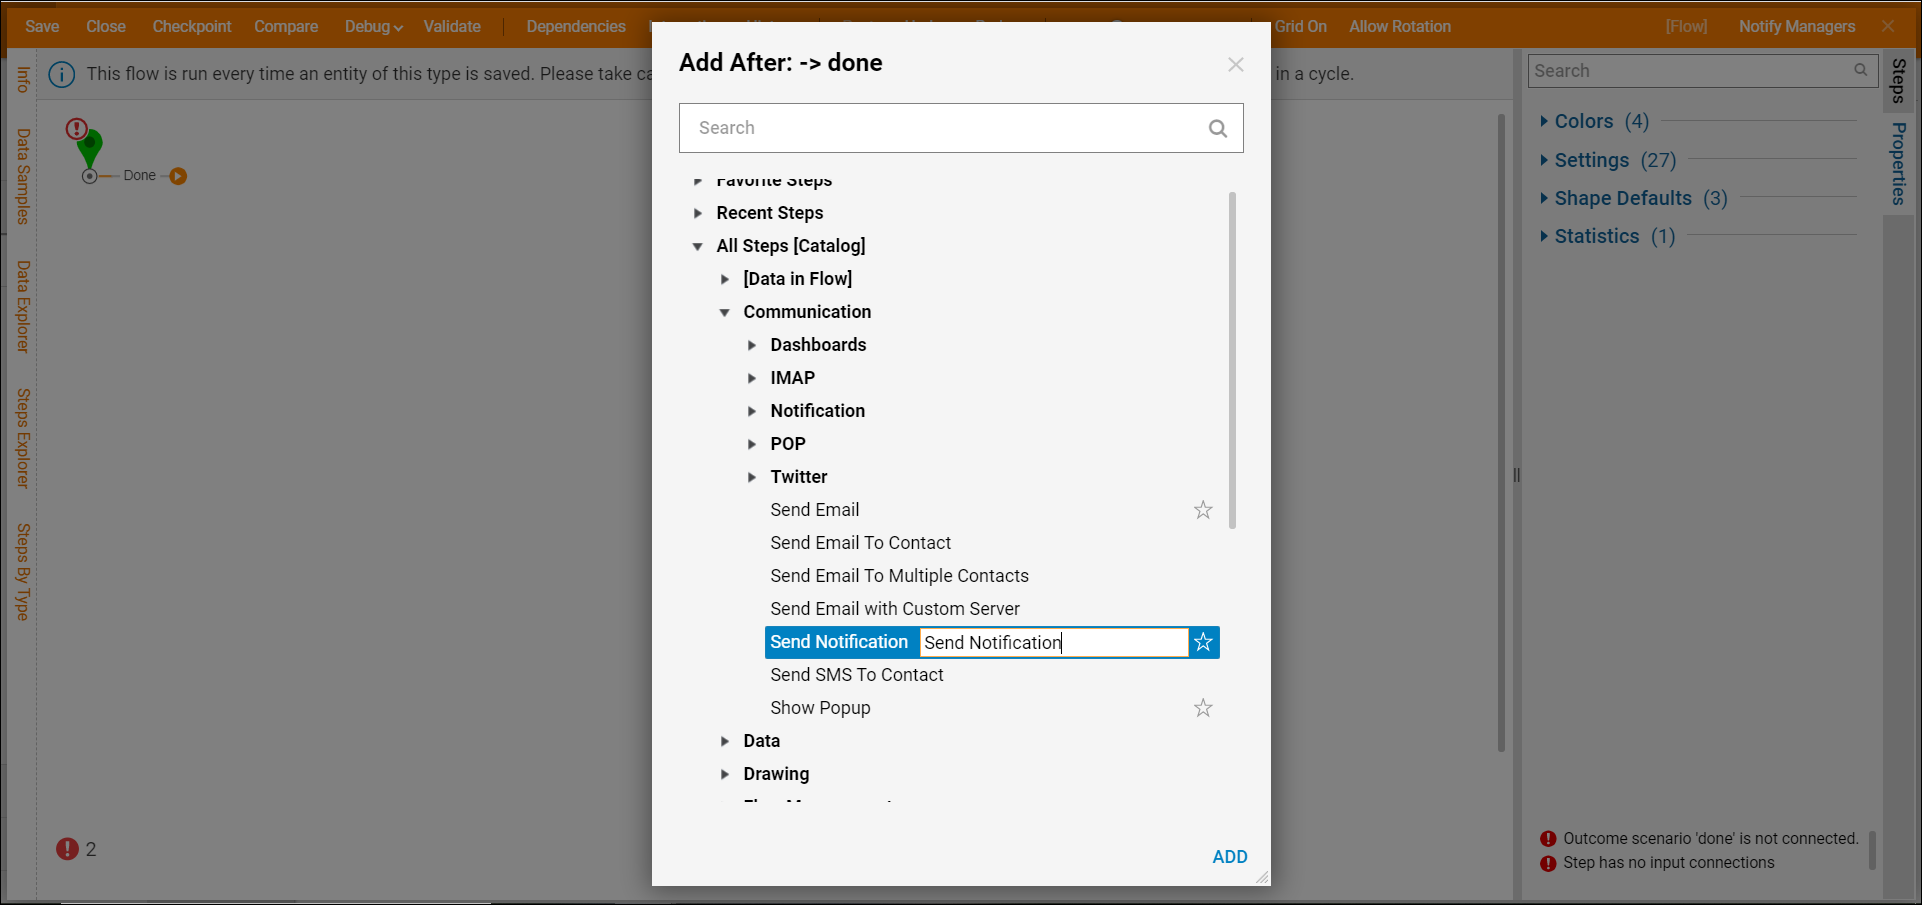
- In the Add After dialog, expand the All Steps [Catalog] > Communication category and choose the Send Notification step.
- Select ADD to place it into the workspace.
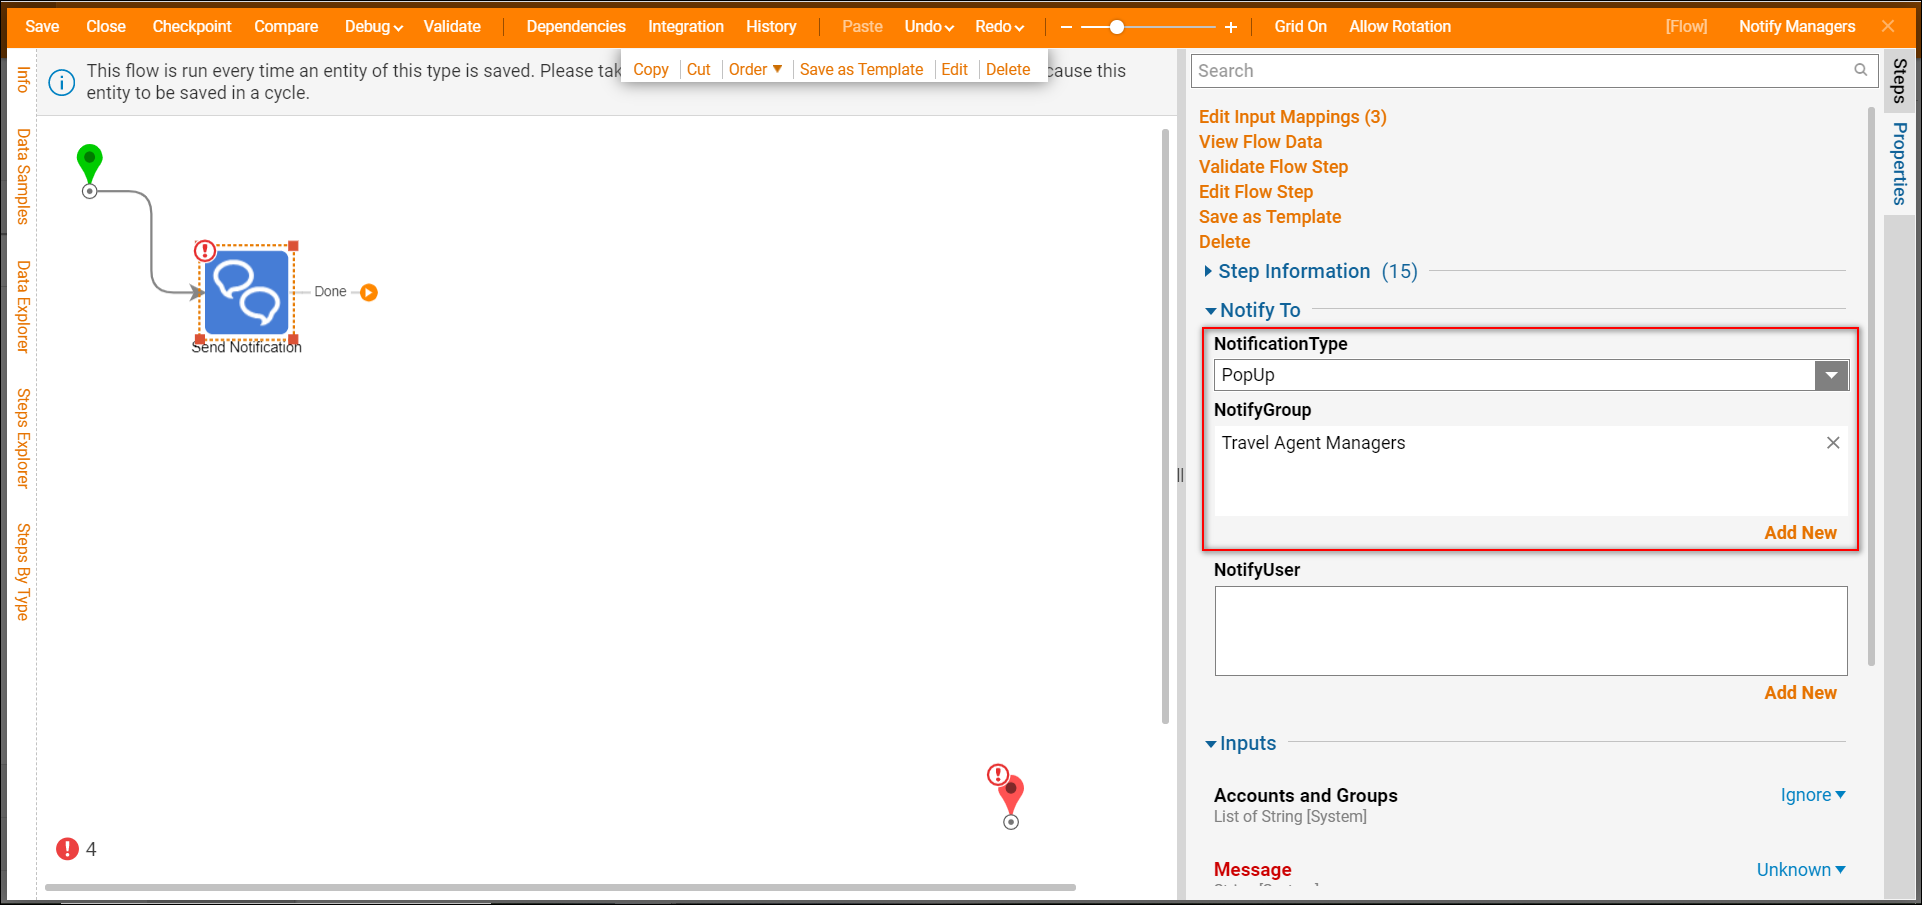
- With the Send Notification step selected, navigate to the Properties panel.
- Under Notify To > Notify Group select the Add New button.
- In the Pick Entity dialog, select the Travel Agent Managers group and select Pick.
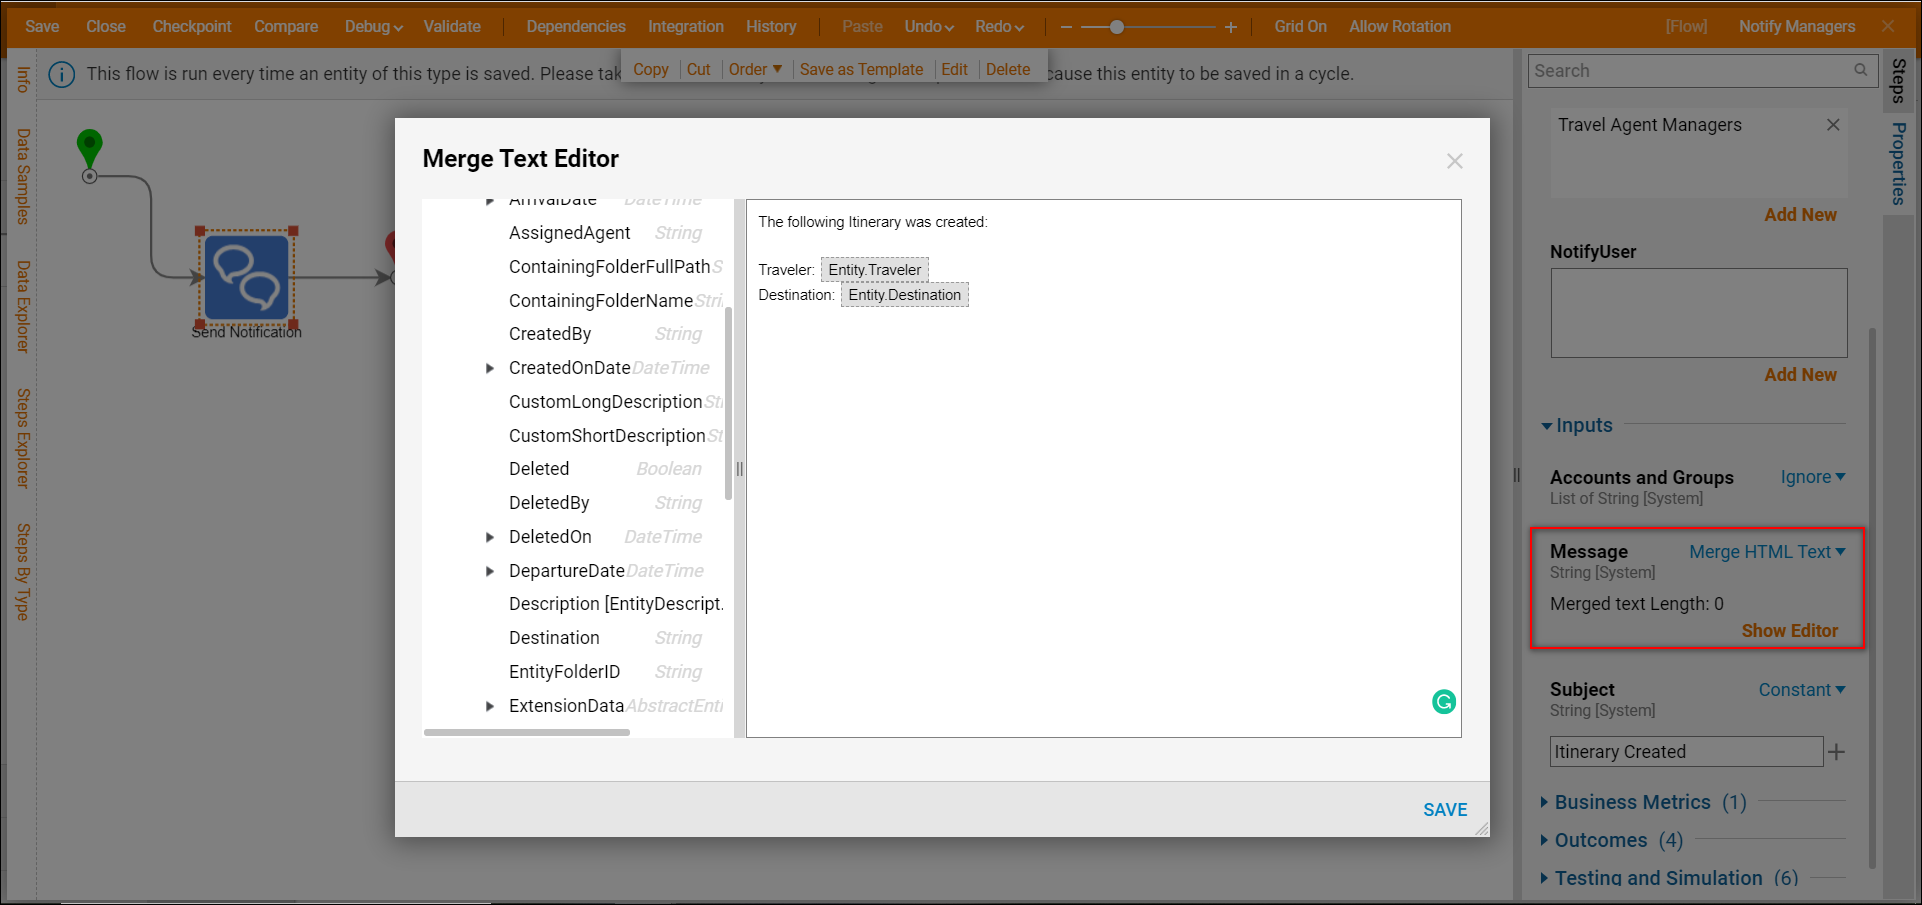
- Next, configure the message of the notification. In the Properties panel under Inputs, select Merge HTML Text for the Message mapping type.
- Select the Show Editor button that appears.
- Notice under Entity > Data, the information about the Entity is available. In the message body, display Entity.Traveler and Entity.Destination.
- Drag and drop those variables from the list on the left into the workspace on the right. Select Save.
- Lastly, configure the Subject for the message, which will be a constant value of "Itinerary Created." Connect the Done path of the Send Notification step to the End step.
Debug
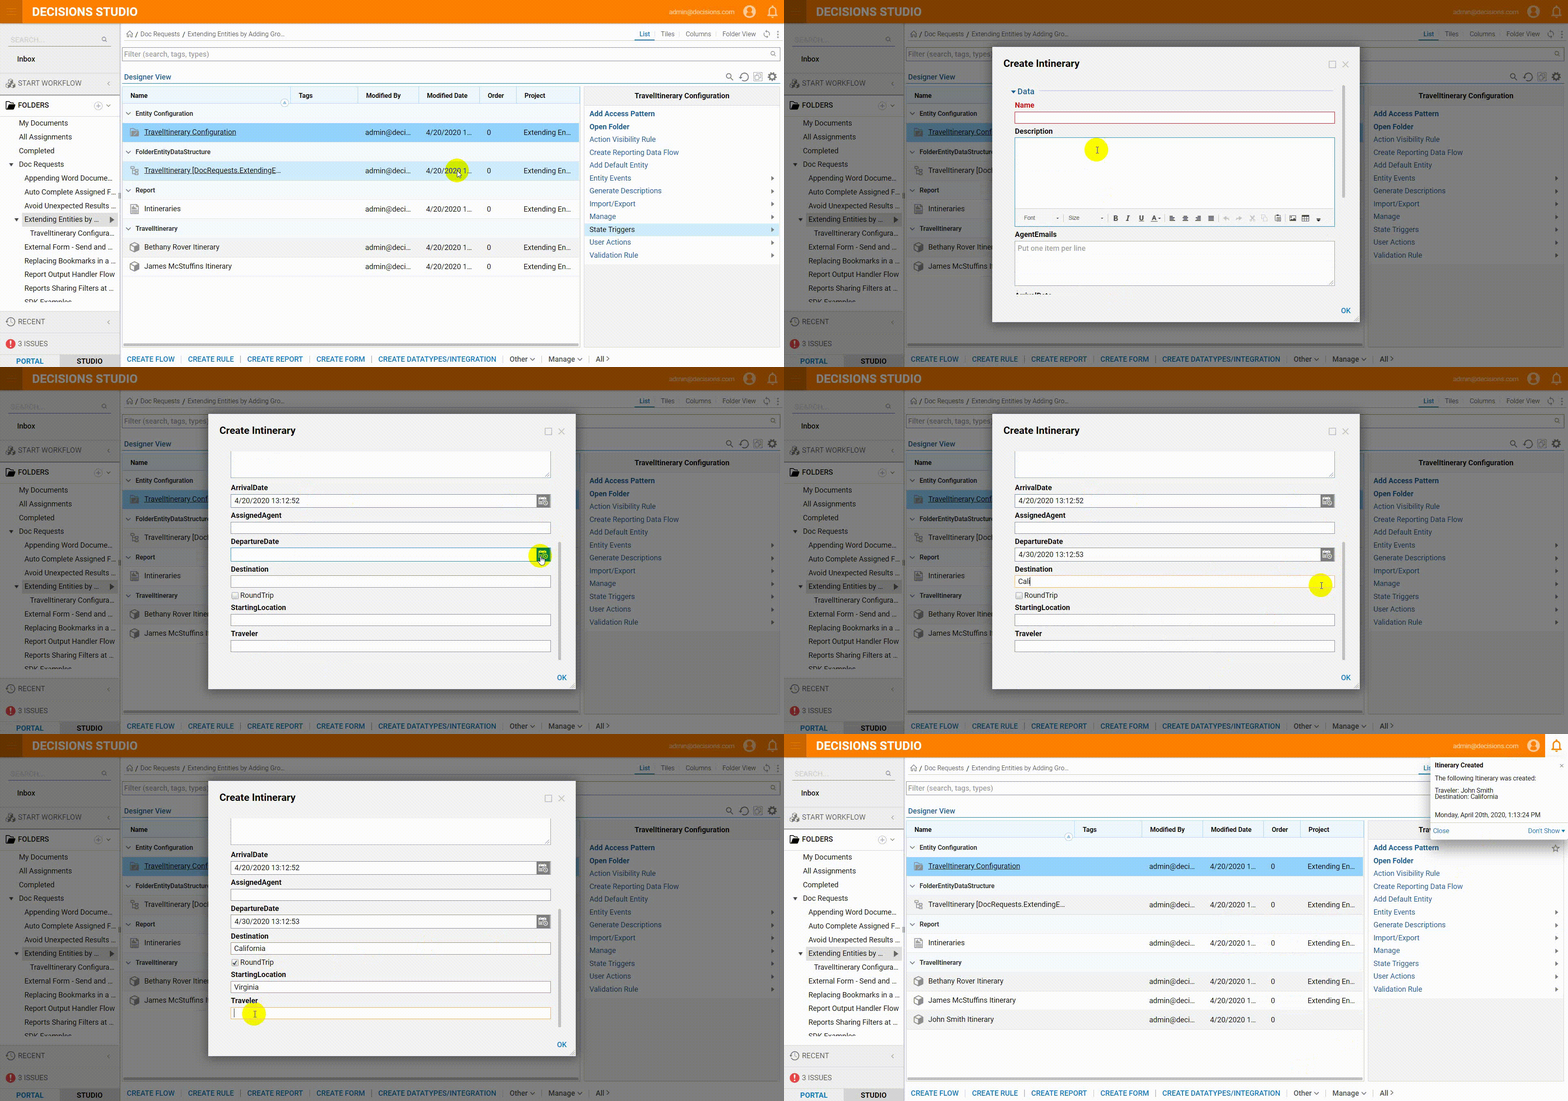
Now, when an Entity of type TravelItinerary is saved, a notification will appear.
