Overview
This tutorial demonstrates how to use the Document Viewer step in Decisions. This component was introduced in Decisions 4.0 and has since served to display documents. The Document Viewer step will display a document on a form.
.html
.css
.png
.jpg
Excel
Powerpoint
.exe
.json
.xml
.csv
.xps
.ods
Example
In this example, we are going to build a Flow with a Form. Then, we are going to display a PDF document on the Form. The PDF file that we want to display should be a Document Entity in the Decisions Portal and will be mapped using the Document ID. To learn how to add documents to the Portal navigate here.
- Begin in the Designer Project Folder then select Create Flow in the Folder Actions Panel.
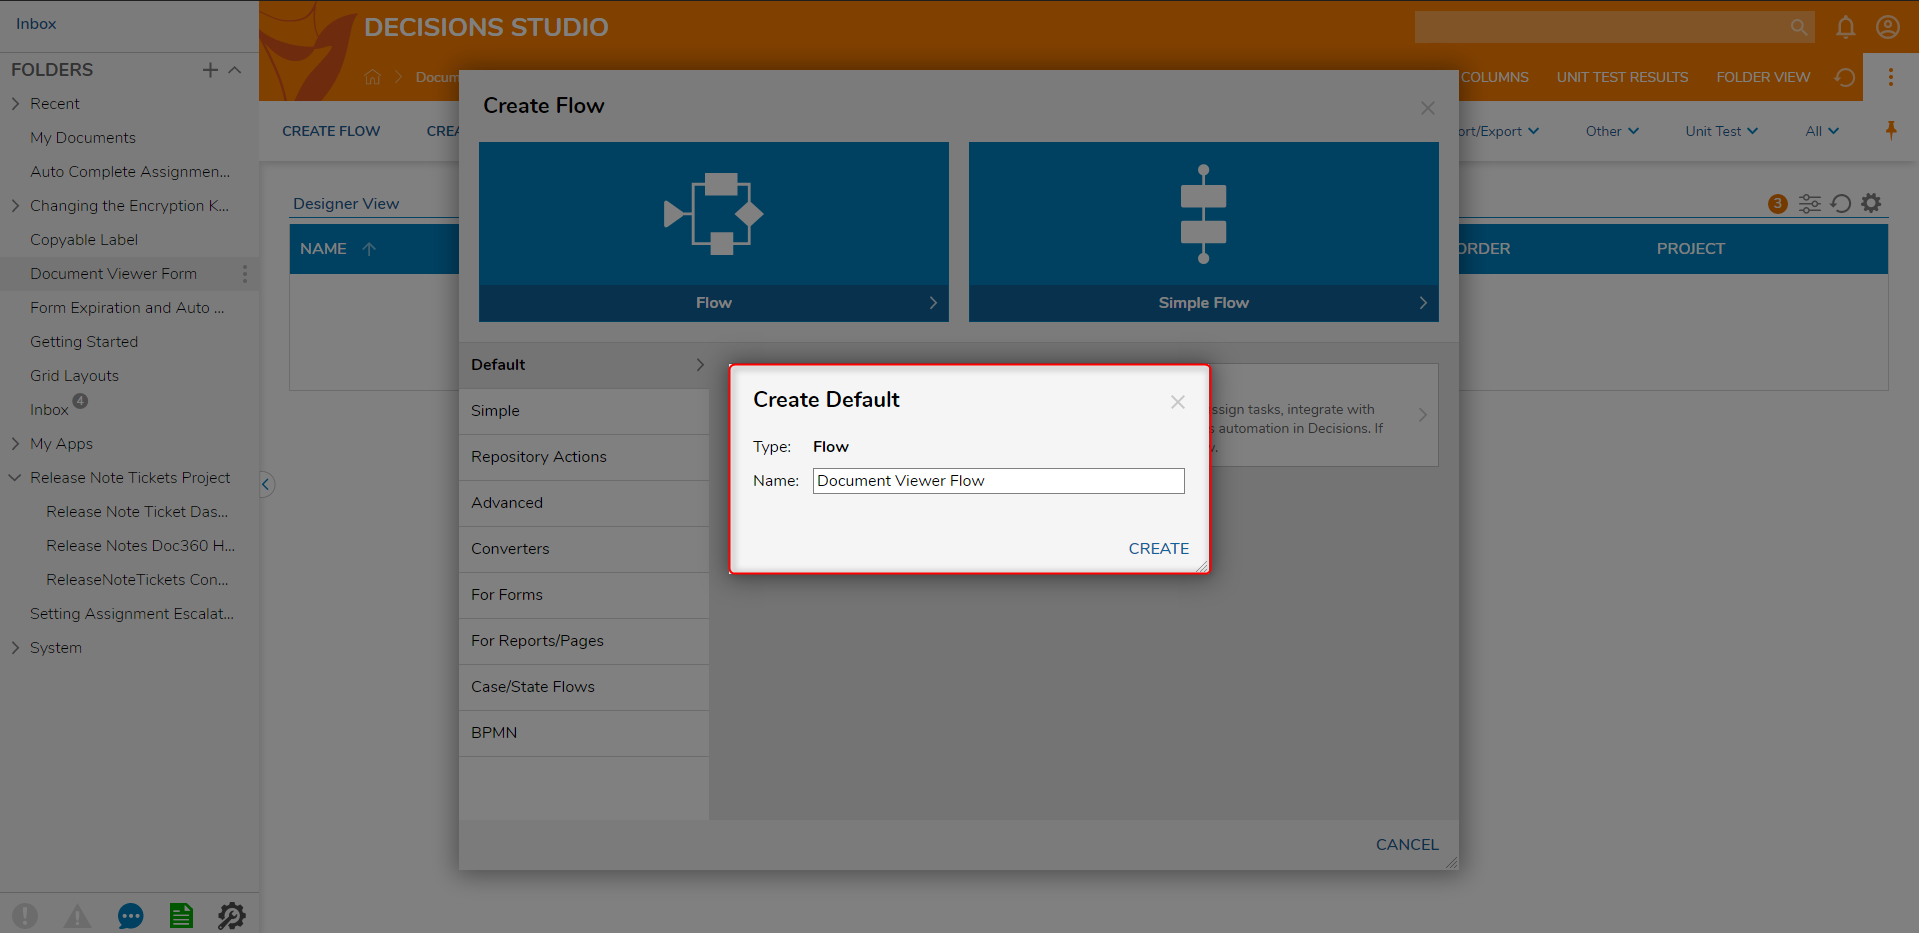
- Then, name the Flow and select Create to proceed to the Flow Designer.
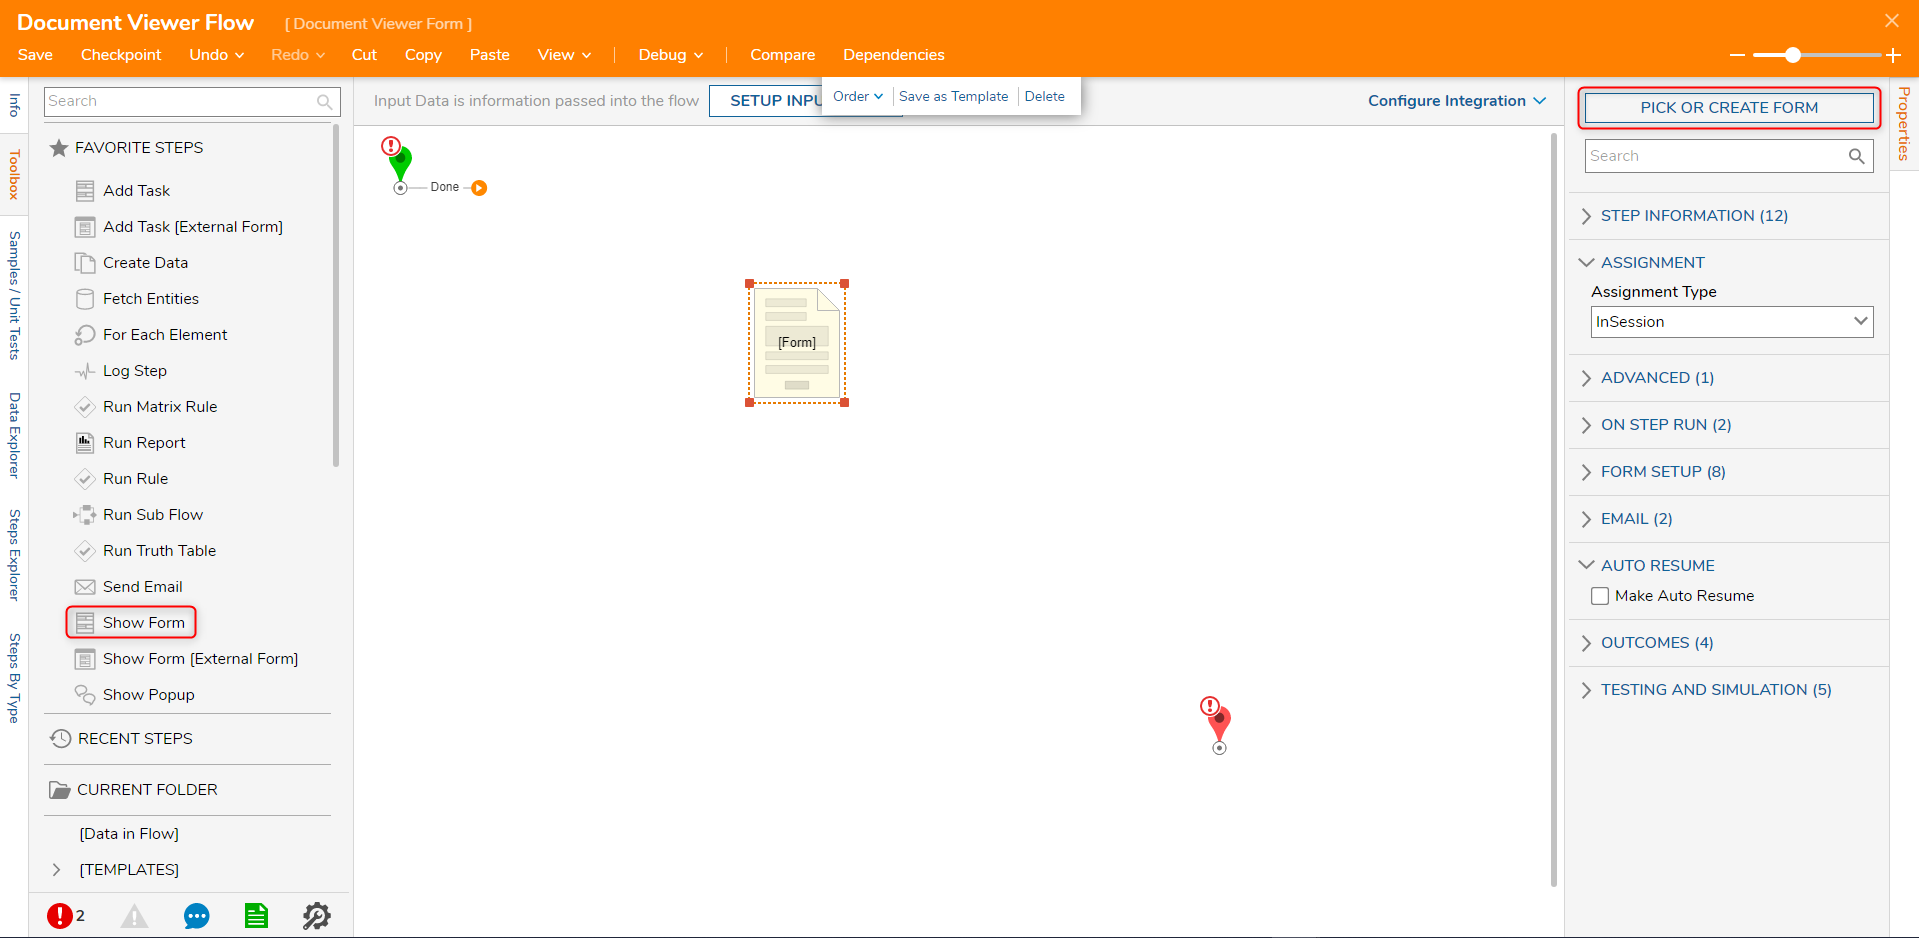
- In the Flow Designer add Show Formstep from the Favorite Steps Category.
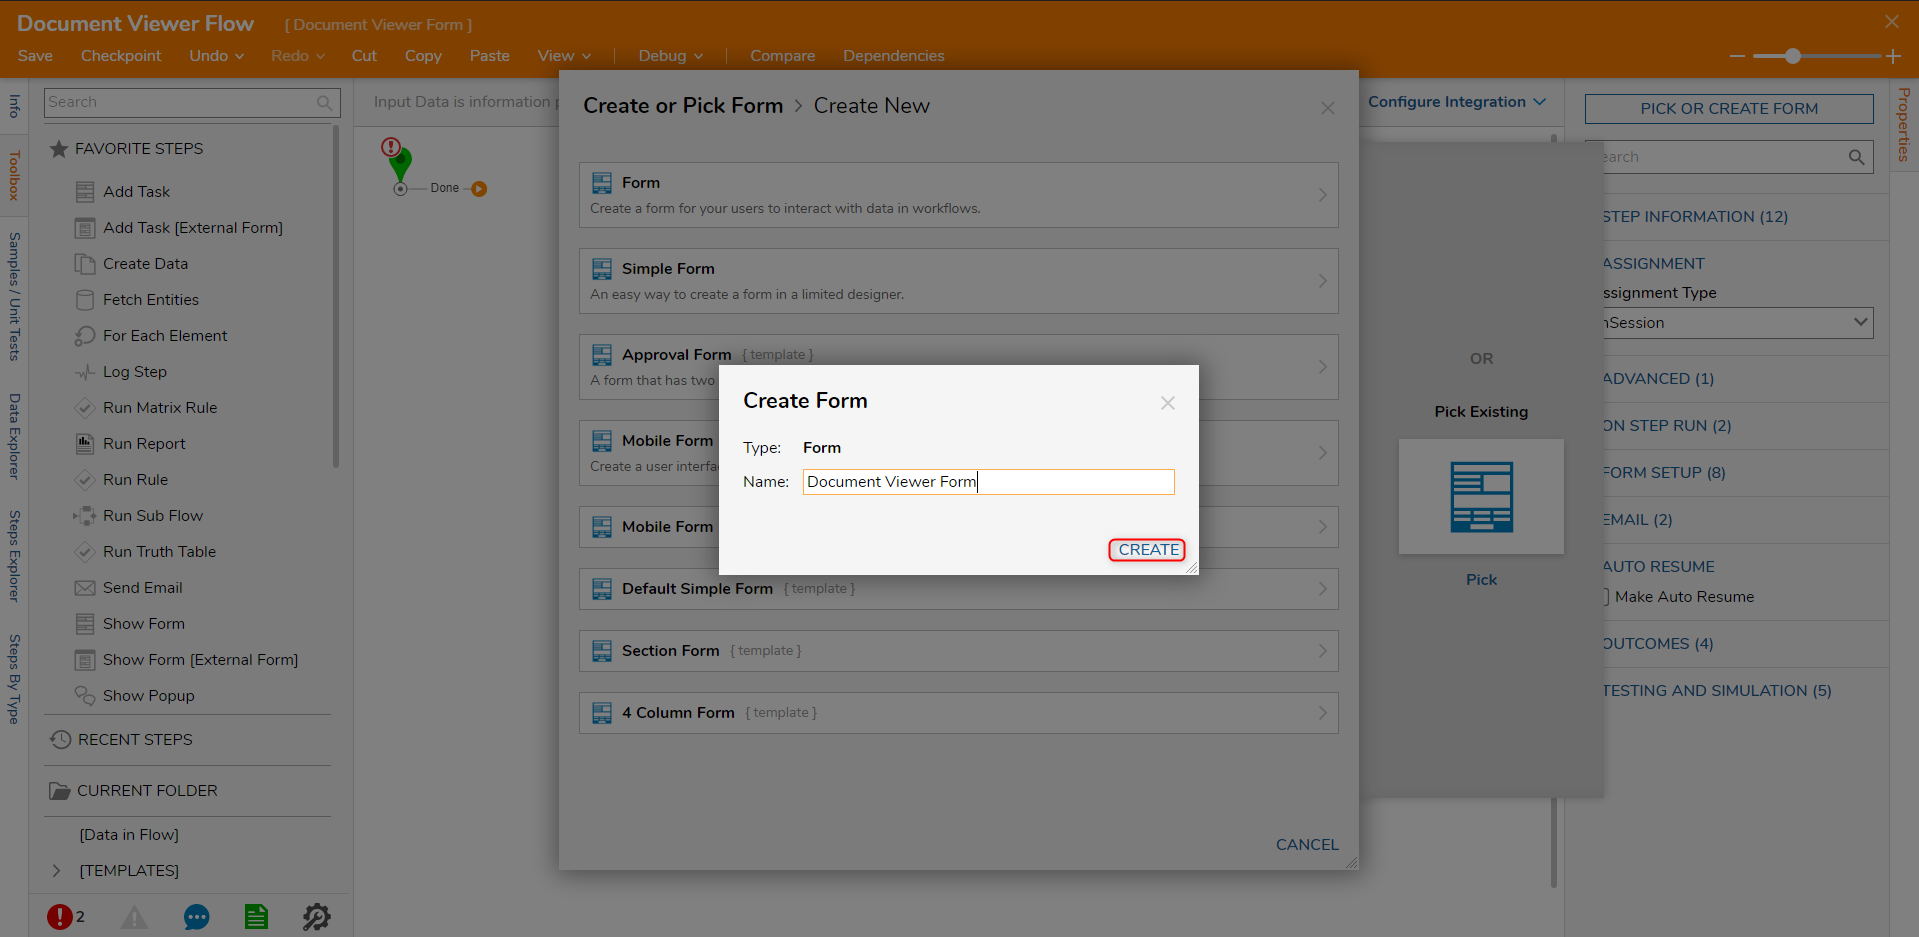
In the resulting dialog name the Form and select Create to proceed to the Form Designer.
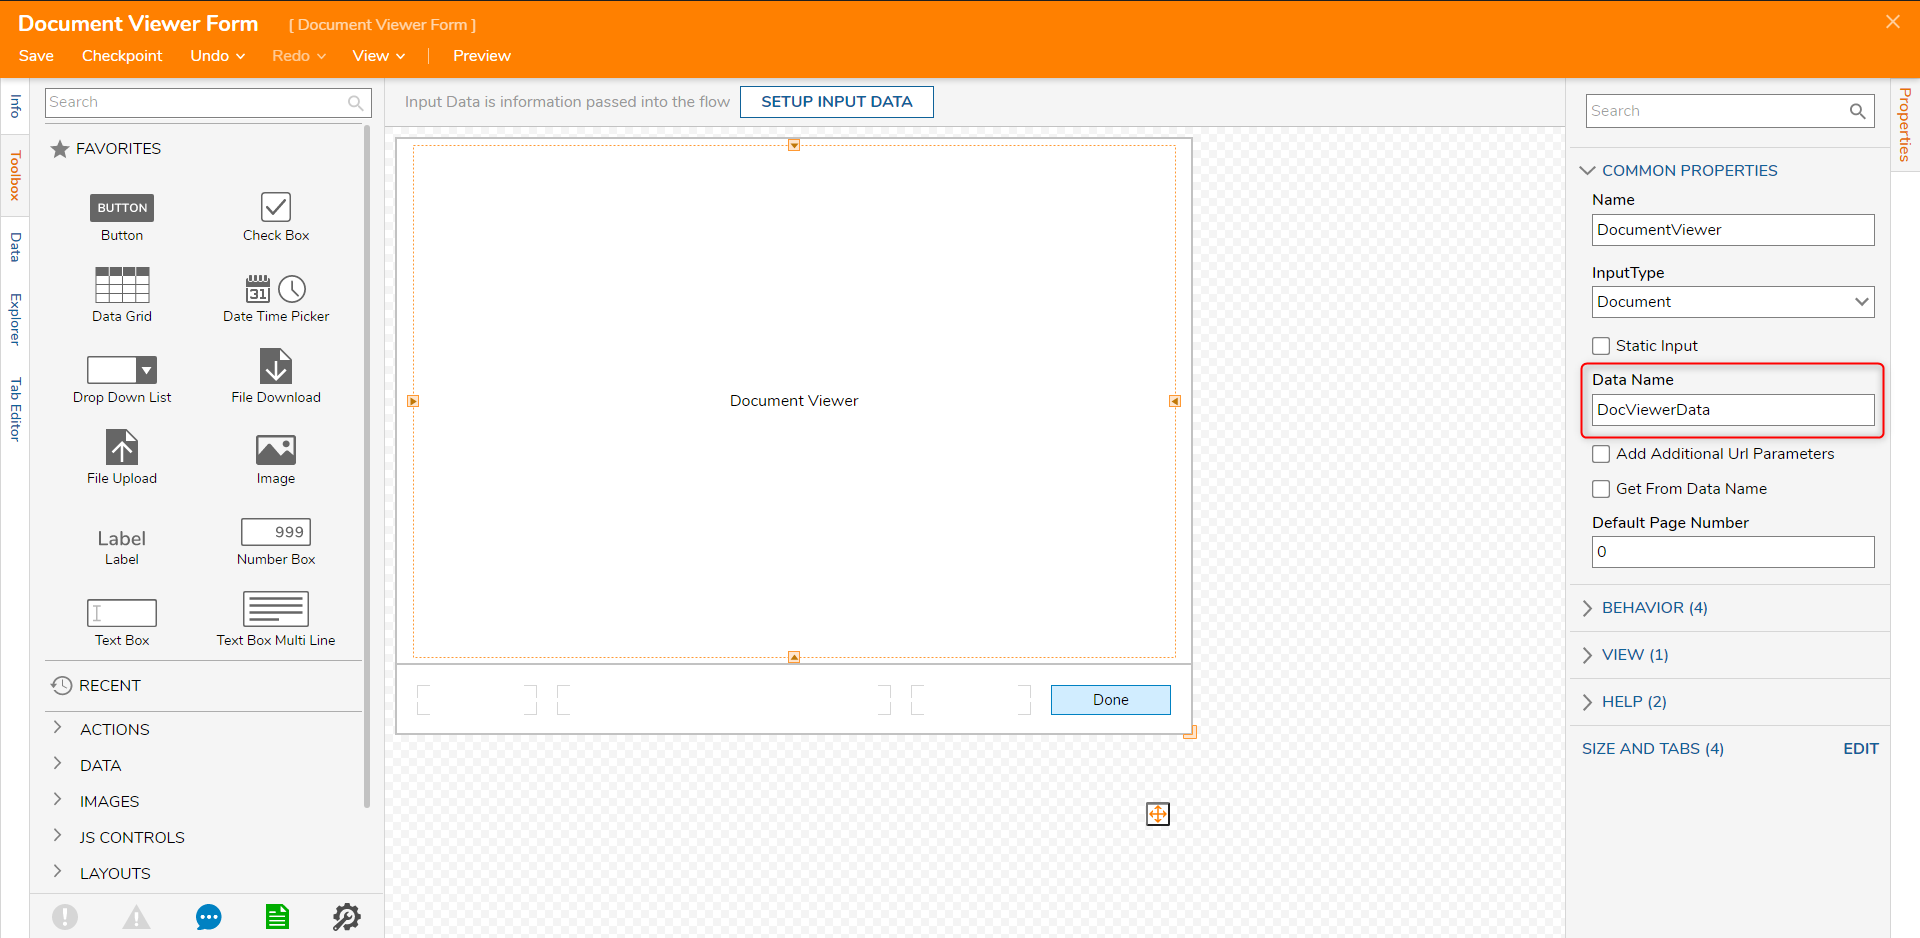
In the Form Designer, add Button for end-users to be able to submit the Form. Then from the Data category add Document Viewer component.
Resize the Document Viewer component to fit our needs. The Document Viewer component can display static document if we check the Static Input check-box and provide static FileData or define Data Name and push FileData from the Flow.
This completes the Form. Save the Form and close Form Designer.
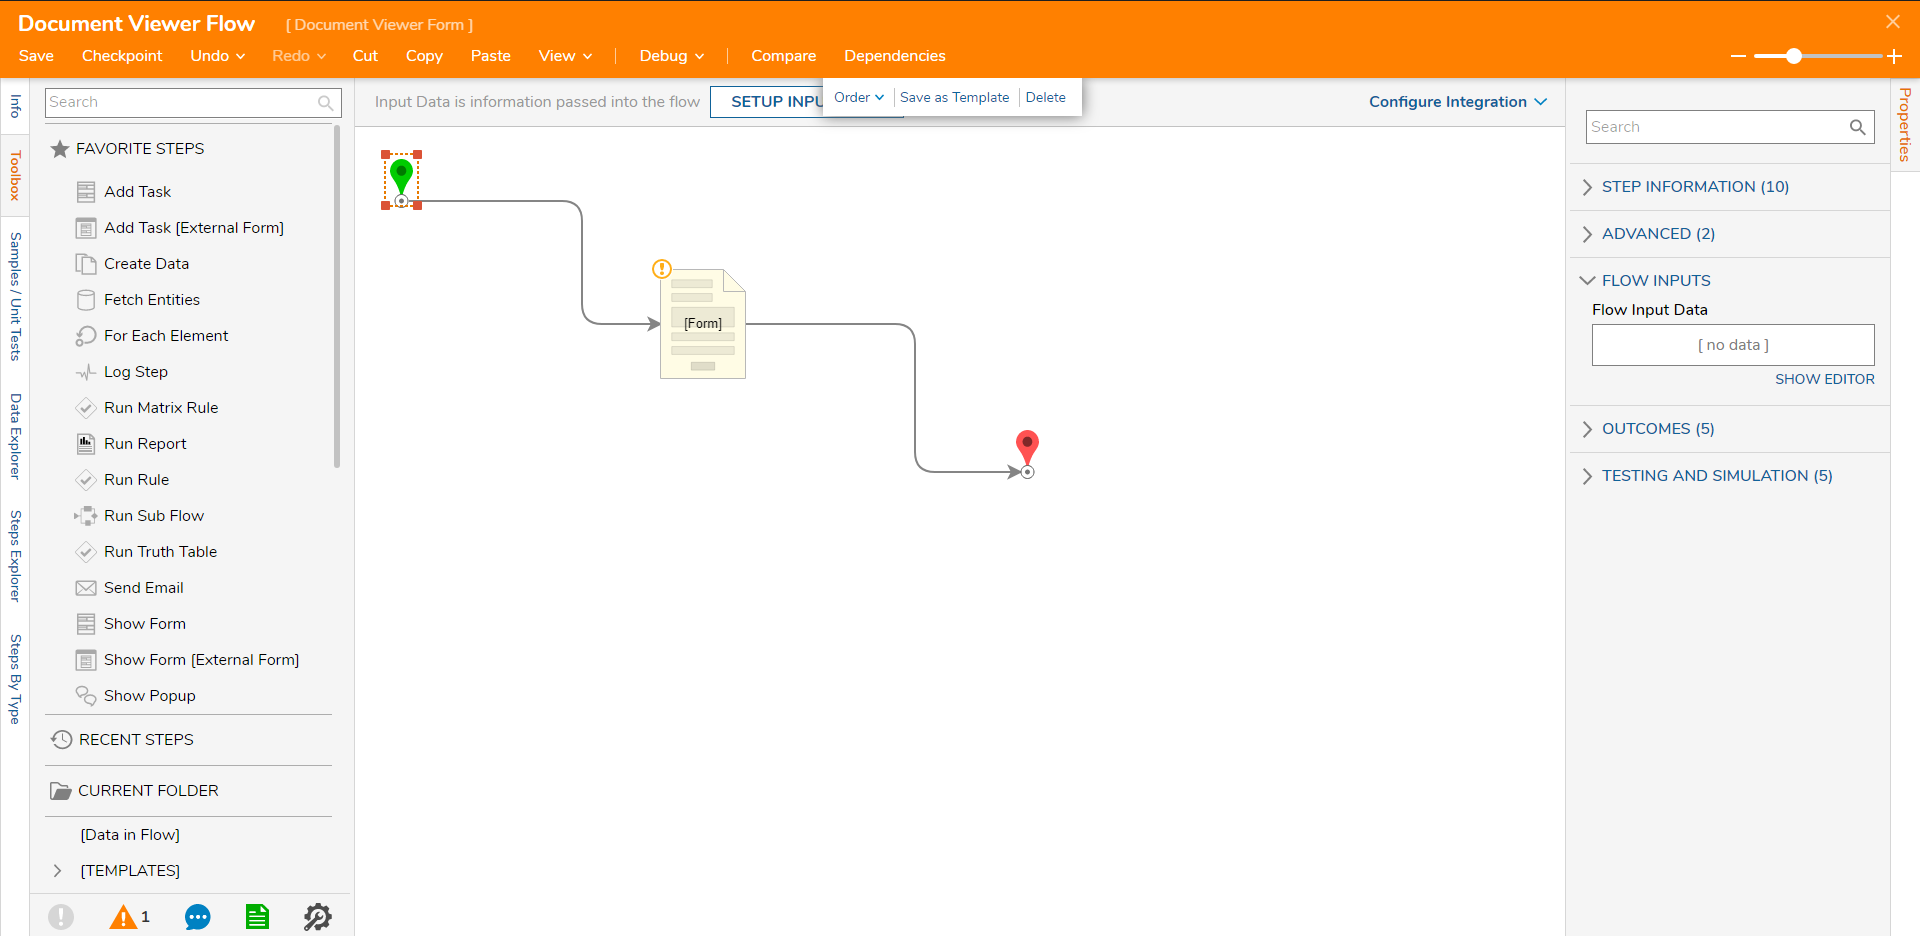
Configure the Flow Input Step to accept FileData.

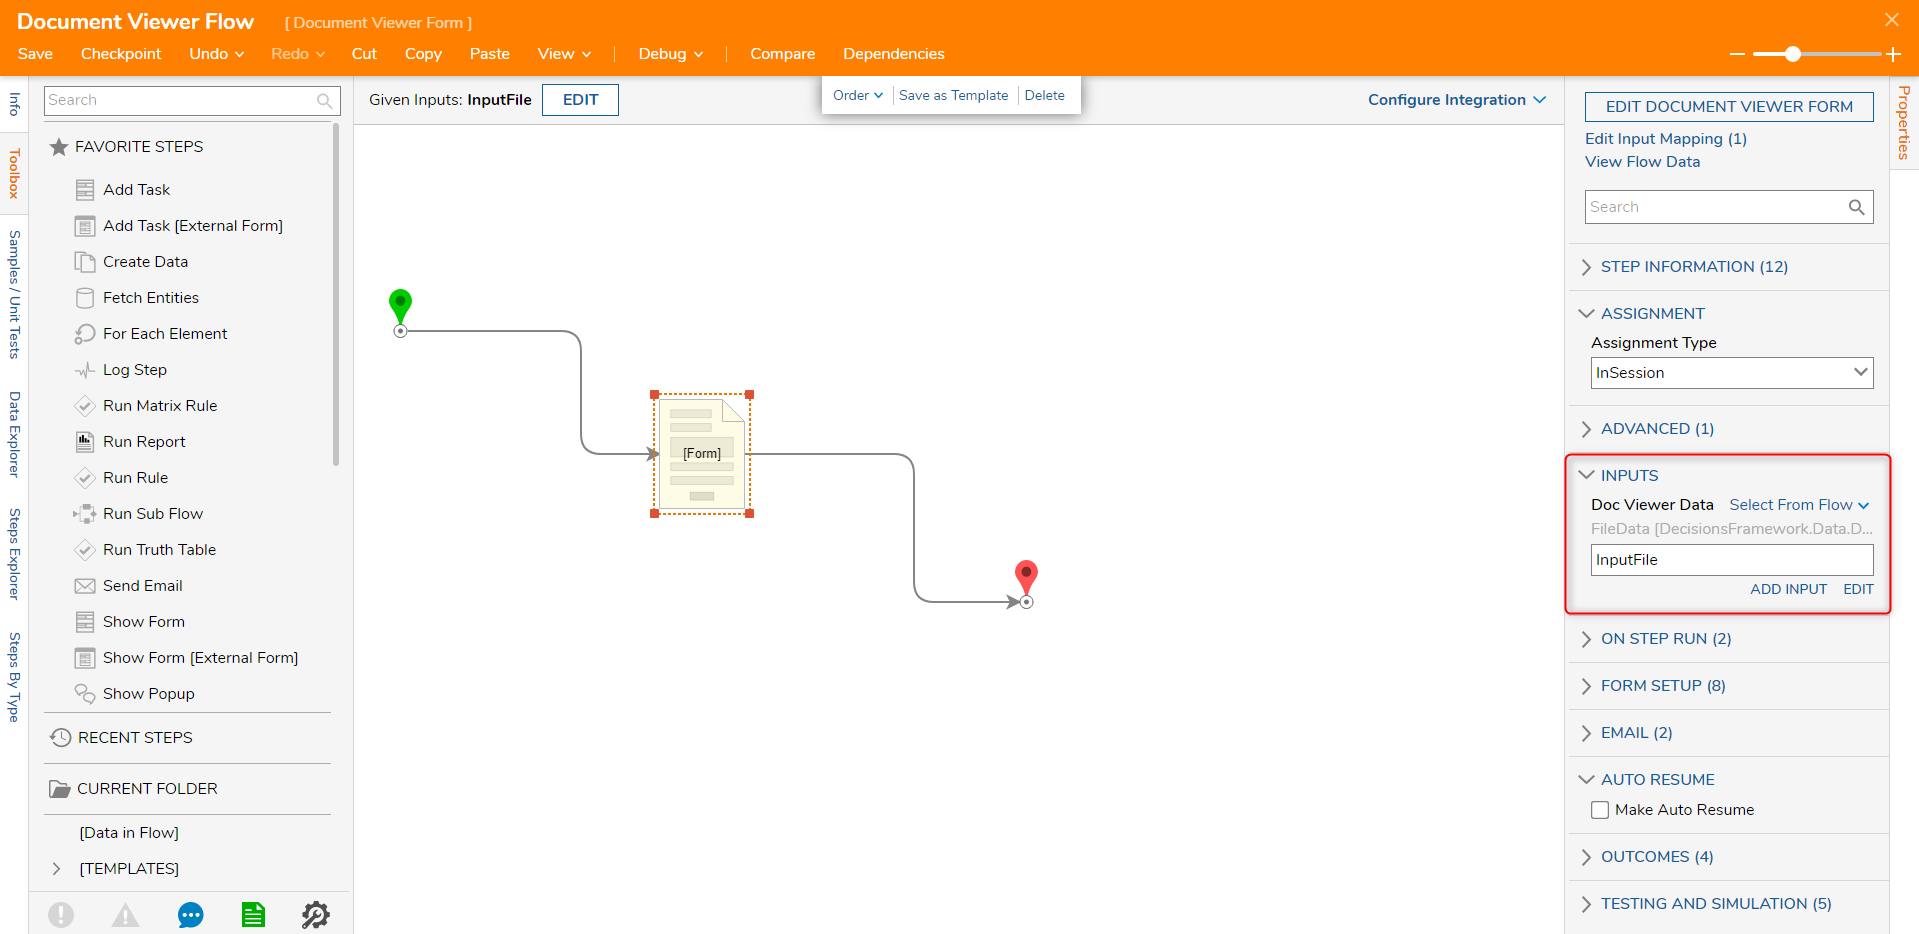
On the Input of the Form, map the FileData value from the start step to the Form.
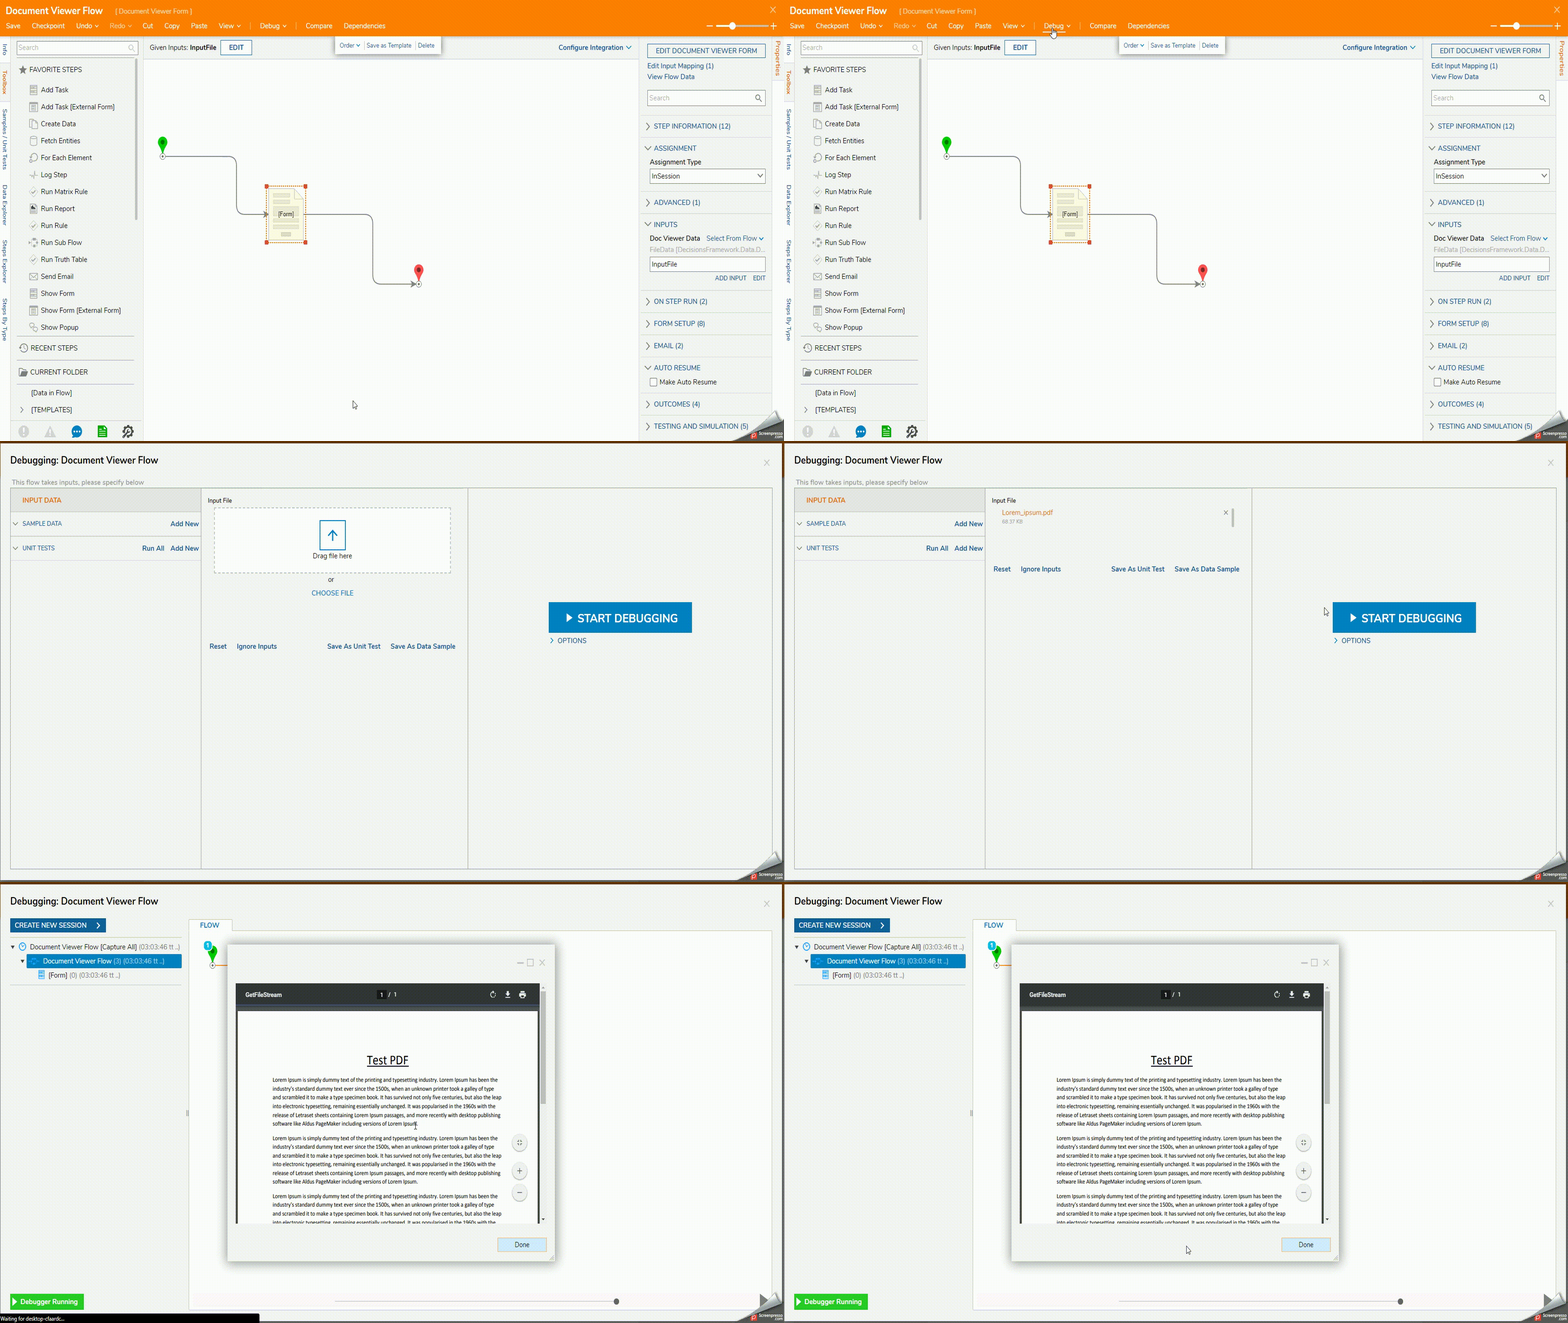
Then debug the Flow and drag in one of the supported files types into the Flow to see it displayed on the Document Viewer.
