Overview
This article demonstrates how to use the Custom Masked Textbox component on the Form. With this component, Designers may use regular expressions for user input validations.
In computing, regular expressions provide a concise and flexible means for identifying strings for particular characters, words, or patterns of characters. Regular expressions with plural forms such as regexes, regexps, or regexen are written in a formal language to be interpreted by a regular expression processor: a program that either serves as a parser generator or text examiner to identify language that matches the provided specification.
Example
In this example, the user will create a Form with Custom Masked Textbox components. These components will require users to input valid values into Textboxes.
- Start in Designer Folder, select Create Flow on the Folder Actions Panel.
- Then, name the Flow and select CREATE to proceed to the Flow Designer.
- In the Flow Designer, add a Show Form step from the Favorite Steps category.
- Next, name the Form and select CREATE to proceed to the Form Designer.
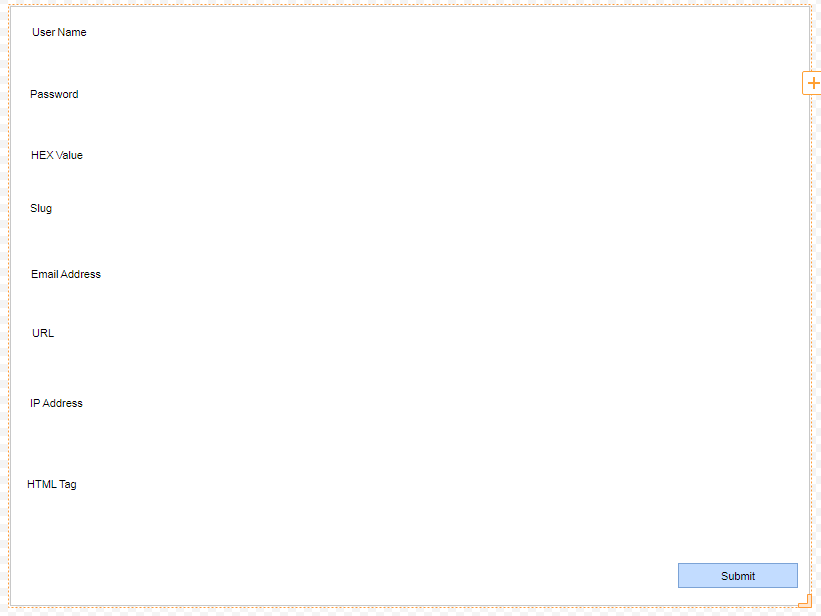
- Add Labels [User Name, Password, HEX Value, Slug, Email Address, URL, IP Address, and HTML Tag] and a Button [Submit] component from the Form Controls section to the Form.
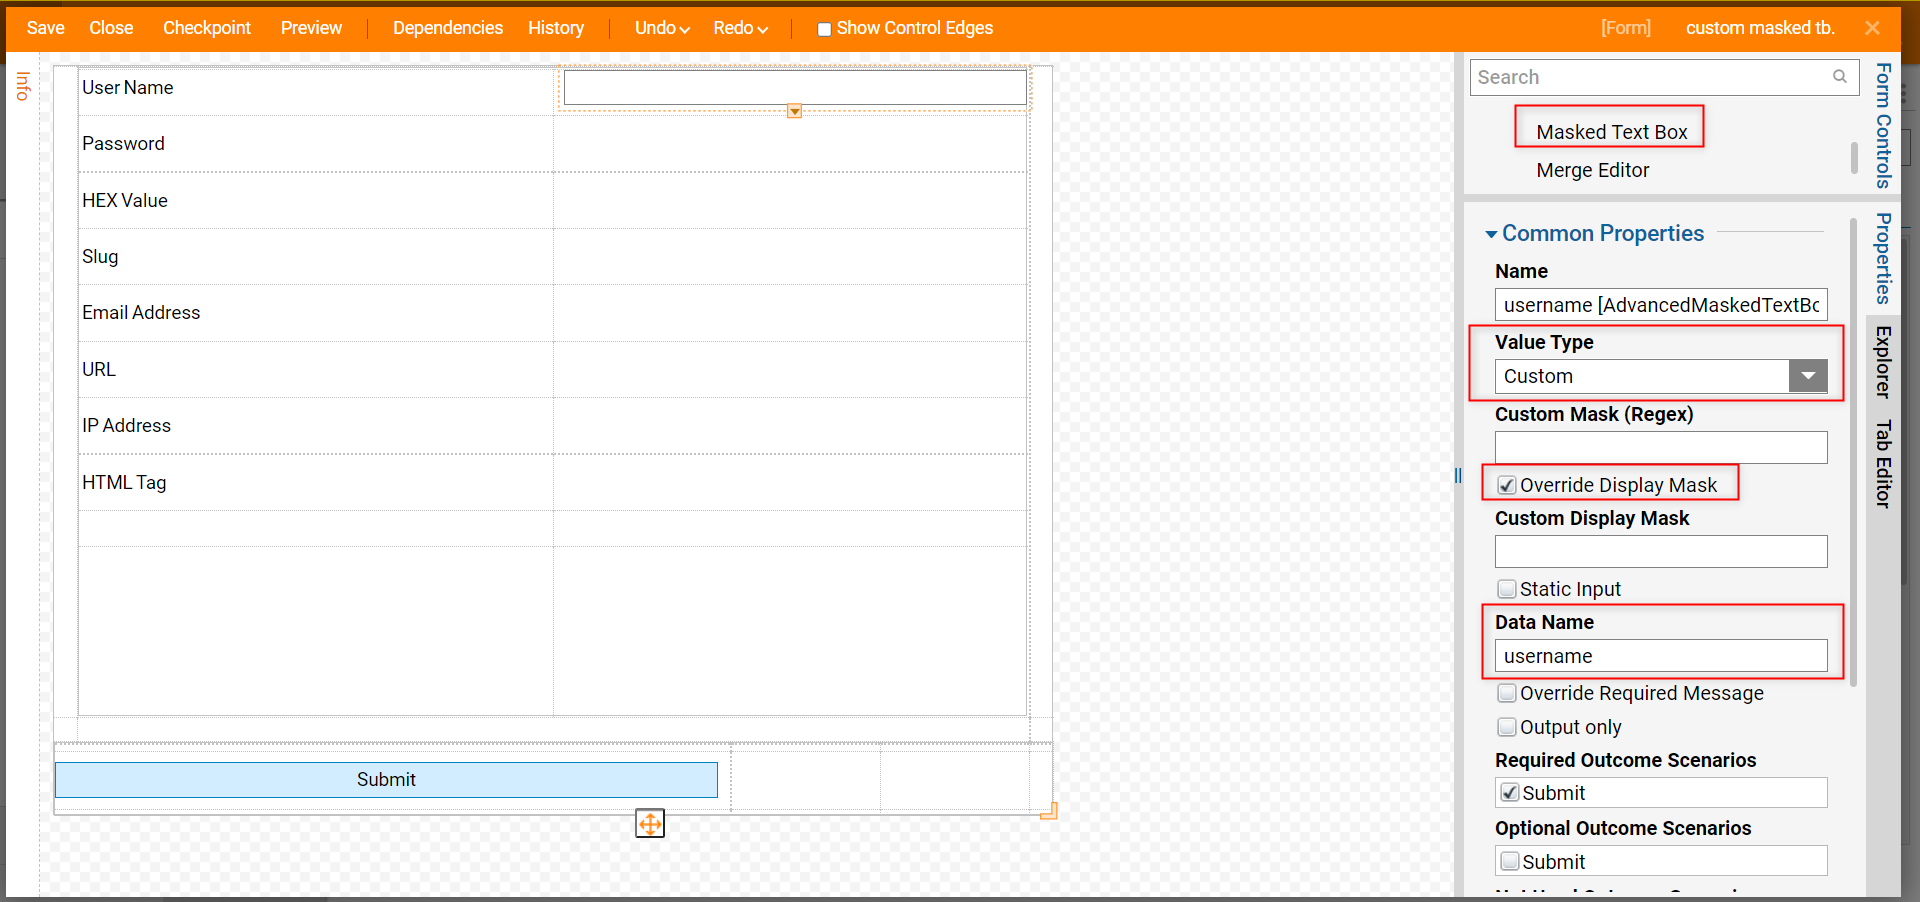
- Add a Masked Textbox component from the Form Controls > Data category under each Label. All subsequent Masked Textboxes will be configured similarly.
- Configure Common Properties > Value Type as Custom.
- Define Common Properties >Data Name.
- Set Common Properties > Required Outcome Scenarios Boolean to True. The Override Display Mask boolean allows the designer to specify a custom mask format that must be used inside the text field. For example, if a designer wanted the end-user to enter a telephone number and enabled this checkbox, instead of seeing the displayed text on a Form as __________ or '1234567890', the designer could specify the mask to give the regex a set format, e.g. (___) ___-____ or (123) 456-7890. It is an optional configuration.
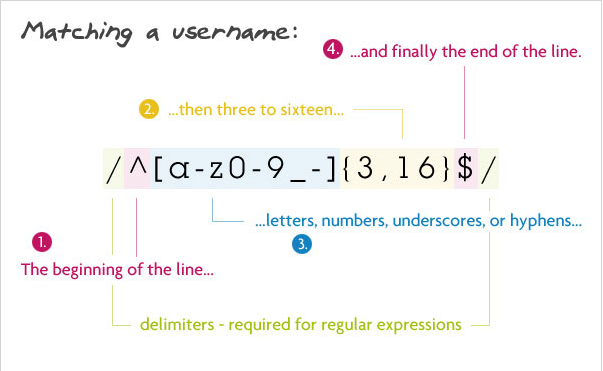
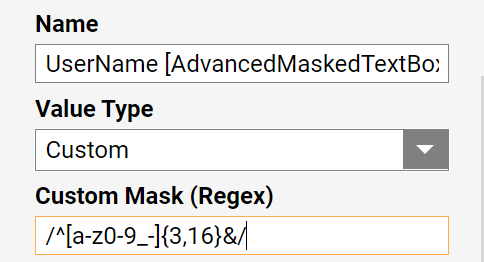
- Under Common Properties > Custom Mask (Regex) for the Label [Username] define with the following regular expression: ^[a-z0-9_-]{3,16}$
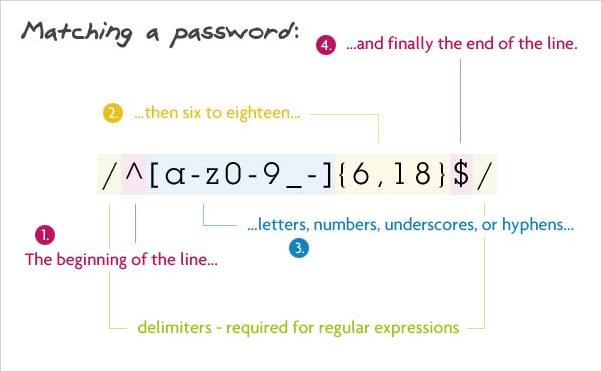
- Next, in the Properties Panel of the Masked Text Box under the Label [Password], define Common Properties > Custom Mask (Regex) with the following regular expression: ^[a-z0-9_-]{6,18}$
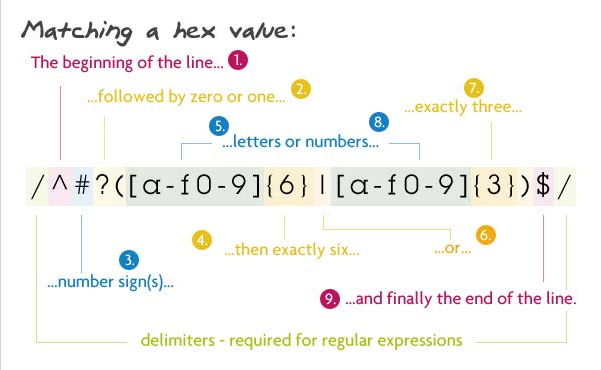
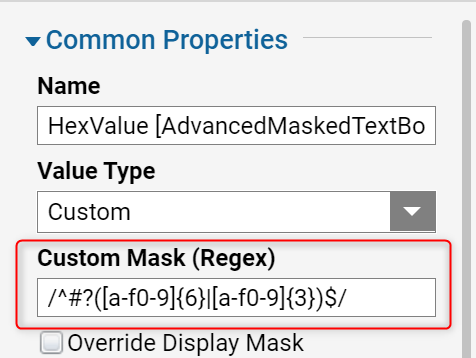
In the Properties panel of the Masked Text Box under Label [HEX Value], configure Common Properties > Custom Mask with the following regular expression: ^#?([a-f0-9]{6}|[a-f0-9]{3})$
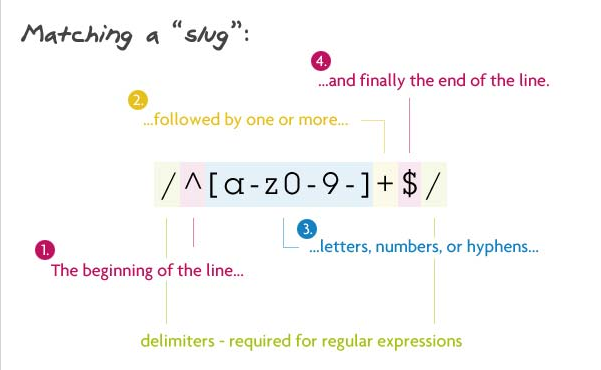
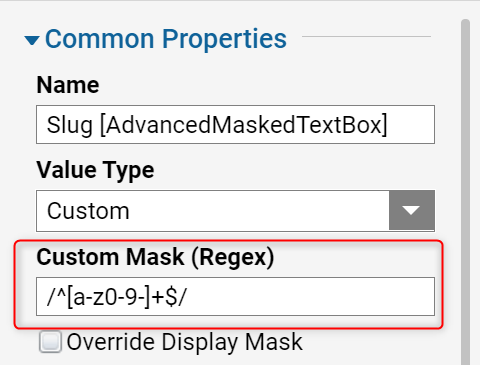
- In the Properties panel for the Masked Text Box for the Label [Slug], configure Common Properties > Custom Mask (Regex) with the following regular expression: /^[a-z0-9-]+$/
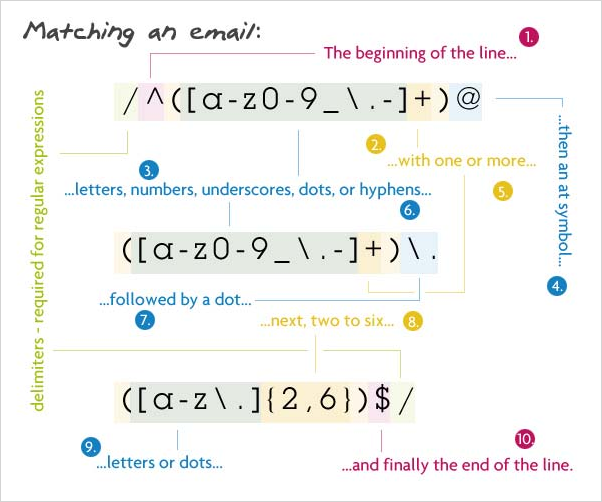
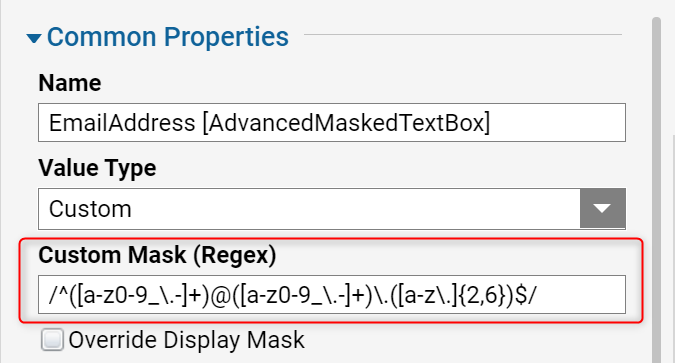
Next, configure the Masked Text Box component for Label [Email Address] in the Properties panel under Common Properties > Custom Mask (Regex) with the following regular expression: ^([a-z0-9_\.-]+)@([a-z0-9_\.-]+)\.([a-z\.]{2,6})$
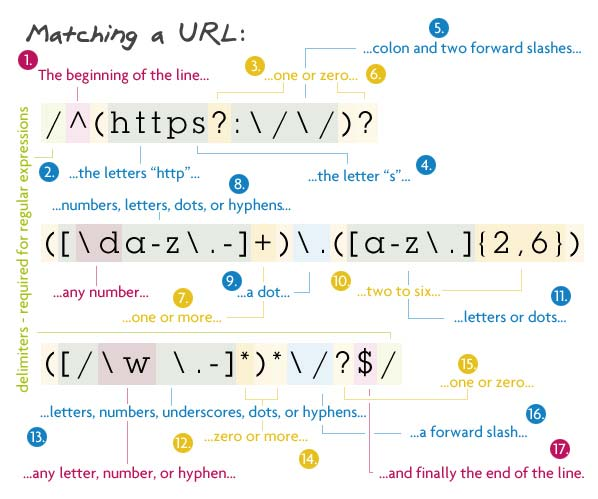
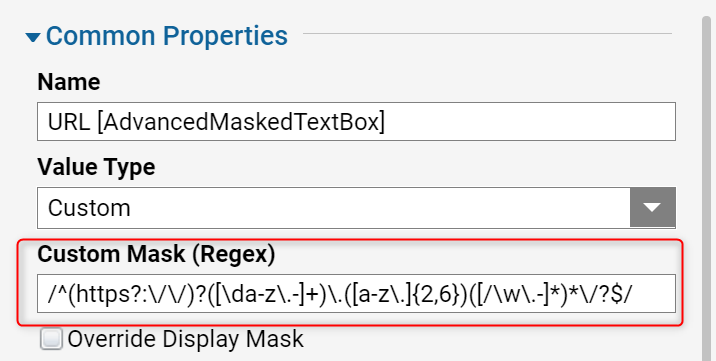
- Then, in the Properties panel for the Label [URL], configure Common Properties > Custom Mask (Regex) with the following regular expression: ^(https?:\/\/)?([\da-z\.-]+)\.([a-z\.]{2,6})([/\w\.]*)*\/?$
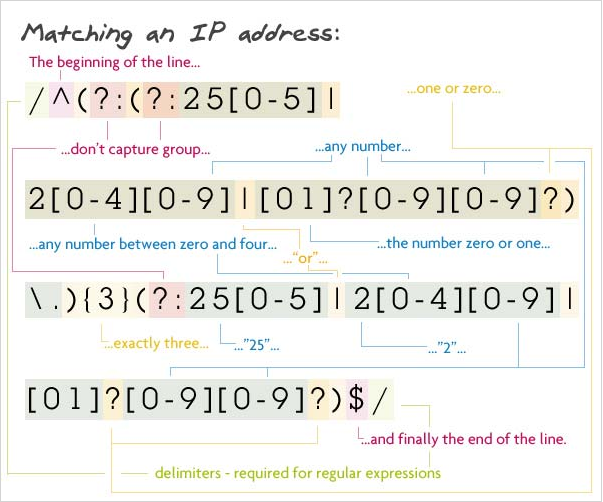
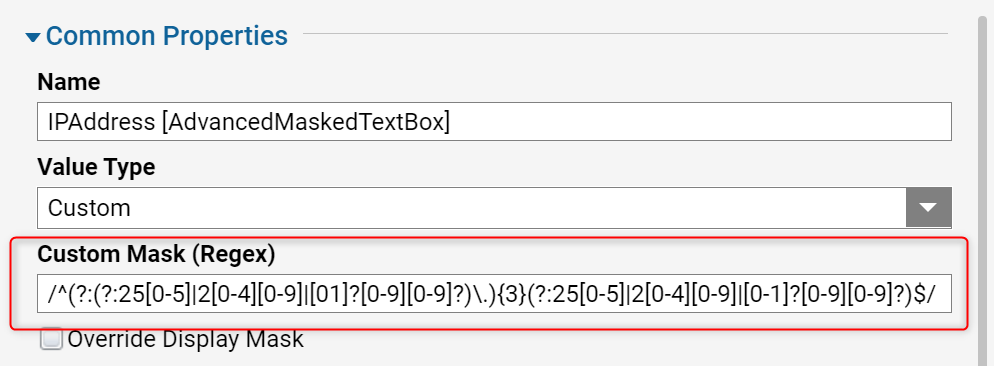
For the Label [IP Address], configure its Masked Text Box Common Properties > Custom Mask (Regex) using the following pattern: ^(?:(?:25[0-5]|2[0-4][0-9]|[01]?[0-9][0-9]?)\.){3}(?:25[0-5]|2[0-4][0-9])|([01]?[0-9][0-9]?)
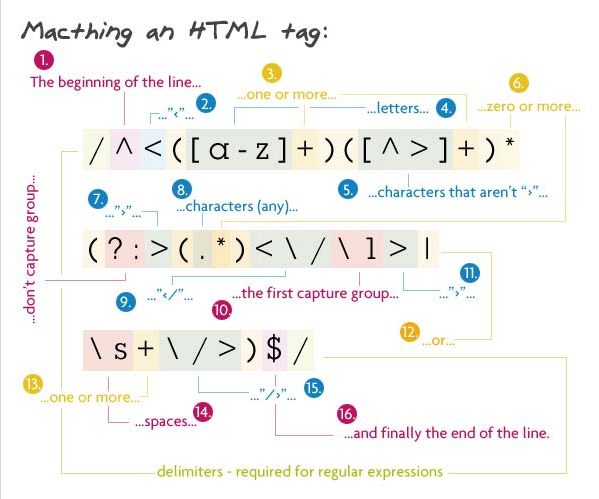
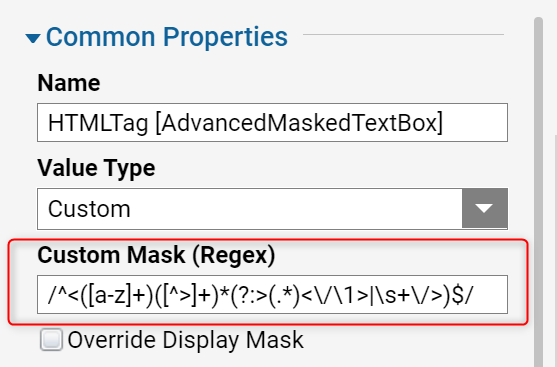
For the Masked Text Box under Label [HTML Tag], configure Common Properties > Custom Mask (Regex) with the following pattern: ^<([a-z]+)([^>]+)*(?:>(.*)<\/\1>|\s+\/>)$
The Form is complete. Save the Form and close Form Designer.
In the Flow Designer, connect the outcome from the Form to the End step.
Set all Inputs to an Ignore mapping.
Debug
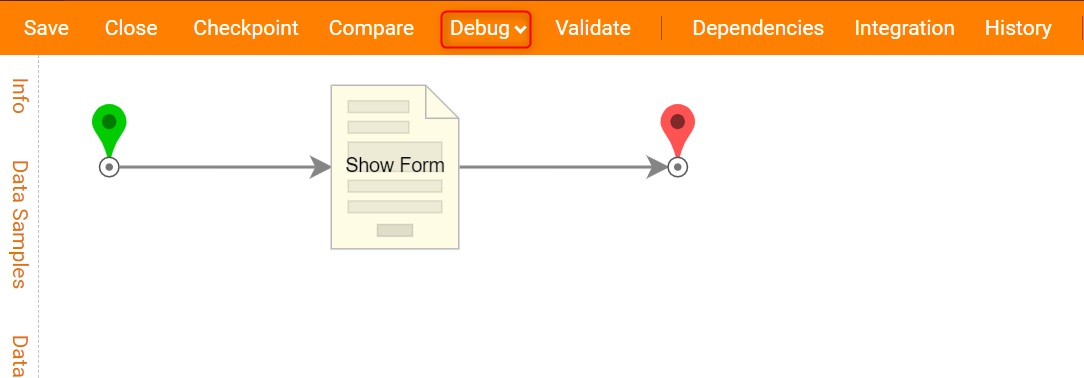
Then, select Debug on the top panel of the Flow Designer to test the Flow.
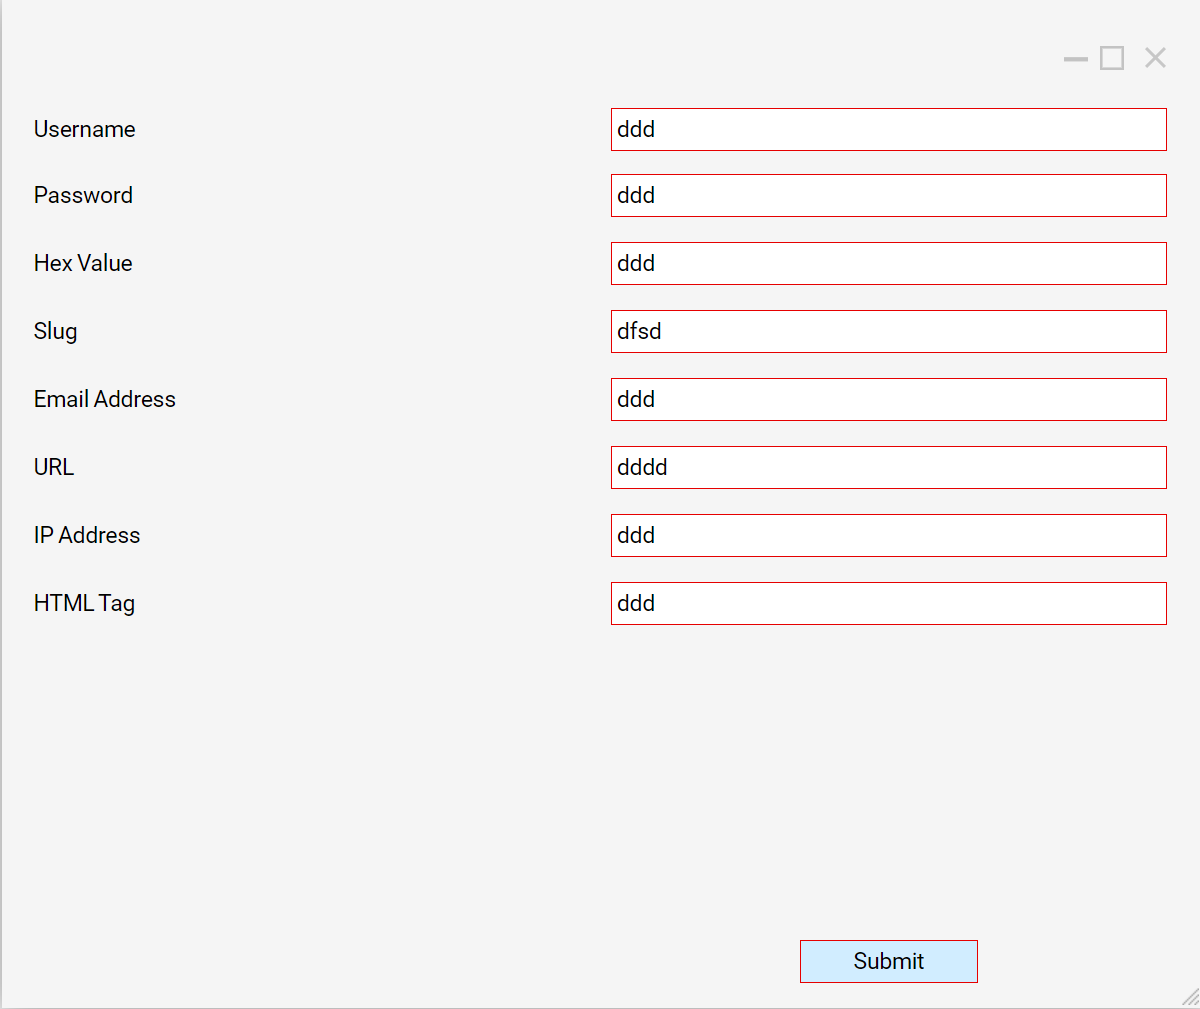
The Form opens in the Debugger. Fill in the Textboxes with invalid Values and see the Form Validation issues.
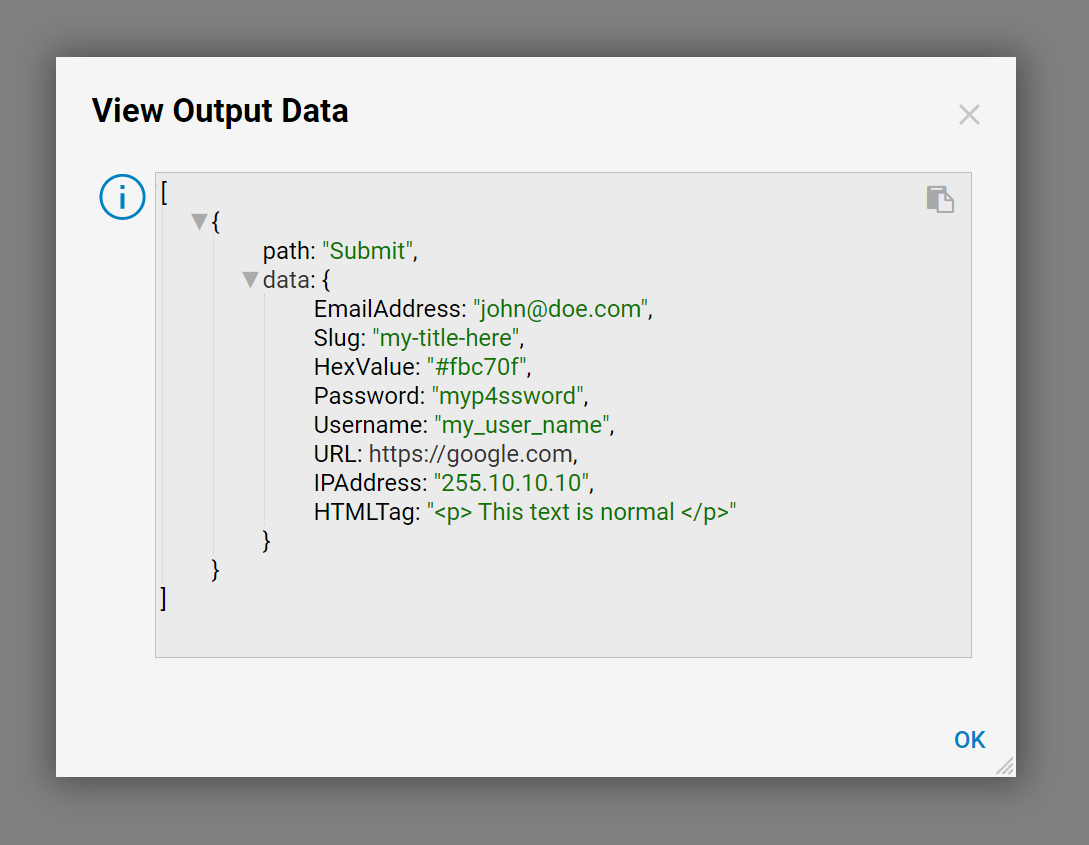
Then, change the inputs and select Submit.
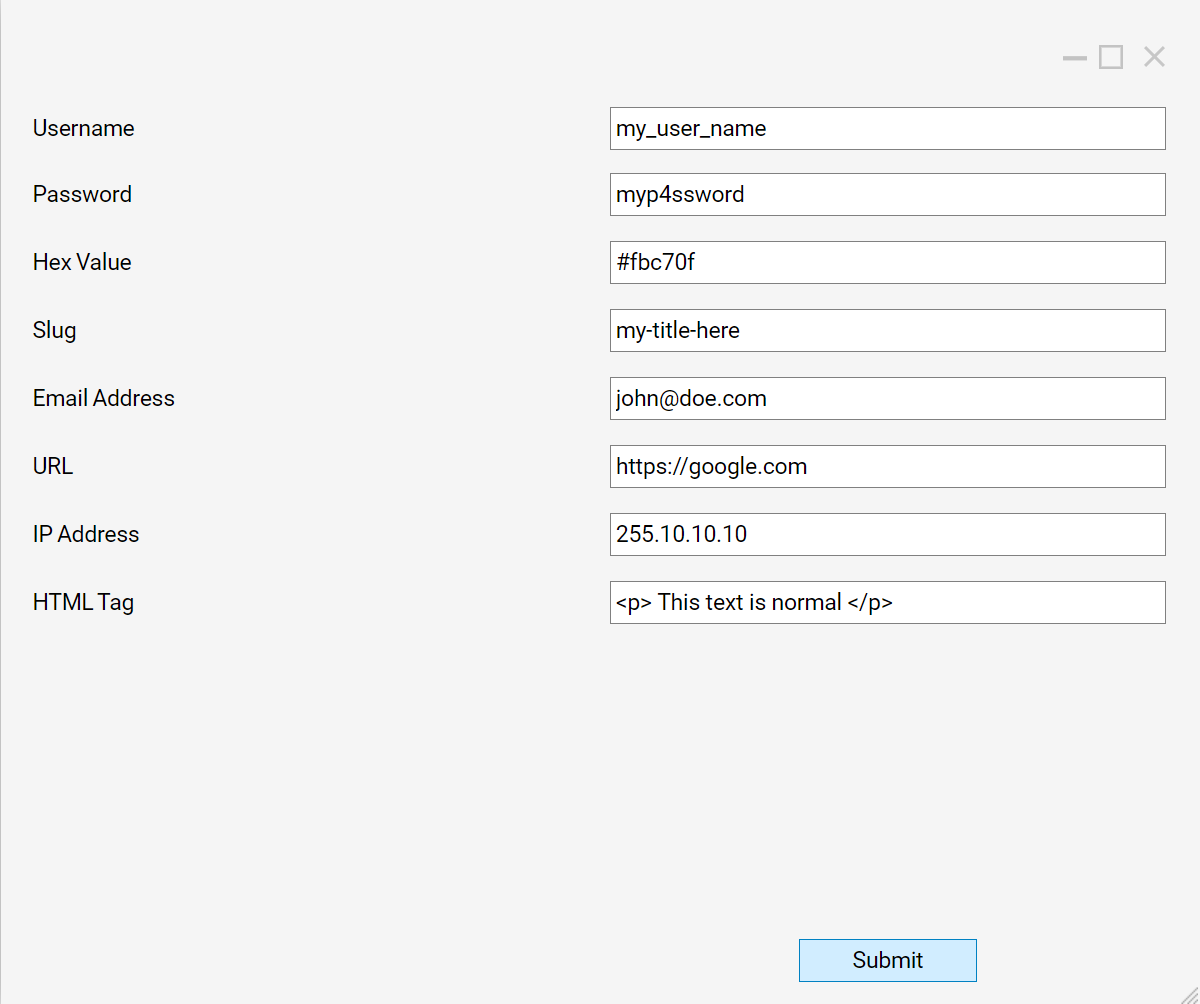
The Flow runs to the End step without any issues.
