Module Details | |
| Installation Location | Core Module |
| Requires Restart? | No |
| Step Location | Integration > Amazon AWS |
| Settings Location | System > Settings > Azure Settings |
| Prerequisites |
|
Overview
Azure Services aka the Azure Service Bus is a messaging system module that allows Decisions to integrate application-to-application communication.
Azure Services Queue settings are available and can be configured after the installation.
Example
This example will demonstrate how to configure the Azure Services Module.
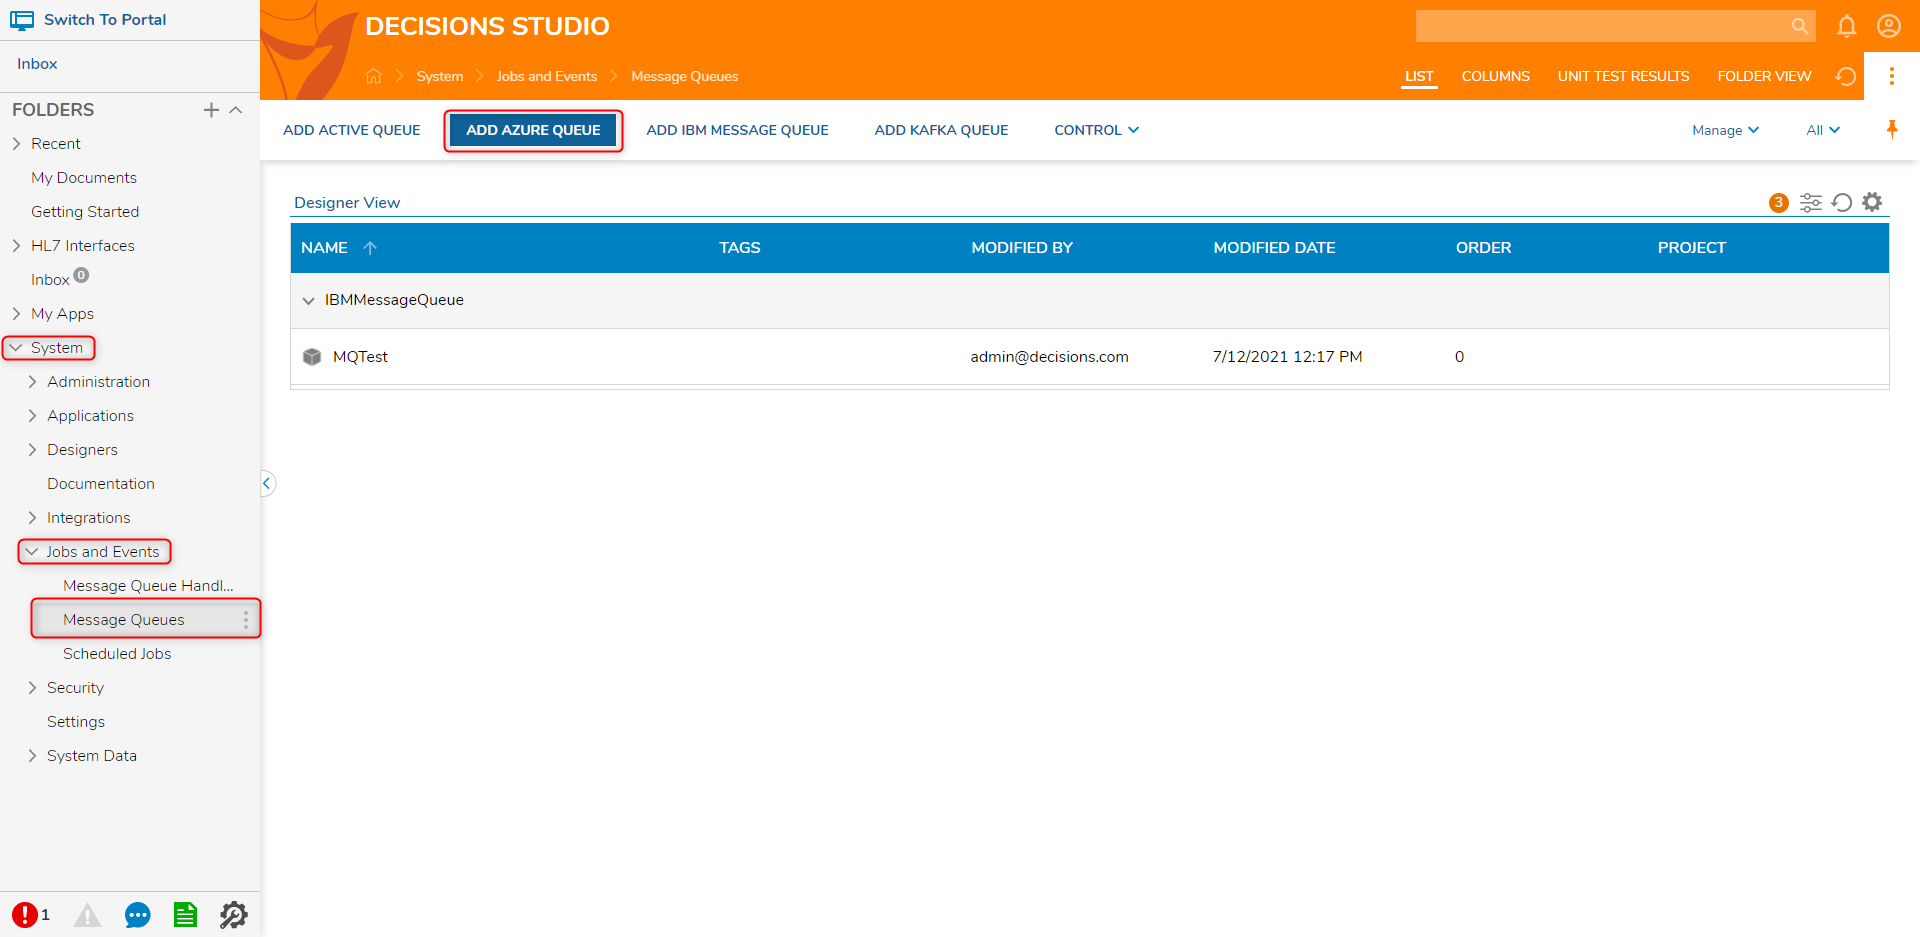
- Navigate to System > Jobs and Events > Message Queues. Click ADD AZURE QUEUE.
- On the Add Azure Queue window, configure the options with the correct information. When complete, click SAVE.
Configuration Options Function Display Name This is the name that will appear for this message queue in the Decisions environment. Messaging Type Sets the messaging type (Queue or Subscription to Topic) Queue Name This is the actual name of the queue as it is configured on the messaging server. Session ID The session ID of the user Custom Connection String This can be used to configure a string that tells Decisions where and how to connect to the Azure message bus server. The connection string can be obtained from the Azure configuration console 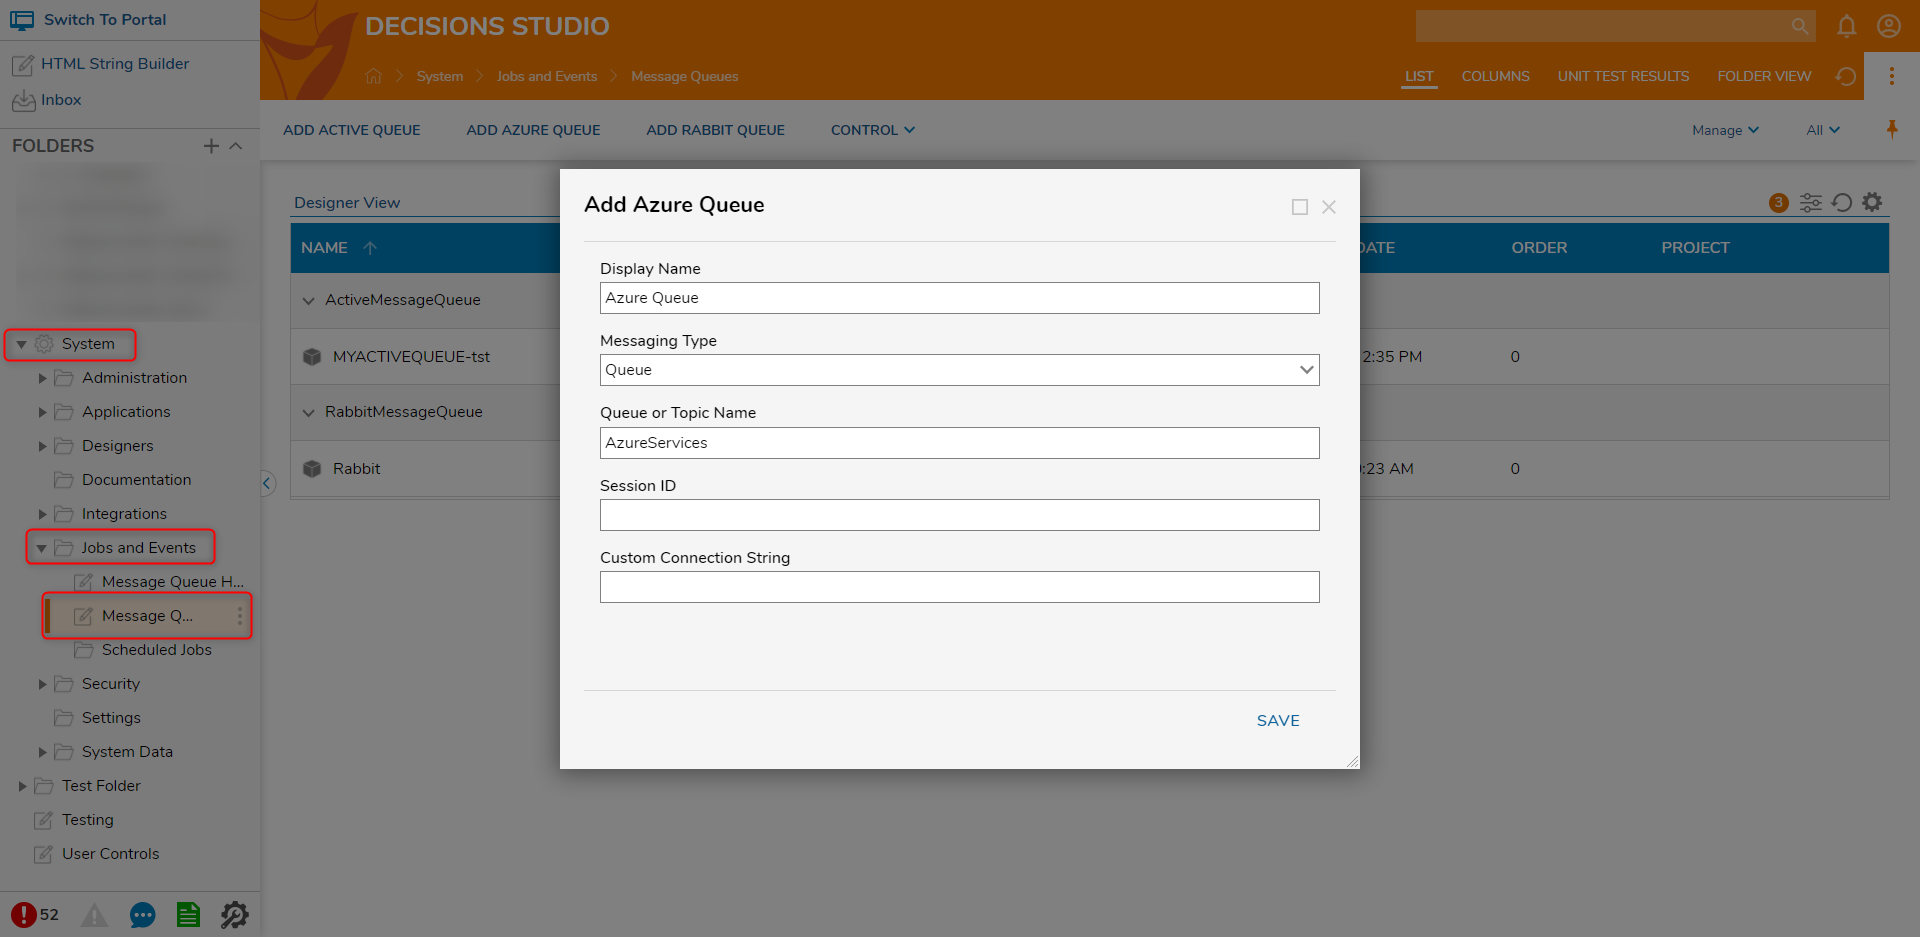
- To verify connectivity, right-click the Queue, select Control, and click Test Queue. When complete a popup will display the number of messages.
Control Options Function Resync Queue Recreates the message queues if necessary and re-synchronizes with the message server. Start Queue Starts processing messages on the message queues (if stopped). Stop Queue Stops processing messages on the message queues and the message server will hold any unprocessed messages. 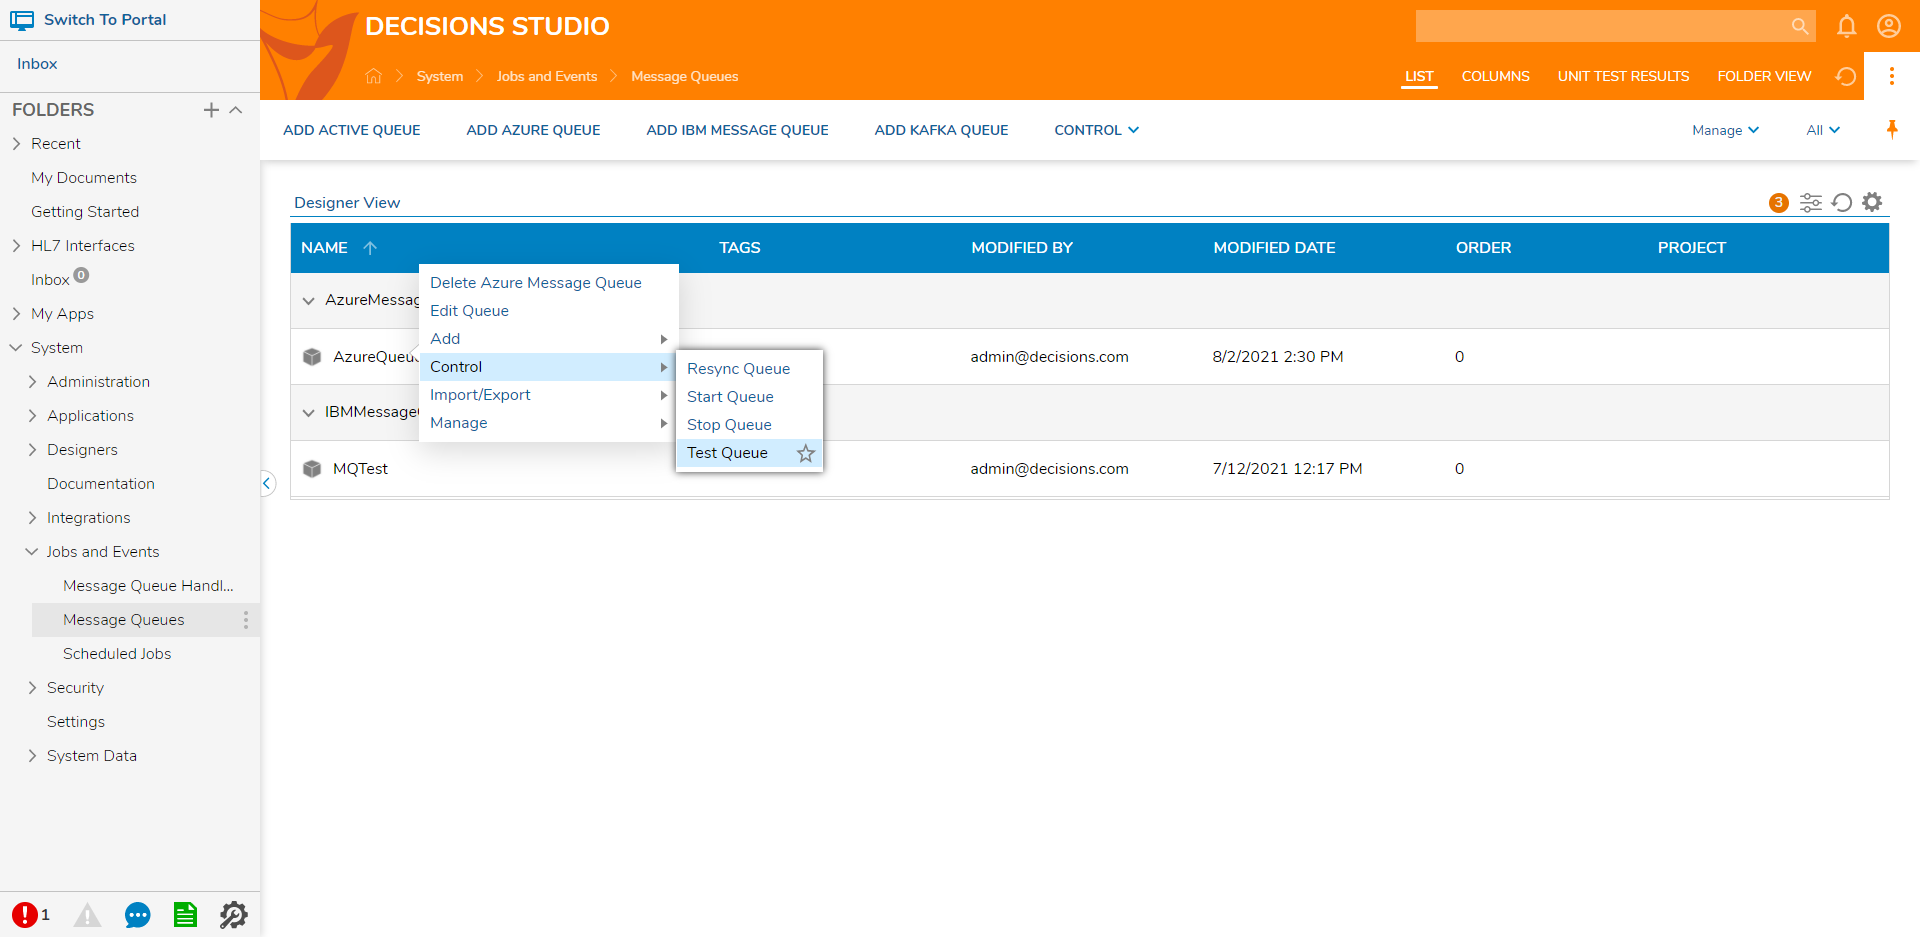
Message Handler
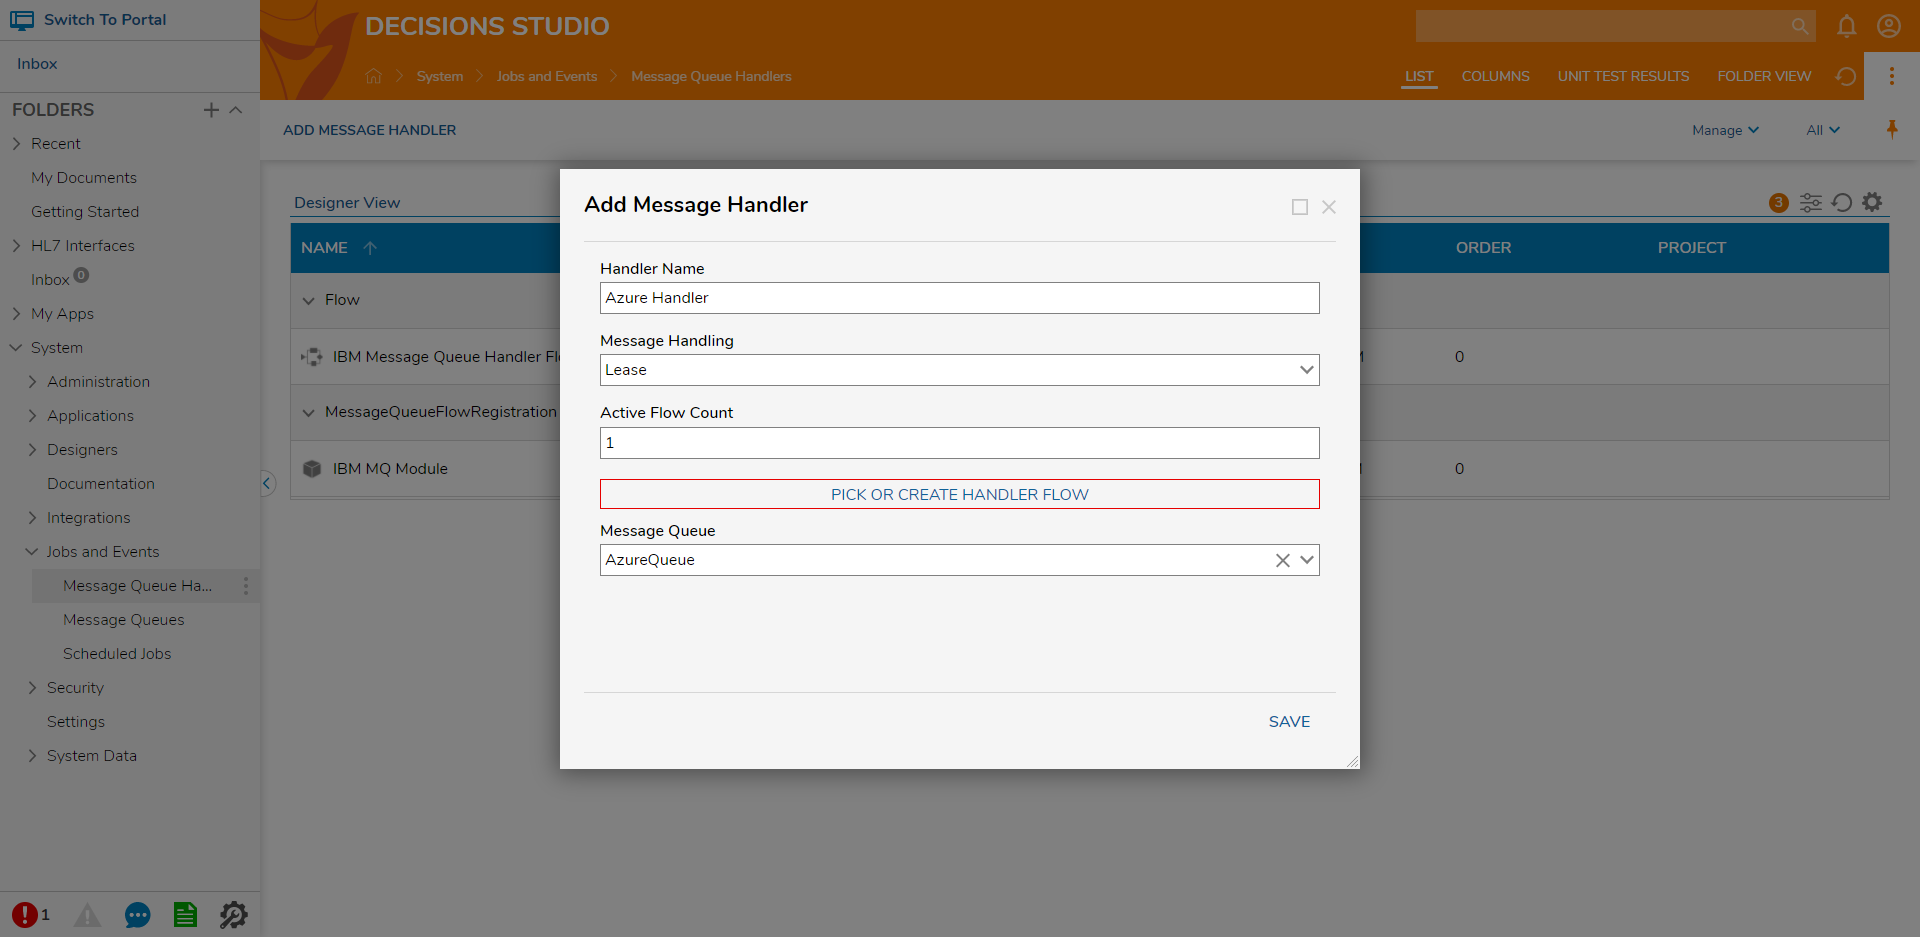
Adding a message handler to the message queue offers configurable options for how received messages are handled in the queue.
Message Queue Handler Flow
The Message Queue Handler Flow template can be accessed by clicking PICK OR CREATE HANDLER FLOW and selecting CREATE or navigating to Flow > Advanced after selecting the CREATE FLOW button in a Designer Project.
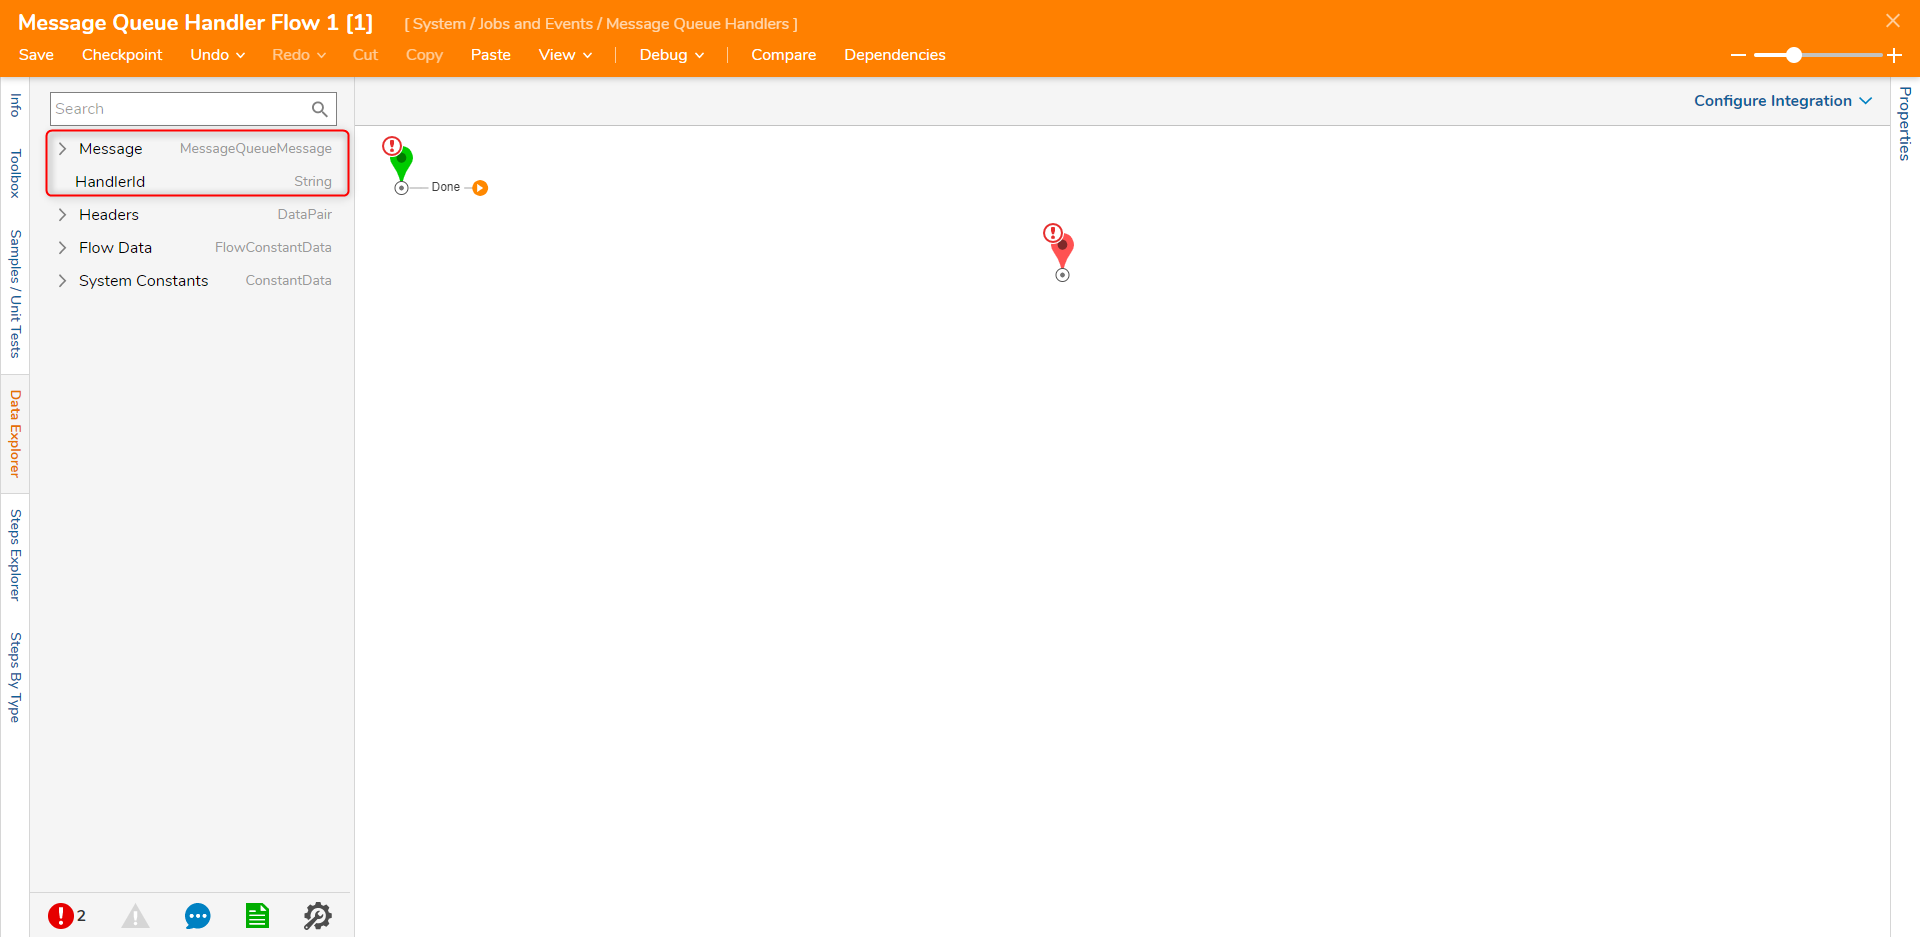
Selecting this Flow template automatically creates a Message Queue Handler Flow. Because of this, the Flow has two special inputs called HandlerId and Message.
The Handler ID is used to identify that a message is received with the message server and the Message is used as the payload field that contains raw data for message contents.
