Overview
Email templates are HTML documents that define the look and feel of Emails sent from a Flow.
Example
This example will demonstrate how to apply the Default Email Template, how to create new Email Templates, and how to make Email Templates variable by selecting from the Flow.
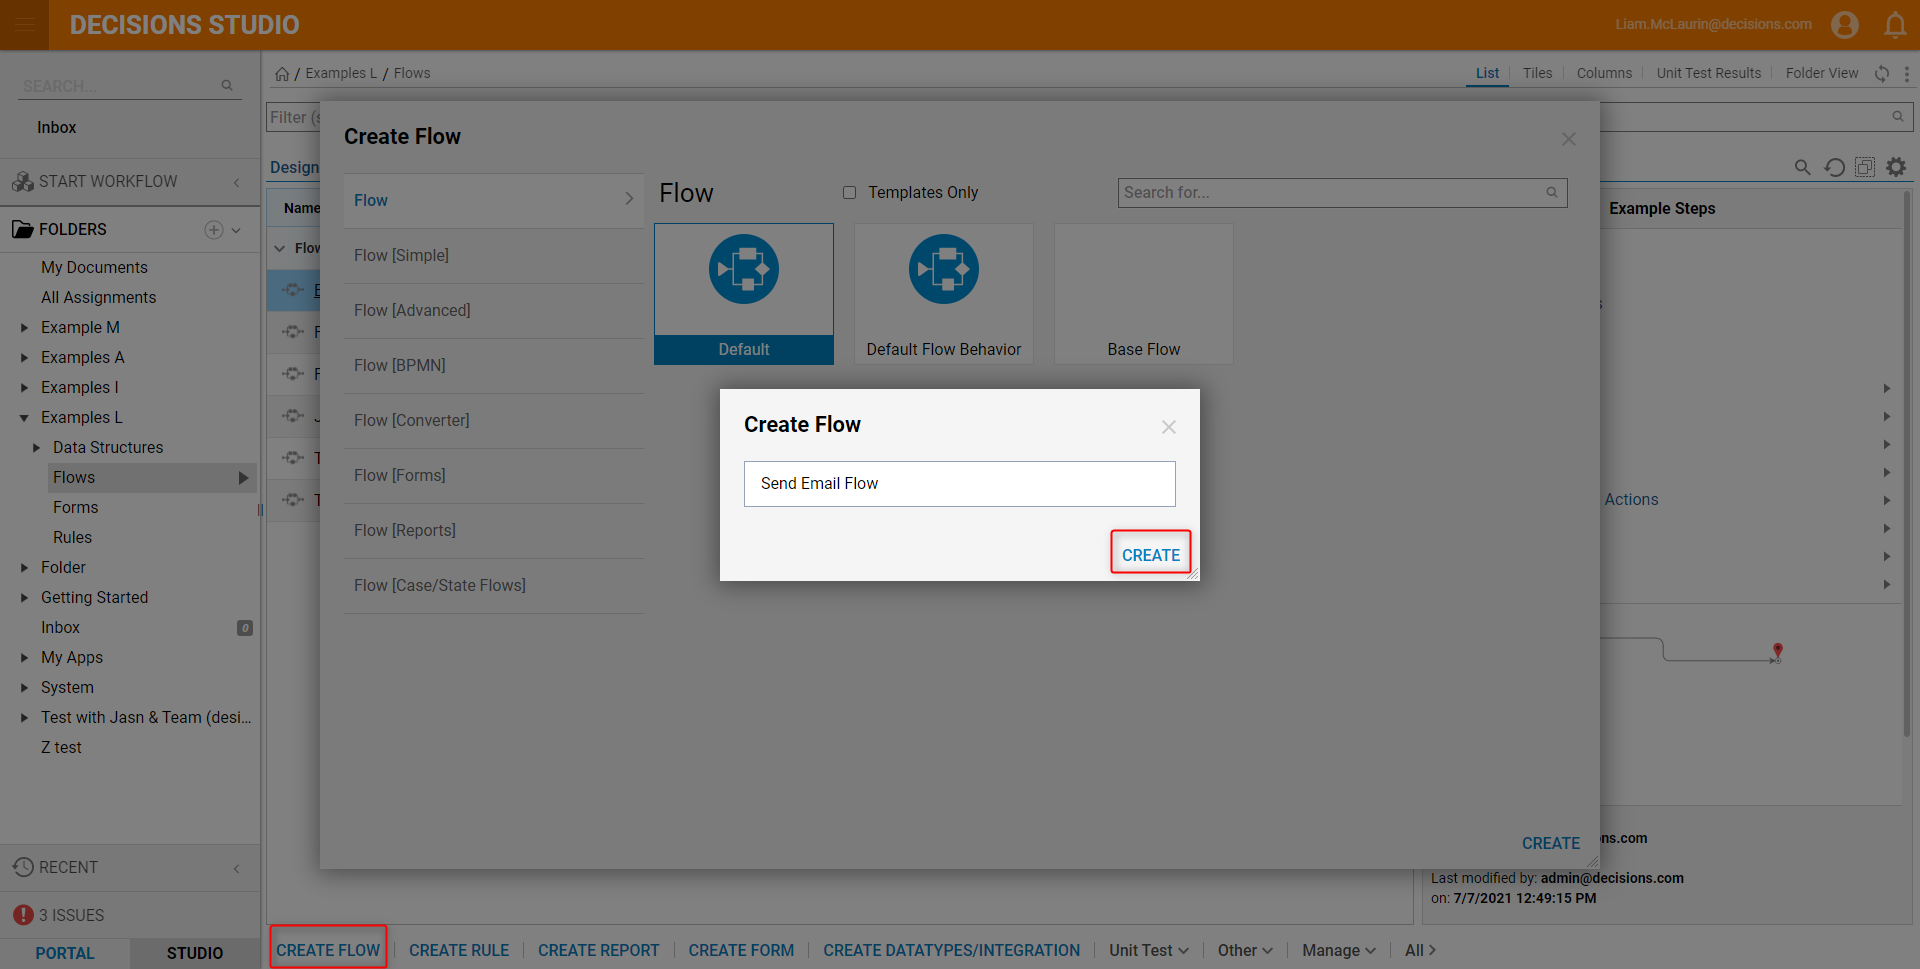
- In the Designer Folder, select CREATE FLOW in the bottom action panel.
- Name the Flow and select CREATE to proceed to the Flow Designer.
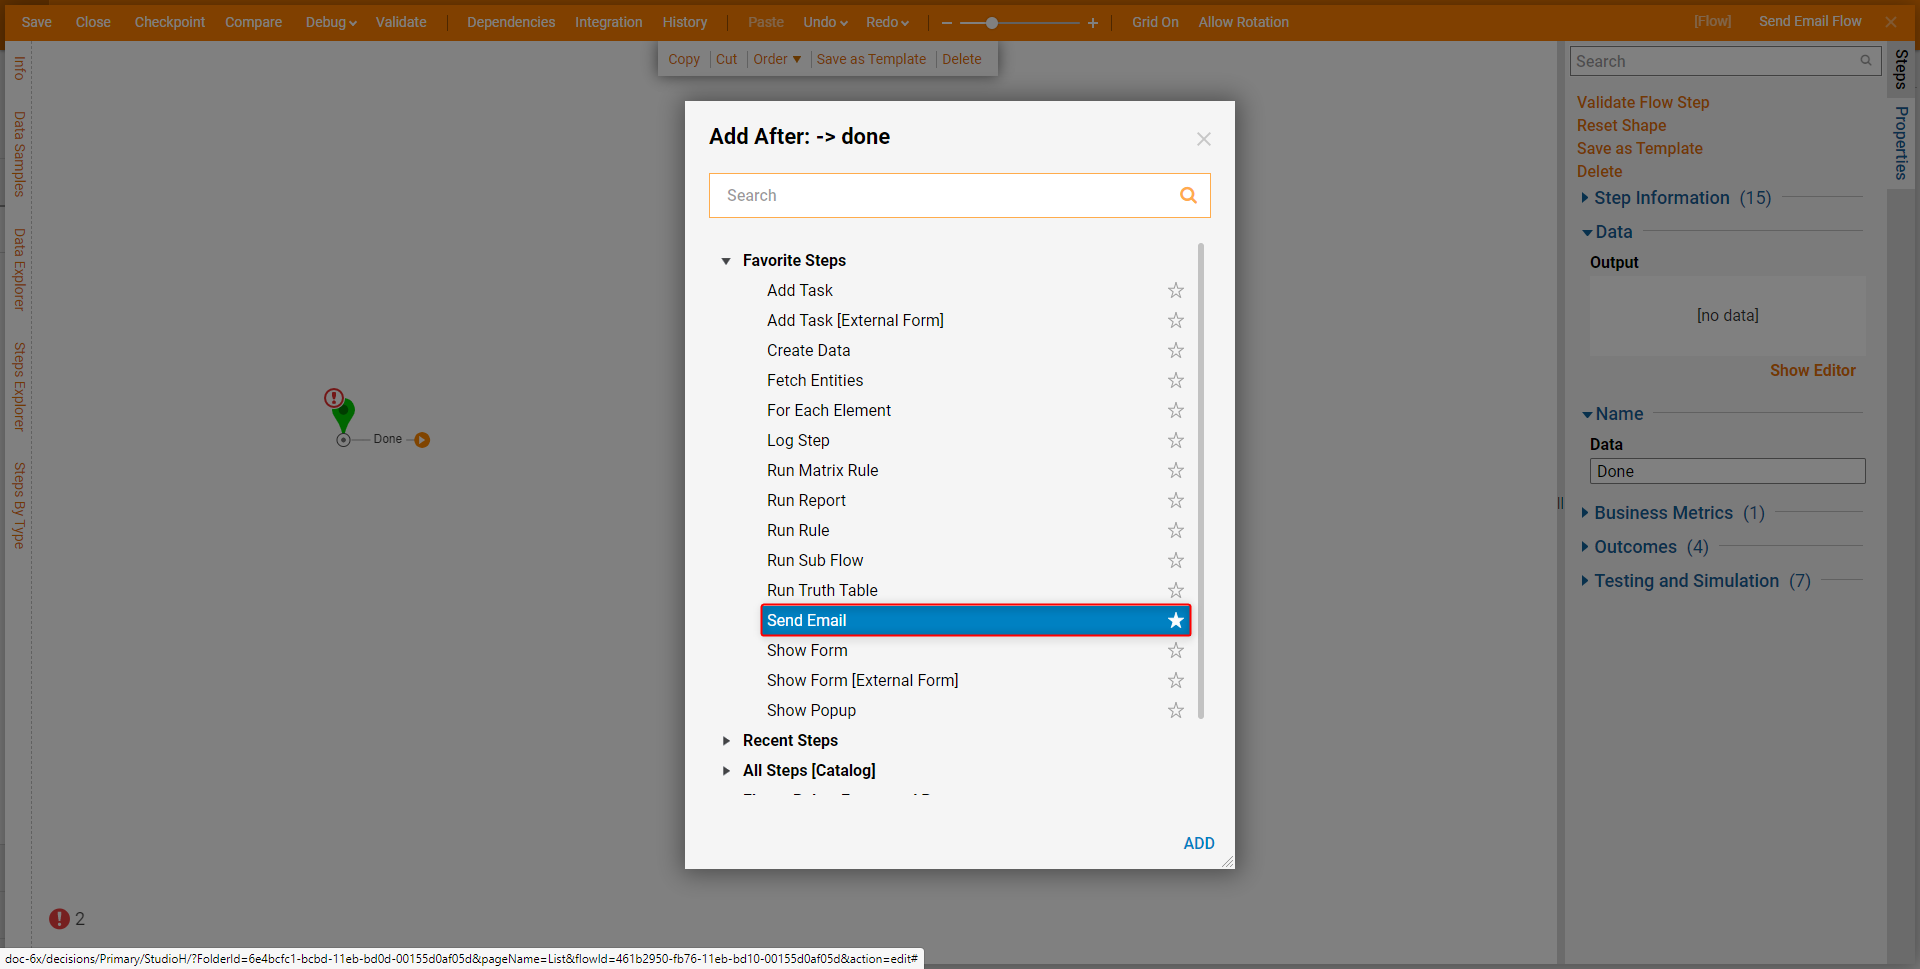
- In the Flow Designer, add a Send Email step from the Favorite Steps category.
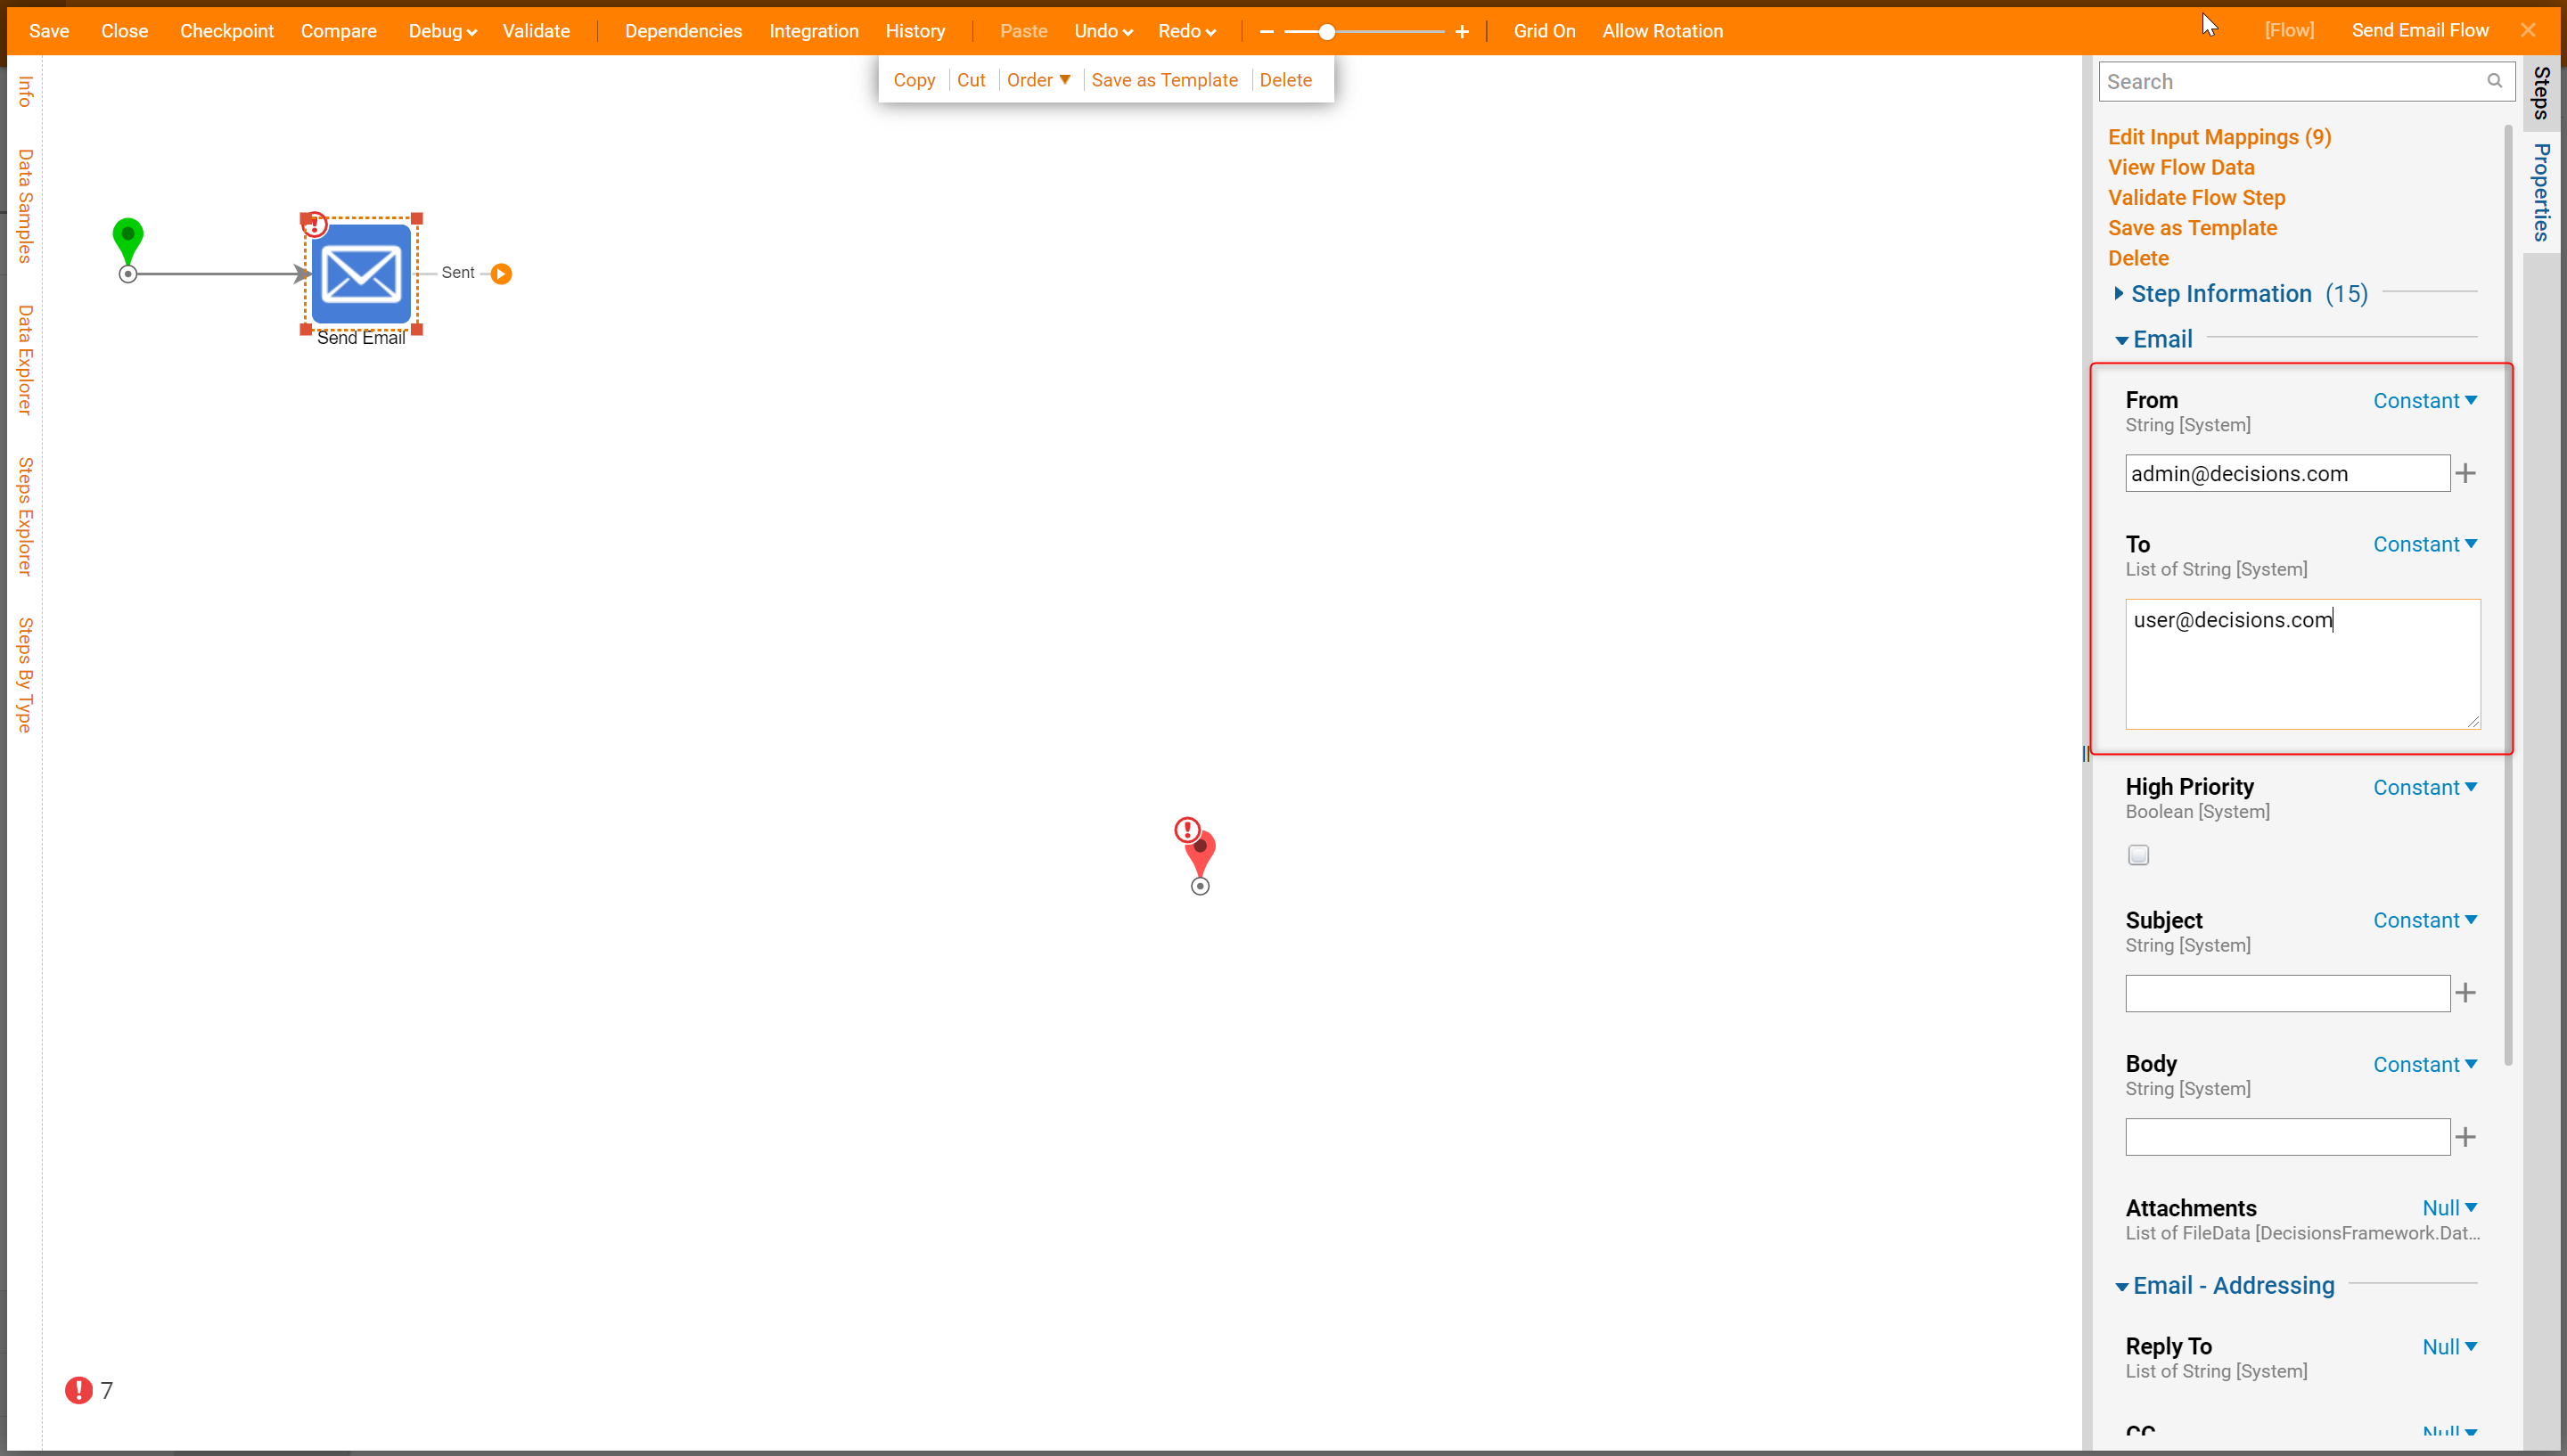
- Next, connect the outcome from the Send Email step to the End step in the Flow.
- Select the Send Email step to configure step settings.
- Under Email > Inputs set the From and To fields to a constant value.
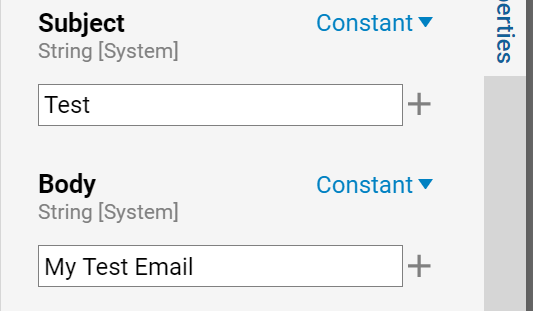
- Then, for the Subject and Body fields, set constant values for demonstration purposes.
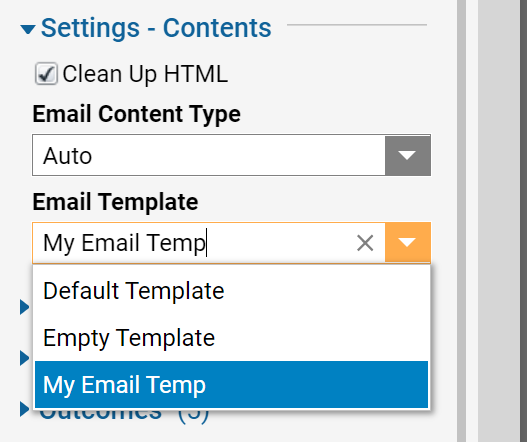
- Next, navigate to the Settings – Contents section and from the Email Template drop down list, pick the Default Template.
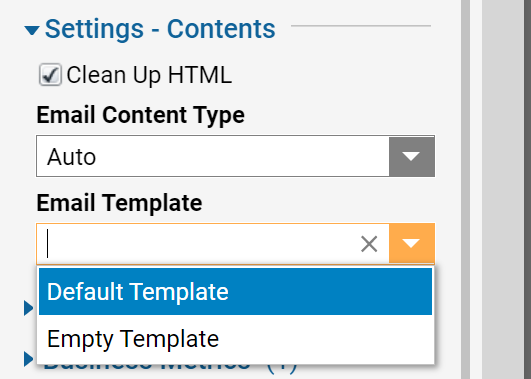
- This completes the Flow. Save and close the Flow Designer.
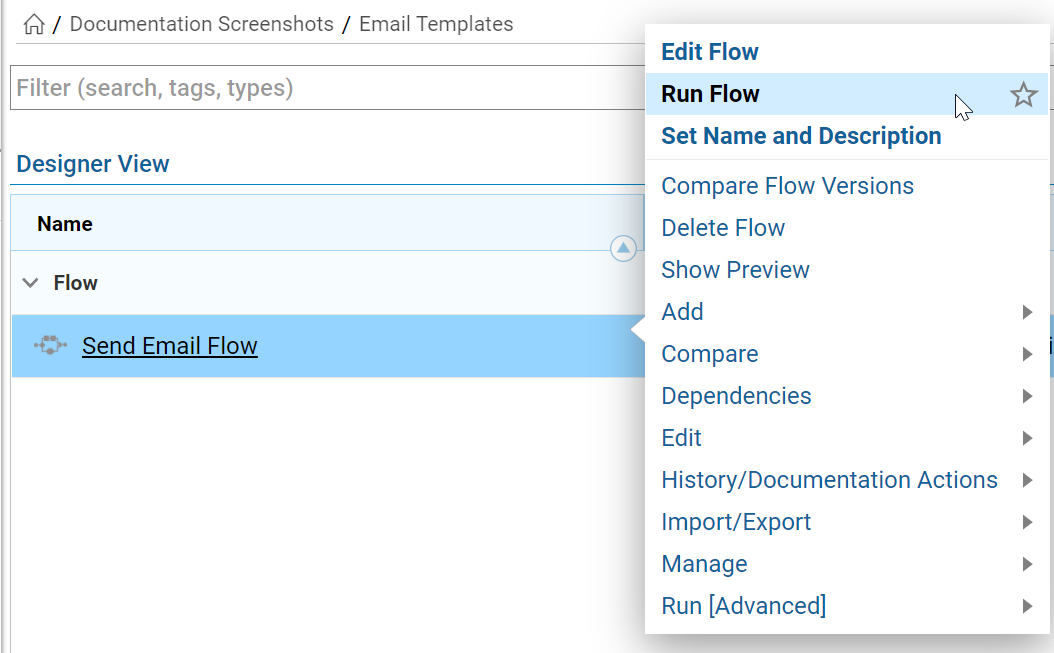
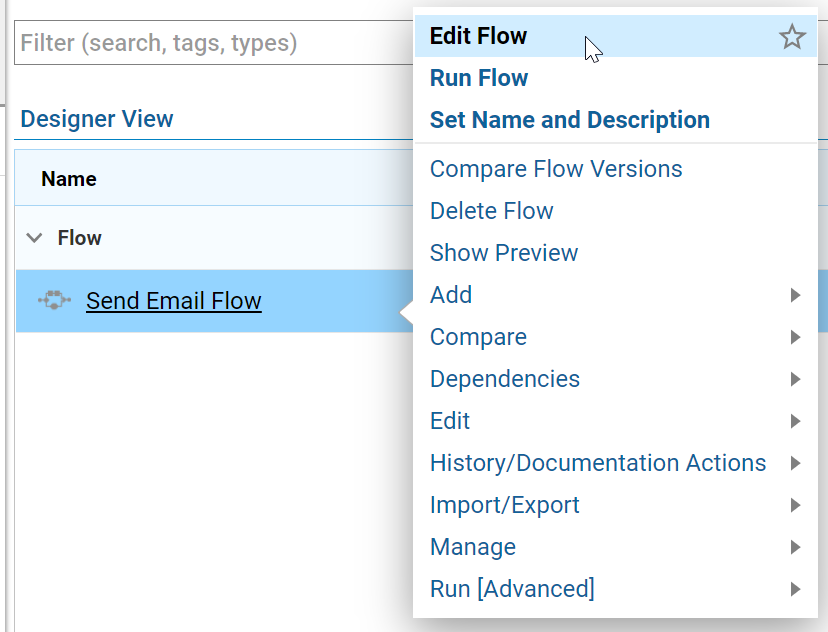
- Back in the Designer Folder, locate the Flow that was just created. From the actions menu, select Run Flow.
- The Flow sends an Email. The received Email is an HTML document.
Create an Email Template
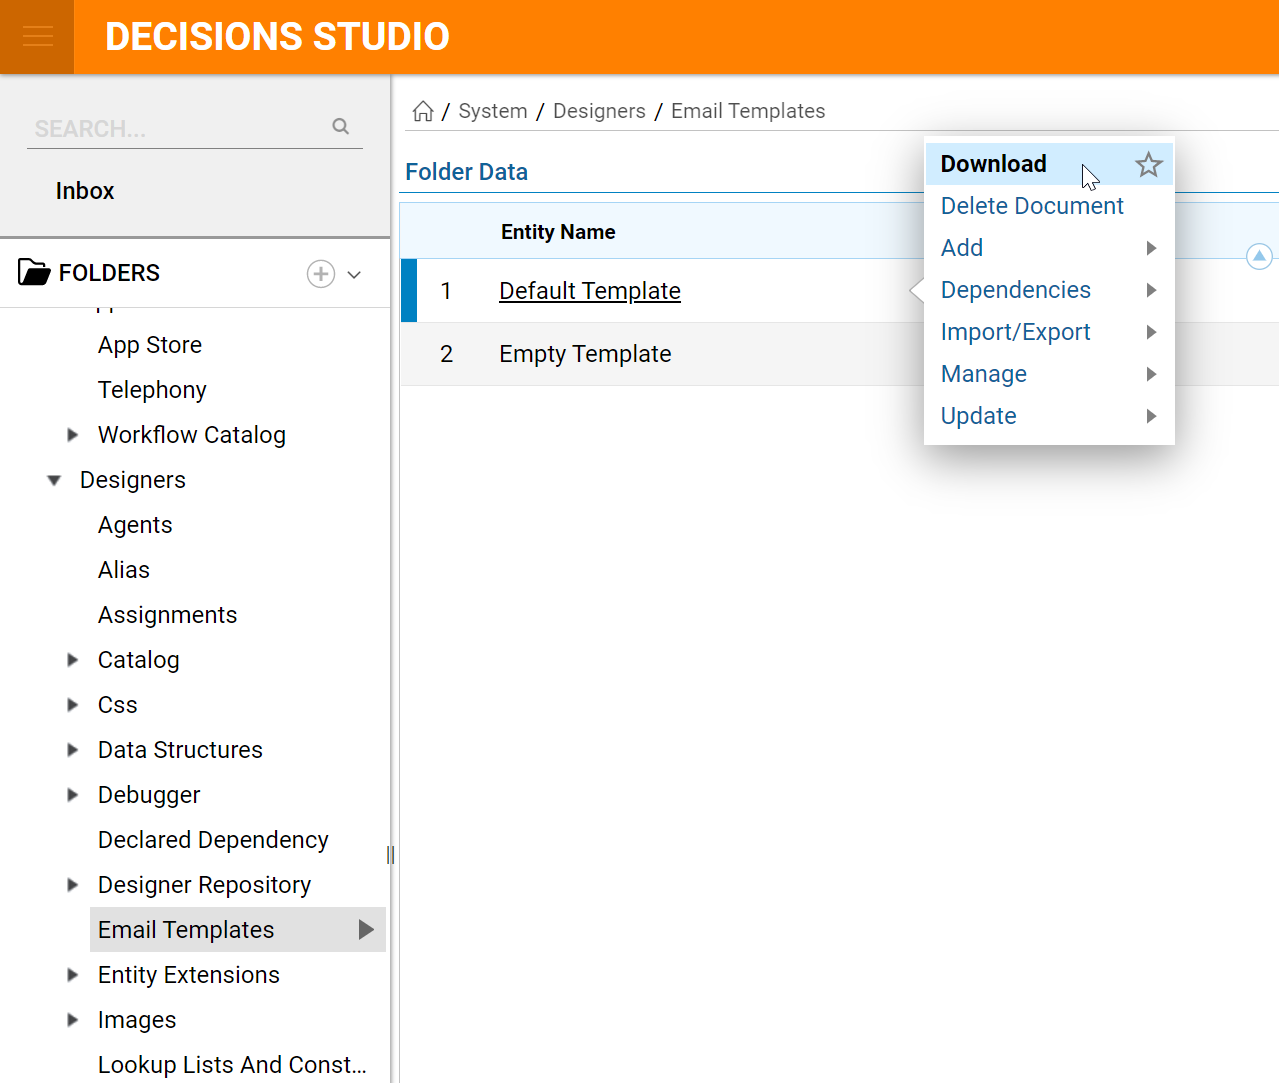
- In the Decisions Portal, navigate to System > Designers > Email Templates. This is where Email Templates are stored.
- Notice the Default Template is located here. Select this document and choose Download.
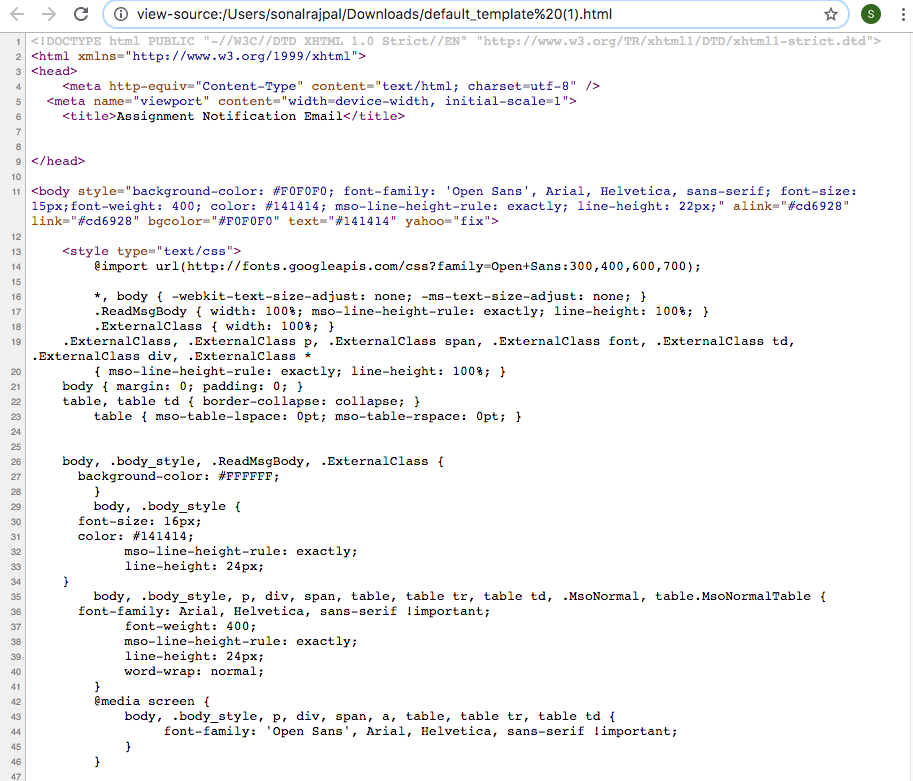
- Open this HTML document on the local machine and it will look as follows.

- Users may adjust/edit this HTML document or create a new one that will satisfy their business needs.
- When the Email Template HTML document is ready, navigate to System > Designers > Email Templates and select ADD in the bottom action panel.
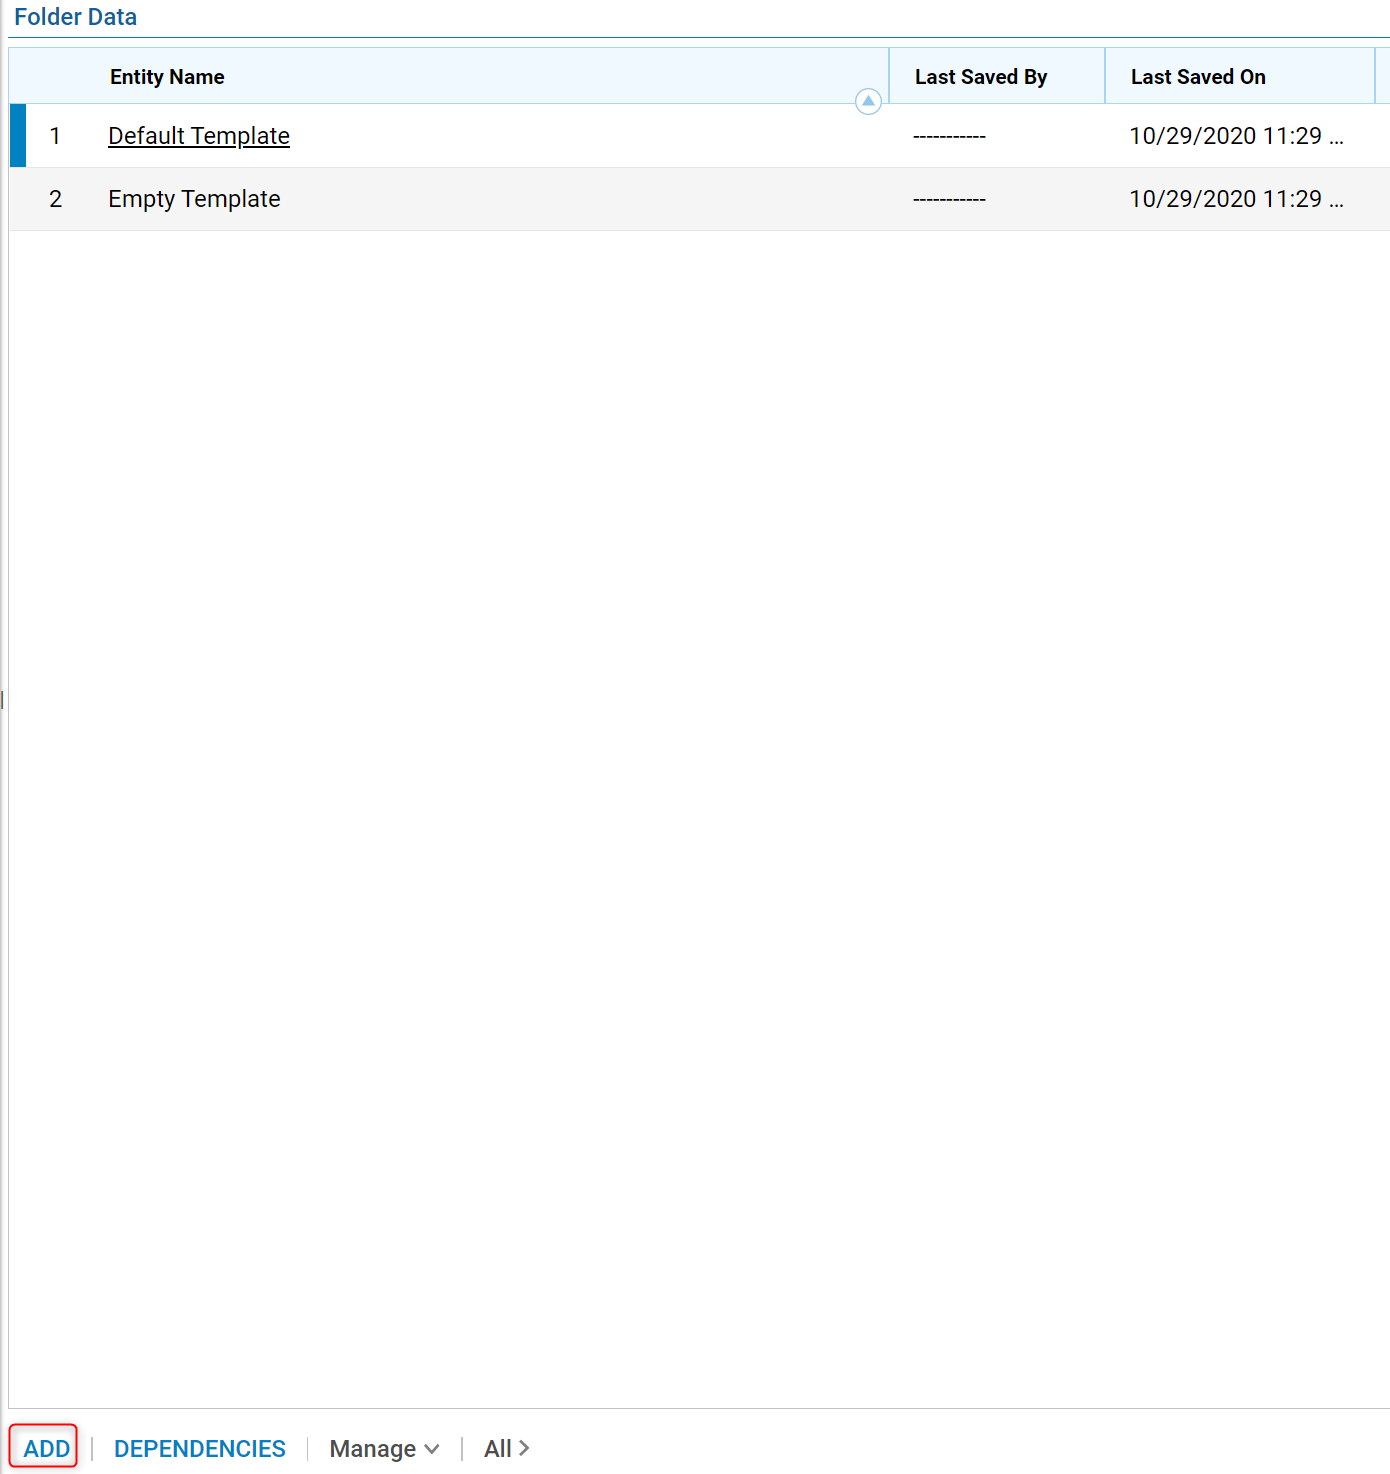
- In the resulting window, provide the Email Template with a Title and Description.
- Then, drag and drop or choose the Email Template HTML document and select OK to save and continue.
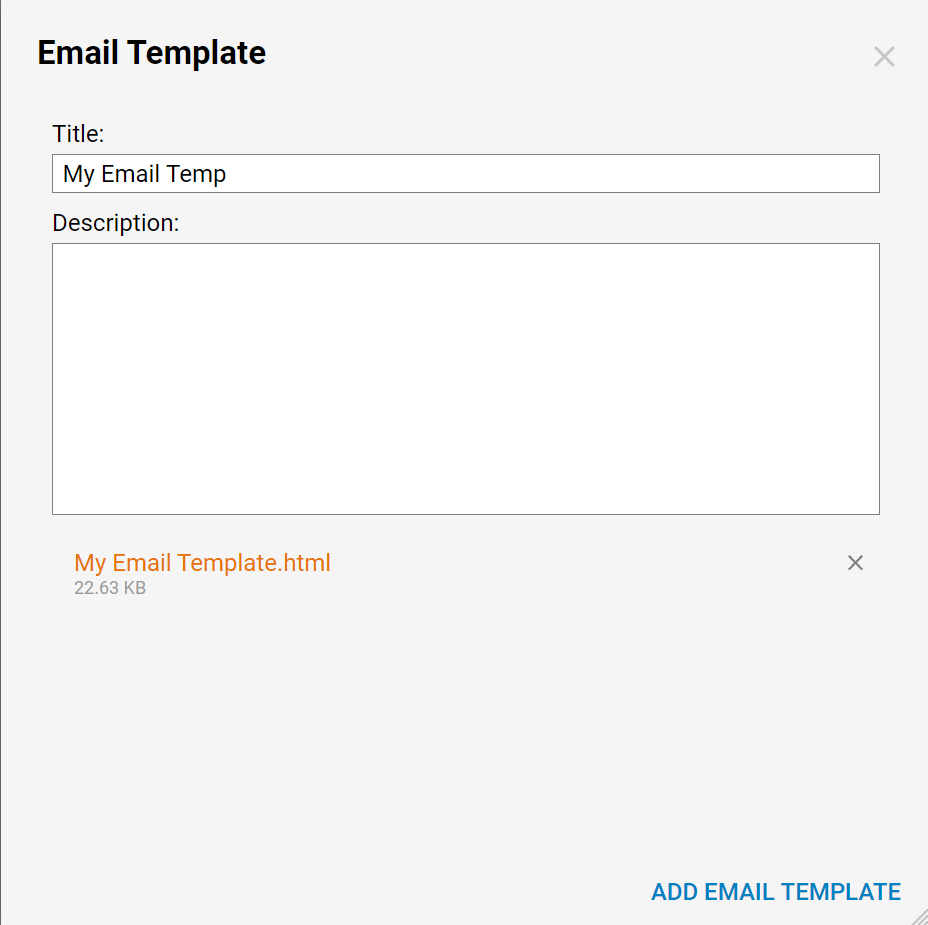
- The Email Template is added to the Email Templates Folder.

- Next, navigate back to the Flow that was created previously in this tutorial and select Edit Flow.
- In the Flow Designer, select the Send Email step and locate the Settings – Contents section.
- From the Email Template drop down menu, select the new Email Template.
- Save and close the Flow Designer.
- Back in the Designer Folder, run the Flow again.
- This time the Email is decorated with the customized Email Template.
