Overview
The Wizard Property Grid form component allows you to easily create a wizard for defining the properties of data objects. By defining the form's data input as a data object, the wizard property grid automatically includes all of the fields, in their proper formats, related to editing the object. For example, if you define an Account object as the input for a wizard property grid, the wizard that displays to the user will contain all of the fields that can be changed on a user account record, including text fields, data pickers, checkboxes, and drop-down lists.
The user navigates through the wizard property grid using familiar Next and Previous buttons.
Add the Wizard Property Grid to a form in the Form Designer. In the Toolbox panel, under the category Data > Property Grid, drag a Wizard Property Grid component to the workspace.
Example
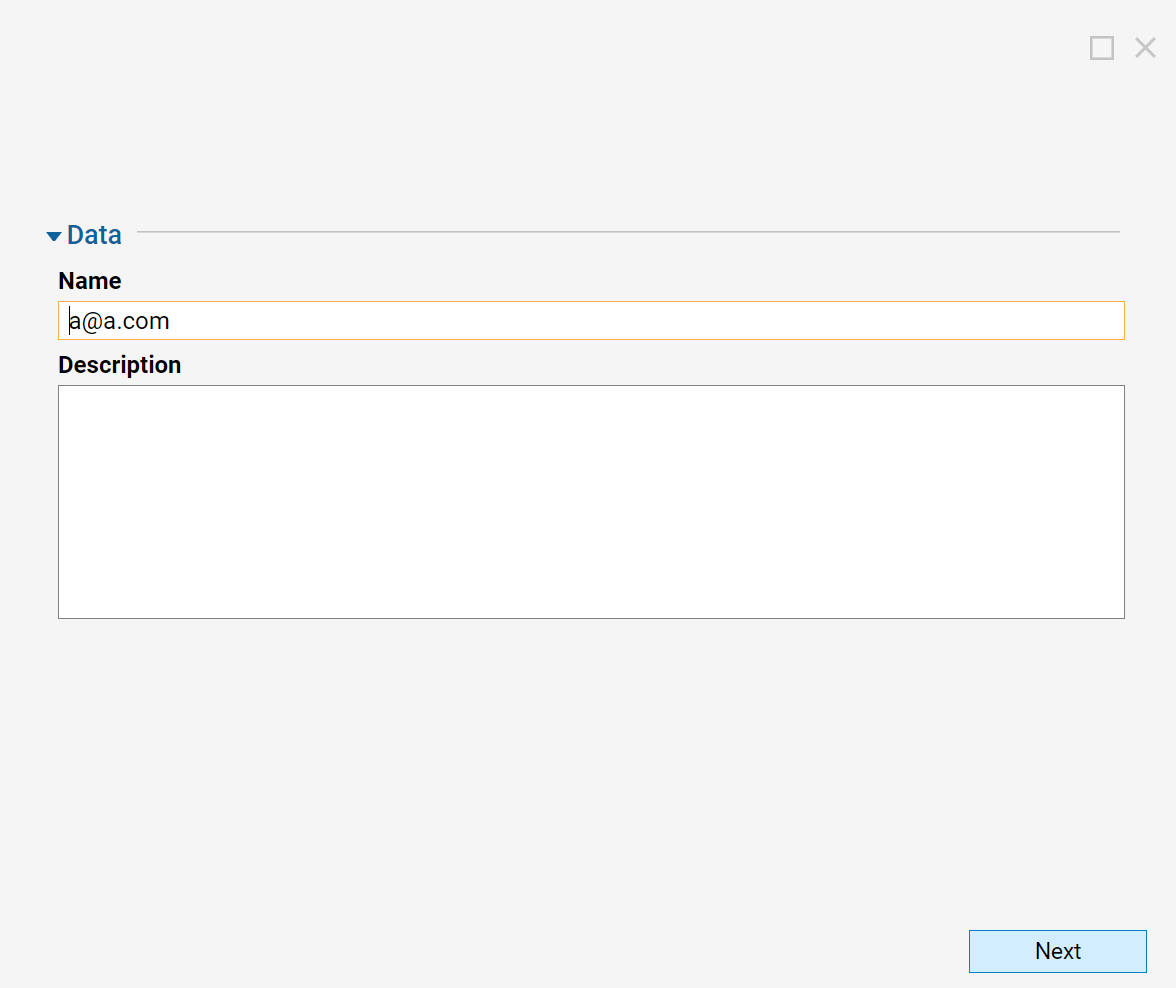
The example flow will display a form that can edit a single Account object. This account's properties display in three sections within a wizard property grid. Navigate between these sections using a Previous button and a Next button. In the first section in the wizard, the Previous button will not display. On the final section in the wizard, the Next button's label will change to Done.
.png)
Begin the example in a project folder by selecting the Create Flow button at the bottom of the window.

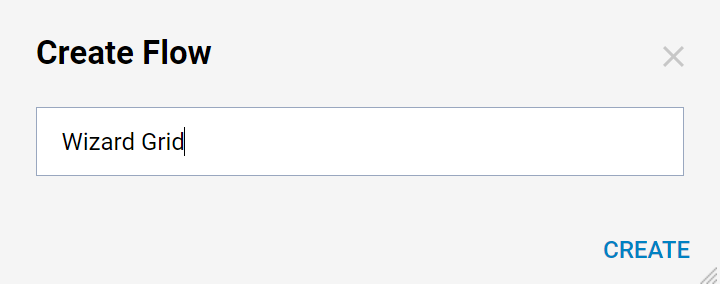
In the resulting dialog, name the flow and select the 'OK' button to open it in the Flow Designer.
Begin by setting the data type for the flow to use as input.
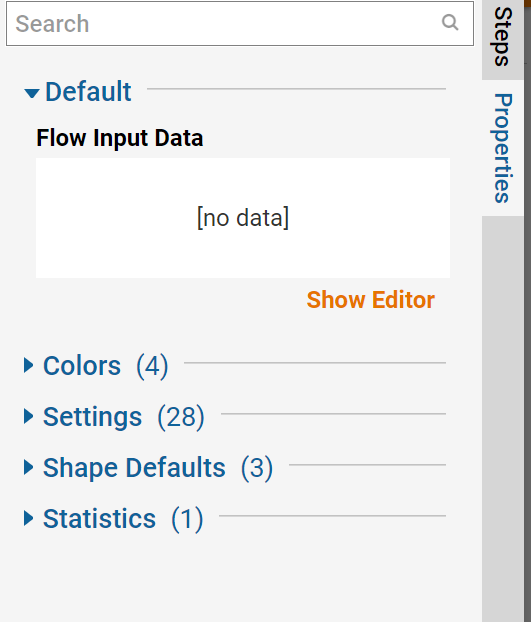
In the Properties panel, in the Flow Data section, select the Add New link.
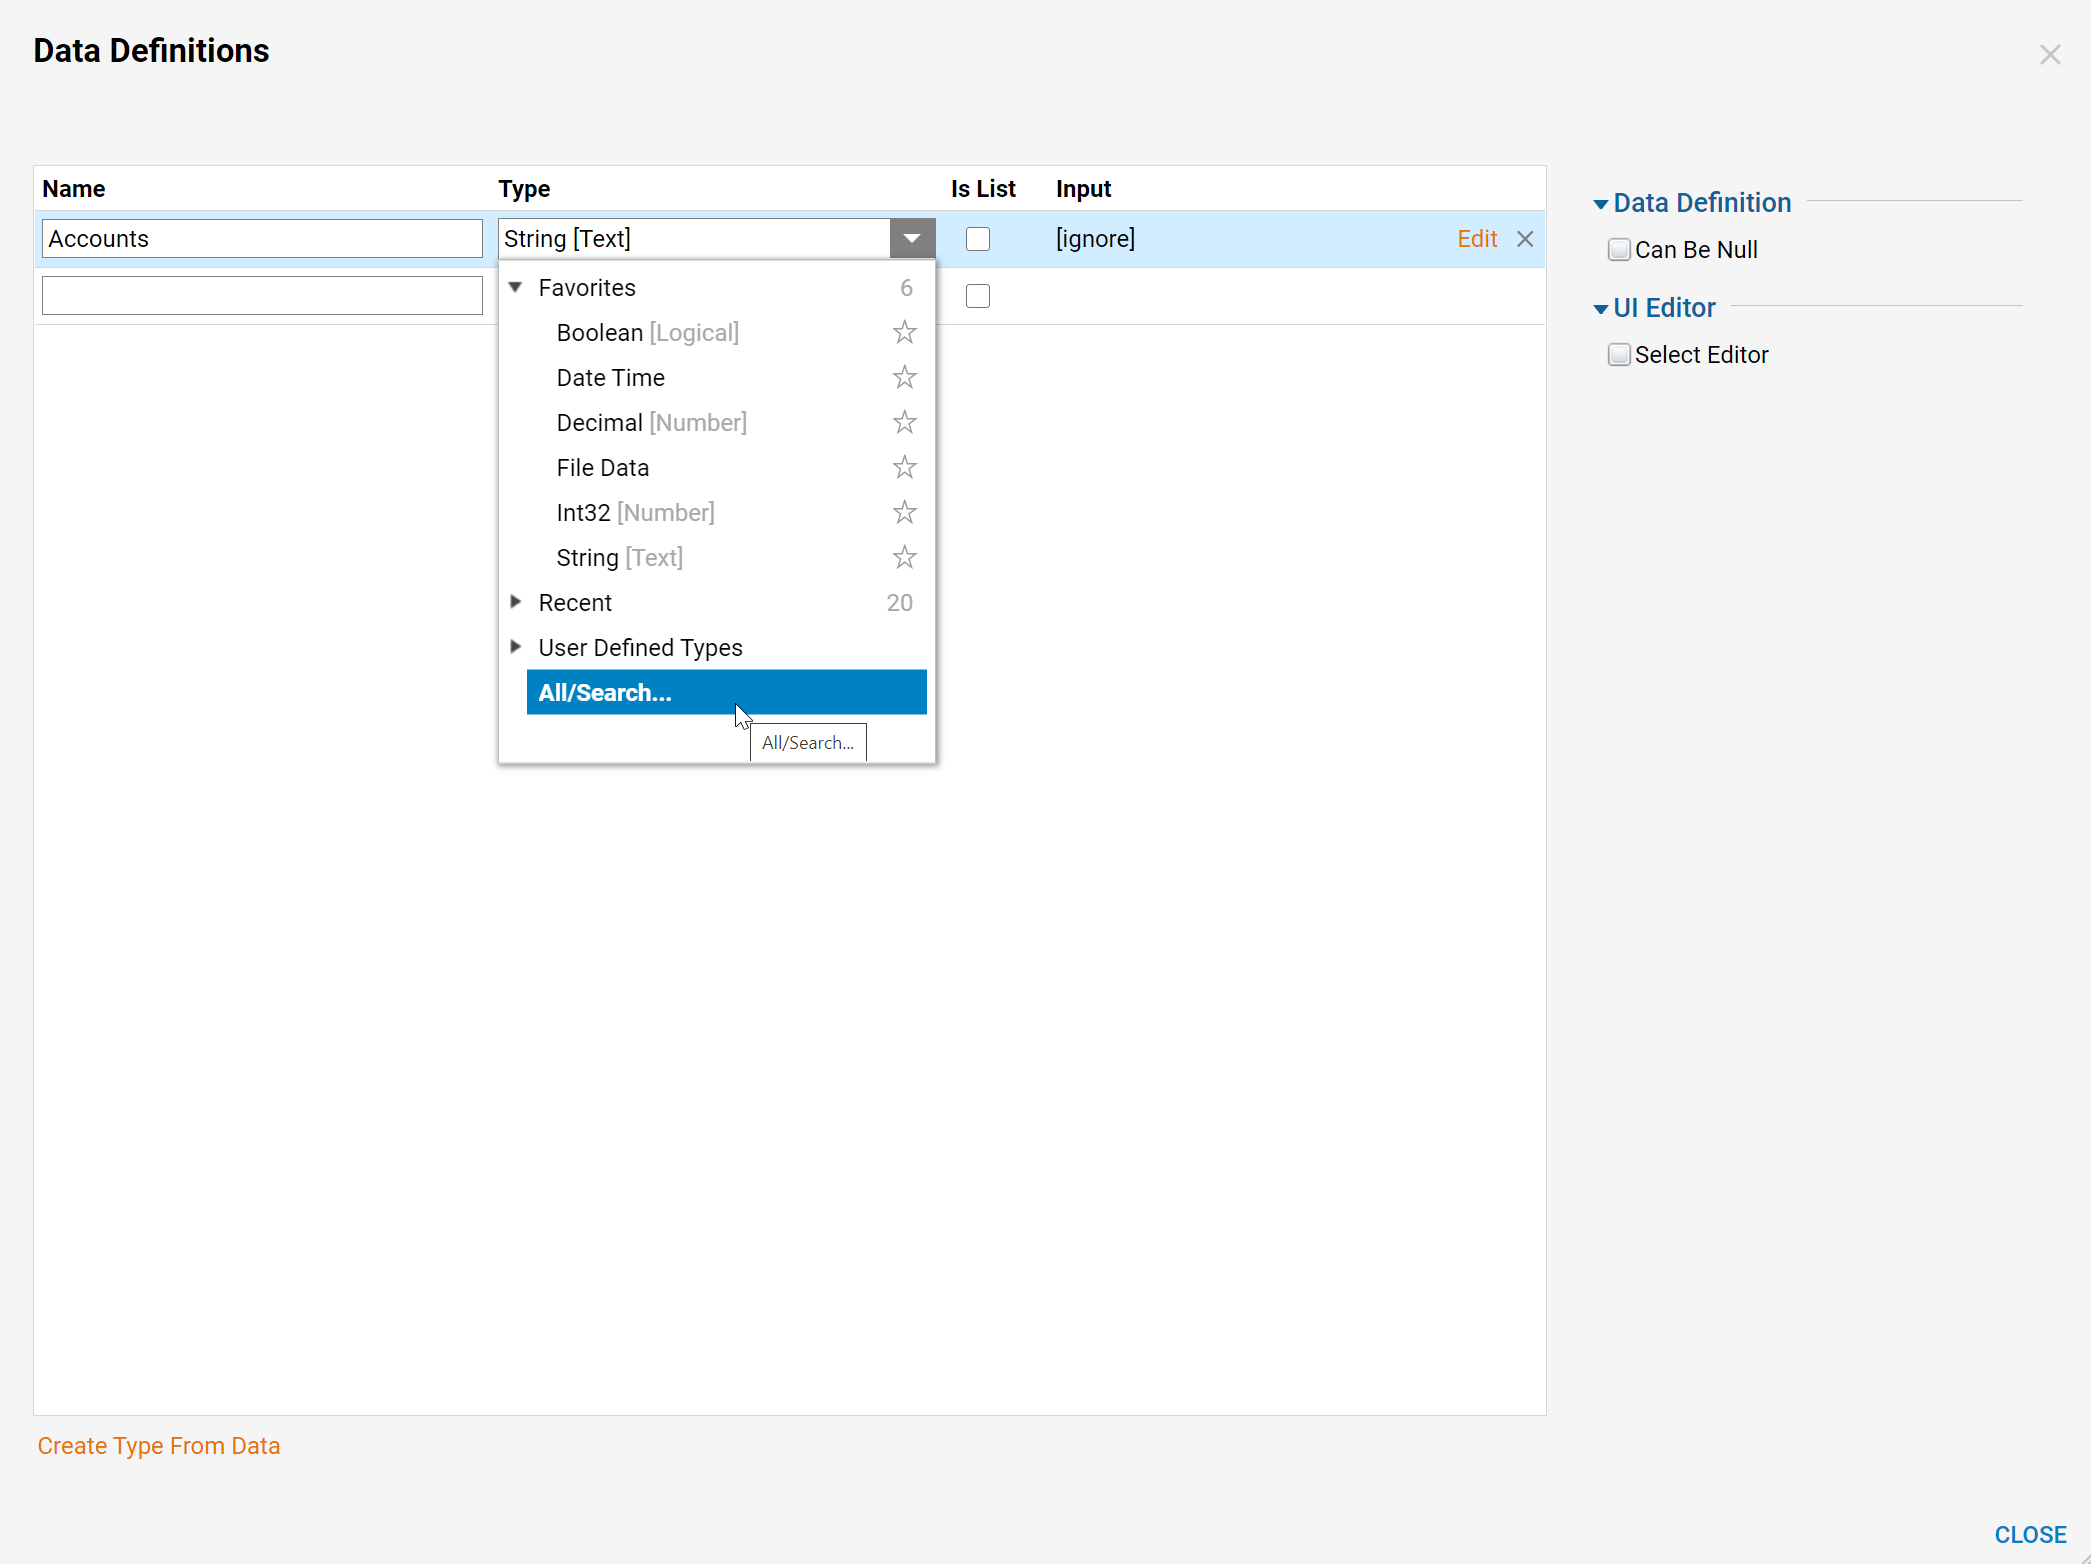
In the resulting dialog name the data, then select the Type.
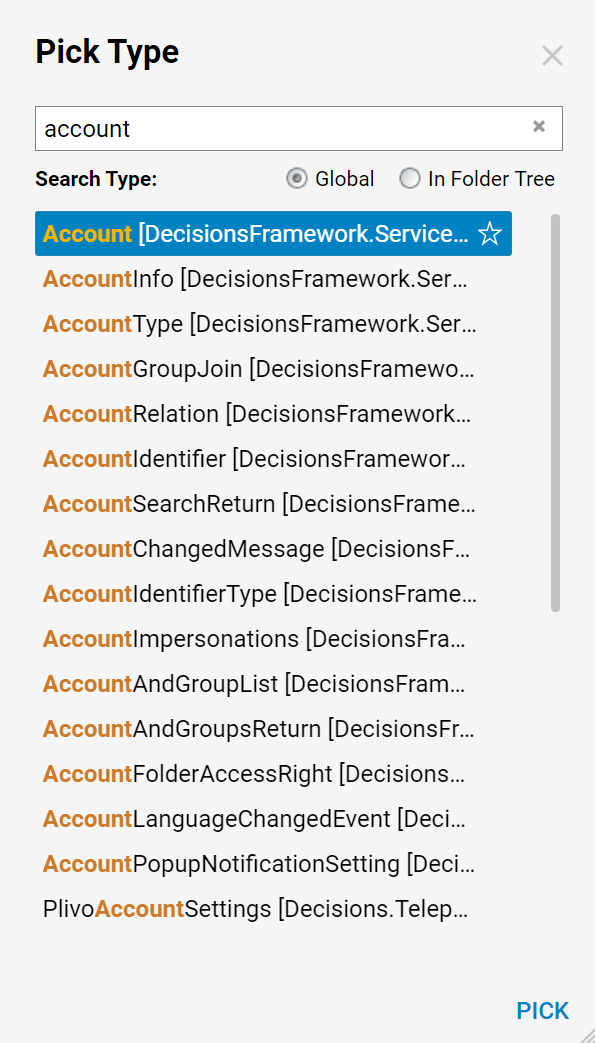
Since the flow will be using an Account object as input, locate it by entering "account" in the search field. Select Account and select 'OK'.
In the Edit object dialog, save the flow input data by selecting Save.
Back in the Flow Designer, begin building the flow.
In the Toolbox panel, in the Forms [Interaction] category, drag a Pick or Create Form component to the workspace.
Select the Pick or Create Form link in the Properties dialog.
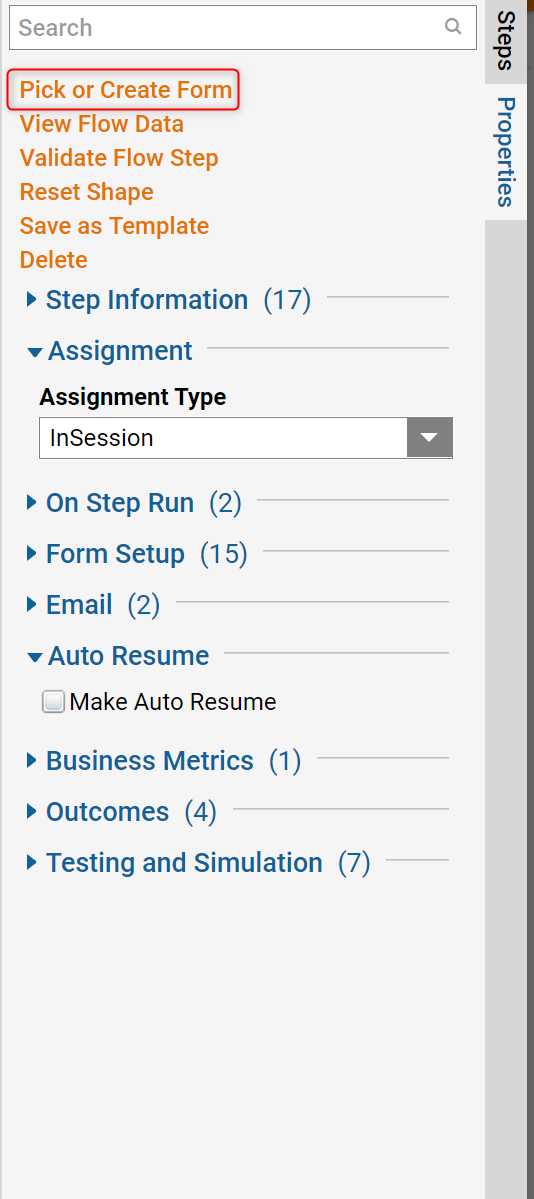
In the resulting dialog give the form a name, ensure that the Create New Form option is selected, then select Create to open the form in the Form Designer.
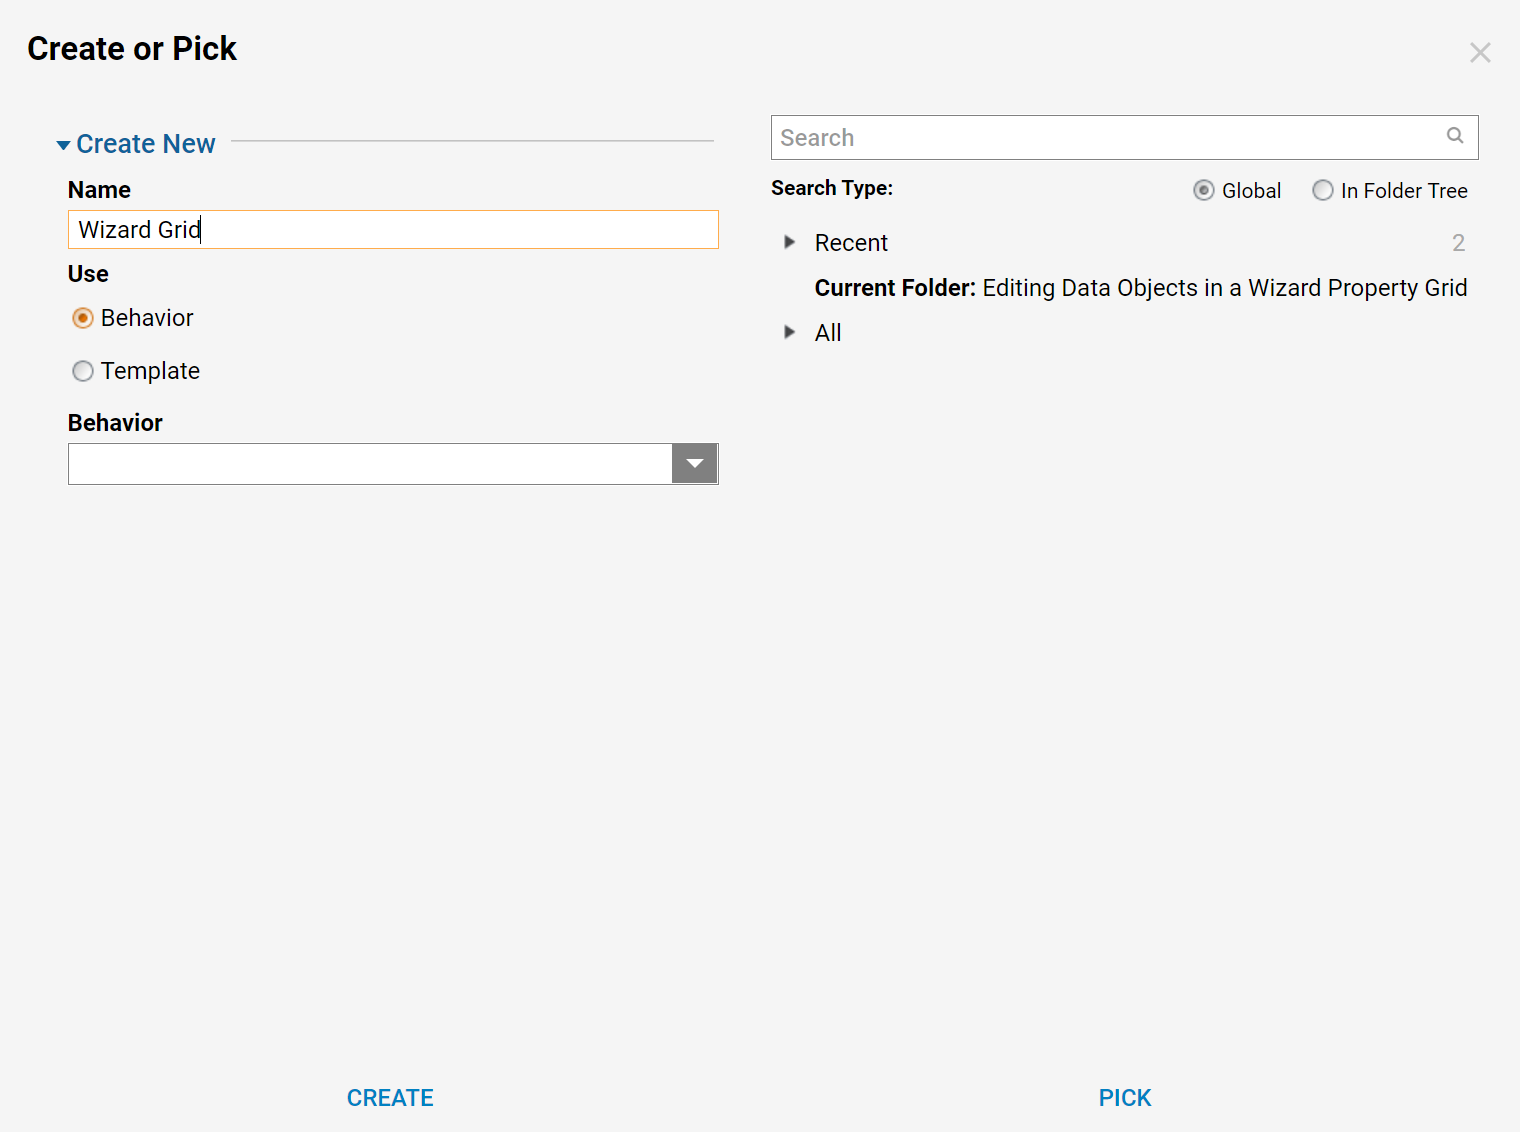
Start building the form by dragging the Wizard Property Grid form Toolbox to the workspace. It can be found in the Toolbox panel, under the category Data > Property Grid.
The wizard property grid component uses two buttons to navigate between sections. The first button will be the Wizard Next Button. When the object being described by the wizard property grid has no more sections to display after the current one, its label changes to Done.
The Wizard Next Button component can be found in the Toolbox panel, under the category Data > Property Grid.
Next, place the Wizard Previous Button. It is found in the Toolbox panel, under the category Data > Property Grid. If there are no more sections preceding the current one, the button will not display.
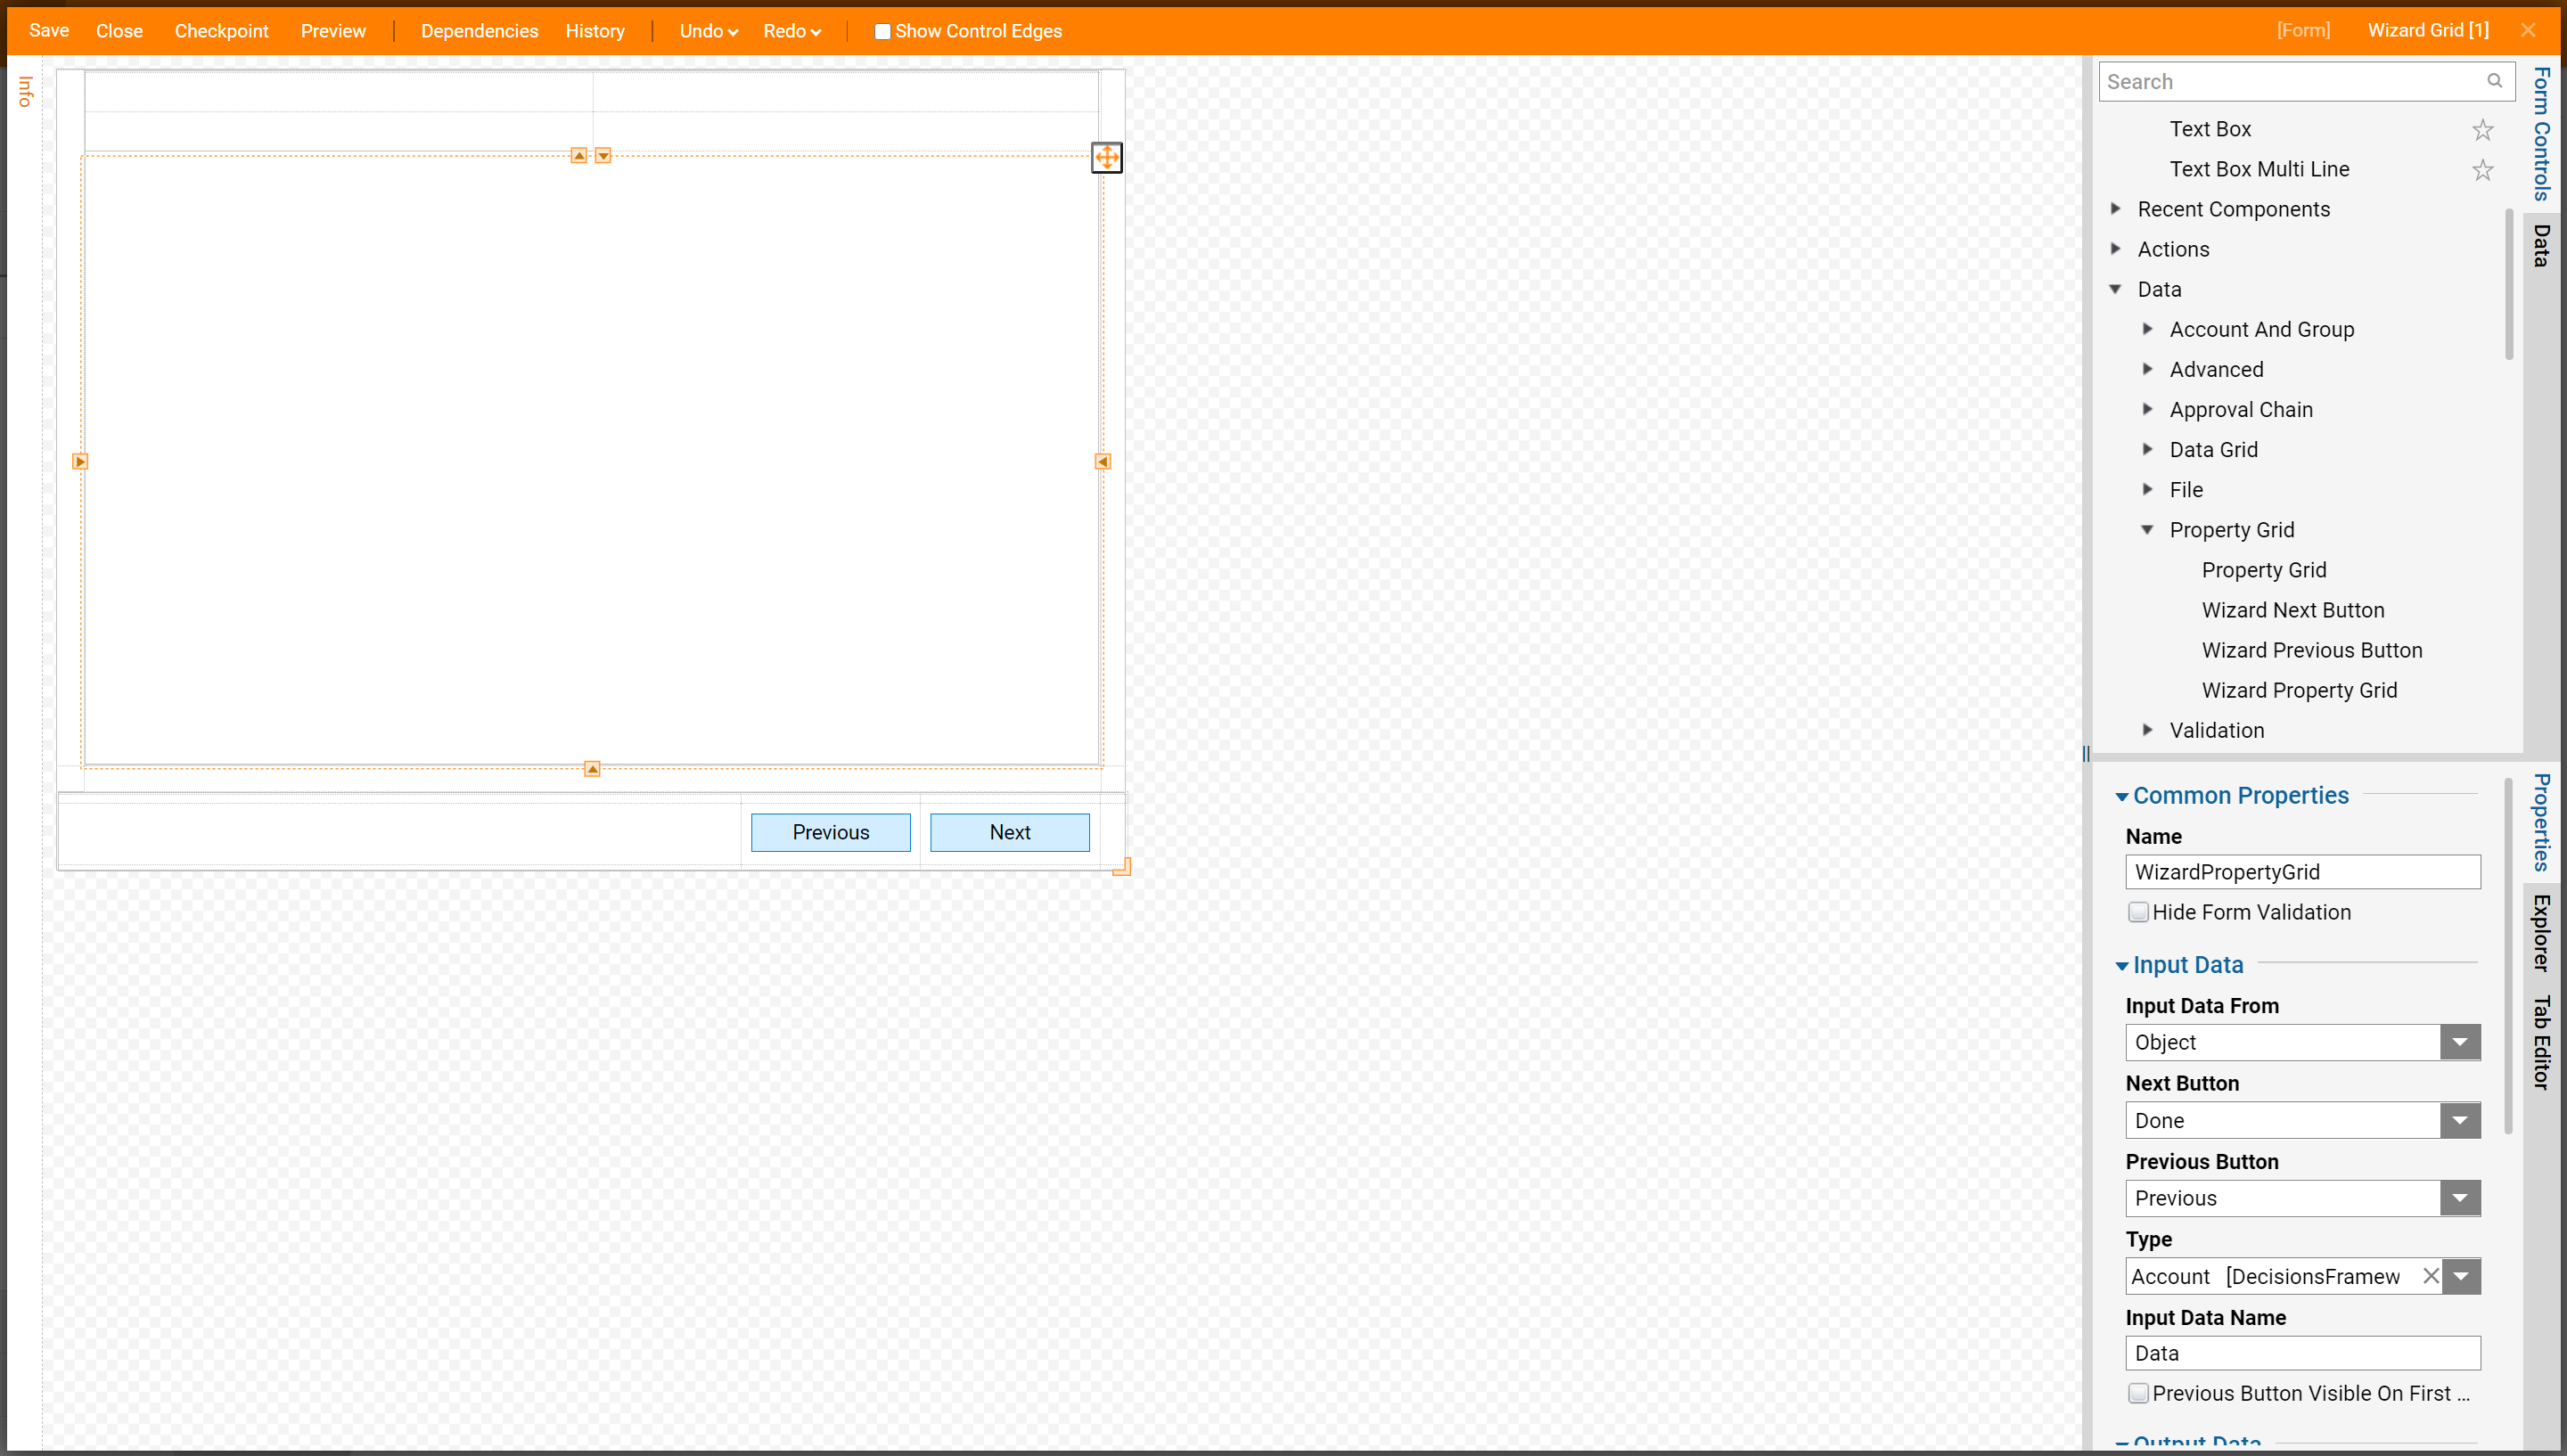
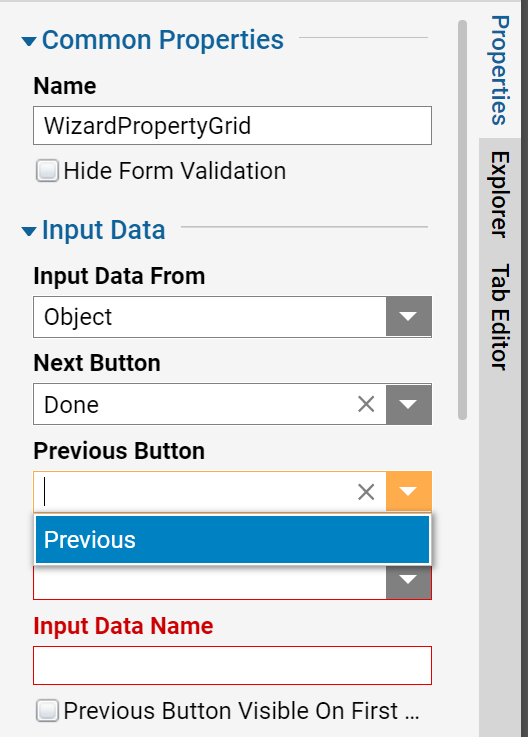
Next, configure the wizard property grid component to interact with these buttons. Select the Wizard Property Grid component and locate the heading Input Data, under the Properties panel, and define the Next Button as Done.
Define the Previous Button as Previous.
Next, define the type of data that this wizard property grid should accept as input. As with the flow, this form will be using the Account object as input.
In the Properties panel, under the section Input Data, select the Type Pick selector.
In the resulting Select Entity dialog, search for Account and select Account and select 'OK' to preserve the change.
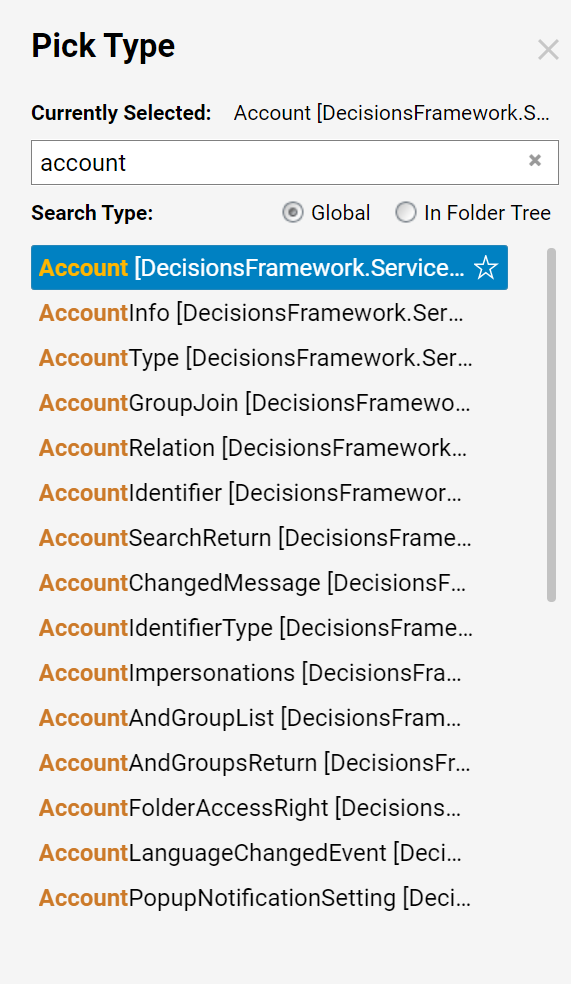
Next, name the inputs and outputs to and from the form. Define Input Data Name and Output Data Name as "data".
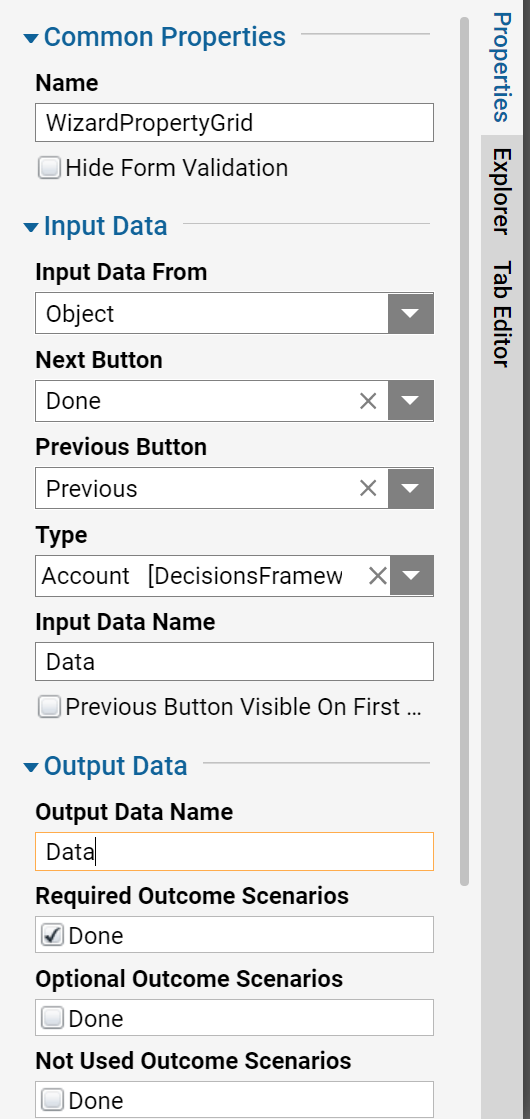
This completes the form configuration, so select Save at the top of the Form Designer to save then close.
Back in the Flow Designer, connect the outcome paths in the flow.
Next, define the input for this form as an Account object to be supplied at runtime. In the Properties panel under the section Inputs > Input Data, change the Mapping Type to Select Value.
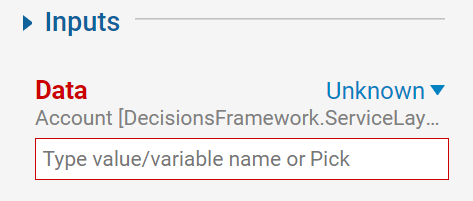
Then click the Path selector by clicking the Pick link.
In the resulting dialog, select Account and select 'OK' to preserve the change.
.png)
This completes the flow, save and close the Flow Designer.
To see the flow in action, select the new flow's thumbnail, select the Action menu and select Run Flow.
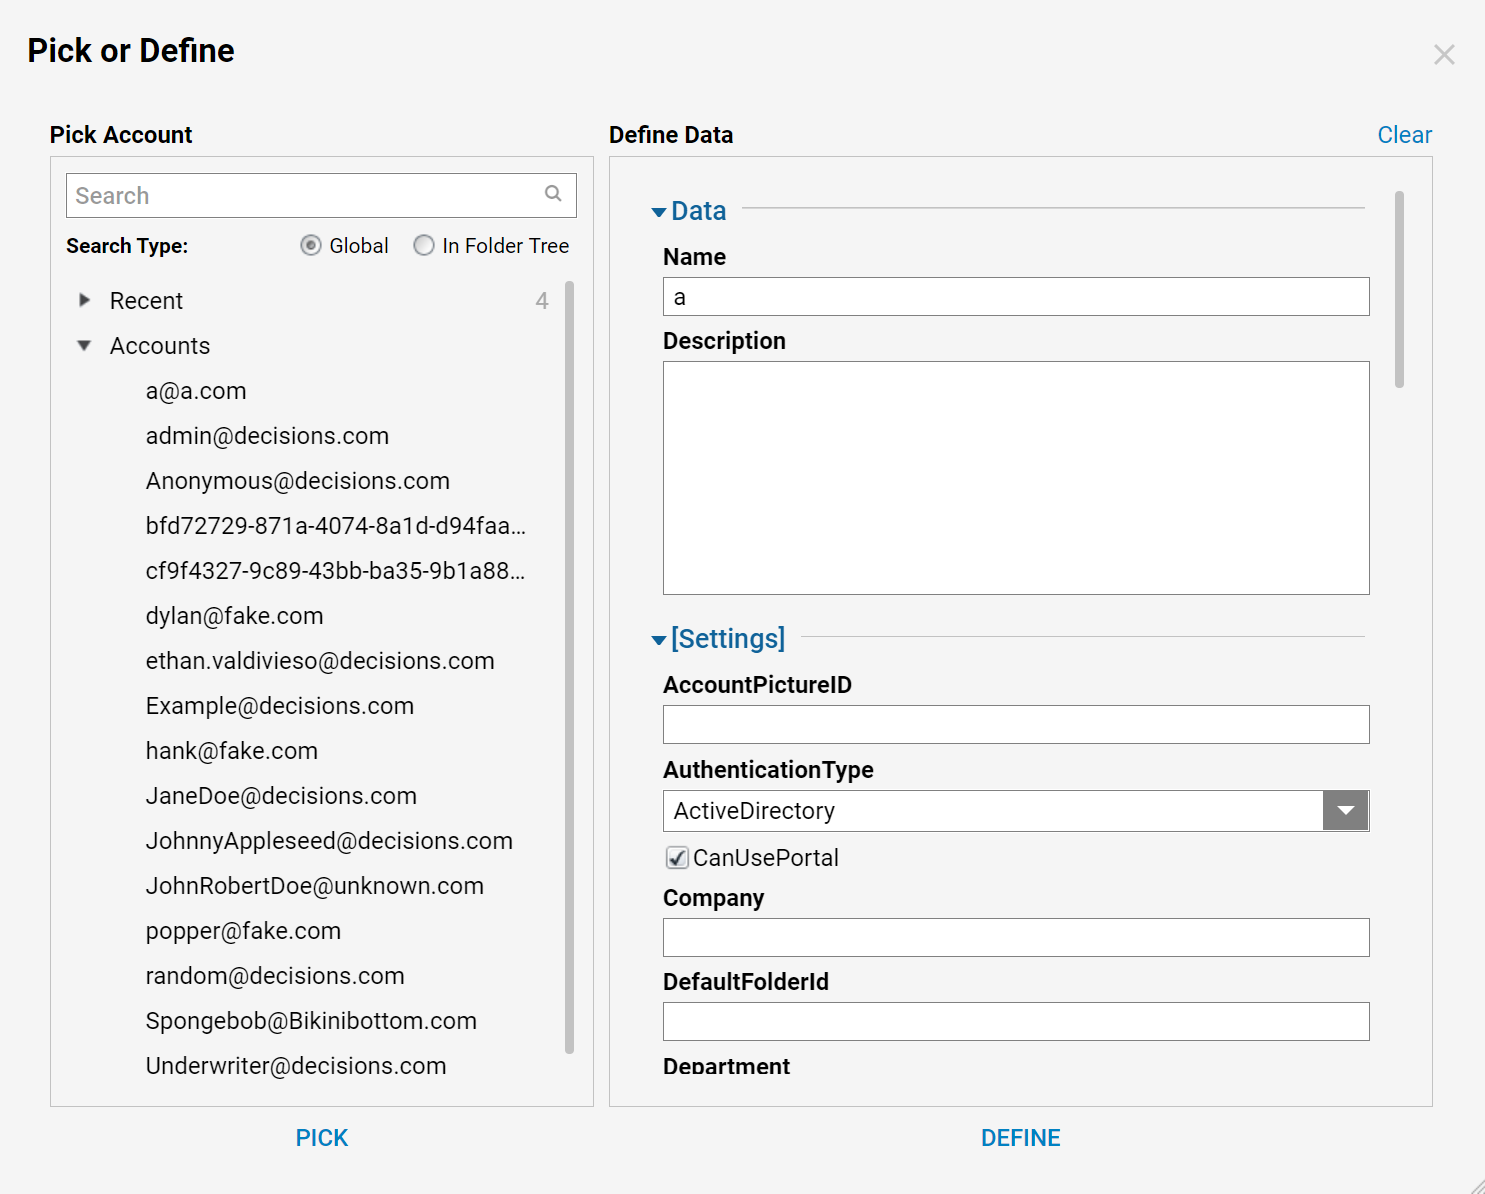
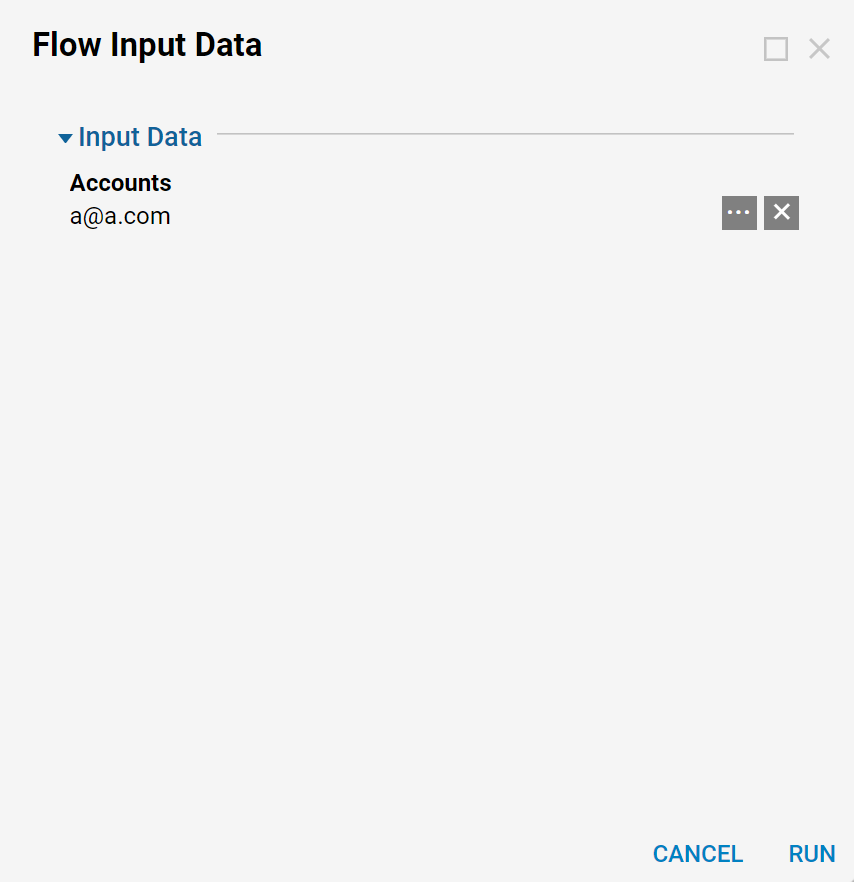
The flow prompts the user to supply it with an Account object. Give it one by selecting the accounts selector.
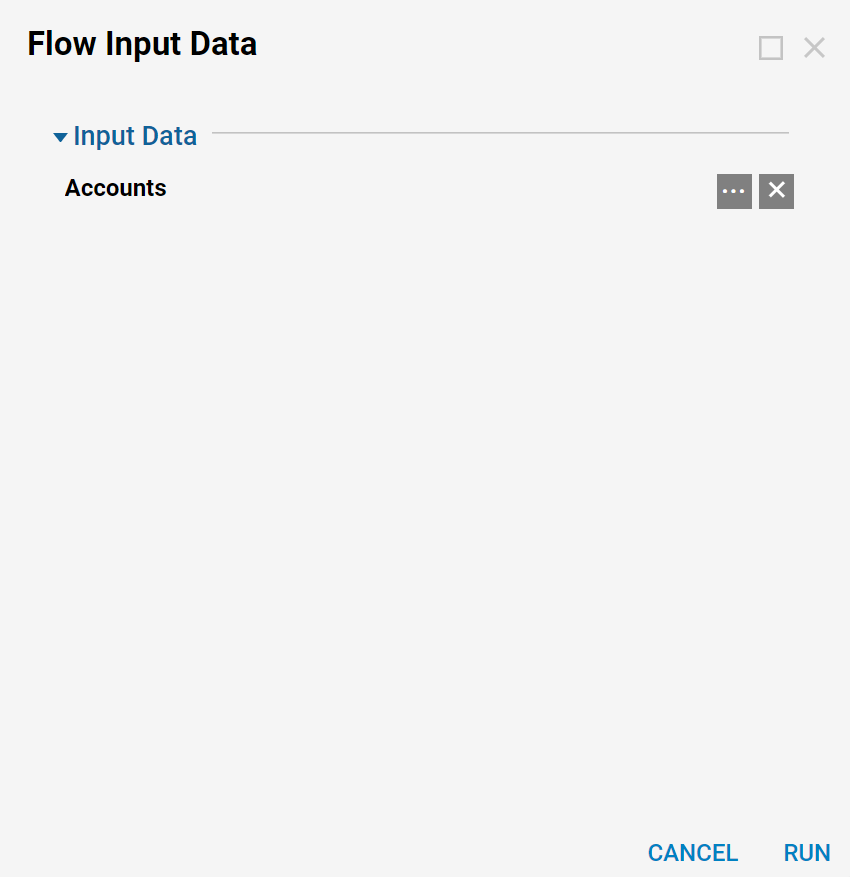
In the resulting dialog, there is a mostly undefined Account object. It is defined by properties that are organized under three headings - [Unclassified], Entity Information, and Person Info.
To be a valid Account, some properties must be defined before it is passed to the form. The first is EmailAddress. The form won't be validating whether this is a valid email address, only that something is provided.
Define this account's EntityName as "a" and click Define.
With the example Account object defined, run the flow by selecting the Run button.
The first section of the form corresponds to the first section of properties belonging to the example Account object.
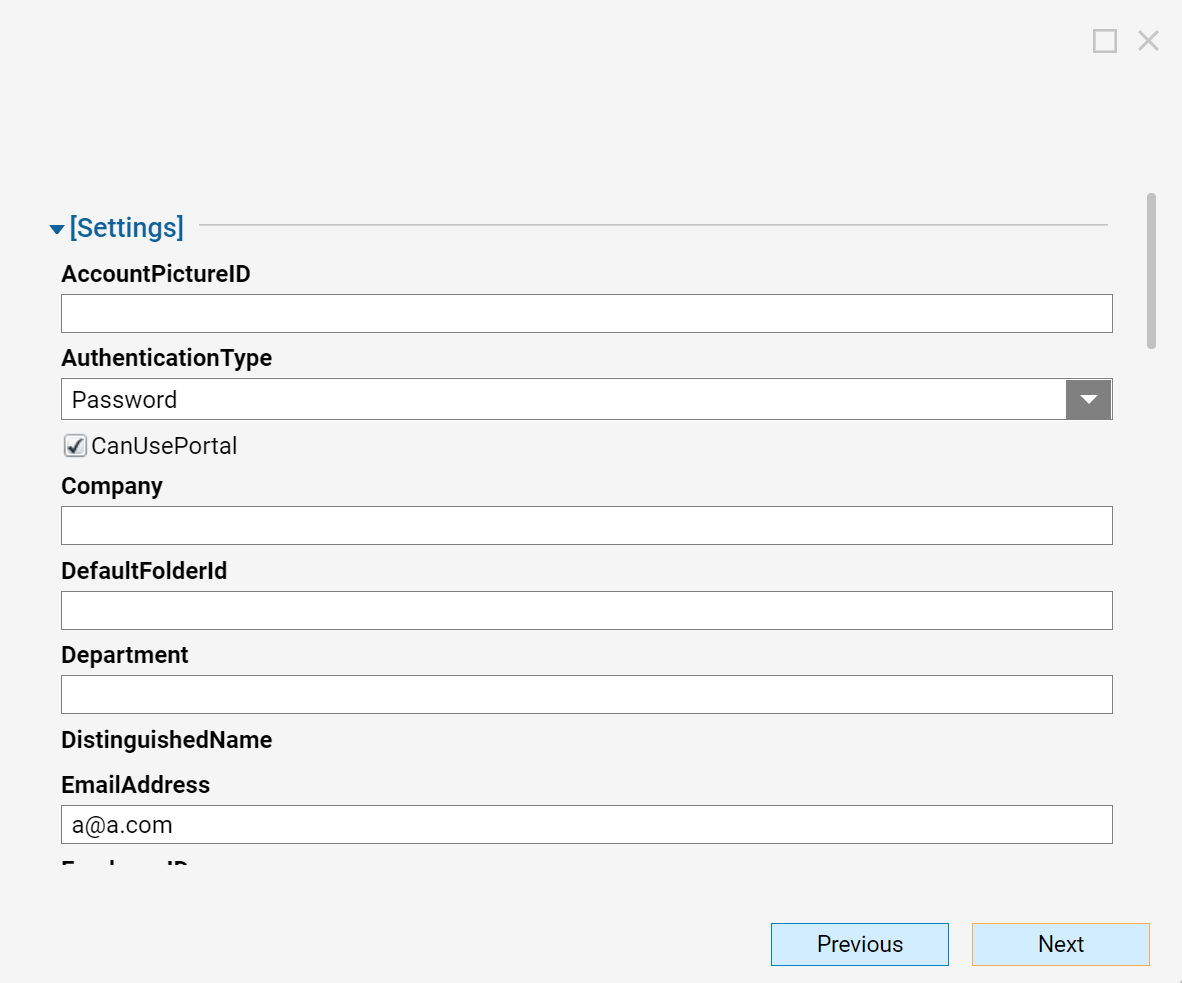
To view the next section, select the Next button.
The second section of the form corresponds to the example account's second section of properties.
Select the Next button again.
This is the final section of the account's properties. Select the Done button to complete the process of editing this Account object.
