Overview
The Data Designer is a Designer Studio available in v.7x+ that allows users to create pre-configured sets of Input/Output Data via a drag and drop method that may be reused from Flow to Flow. This, in turn, allows users to define data more efficiently and consistently each time.
In the Data Designer, both Simple and Composite Data Types may be referenced and defined by moving them from the Toolbox into the workspace to comprise a Design Pattern. Once the configuration is saved, selecting the CREATE EXAMPLE DESIGN PATTERN button and choosing an element will automatically preload the Example Design Pattern with data from the new Design Pattern.
The following document demonstrates how to utilize the Data Designer to create a Design Pattern for use in future Flows.
Decisions Studio Interface
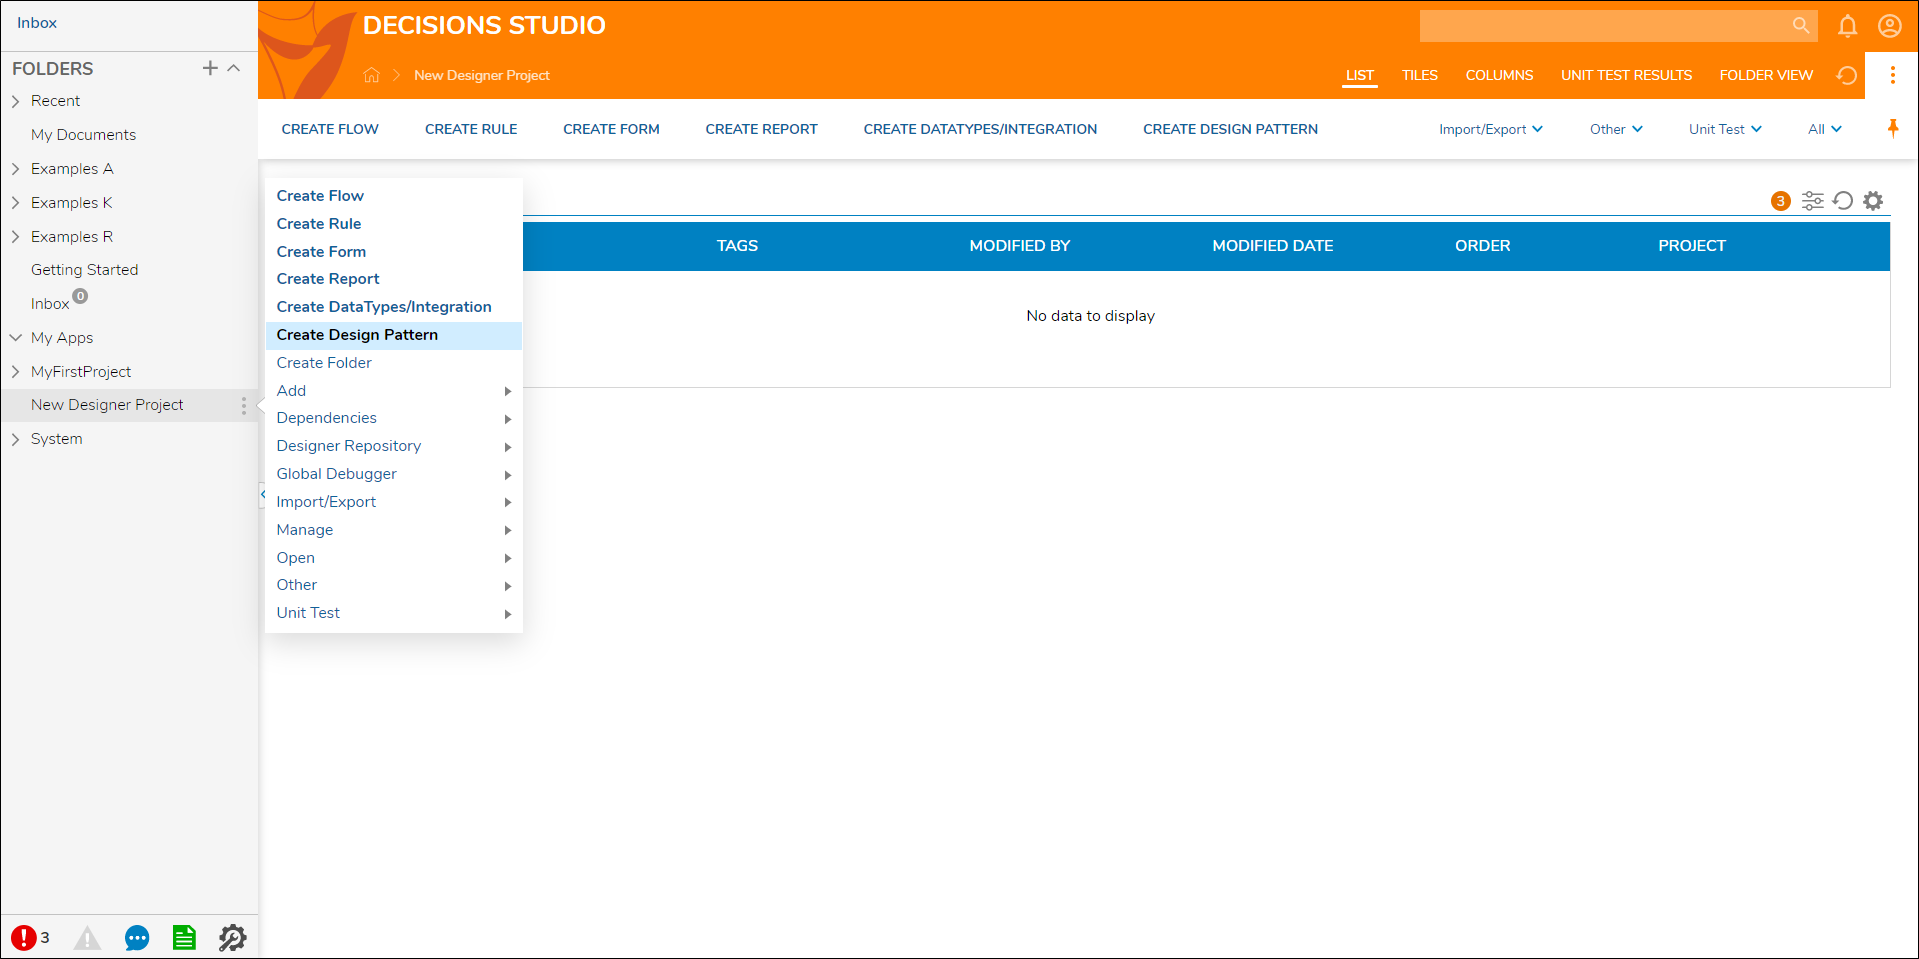
- Select the vertical three-dot icon next to the name of any Designer Project in the FOLDERS list.
- When the Action Menu appears for the Designer Project, select Create Design Pattern.
- Provide a name for the Design Pattern then select CREATE
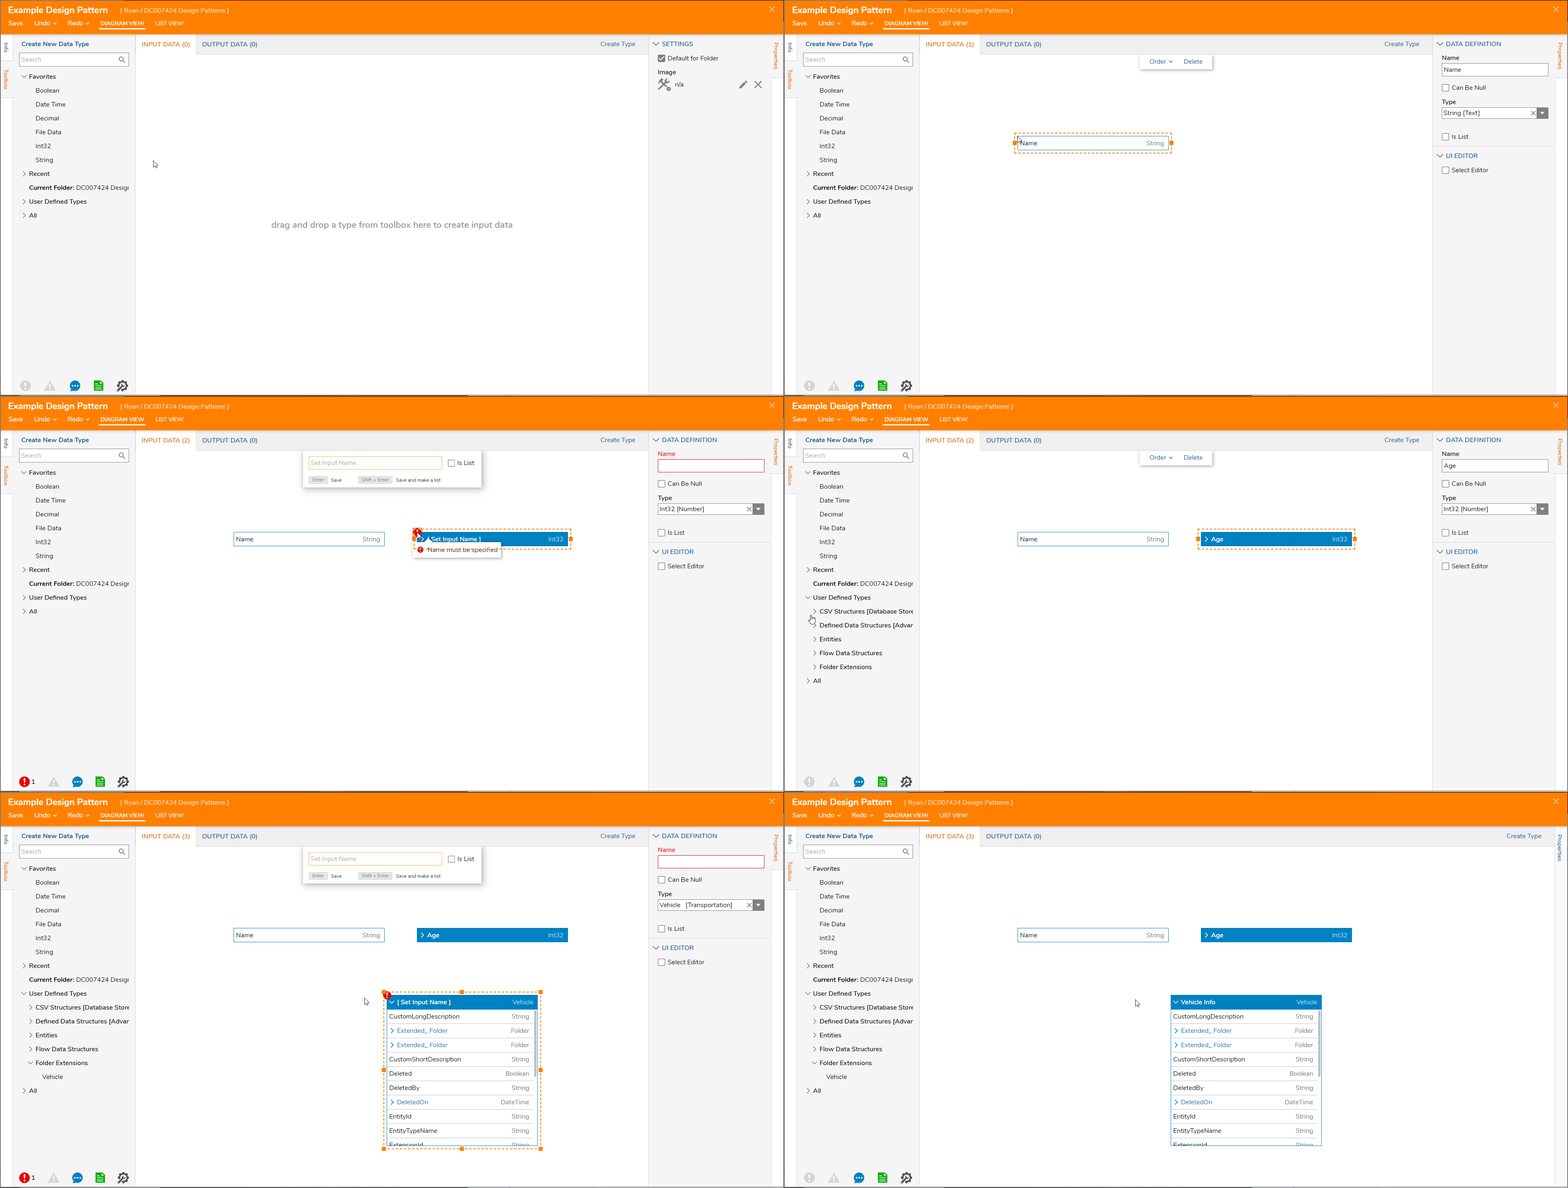
- Simple data types can be moved from the Favorites section of the Toolbox into the workspace, then a dialog will appear prompting to set the input name. In the example below, a String value called Name and an Int32 value called Age were added to the Design Pattern.
- User-defined composite data types can be added to the Design Pattern using the same method. The Vehicle structure was moved into the workspace from User Defined Types > Folder Extensions in the Toolbox.
- There are two tabs that allow for INPUT DATA and OUTPUT DATA setup. This data is going to automatically populate in the Designer of any element created from it.
- Once the Design Pattern is saved, it will appear in the Designer Project with new actions on the top Action Bar.
- Select CREATE EXAMPLE DESIGN PATTERN and choose an element to create.
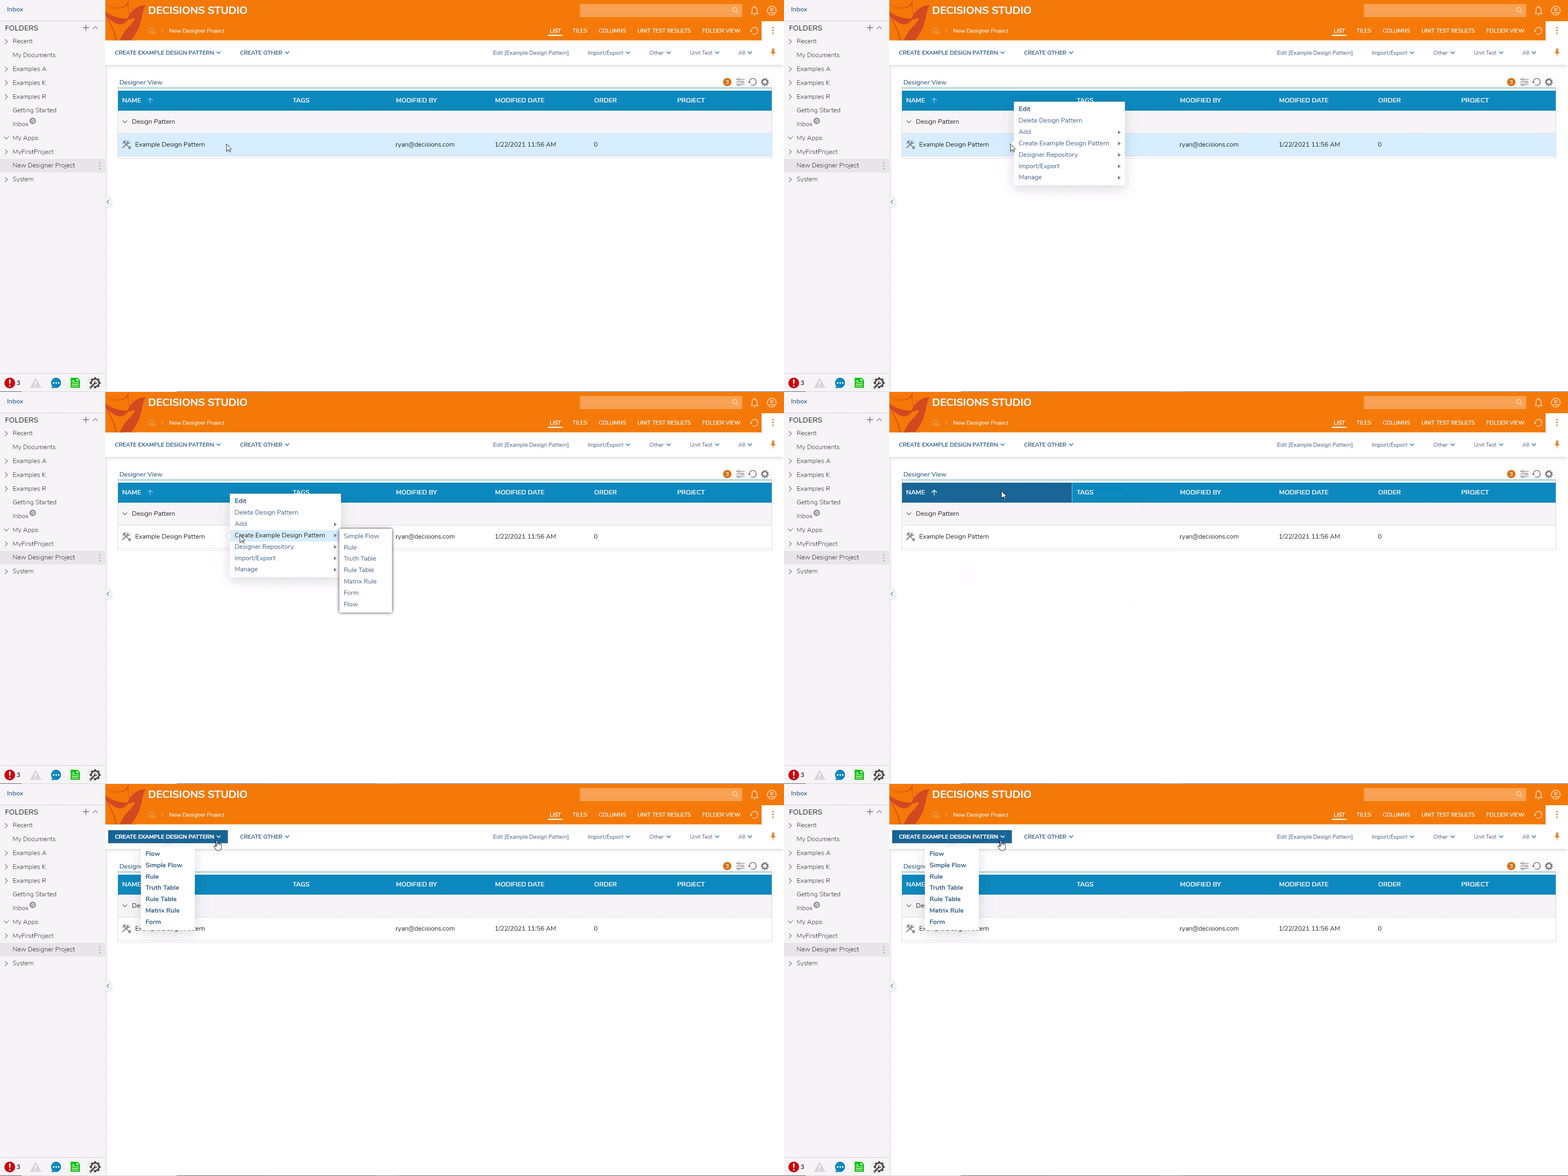 Note on CREATE [NAME OF DESIGN PATTERN]Selecting an option from CREATE [NAME OF DESIGN PATTERN] will result in a new element based on the initial Design Pattern. This is indicated by the Name of the Parent Pattern above the Name input box.
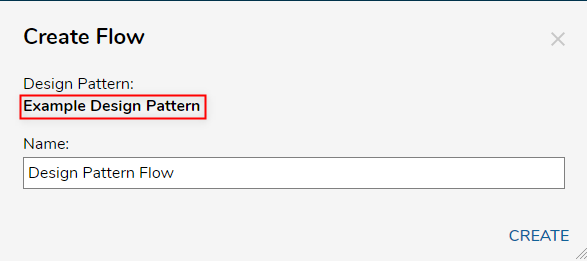
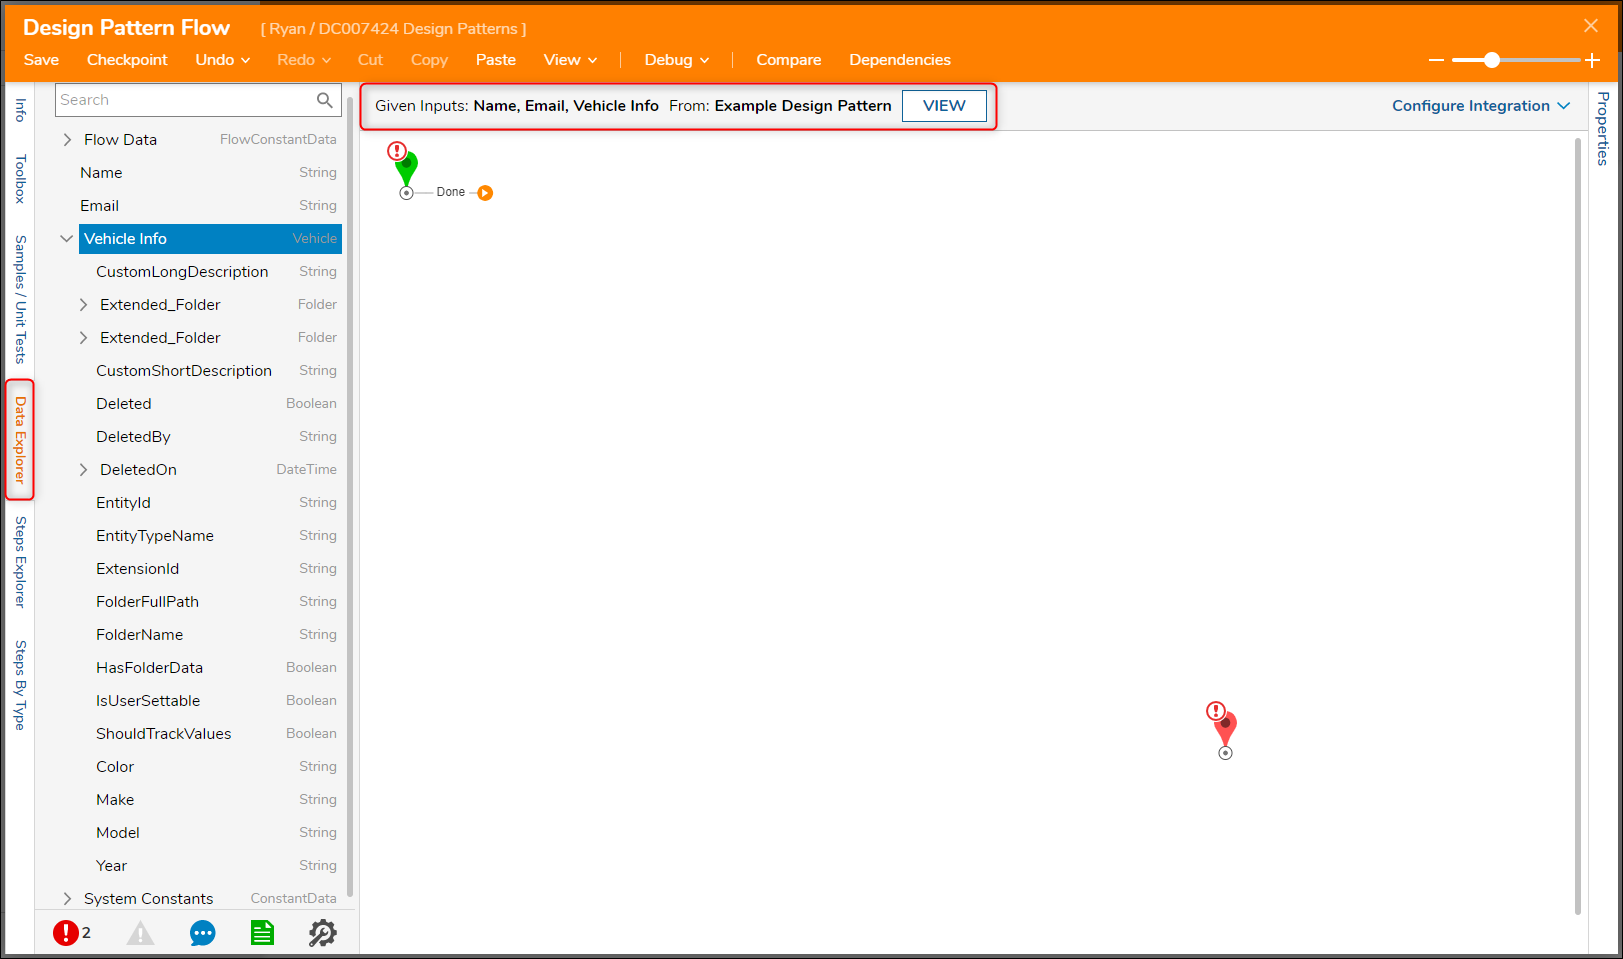
Once an element is selected, the user will be directed to the Designer for that element. The Design Pattern will automatically populate the Designer with the corresponding input/output data.
- Access the Data from the Data Explorer tab and if desired use it to configure values on Flow steps; this concept would still apply if the Design Pattern were used for a Form, Rule, Truth Table, etc.
Create Other
Selecting CREATE OTHER allows users to CREATE an object that isn't based upon the current Design Pattern. This may be another Design Pattern, a Flow, a Rule, a Form, a Report, or a DataType/Integration..png)
Upon selecting any option that isn't a Design Pattern, users are provided the option to either select to Create New to create the object without a Design Pattern, or Use Default Design Pattern which uses the Folder's Default Design Pattern.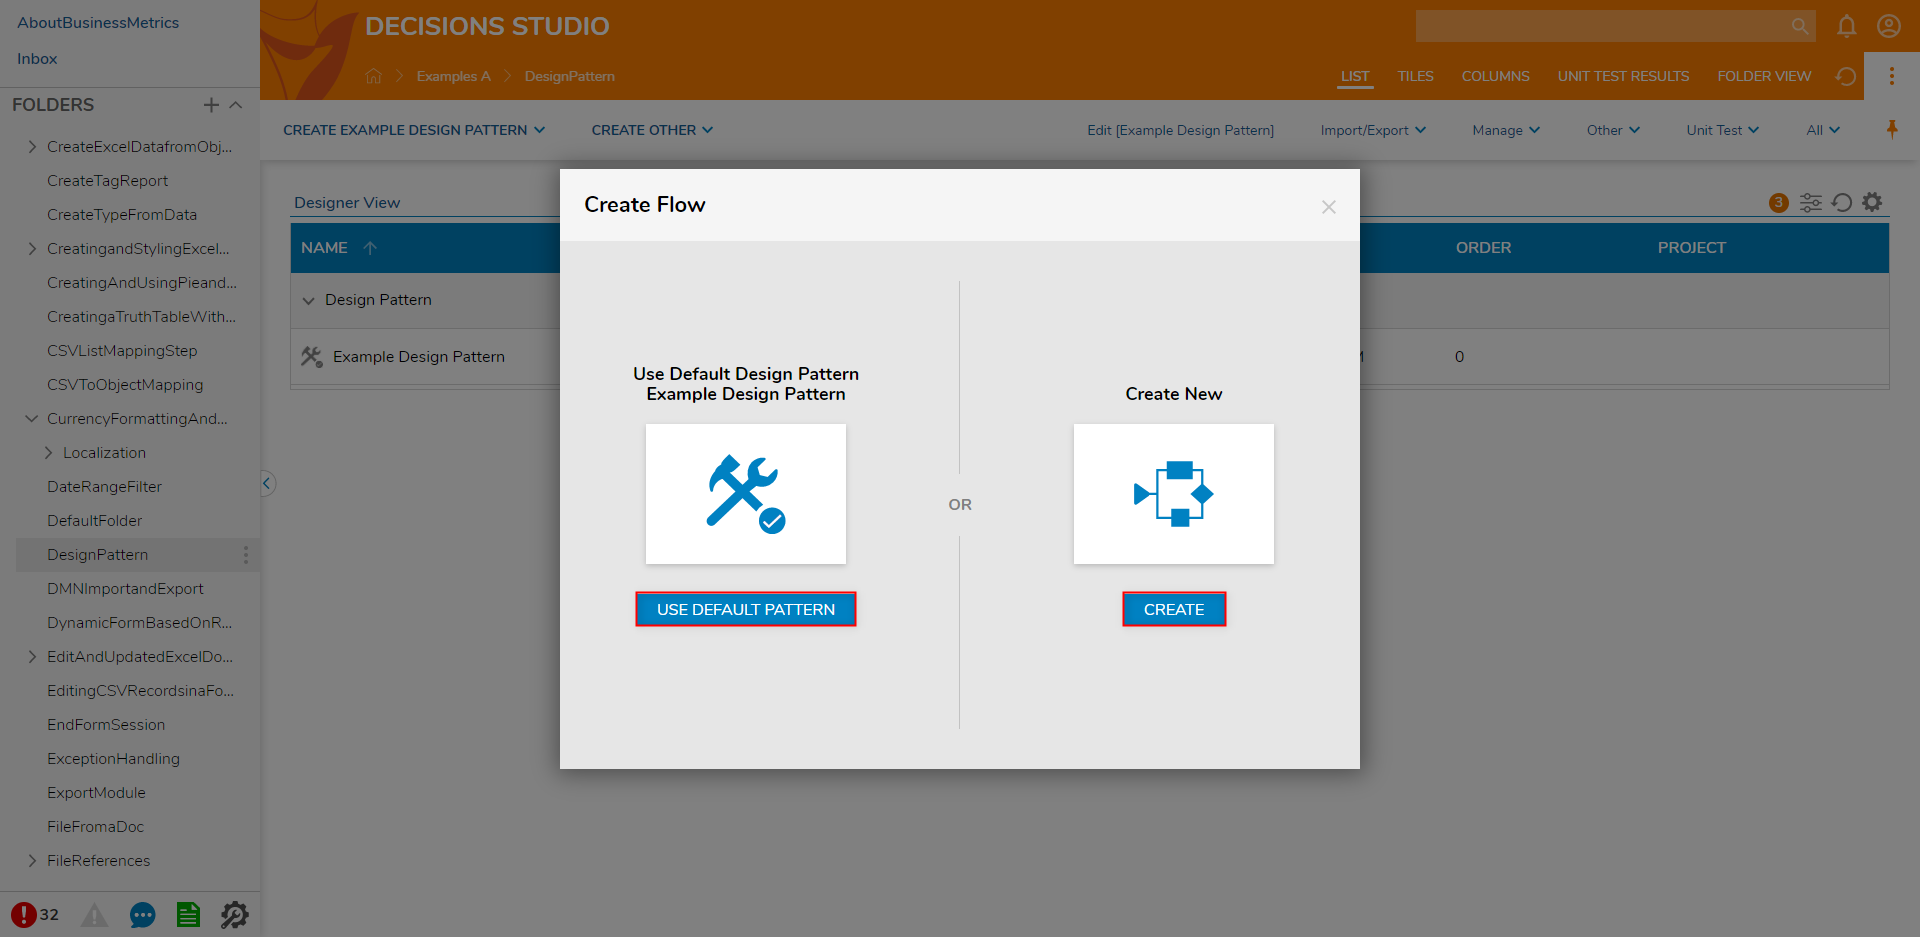
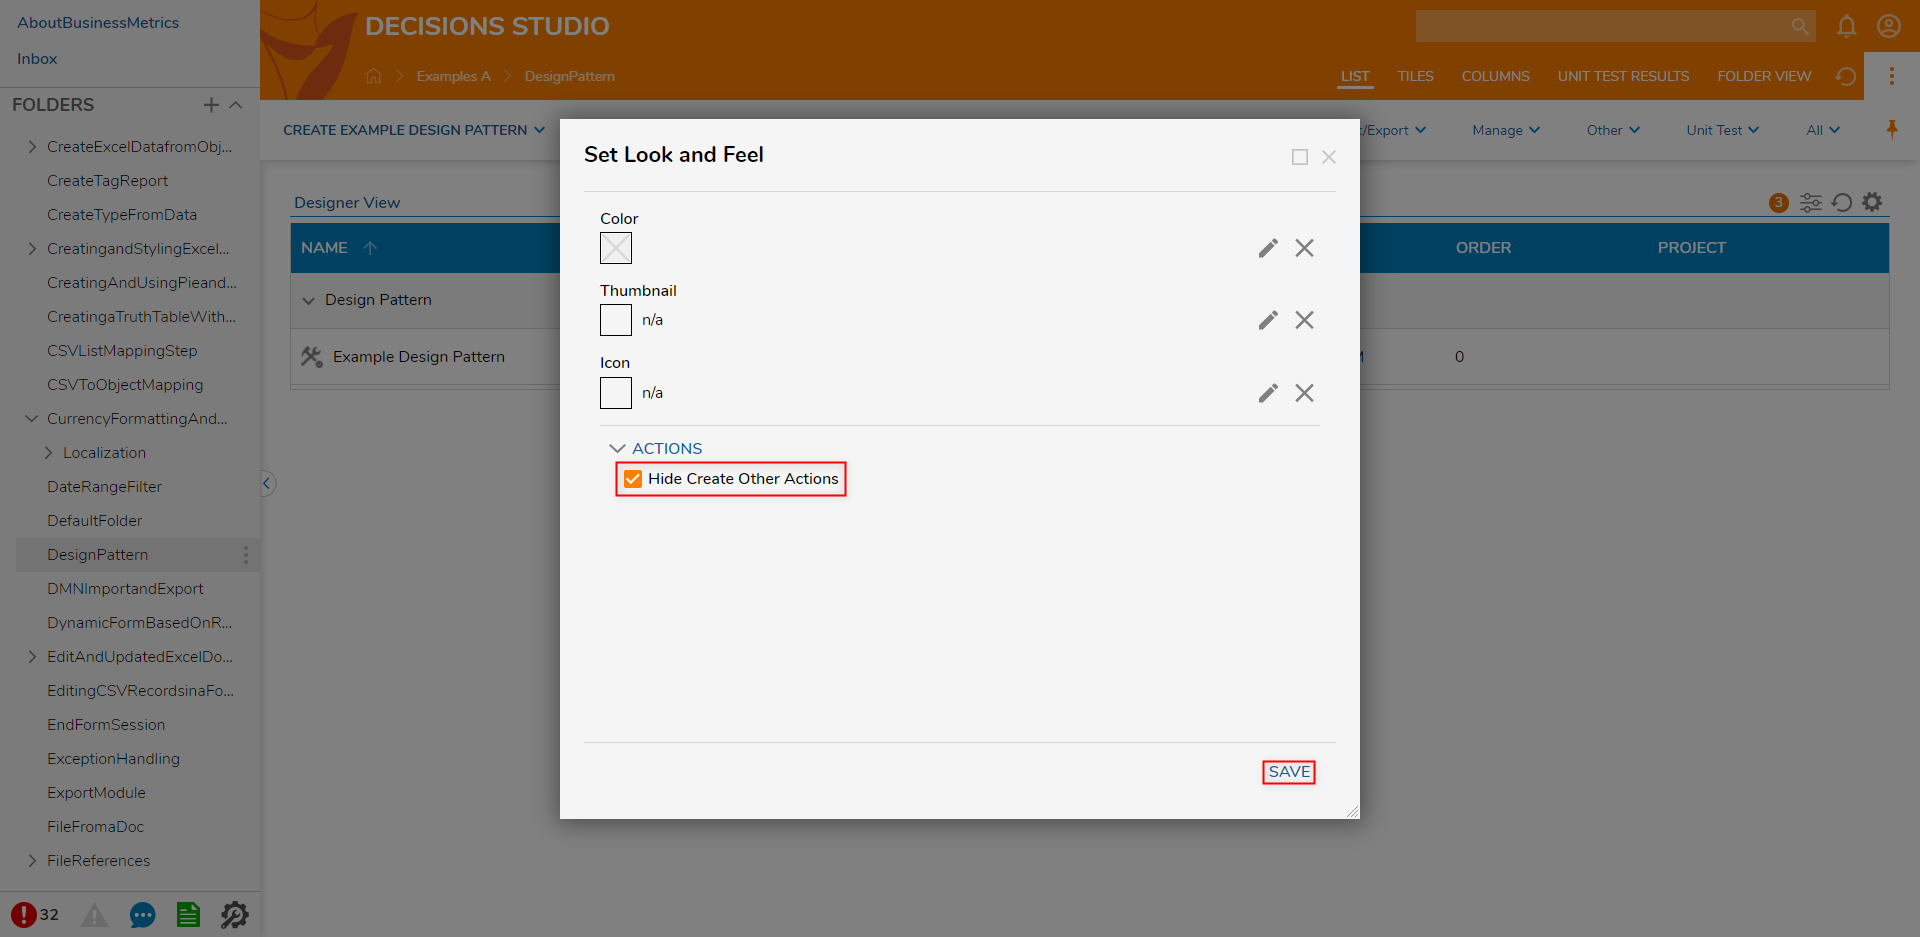
Hide Create Other Actions
- From the Designer Project and navigate to Manage > Set Look and Feel.
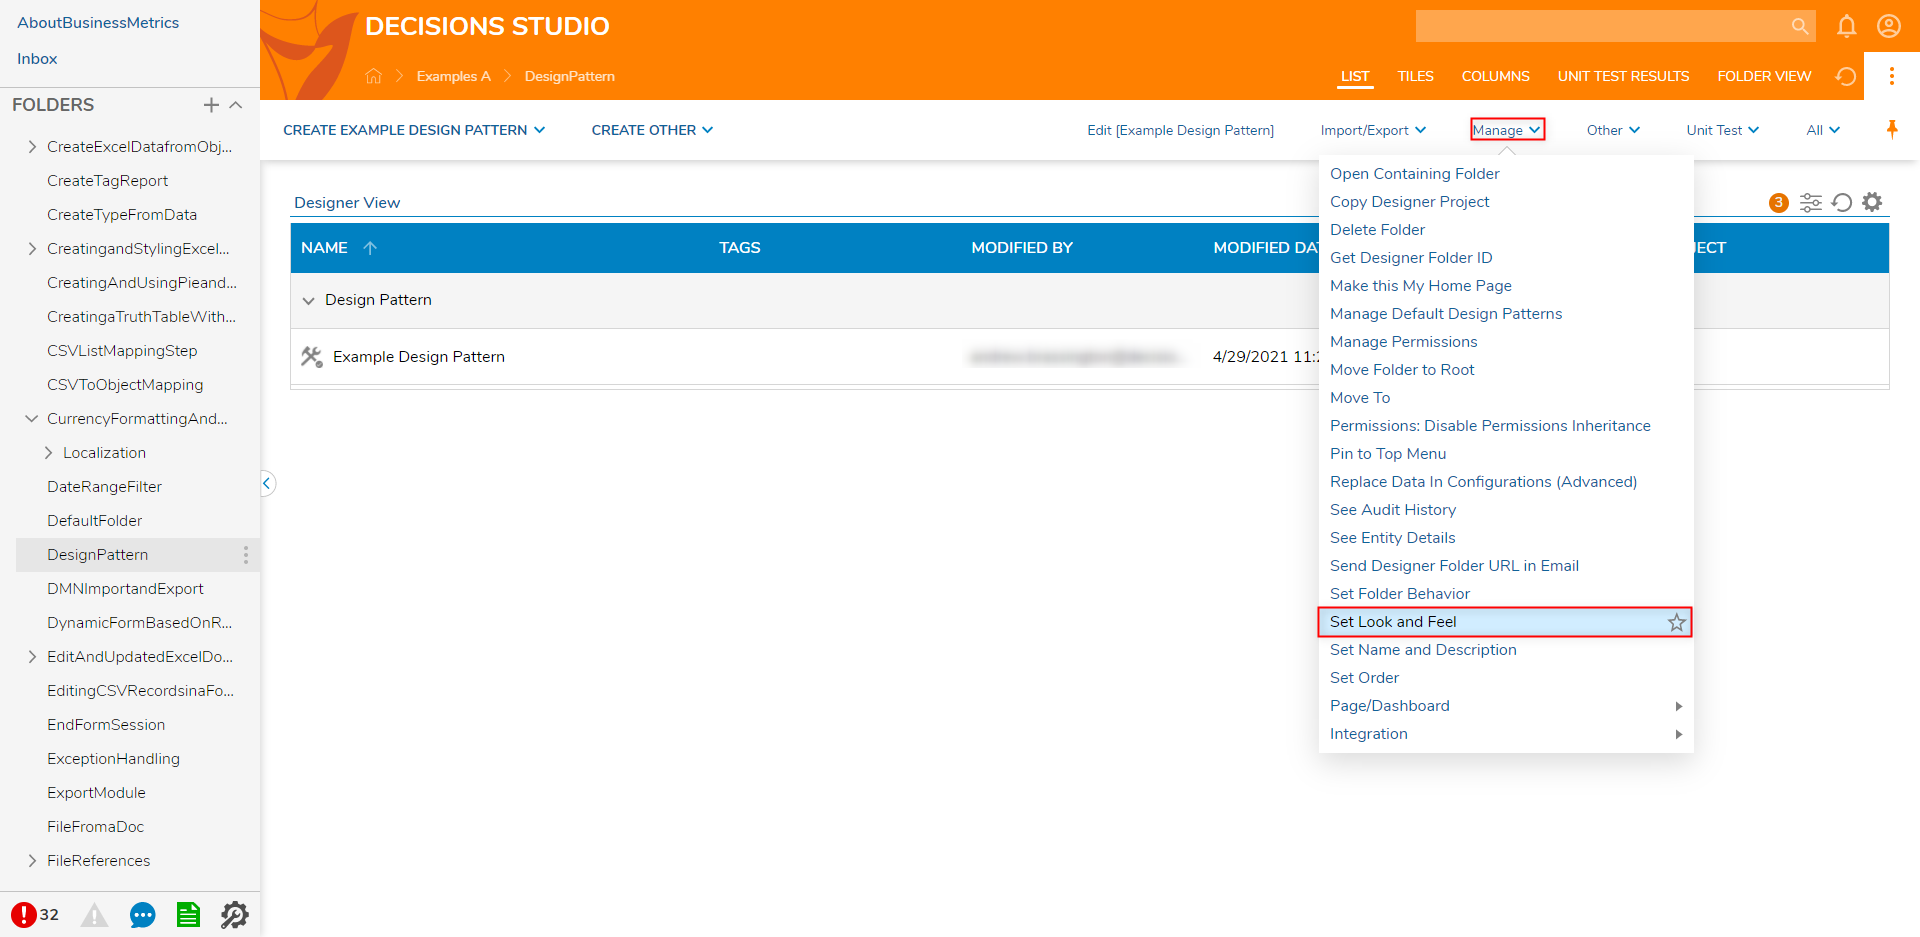
- Toggle the HideCreate Other Actions option, then click SAVE.
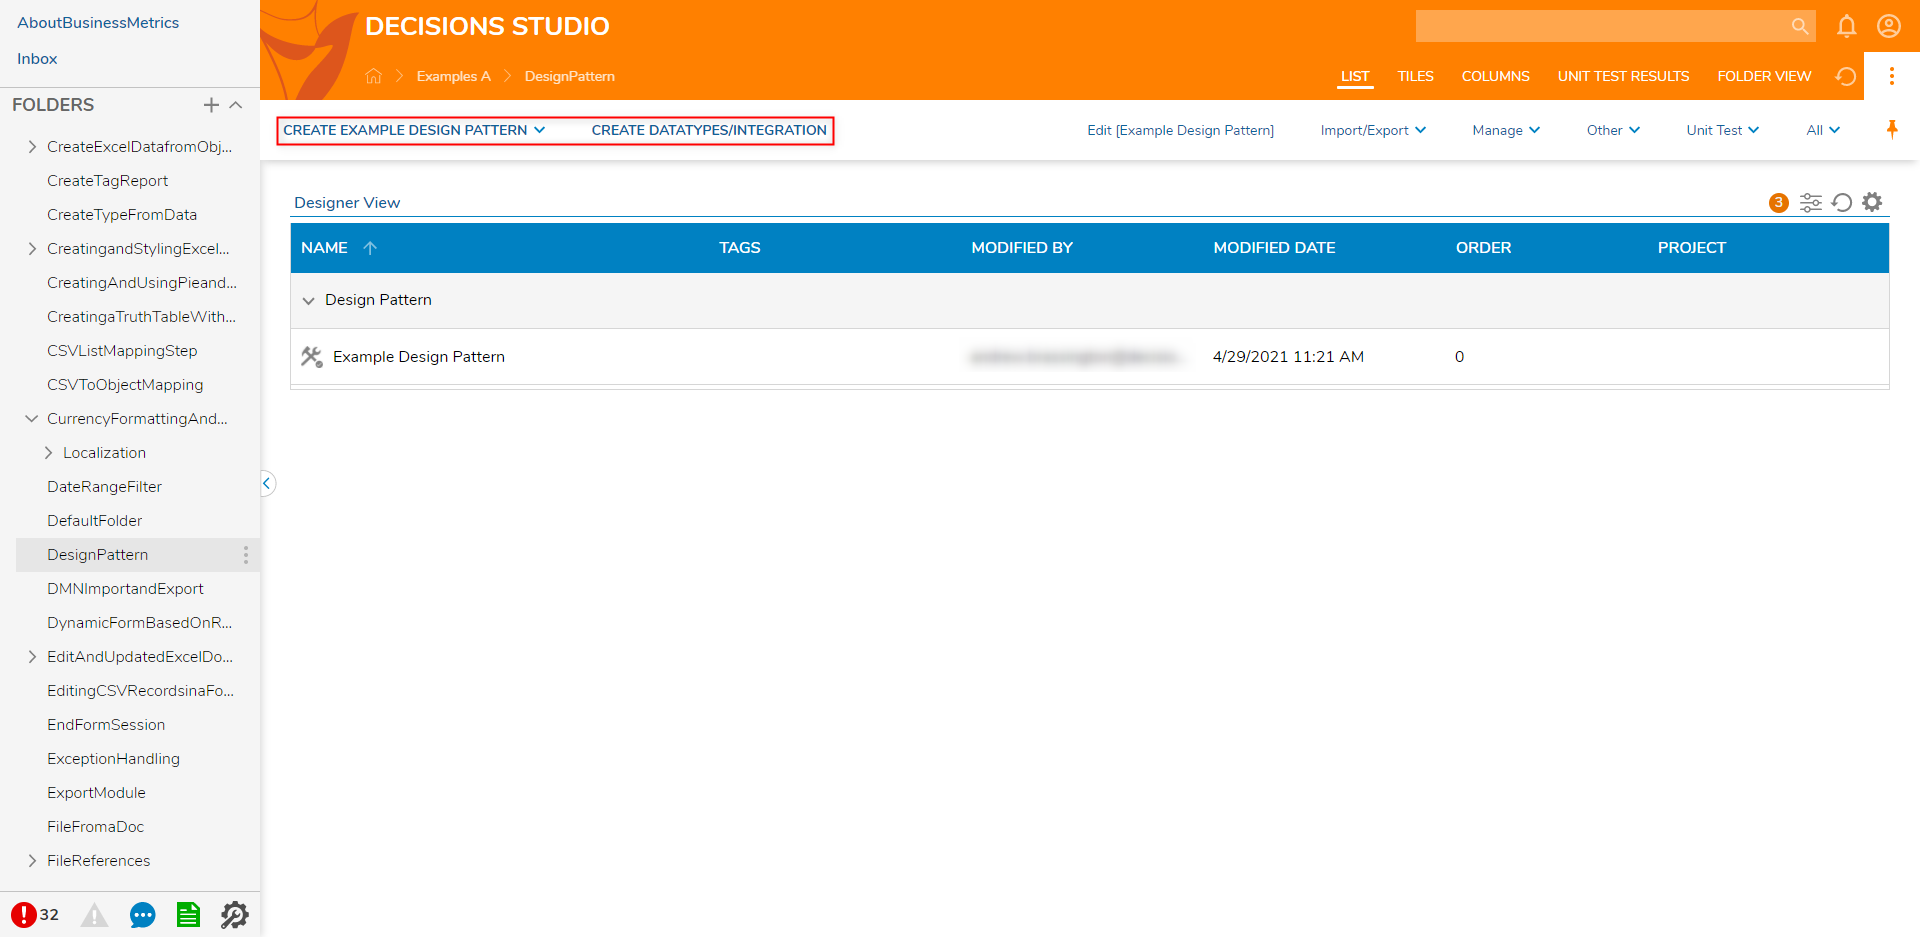
 ResultsEnabling Hide Create Other Actions and saving will result in the removal of the CREATE OTHER Action from the Global Action Bar.
Removing Design Patterns
To remove a Design Pattern or edit Input/Output data from a Flow that was created with a Design Pattern:
- Open a Flow/Form/Rule etc. that utilizes a Design Pattern.
- From the corresponding Designer, under the top Action Bar, click the VIEW button.
.png)
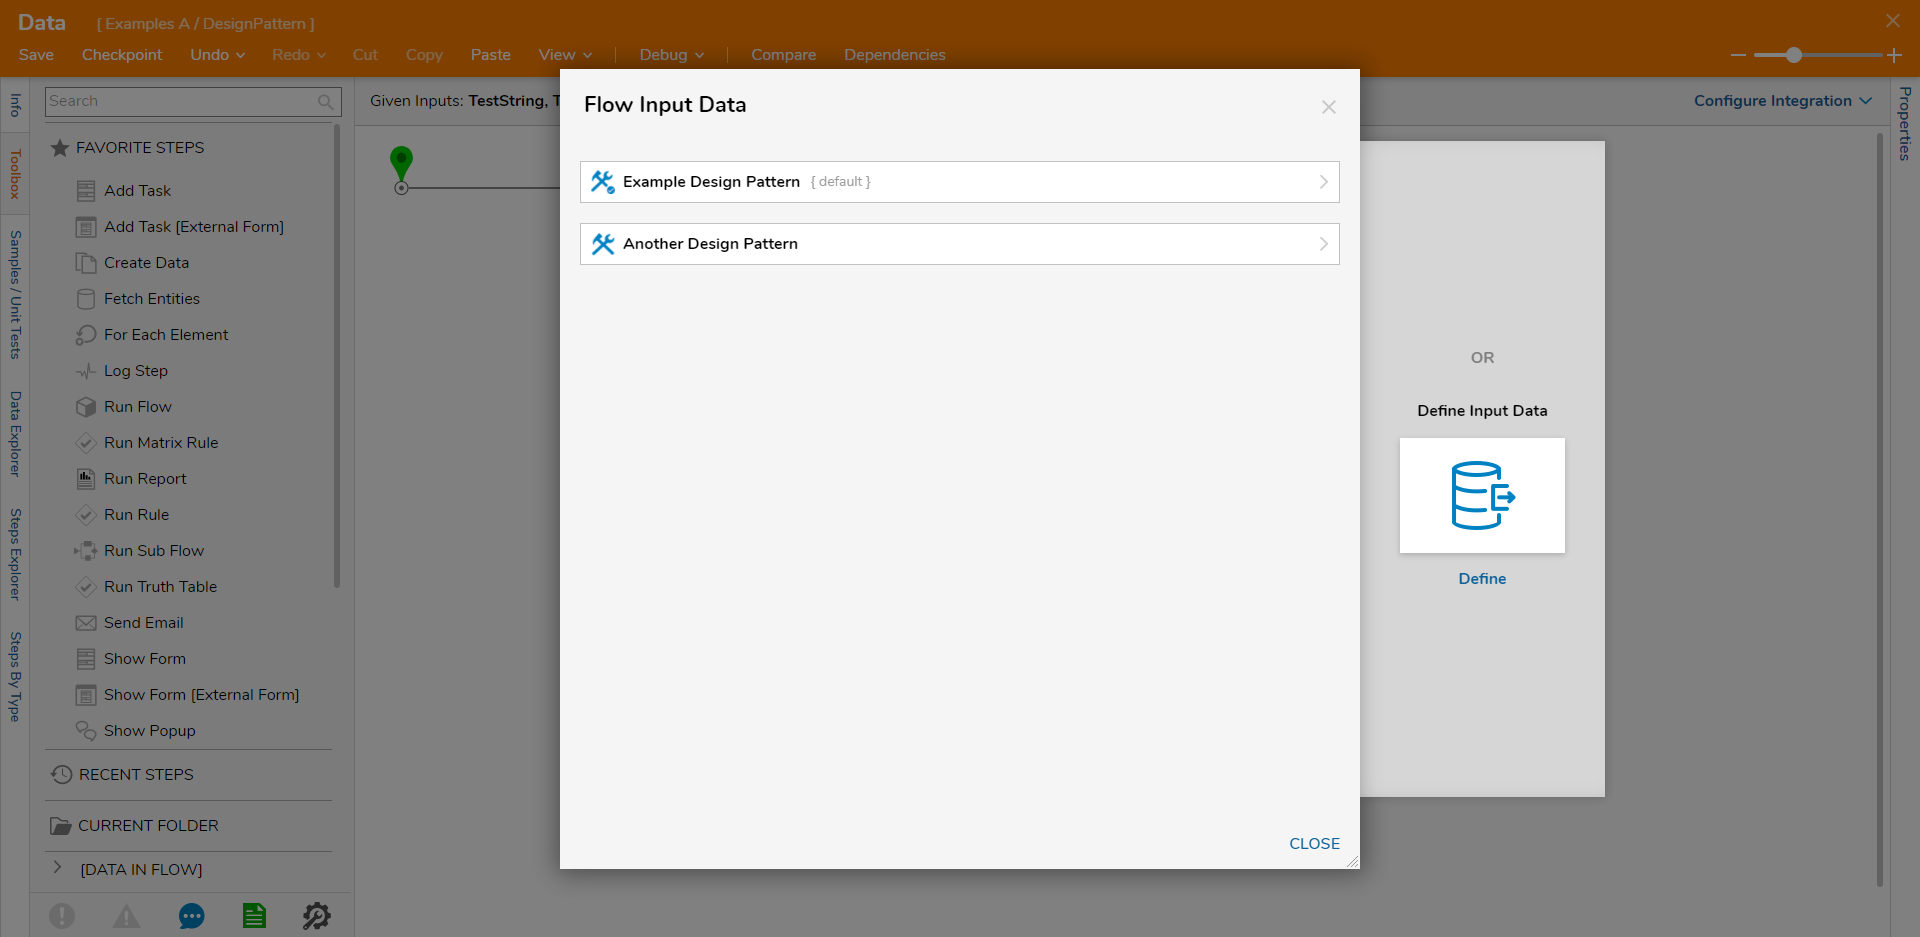
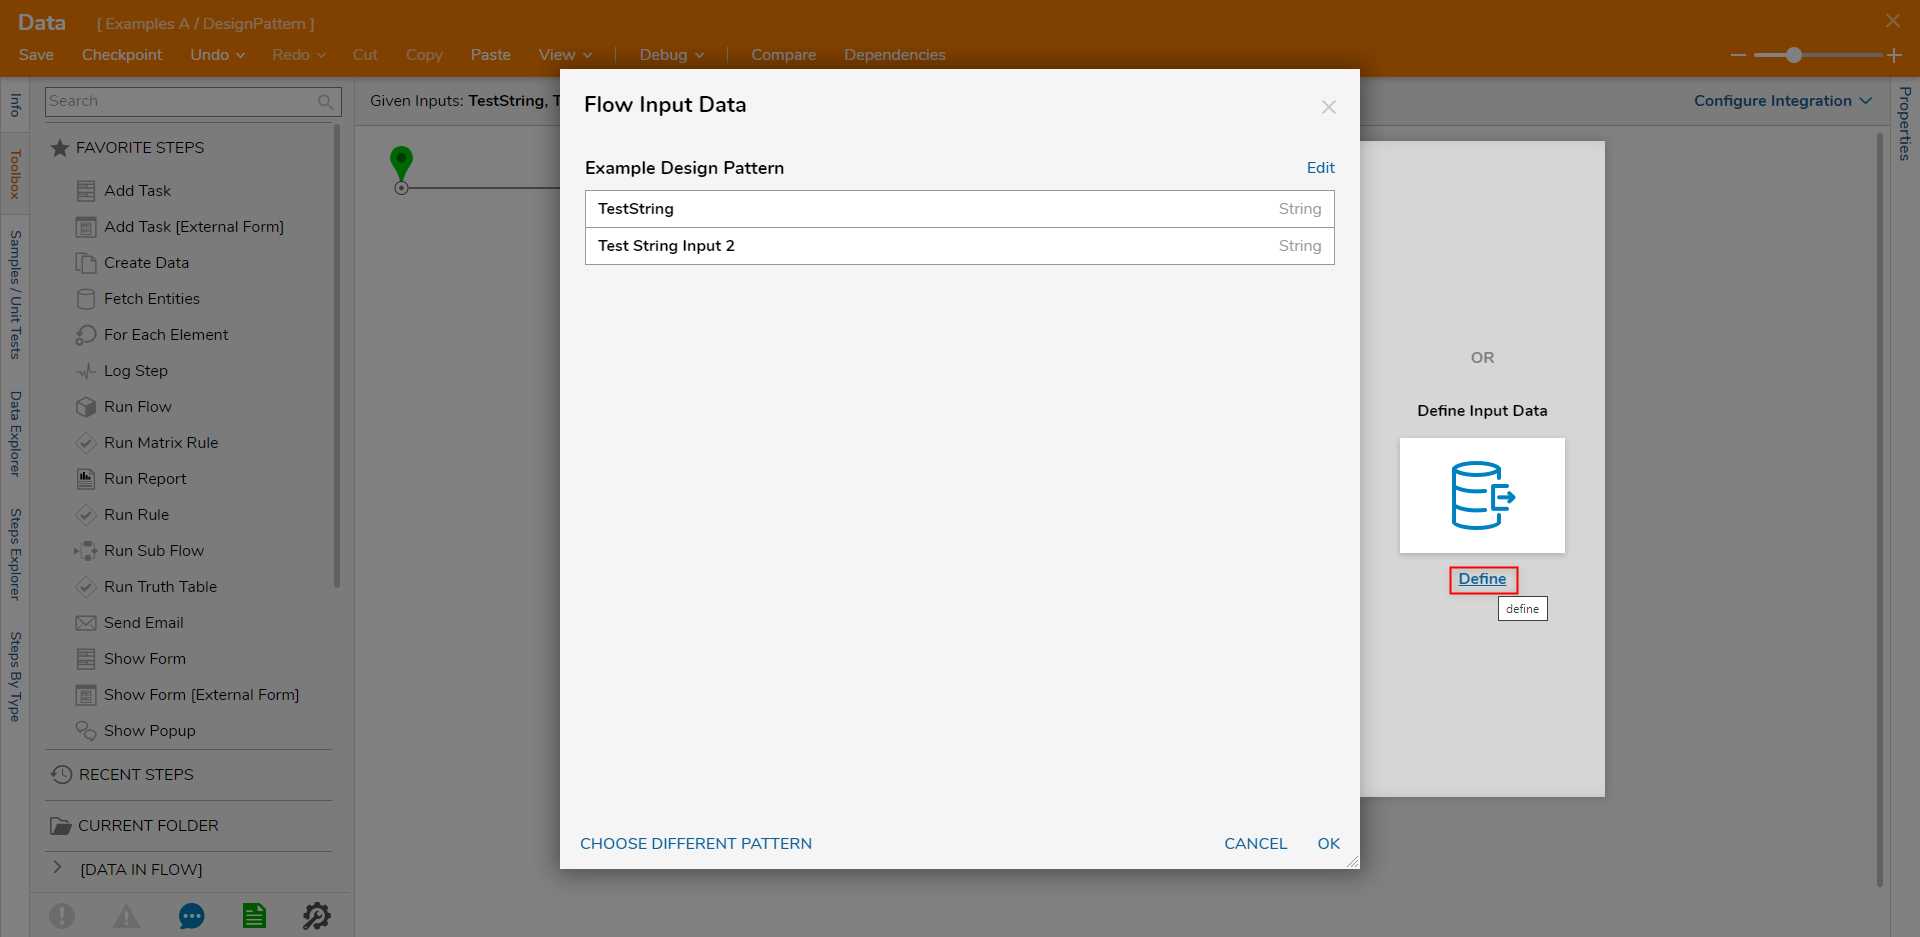
- From the Flow Input Data window, on the right-hand side, click Define. Changing Design PatternsIf desired, users may switch Design Patterns by selecting the CHOOSE DIFFERENT PATTERN button and then selecting the desired Design Pattern.
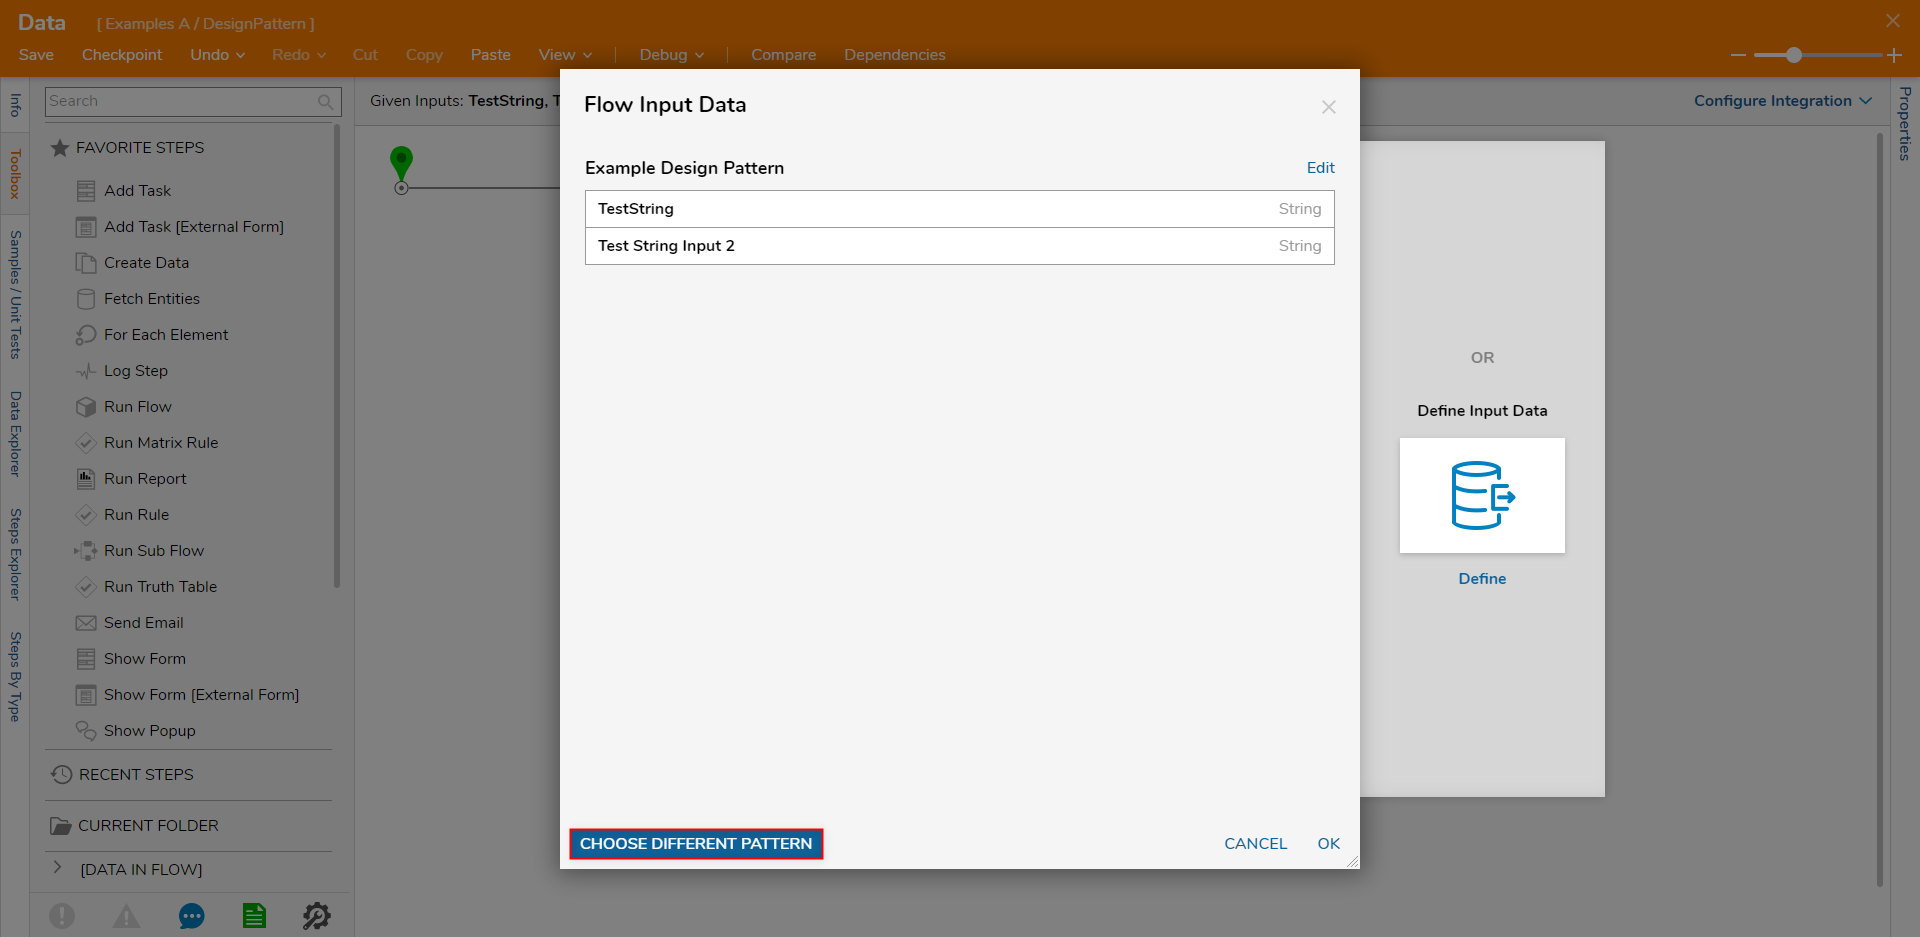
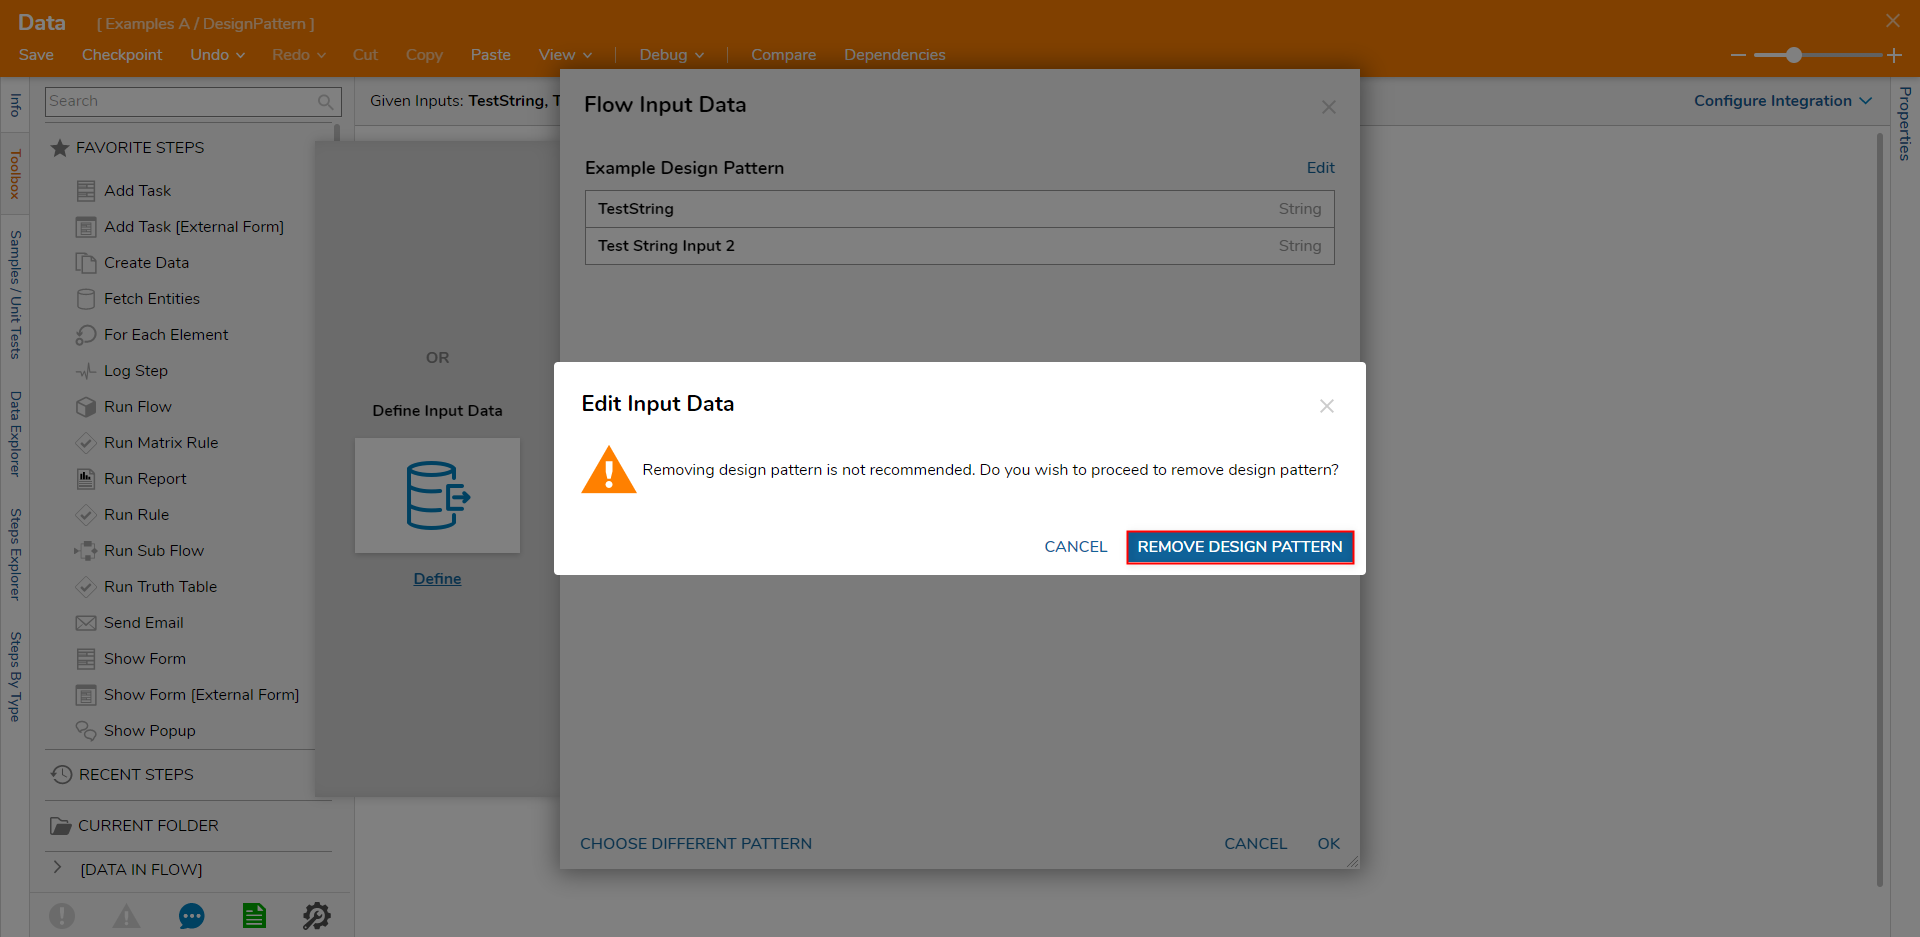
From the Edit Input Data pop up, confirm the removal by select REMOVE DESIGN PATTERN.
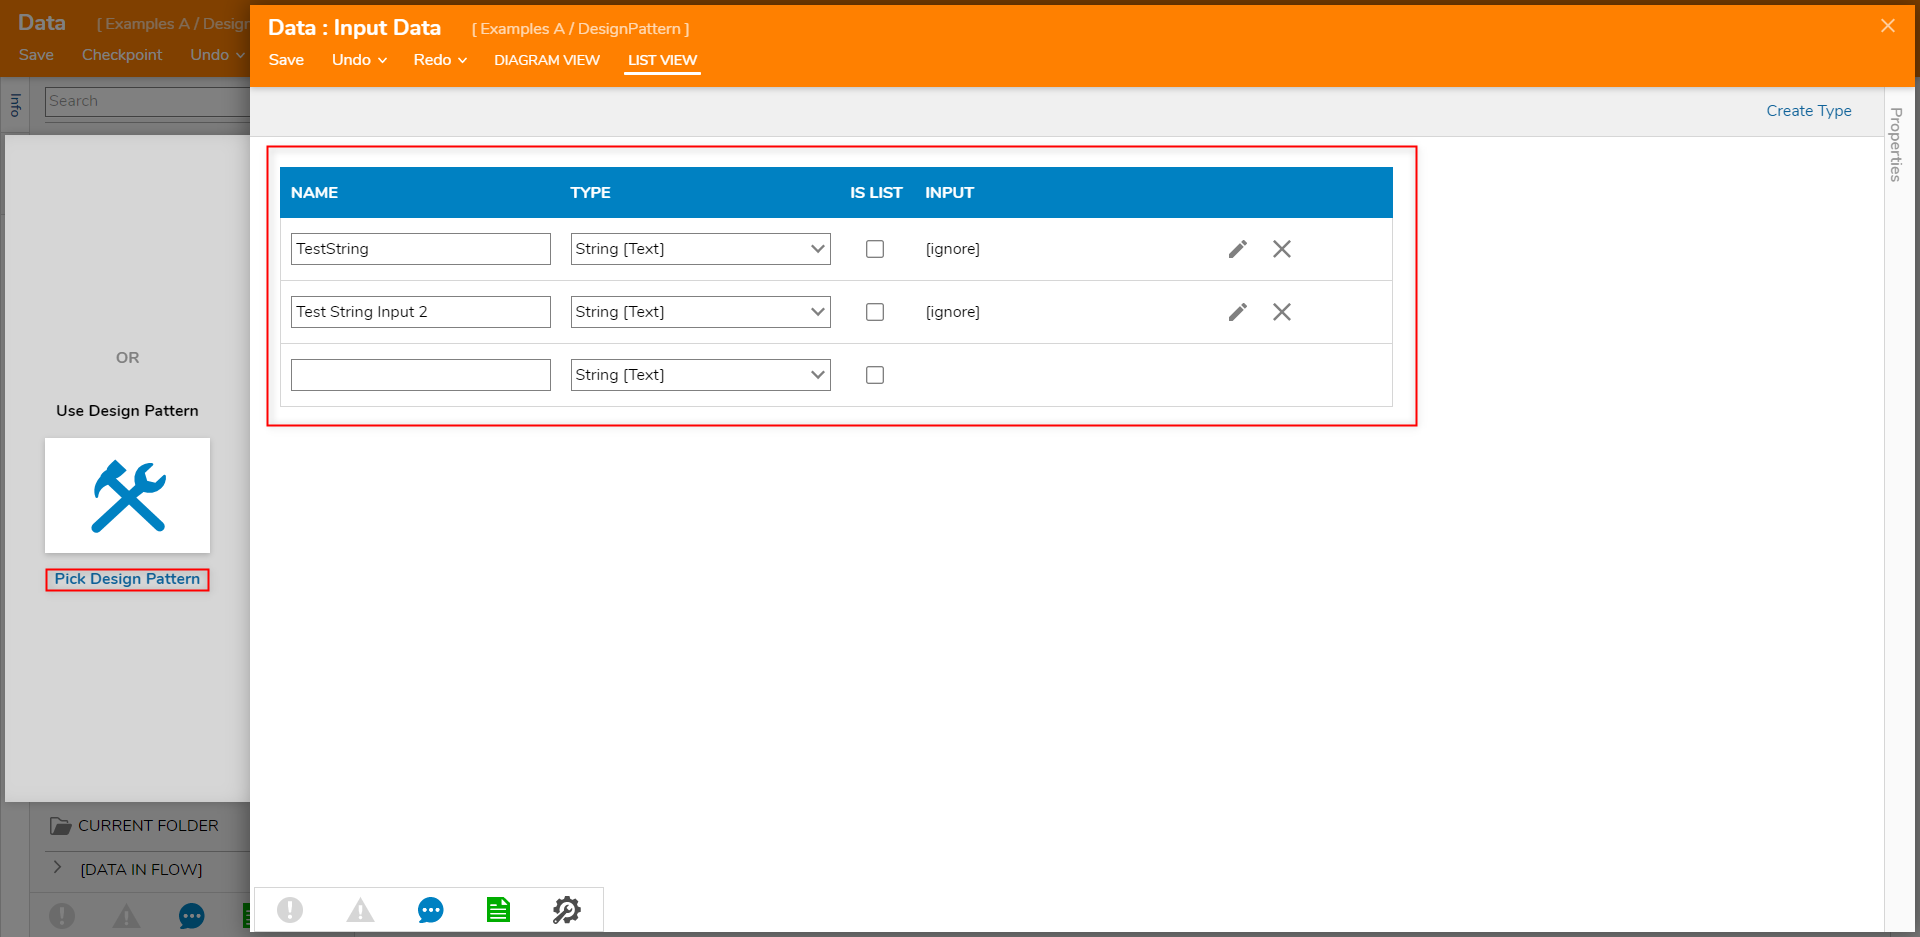
From the Input Data window, reconfigure the Data to the desired specifications, or click Pick Design Pattern and select a different Design Pattern.
