Overview
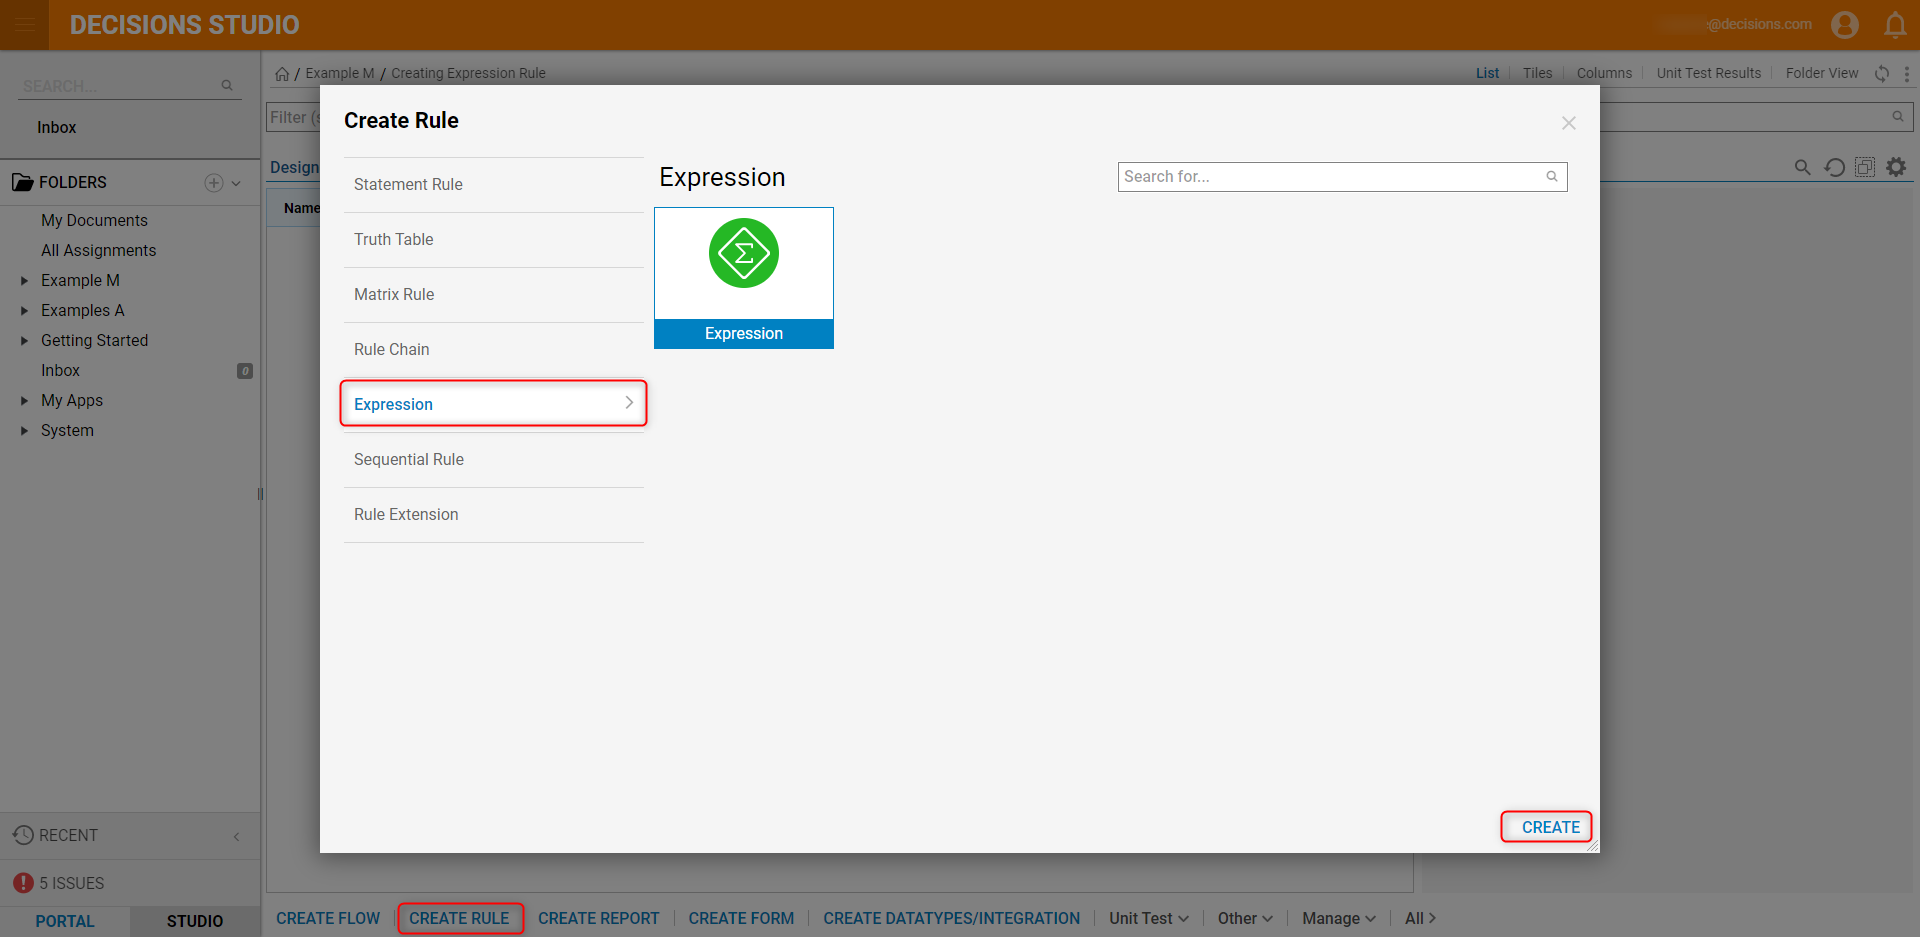
An Expression Rule allows a user to create a Defined Expression Entity that can be used as a step for a flow with a Boolean outcome. To create one, click on Create Rule in the Designer Folder and pick Create Expression sub-menu. After the expression is created, you can locate it in the flow designer in the ToolBox under Integration > Expressions > [UserDefinedCategory] > [UserDefinedNameOfExpression].
Example
In this Example create an Expression Rule that will utilize a formula to calculate Vehicle's Breaking Distance to the object. Then create a Flow that will ask a user for the current speed and distance to the stop point. Next, it will tell the user if this distance is enough for the current speed to stop before the desired stop point. Below is a downloadable example to import into Decisions.
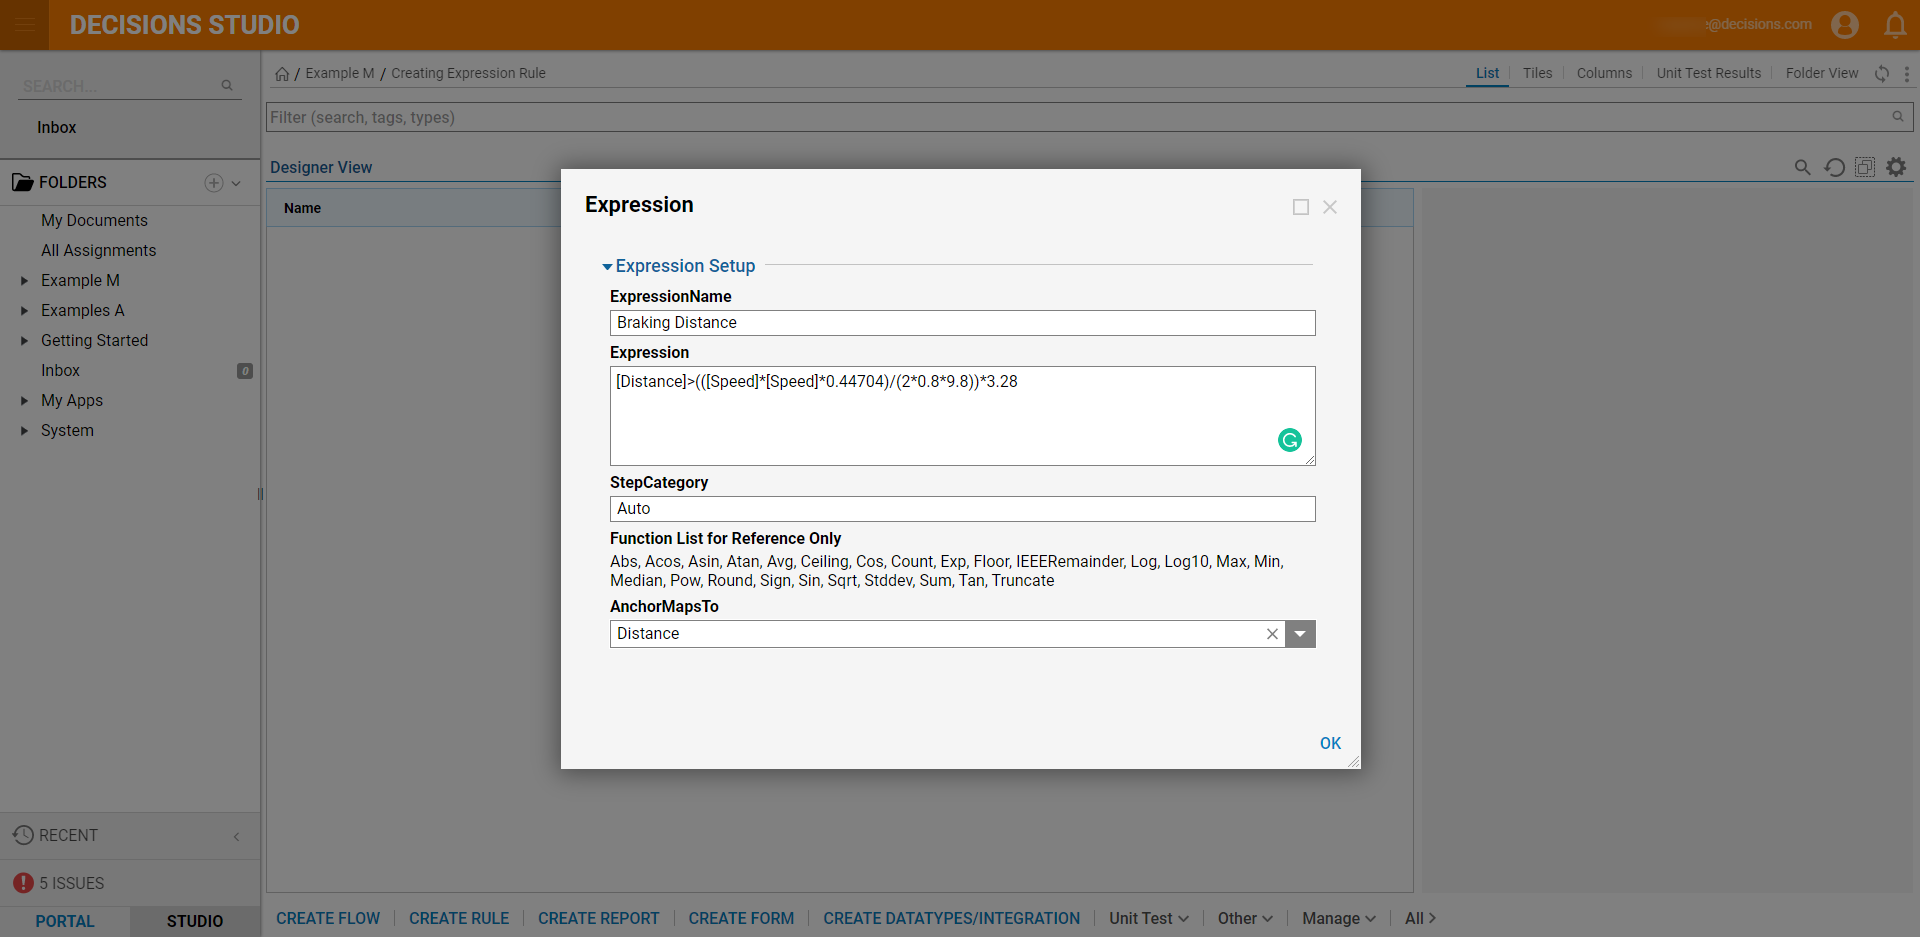
- Begin in a Designer Folder, click CREATE RULE. Select Expression and click CREATE.
- In the Expression window, enter "Braking Distance" as the ExpressionName. For the Expression, enter "[Distance]>(([Speed]*[Speed]*0.44704)/(2*0.8*9.8))*3.28". For the StepCategory, enter "Auto" and select Distance for the AnchorMapsTo field. Then, click OK.
- ExpressionName - Name of the step in the Flow Designer
- Expression - Expression that is executed. Values in square braces are variables.
- StepCategory - Defined subcategory that can be found under the Expressions category
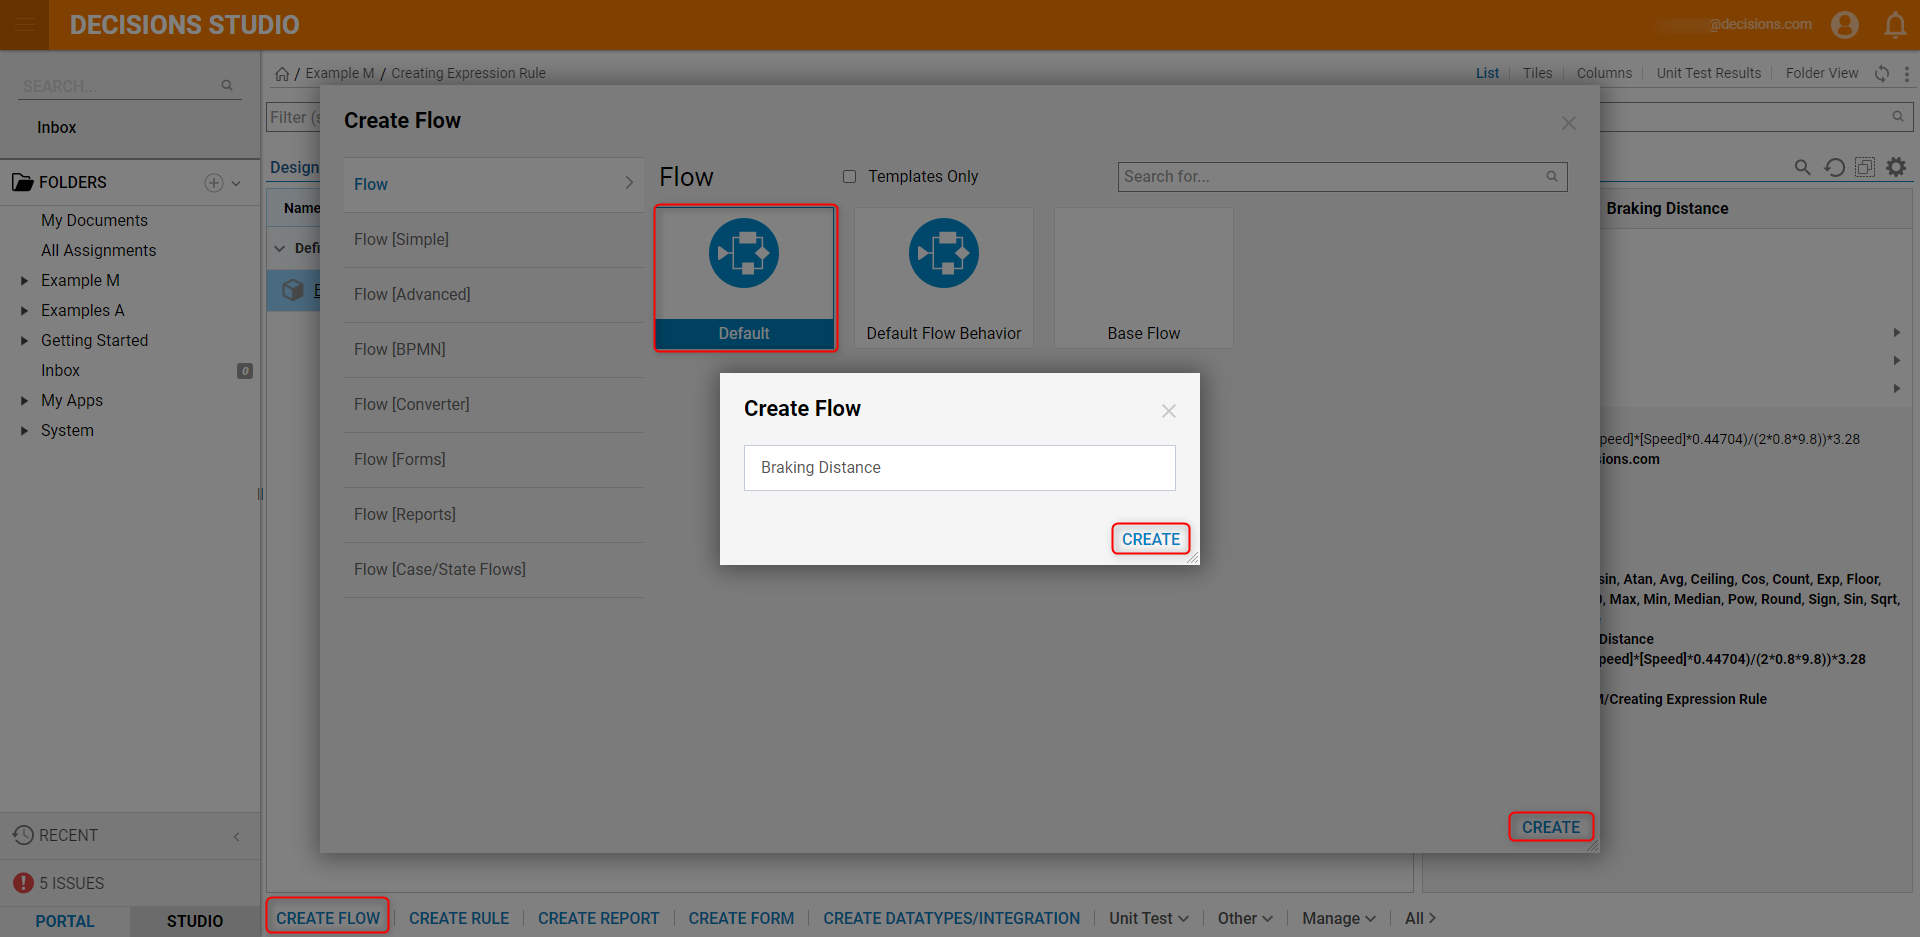
- Click CREATE FLOW, select Default, and click CREATE. Name the Flow and click CREATE to open the Flow Designer.
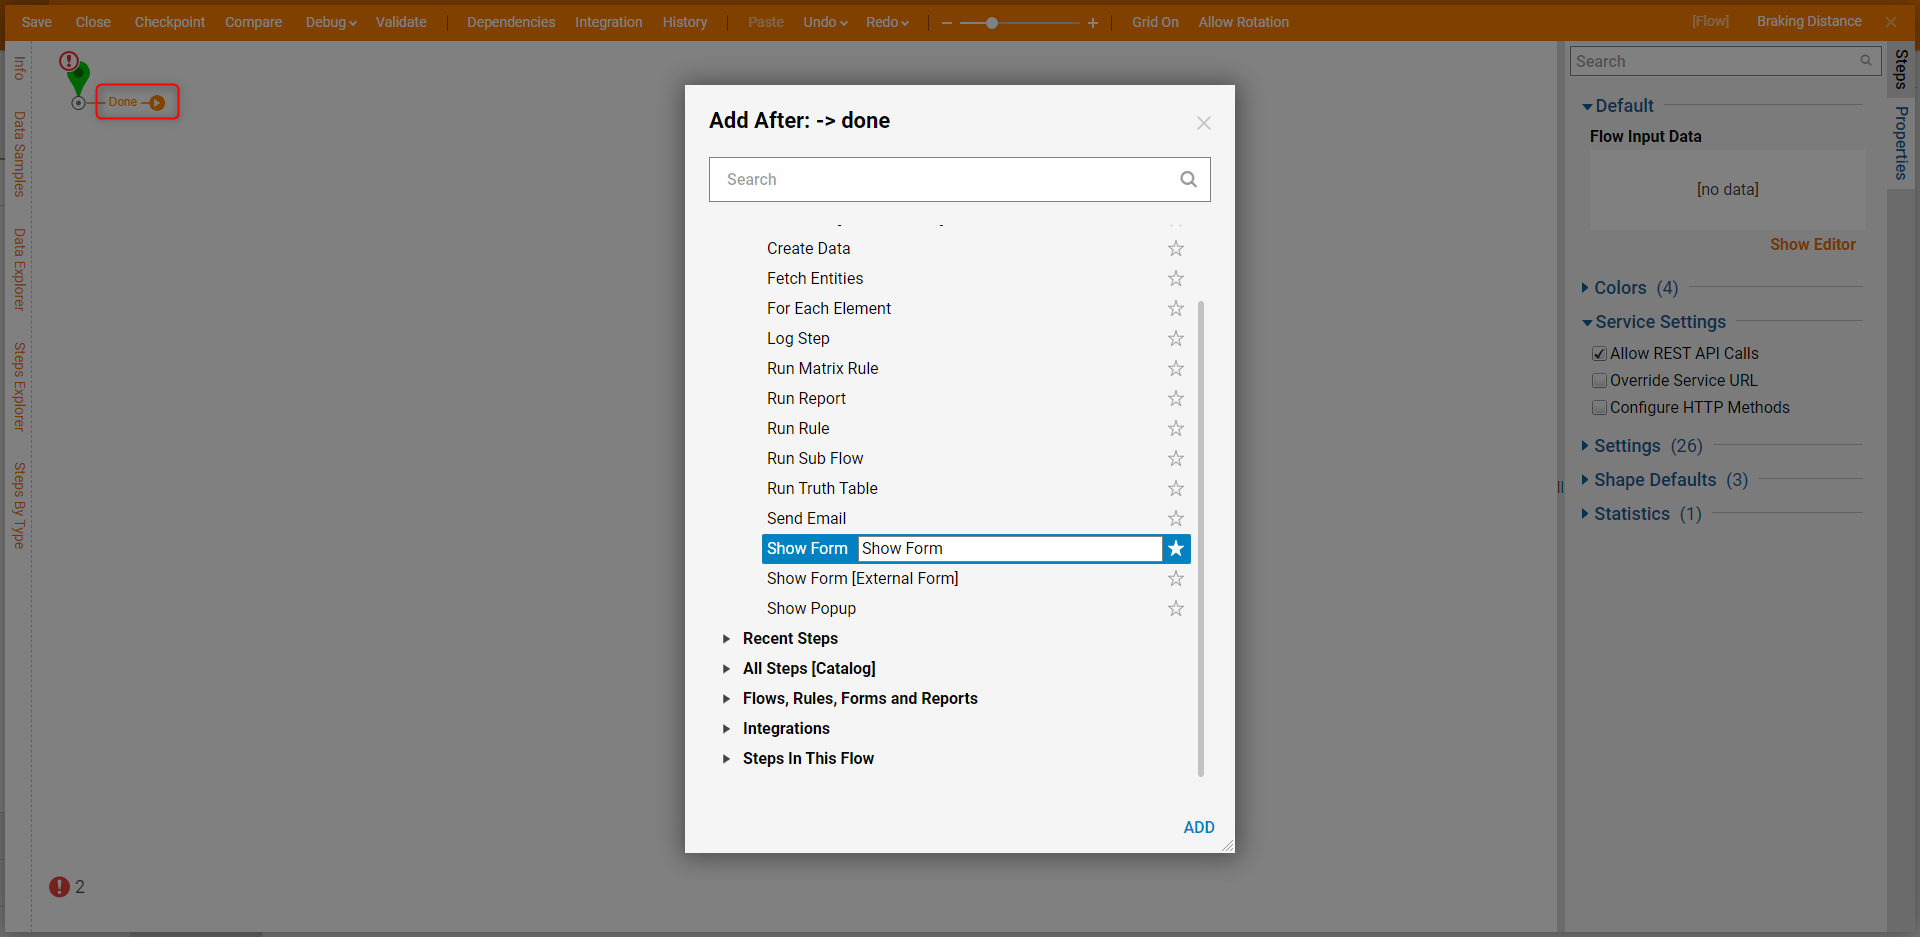
- Click the Done path of the Start step. Locate the Show Form step under the Favorite Steps category. Select it and click ADD to add it to the workspace.
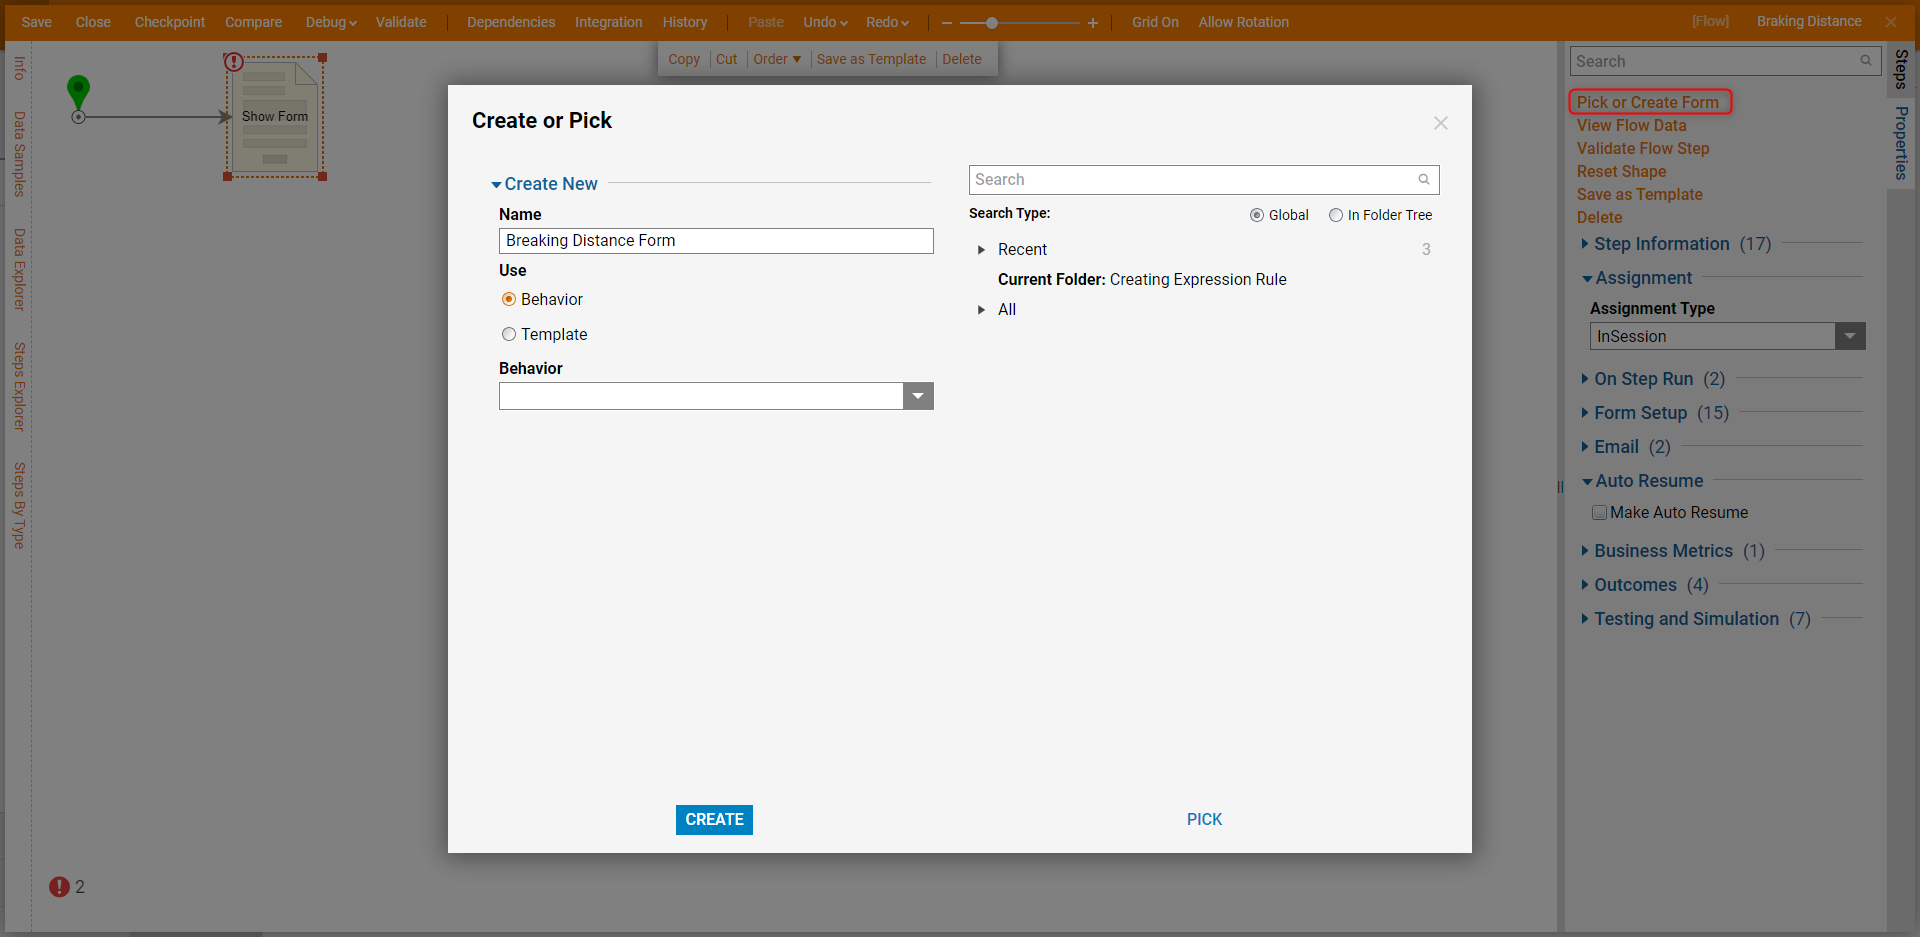
- Click Pick or Create Form, name the Form "Breaking Distance Form", and click CREATE.
- Configure the Form with a Label, a Button to proceed with the Form, and two Number Boxes for a user to provide the values for distance and speed.Learn more about Creating your First Form.
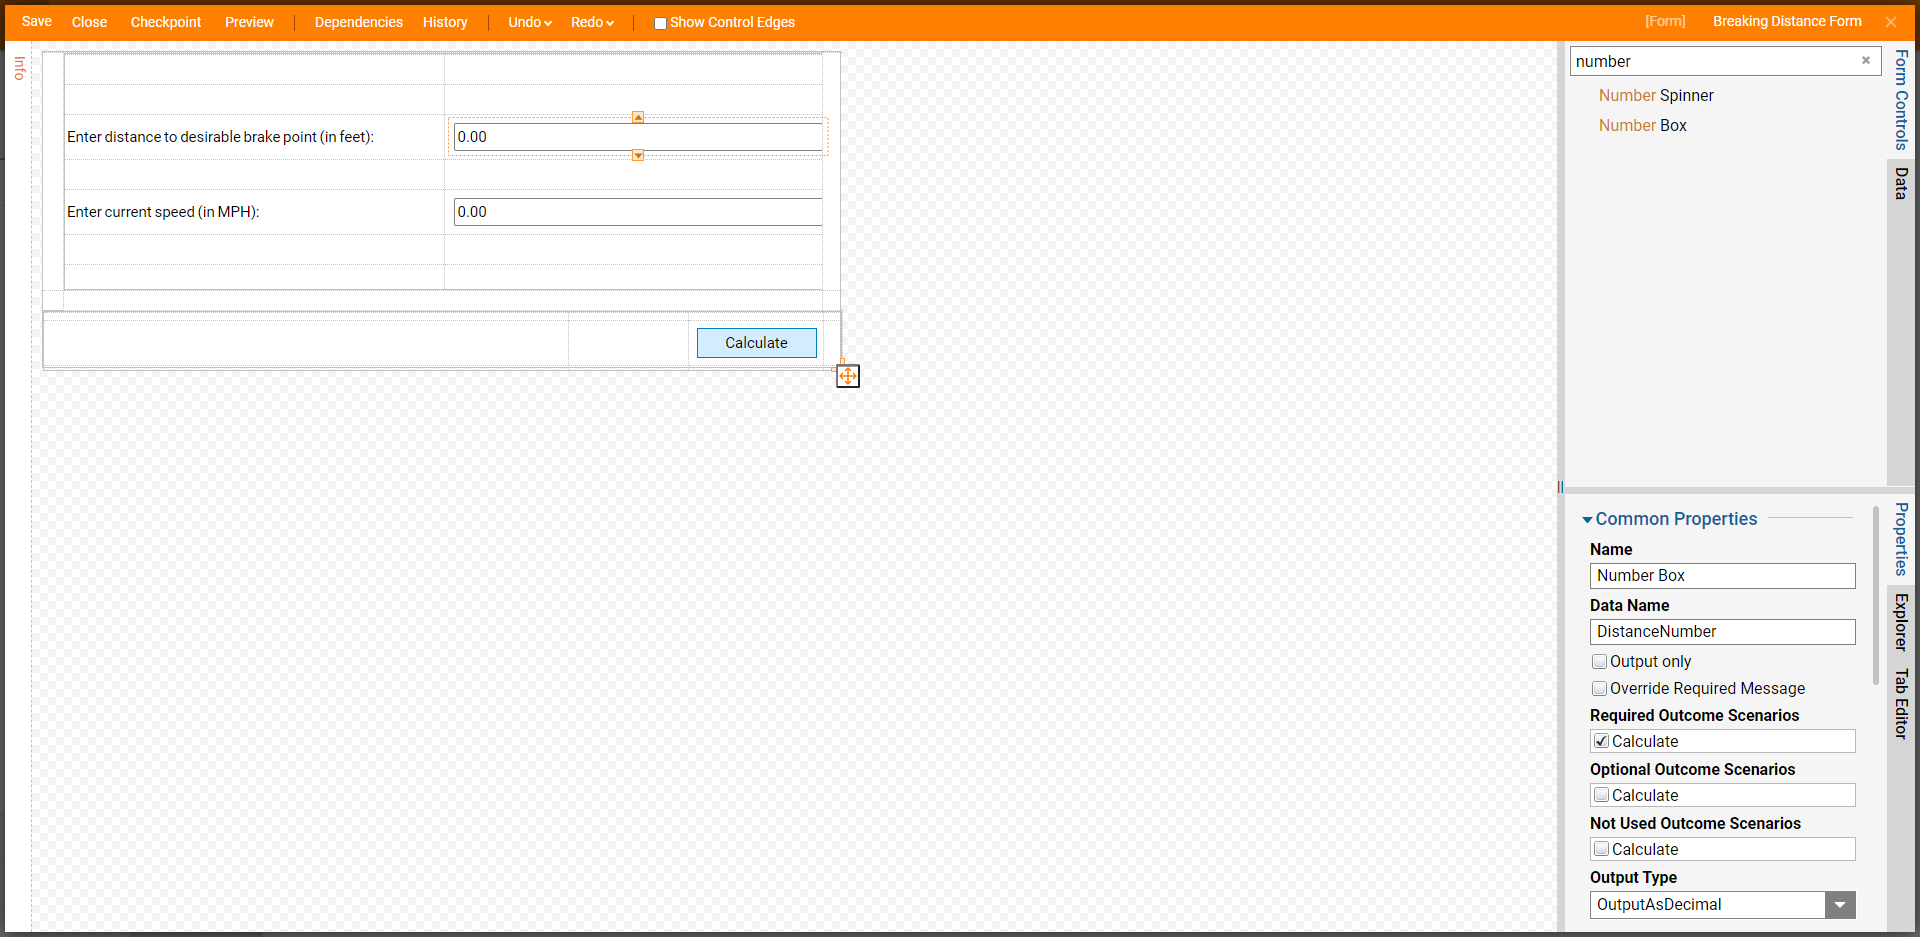
- Save and close the Form Designer.
- Back in the Flow Designer, add the Braking Distance step under Integration > Expressions > Auto category to the Calculate path.
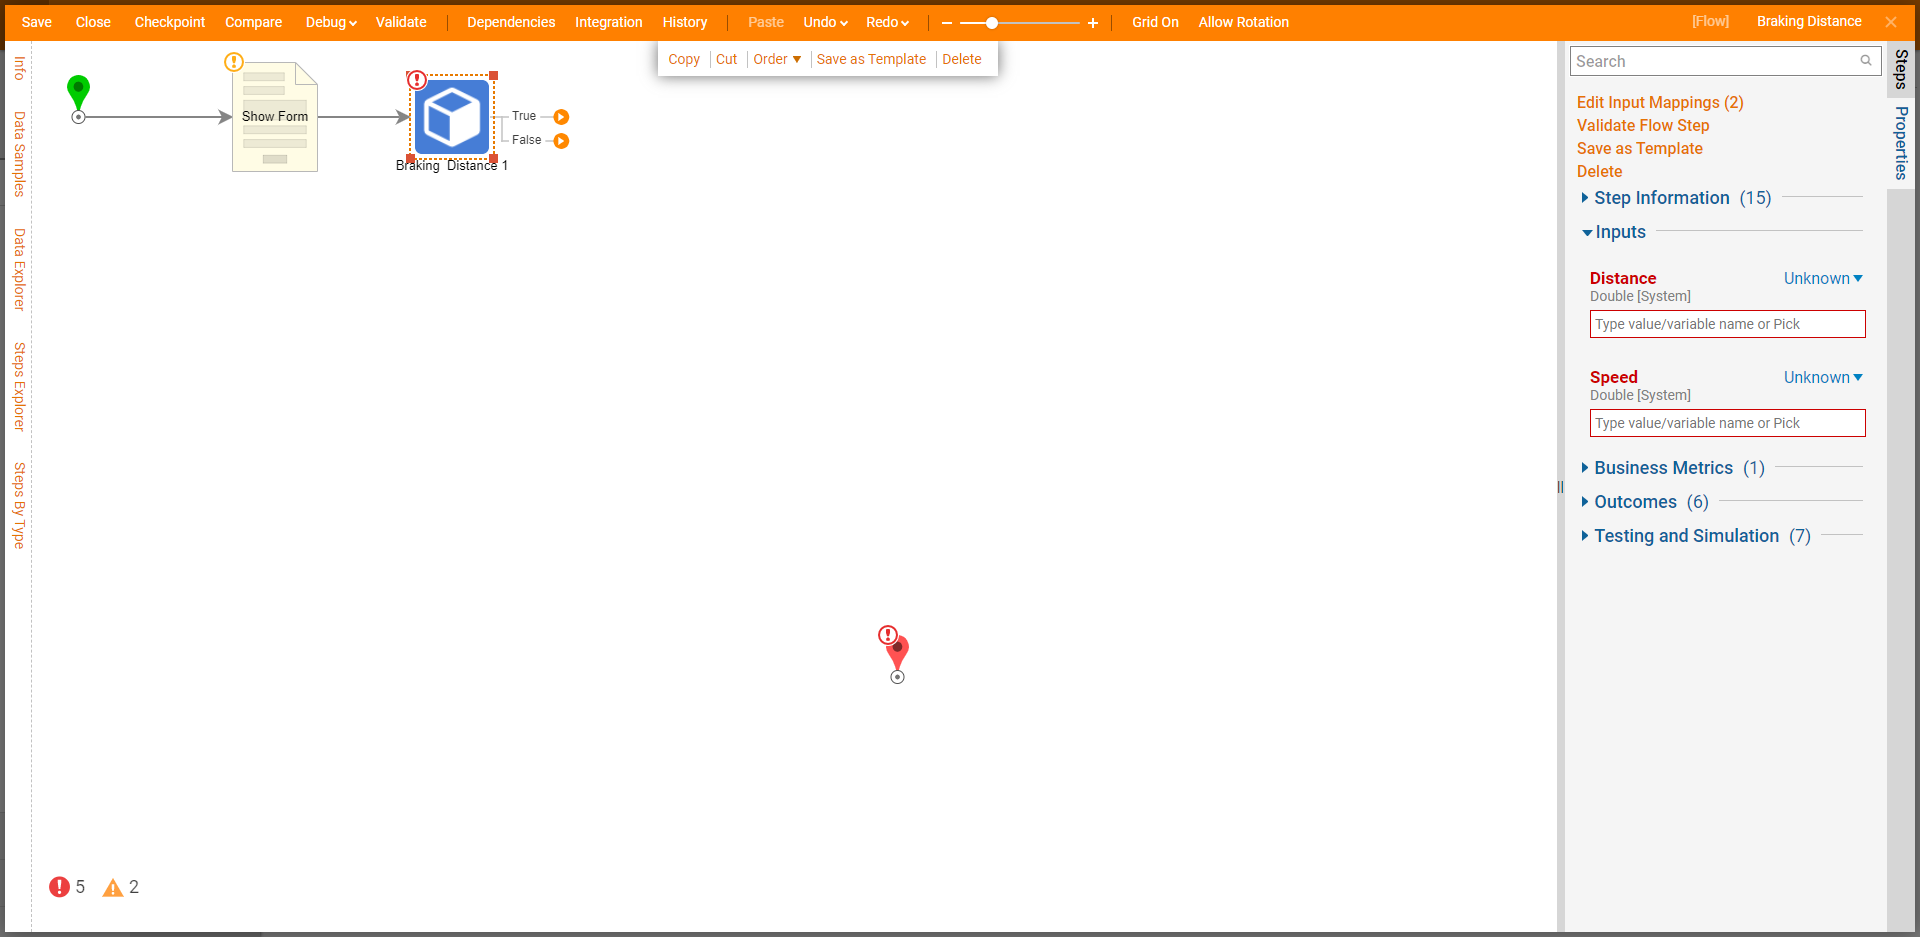
- With the step selected, click Edit Input Mappings on the Properties panel.

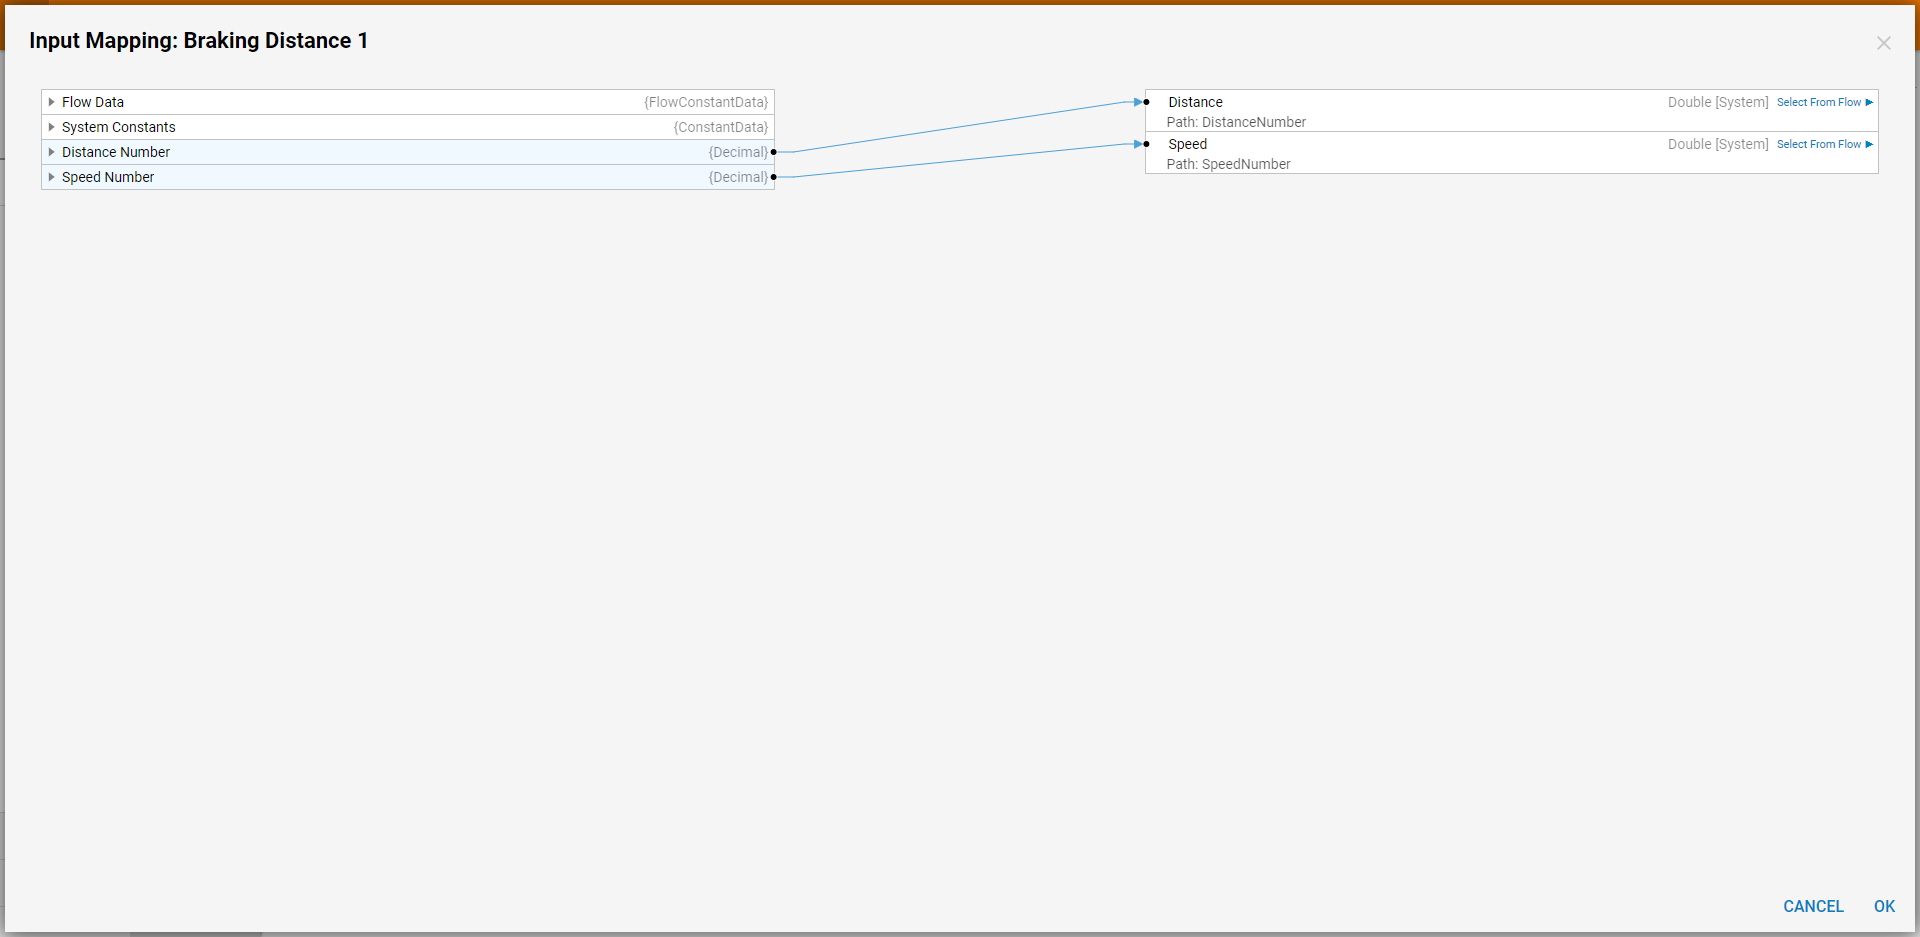
- In the Mapping Editor map the inputs of Distance Number and Speed Number from the Form to the Expression step. Then, click OK to save and close the Mapping Editor.
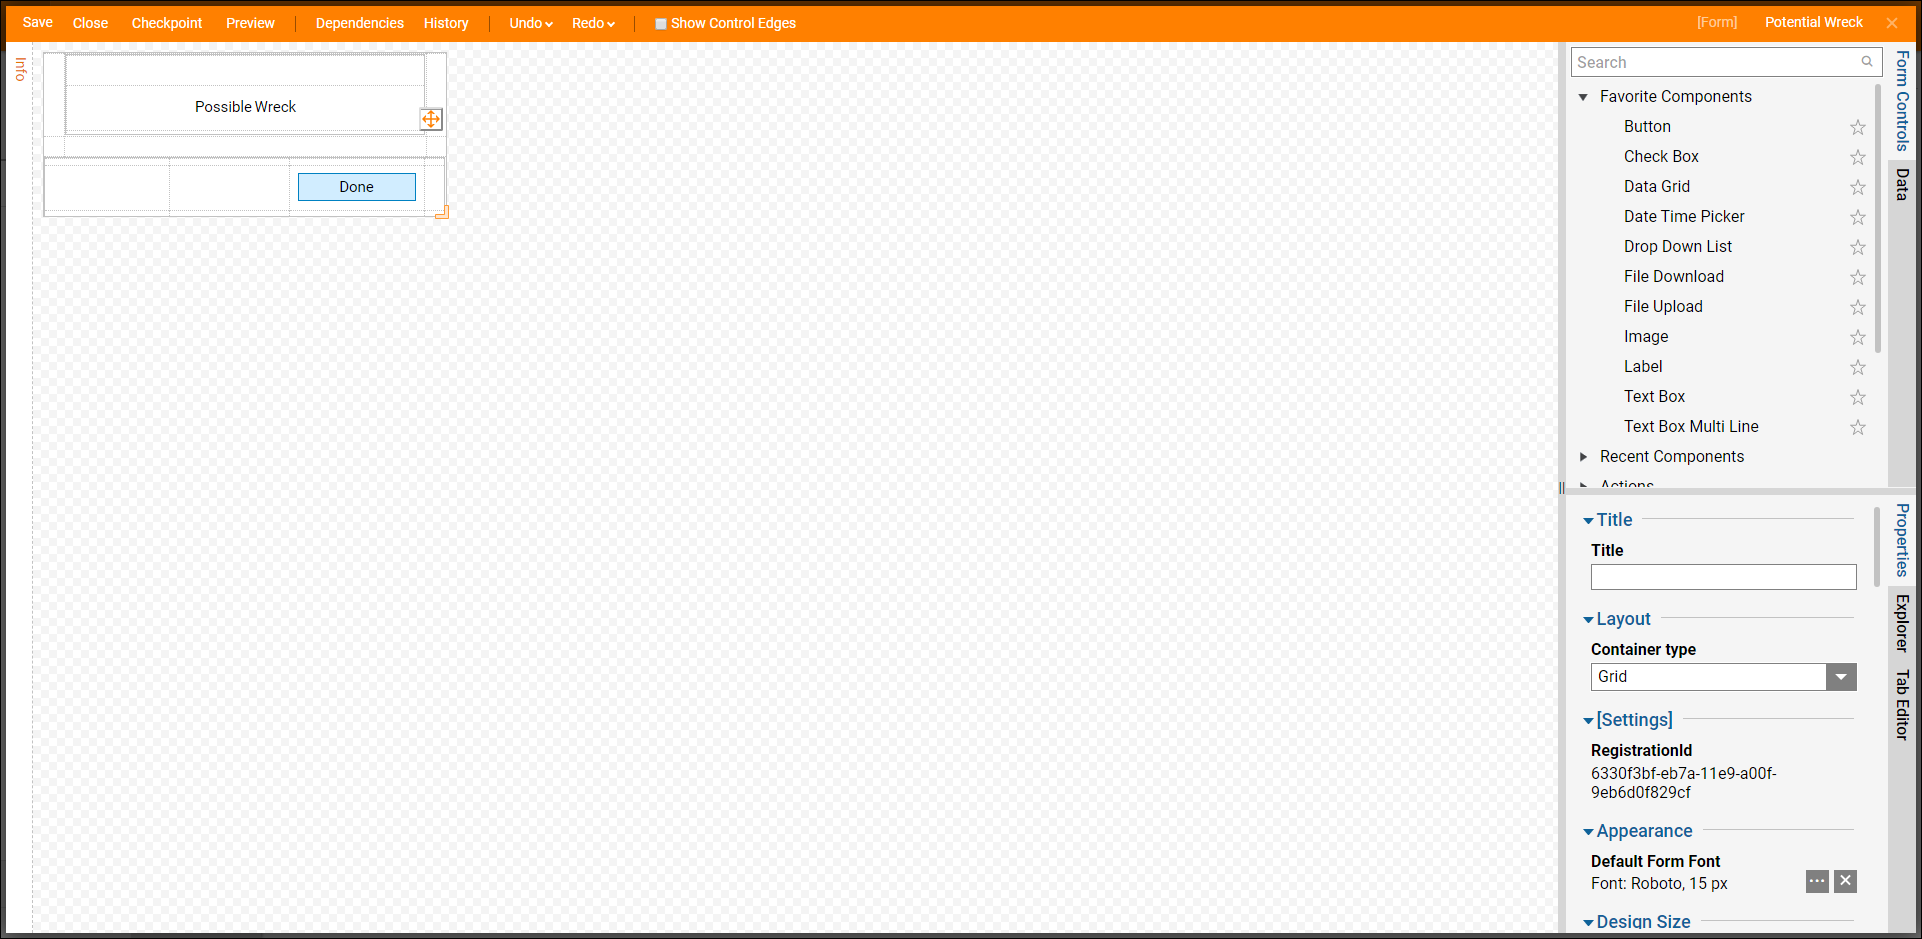
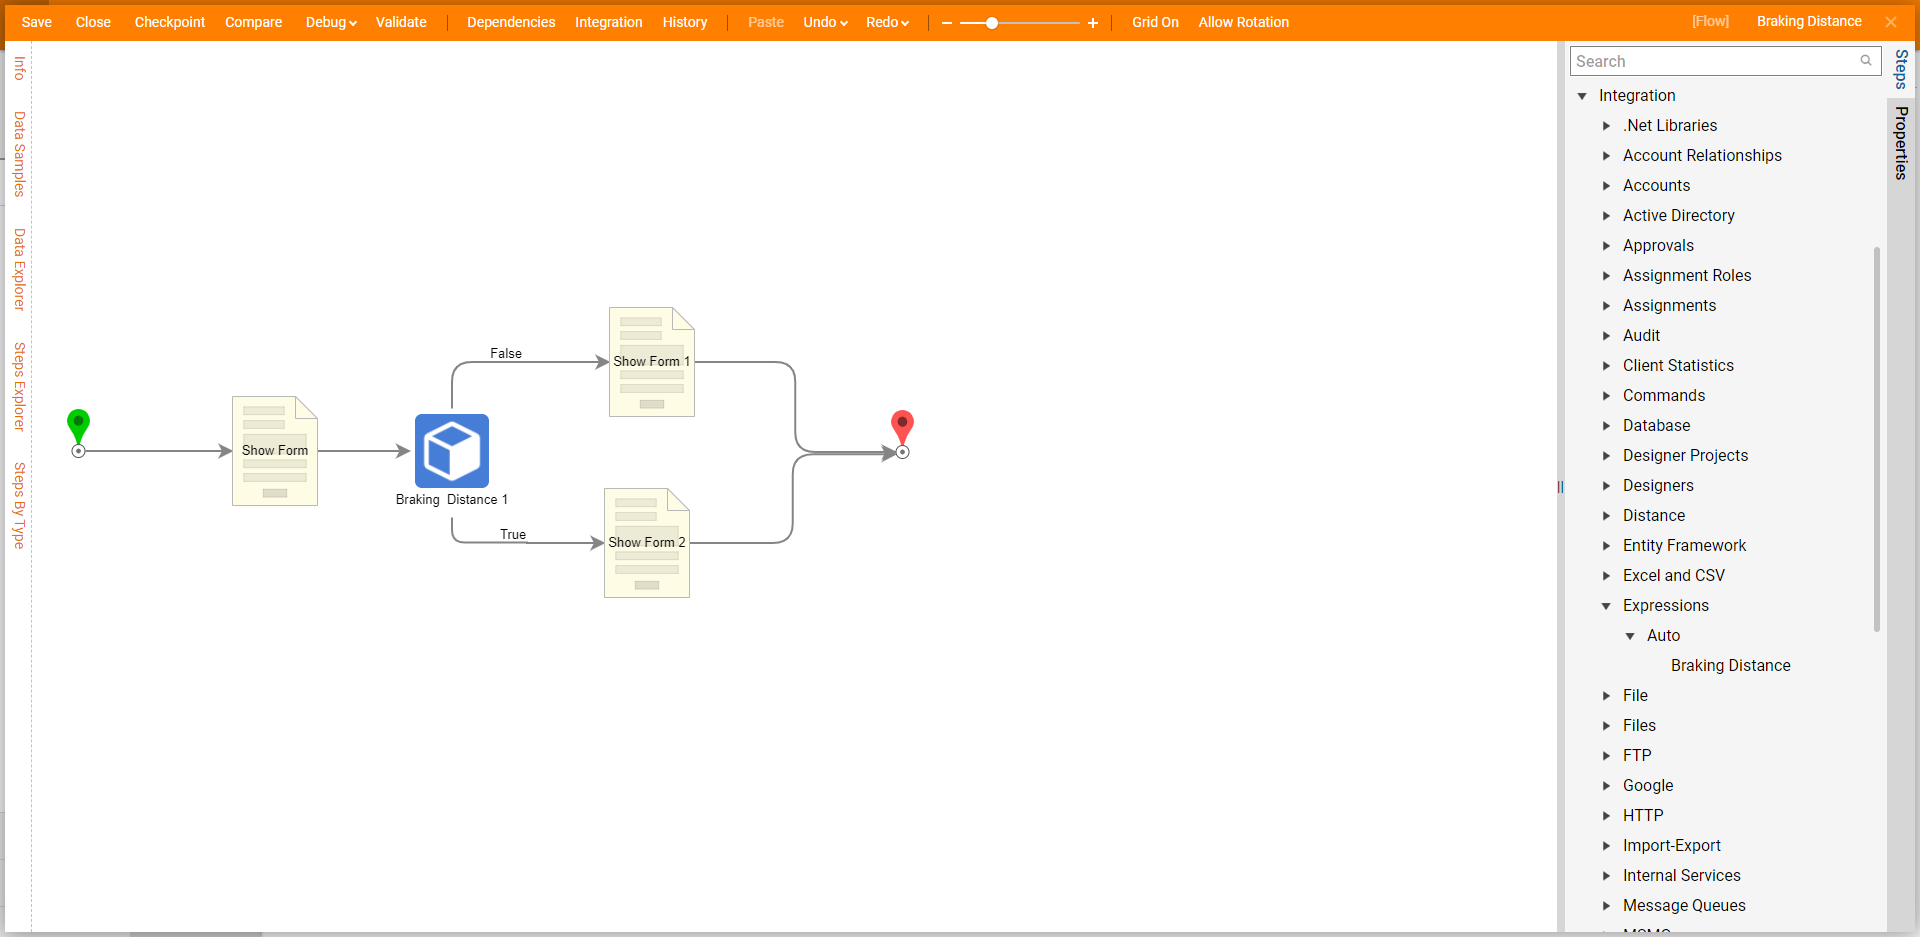
- Click the False path and add another Form that will be used to tell the user that it will be a possible wreck because the braking distance is more than the distance to the desired stop point. Configure the Form with a Label (Possible Wreck) and a Button.
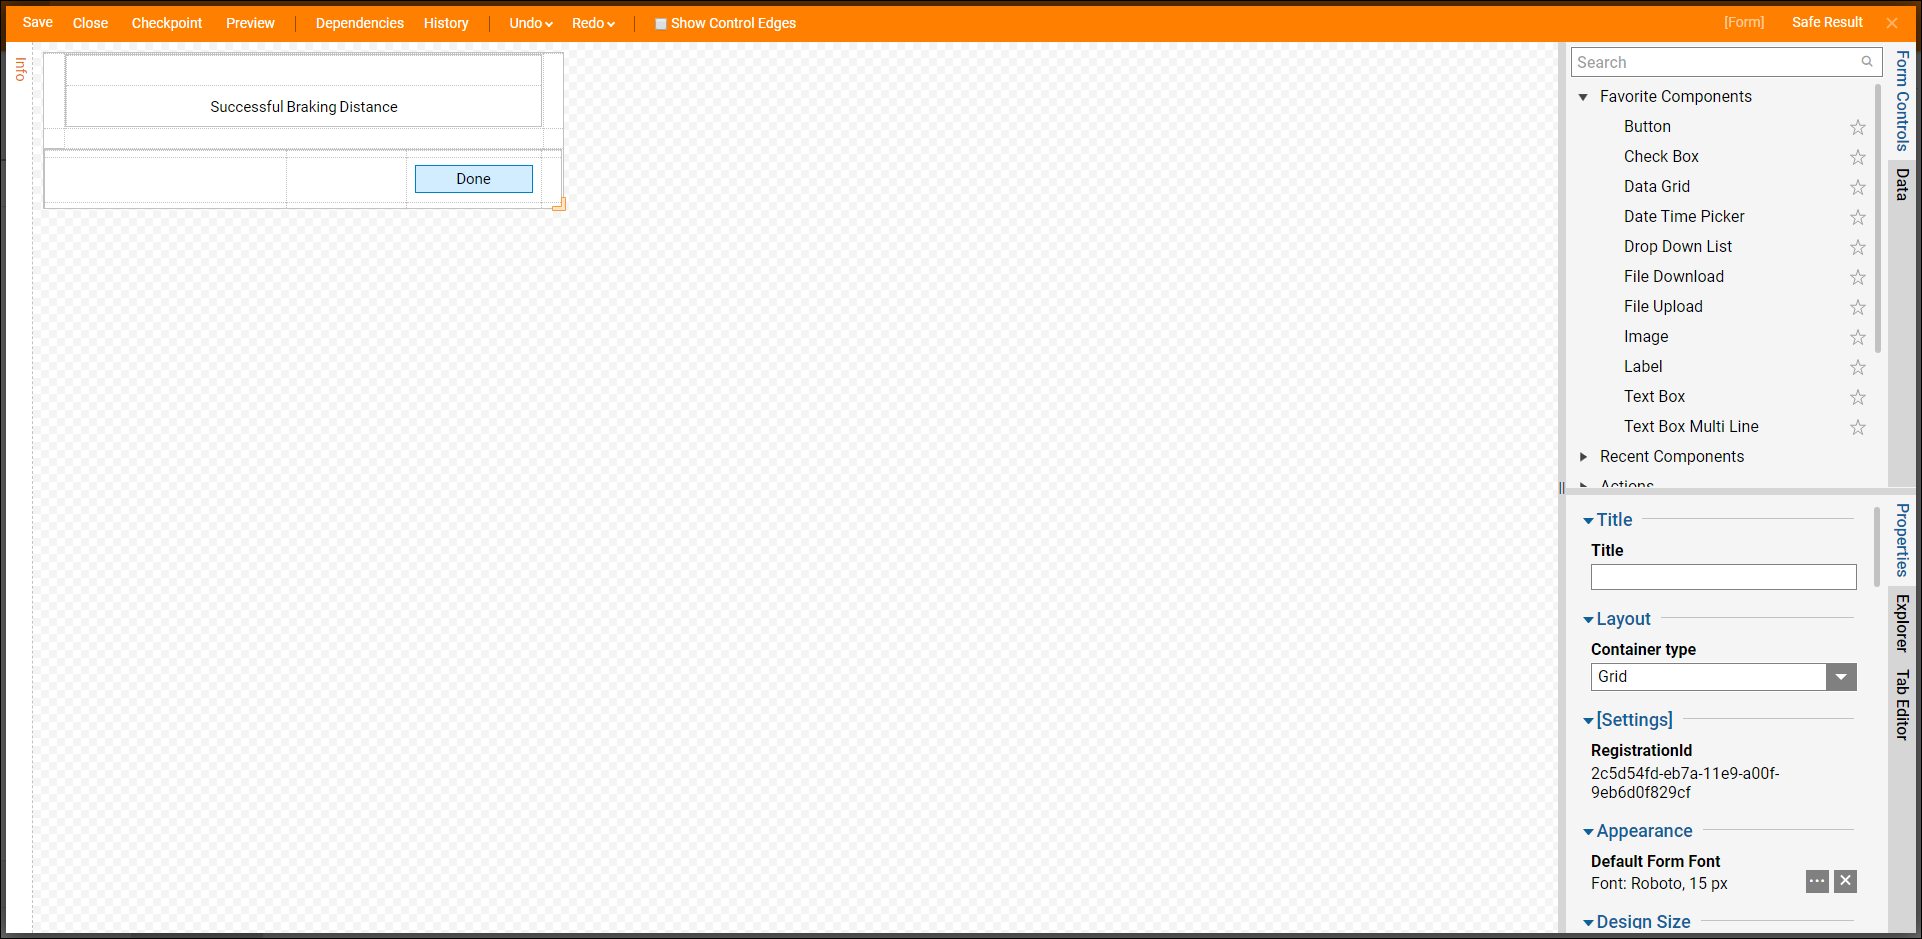
- Add another Form to the True path that will inform a user that they will be able to successfully brake under the current speed and braking variables entered.
- Connect the Done paths of the Forms to the End step. Click Save to save changes to the Flow.
Debug
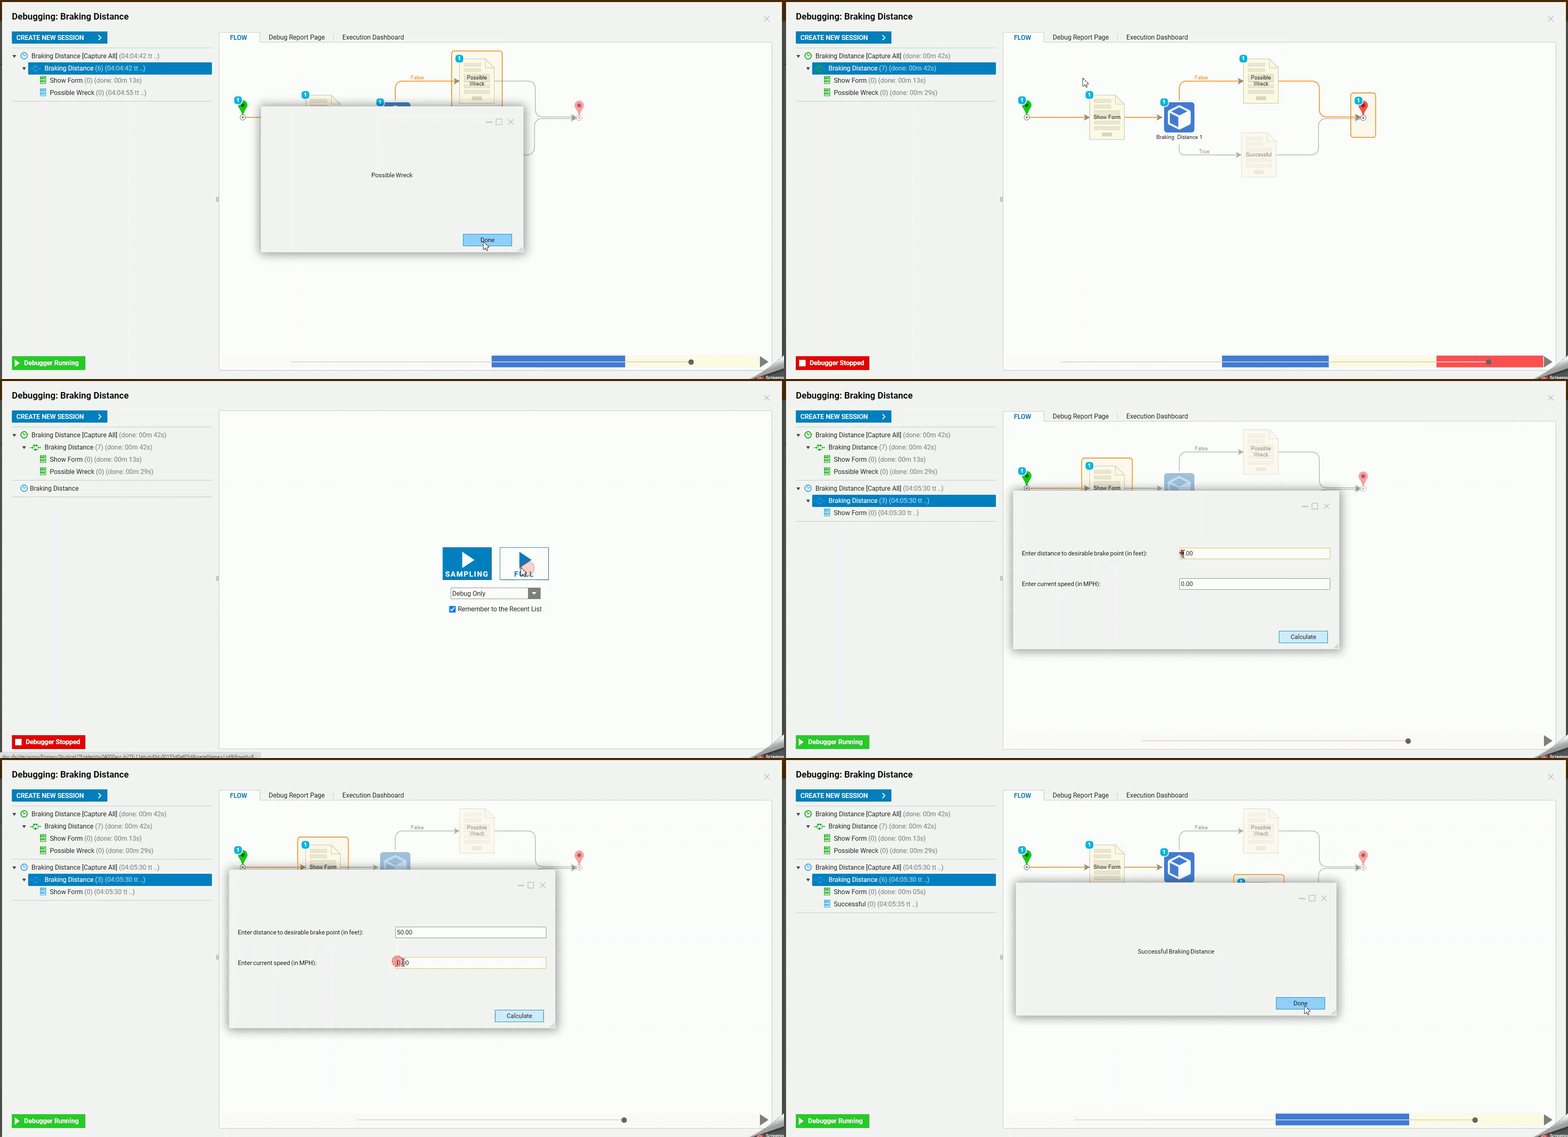
- Click Debug on the top action bar and click FULL.
- Enter "20" for the distance and "50" for the speed. The Flow will follow the False path and display the Possible Wreck Form.
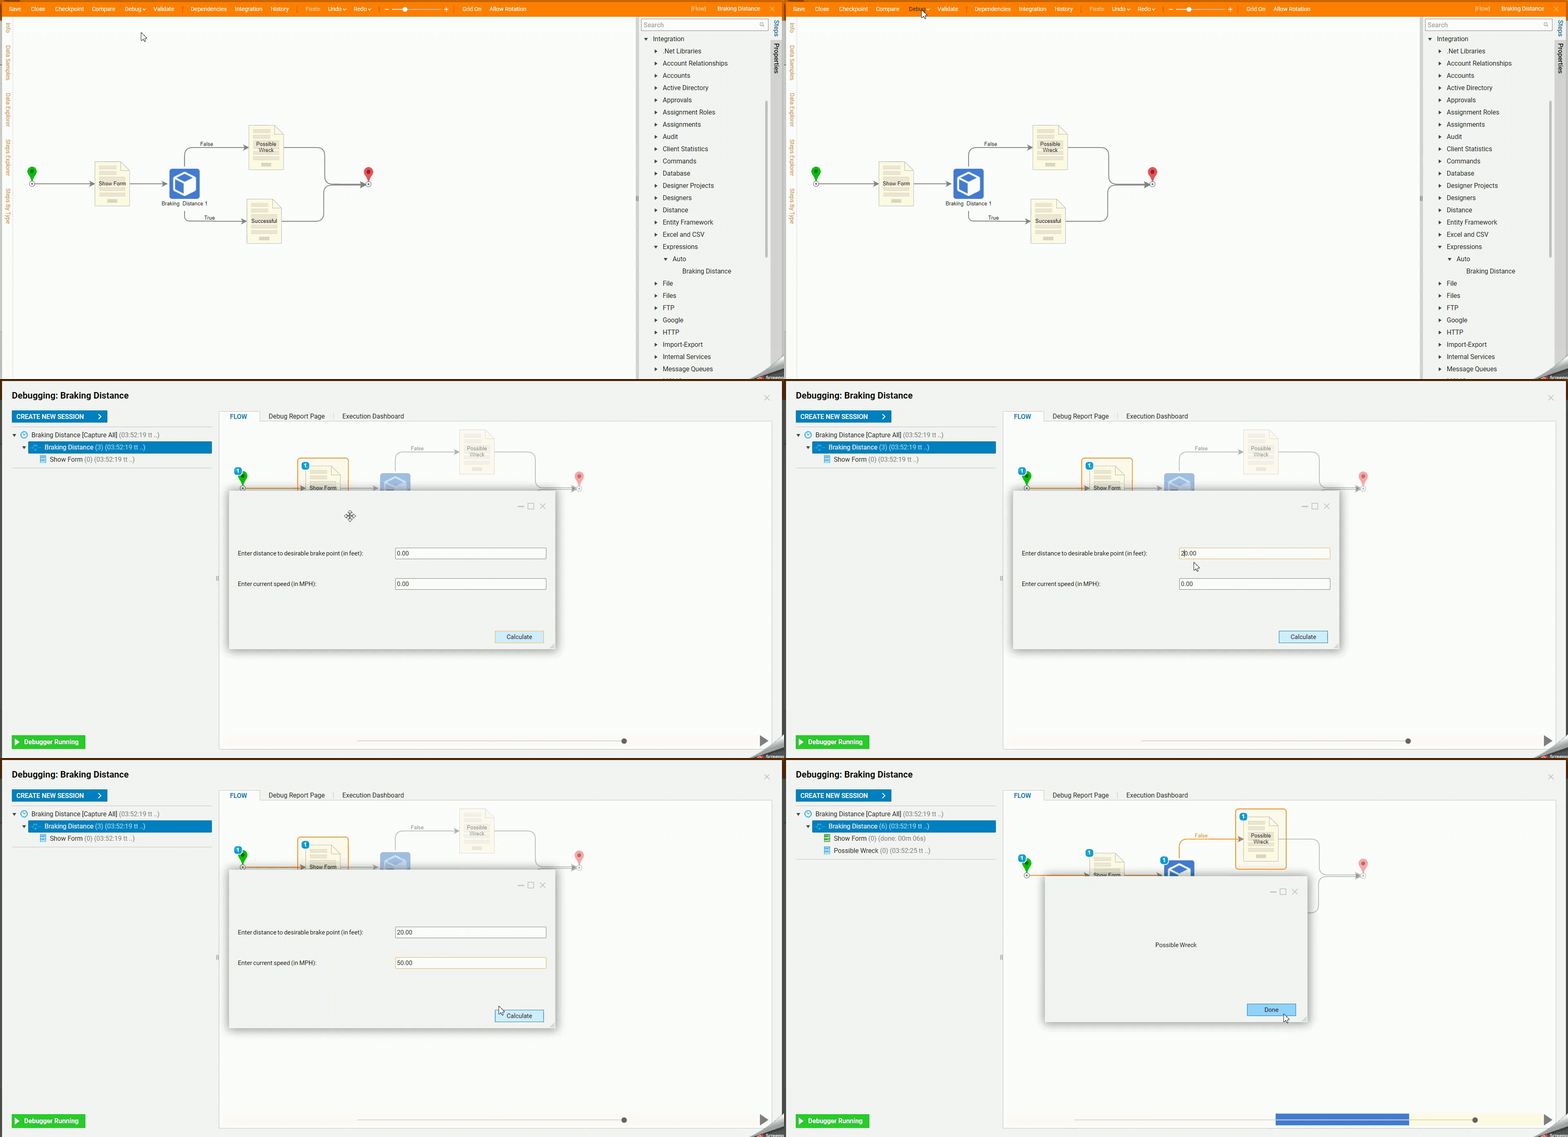
- Click Done and click CREATE NEW SESSION and enter "50" for distance and "20" for the speed. This will follow the True path and display the Successful Form.
