Overview
The Edit Portal Settings screen allows you to modify Portal settings that change the Portal's appearance and behavior. Changes made in the Edit Portal Settings screen are applied immediately and are visible to all users.
Example
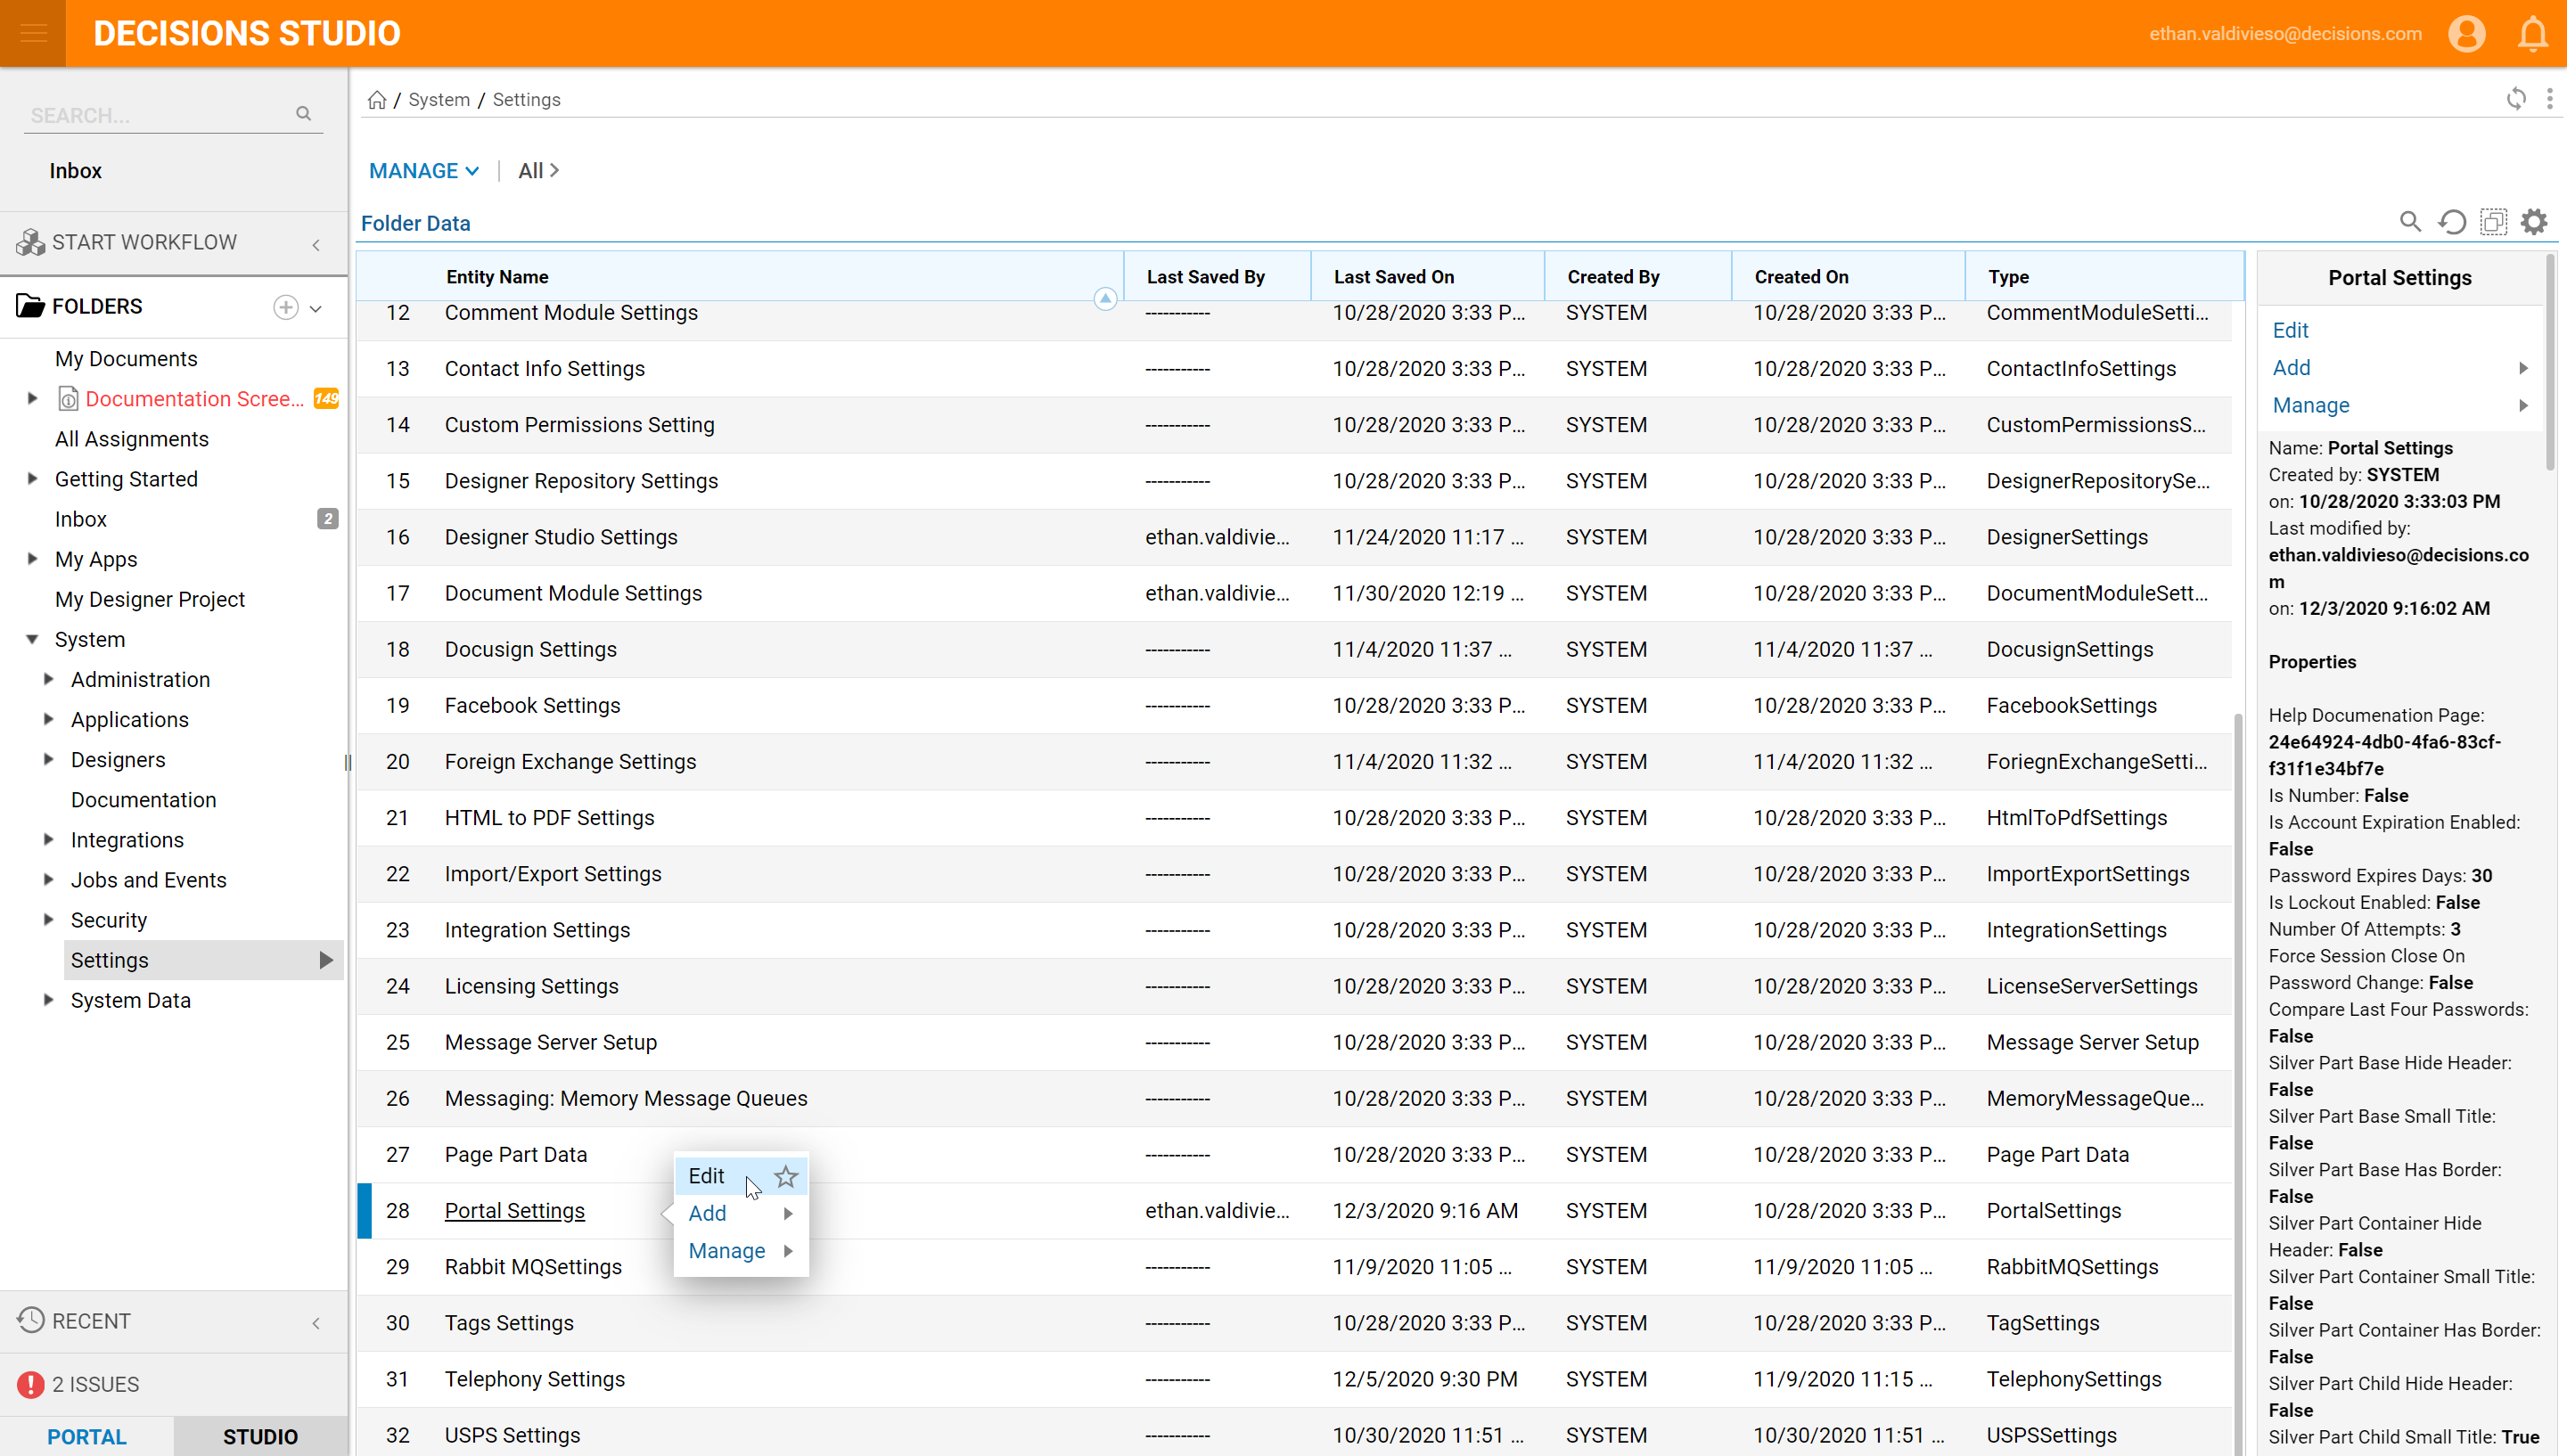
- Begin by navigating to System > Settings and click Portal Settings from the Folder Tree on the left-hand side.
- Click Portal Settings from the Folder Data panel. Or, click Edit on the right-hand side under Portal Settings.

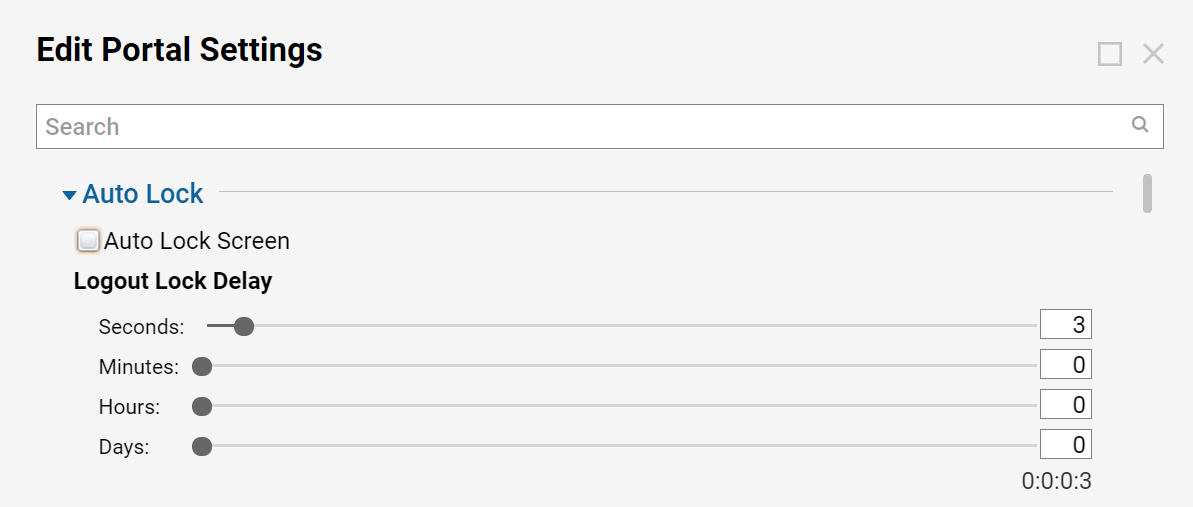
- In the Edit Portal Settings dialog, change the settings for Auto-Lock.
- Click the Auto-Lock Screen checkbox, and set the time for 10 seconds.Auto-Lock and its corresponding Auto-Lock Timeout are for specifying the amount of time a user is inactive on the Portal. Session Timeout is the length of time the session can be alive with no activity.

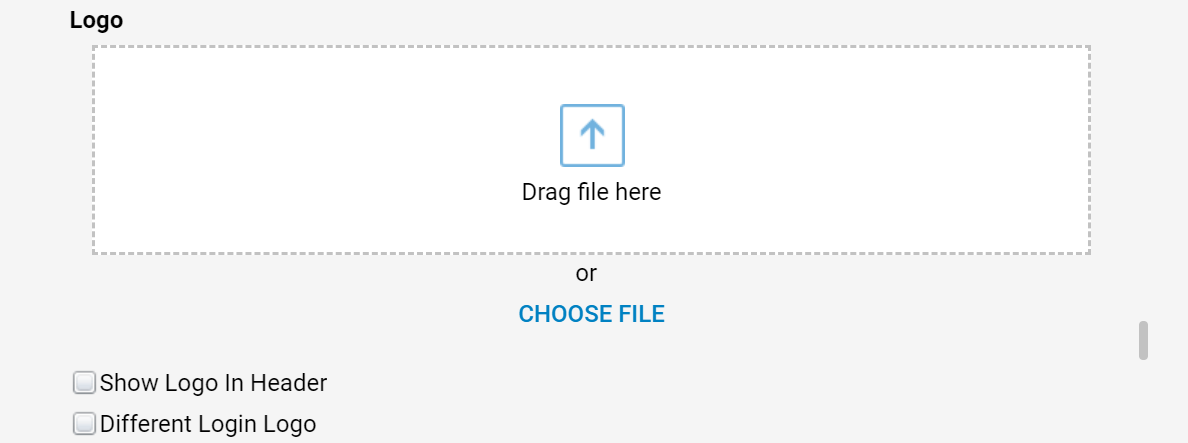
- Next, change the logo that appears in the Portal above the address bar. To change the default logo, in the Edit Portal Settings dialog, type Logo in the search bar or, scroll to the Logo section to select the image. Click Choose File, in the resulting dialog, select the image file and click Open.Logo Header changes not appearing?If the Show Logo (For Best View User 100px * 100px Image) setting is enabled in the Portal Settings and the Studio Logo is left empty in Designer Studio Settings, then Decisions will use the default logo and thus overwrite any custom logo header configurations.
If experiencing this issue, please check these settings. If still experiencing issues after changing these settings, please contact support@decisions.com.
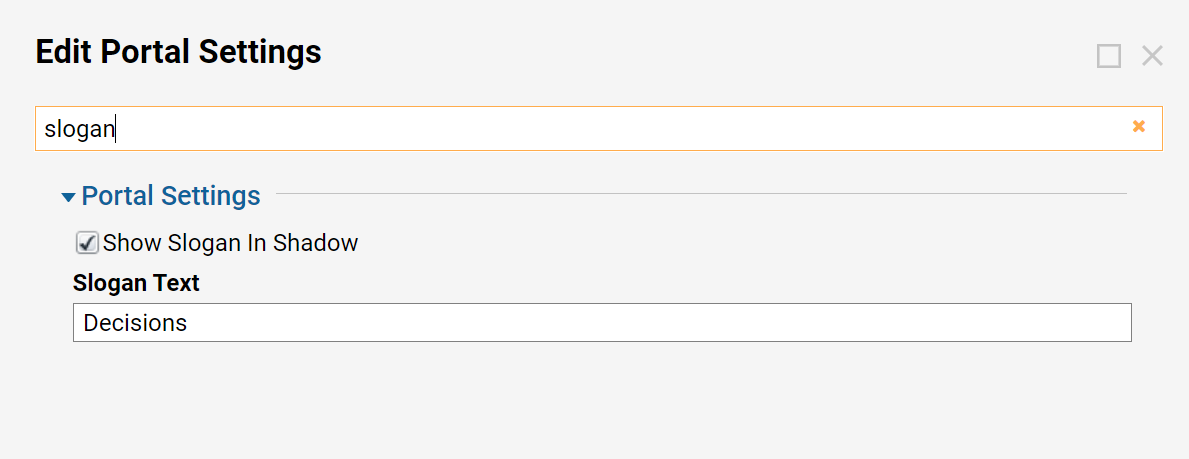
- To update the text that appears in the address bar and above it, in the Edit Portal Settings dialog, type Slogan Text in the search bar or, scroll to the Logo section.
- Type the desired message in the Slogan Text field. This updated text will appear in the Portal in the address bar and above it.

- Click SAVE to save changes.