Overview
To better customize and append Excel Documents via workflow, uses may utilize the Add Header/Footer to Excel Document step. This step allows users to establish a Header and/or Footer for an Excel Document, through a number of various ways at design time. The following document discusses this step's functionality and demonstrates how to utilize it within a Flow to update a Excel Document.
Example
To add a Header/Footer to an Excel Document through the use of a Flow:
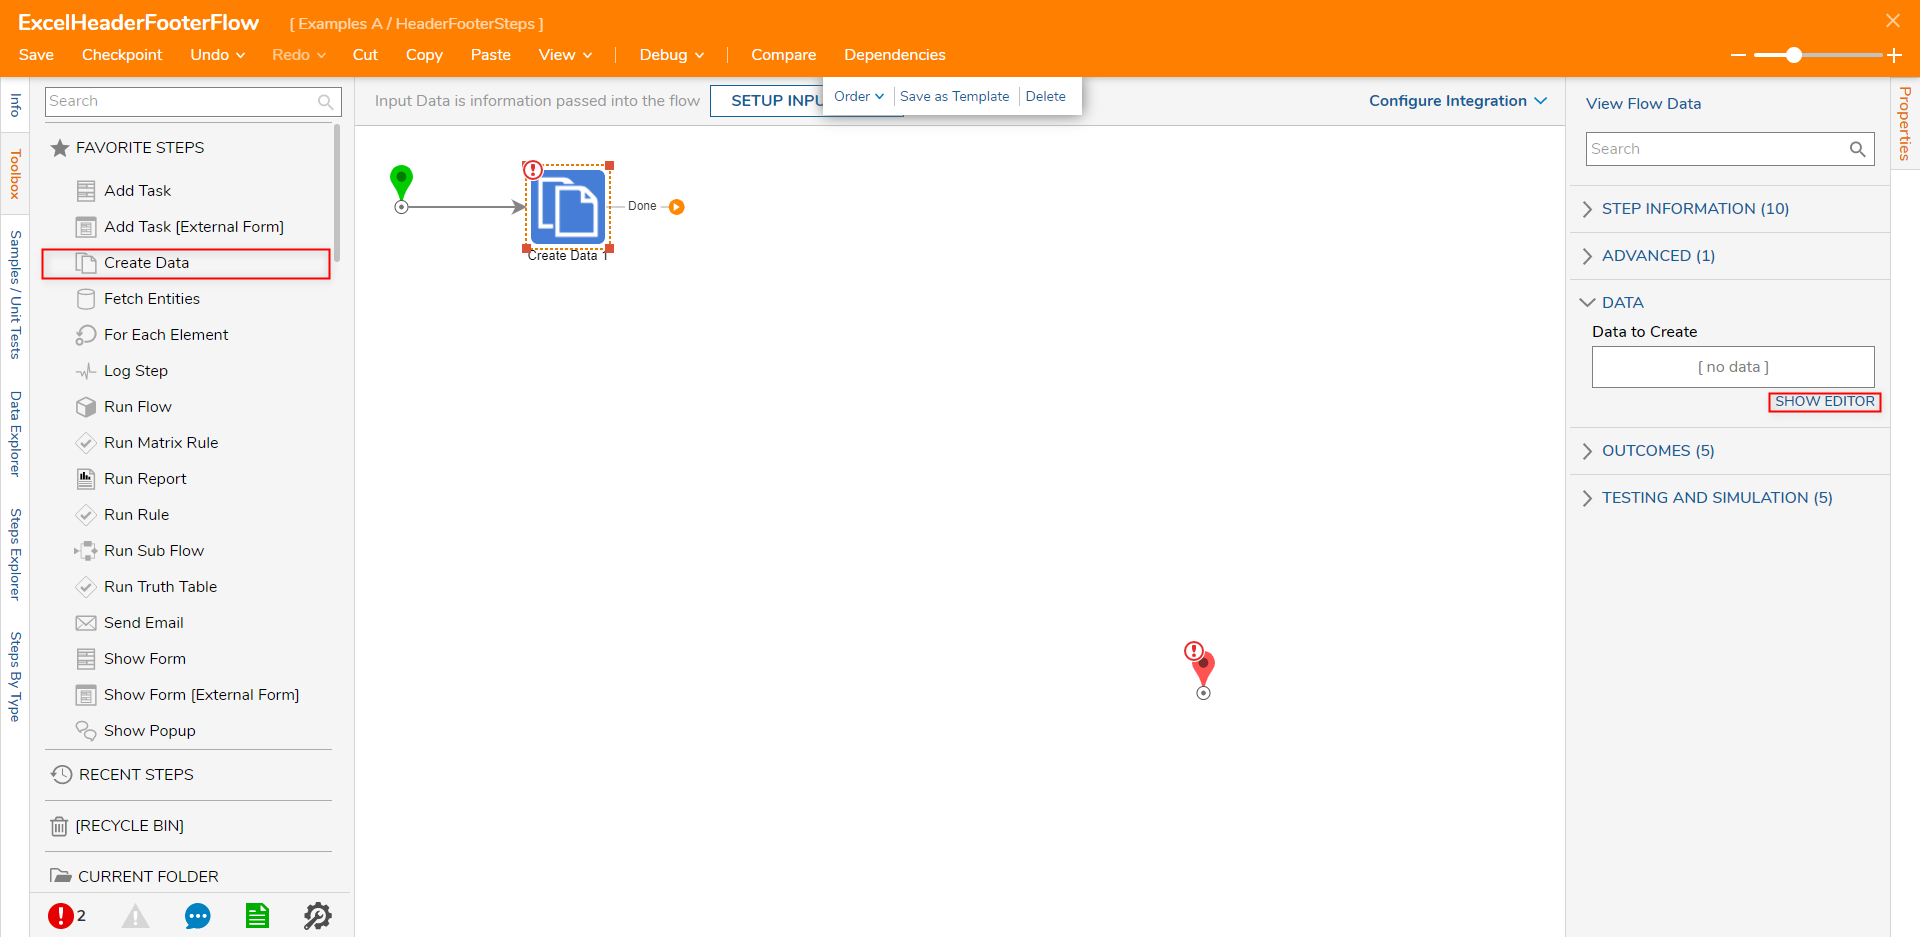
- From the Flow Designer, attach a Create Data from the FAVORITE STEPS category of the Toolbox tab, to the Start step.
- From the Properties tab of the Create Data step, under DATA > Data To Create, select SHOW EDITOR.
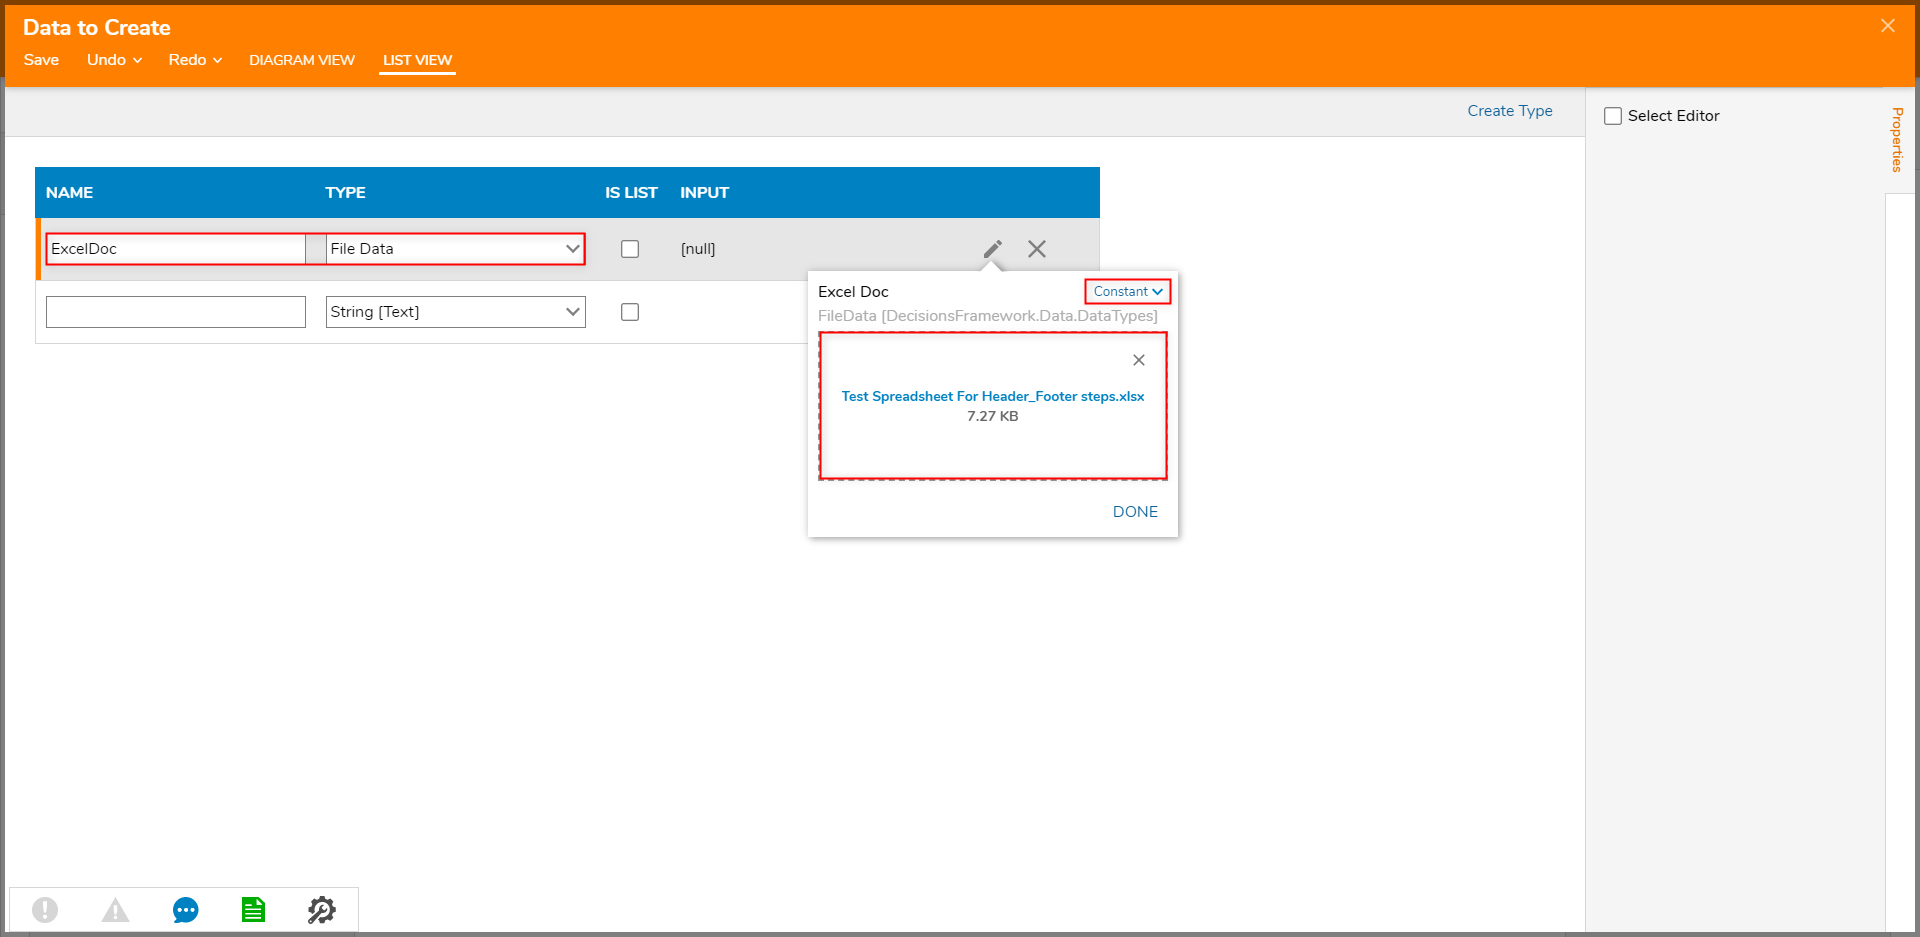
- From the Data to Create window, provide a NAME, select File Data from the TYPE dropdown. Then Constant map the example file to the INPUT. Click DONE, then Save and close the Data via X.
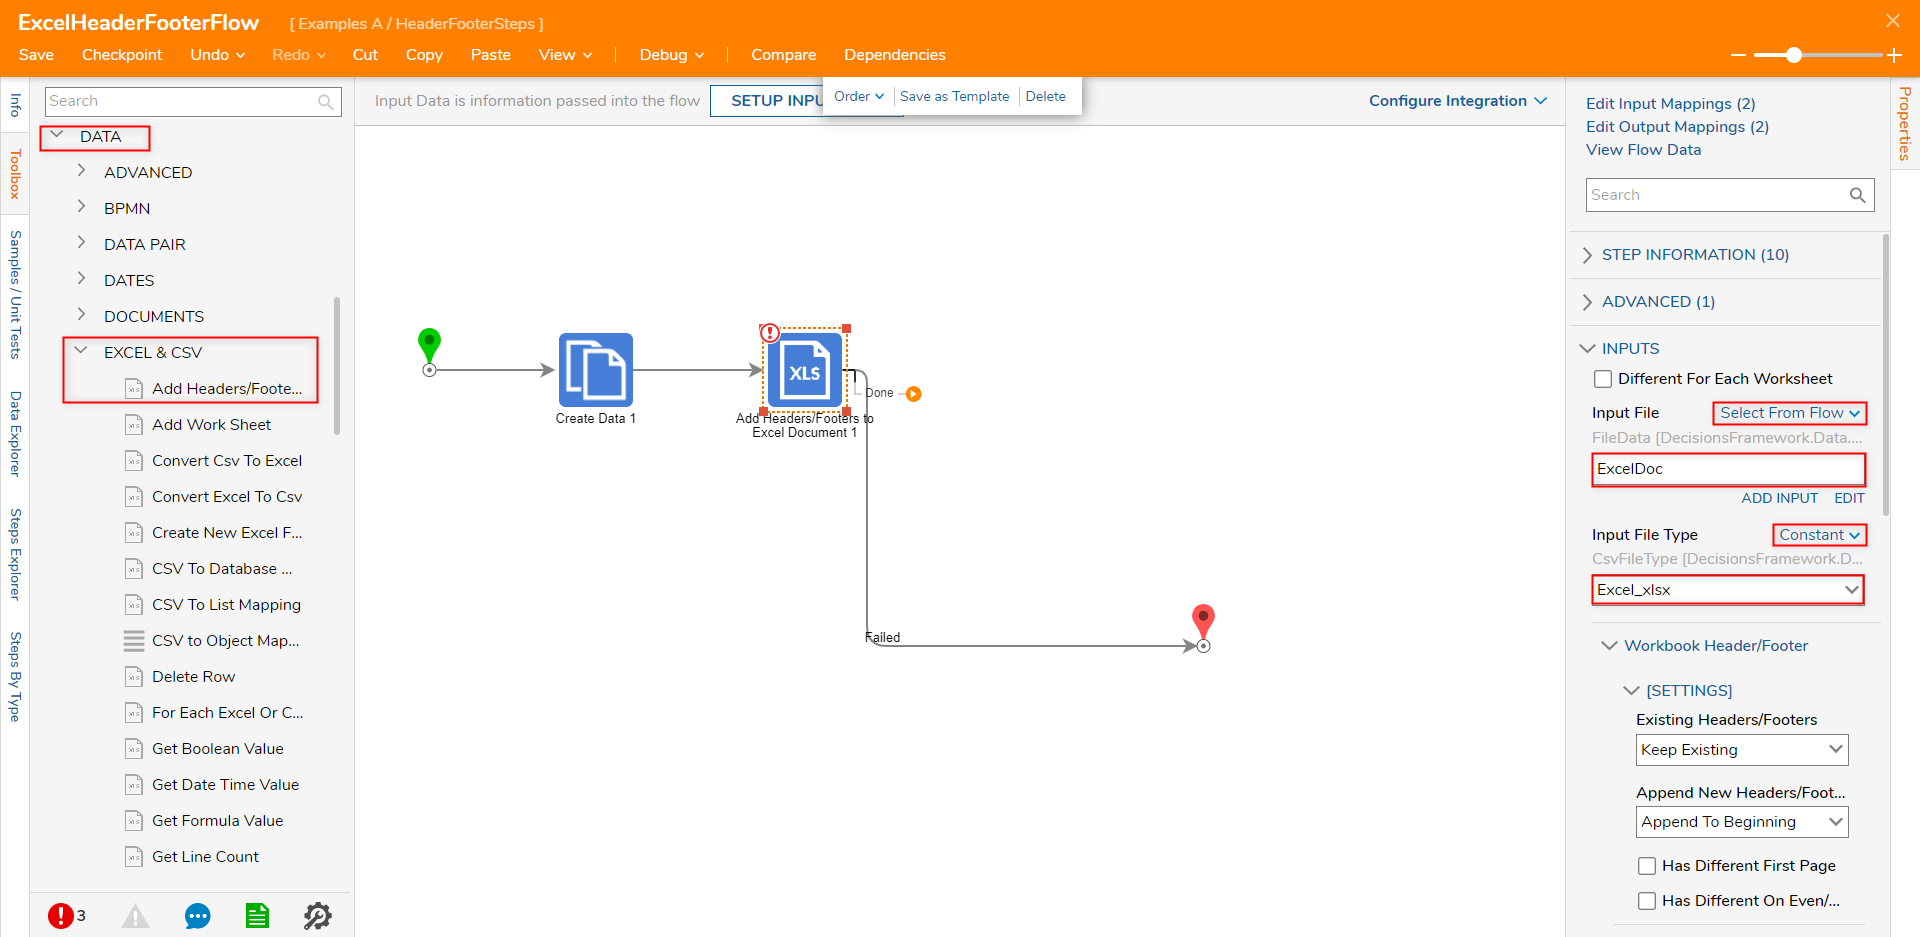
- From the Toolbox tab, navigate to DATA > EXCEL & CSV and attach an Add Headers and Footers To Excel Document to the Create Data step. Then attach the Failed path to the End step.
- From the Properties tab of the Add Headers and Footers step, Select From Flow map the Output from the Create Data step to the FILE > Input File. Then set Input File Type to Constant and select the corresponding File Type from the dropdown (if using the example file, Excel_xlsx).
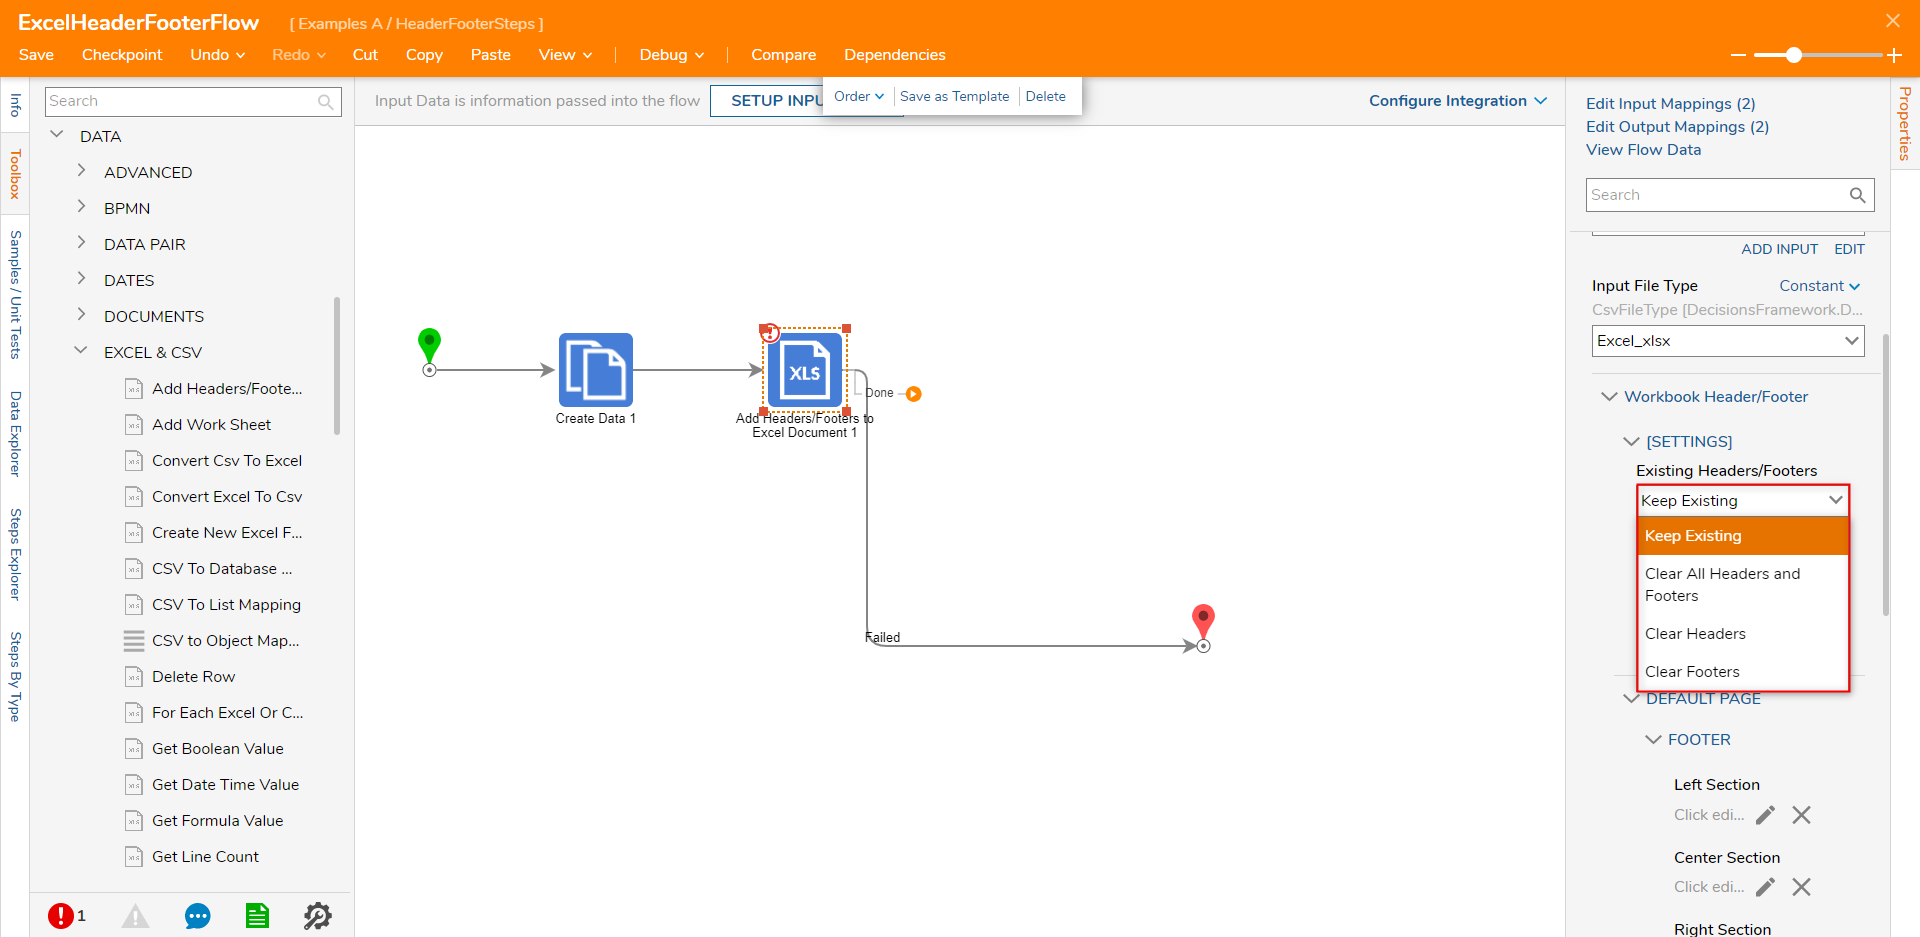
- Select the desired option under Workbook Header/Footer > [SETTINGS] > Existing Headers/Footers.Additional Information on Existing Headers/FootersThis Input is used to dictate how to handle present Headers and Footers on the document. The options for handling these are as follows:
- Clear All Headers and Footers: Deletes current Headers and Footers on the document.
- Clear Headers: Only clears out the Headers on the document.
- Clear Footers: Only clears out the Footers on the document.
If Clear Headers or Clear Footers is selected, the additional option to Append New Headers/Footers is provided.
Selecting Append To Beginning adds the Header or Footers before any preexisting headers or Footers.
Selecting Append To End adds them after current Headers or Footers.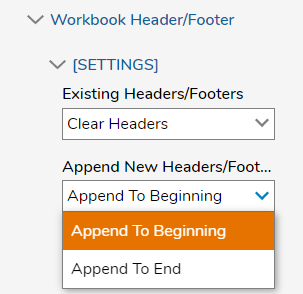
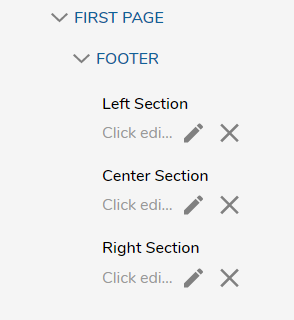
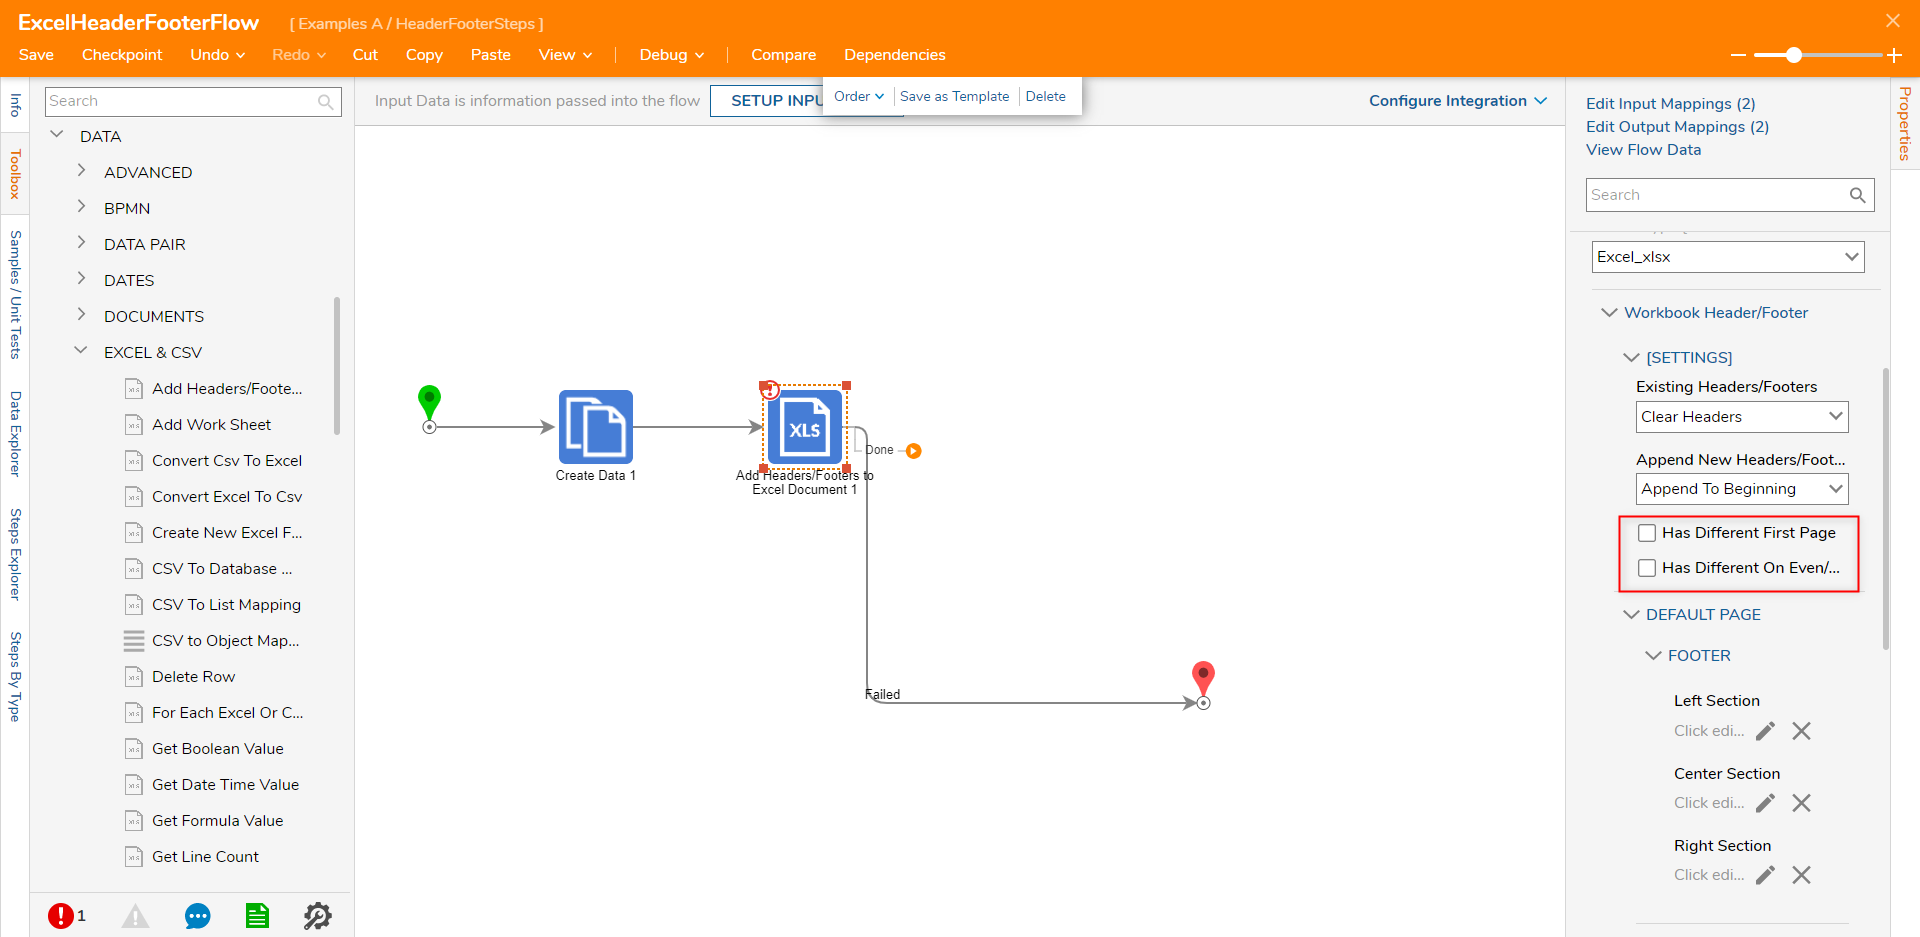
- If desired check the Different First Page or Different on Even/Odd Pages. Additional Information on Different on Pages BoxThe Different First Page checkbox allows users to provide a different Header/Footer on the First Page of the document.
The Different on Even/Odd Pages allows users to provide separate Headers/Footers for the Even and Odd Pages respectively.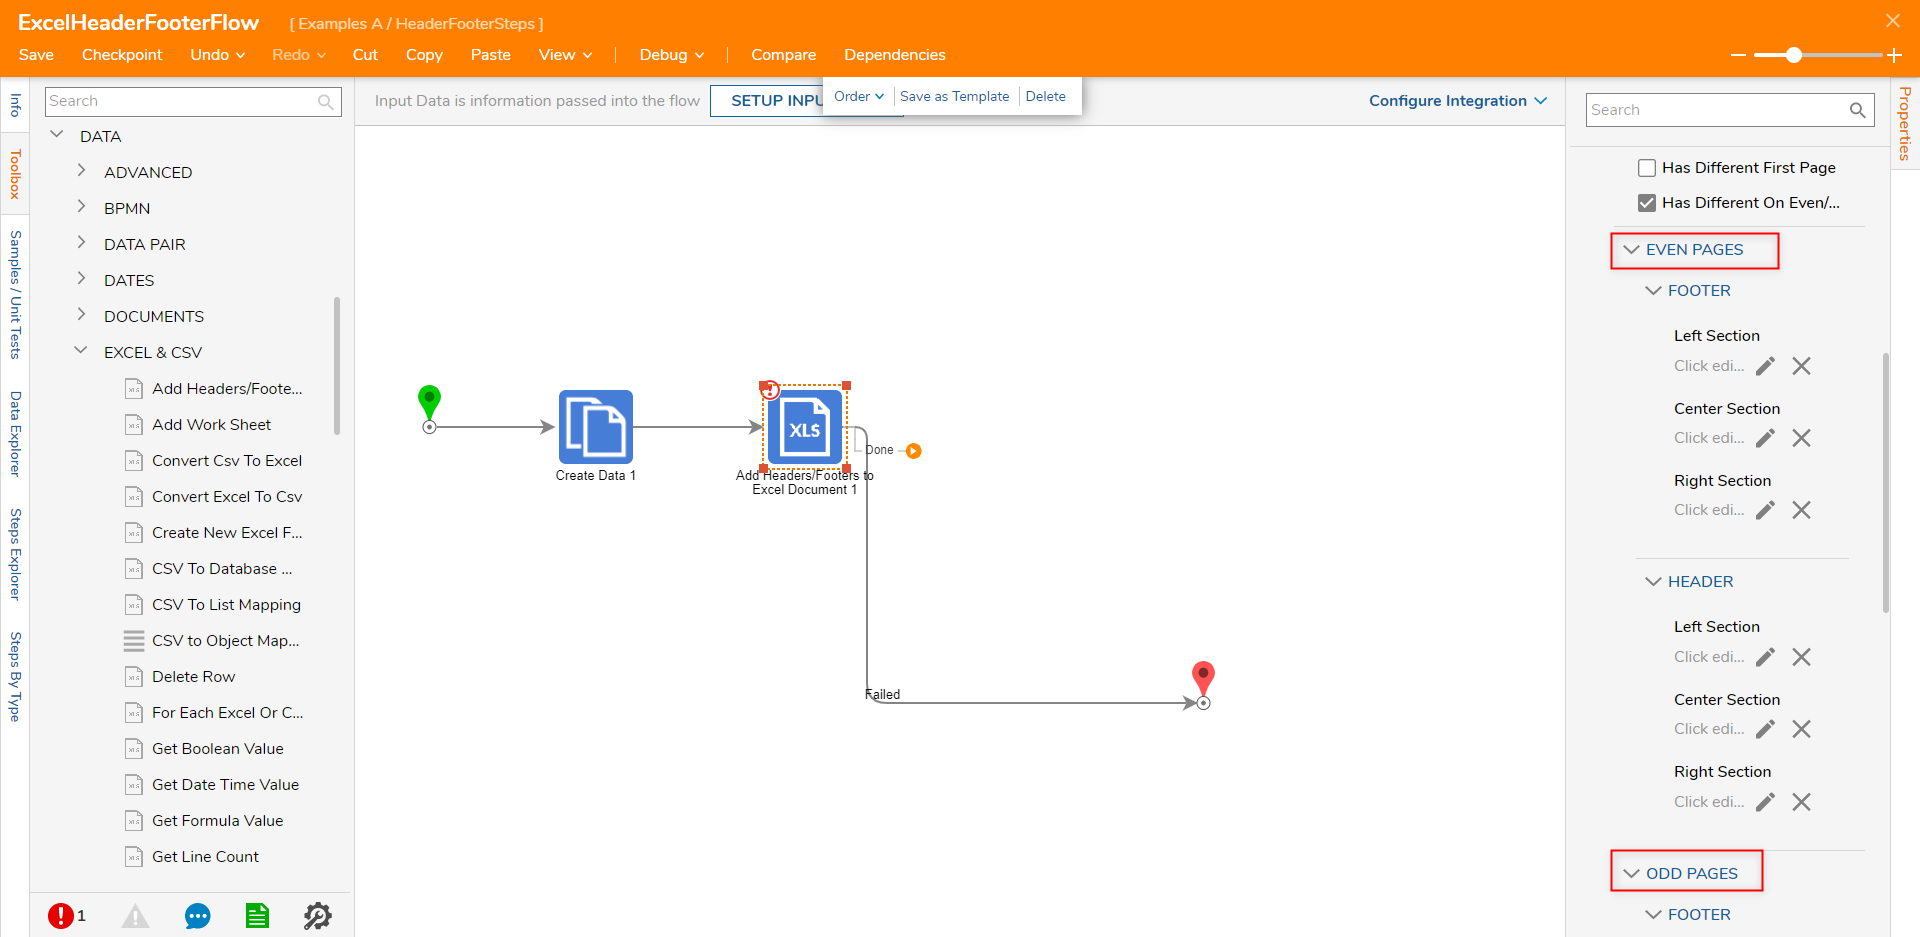
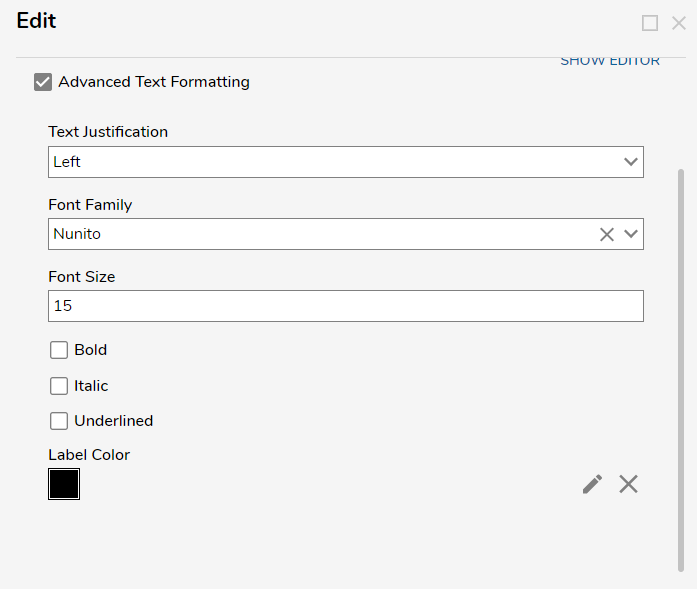
- Under FOOTER > Right Section, select the Edit (pencil) icon. Then, from the Edit screen, select Text from Section Type, then click SHOW EDITOR. Additional Information on Further Edit OptionsIf more text customization is desired, users may enable the Advanced Text Formatting property. This allows users to utilize the text tools that are provided in the Form and Page Designers. Such options include the ability to change Text Justification, the ability to select a different Font Family, adjust the Font Size, add stylization options, and change the color via Label Color.
 If desired, users may select Image from Section Type.
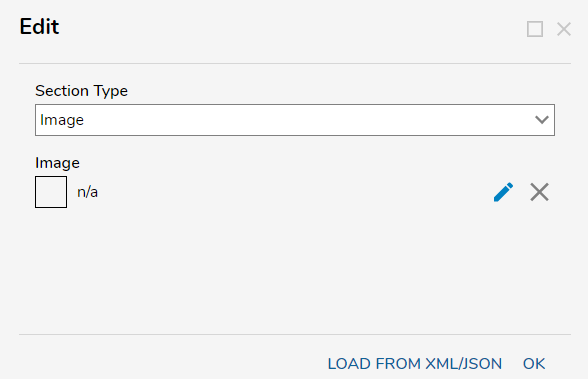
This setting allows users to either upload an Image or use the Image Picker to add an Image to the configured section of the document.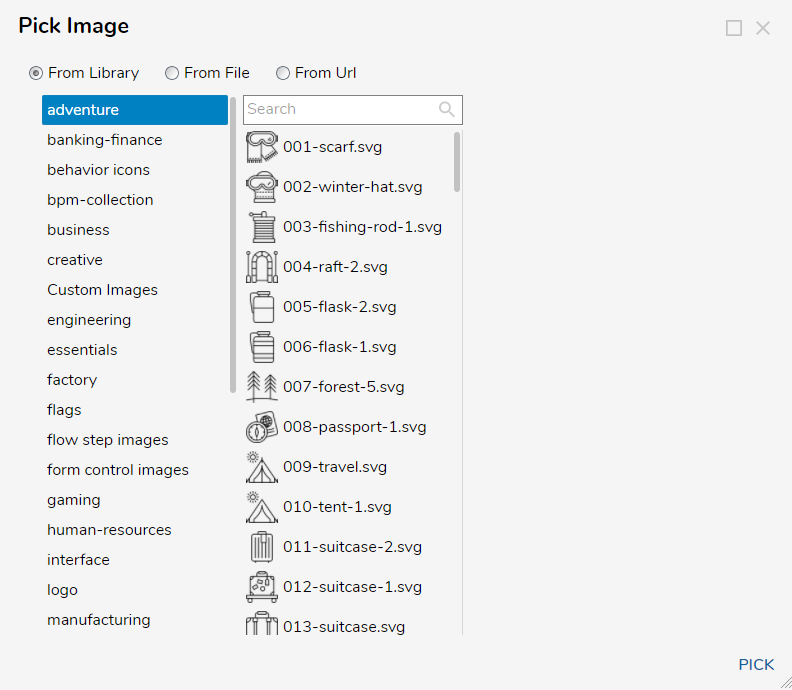
.png)
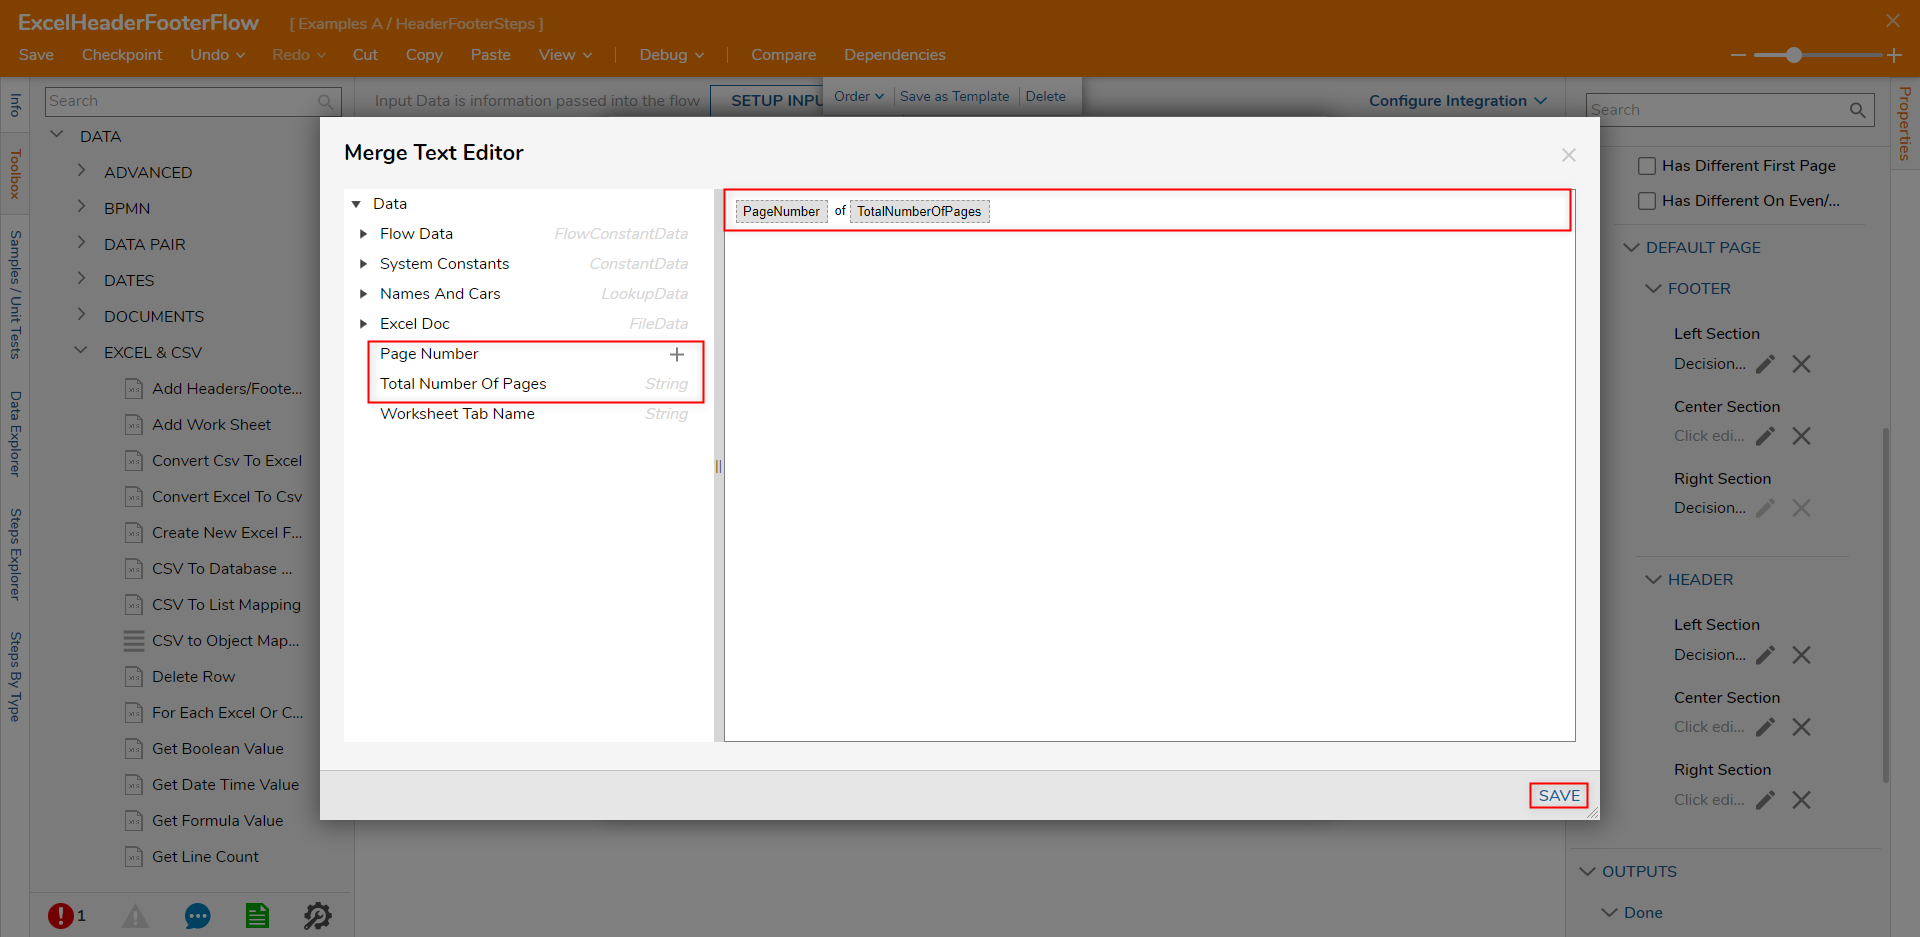
- From the Merge Text Editor, define the desired Footer by utilizing the Data located on to left of the Input box. Define the Footer as [PageNumber] of [TotalNumberOfPages], then click SAVE. Click OK to finish saving the Footer.
Under HEADER, select the Edit icon beside Center Section, then click SHOW EDITOR. Define the desired Header, then click SAVE and OK.
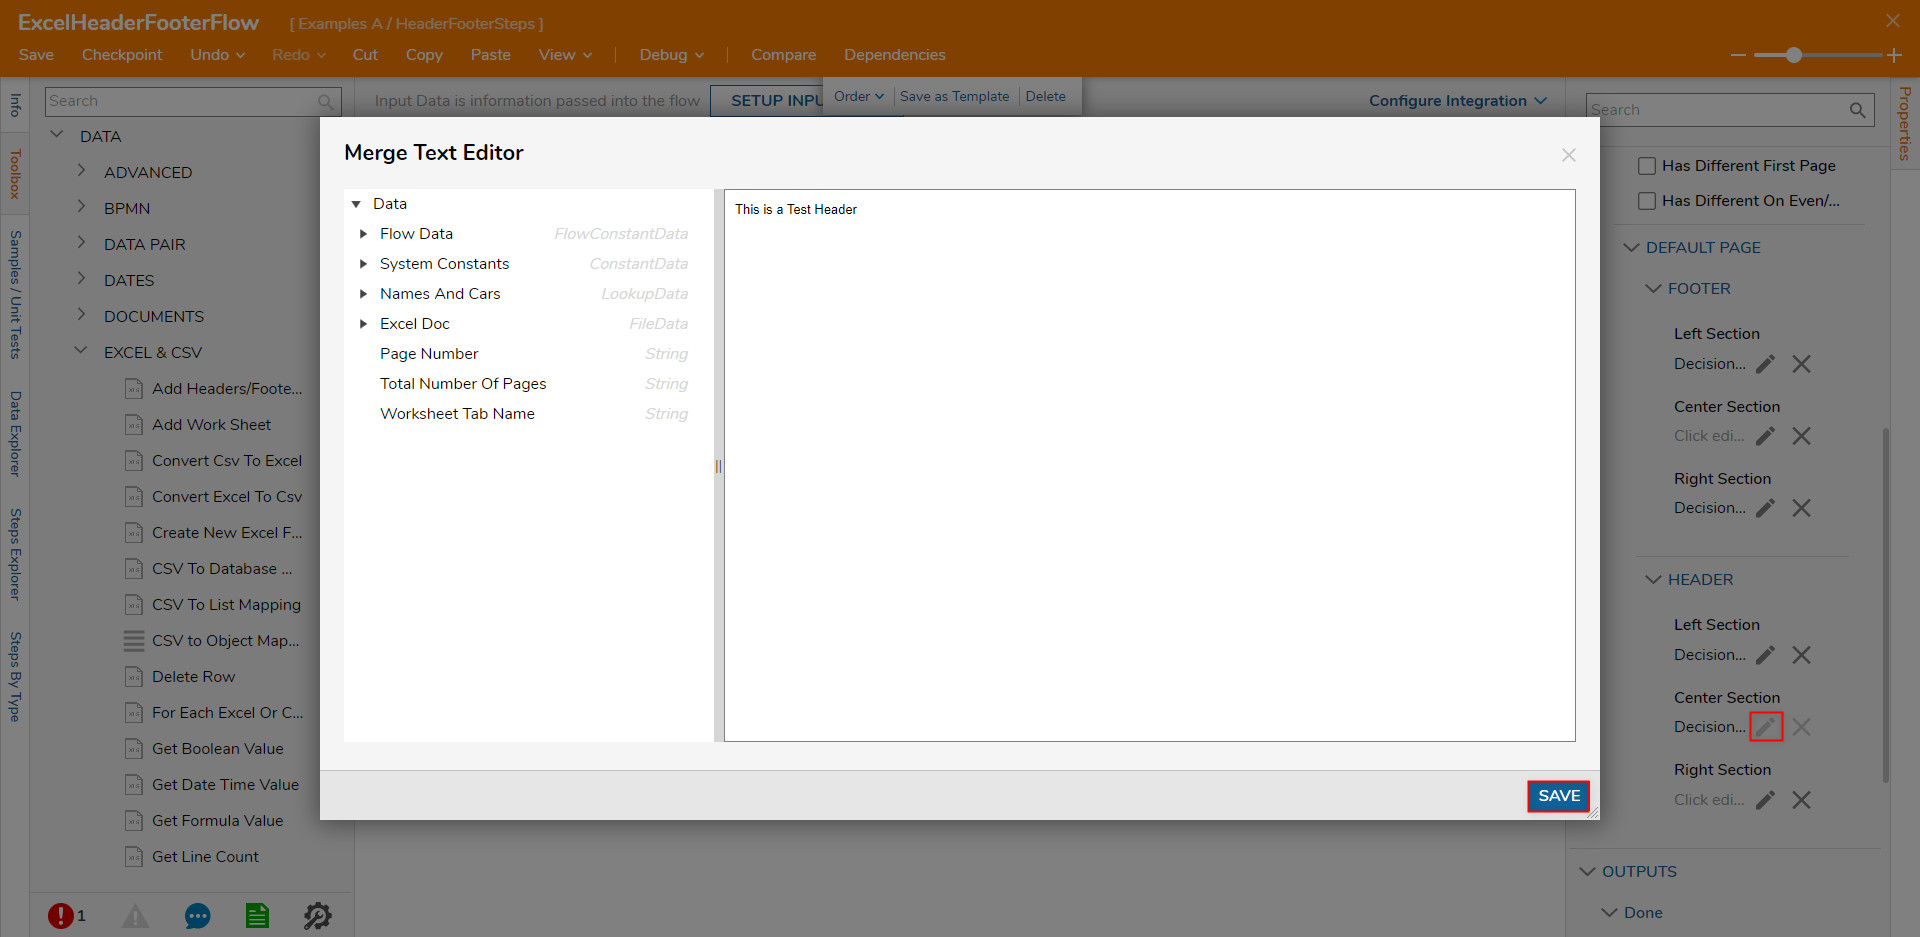
If desired, Edit the Left Section, Center Section, or Right Section Headers or Footers.
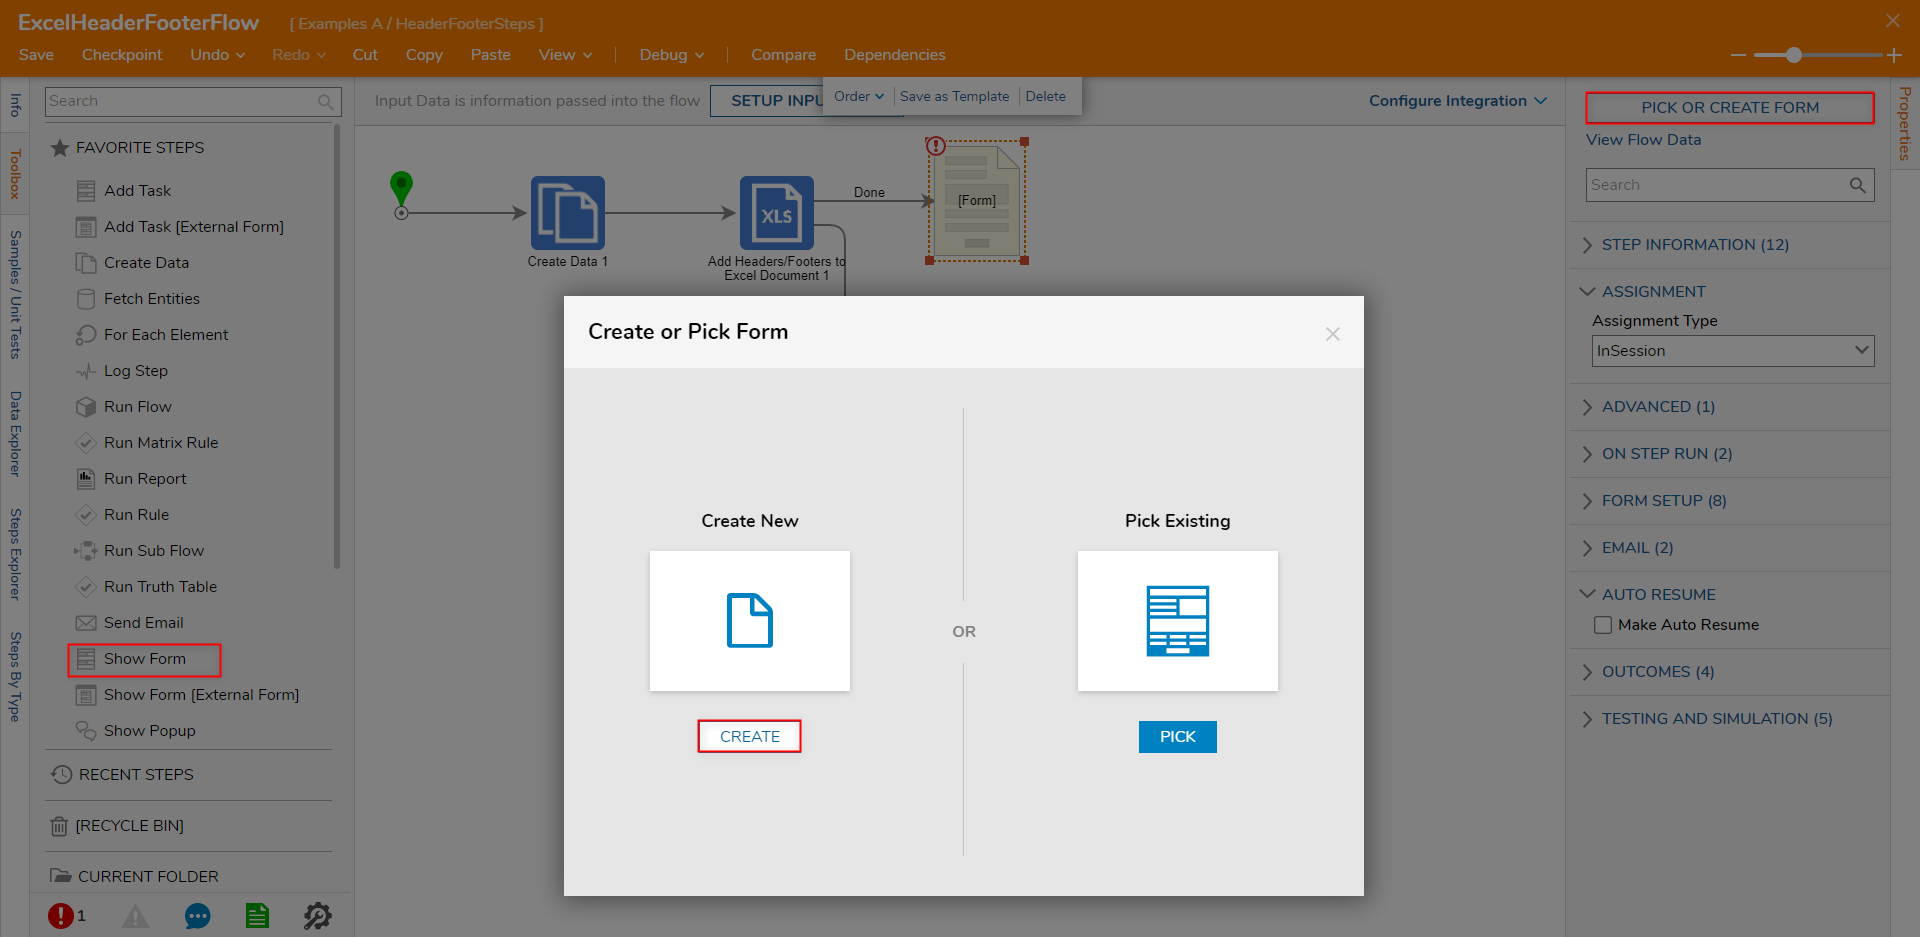
From Toolbox > FAVORITE STEPS, connect a Show Form step to the Done path of the Add Headers and Footers step. From the Properties tab of the Show Form step select PICK OR CREATE FORM step and CREATE a new Form.
From the Form Designer, design a Form utilizing a Button and a File Download component from the FAVORITES category. Label the Button "Done. Then from the Properties tab of the File Download component, under Select Button Type, select Button; Save and close the Form Designer.

Back in the Flow Designer, map Output File to the Download component's Input, then connect the Download Form's Done path to the End step.
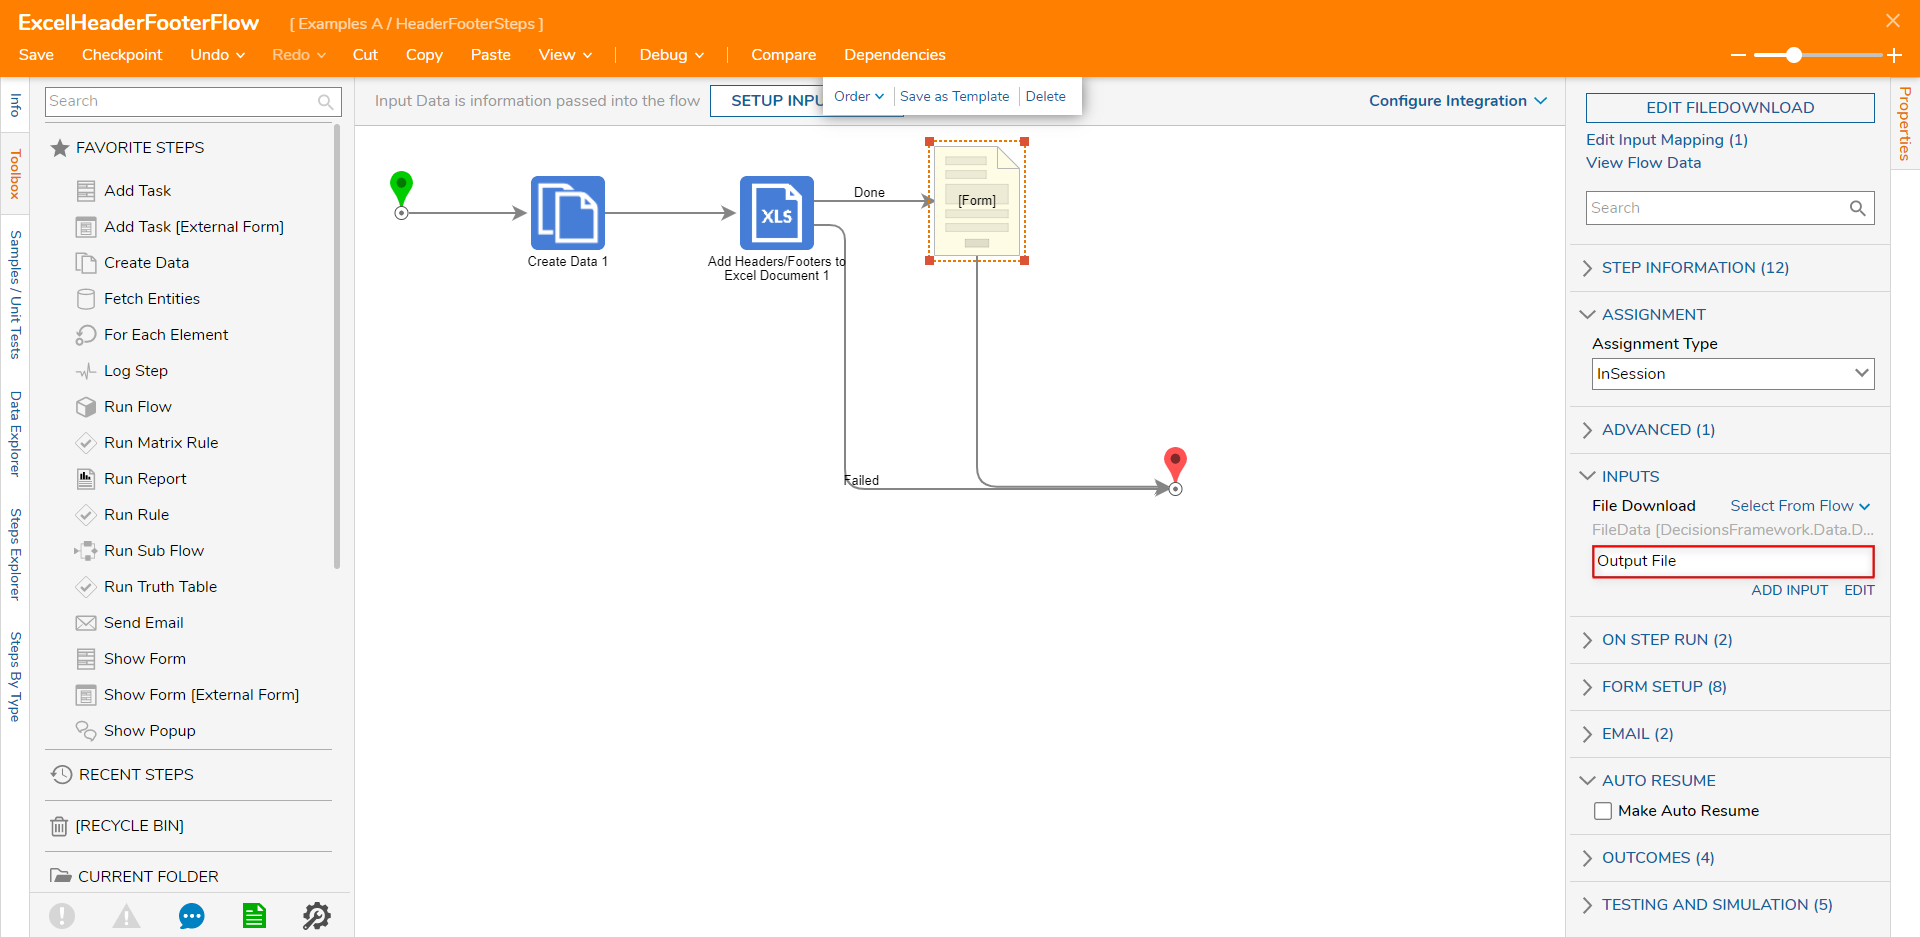
Save the Flow, then if desired close the Flow Designer via X.
Debug
- From the Flow Designer, select the Debug link from the top Action Bar, then click START DEBUGGING.
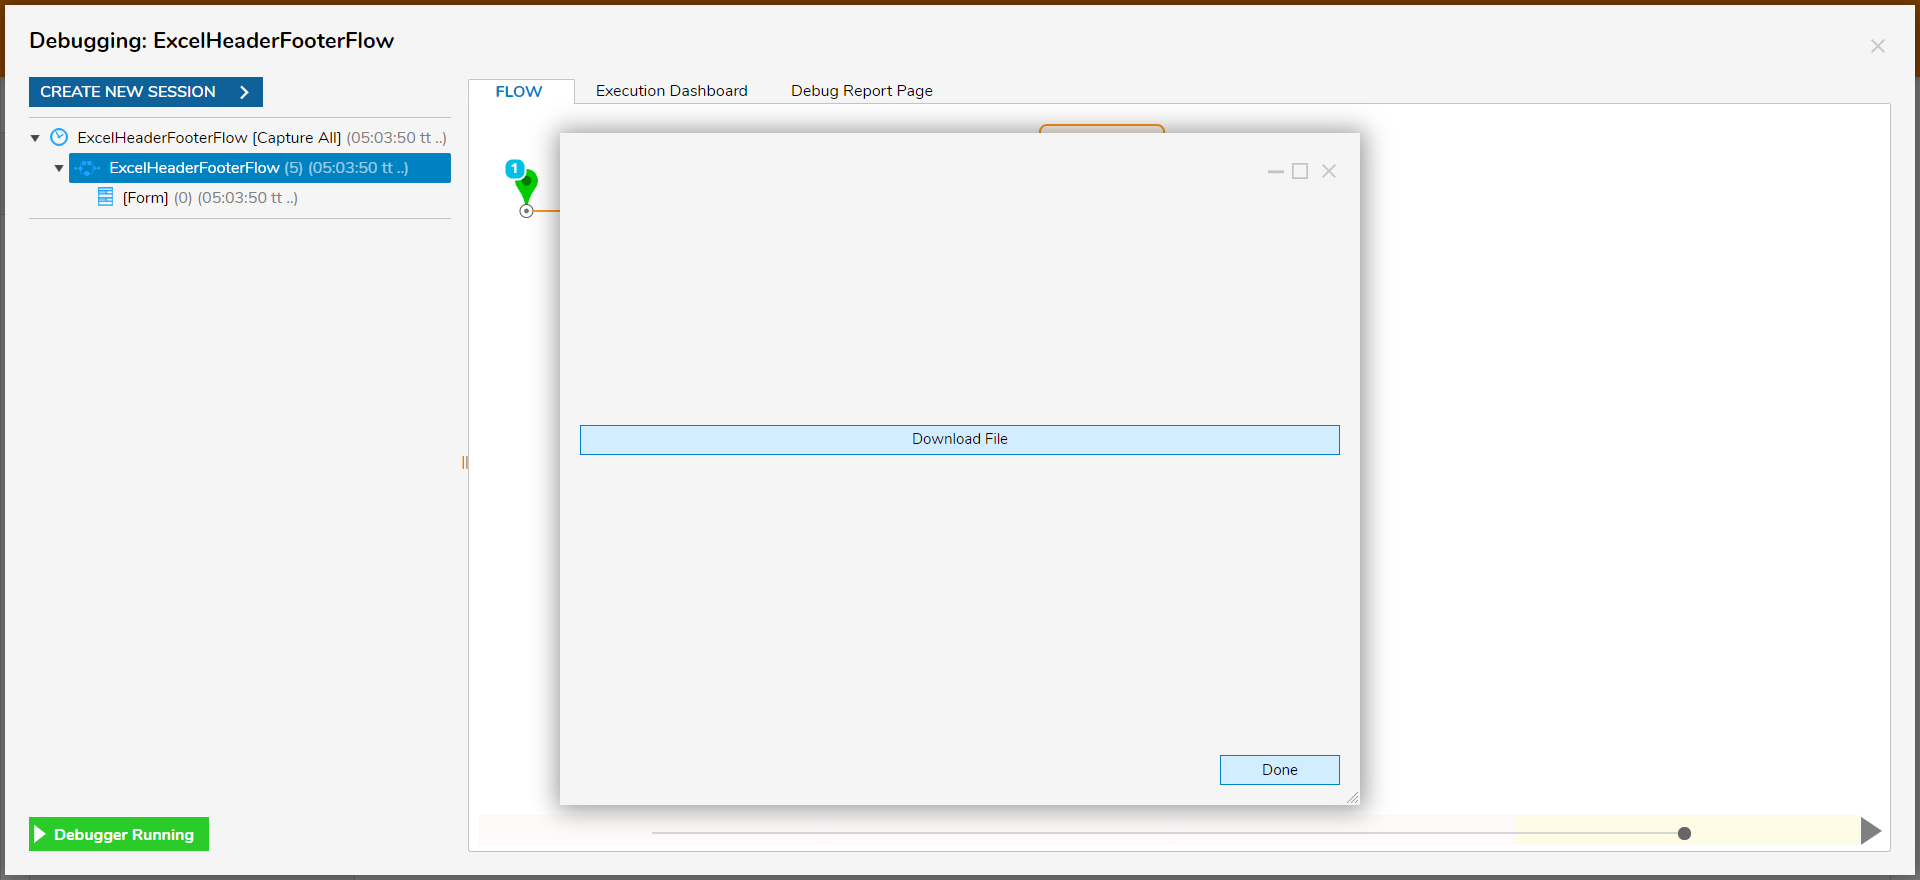
- When the Flow reaches the Download Form, click the Download Button, then click Done.
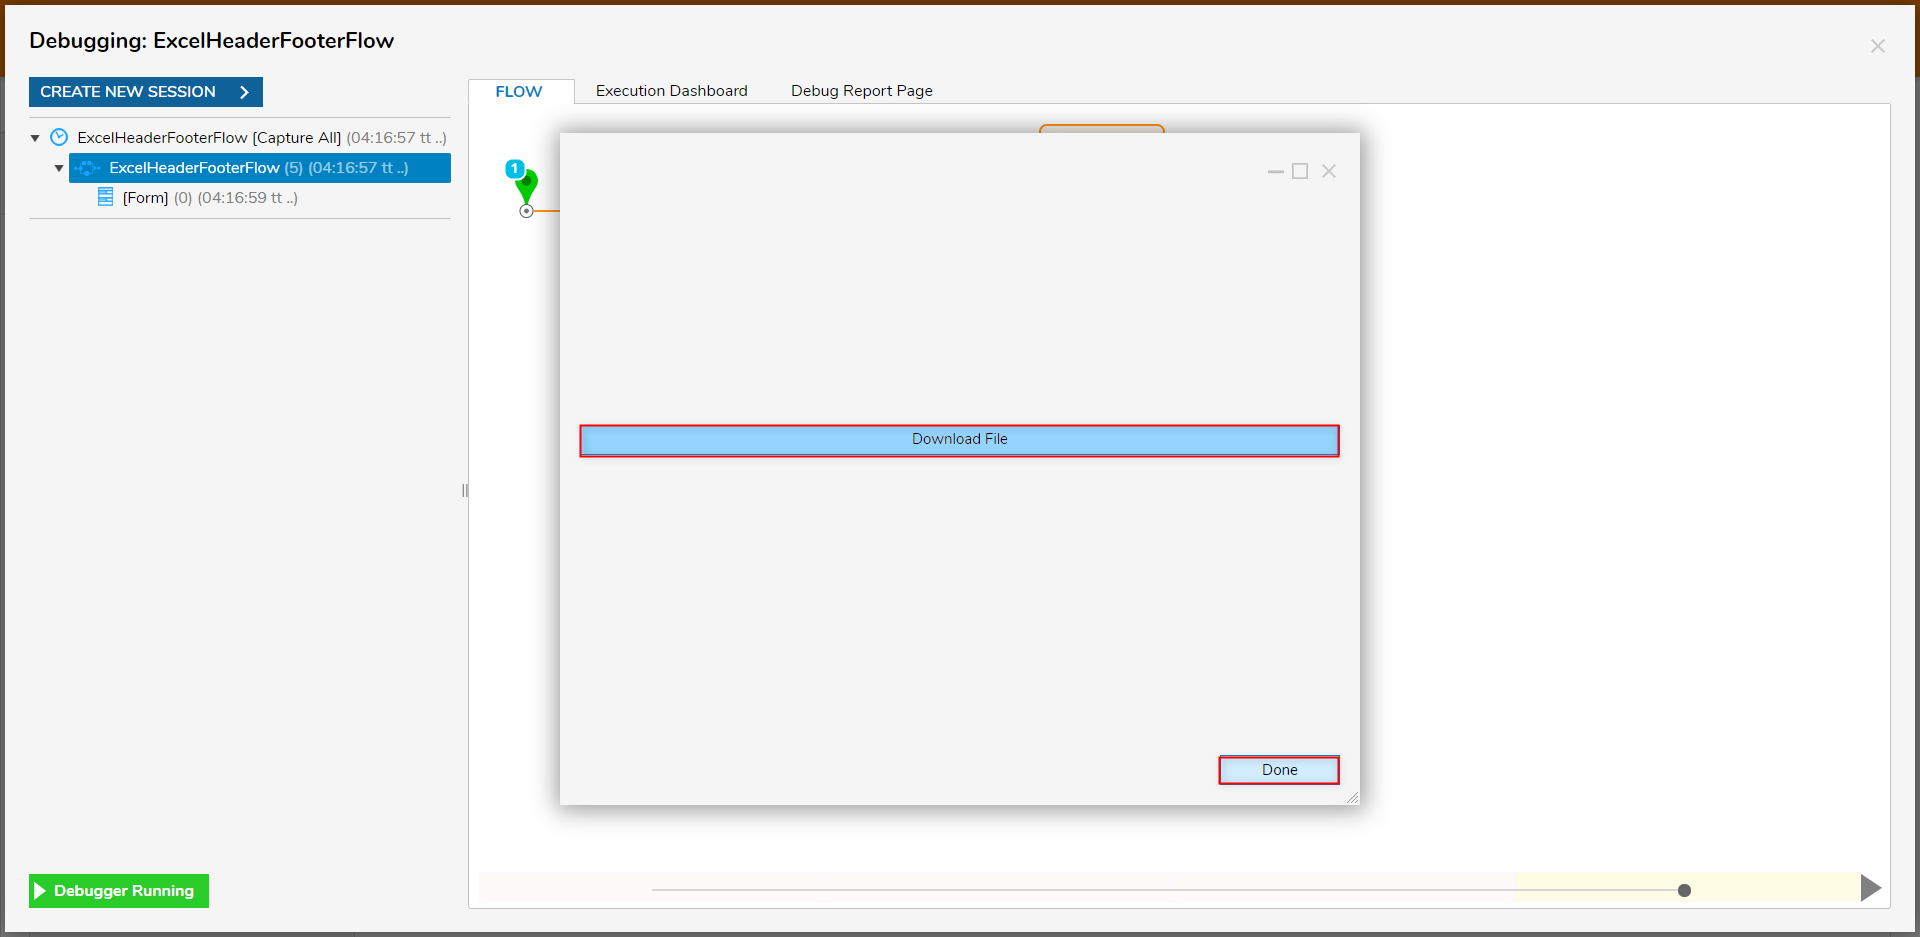
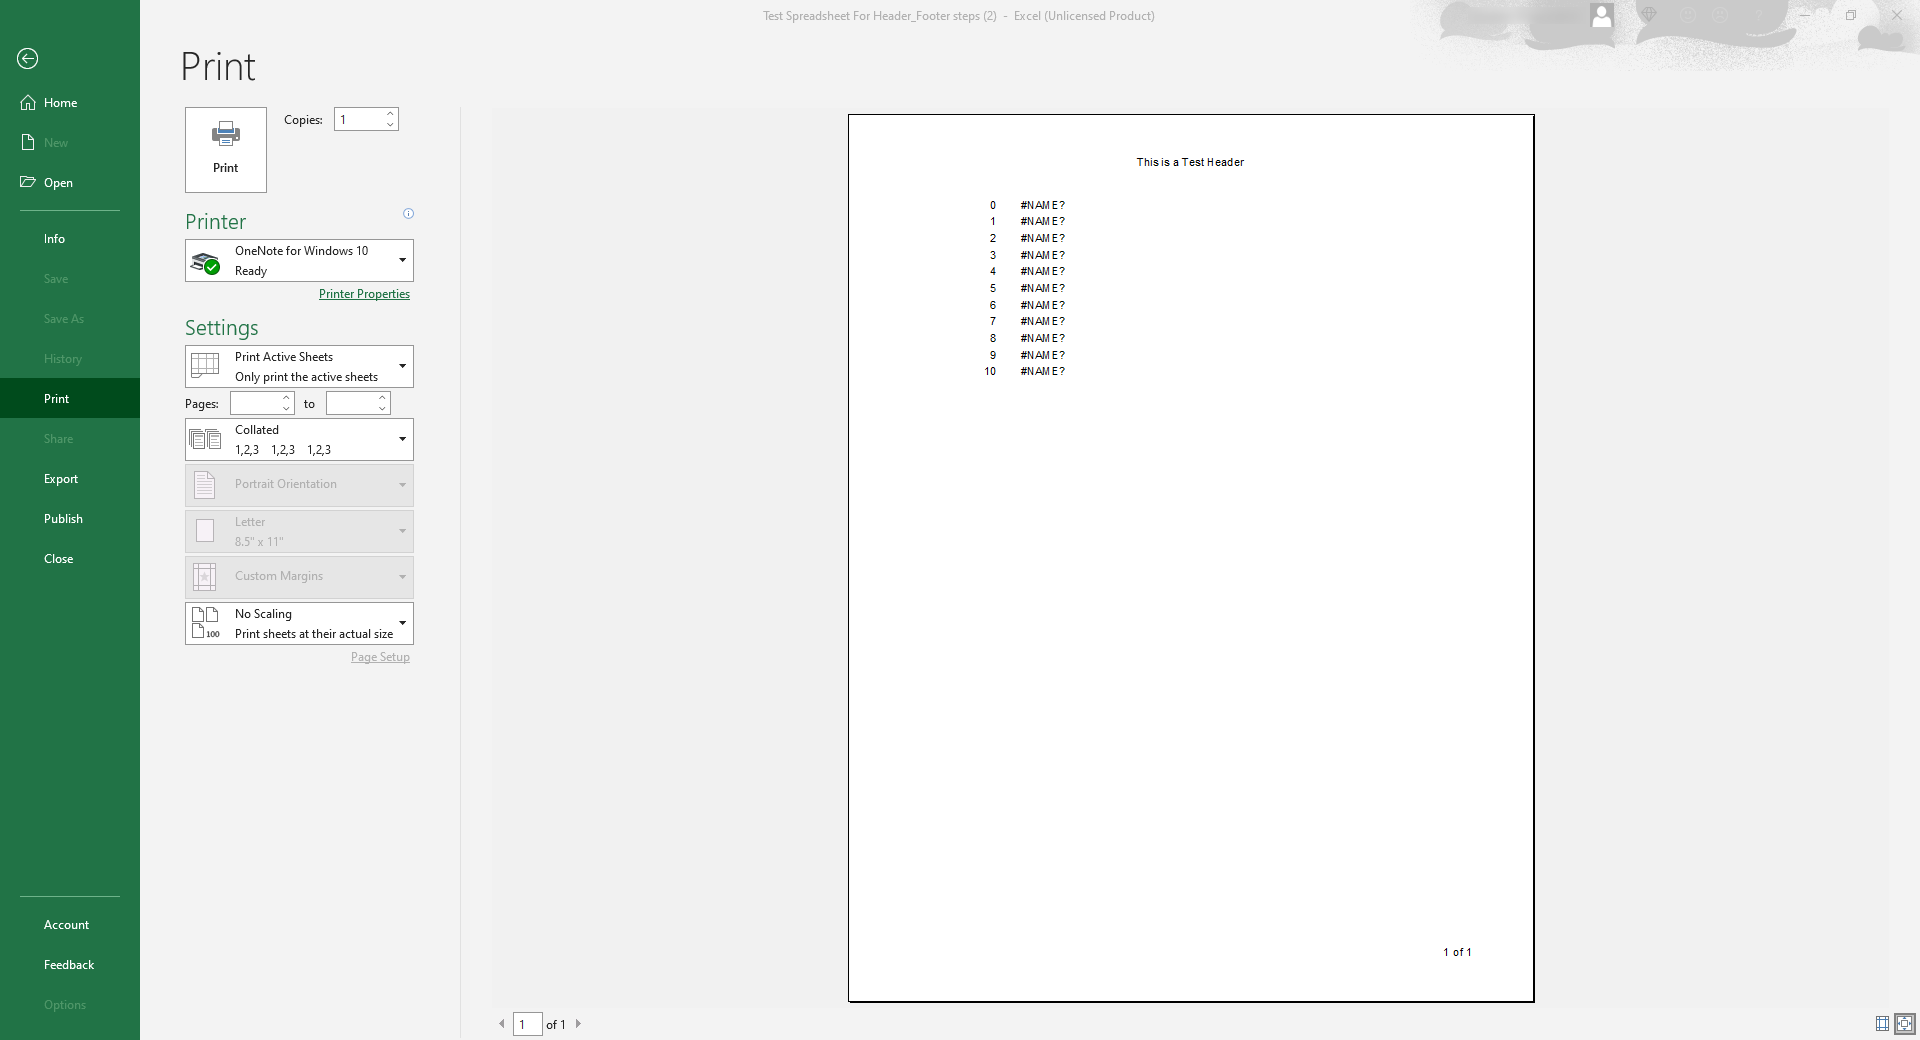
- Open the Excel file and then view it in Print mode to verify that Headers/Footers added as intended.
Different For Each Worksheet
If desired users may enable the Different For Each Worksheet property. Doing so will allow users to assign different Header/Footer Options for each Worksheet of the Excel file.
To do so:
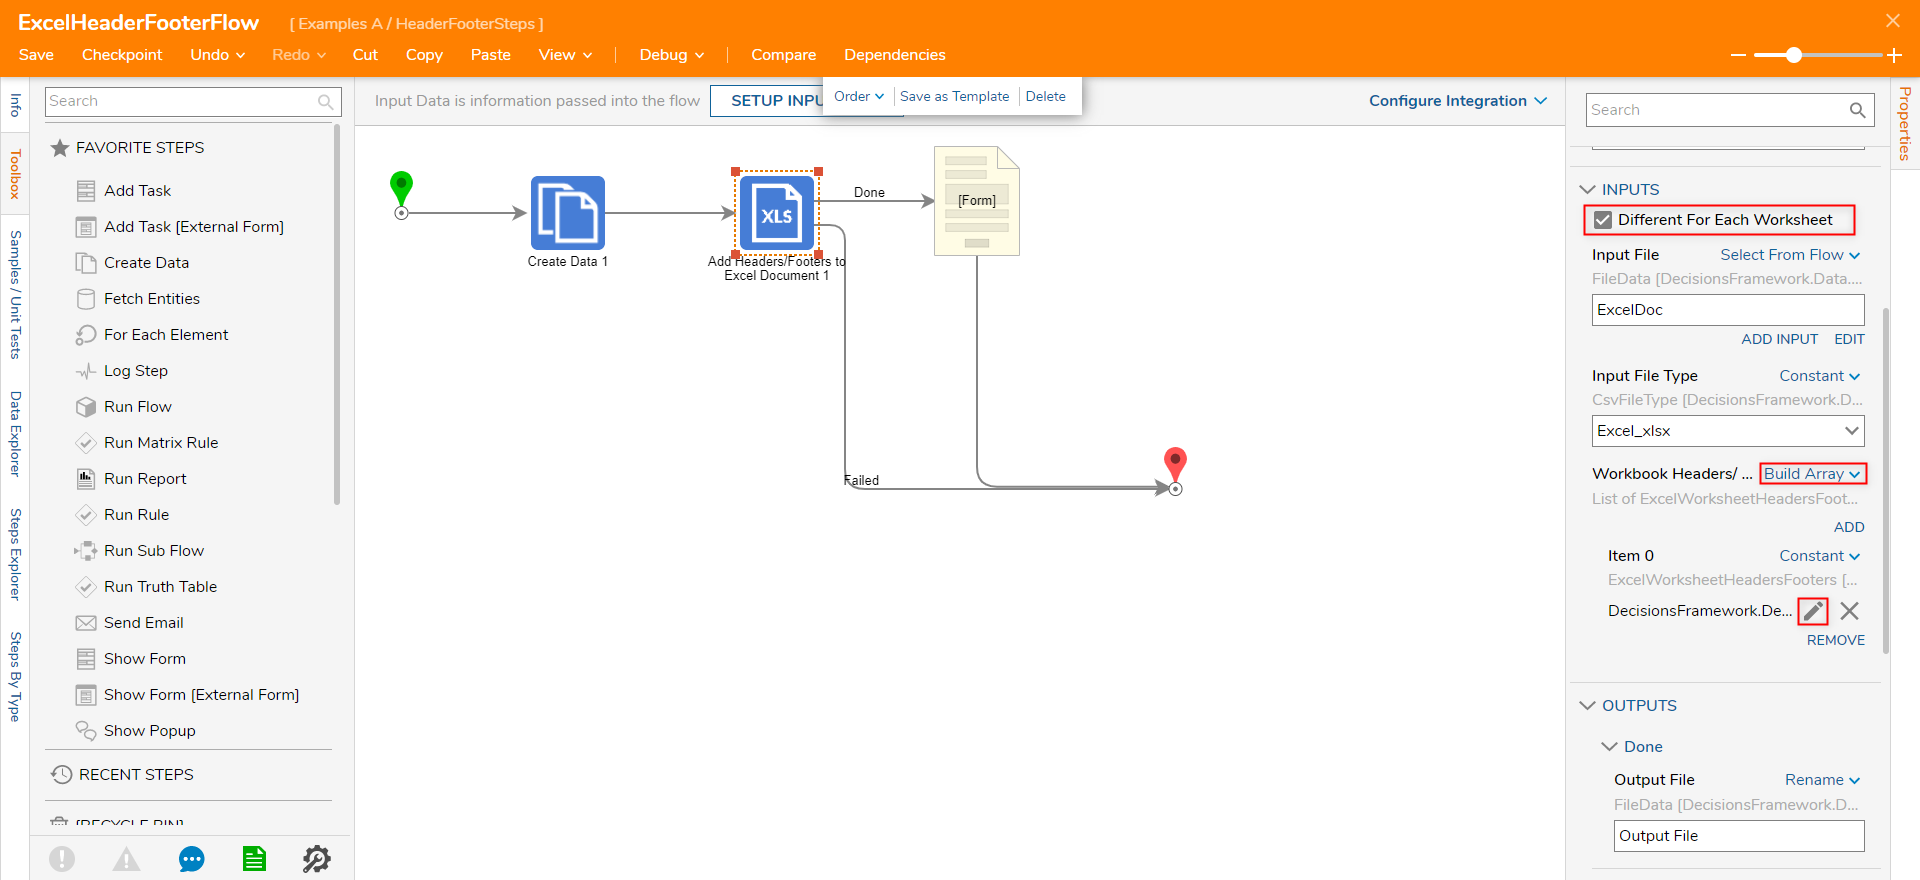
- From the Properties tab of the Add Headers/Footers to Excel Document step, enable the Different For Each Worksheet checkbox.
- Set the mapping for Workbook Headers/Footers to Build Array. Then, set the mapping for Item 0 to Constant, and click the Edit (pencil) icon.
- From the Edit window, input the desired Worksheet Index and map, then configure the rest of the Header/Footersettings as usual. Once complete, select OK. Additional Information on Worksheet IndexNote that the Worksheet Index is used to determine which Worksheet the Header/Footer is applied to. The values start from 1 (the first sheet) and go up.
.png)
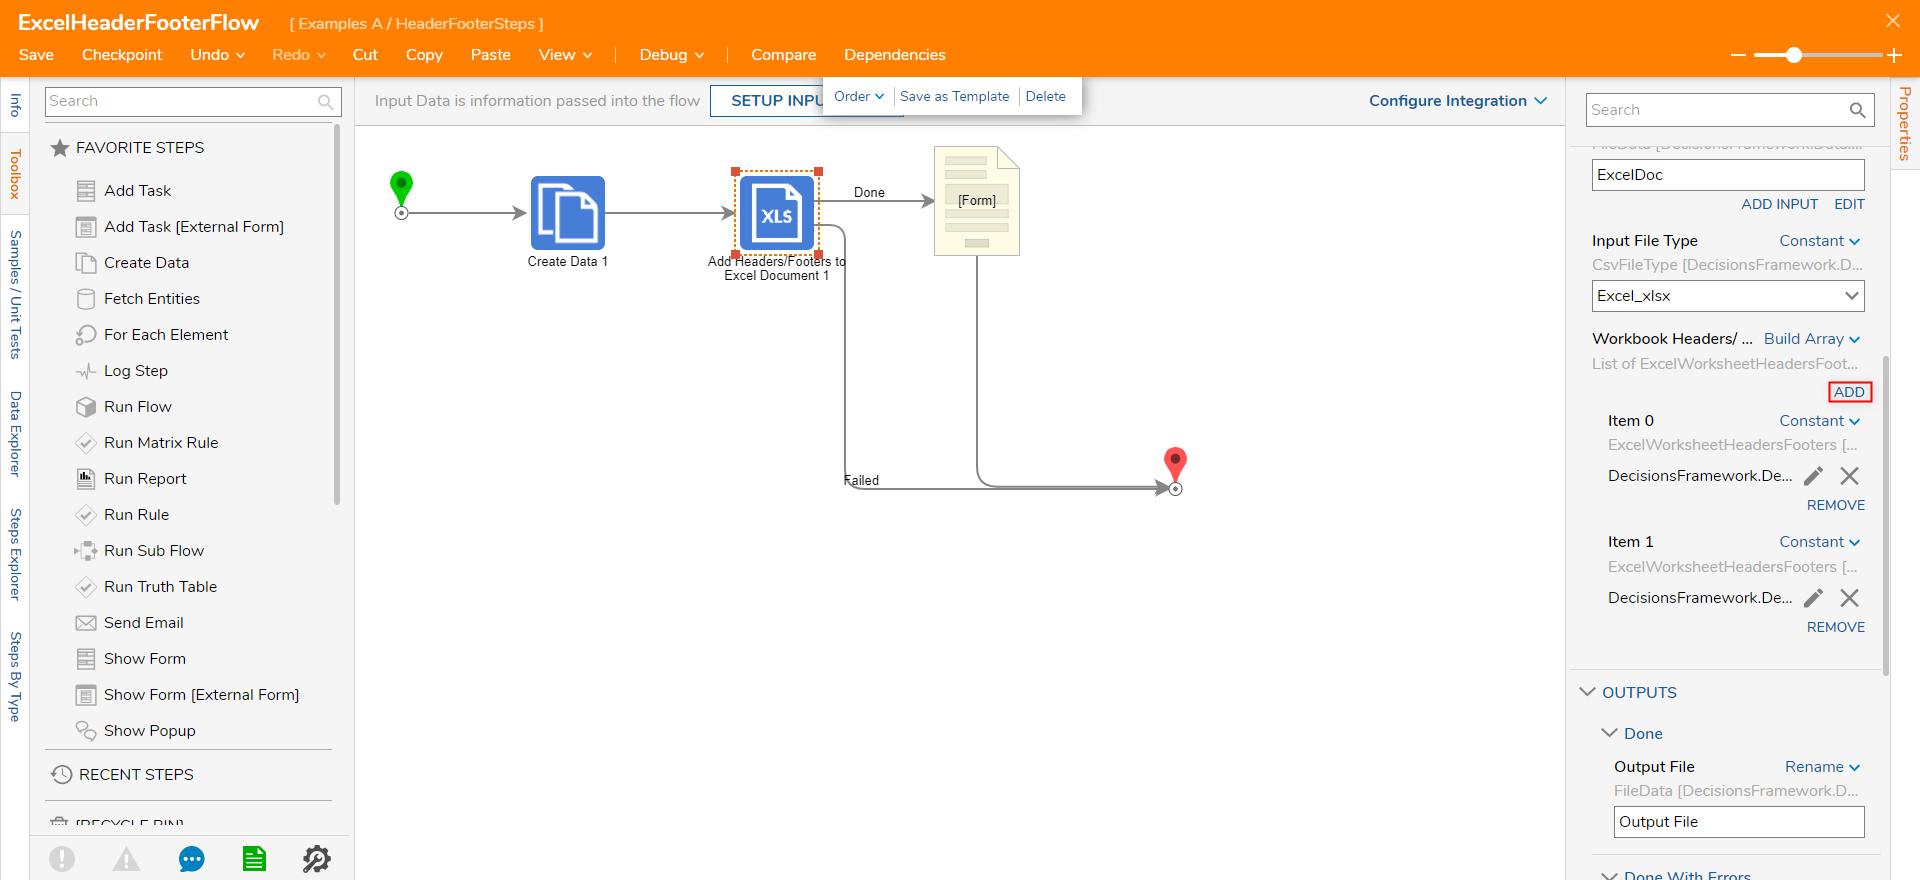
From the Workbook Headers/Footers Input, ADD more Items to configure additional Headers/Footers for other Worksheets as needed.
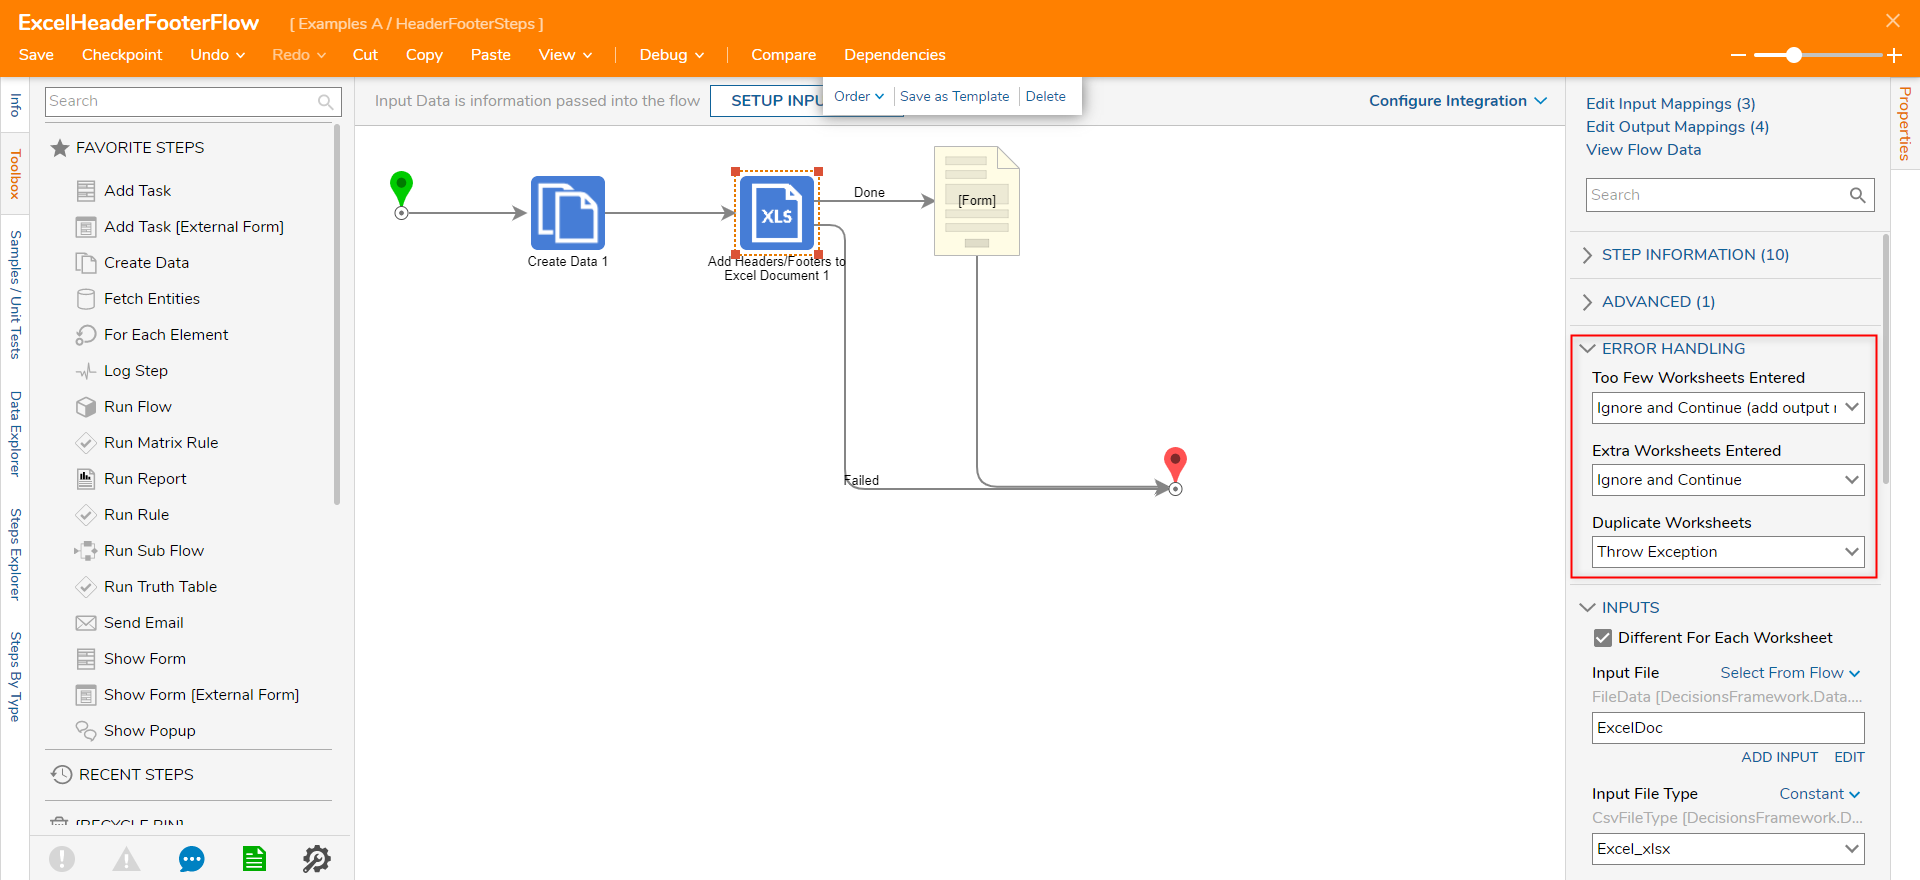
From the ERROR HANDLING section of the Properties tab, select the desired methods for Too Few Worksheets Entered, Extra Worksheets Entered, and Duplicate Worksheets.
Additional Information on Error HandlingThe Error Handling properties are used to determine what happens in the event that the Add Headers and Footers To Excel Document doc is configured to handle less Worksheets than expected, more than expected, or duplicate Worksheets.
Users are provided the option to either- Ignore and Continue (add output message): Allows the user to output an error message.
- Ignore and Continue: Allows the Flow to continue and finish as usual.
- Throw Exception: Allows the Flow to throw an exception.
Once configured, Save the Flow, then debug via the Debug link.
Once the Flow reaches the Download Form, Download the Excel file, then click Done.
Open the Excel file to verify that the configured Headers/Footers were applied correctly.