Overview
The Decisions Form designer offers a multitude of tools that can be used to collect information via user input from a Form. One such method is selecting data from a drop-down component; these data options can be static values or dynamically populated via a Flow. The following article will explain how a Flow can be used to dynamically populate a drop-down component with a large list utilizing user-typed Strings of text.
It is best practice to assume a large list contains more than 50 data options.
Example
- Create a Flow and add a Show Form step and create a new Form.
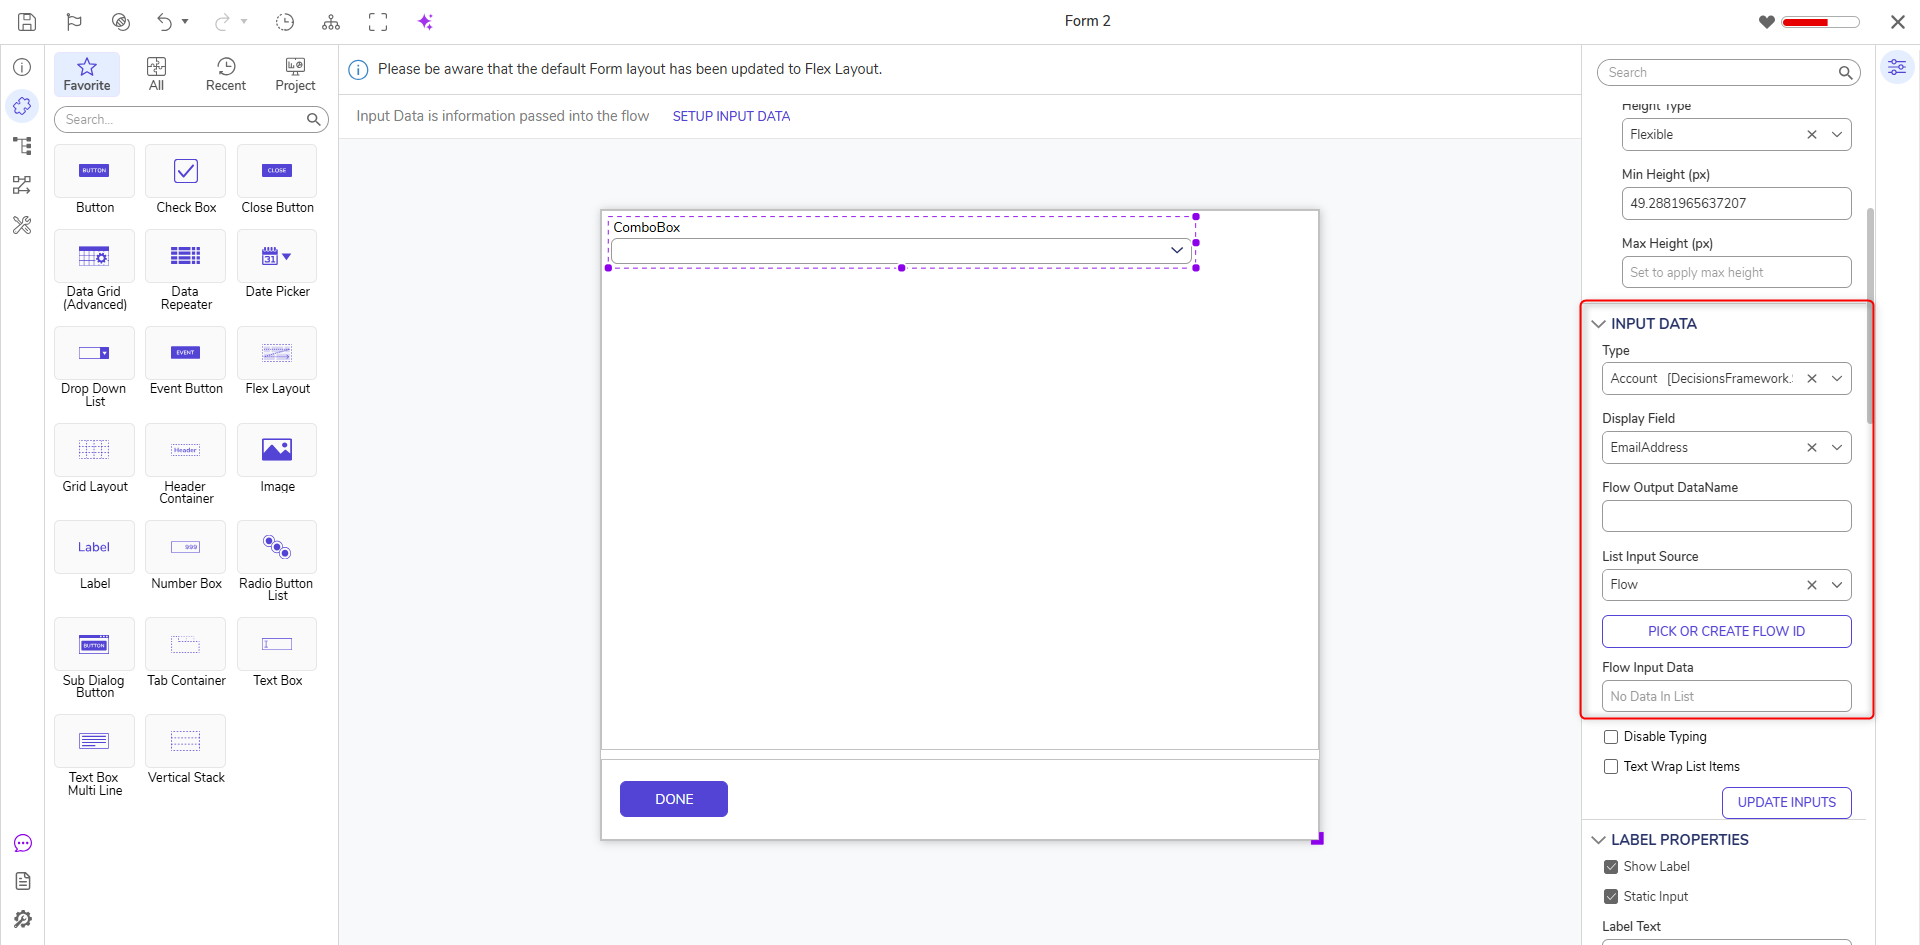
- In the Form Designer, add a Drop Down List and a Button from the FAVORITES section.
- Select the Drop Down List; in the Input Data > Type, select All/Search and search for "Account". PICK the first option.
- Select EmailAddress from Input Data > Display Field.
- Select Flow from Input Data > List Input Source.
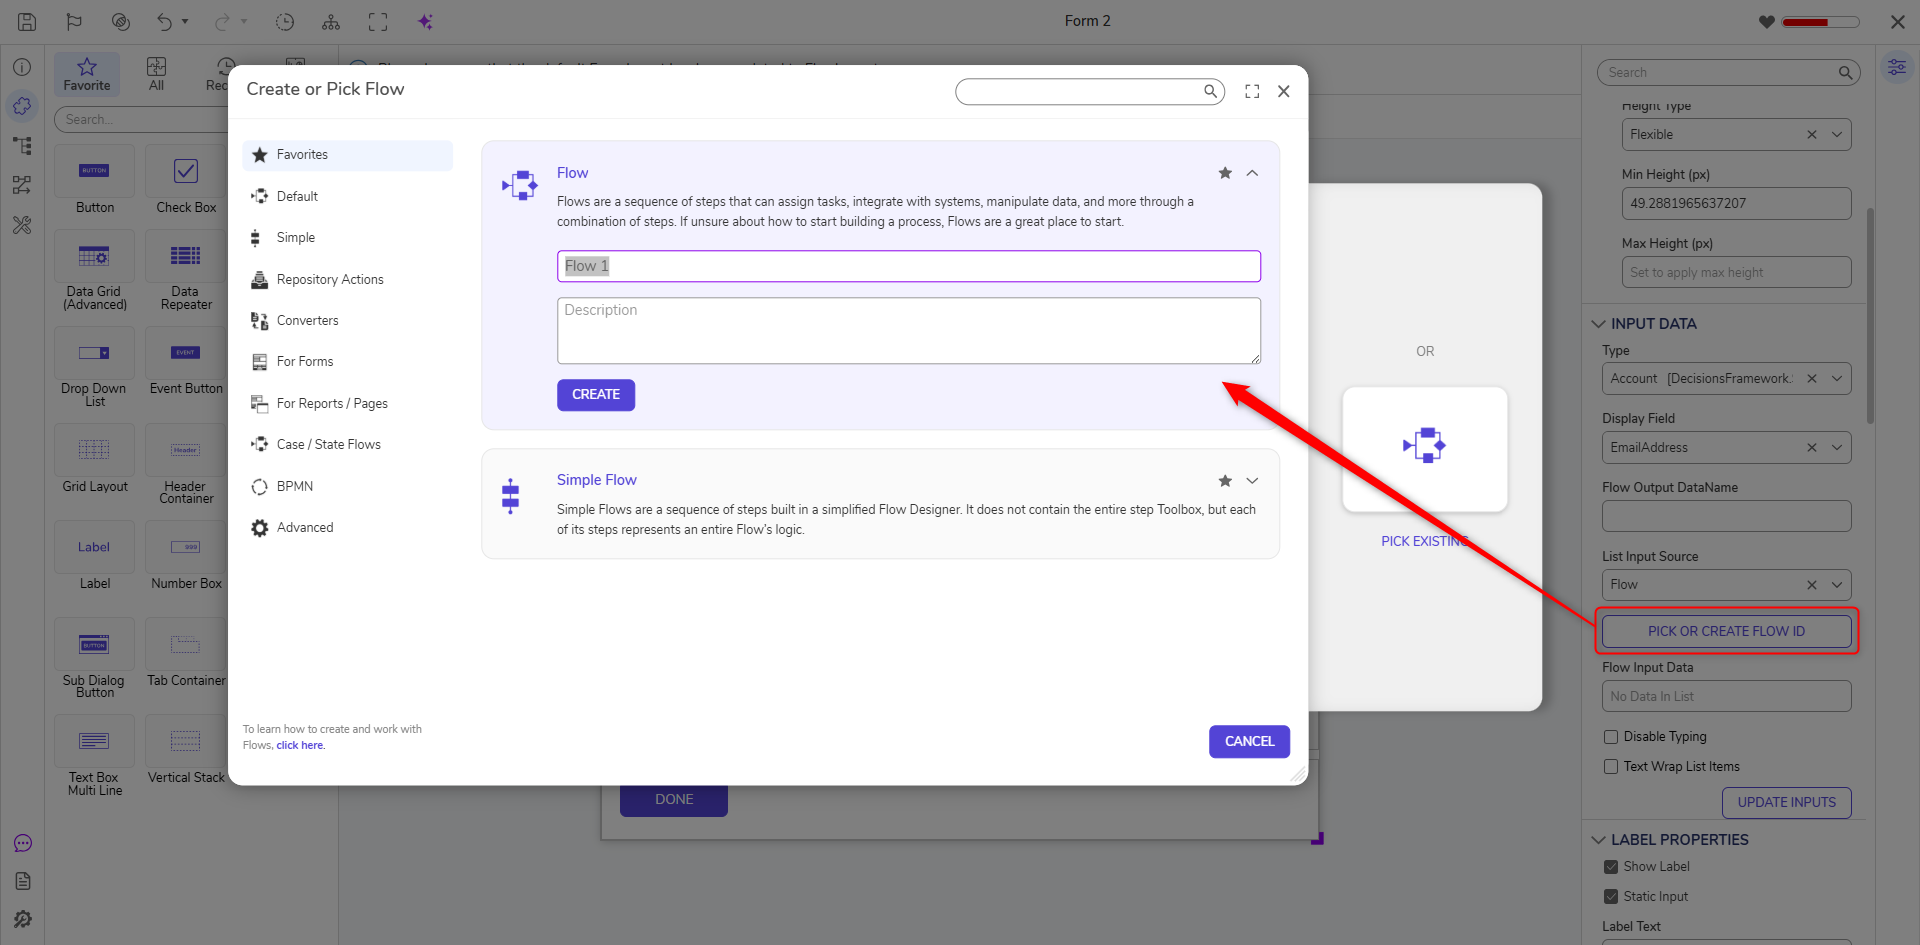
- Next, after selecting the PICK FLOW ID box, click CREATE from the resulting CREATE or PICK FLOW dialog window.
- Select Flow, name the Flow and click CREATE.
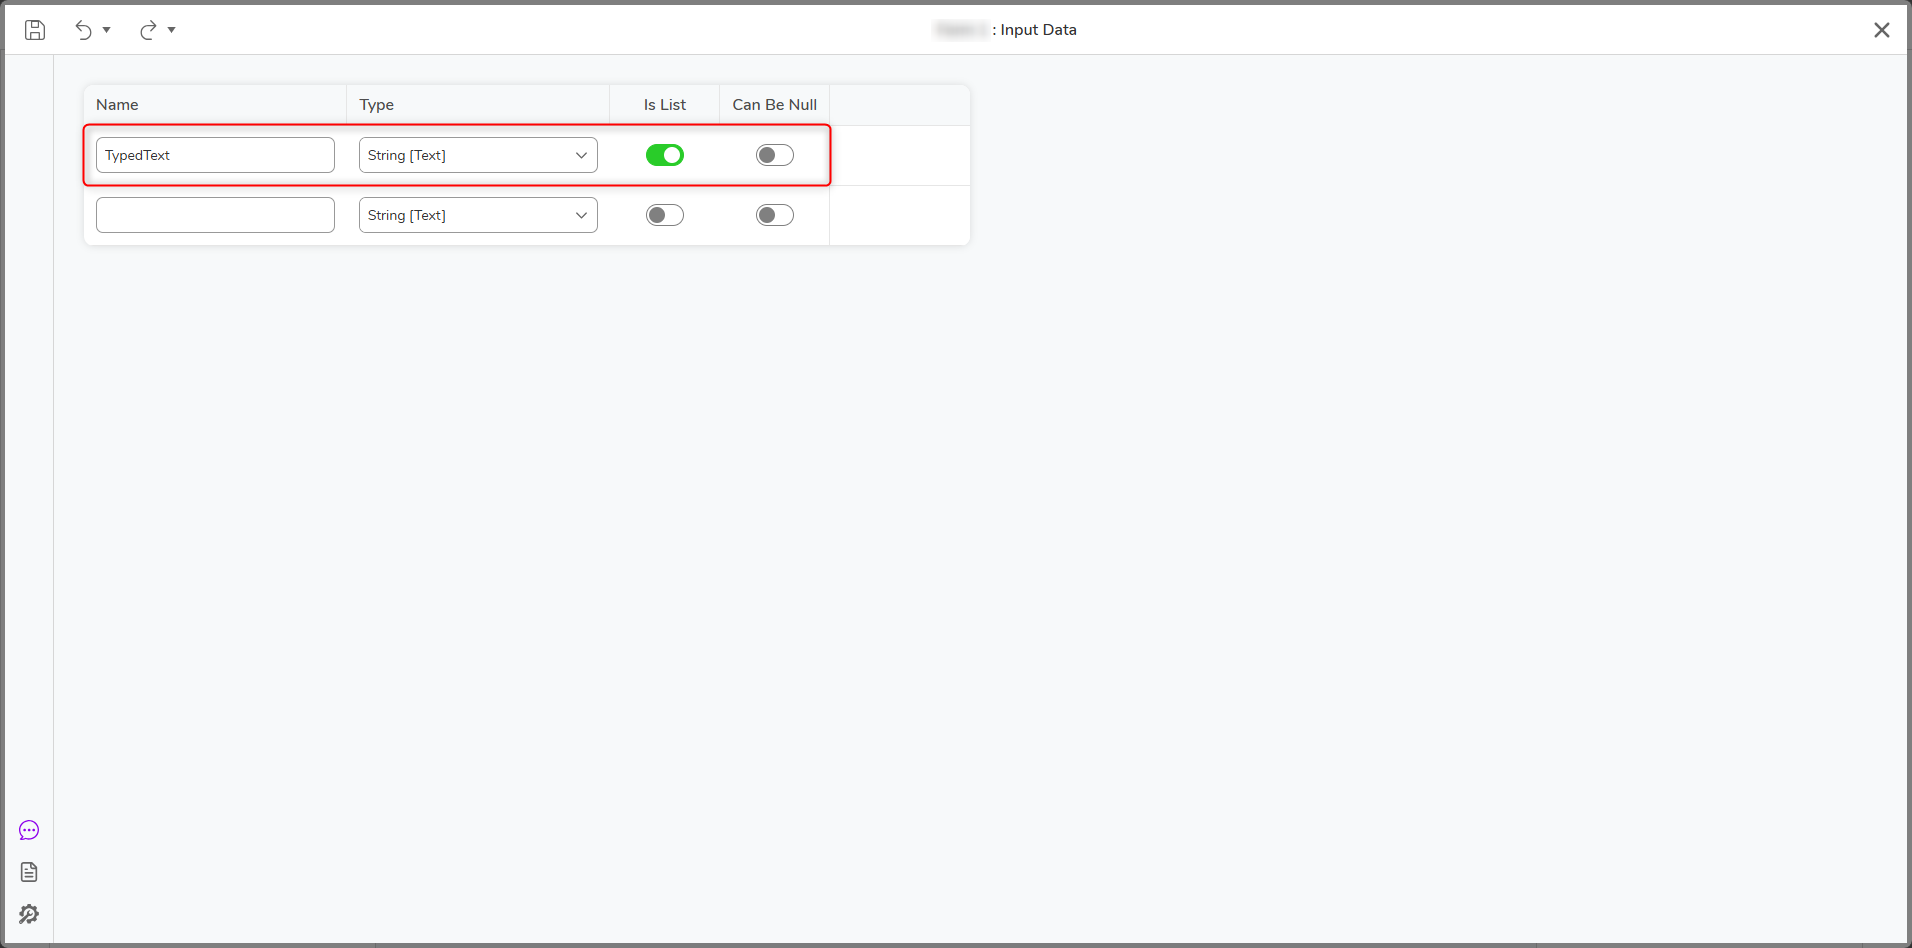
- Add Input Data, configure one String [Text] type with the Name "TypedText".
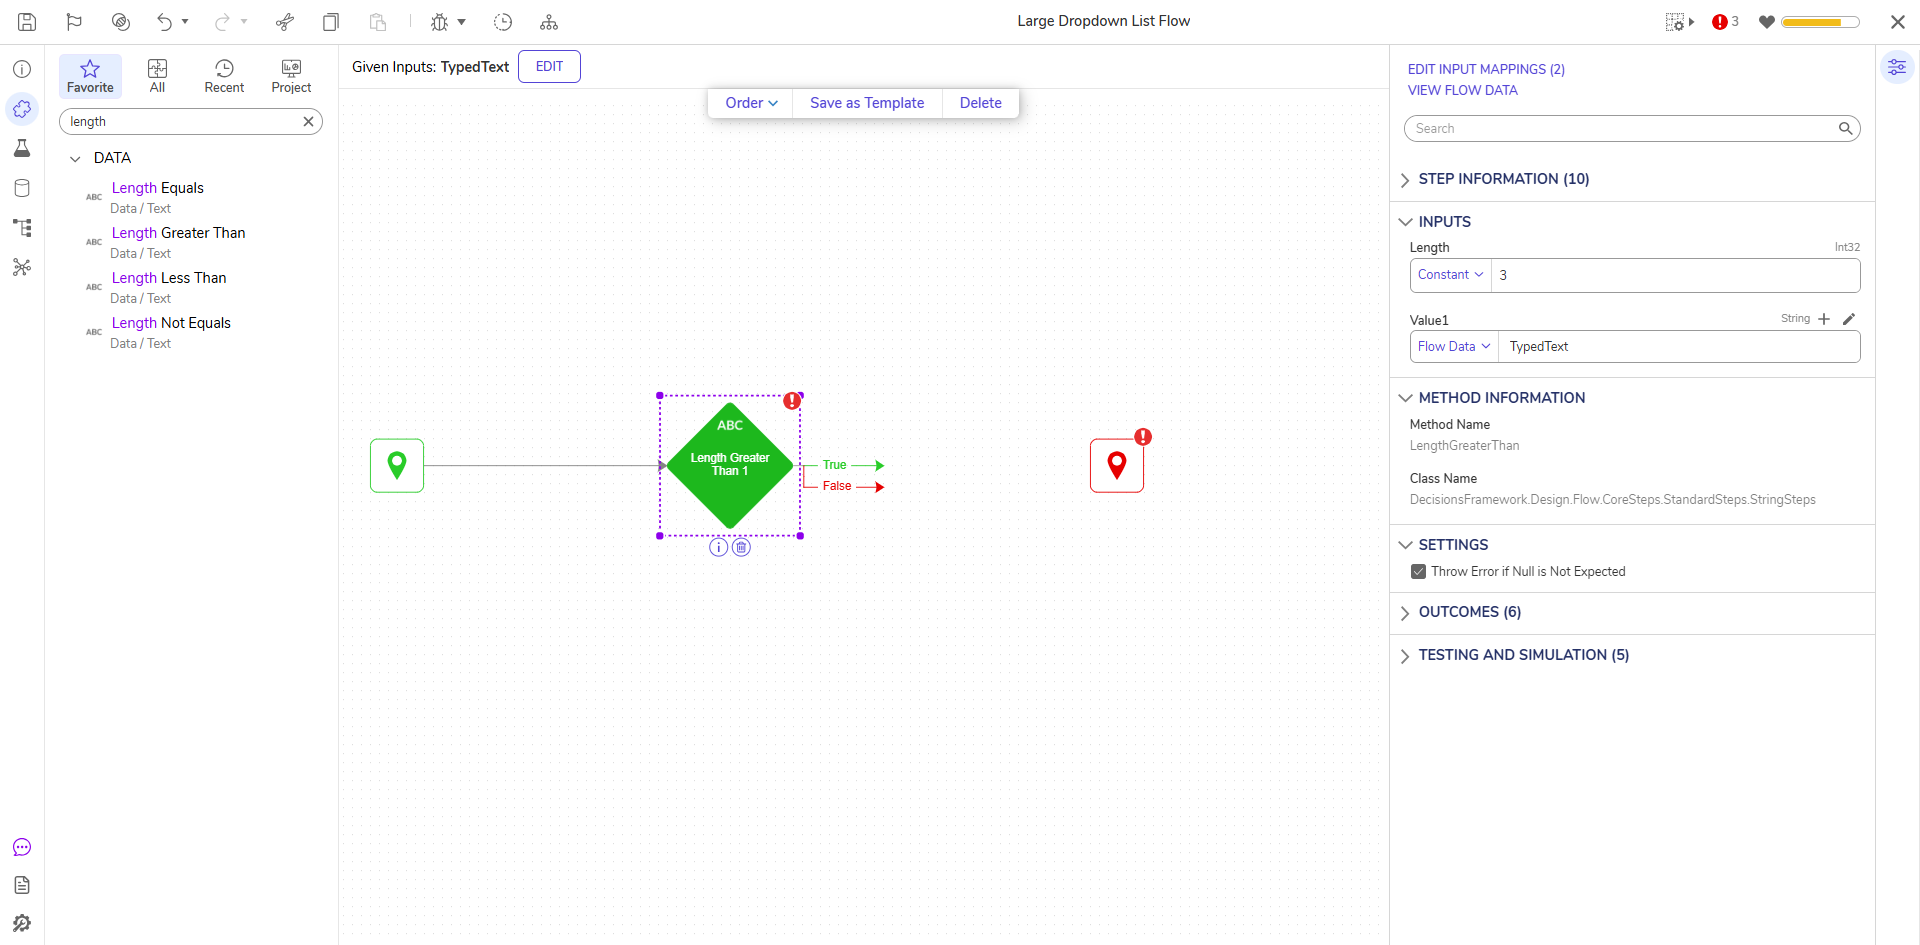
- Add a Length Greater Than step from the Toolbox panel, and connect it to the Start step.
- Select the Length Greater Than step and use a Constant mapping of "3" under Inputs > Length.
- Using the Select From Flow mapping on Inputs > Length, choose the String [Text] from the Start step.
- From Toolbox > FAVORITE STEPS, pull and attach a Fetch Entities step to the 'True' path from the previous step.
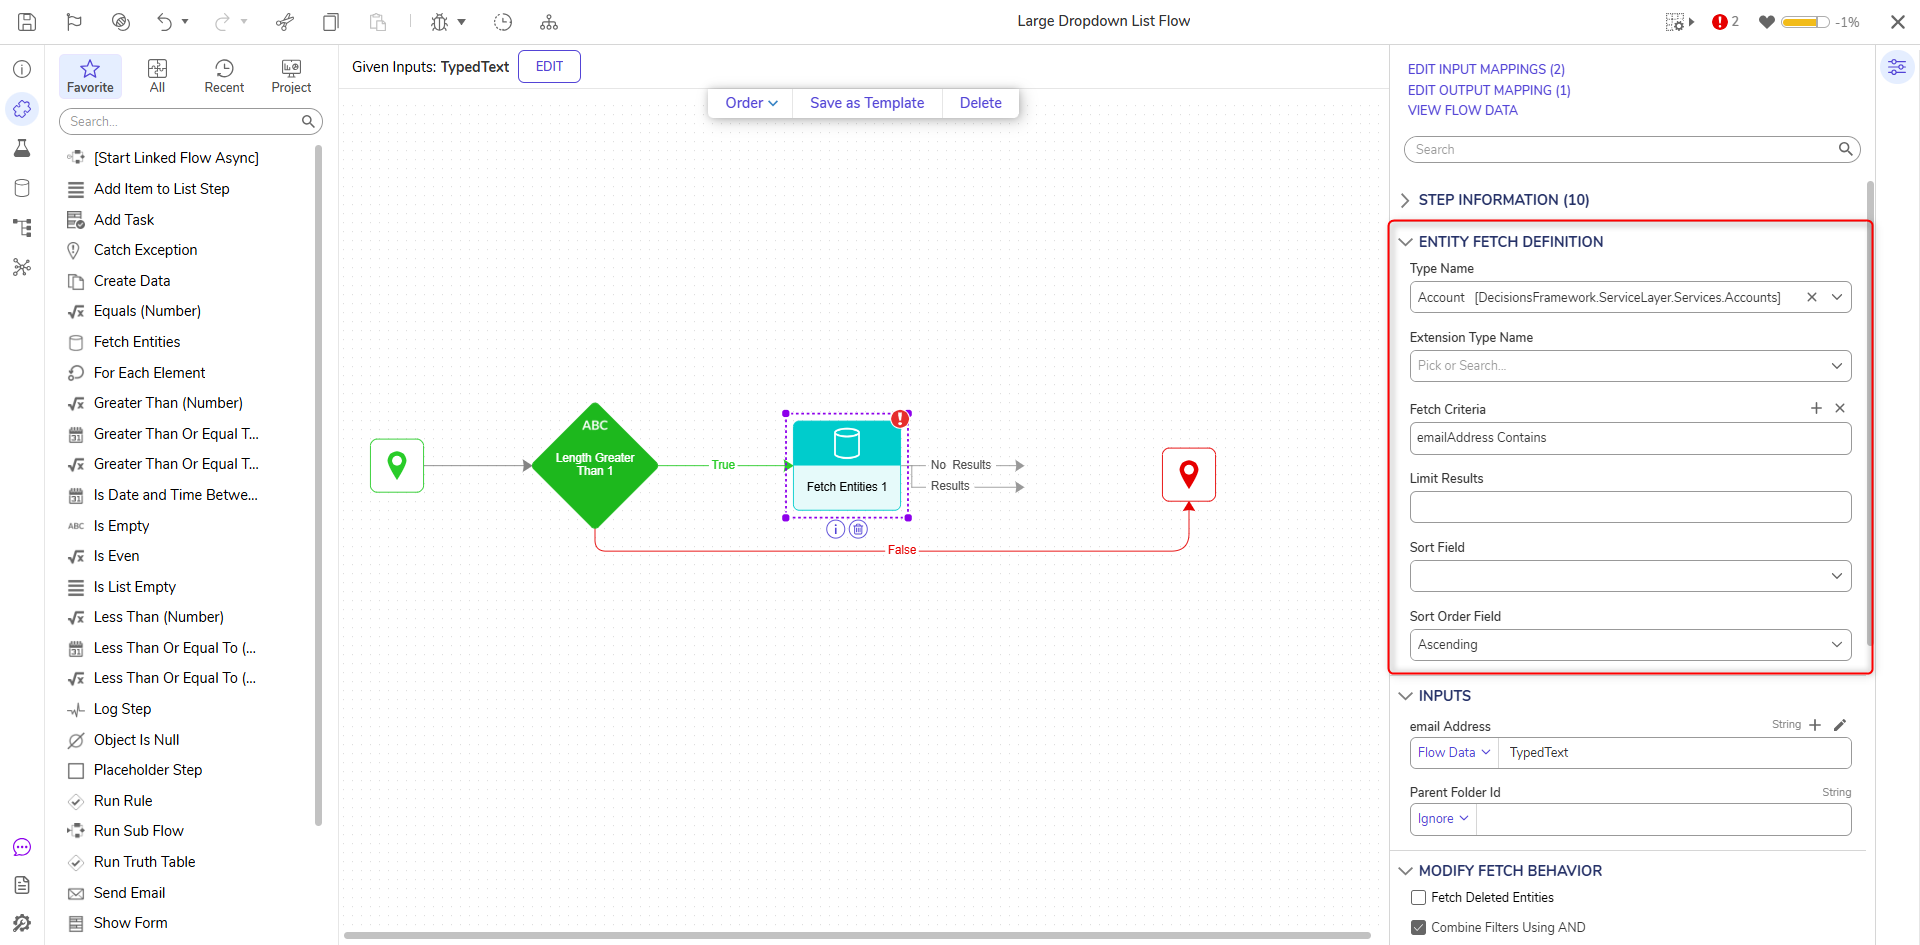
- In the Properties panel, under ENTITY FETCH DEFINITION > Type Name, select Account from the All/Search result.
- Under ENTITY FETCH DEFINITION > Fetch Criteria select ADD NEW.
- Under Add Fetch Criteria > Field Name, select emailAddress.
- Under Add Fetch Criteria > Query Match Type, select Contains. Then click OK.
- Using a Flow Data mapping under Inputs > Email Address, select String [Text].
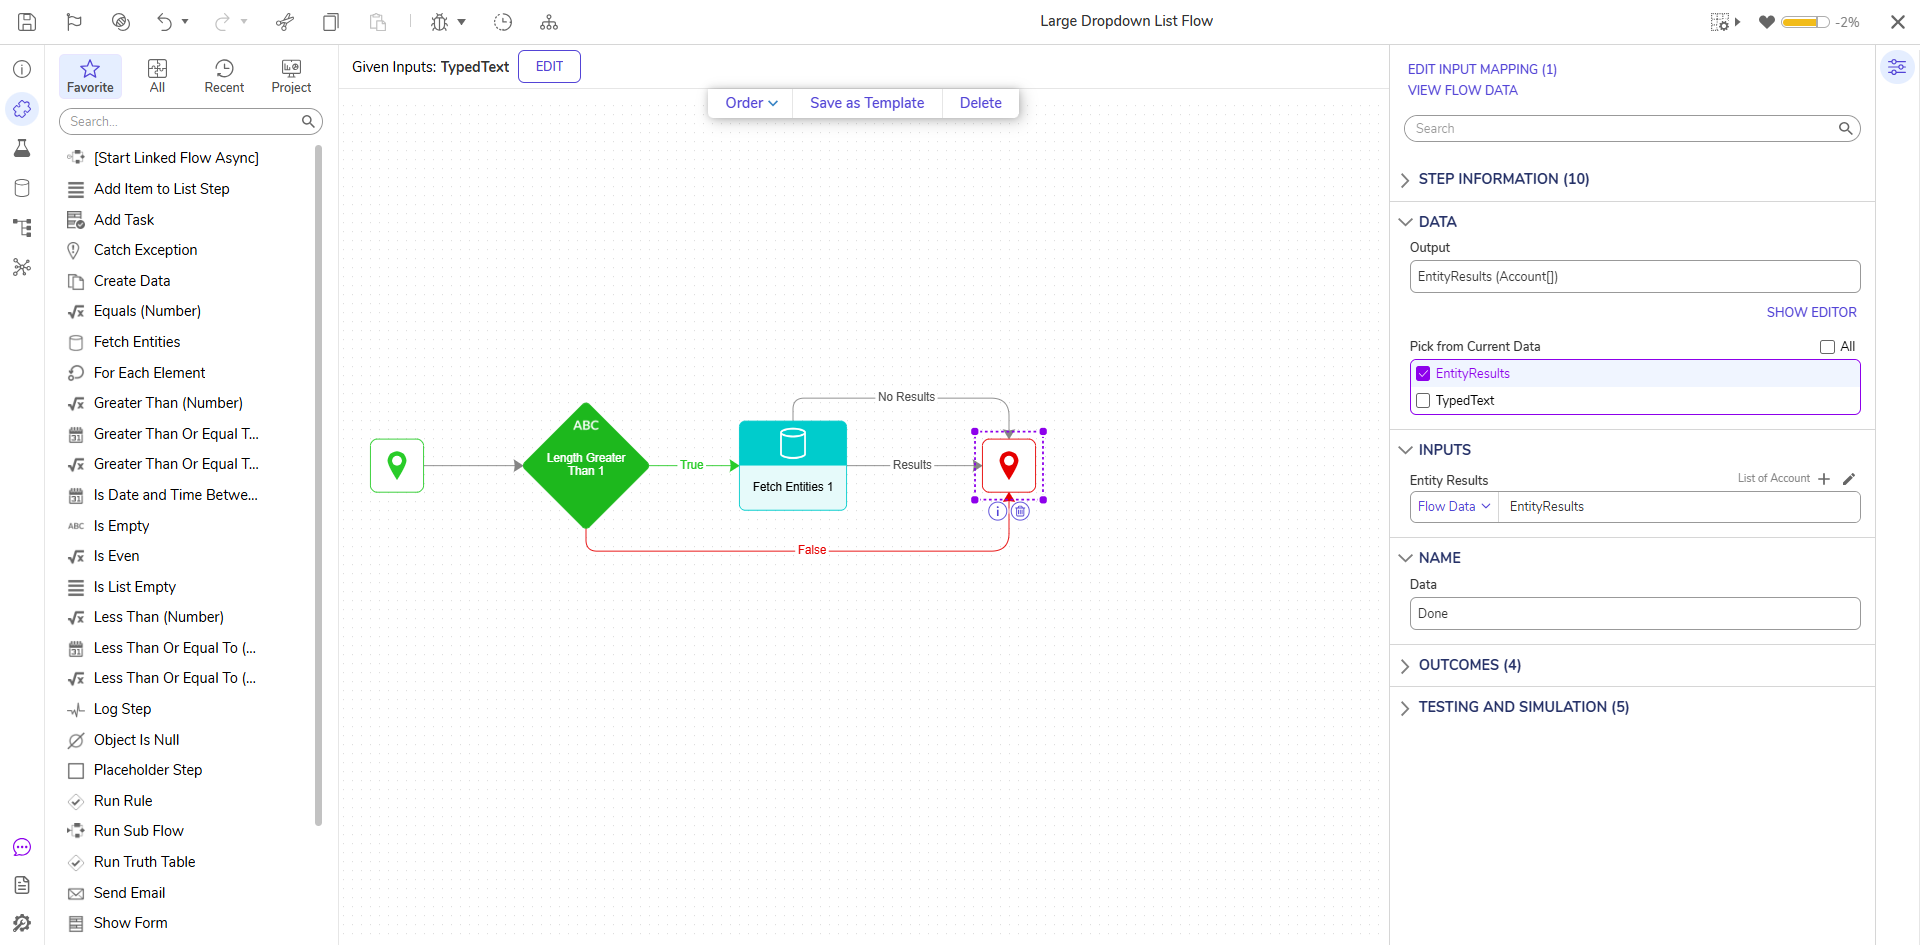
- Connect the Results, No Results, and False lines to the End step.
- With the End step selected, navigate to the Properties panel > Pick From Current Data section and enable the EntityResults checkbox.
- Save and Close Flow Designer and the Form Designer to return to the main Flow.
Debug
- Select Debug in the top action panel. In the Debugger, click START DEBUGGING.
- Begin typing letters corresponding to an option in the list; these options will populate under the drop-down component based on the number of letters entered.
- Select Done to close the Form.