Uploading and Installing Custom Modules
- 23 Nov 2023
- 1 Minute to read
- Print
- DarkLight
Uploading and Installing Custom Modules
- Updated on 23 Nov 2023
- 1 Minute to read
- Print
- DarkLight
Article Summary
Share feedback
Thanks for sharing your feedback!
Overview
This document demonstrates how to upload and install the Custom Modules in the decisions environment.
To create custom modules, refer to Creating Custom Modules.
Upload Methods for Custom Modules
- Using Decisions Portal
- Decisions File System
Uninstalling Modules
Uninstalling modules without understanding their dependencies can lead to issues and potentially break the functioning of other components. It is not recommended to uninstall a module. Please contact support@decisions.com for any assistance.
| Feature Details | |
| Introduced in Version | 8.8 |
| Modified in Version | -- |
| Location | System > Administration > Features |
Uploading and Installing through the Platform
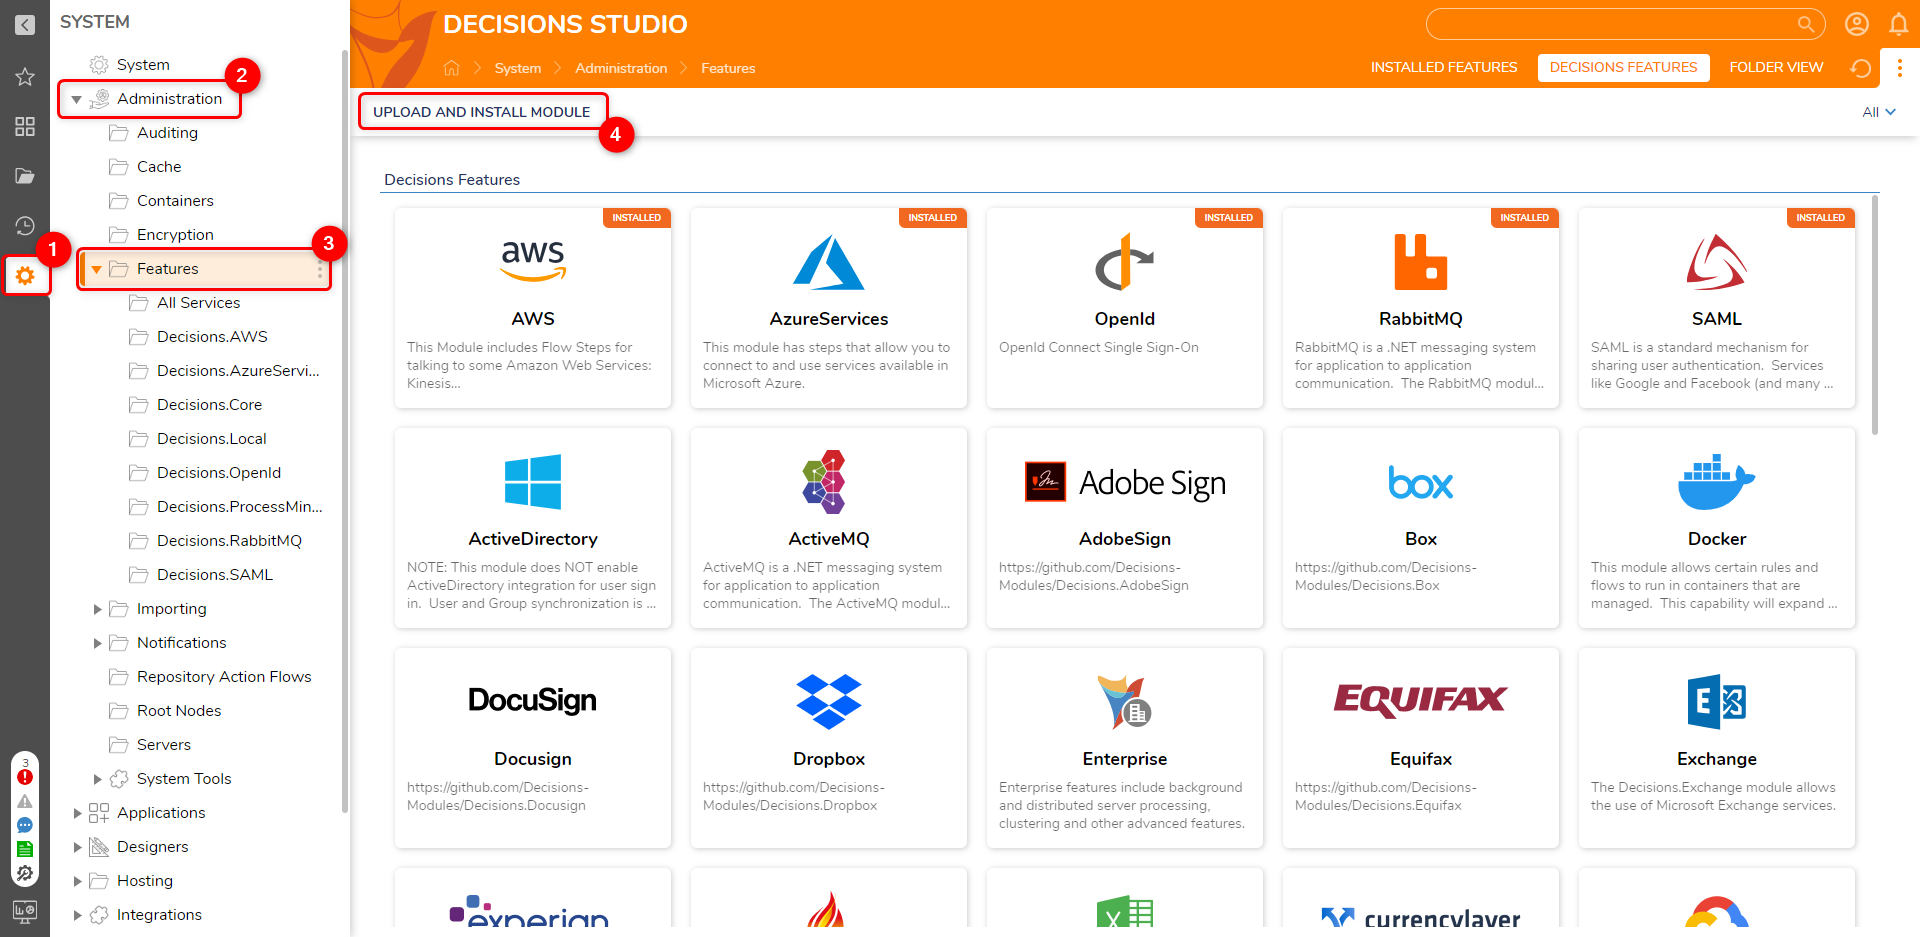
- Log into Decisions Studio and navigate to System > Administration > Features. On the Features page, locate and click on Upload and Install Module.
- Drag .zip files to upload or click on Choose a File to upload. Only .zip files can be uploaded.
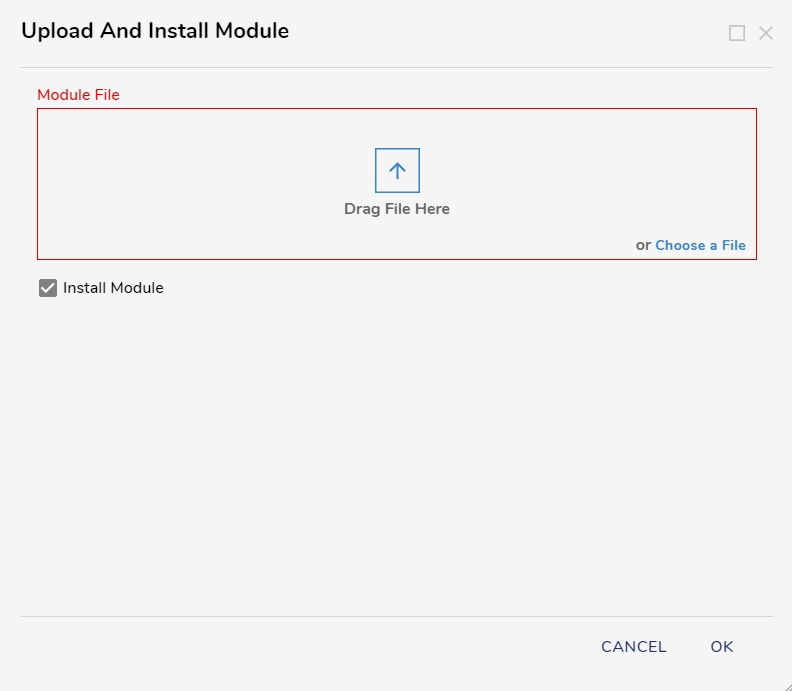
- From the above dialog box, if Install-Module is checked, the Module will get installed immediately after clicking on OK. If unchecked, this will only add the Module under the Not Installed category and can be installed later.


Uploading through File System.
- Copy the downloaded ZIP file to
C:\Program Files\Decisions\Decisions Server\CustomModules.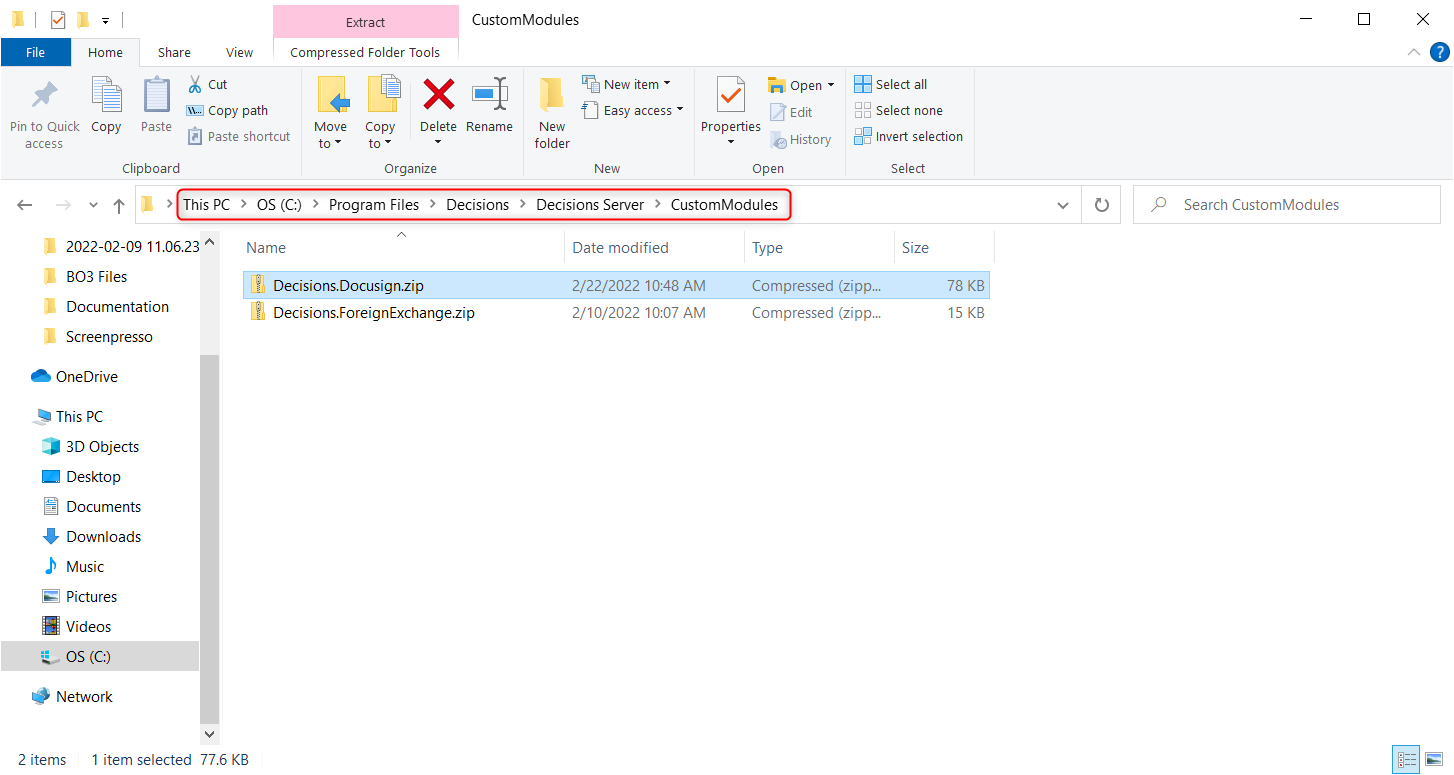
- Log into Decisions and navigate to System > Administration > Features. The Module will be added under the Not Installed category. Install the Module.
- Installing the Module also adds the folders to the
C:\Program Files\Decisions\Decisions Server\modules.The Module is now available for use.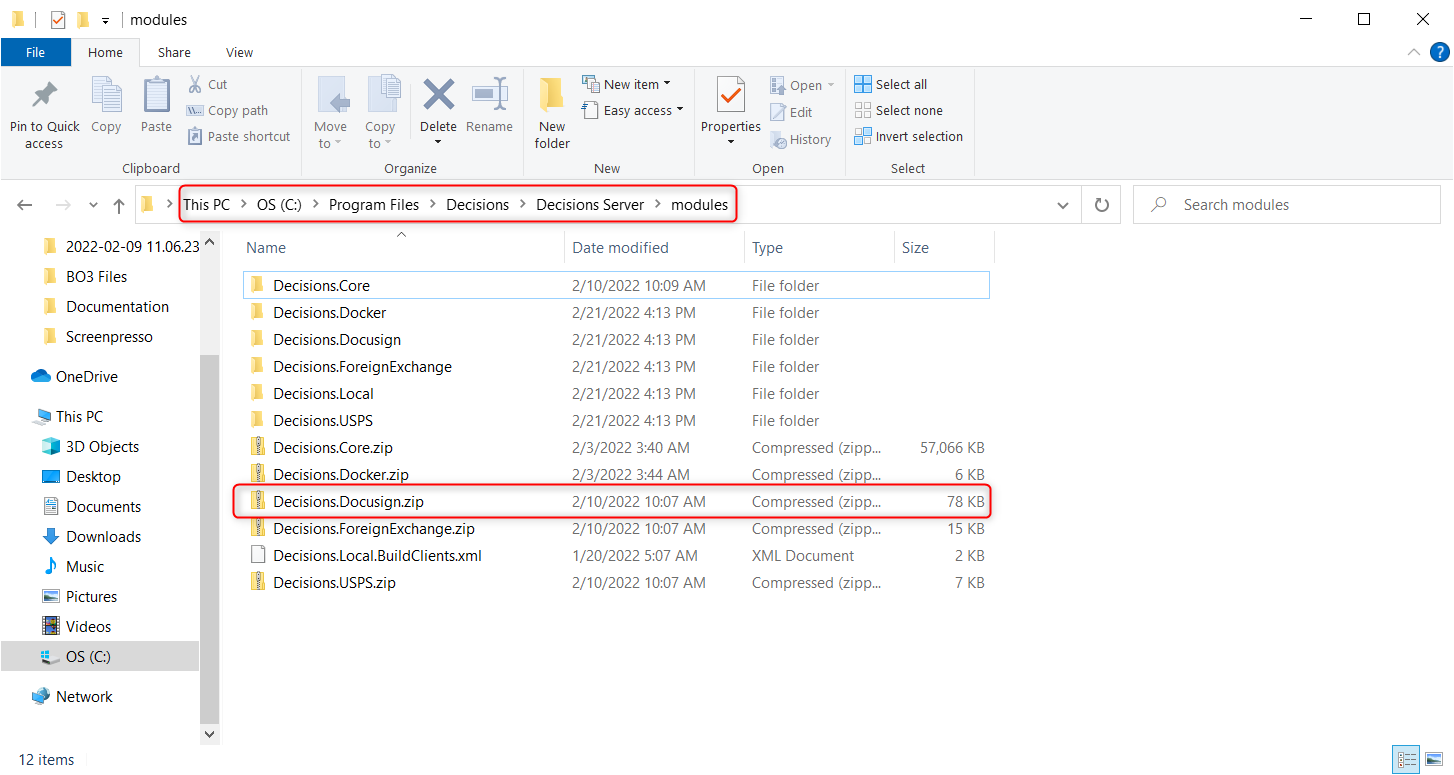


Installing Modules in Containers
Modules can be directly installed in Containers either via the platform or by adding them to the Containers' file storage location.
The default file storage location of a container is /opt/decisions/data. Users must map this default location with a physical file path to ensure it is persistent.
The following steps demonstrate adding the Module via the File storage location.
- Navigate to the volume-mapped file storage location of the container.
- Users need to place the .zip file in the
CustomModulesdirectory within the container's file storage. - Log into Decisions and navigate to System > Administration > Features. The Module will be added under the Not Installed category. Install the Module.
Feature Changes
| Description | Version | Date | Developer Task |
|---|---|---|---|
| UI changes for the "My Apps" Page in the Designer Studio | 8.13 | August 11, 2023 | [DT-037963] |
Was this article helpful?