Overview
Steps added to the workspace in a Flow Designer can have their icons altered or resized. This can allow steps to be more informative at a glance.
Changing Step Shape and Color
- Create or open an existing Flow.
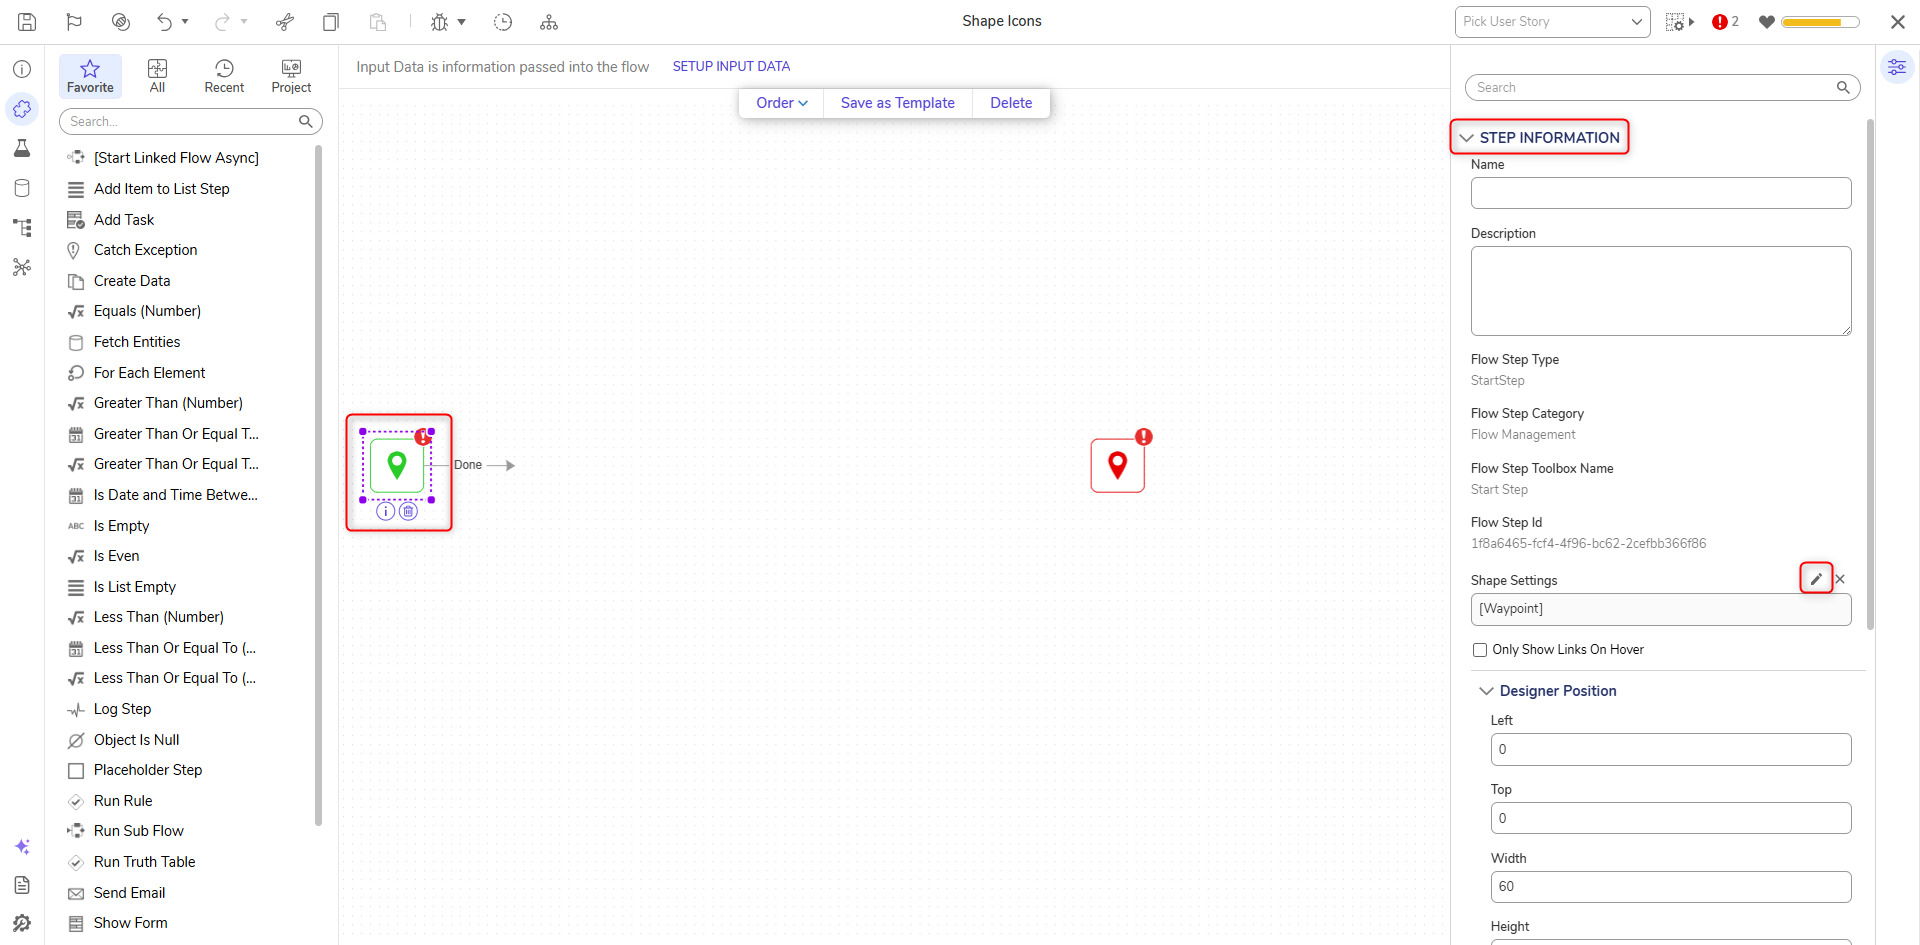
- Select a step in the workspace.
- To adjust the size of the step, click and drag any corner of the Step.
- Under Step Information, click the pencil icon next to the Shape Settings.
- In the Edit dialog, change the Shape Type.
- The step color can be adjusted under the Shape Settings header in the Edit menu.
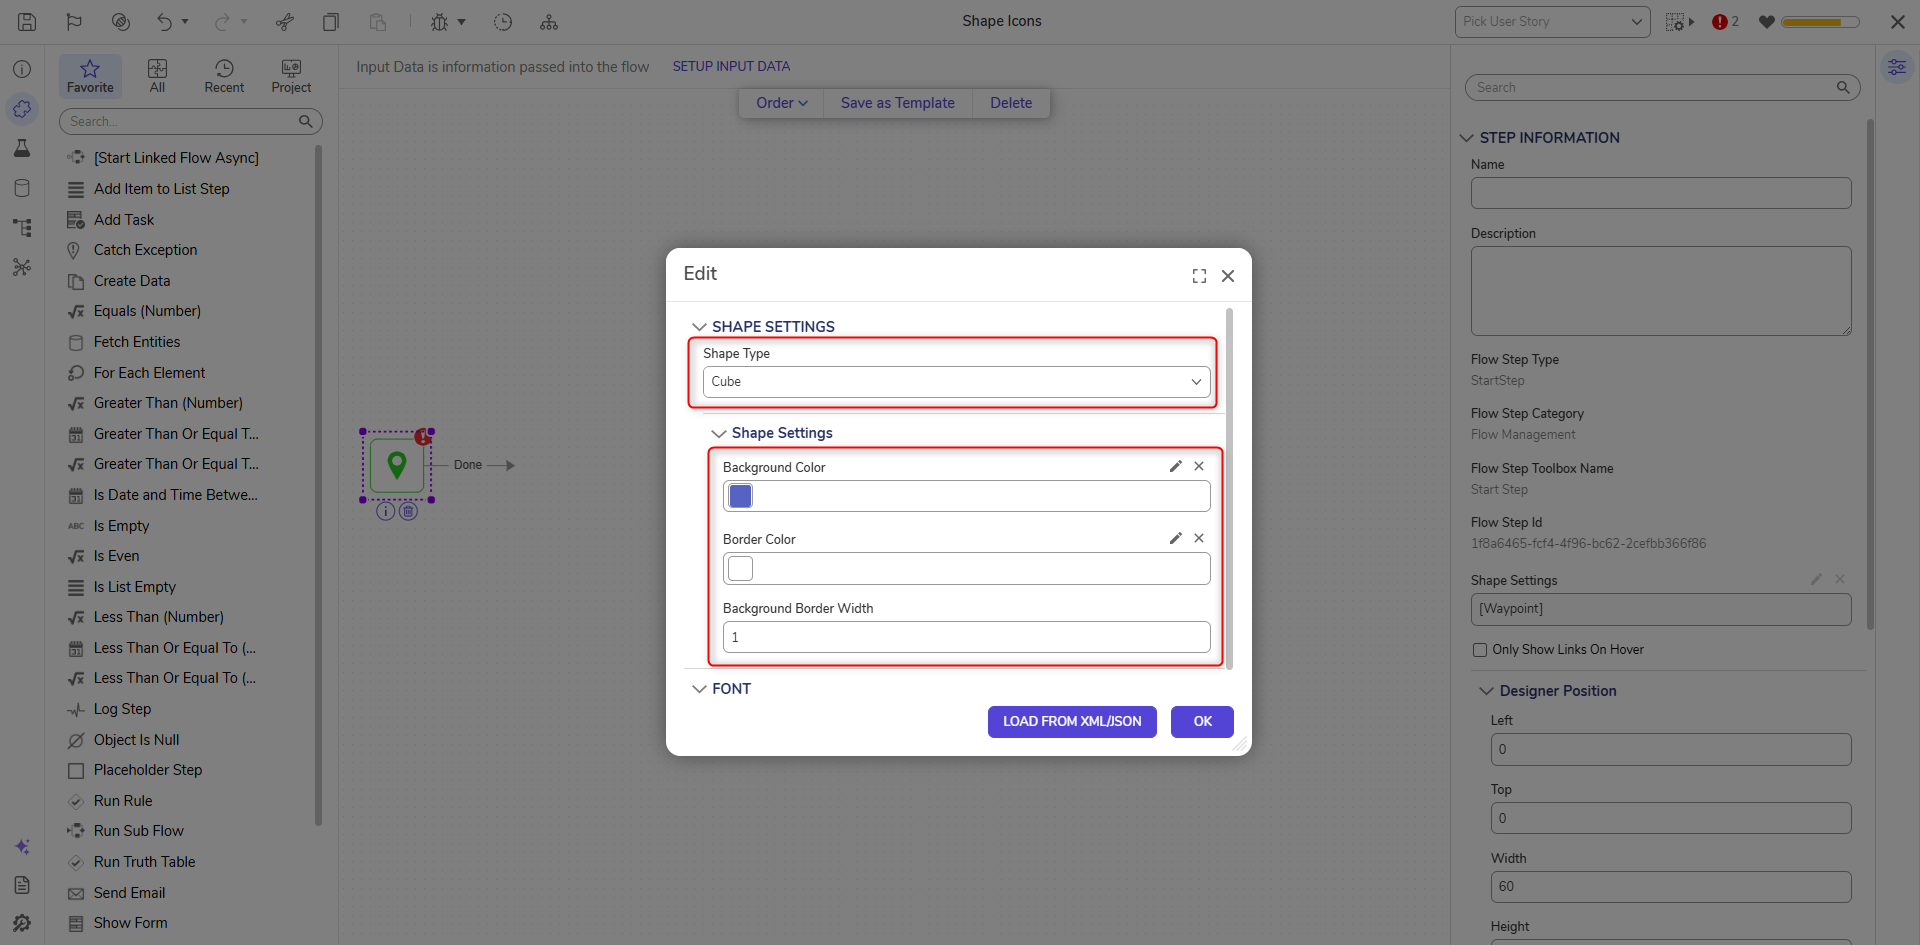
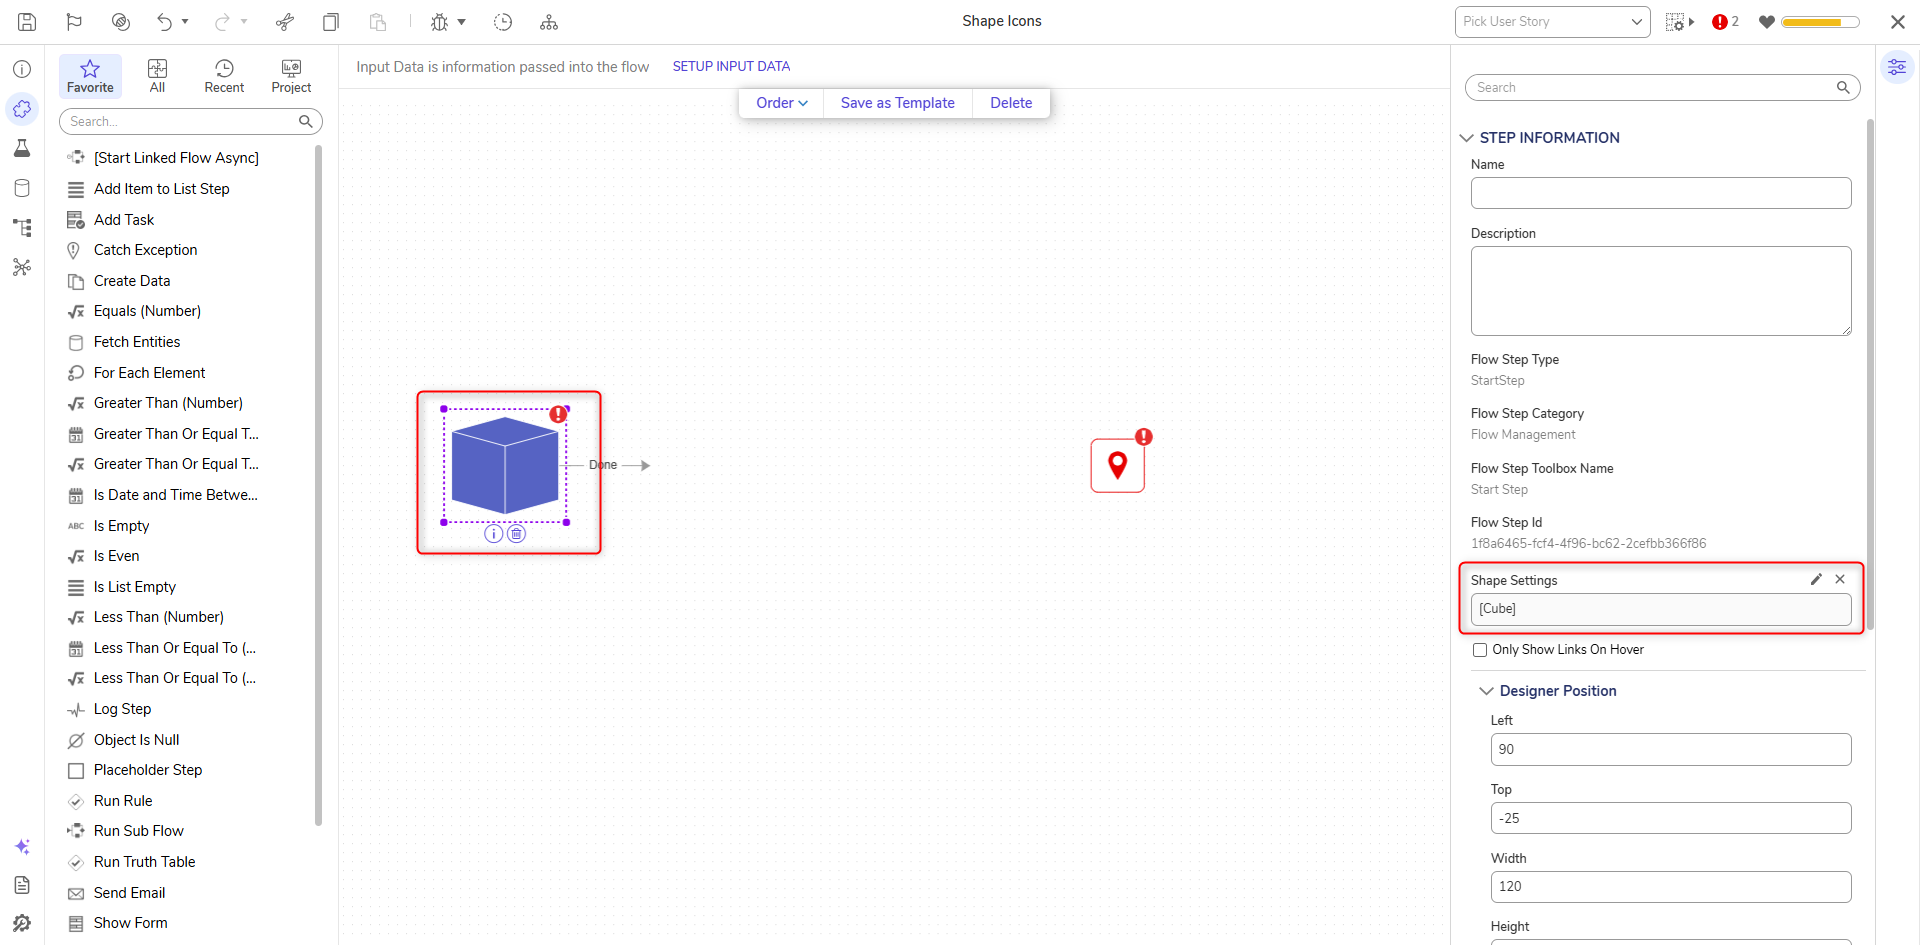
- Click OK to save the changes. The step will reflect the changes.
Adding an Image
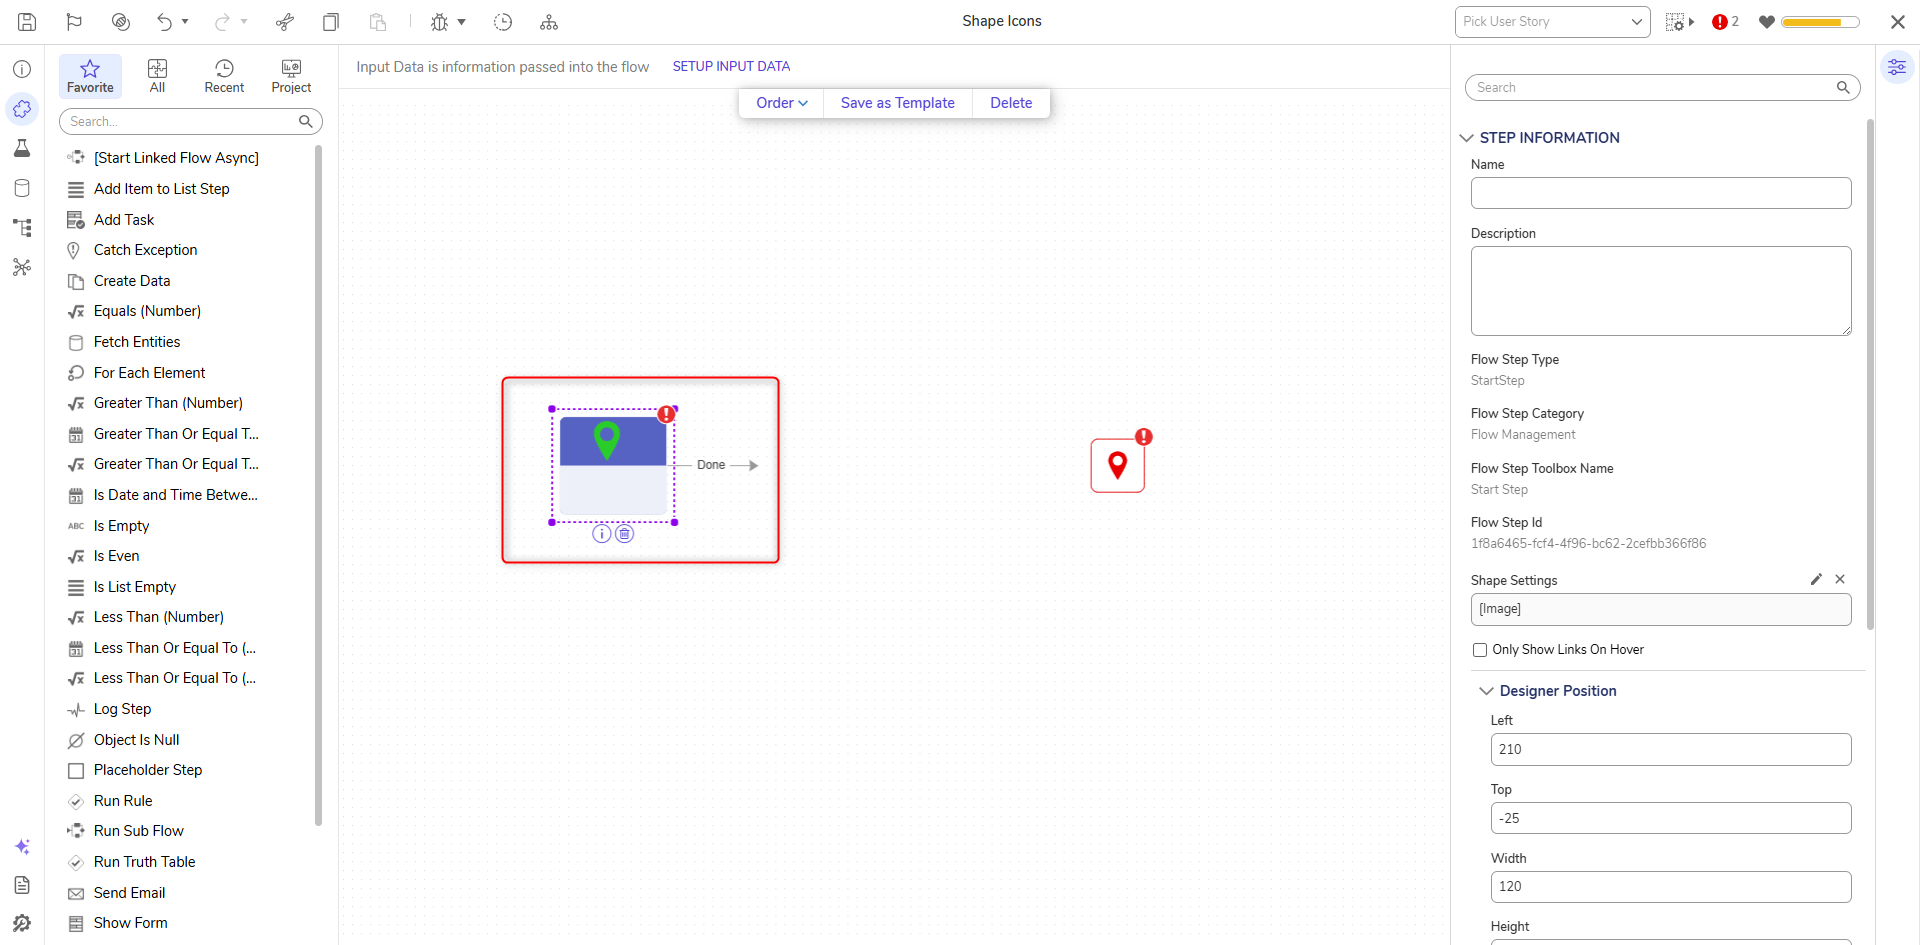
For certain Shape Types, an image can be selected and used as an icon for the steps.
- Select the step and navigate to Step Information > Shape Settings in the Properties panel.
- Click the Pencil Icon to open the Edit dialog
- Select a Shape Type that contains the Image header as a property. For this example, Shape Type was set to Image.
- Under Image check Has Image. New settings to select and adjust the image will appear.
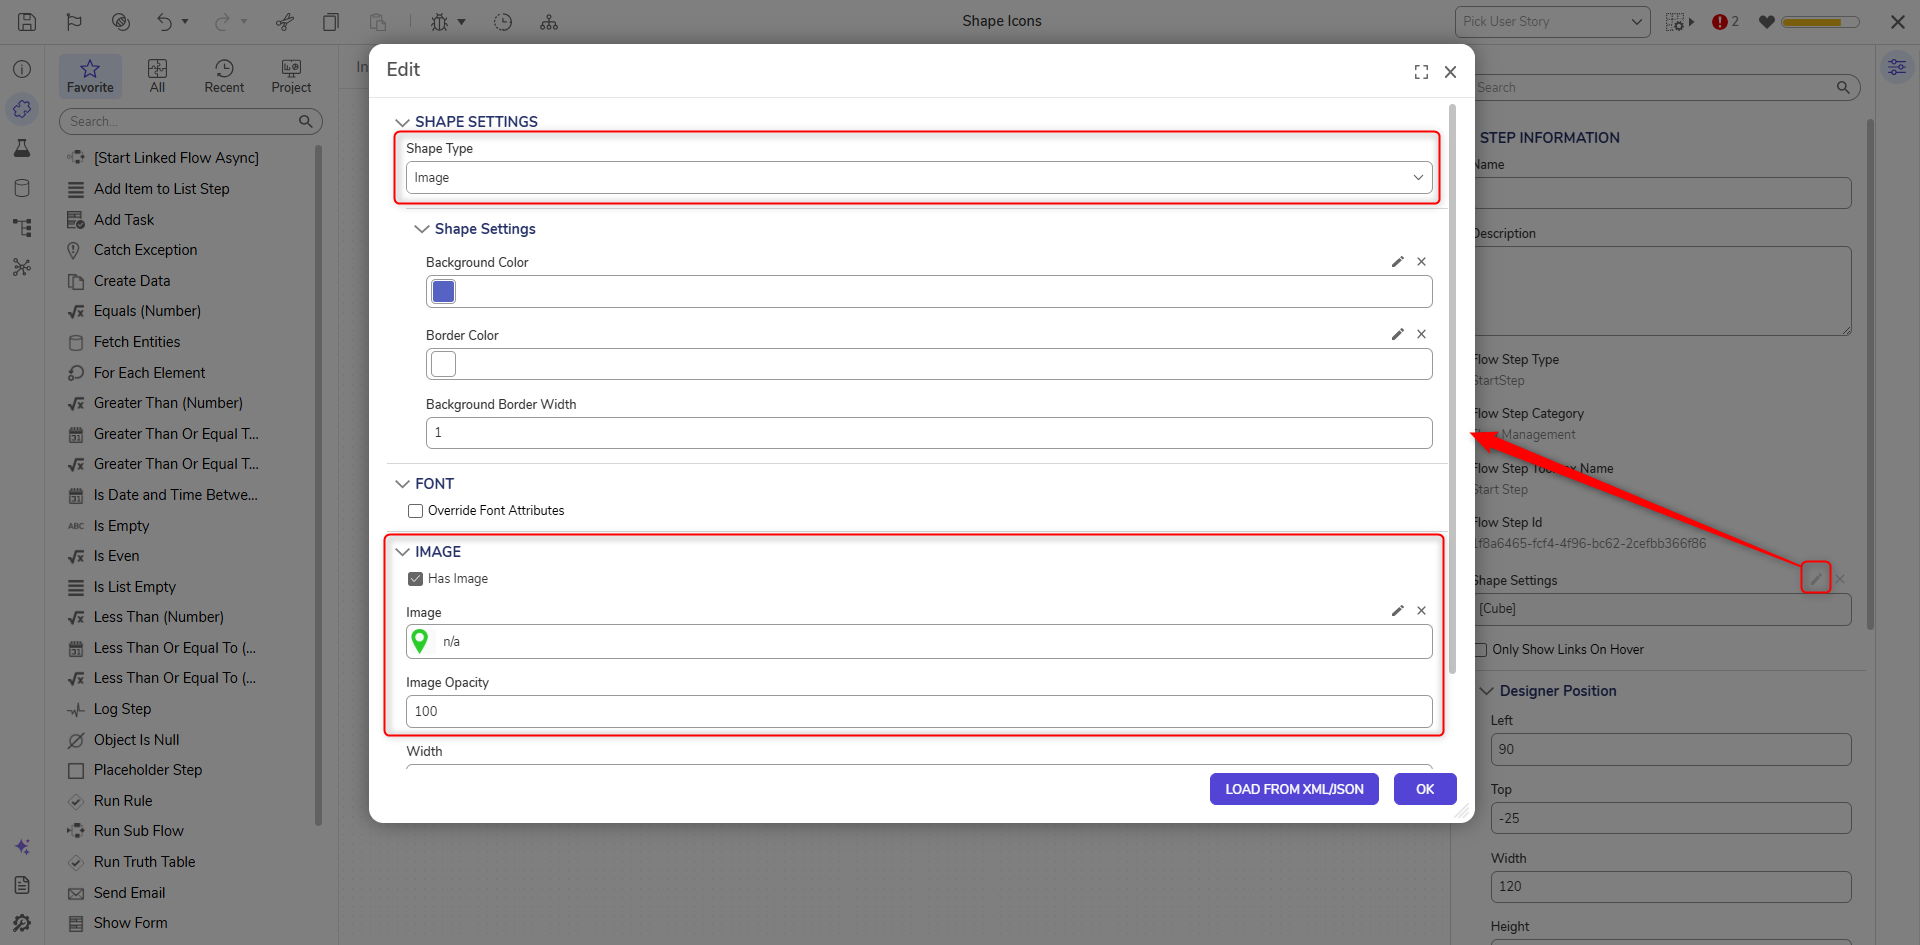
- Select or upload an icon by selecting the pencil icon next to the Image.