Multi-Tenancy with Clustering
- 19 Feb 2024
- 4 Minutes to read
- Print
- DarkLight
Multi-Tenancy with Clustering
- Updated on 19 Feb 2024
- 4 Minutes to read
- Print
- DarkLight
Article Summary
Share feedback
Thanks for sharing your feedback!
Overview
Multi-tenancy with clustering refers to a hosting architecture that combines the concepts of multi-tenancy and clustering to provide scalable and efficient solutions for hosting multiple tenants in a shared infrastructure.
This document demonstrates the setup process of Multi-Tenancy with Clustering, where both the Control Instance and Tenant Instance are hosted on the same machine.
Hosting Architecture
.svg "MT Clustering-MT Cluster.drawio (1).svg")
Prerequisites/Important Considerations
To ensure high availability, better scalability, and performance optimization, it is recommended to have dedicated resources for file storage, Database, and Redis Server.
Ensure all machines are in the same domain and configured in the same time zone. If time-zone translation will be used for end-users, it is recommended to set the time zone of all machines to Coordinated Universal Time (UTC). For more information, refer to Setting Up Date/Time Translation.
Download and install the appropriate .net applications.
Download the installer on machines hosting the platform.
To ensure effective communication, establish network connectivity between the machines hosting the applications and the dedicated VMs for File Storage, Database, and Redis Server.
Create an admin account with the same username and password, which has access to all the machines within the cluster. This account will be used as a Service Account on the installer.
Redis server for external caching. For more information, refer to Setting up Redis.
Configure a load balancer to distribute and manage high server traffic effectively. Sticky session Load Balancer configuration and cookie-based persistence are required. For more information, refer to About Load Balancing.
Setting Up Control Instance
This section instructs users to install the Control Instance on both machines, establish communication between the servers, and validate the clustering configuration.
On Machine 1,
IIS Installation
To host the Control instance and the Tenant instance on the same machine, hosting all the applications on IIS is essential.
The following steps will install the Control Instance on Machine 1.
Run the Decisions Installer as an Administrator.
Continue with the installation until the Select Installation Type window. Select Multi-Tenancy Server (Control), then click Next.
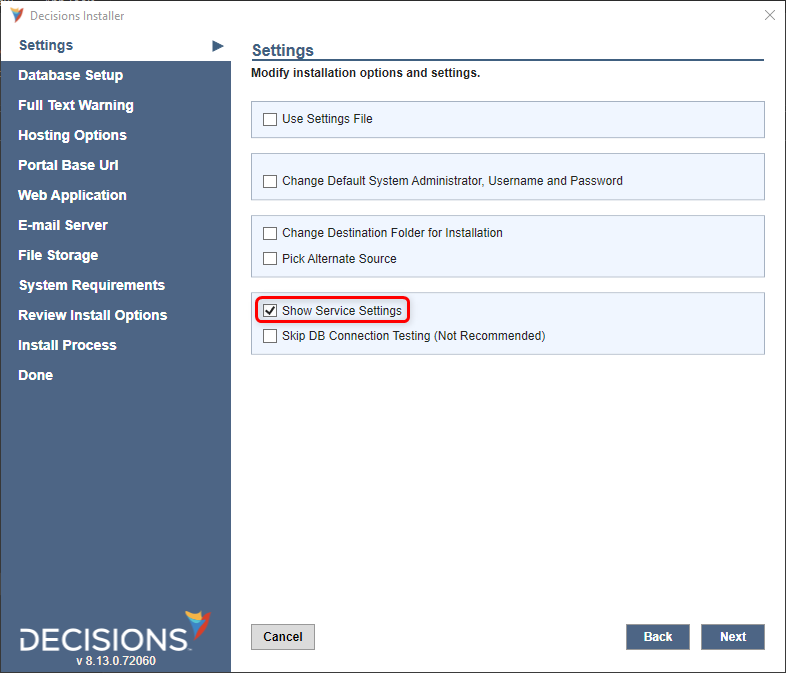
Enable the Show Service Settings option.
Specify the pre-configured service account in the Service Settings screen.
Configure the Database Setup.
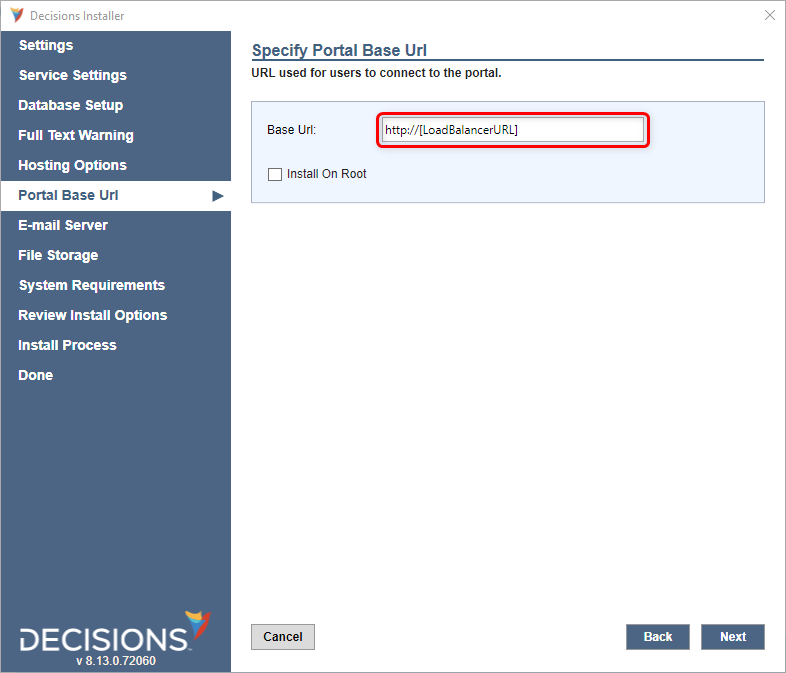
On the Portal Base URL page, enter the Base URL as Fully Qualified Domain Name (FQDN) or the URL of the Load Balancer.
Proceed with the IIS Hosting as outlined in the Installation Guide.
Provide the shared folder path as a File Storage location.
Finish the Installation.


On Machine 2,
Repeat all the steps performed on Machine 1, making sure to input identical configuration details for the Service Account, Base URL, Database, and File storage location as those for Machine 1.
Configuring communication between instances
To ensure the smooth operation of the cluster environment, admin users had to configure a few settings within the Settings.xml file on all the nodes within the cluster.
Locate the settings.xml file at C:\Program Files\Decisions\Decisions Server. Open the file as an administrator and configure the following settings.
Set the ClusterAddressableIP to the Machine IP on each server, respectively.
<ClusterAddressableIP>192.168.10.100</ClusterAddressableIP>If the Platform cannot connect to the server with just the ClusterAddressableIP, set the ClusterPortalBaseURL to the URL of the respective Node.
<ClusterPortalBaseURL>http://[IPv4Address]/[InstanceName]</ClusterPortalBaseURL>If SSL terminates at the load balancer, the "ForceBaseURI" line must be configured with the HTTPS address.
<ForceBaseURI>HTTPSAddress</ForceBaseURI>
Configuring Redis
After installing Decisions on all the machines, configure the Redis URL to assist external caching between clustered instances.
Admin users must configure the Redis URL only on 1 node, and it should automatically get updated on all other nodes because all nodes are directed to the same Database. For more information, refer to Connecting to the Redis server.
Validating the Cluster
To validate that all the nodes are in a cluster, follow the steps mentioned under the section Steps To Validate (For Both Hosting Types) of the article Setting up a Cluster.
Setting Up Tenant Instance
Log in to the Control Instance server internally when hosting the Tenant Instance. Avoid navigating through the Load Balancer URL of the Control Instance, as it can lead to confusion regarding the location of the hosted tenant.
On Machine 1,
Copy and save all the configuration details when hosting the Tenant Instance for future use.
Log in to the Control Instance and execute steps 1 to 6 as outlined in the article Adding and Setting up a Tenant Instance. Note that these steps will create the Tenant Instance folder in the server but will not host it.
To host the Tenant instance, perform steps 1 to 4 from the Example section of the article Setting Up Same Machine Multi-Tenancy With Provisioning. After completing these steps, proceed with the IIS Hosting section to host the Tenant in IIS, as outlined in the same article.
On Machine 2,
As the control Instance shares the same Database, it creates the Tenant folder on all the nodes in the cluster but does not host the tenant on the other machines. Hence, users must manually navigate to all the nodes in clustering and host it.
Ensure to input identical configuration details for the Portal Base URL and Database as those used for the Tenant hosted on Machine 1.
Log in to the Control Instance. Navigate to the Hosting folder to view the Tenant Folder created on Machine 1.
To host the Tenant instance, perform steps 1 to 4 from the Example section of the article Setting Up Same Machine Multi-Tenancy With Provisioning. After completing these steps, proceed with the IIS Hosting section to host the Tenant in IIS, as outlined in the same article.
Configuring Redis
Note:
Utilize separate Redis servers for Control and each tenant instance to ensure effective load distribution and prevent overloading a single server when managing multiple tenants.
Admin users must configure the Redis URL only on 1 node, and it should automatically get updated on all other nodes because all nodes are directed to the same Database. For more information, refer to Connecting to the Redis server.
Validating the Cluster
To validate that all the Tenants are in a cluster, follow the steps mentioned under the section Steps To Validate (For Both Hosting Types) of the article Setting up a Cluster.
Related Articles
Was this article helpful?