Overview
A Tenant Instance represents one independently running instance within a Multi-Tenancy that contains the same application running on the Control Instance with its unique database. Tenant Provisioning is the method by which a Tenant Instance is added to a Multi-Tenancy using a Decisions Studio-based UI. This provides a local testing environment and a way of resource distribution without having to utilize a VM (virtual machine) and acts as an alternate method to establish a local Multi-Tenancy manually.

Prerequisites
- A preconfigured Control Instance
- An Account that will be assigned to subsequent Tenant Instances
- A Tenant Instance Folder (to create one, perform steps 1-6 from the article Multi-Tenancy: Adding and Setting up a Tenant Instance)
Important Considerations
- HTTPS Ports and secured setup must be manually established on the instance outside the Provisioning UI.
Example
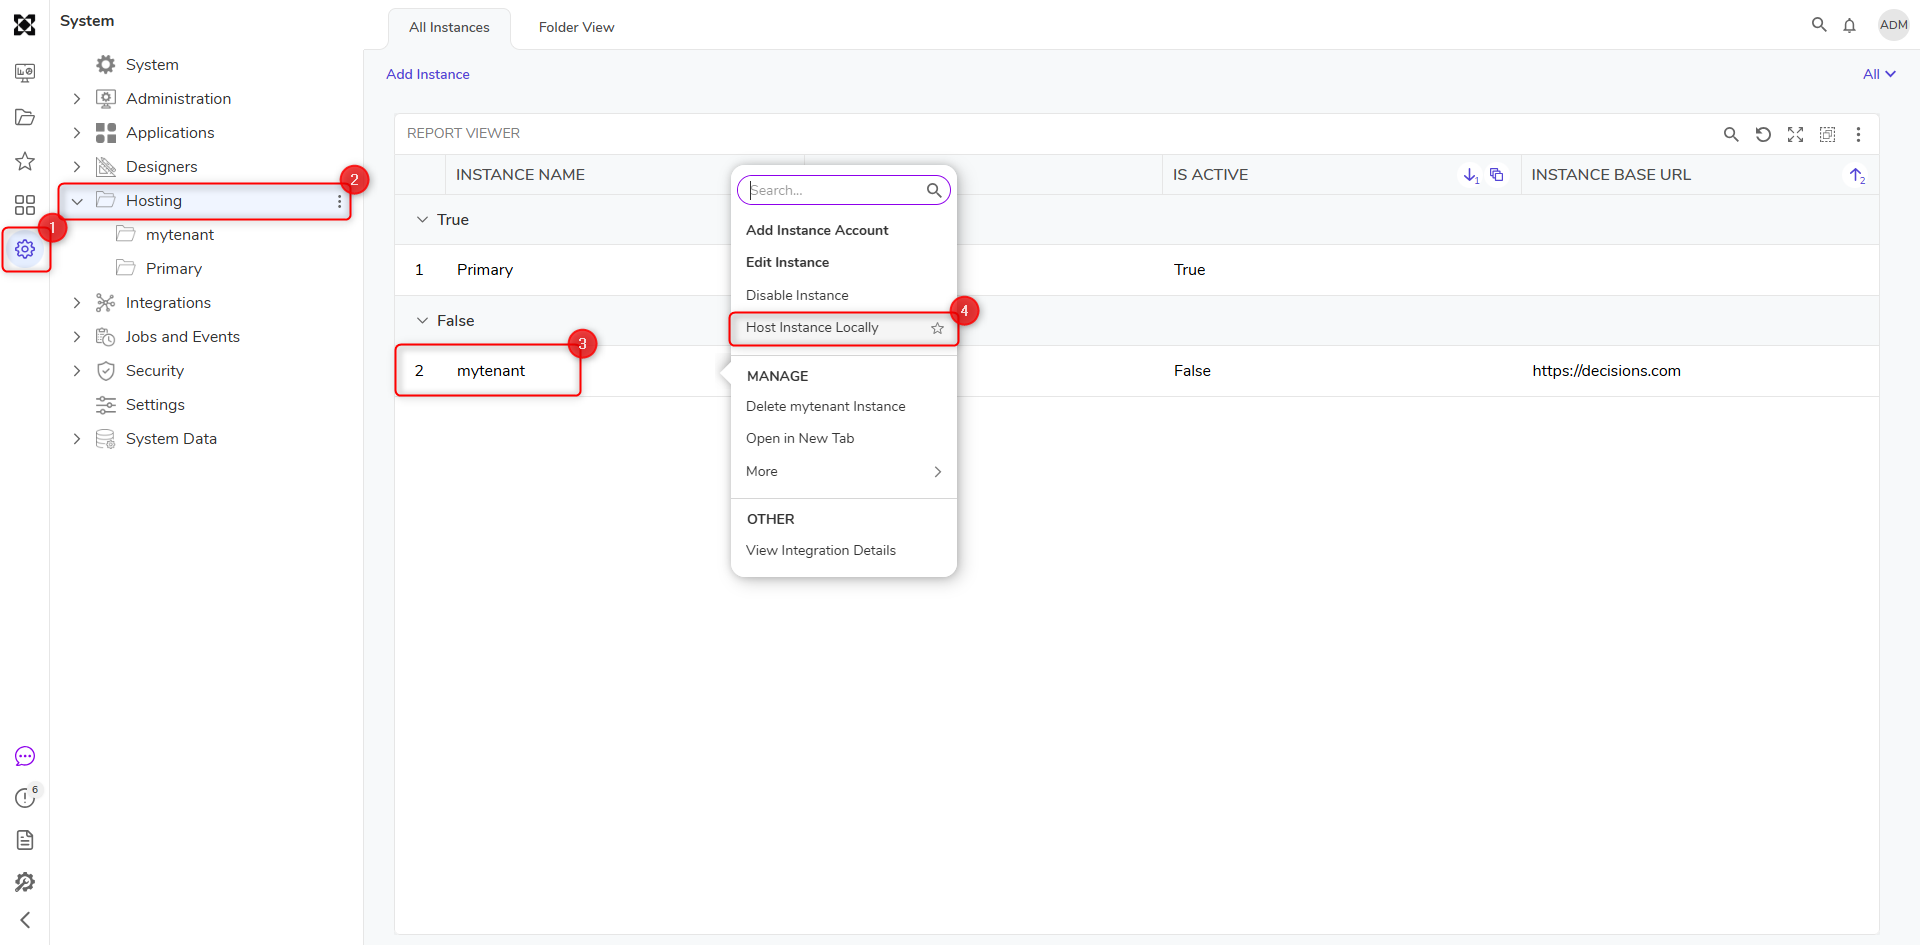
- Right-click the newly added Tenant Instance from the Hosting Folder and select Host Instance Locally.
- From the resulting window, set Hosting Type to match the Control Instance and configure the settings listed under the IIS and Self-hosted sections.
- If users want to make a secure connection to the tenant instance, they can enable "Use Https Port" and give the port number.HTTPS Ports and secured setup must be manually established on the instance.
- Refer to Configuring the Server for SSL (HTTPS).
- Navigate to the
C:\Program Files\Decisions\Decisions Server\Instances. - Open the instance folder > Settings.xml. Users can configure the secure connection settings and restart the service of the instance.
- Referring to the following table, configure the Database settings of the Tenant instance. It is recommended to use the same Database type for the Control and the Tenant instances.
Setting Name Description Use Local Connection (Enabled) 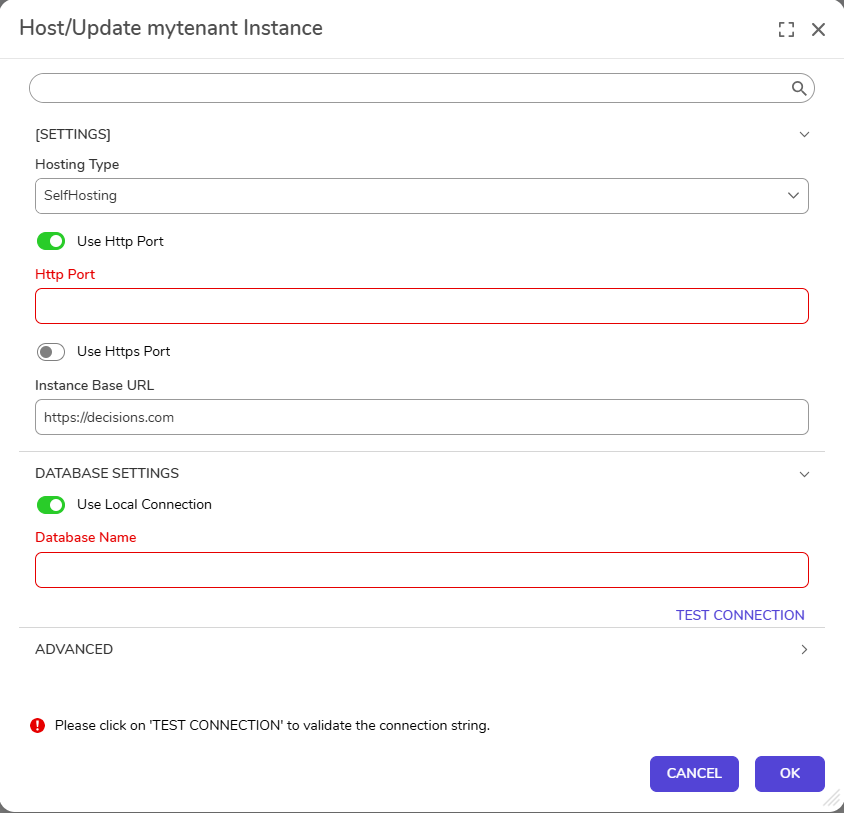
Exposes a field to give the Database Name of the tenant instance. This will create a new database in the server where the Control Instance database is located. Use Local Connection (Disabled) 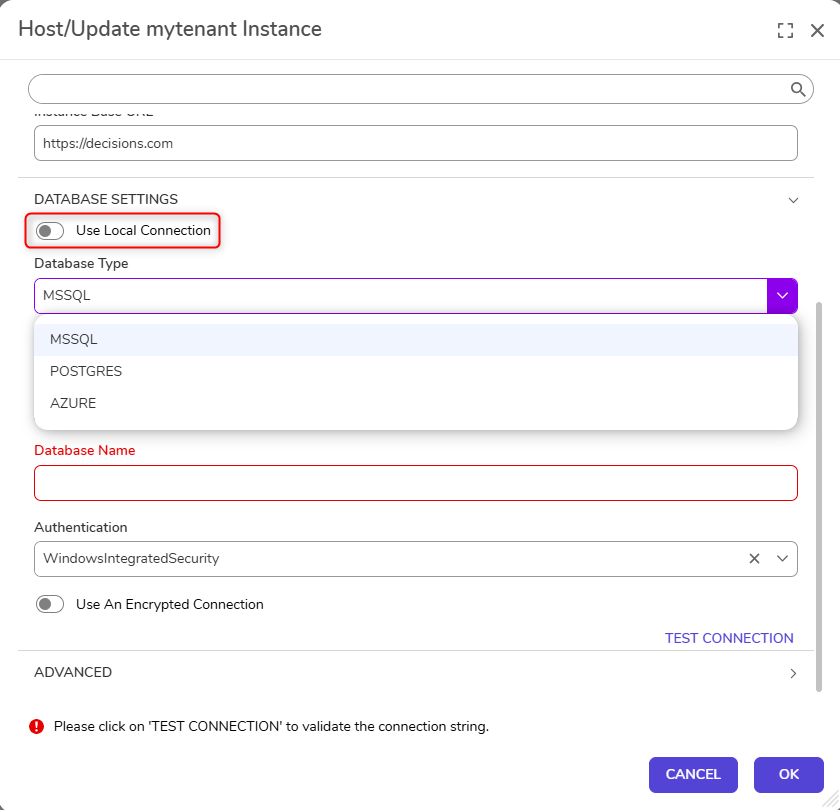
Exposes a Drop-down to select the MSSQL, POSTGRES, and AZURE database types. For more information on all the database integration and configuration, refer to External Database Integration. Control Instance using Azure Service Principle?If the Control Instance database is configured as AZURE and uses Azure Service Principle authentication, enabling the "Use Local Connection" option while hosting the Tenant locally will not create a new database in AZURE. It is recommended to Disable this option and manually enter all the relevant details for the tenant instance.
IIS Hosting
Please review the Installer Hosting Options for more information regarding IIS Setup.
Configure the Tenant as per the following table.
| Setting Name | Description |
|---|---|
| Hosting Type | Allows to select the type of hosting. Pick IISHosting from the drop-down |
| Select Site | Allows to select the desired IIS Site from the drop-down |
| Instance Base URL | Portal Base URL that will be used to access the Tenant Instance |
| Database Settings | Allows to configure the detailed Database Settings |
| Override Control Instance URL | An optional setting to bypass the Control Instance URL and establish a direct internal communication link between the Tenant Instance and the Control Instance. |
| Specify Service Account | Allows to specify the service account details. Ensure to enter the Username in the following format: .\[Username]. Ensure the service account has the appropriate permissions to the Decisions Folder. |
- To start hosting the Tenant Instance, navigate to the Tenant Instance URL (Instance Base URL) in a browser. This first visit initializes the instance and begins provisioning.
- Open Internet Information Services (IIS) Manager, and navigate to the Tenant Instance under the respective Site's (Default Web Site) folder.
- Navigate to and open progress.txt under C:\Decisions\Decisions Server\Instances\[TENANT NAME] to observe the installation progress; re-open the file to check on the Tenant's progress.
The installation will conclude when the "Application Boot Completed!" message is displayed.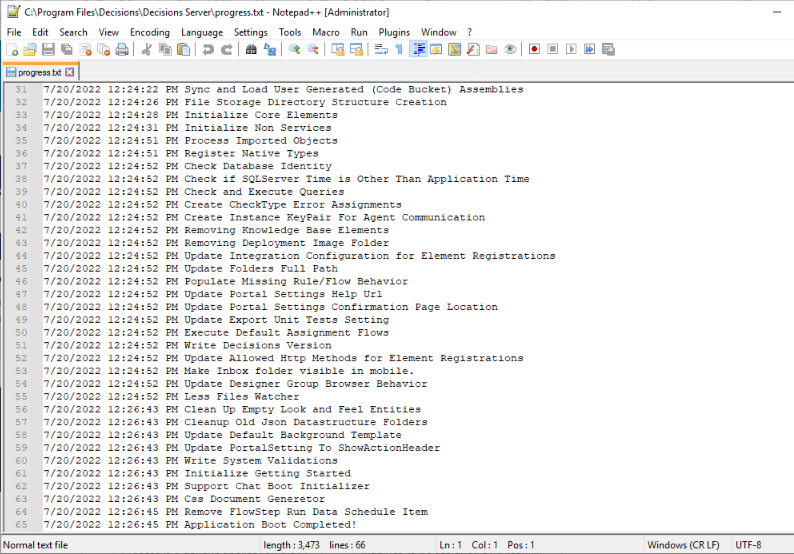
- After installation, attempt to log into the Tenant Instance with the Admin Account.
If the Page is not working, open it in Incognito mode. If the Login Page loads in Incognito mode, visit the URL after clearing the browser cookies.
- Once the application is running successfully, users need to configure the recycling conditions from IIS, which handles the recycling of the hosted application every 29 hours.
Open IIS > Application Pools > Click on the Instance Name and Configure the Application Pool Recycling Settings by disabling Fixed Intervals, Regular time intervals(in minutes). Then click Next, and Finish.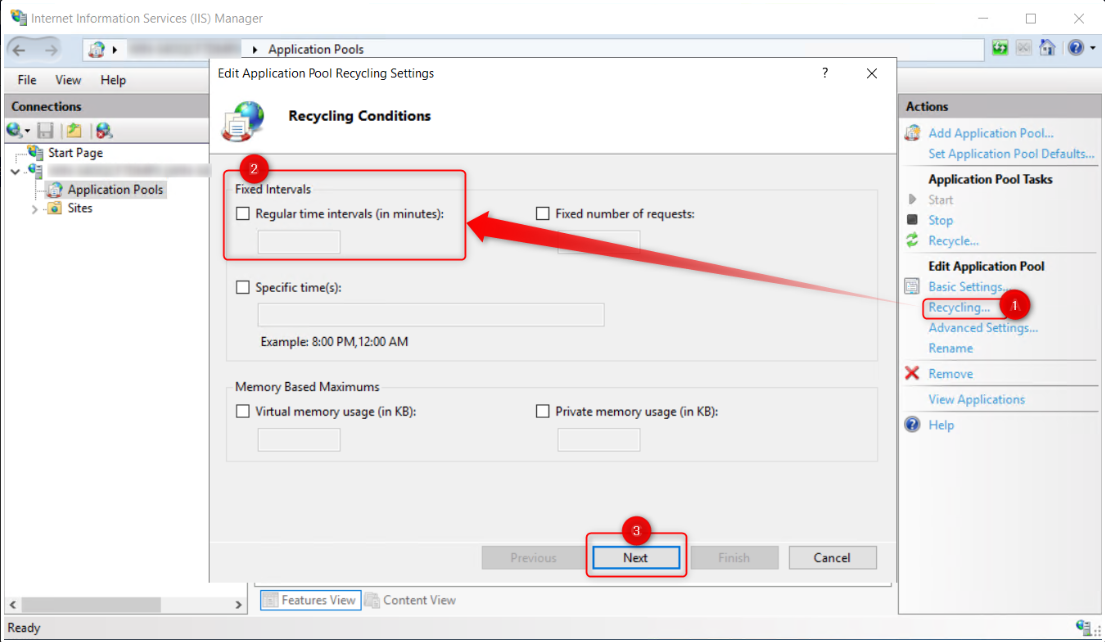
After successfully hosting the Tenant instance, assign the specific users to the tenant. Refer to the following article Assigning Accounts to the Tenants/Control Instance.
Tenant Provisioning Actions
The following chart represents the Provisioning actions made available upon right-clicking a Tenant Instance in the System > Hosting Folder.
| Action | Description | Screenshot |
|---|---|---|
| Add Instance Account | Used to add an Account from the Control to the Tenant Instance. Enabling 'Is Admin' adds the Account to the Admin Group on the Tenant. | 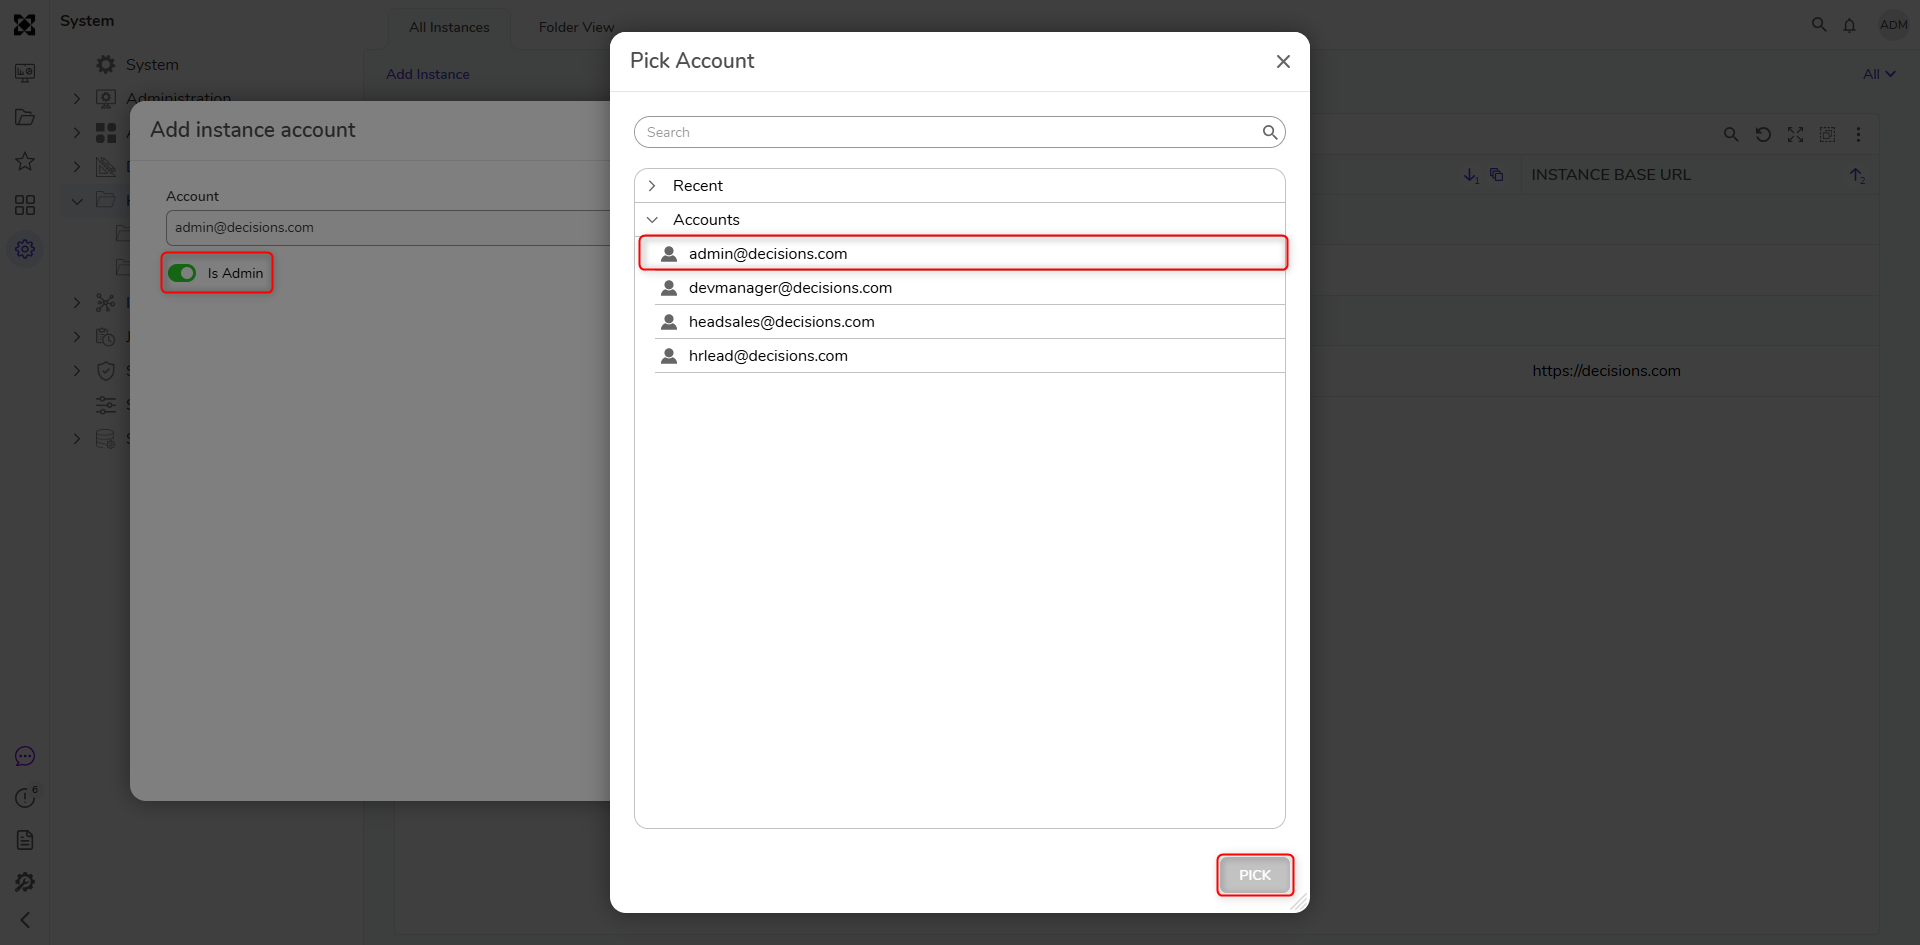 |
| Edit Instance | Provides options to edit the Tenant's Instance Name, Instance Base URL, and Description. This window also displays the Tenant's Authentication Key. Override Login Page Logo can be used to change the logo displayed upon navigating to the login screen. | 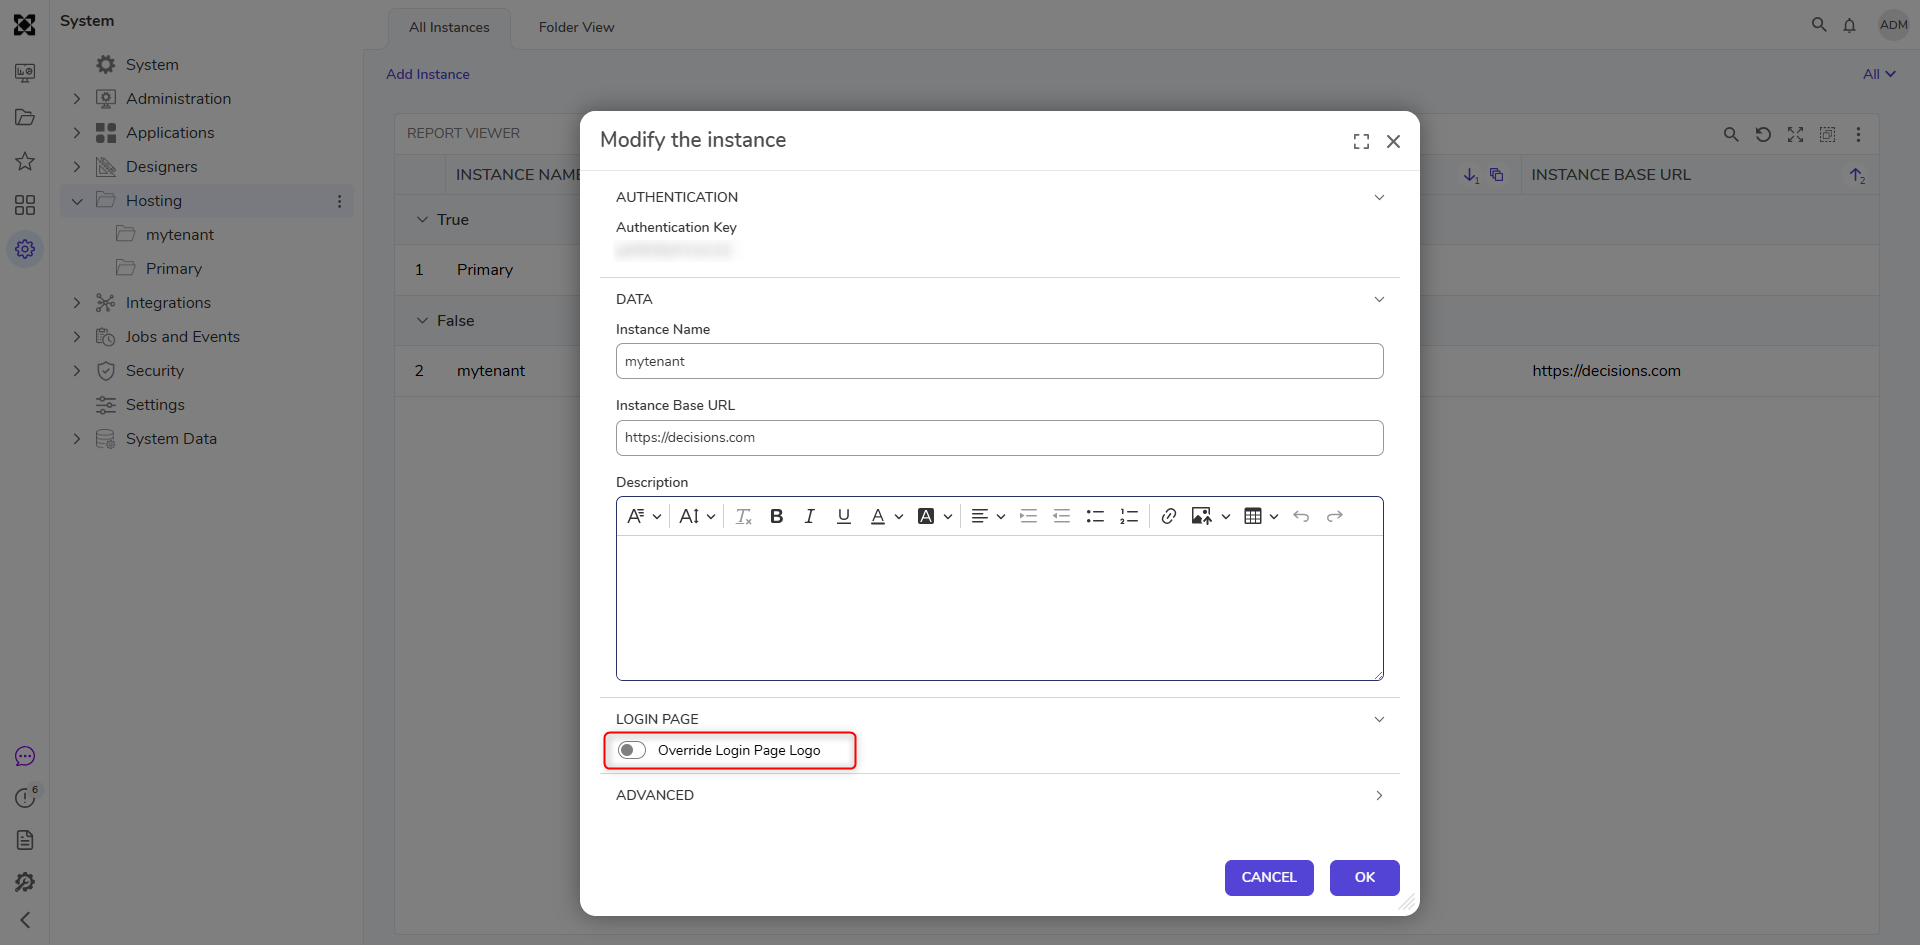 |
| Delete [Instance Name] Instance | Deletes/removes the instance from the Hosting Folder, prompted selecting YES. | 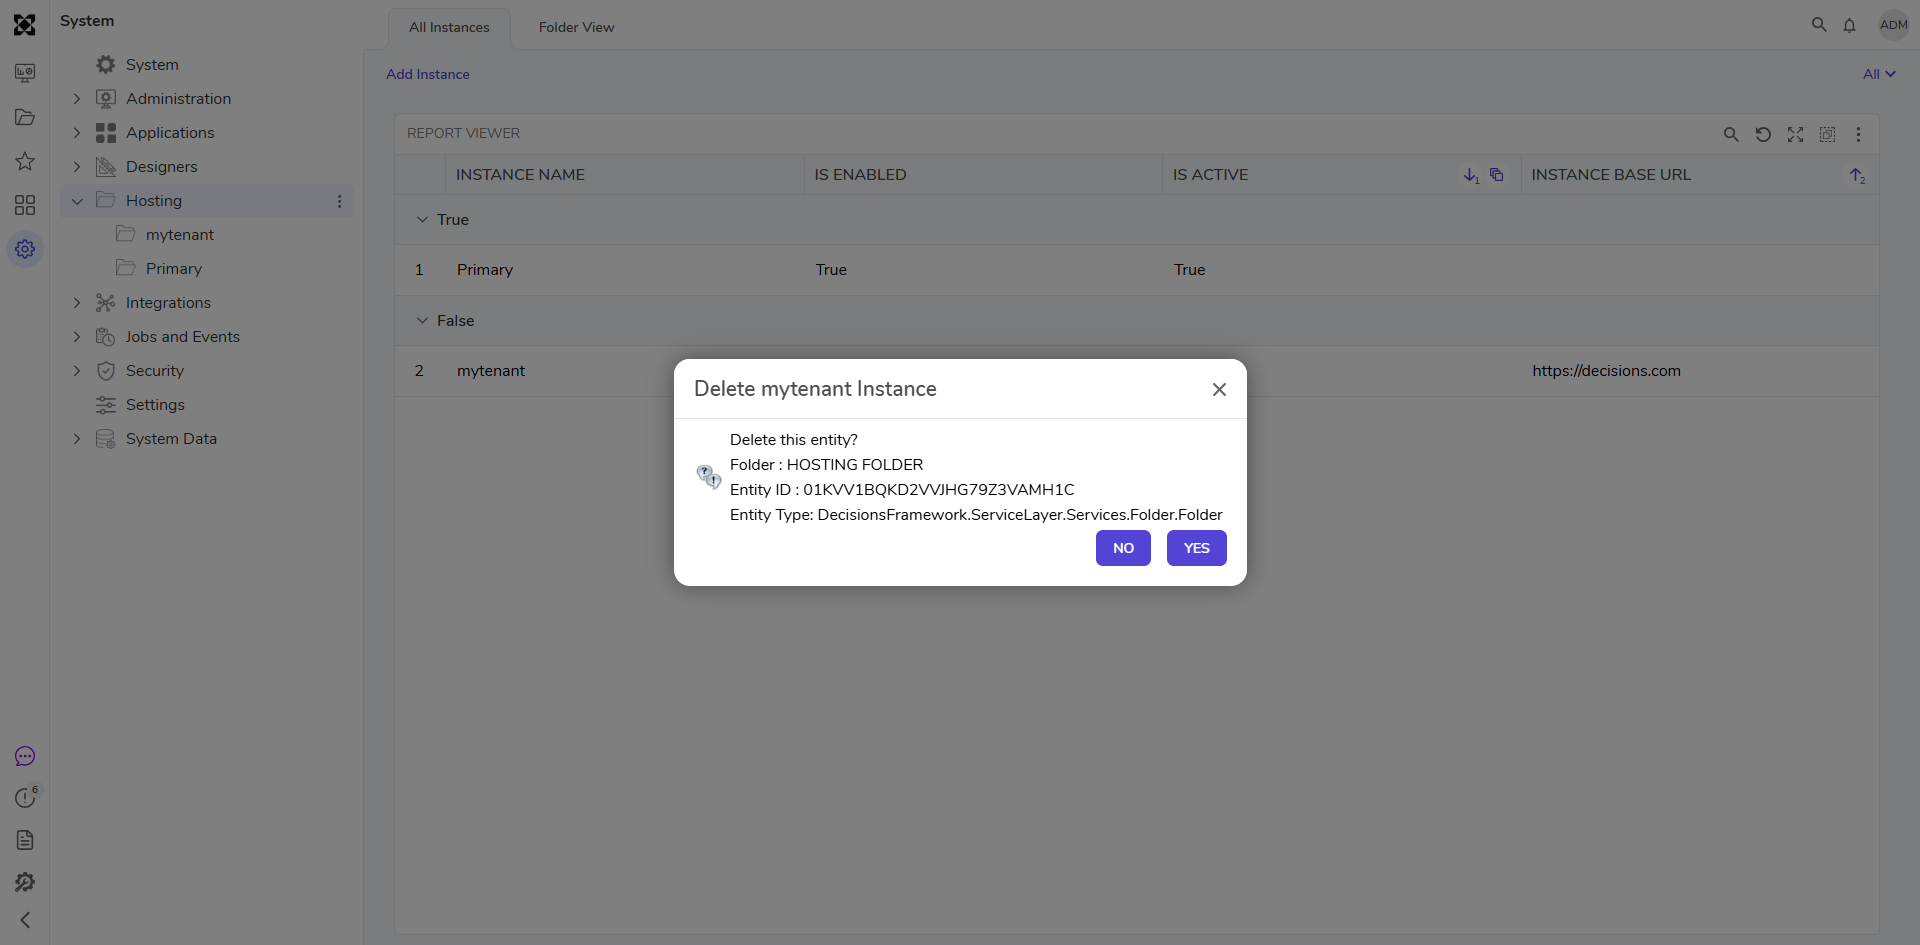 |
| Enable/Disable Instance | If Disabled, users will not be able to log in to the Instance. And they might see the message "Either Instance Not Found or it is Disabled." | 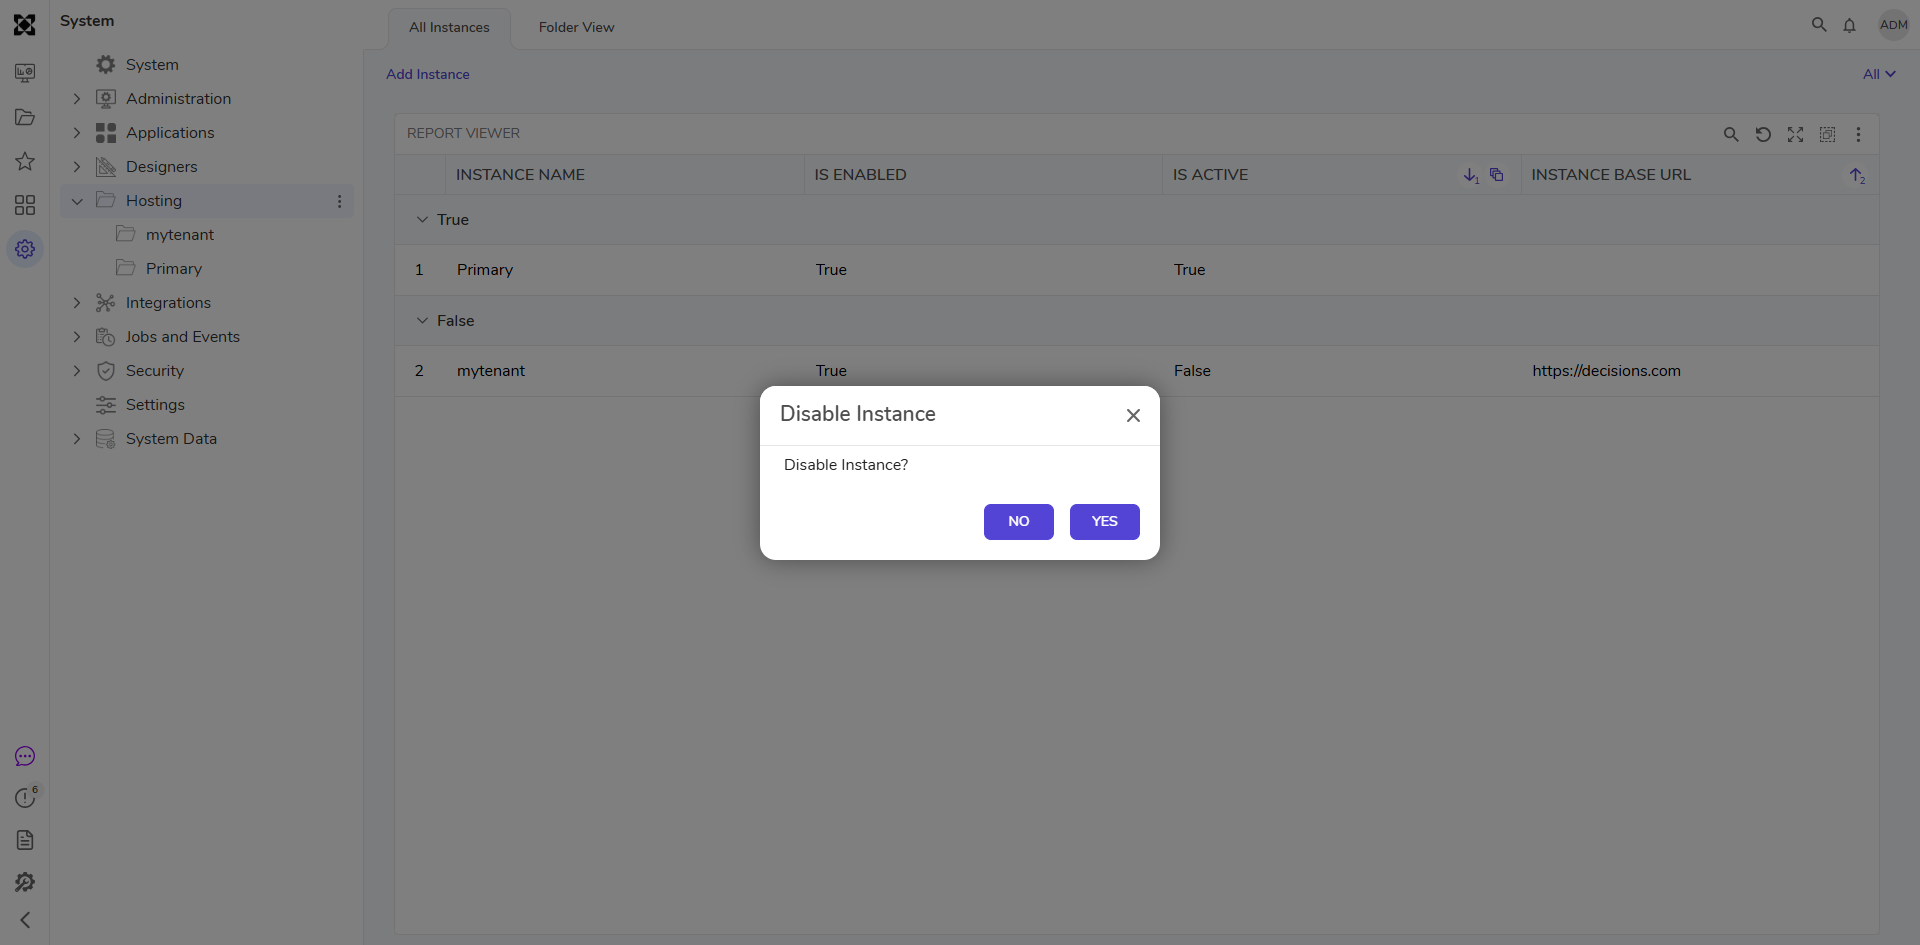 |
| Host Instance Locally | Hosts the Tenant locally via the Provisioning UI. See the example below for information on how to use this feature. | 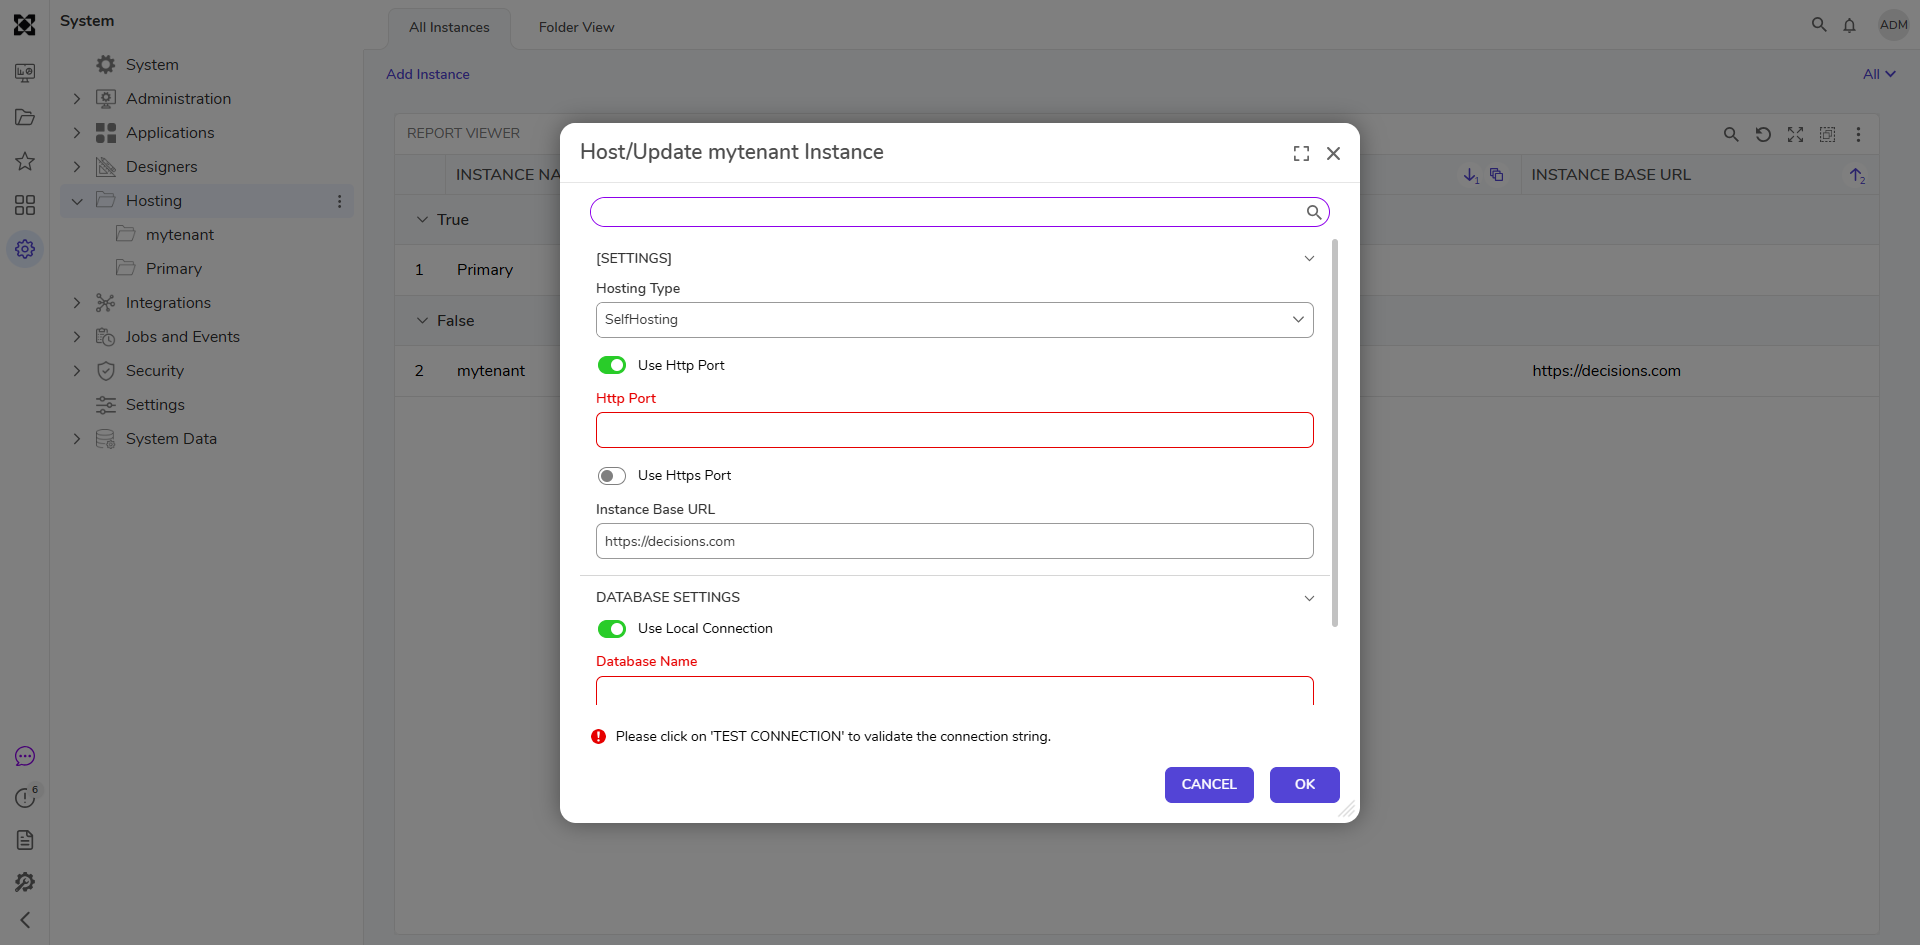 |
If Users encounter issues while configuring, refer to the following article for Troubleshooting Multi-Tenant Environments. If the problem continues, please reach out to support@decisions.com.
Feature Changes
| Description | Version | Release Date | Developer Task |
|---|---|---|---|
| Add Option for Azure SQL on UI-Based Tenant Provisioning | 8.10.1 | March 2023 | [DT-036429] |
| Ability to Add Service Account Credentials To Be Used For Tenants In Hosting Menu | 8.13 | August 2023 | [DT-038147] |
| Ability to specify the Internal Control Instance URL From The Control | 8.13 | August 2023 | [DT-038146] |