Process Mining Install Guide
- 31 Oct 2024
- 3 Minutes to read
- Print
- DarkLight
Process Mining Install Guide
- Updated on 31 Oct 2024
- 3 Minutes to read
- Print
- DarkLight
Article summary
Did you find this summary helpful?
Thank you for your feedback
Overview
The following article serves as a walkthrough for installing Decisions Process Mining onto a machine.
Completing the Installation Wizard
- Run the Process Mining Installer as an Administrator. The installation wizard will pop up. Select Next at the bottom right.Running as AdministratorRunning the installer as a non-administrator prevents creating Process Mining files in the Program Files folder.
While these files may still be stored elsewhere without error, run this installer as an admin if wishing to install in Program Files.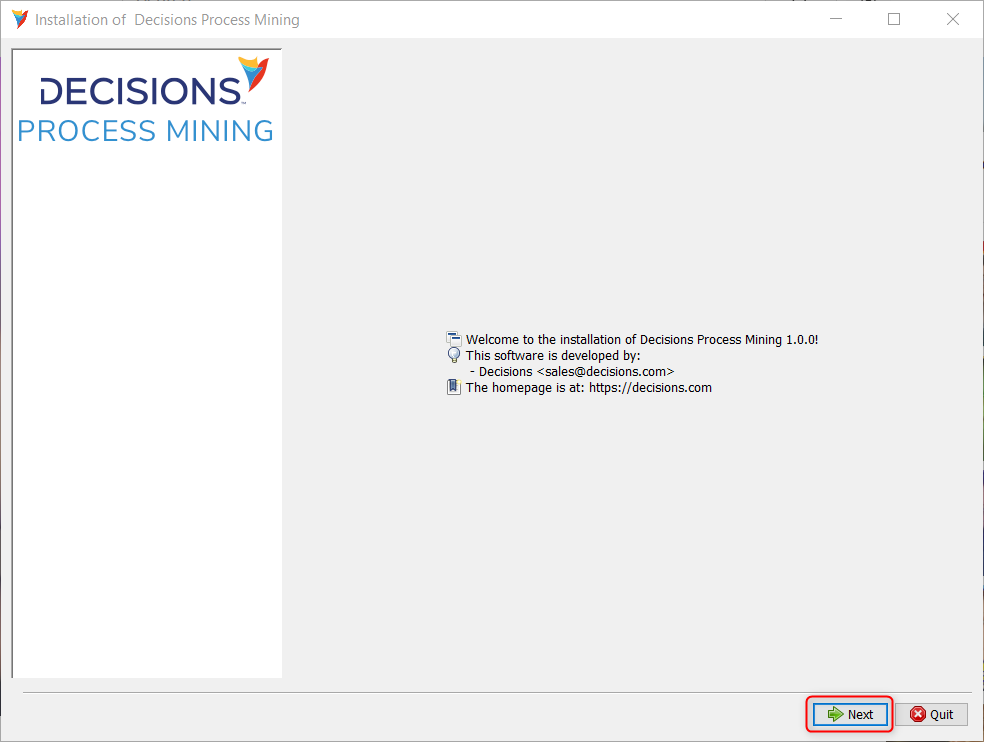
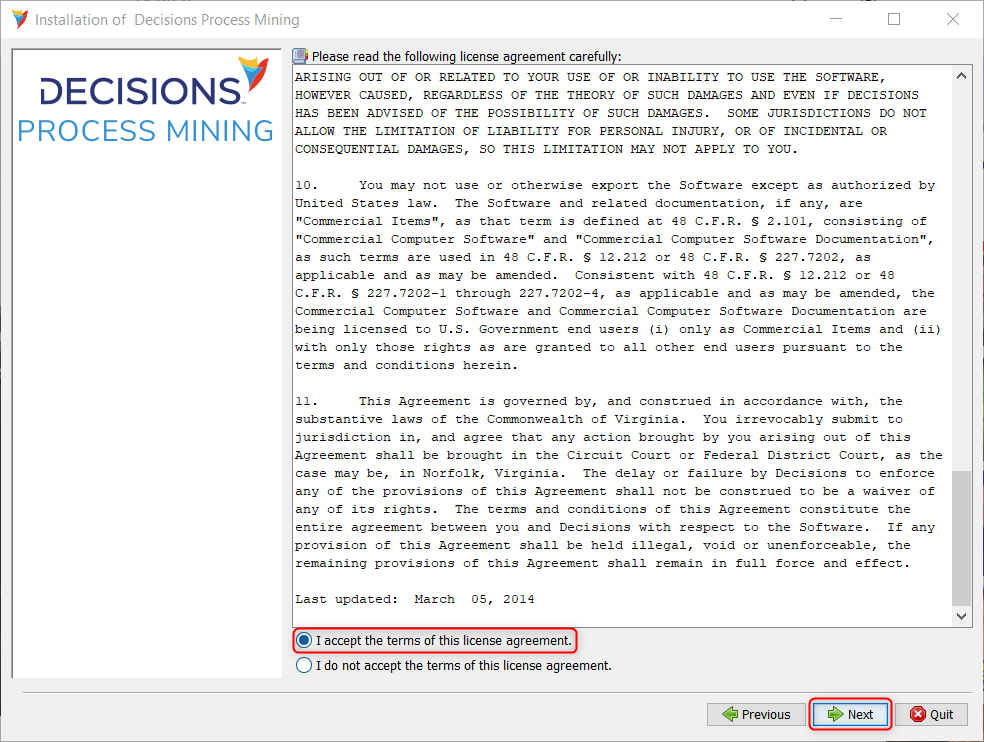
- After reading the license agreement, accept the terms then select Next. Users may return to prior pages if needed with the new Previous button.
- Select the installation file path by either directly typing the path in the textbox or by selecting the desired folder via the Browse window.
If running the installer as an Administrator, the default file path will be C:/Program Files/Decisions/Process Mining. Select Next once complete and confirm the directory location.
If selecting an already used installation path, a validation window will appear to confirm the location and, if so, the possibility of overwriting the old files. Select Yes to confirm this location.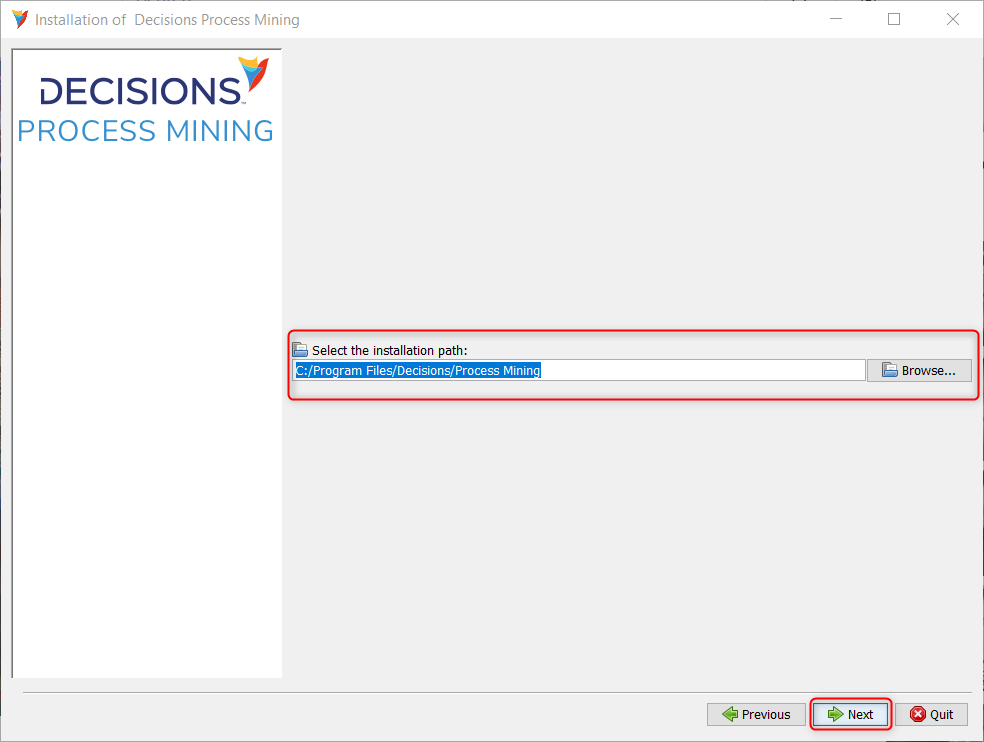
- Configure the following settings:
Setting Name Example Selection Function PC or Server Installation Type PC Servers expect multiple users accessing the Process Mining instance therefore it is more resource intensive. It is recommended to configure the Process Miner as a service to reduce downtime.
PC expects only one user for the Process Miner so it is best selected for local environments.Amount of platform memory (GB) 7 Prompts for amount of GB memory to allocate for the platform. Server type installations are more demanding than PC.
By default, this option populates with half of the available RAM (GB) on the machine or all of the RAM minus 1GB if the machine contains equal to or less than 8GB of total RAM. This may be changed after installation to remove any unforeseen lag.Platform hostname localhost (default) Prompts for the hostname for the platform.
The hostname between Process Mining and a Decisions server do not need to match to operate together.Platform port 8090 (default) Prompts for the port that Process Mining shall use.
Ensure this port is not occupied by other services. This port number must be free to use without error.
The combination of hostname and port number comprise the Process Mining URL. Based off this example, the URL would be localhost:8090. Select Next once complete.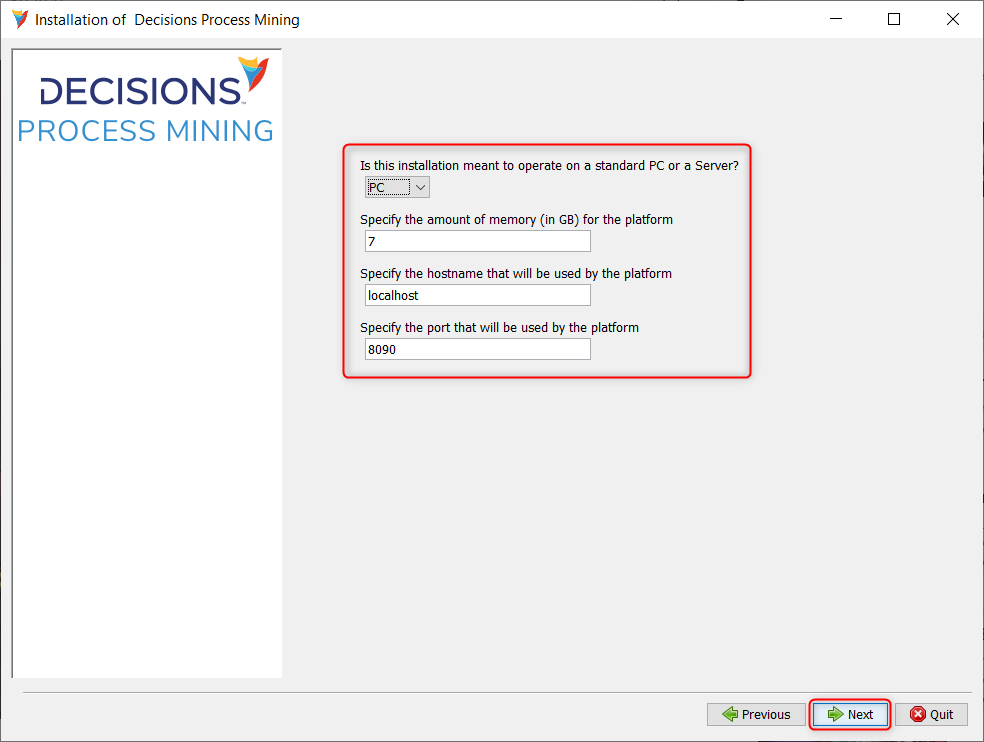
- Configure if Process Mining operates alongside a Decisions instance and where Process Mining shall install on the machine.
This example utilizes the default Yes option to connect Process Mining with Decisions. Select No if using Process Mining to only analyze external data e.g. CSV and XES files.
Enter the Decisions Installation Folder by either typing out the file path in the textbox or selecting the folder via the Browse window. By default, this will be C:\Program Files\Decisions\
Enter the Decisions instance's Base URL. The Decisions Base URL should contain the complete base URL including the Instance Name e.g. the default "http://localhost/decisions/Primary/". Local installs must also add the Decisions port number after localhost e.g. "http://localhost:8090/Primary/".
Select Next once complete.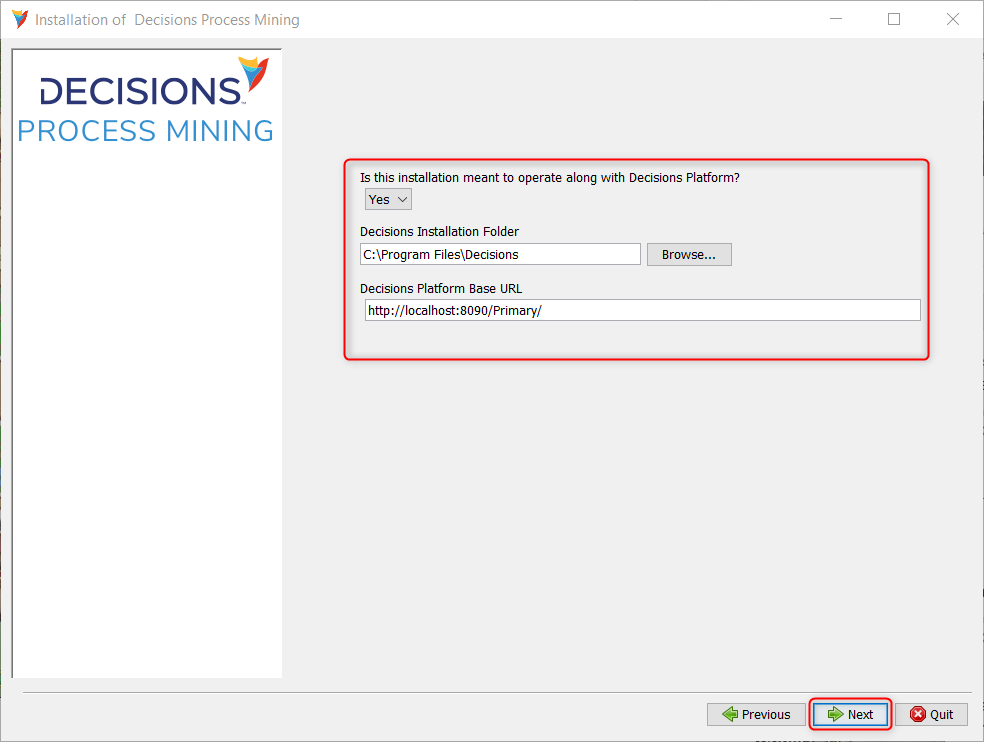
- In the next window, toggle whether the Process Mining .bat file will automatically run at startup. If enabling this, then this removes the need to start Process Mining as a service. This example enables this.
Select Next once done.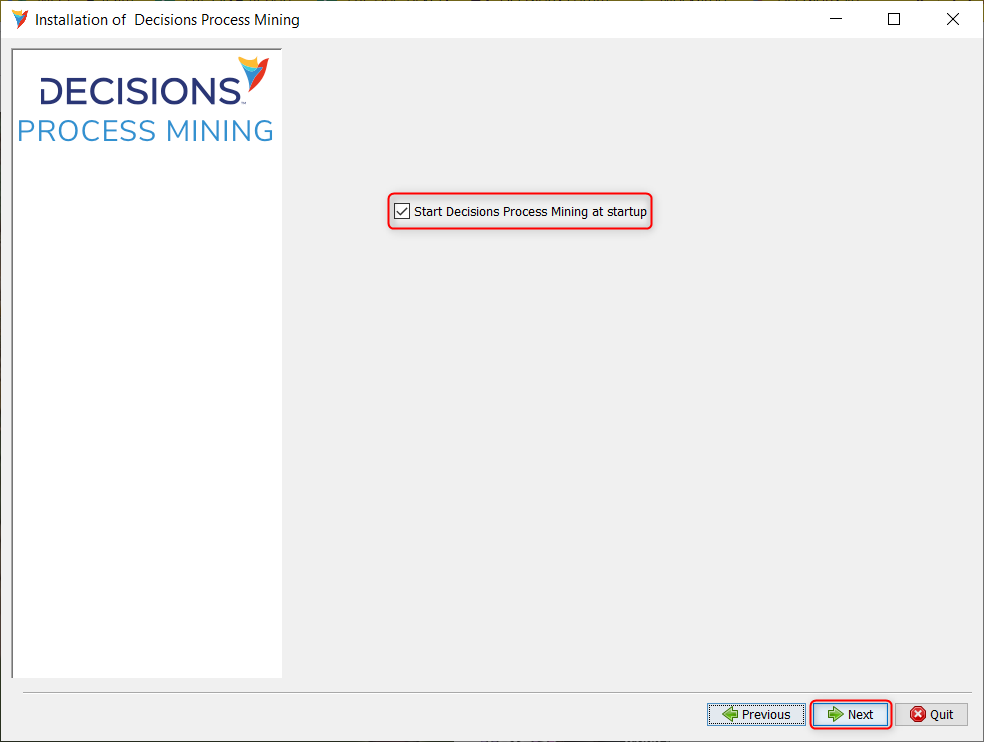
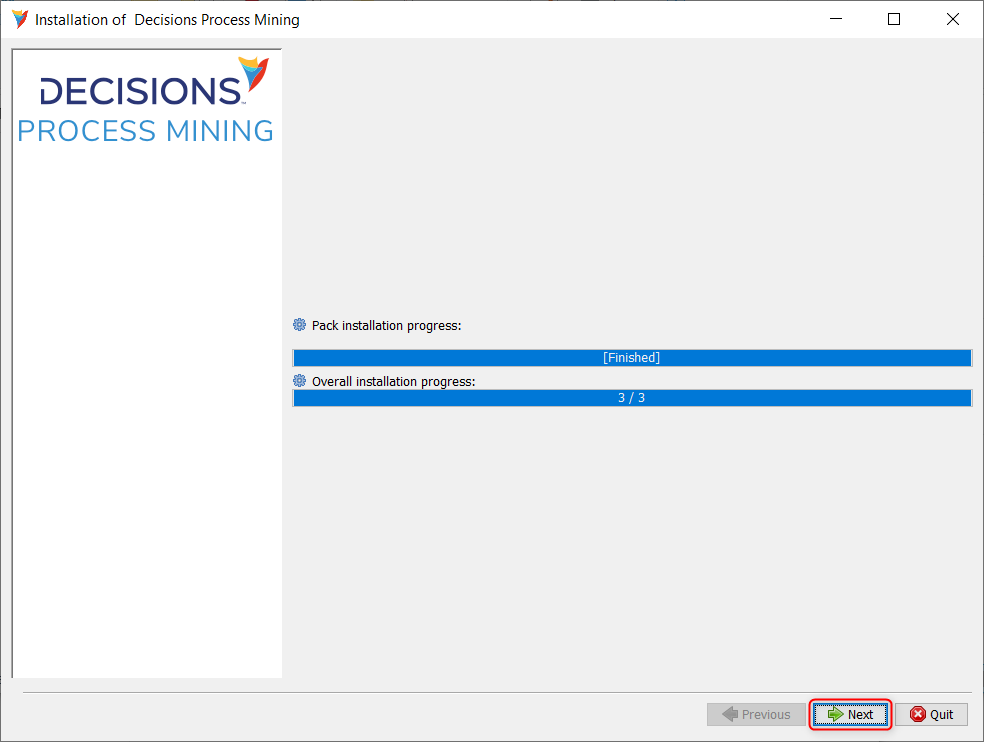
- After selecting Next, the installer will automatically start installing the Process Miner with the specified configurations. Once complete, the download bars display [Finished]. Select Next once downloading completes.
- Users may setup shortcuts to access Process Mining. By default, the installer will setup to create a Start-Menu shortcut, but this may be disabled. This example uses only the default shortcut.
Select Next once complete.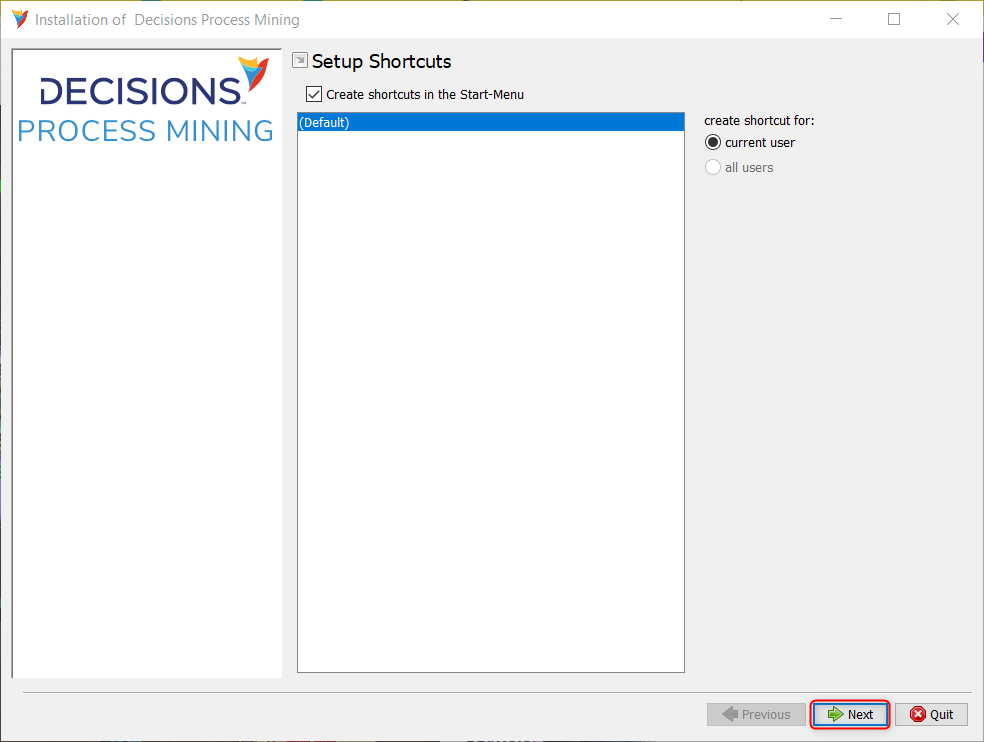
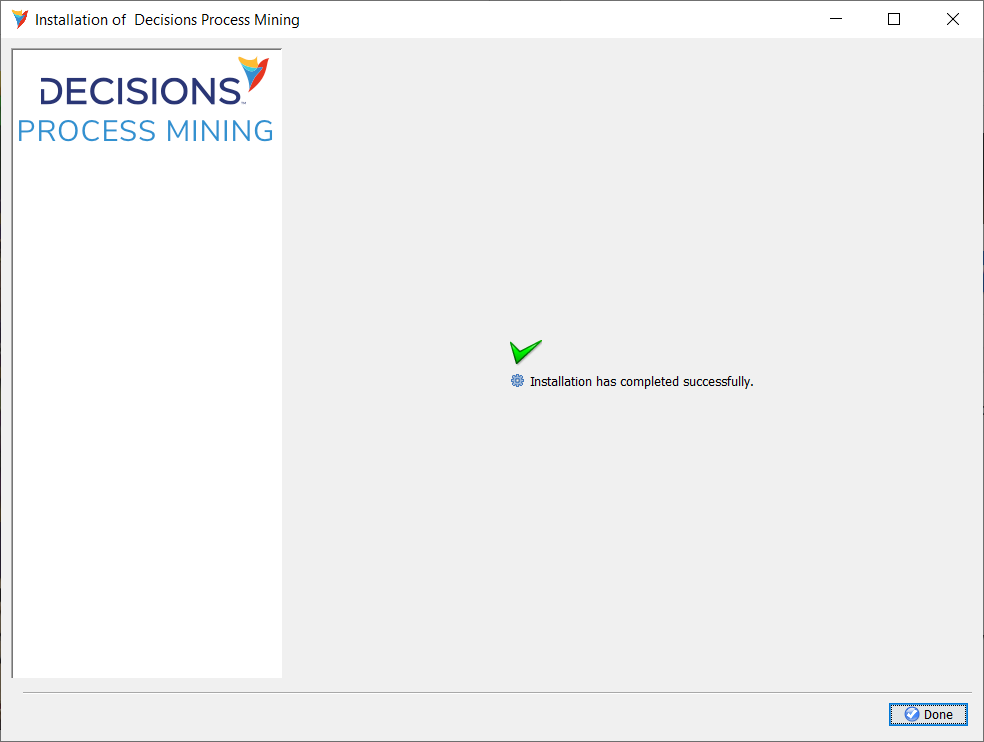
- The installer confirms successful installation of Process Mining. Click Done to exit the installer.
- For installations operating alongside a Decisions instance, configure the Process Mining System Settings to navigate to the Process Miner from the Studio. Open the Process Miner from there.
For standalone installations, open Process Mining by navigating to the Process Mining URL.
If Run at Startup was set to False, then start the DecisionsProcessMining.bat found in the Process Miner folder before opening the Process Miner URL listed in the dialog window.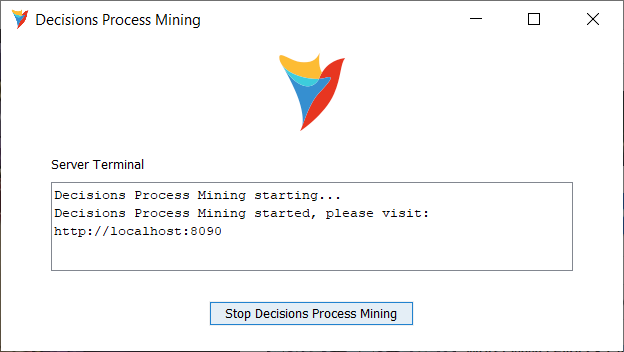
If the IP Address changes, update it here then restart the Decisions Server.<LoginPageAllowedIPs>[IP Address of Connecting Machine]</LoginPageAllowedIPs>
Was this article helpful?


