Overview
By default, Decisions uses port 80; however, other programs may already occupy this port.
Instead, Decisions can run on an alternate port. This change can be made during or after installation by editing the respective settings:
- PortalBaseURL properties in the Specify Portal Base URL installer window
- HttpPort and PortalBaseUrl properties in the Settings.xml
The following example demonstrates both methods in a self-hosted instance and an IIS instance.
Open the new port number in Windows Firewall before changing the port
Otherwise, the installer may produce an error relating to the port refusing the connection. Refer to the Opening Ports in Windows Firewall article in Microsoft's documentation and change their example "80" with the desired port.
Self-Hosted
Changing Port During Installation
Upon reaching the Specify Portal Base URL window during installation, users may change the Port field to declare a different port for Decisions.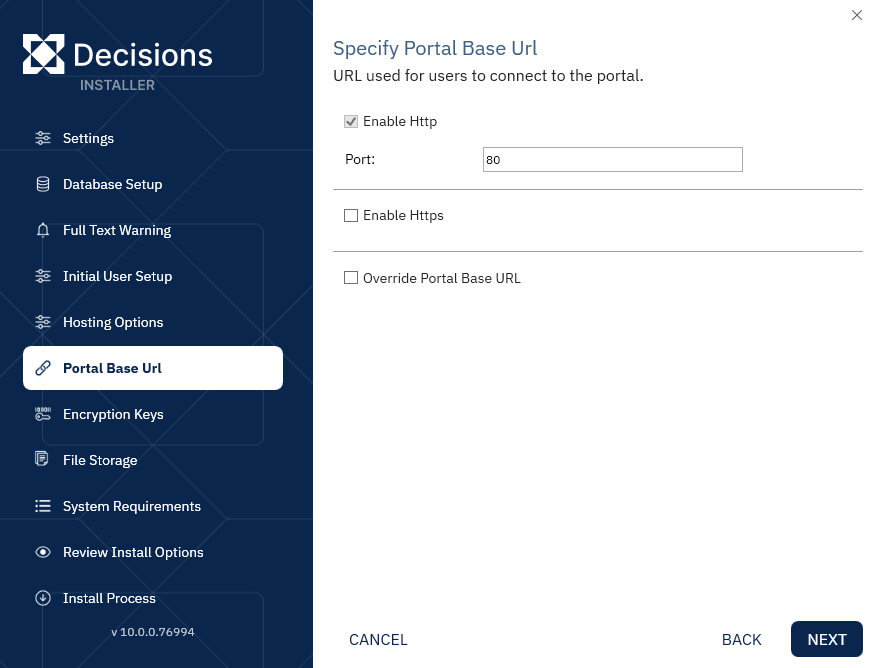
Changing Port After Installation
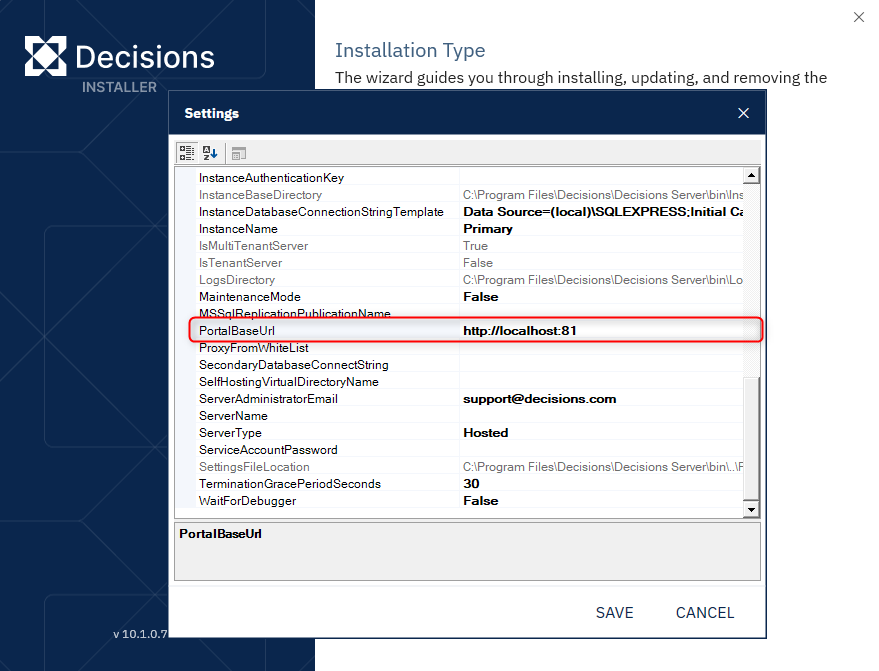
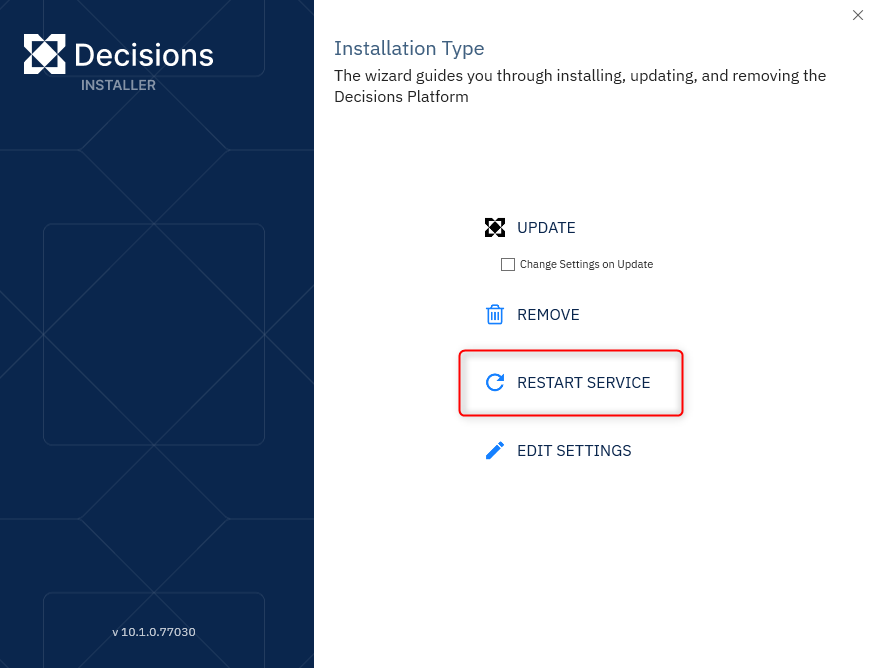
- After the installation, run the Decisions installer as an Administrator again and click Edit Settings.
These settings can also be found in the settings.xml file located in C: > Program Files > Decisions > Decisions Server.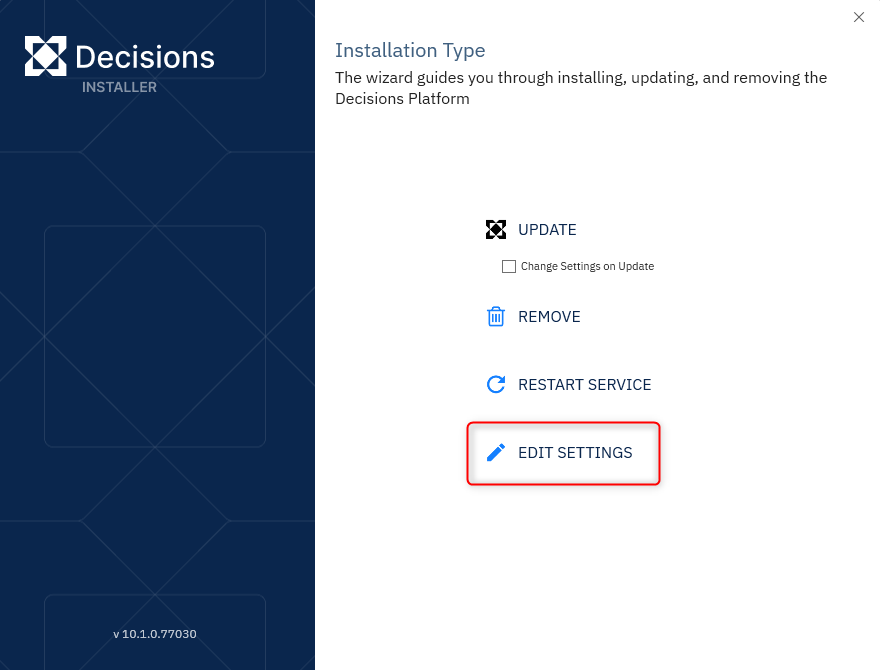
- Edit the HttpPort property with a different number.
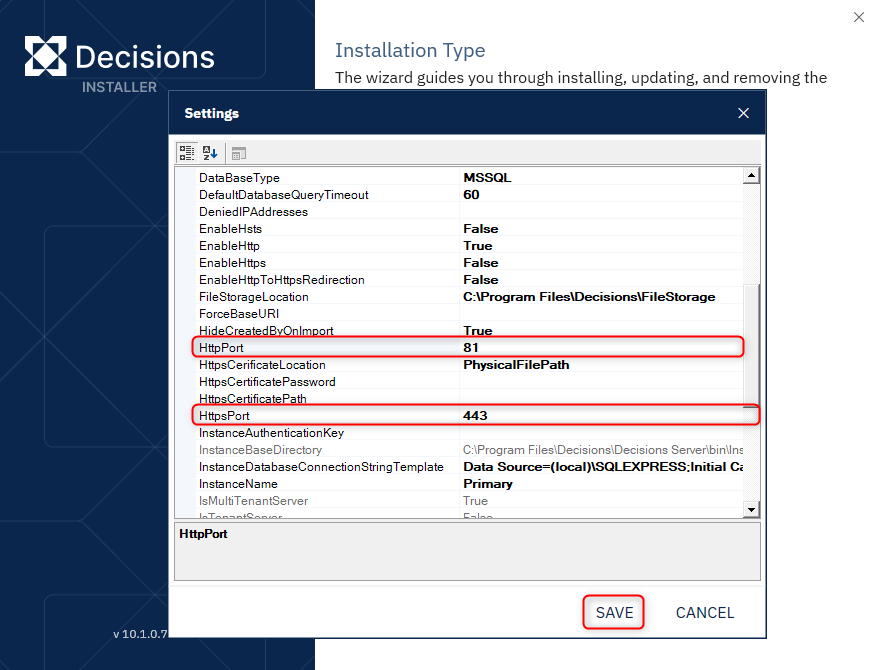
- Edit the PortalBaseURL property to match the updated port number. Click Save.
- Finally, restart Decisions to update this new port configuration.
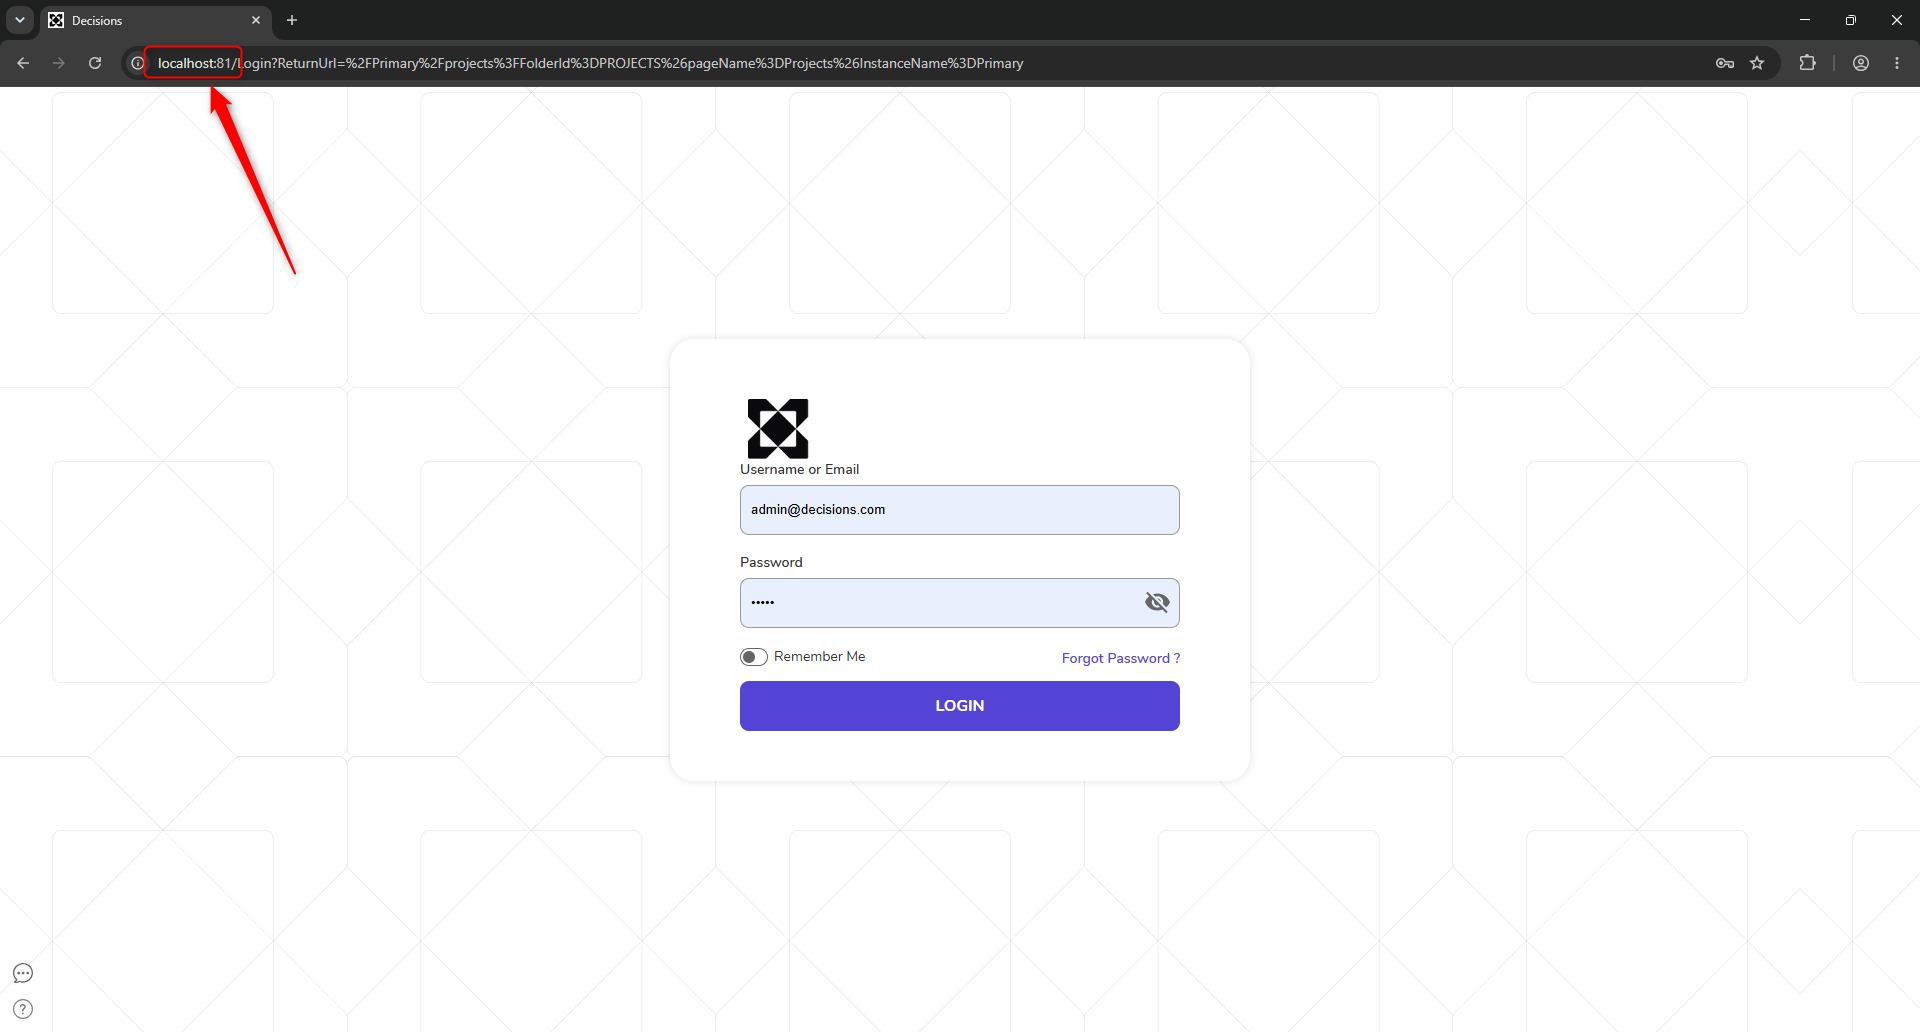
- Navigate to the newly configured BasePortalURL.
IIS Hosted
Setting Port After Installation
- Navigate to the Decisions file location, by default C: > Program Files > Decisions, and open the Settings.XML file to edit it.
- Locate the property called ControlInstanceEndpoints and set the current values for each Port definition to your desired port e.g. "8080".
Do not change the Port to 443 since this is the HTTPS default port.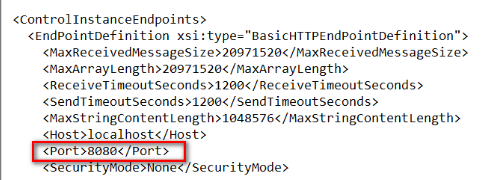
- Locate the property called PortalBaseURL and edit it to include the desired port number.

- For the property LocallyAddressableIISOrDNSName, ensure that it does not include the port.
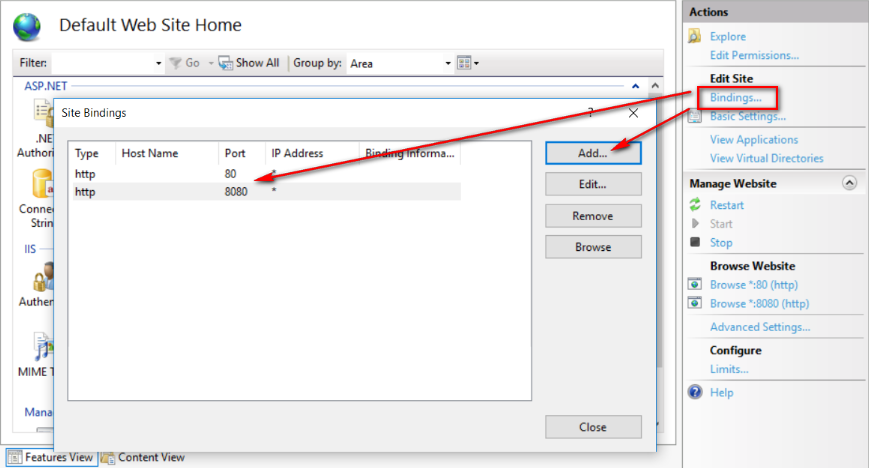
- Save and close the XML. The port binding must be set in IIS. To do this, open IIS and set the port binding for the website you are using (by default Default Web Site).
- Then, Save and close IIS.