Deploying Containers on Azure
- 21 Feb 2024
- 4 Minutes to read
- Print
- DarkLight
Deploying Containers on Azure
- Updated on 21 Feb 2024
- 4 Minutes to read
- Print
- DarkLight
Article summary
Did you find this summary helpful?
Thank you for your feedback
Two or more containers cannot be started at the same time.
For containers running on a new database, start only one first so it may set up the database, After that, start other containers one at a time.
Overview
Users may deploy Azure containers via the following methods:
- With a template .json file
- Without a template file
- With a .yaml file in Azure CLI
It is recommended to also set up Azure Log Analytics for the new Azure containers to better organize their logs.
Prerequisites
- Existing Azure SQL server and SQL database.
- Existing Azure storage account with the following SMB file shares (1TB capacity recommended) and "logs" (100GB capacity recommended).
Deploying with a Template File
A template file can help speed up container deployment by providing a base structure for container configuration that can then be edited to fit specific connection needs.
Utilize the provided template.
Editing the Template
To successfully connect, edit this template with the corresponding values.
The template can be edited before or during container creation; however, it is recommended to edit before creation in a text editor such as Notepad++ to view all available settings.
Change the following template parameters:
| Parameter Name | Default Value | Desired Value |
|---|---|---|
| name | decisions | Replace with the desired name to give to the container. |
| location | [resourceGroup().location] | Specify the location for the container deployment. Refer to Azure geographies. |
| image | decisionscore/platform:latest | Container images for all Decisions version 8.0 and further have been published to Docker Hub and are publicly available. Just change the version number as per requirement. |
| port | 80 | Enter the desired port number. |
| cpuCores | 4 | Mention the number of CPU cores. |
| memoryInGb | 16 | Mention the memory to be allocated to the container. |
Change the following environment variables:
For more information on environment variables, refer to Environment Variables.
| Variable Name | Default Value | Desired Value |
|---|---|---|
| DECISIONS_DATABASECONNECTSTRING | -- | Change the Database Connection String based on the database type. For a supported database, refer to Database Server Configuration. |
| DECISIONS_DATABASETYPE | Azure | Replace with the name of the Azure SQL database to connect to this container. |
| DECISIONS_PORTALBASEURL | {Domain_Name} | Replace with the Domain Name of the Server if assigned. |
| TZ | US/Eastern | Replace this with the desired time zone |
Volume Mount:
| Parameter Name | Default Value | Desired Value |
|---|---|---|
| name | azurefilestorage | Replace with the name of the desired Azure Storage Account. |
| shareName | filesharename | Replace with the name of the desired File Share created under Azure Storage Account |
| storageAccountName | azurefilestorage | Replace with the name of the desired Azure Storage Account. |
| storageAccountKey | -- | Enter the Storage Account Key. |
Container Setup
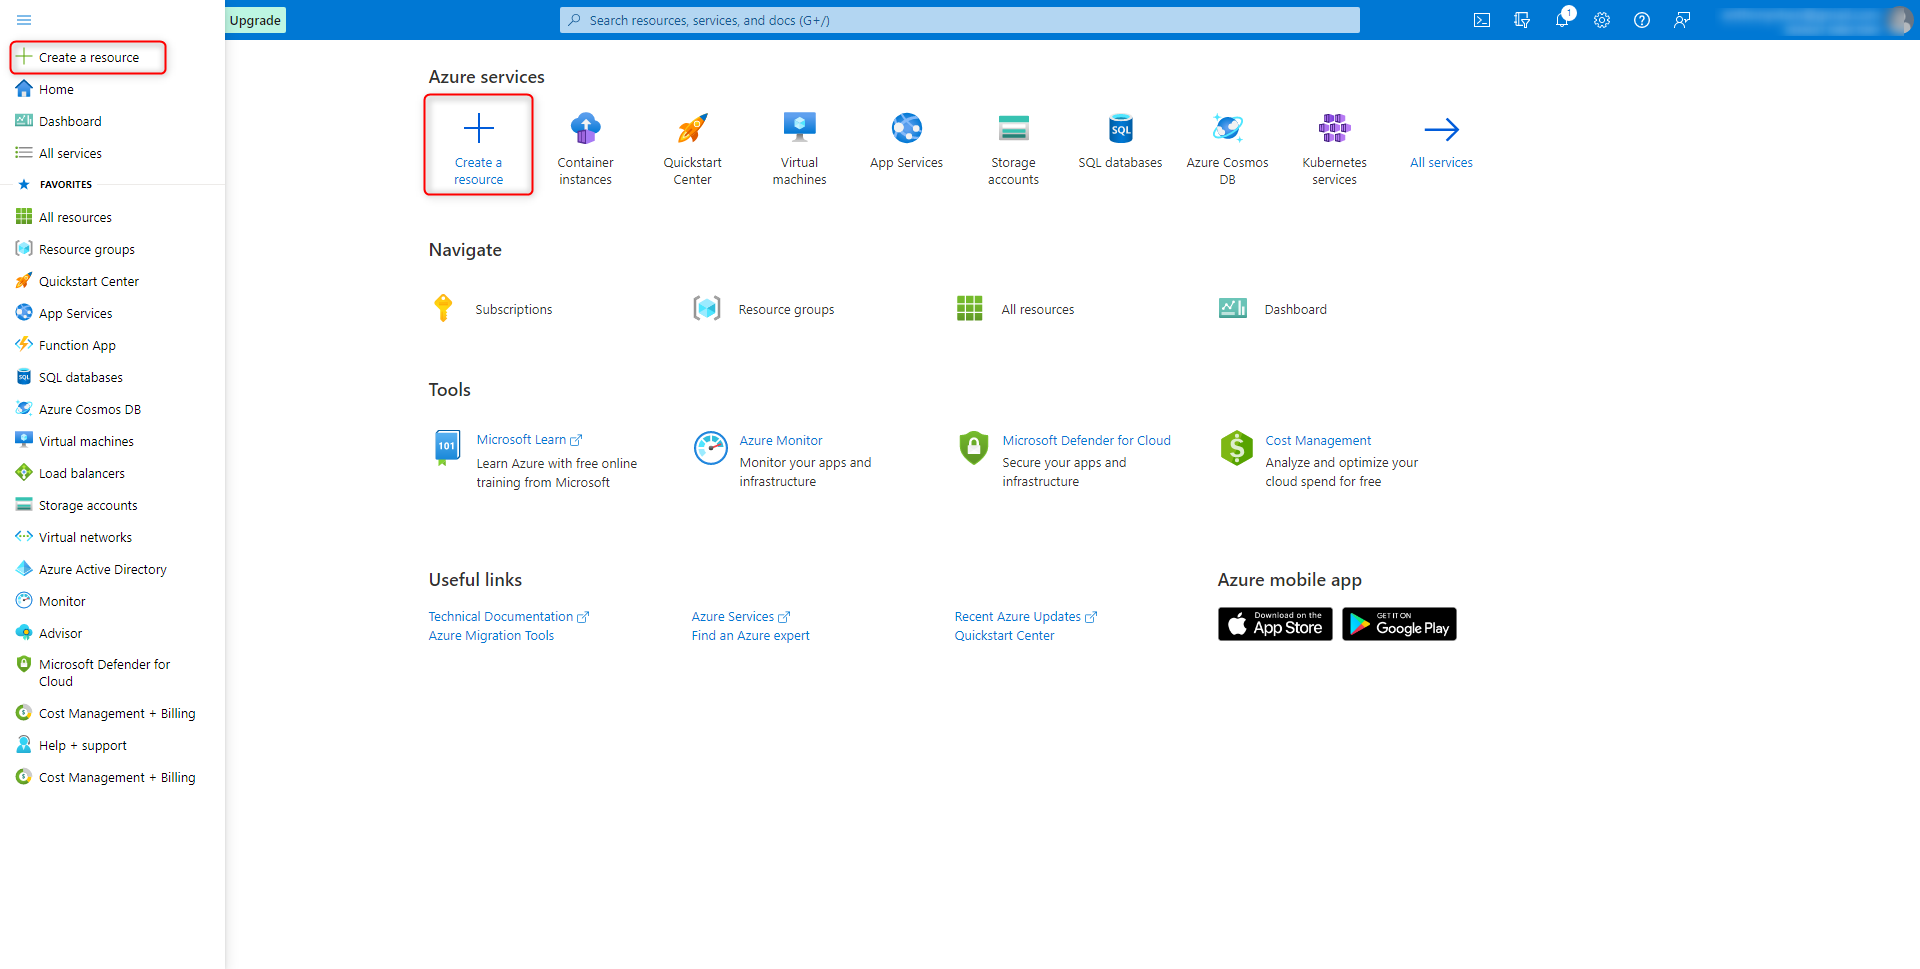
- After editing the template, open the Azure portal. Select Create a resource (plus icon).
- In the Marketplace, search for "Template deployment".
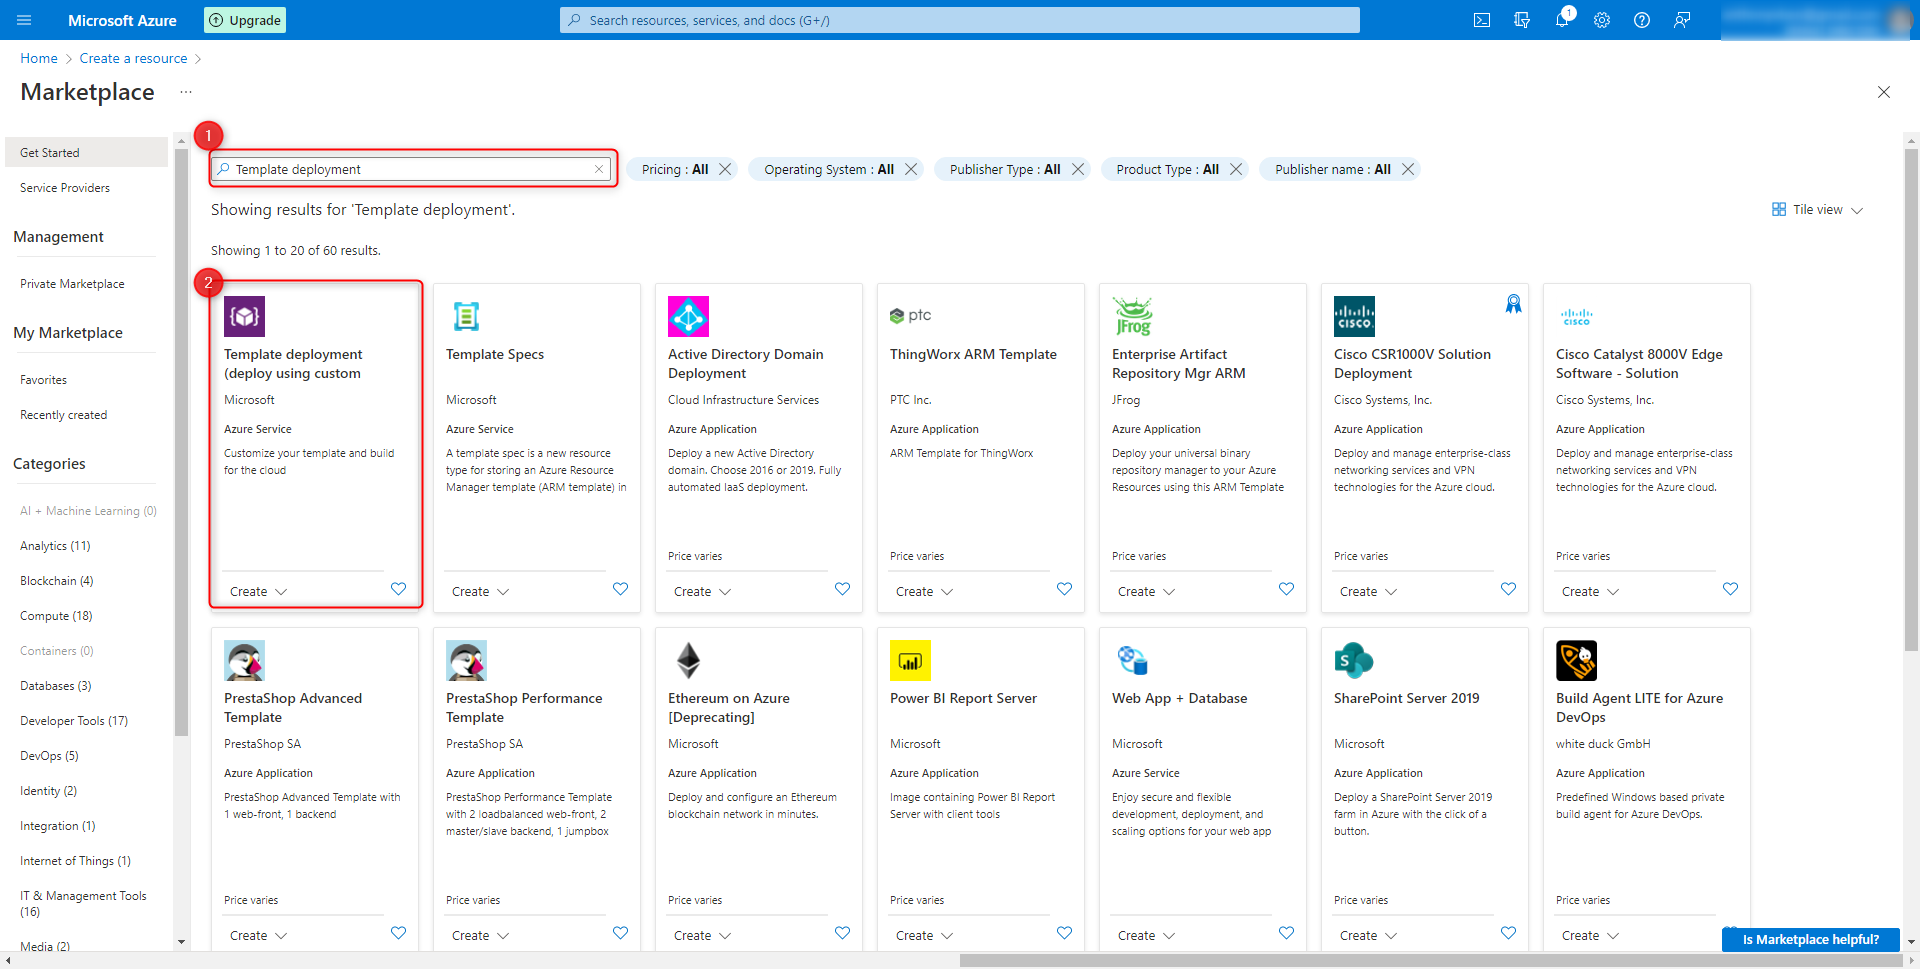
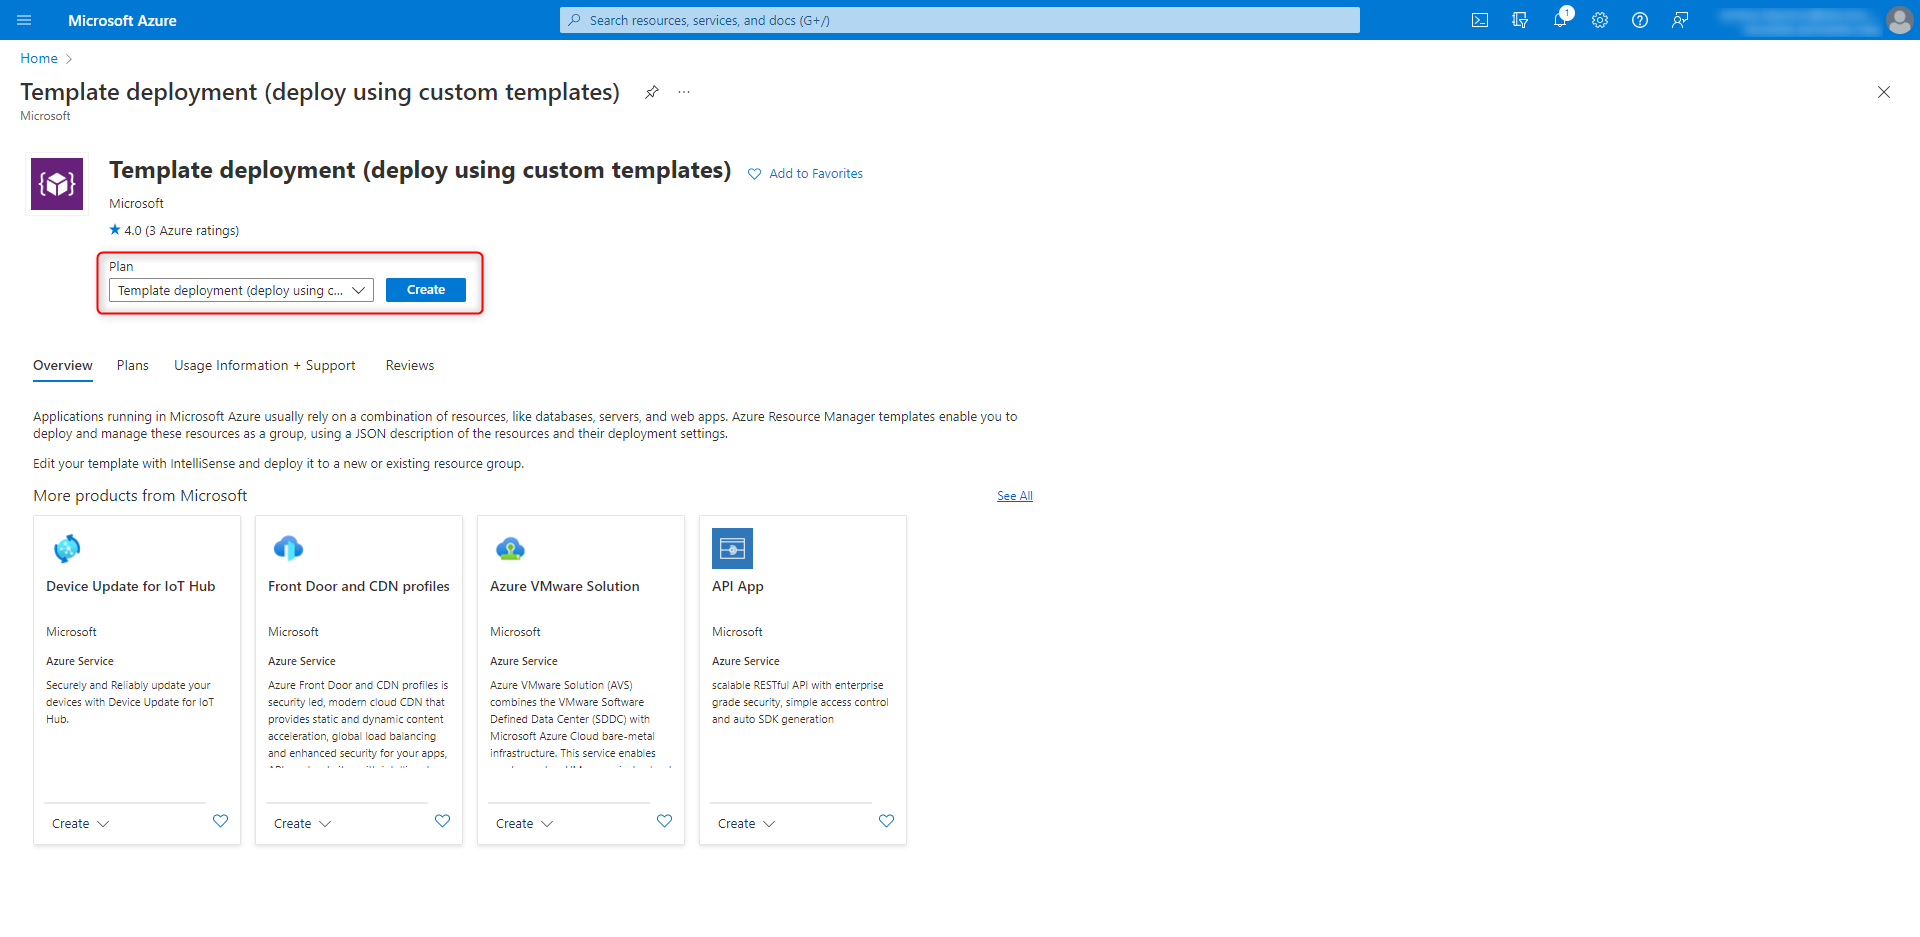
- For Plan, select Template Deployment (deploy using custom templates). Select Create.
- Click Build your own template in the editor.
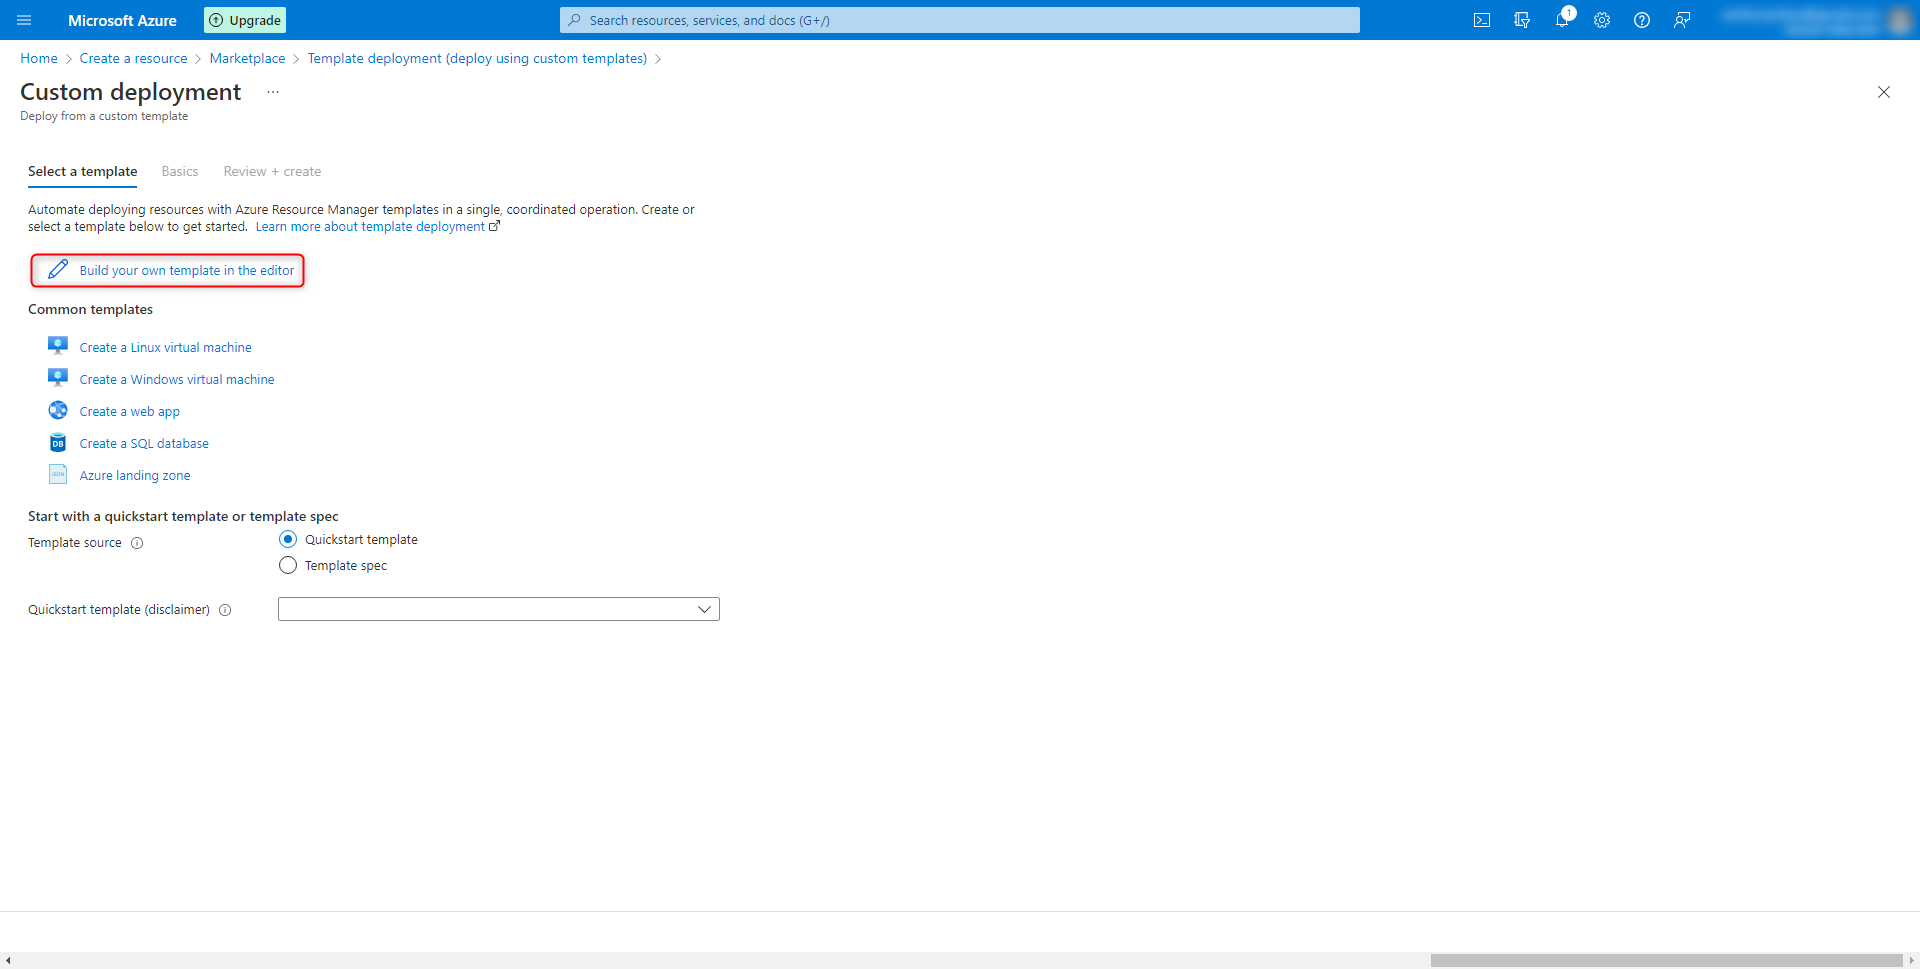
- Once opened, copy and paste the template .json file provided into the text editor. Review the .json for accuracy and edit the template if necessary. Select Save once done.

- In the Project Details window, select the desired resource group from the Resource Group drop-down menu.
- Under Instance Details, verify and/or edit the values using the above tables as reference. Select Review + Create once done.Not all settings present in the .json are displayed on this page.To go back and edit any other settings, select Edit Template at the top of the page to return to the in-browser text editor. Once edits are complete, select Save to return to this page.
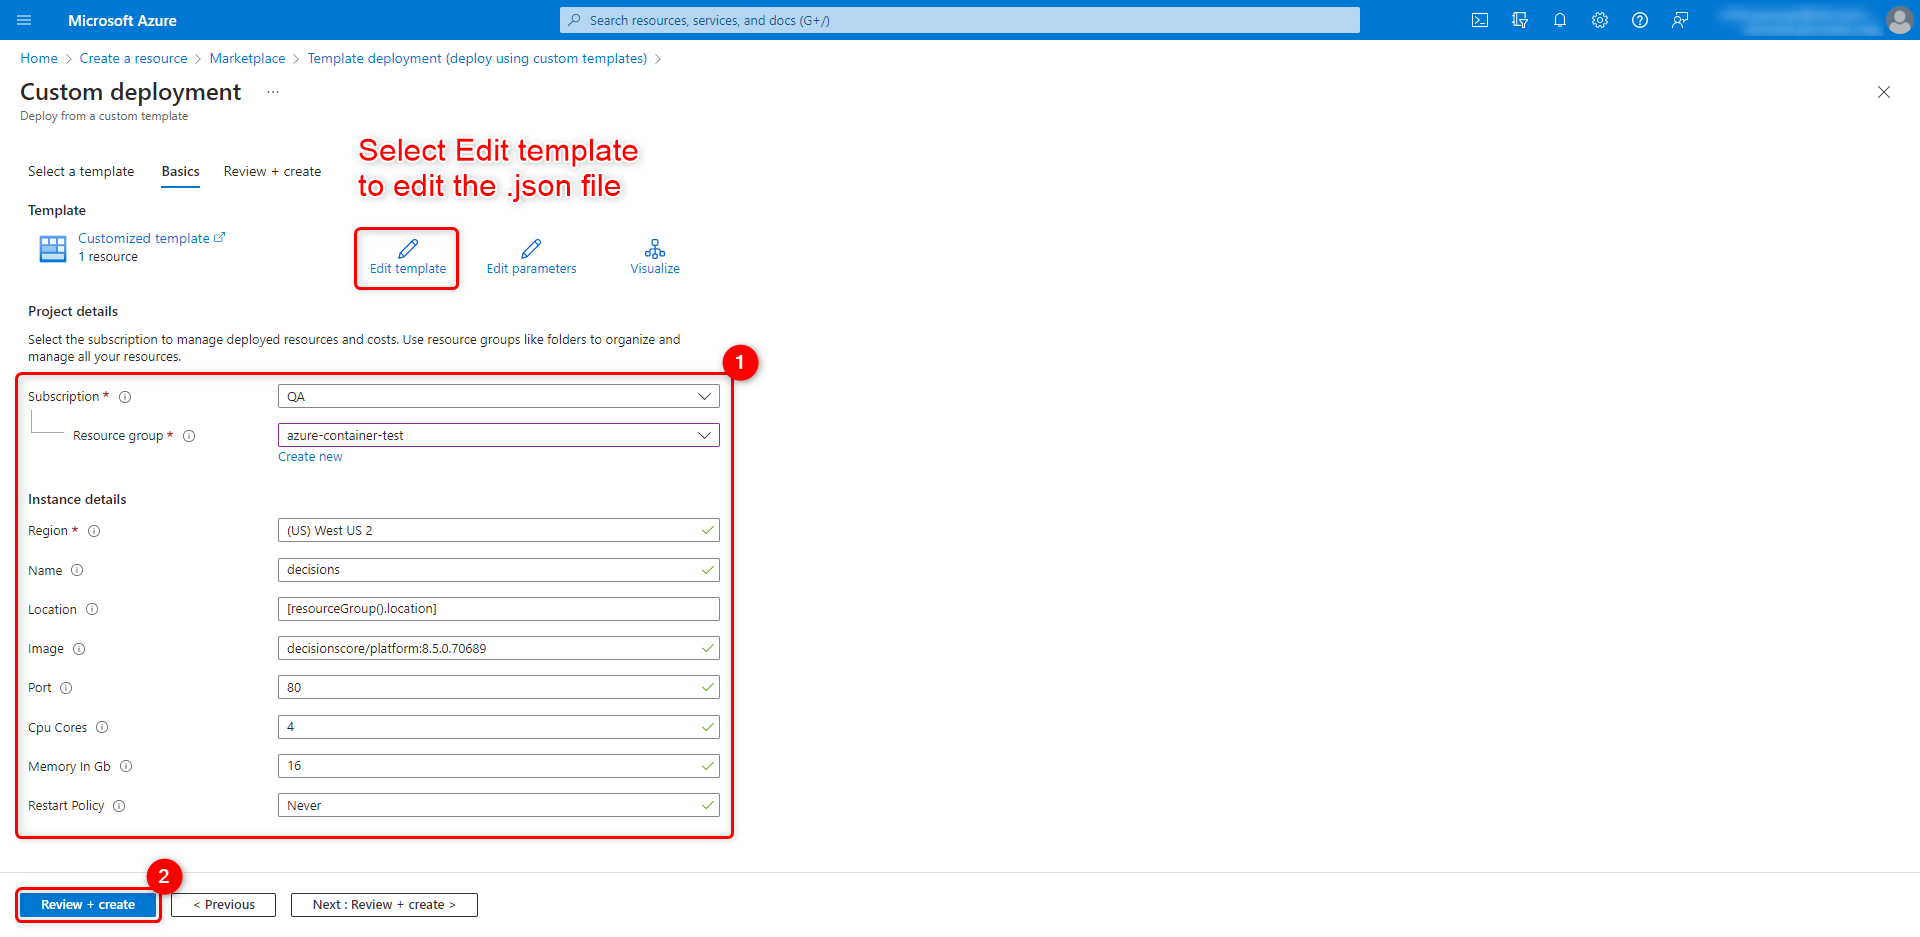
- Azure runs a validation check to check for errors. If validation fails, Azure provides details on where the .json file is producing the error. Select Basics to return to editing. This is the last opportunity to make any changes.
Once validation passes, select Create to commence container creation. - Azure then attempts to deploy the container. This may take several minutes. Once deployment is complete, select Go to Resource to view the container. Its status should be Running. For more information, refer to Azure documentation to review the deployed resources.


Deploying without a Template File
This method lacks volume mapping for the container within Azure.
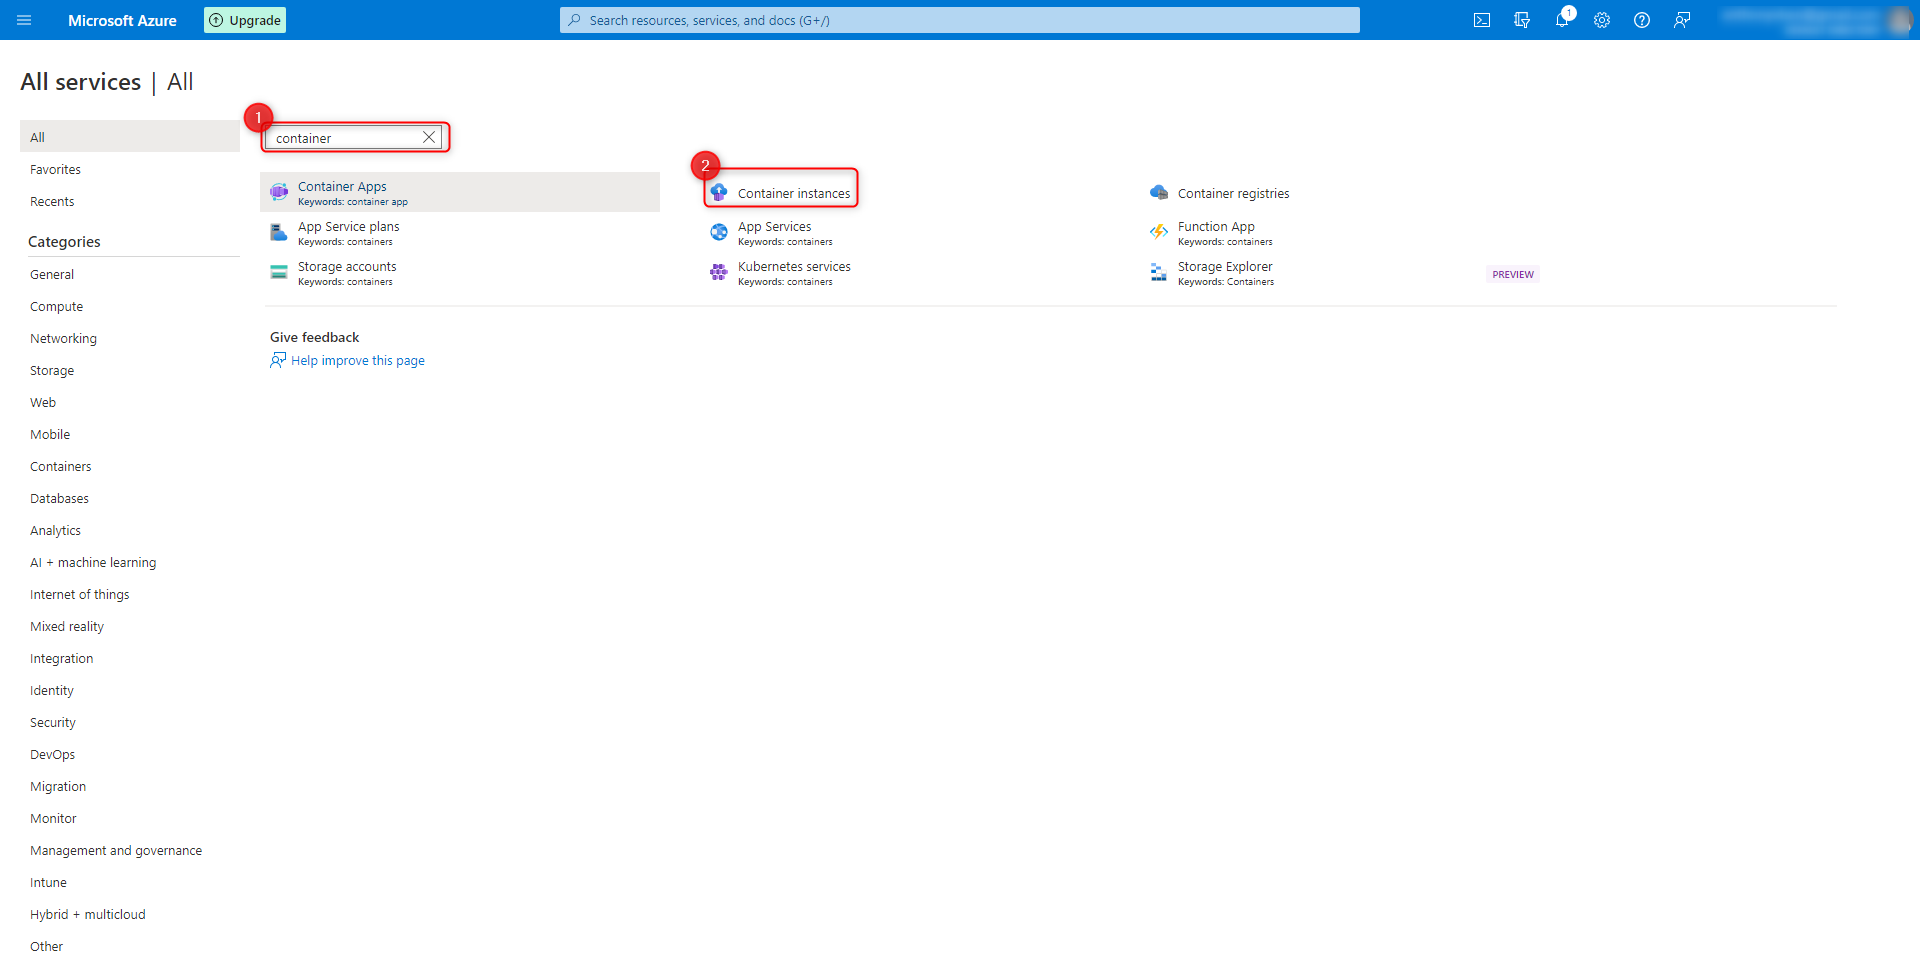
Volume must be manually mapped after a successful deployment. Deploying without a template is only recommended when testing since data in this container cannot be persisted and volume cannot be mapped.- Navigate to All Services and search for Container instances in the Azure portal. Select Container instances.
- Select or create the resource group for the container.
- Specify the container name.
- Under Image source, select Docker hub or other registries. Enter the image name into the Image field with the included tag. It is recommended to use decisionscore/platform:latest to pull the latest version.
- Change the OS type to Linux with the recommended size to be 4vcpu with 16GB of memory.

- In the Advanced Tab, enter and define both the required and any optional environment variables.
- Once finished, review and create the container.


Deploying with Azure CLI
Azure also supports configuring a container via a yaml file. For further information, refer to Microsoft's article YAML Reference: Azure Container Instances.
- Create a .yaml or use the example file below:
If using the template, check all values and then edit where needed for different port numbers, resource values, log folder names, etc.
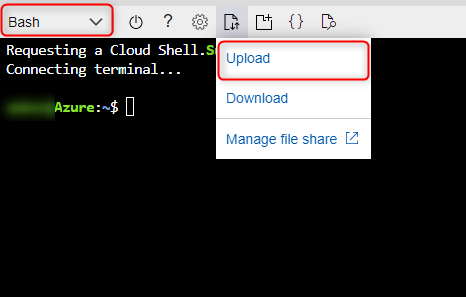
- Open Azure CLI via Azure Cloud Shell. Switch the language to Bash.
- Upload the yaml file by selecting the Upload/Download Files button (document with arrows icon).
- Edit the capitalized values, then run the yaml with the following command:
az container create --resource-group RESOURCEGROUPNAME --name CONTAINERNAME --file FILENAME.yaml] - The new container will deploy based on the yaml's configuration. This may take several minutes. Once deployment is complete, select Go to Resource to view the container. Its status should be Running.

Adding Custom Modules
Due to a limitation with dot notation within Azure, the CustomModules\LocalModule folder needs to be volume mapped before copying custom DLLs for modules into this folder. Visit Microsoft's article on Mapping Volumes in Azure.
Was this article helpful?