Overview
Inline Frame(iFrame) is a unique HTML tag that loads another HTML Page within the same document. Decisions can also be accessed through iFrame. By default, this setting is not enabled.
The following document demonstrates how to enable the accessibility of Decisions within iFrame.
Generating Integration URL
To run decisions within iFrame, users must generate a Decisions Integration URL. This URL should be embedded in the HTML iFrame tag to access Decisions.
Server-Side Setup
- Open Settings.xml, located at
C:\Program Files\Decisions\Decisions Server. Add the following CustomHeaders in Settings.xml. Replacehttps://*.example.comwith the desired URL to embed Decisions in iFrame.
Note:https://*.example.comspecifies that any subdomain under example.com using the HTTPS protocol can embed the content in a frame. The asterisk (*) acts as a placeholder for any subdomain name.<CustomHeaders> <CustomHeader> <Name>Content-Security-Policy</Name> <Value>frame-ancestors 'self' https://*.example.com;</Value> </CustomHeader> </CustomHeaders> - Users must change the DefaultSameSiteCookieMode to None from the Settings.xml file. By default, this setting is set to Lax. This cookie requirement is universal across all sessions, mandating that decisions possess the capability to transmit cookies to display data within the iFrame.
Note: Users will not be able to log in if they attempt to set DefaultSameSiteCookieMode to false if they are not using SSL.<DefaultSameSiteCookieMode>None</DefaultSameSiteCookieMode> - Save and close the Settings.xml file.
- If SSL termination occurs at the Load Balancer/Proxy/Application Gateway and redirects the requests from HTTPS to HTTP on the application, it is essential to secure the cookies. For more information, refer to Configuring Cookies.
- Restart the Decisions instance.
Reminder!
Each browser has different compatibility with these settings. To verify that the browser will honor the desired setting, refer to the Browser Compatibility chart on Mozilla's website by using the following link: Mozilla's X-Frame Options.
Example for Decisions in iFrame
In the following example, we will see how we can access a Flow activity of Decisions within an iFrame.
- Creating an HTML, including an iFrame and hosting that HTML file in Windows Information Internet Services (IIS) Manager
- Configure the Server-Side Setup
- Configure the Integration URL of the Flow and add the URL in the iFrame Tag.
Creating an HTML file and hosting it in Windows Information Internet Services (IIS) Manager.
- Open Notepad, and copy and paste the following code to it. Save it in HTML file format to the desired location. Name the File iframe.html.
<p style="text-align:center;"><iframe src="paste_integration_link" height="80%" width="50%"></iframe></p> - Ensure to enable Information Internet Services.

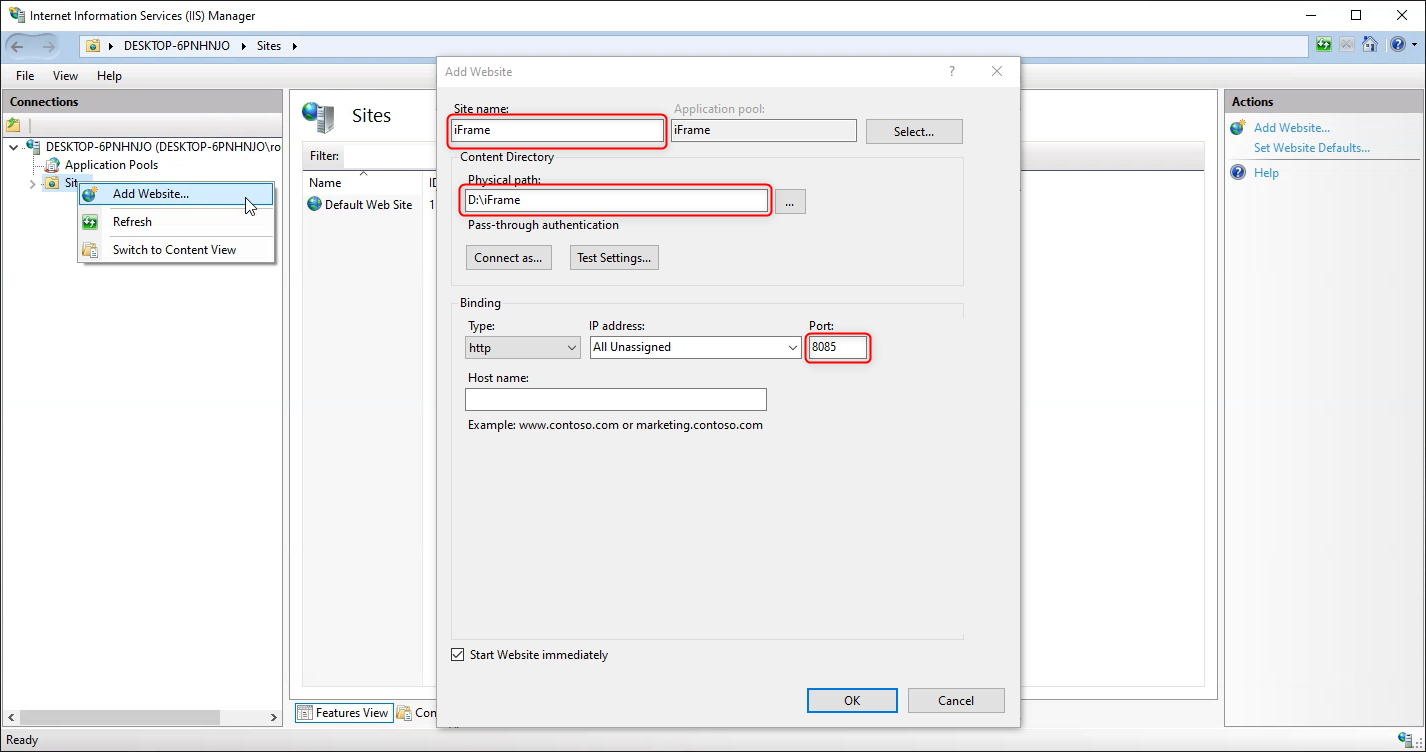
- Open Information Internet Services (IIS) Manager. From the left Connections pane, right-click on Sites > Add Website.
- Add Website dialog box appears. Give a Site Name. Under the Physical path, navigate to the Folder where the HTML file is saved. Under Port, give port no. 8085, Click OK. Close the dialog box.
- Visit this URL http://localhost:8085/iframe.html to see if the HTML Page containing the iFrame is operational. An iFrame window with a 404 error should be visible.
Server Side Settings
- Follow steps 1-2 from the above Topic Server Side Setup Configuration.
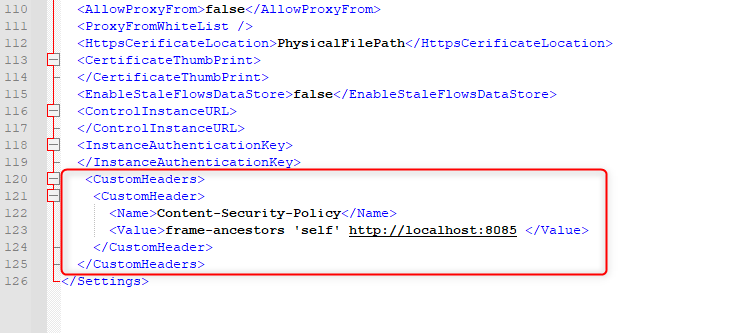
<CustomHeaders> <CustomHeader> <Name>Content-Security-Policy</Name> <Value>frame-ancestors 'self' http://localhost:8085 </Value> </CustomHeader> </CustomHeaders> - Copy the above code to Settings.xml. Refer to the following image.
- Save and close the Settings.xml file. Restart the Decisions instance.
Generating Flow Integration URL
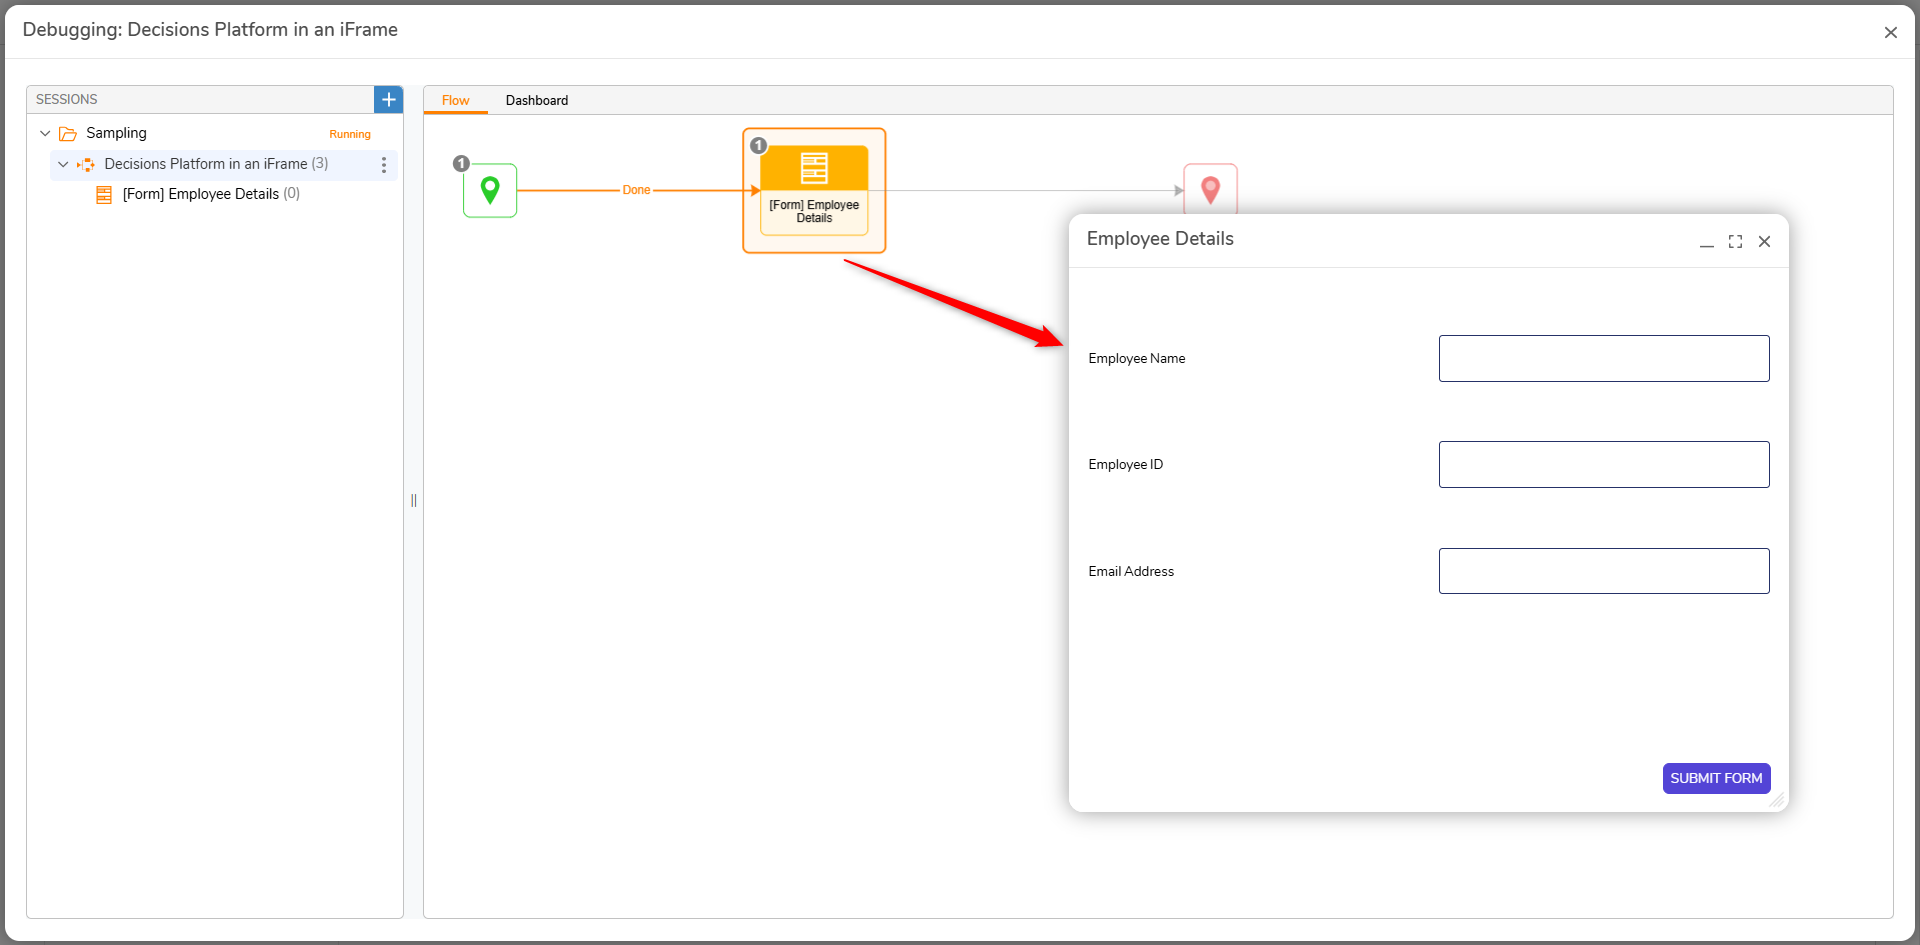
- Open a Flow Designer in Decisions and add a Form. Here we have added an Employee Detail Form to a Flow Designer. Refer to the following image.
- To generate the Integration URL of the Flow, refer to User Interface Integration and copy the Integration URL. Refer to the following GIF.
- Open the HTML file where the iFrame code is present. Replace
paste_integration_linkwith the configured Integration URL. Save the HTML file. Refer to the following code block for reference.<p style="text-align:center;"><iframe src="https://decisions.com/decisions/Primary/?FlowId=01H5Q454BB6DB9&&sessionid=NS-01H7CSJ8Z3RJE3Q&ForceFormat=true&Location=Maximized&Chrome=Off" height="80%" width="50%"></iframe></p> - Open incognito mode in the browser and visit this URL
http://localhost:8085/iframe.htmlto see if the HTML Page containing the iFrame is operational.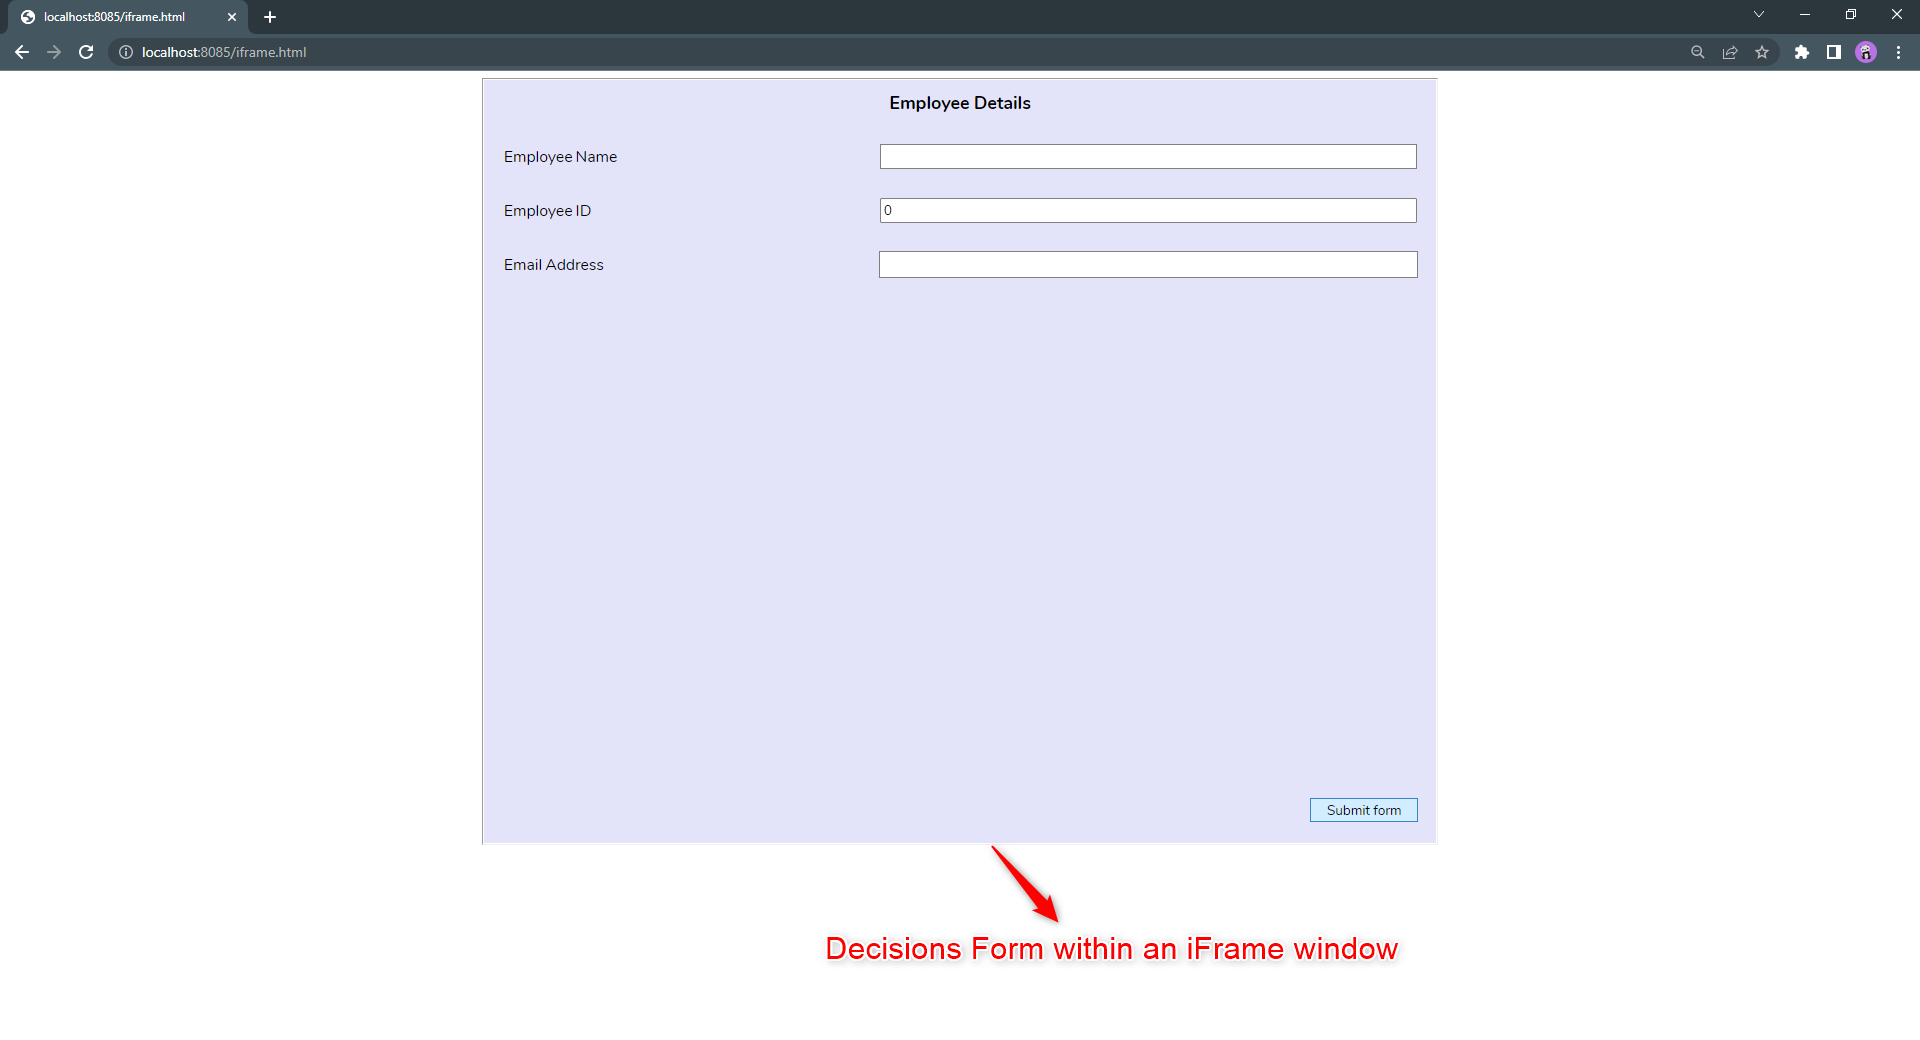
For further information on Integrations, visit the Decisions Forum.