Overview
On a Form, Users can use Visibility Rules to control if a Form control is displayed to the User based on End-User input.
Example
- In a Designer Project, select Create Flow to create a new Flow.
- Attach a Show Form Step to the Start step and select Pick or Create Form > Create New > Form to create a new Form.
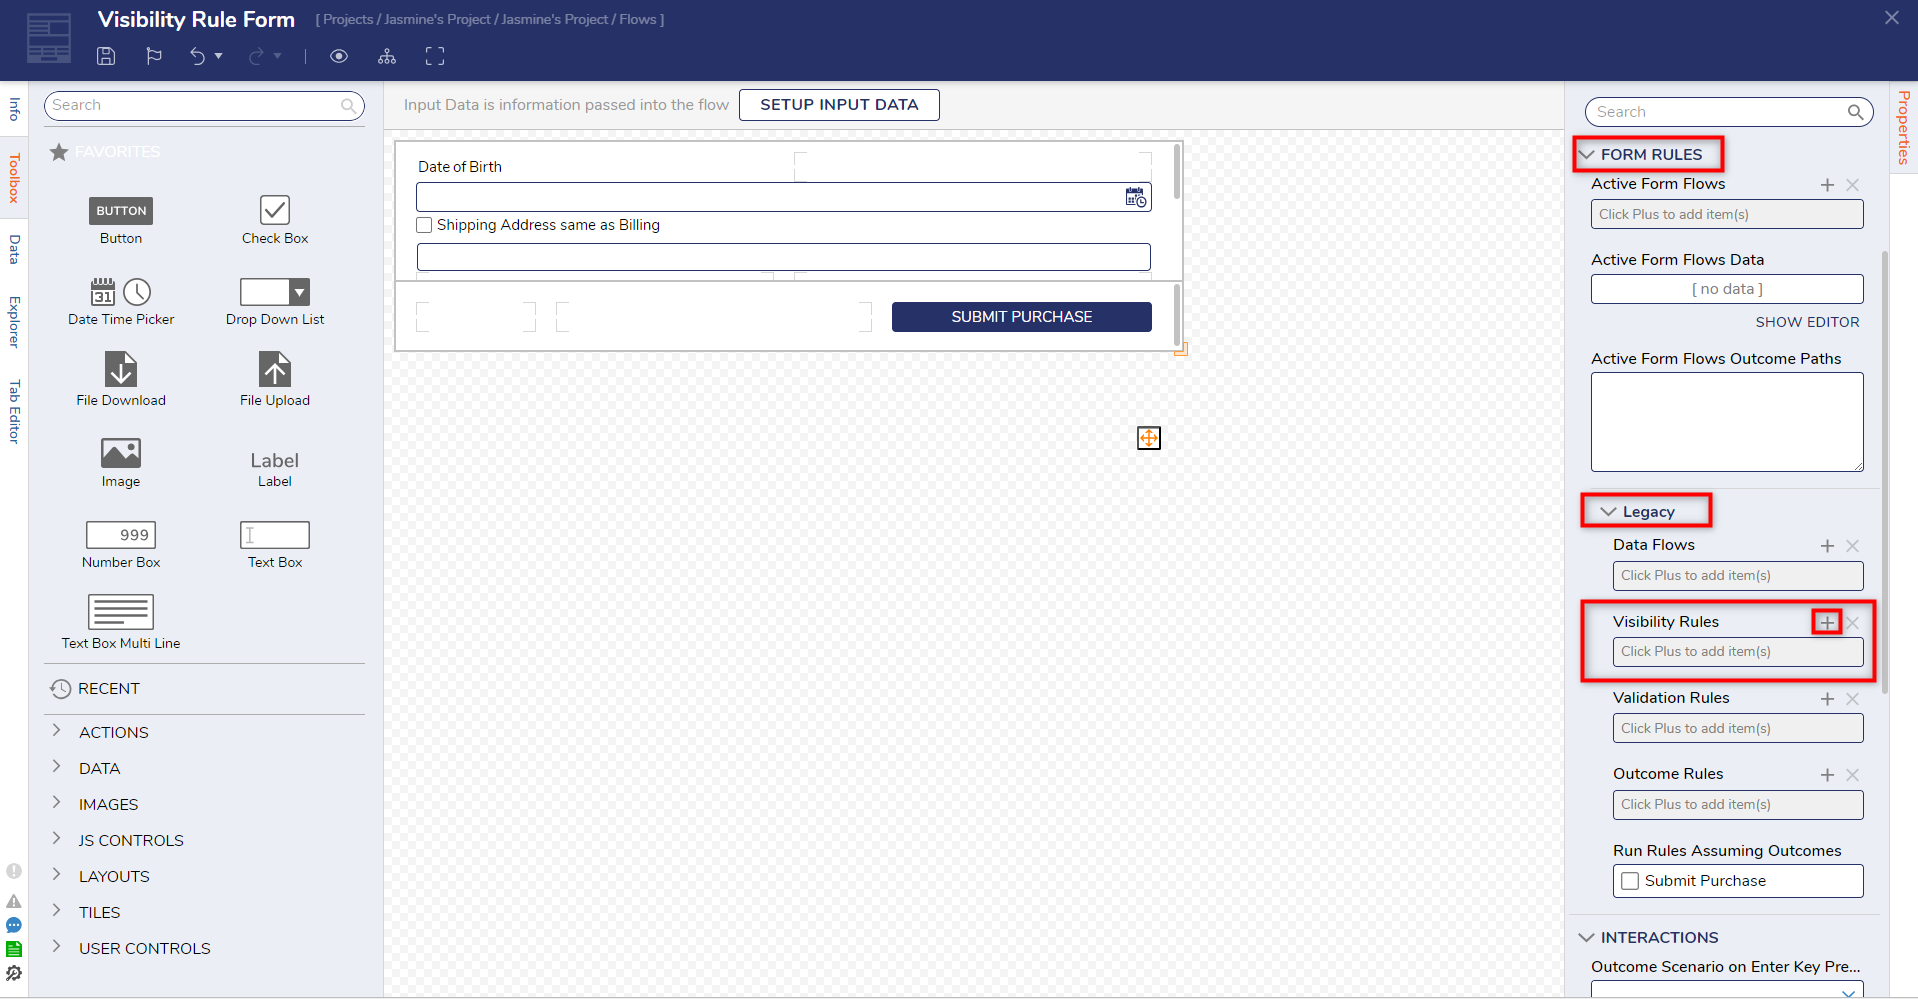
- In the Form Designer, configure the Form with a Check Box (Shipping Address Same As Billing), two Text Boxes (Address), Date Time Picker (DoB), and a Button (Submit Purchase) control.
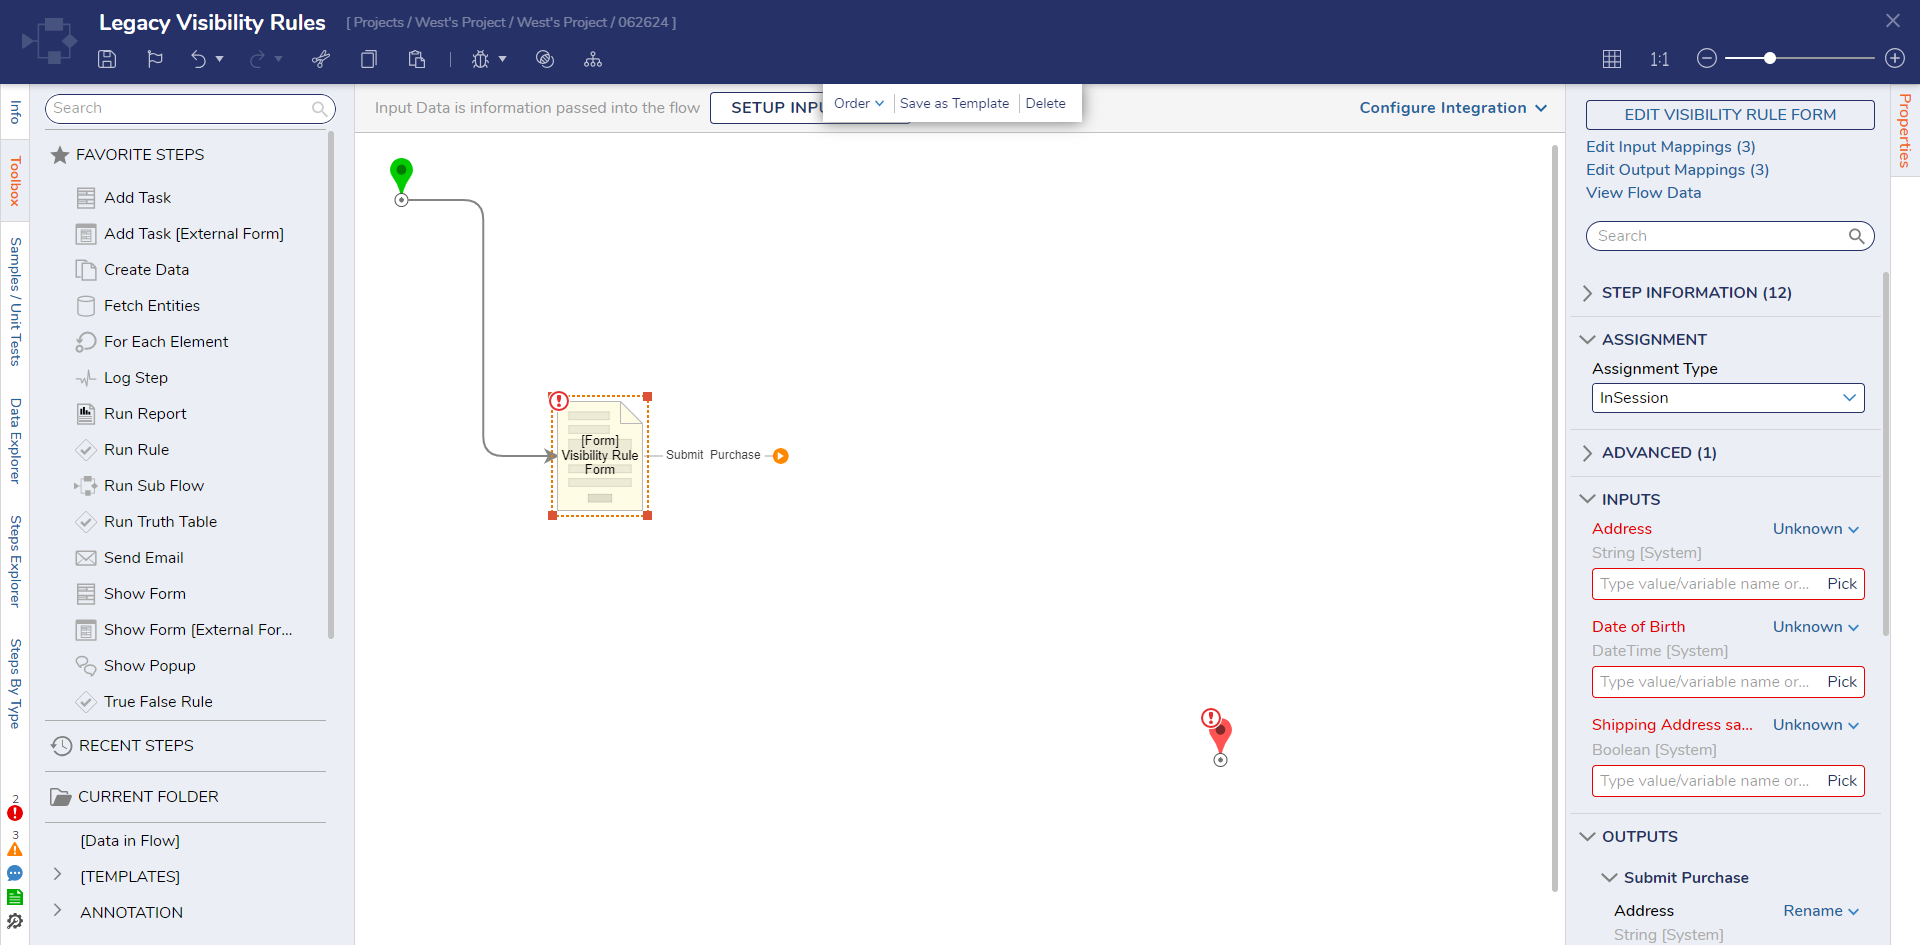
- Select the workspace. On the Properties panel, under Form Rules > Legacy > Visibility Rules, select the plus button.
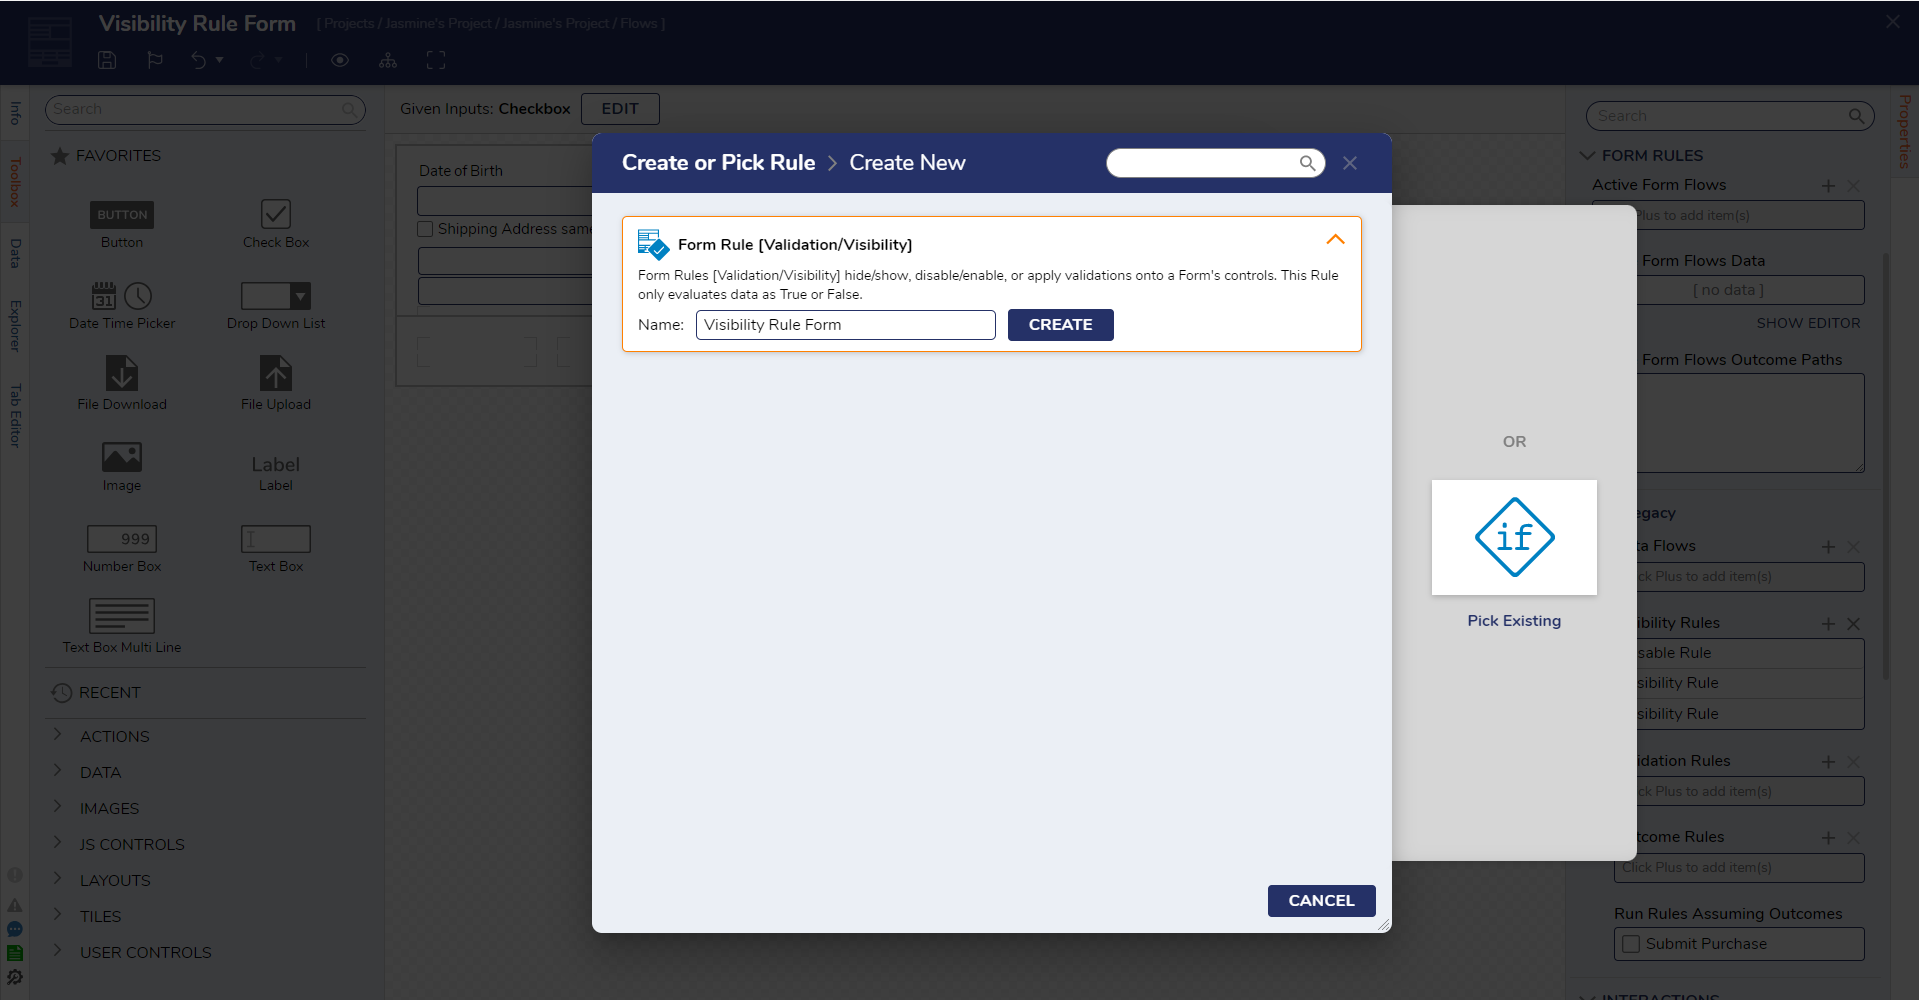
- In the Add Visibility Rules dialog window, navigate to Pick or Create Rule > Create. Add a name to the Form Rules[Validation/Visibility] box and select Create.
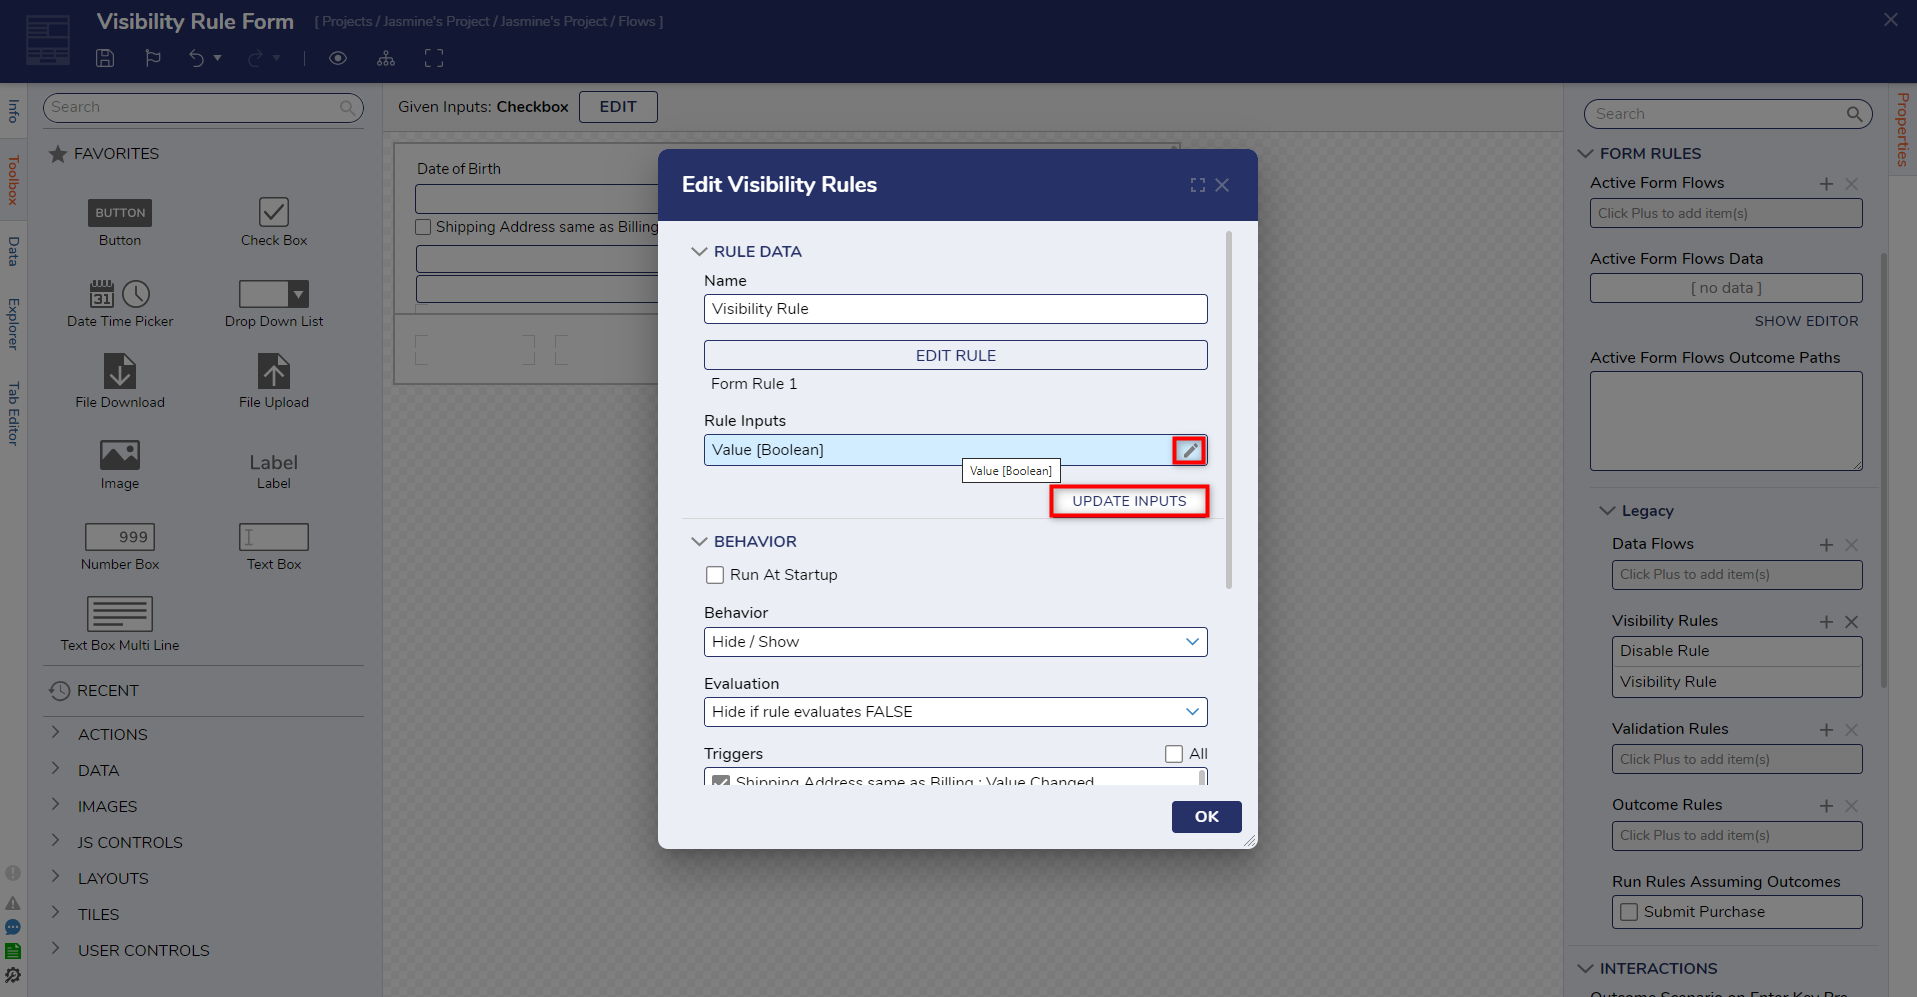
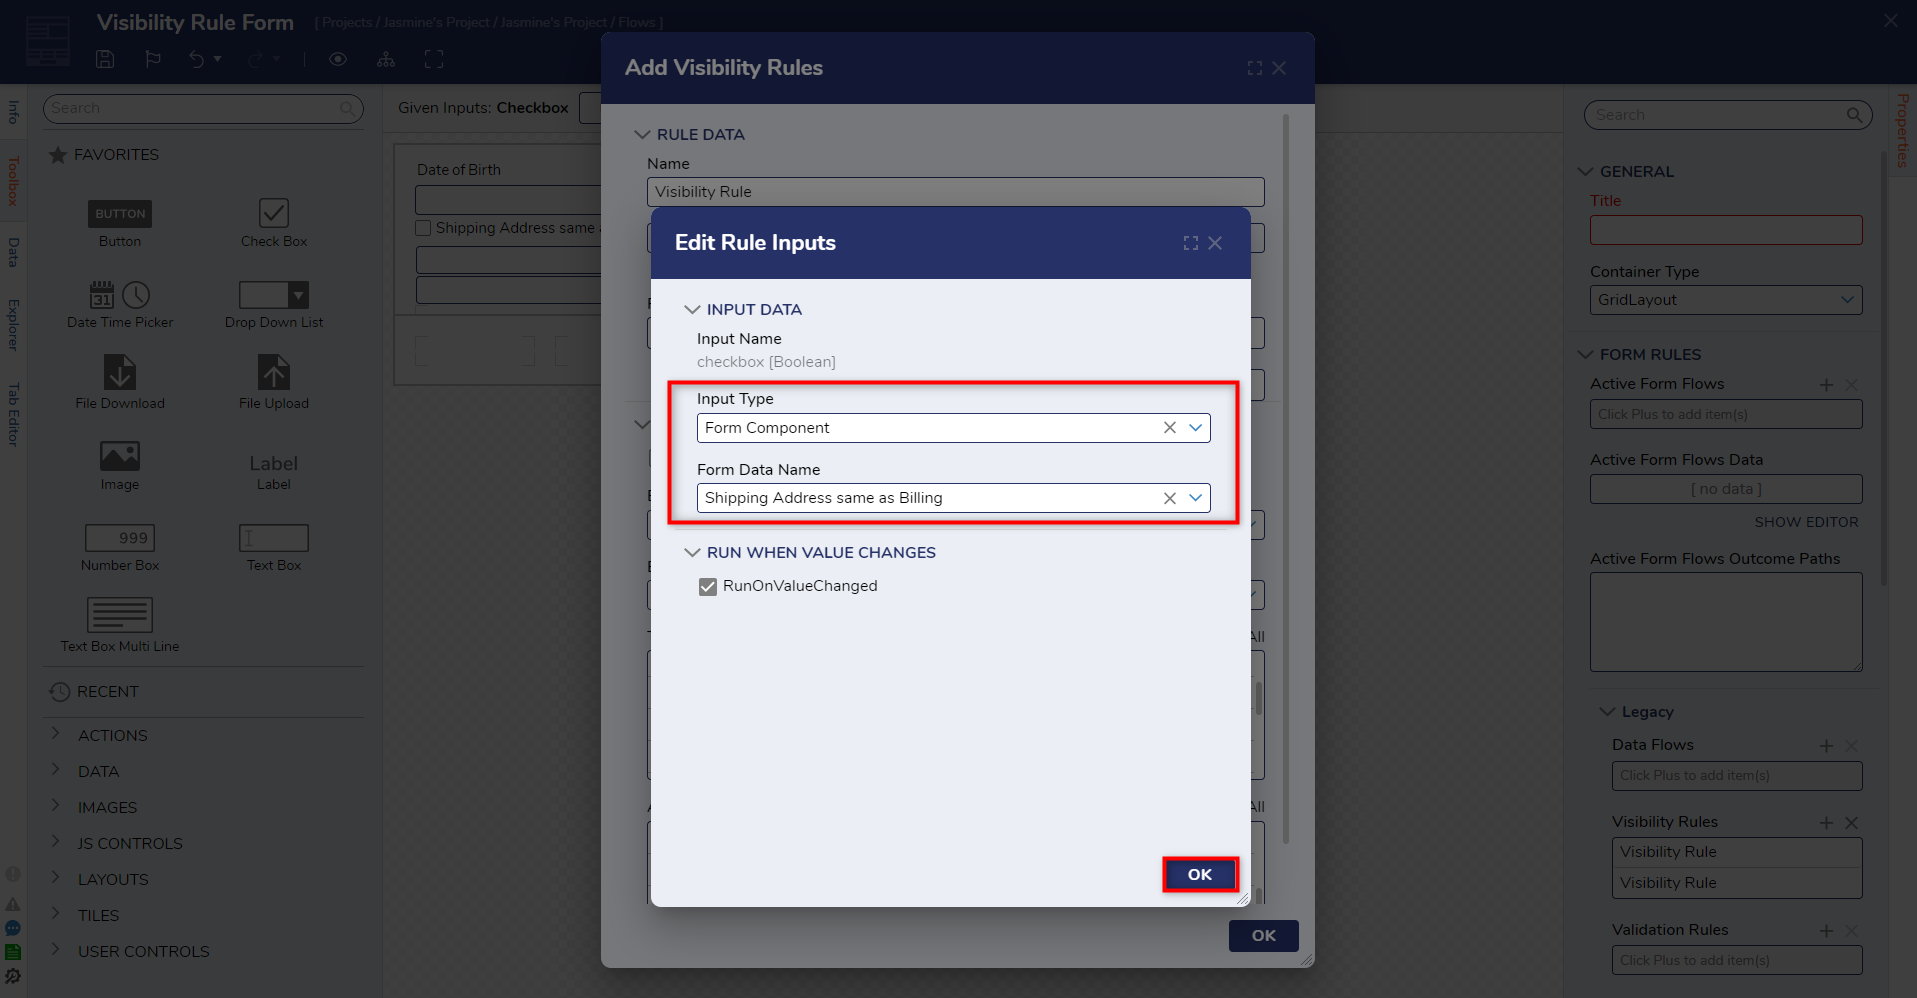
- Click UPDATE INPUTS. Under the Rule Inputs field, click the pencil icon.
- In the Update Rule Inputs dialog window, select Form Component for the Input Type field. This will indicate which field on the Form the visibility rule will be triggered. Select Shiping Address Same as Billing from the Form Data Name dropdown list. Click Ok.
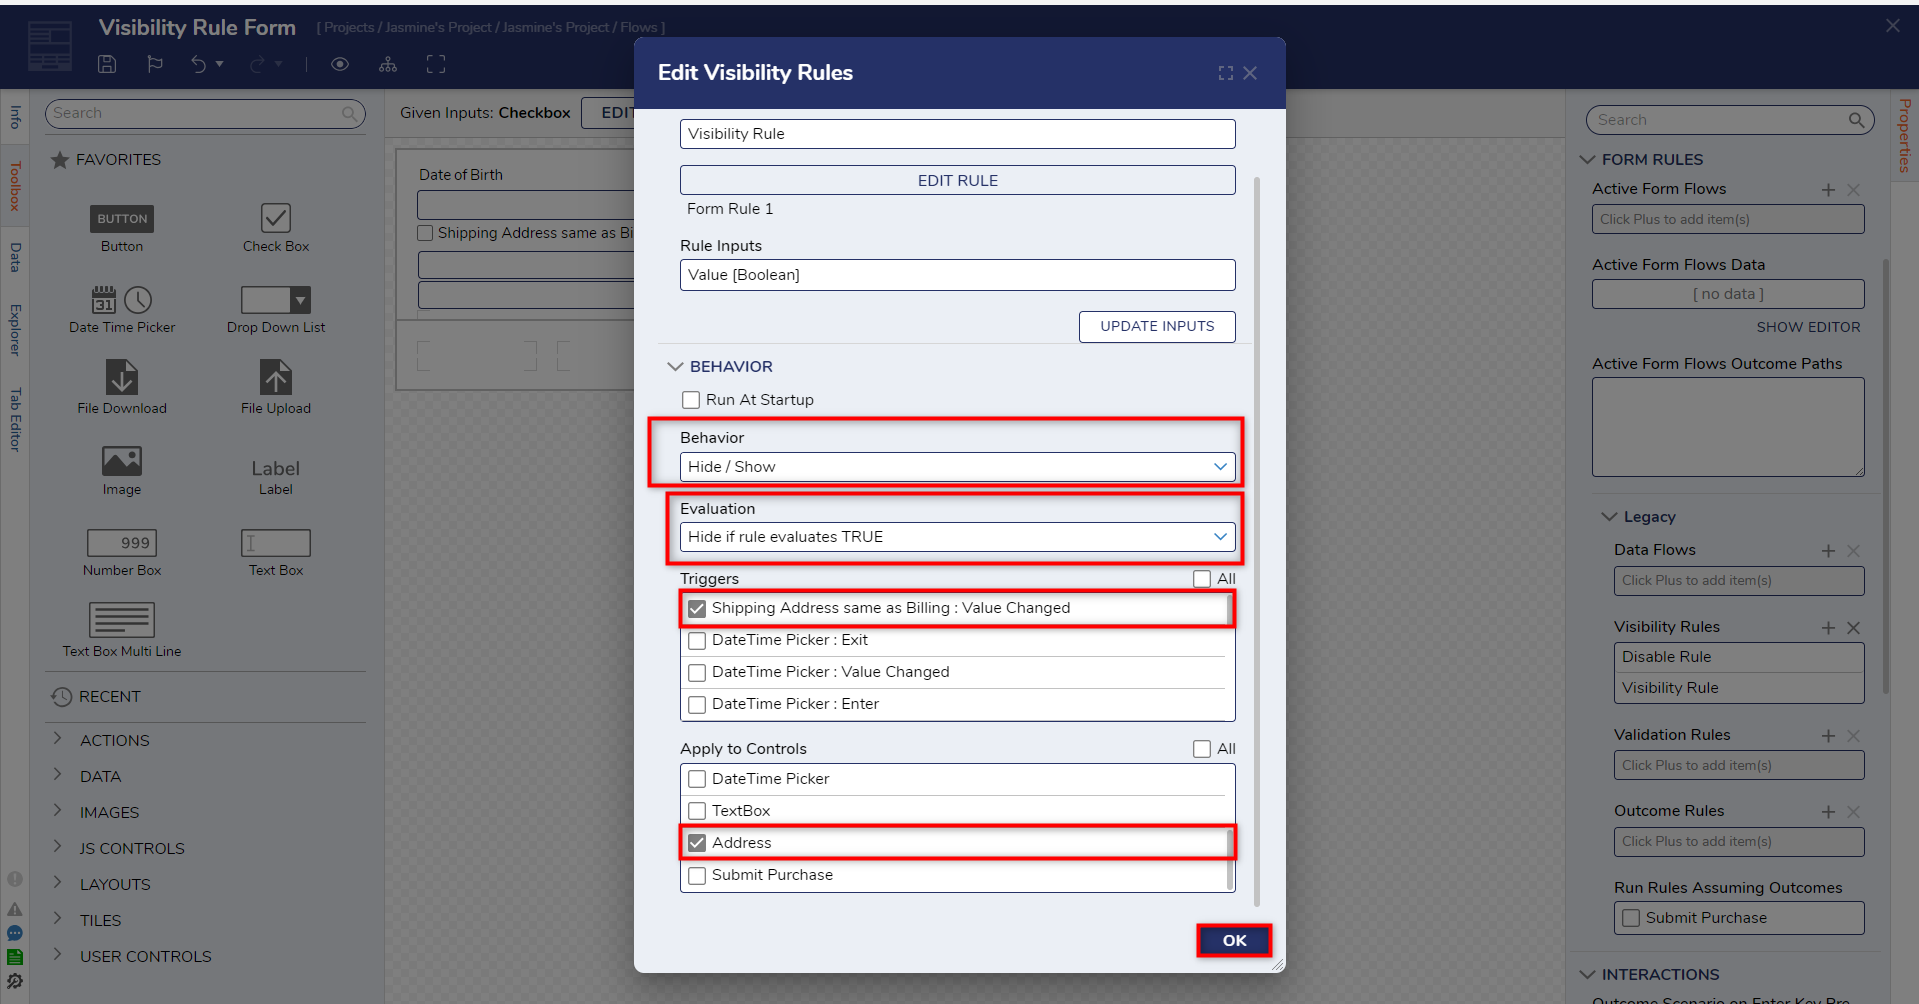
- Under the Behavior category, select Hide / Show for the Behavior setting.
Change the Evaluation field to Hide if rule Evaluates as TRUE.
Under the Triggers field, select the Shipping Address Same as Billing [CheckBox] : Value Changed option.
Under the Apply to Controls field, select Address/Textbox. - Click OK.
- Under FORM RULES > Legacy > Visibility Rules, click Add.
- Name the Rule, click Pick or Create New, and click Create New. Select Form Rule [Validation/Visibility], name the Rule, and click Create.
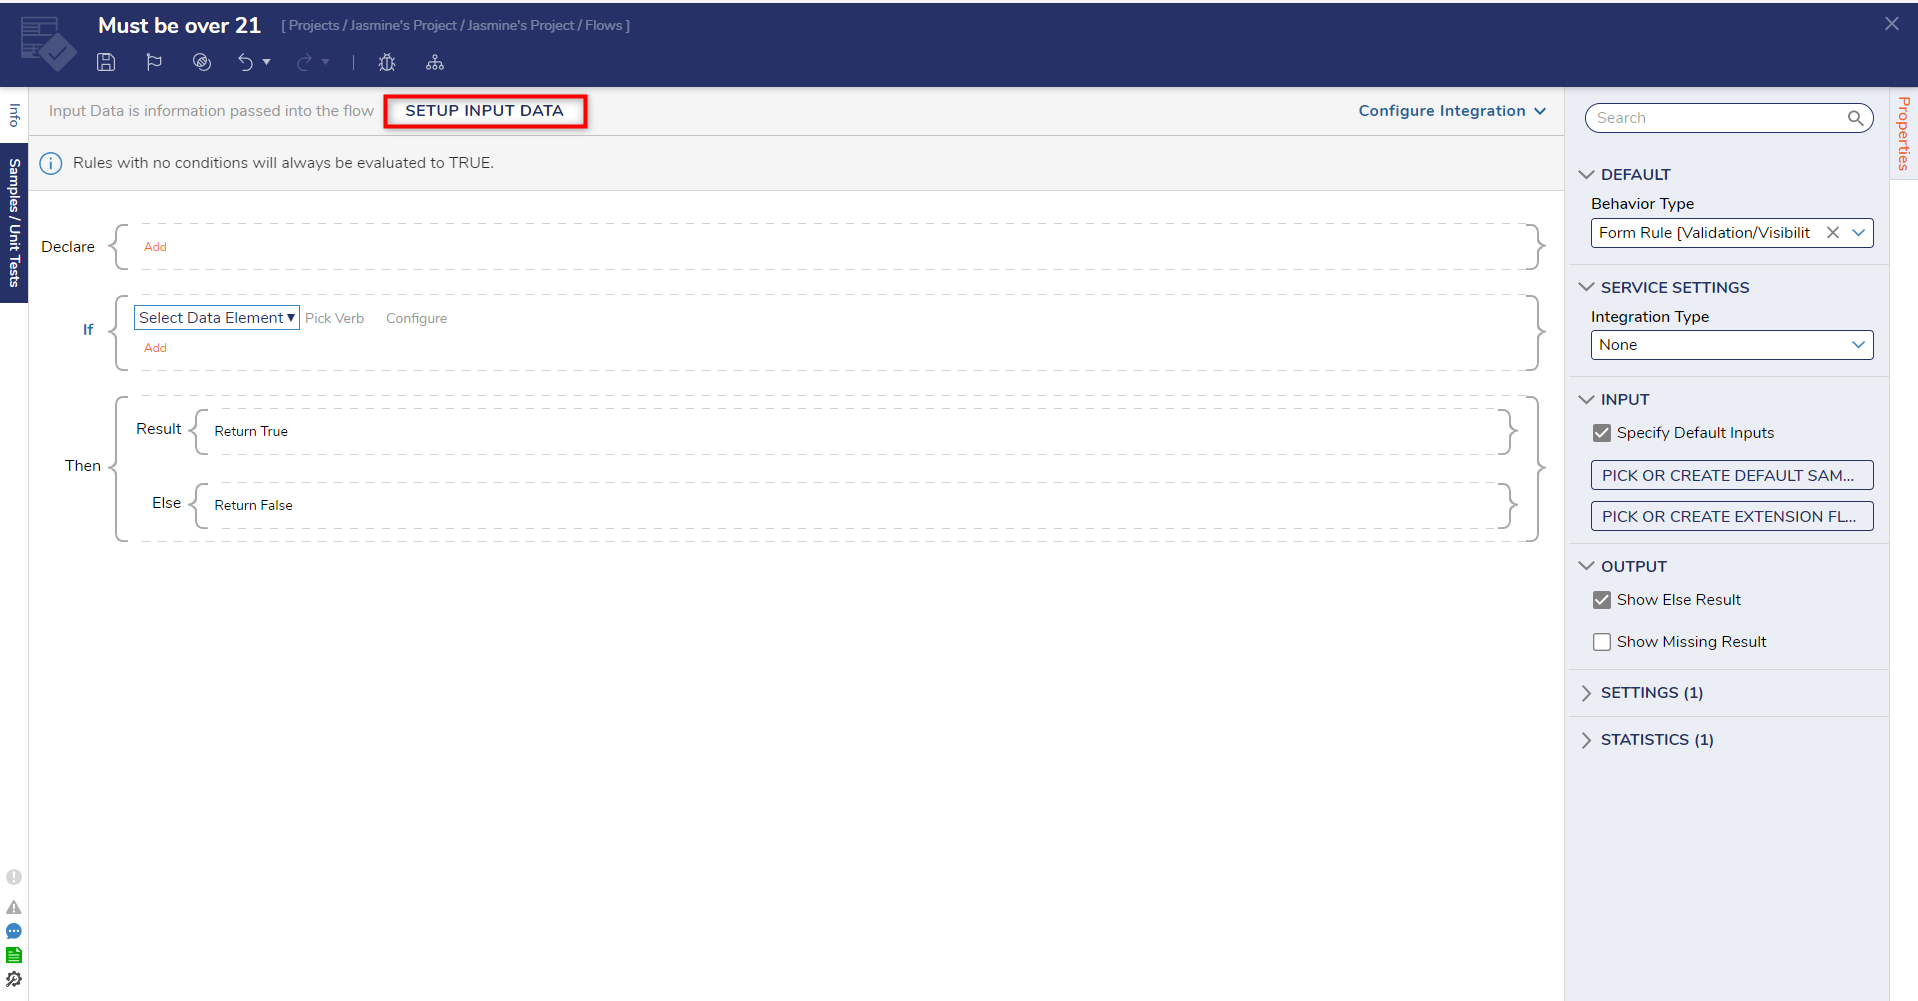
- Select Setup Input Data.
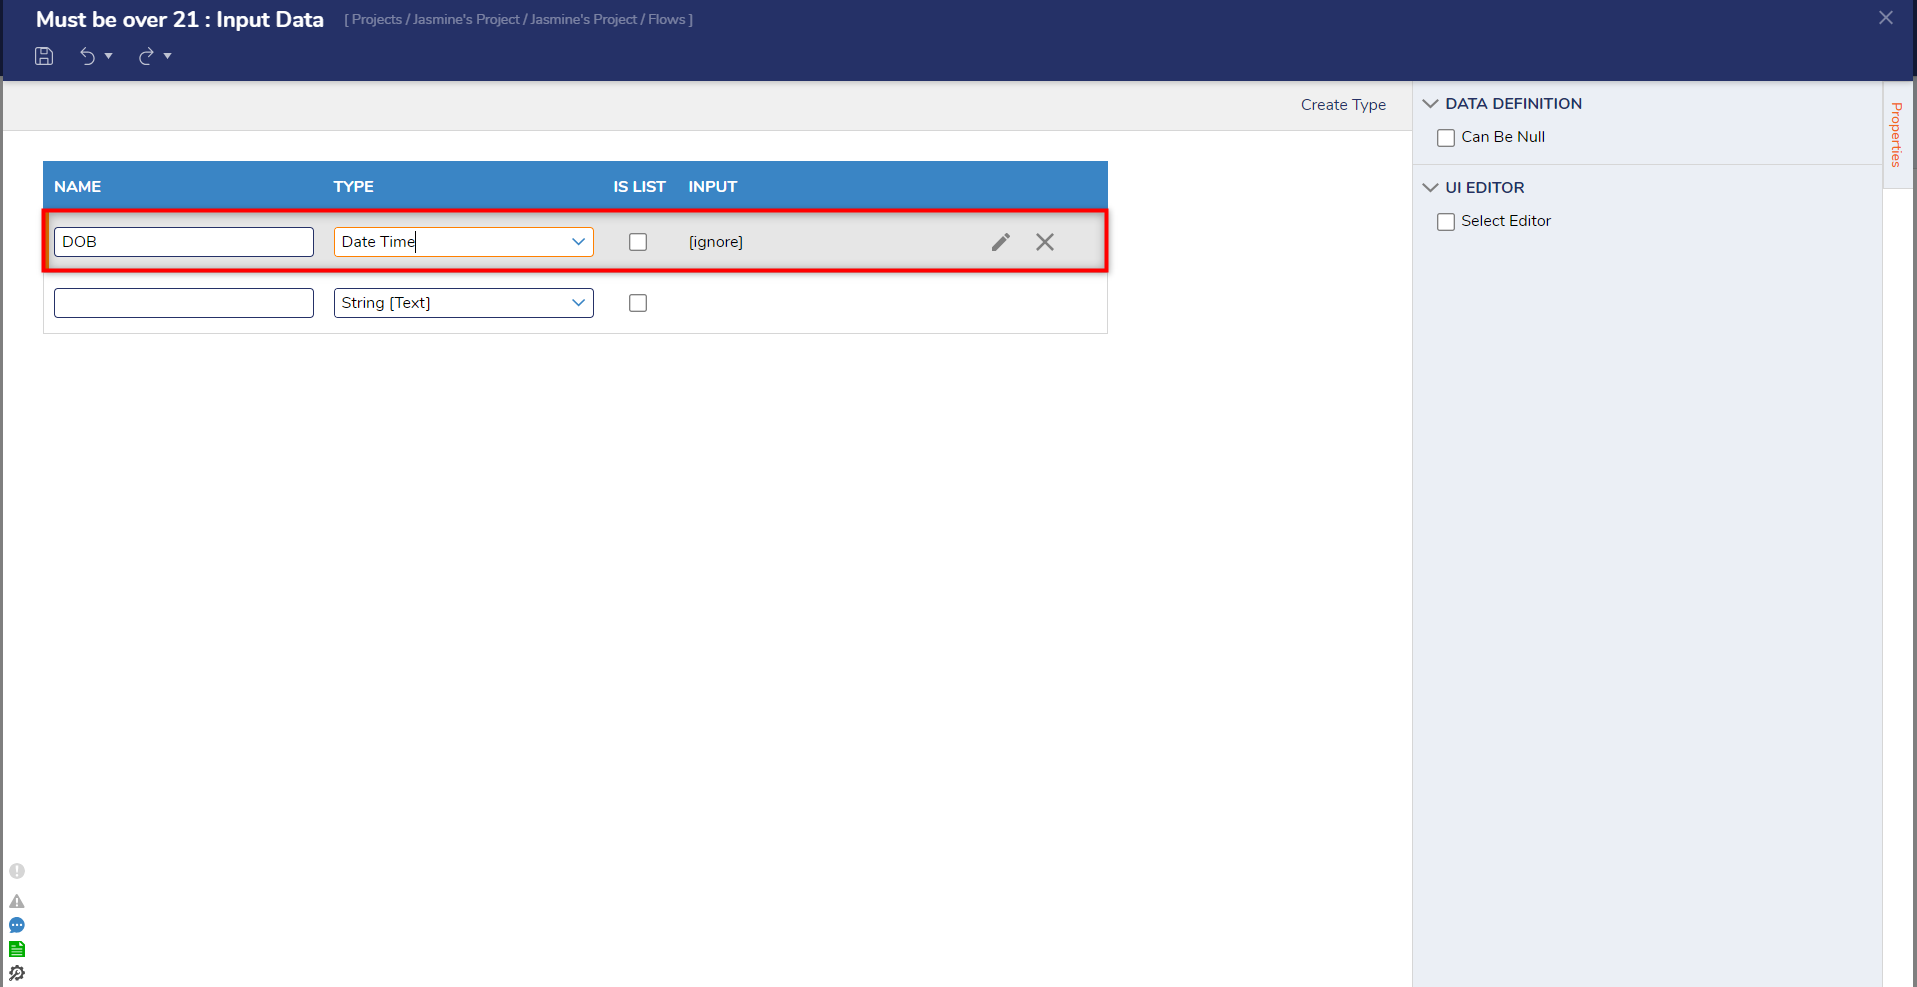
- In the Input Data window, enter "DOB" under Name and change the Type to Date Time. Click Save and close the window.
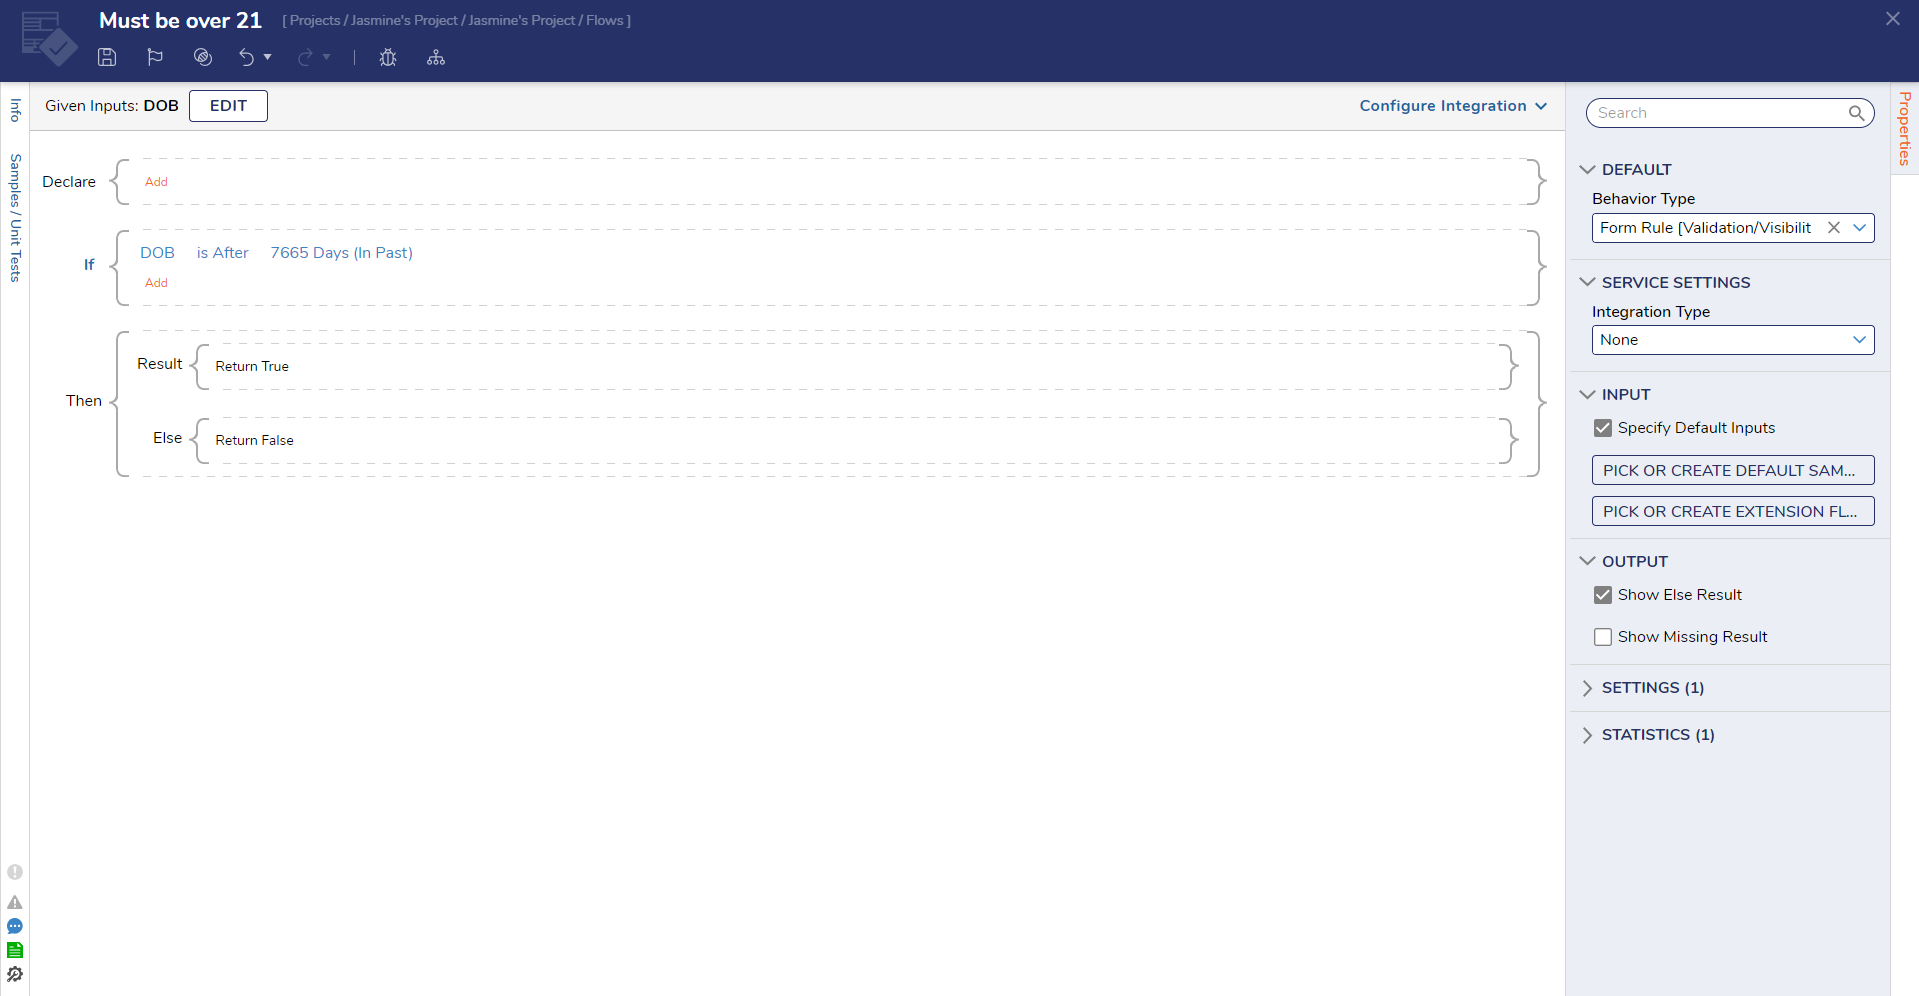
- Configure the Rule to read "If DOB is After 7665 Days (In Past)" (for this example, it is assumed that 21 years = 7,665 days). Click Save and close the Rule Designer.
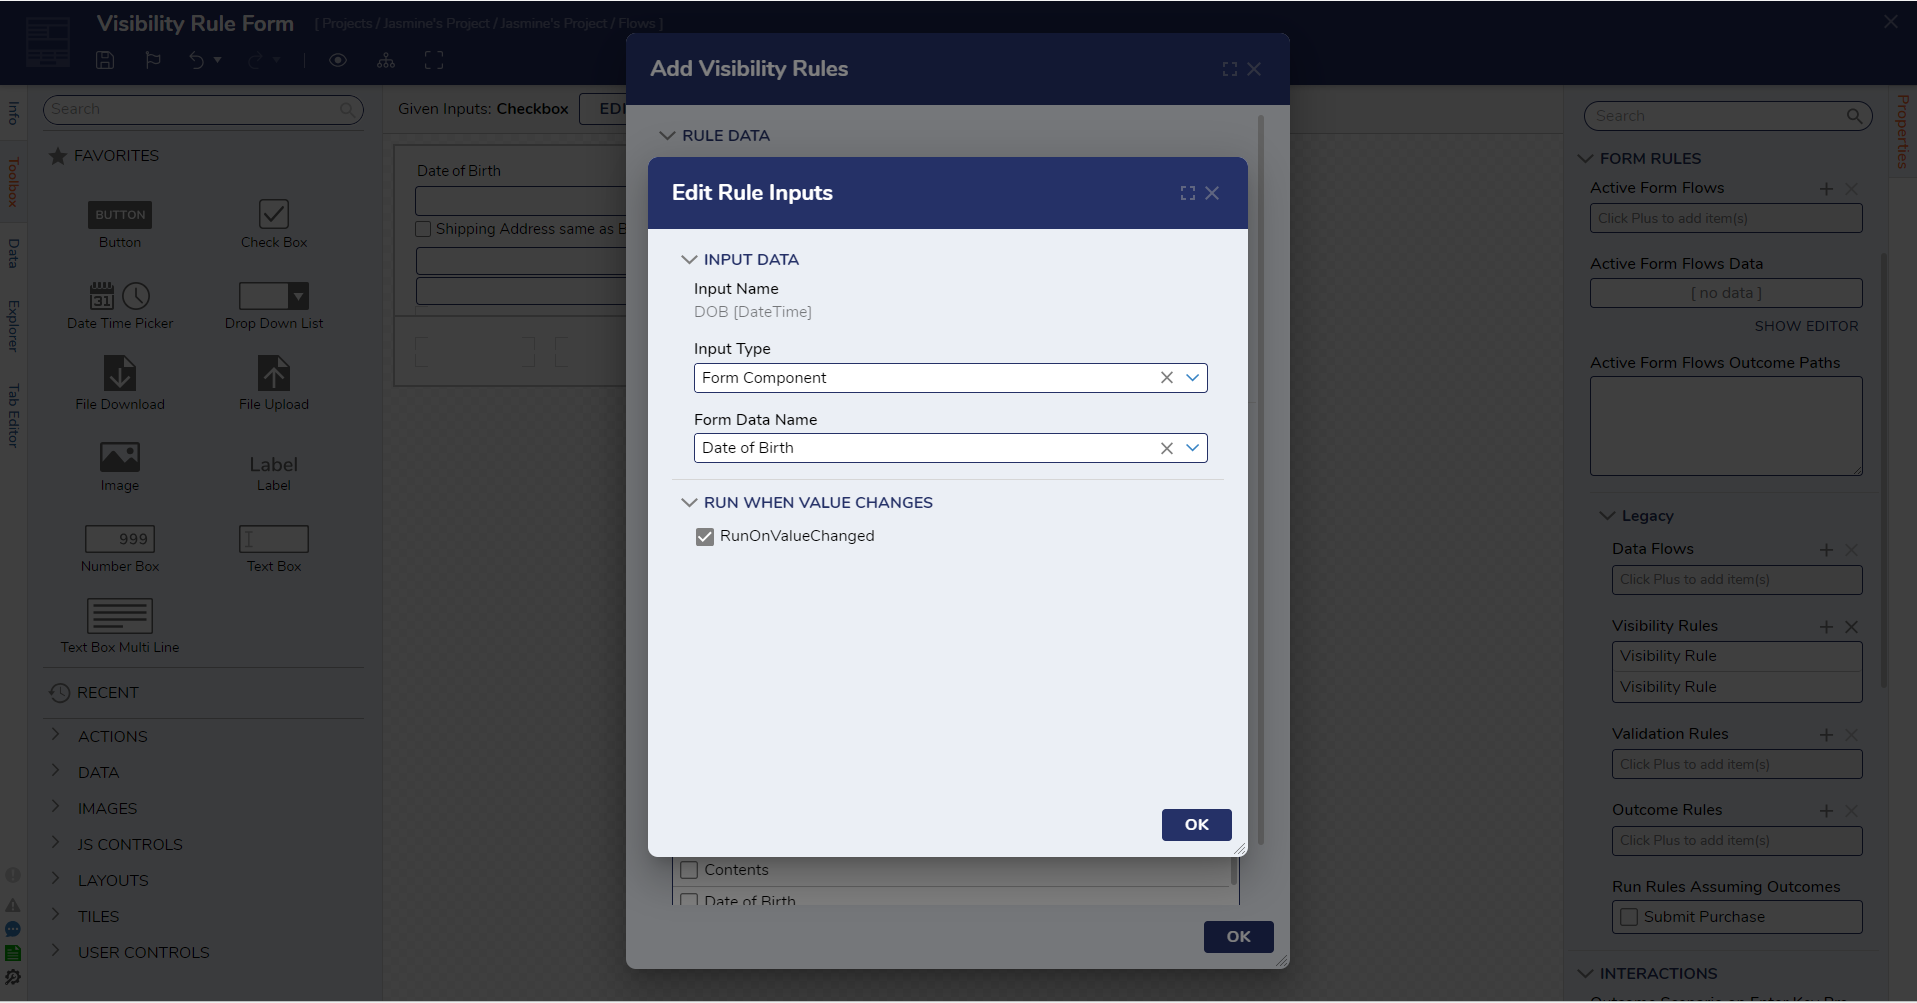
- On the Add Visibility Rules window, click Update Inputs and select the pencil icon.
- In the Edit Rule Inputs window, select Form Component for the Input Type field and select Date of Birth for the Form Input Name field. Click Ok.
- Under the Behavior field select Enable / Disable.
Change the Evaluation field to Disable if rule Evaluates as TRUE.
Under Triggers, select DoB [DateTimePicker] : Value Changed.
Under Apply to Controls, select Submit Purchase [Button]..png)
- Click Ok. Click Save and close the Form Designer.
- Connect the Submit Purchase path to the End step. Click Save to save changes to the Flow.
Debug
- On the top action bar, click Debug.
- Select Start Debugging.
- Set the Date Picker to be older than 21 years and younger than 21 years to disable/enable the Submit Purchase button. Click the Shipping Address Same as Billing checkbox to hide the text box field.
(1).gif)
For further information on Forms, visit the Decisions Forum.