Overview
Decisions support using SSL (Secure Sockets Layer) encryption over HTTPS as an additional protection layer. This allows Administrators to further secure a transaction by creating an encrypted link between Decisions and the browser.
The following document demonstrates how to configure a server for SSL encryption in a v9 Installation.
In v9.17 and earlier, renewing a certificate required restarting the server. As of v9.18, the restart is no longer necessary.
IIS Installation
- Install/Import the certificate to the Windows certificate store.
- Set up and enable SSL Bindings for HTTPS. Refer to Microsoft's Documentation for reference: Create an SSL Binding.
- Open DecisionsServerInstaller.exe via Run as administrator, then click EDIT SETTINGS.
- From the Settings window, adjust the listed Settings as follows, then click Save.
Setting Suggested Configuration EnableHttps Set to "true" HttpsPort Set to "443" PortalBaseUrl If required, change "http://" to "https://" EnableHttptoHttpsRedirection If required, set it to "true" Back in the Installation Type screen, click RESTART SERVICE.

Self-Hosted Installation
The following sections demonstrate the two methods by which HTTPS can be enabled in a Self-Hosted environment.
Physical File Path: During Installation
- During installation from the Base Portal URL screen, check the Enable Https box.
- Provide the proper Port, Certificate location, and, if required, the Certificate Password.
- Enable the Override Portal Base URL to give a Fully Qualified Domain Name to the server URL.HTTPS RedirectIf desired, check Enable Http To Https Redirection to redirect all HTTP requests to HTTPS.
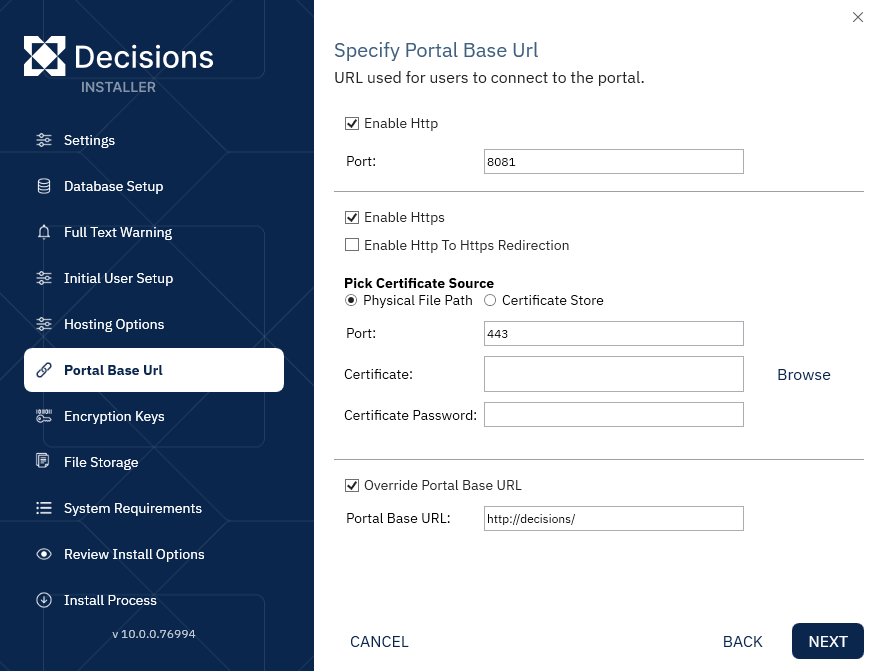
Continue the installation process.
Physical File Path: After Installation
- After installation, run DecisionsServerInstaller.exe via Run as administrator.
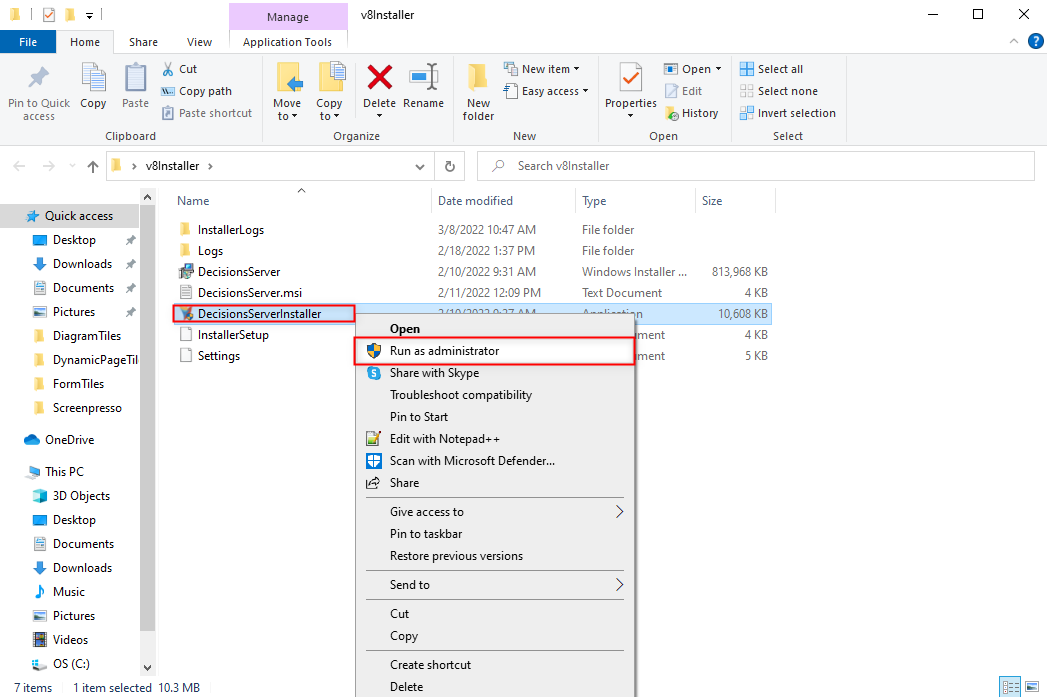
- From the Installation Type screen, click EDIT SETTINGS.

- From the Settings window, adjust the following settings as shown. Then click Save.Alternate Settings LocationThe following settings can also be adjusted via the Settings.xml file located at C:\Program Files\Decisions\Decisions Server.
Setting Suggested Configuration EnableHttps Set to True HttpsCertificatePassword Provide the applicable Password for the Certificate; if there is no Password, leave this blank. HttpsCertificatePath Provide the physical File Path for the certificate. HttpsPort Keep set to 443 PortalBaseUrl Change "http://" to "https://" 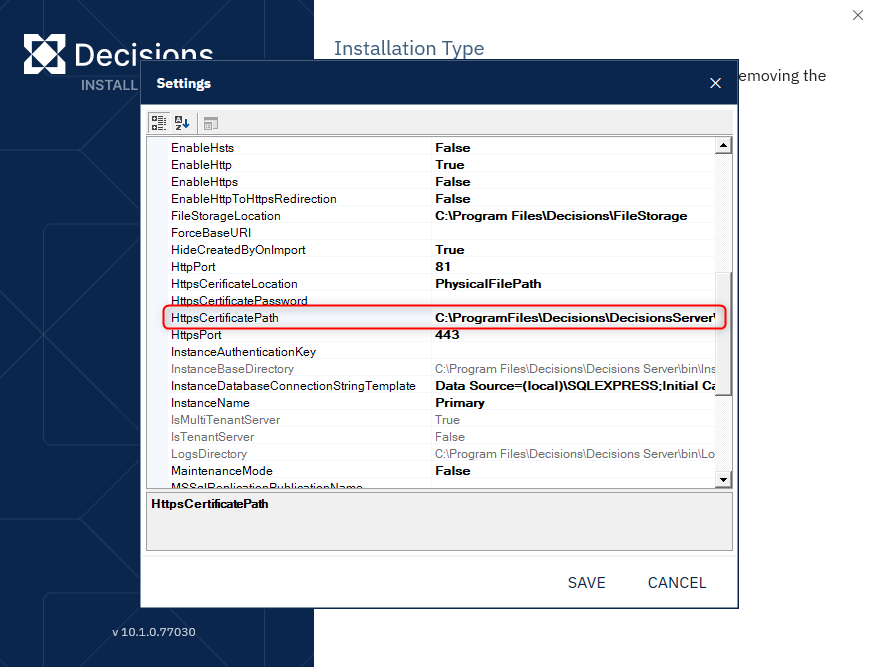
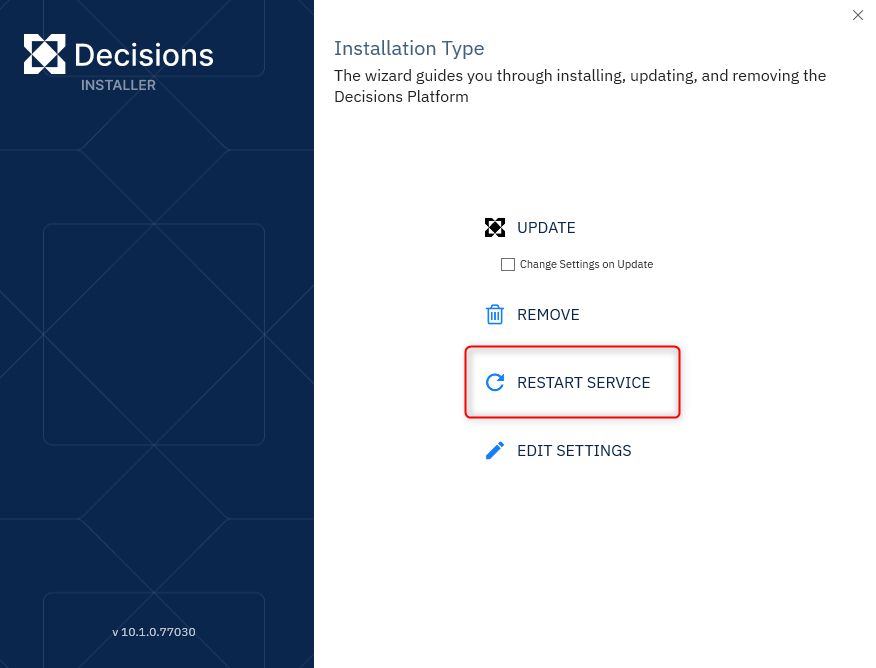
Restart Decisions via the RESTART SERVICE button.
Navigate to the Portal Base URL.
Certificate Store
Users can install Certificates in the Certificate Store and read the respective Certificate Information from it.
Opening Certificate Store
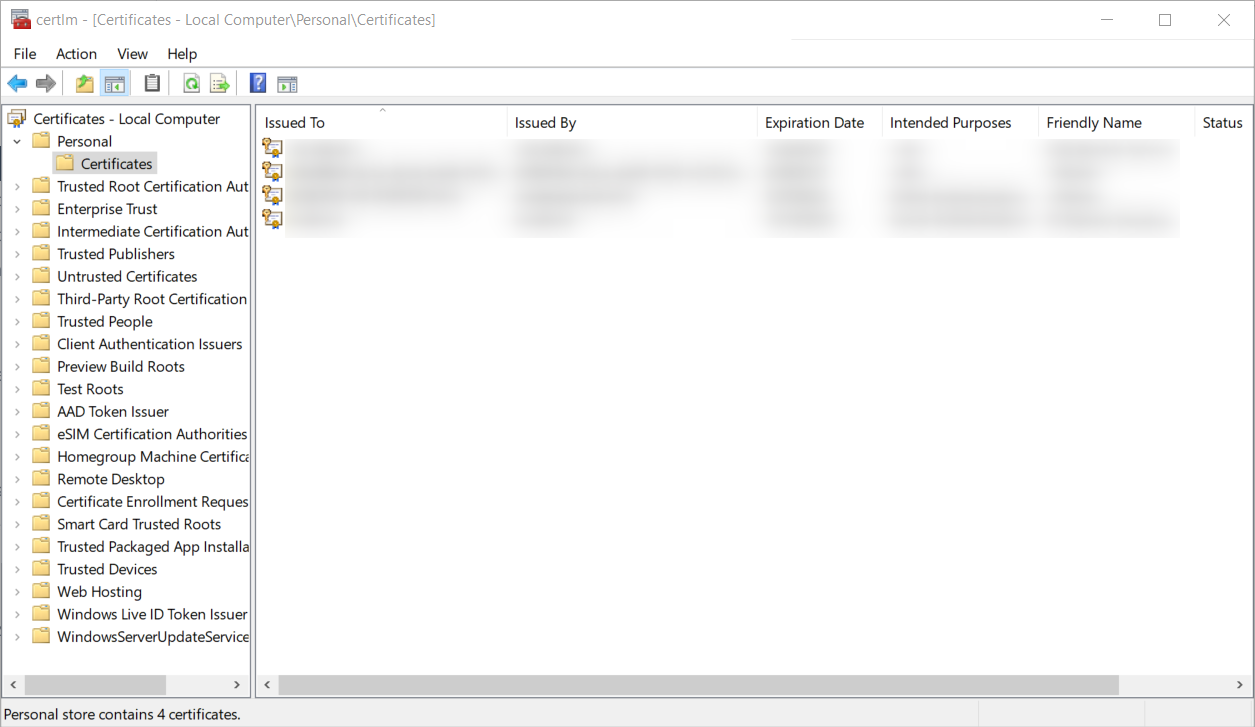
The Certificate Store is the location wherein Windows stores its .cert files. By using the Manage computer certificates panel, Administrators can locate, view, Import, and Export digital Certificates for use throughout the Local Machine.
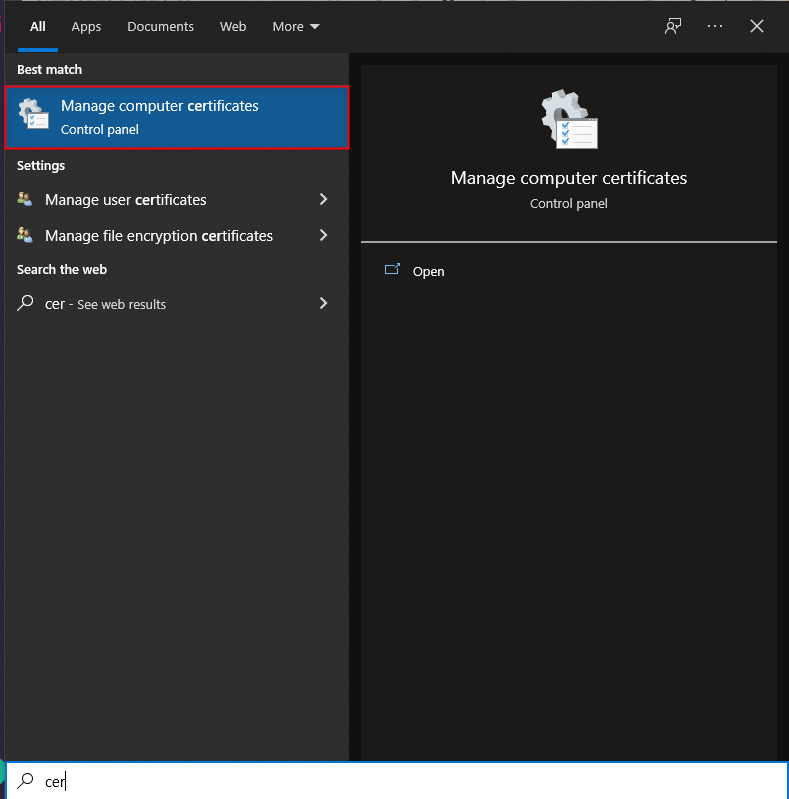
- From the Local File System, via the Search tool, search for and open Manage computer certificates.
- From the Folder Tree on the left, expand the Personal node.
- View the respective information to the right of each Certificate in the store.
Installer
Certificates can be added during the installation process of the Decisions server.
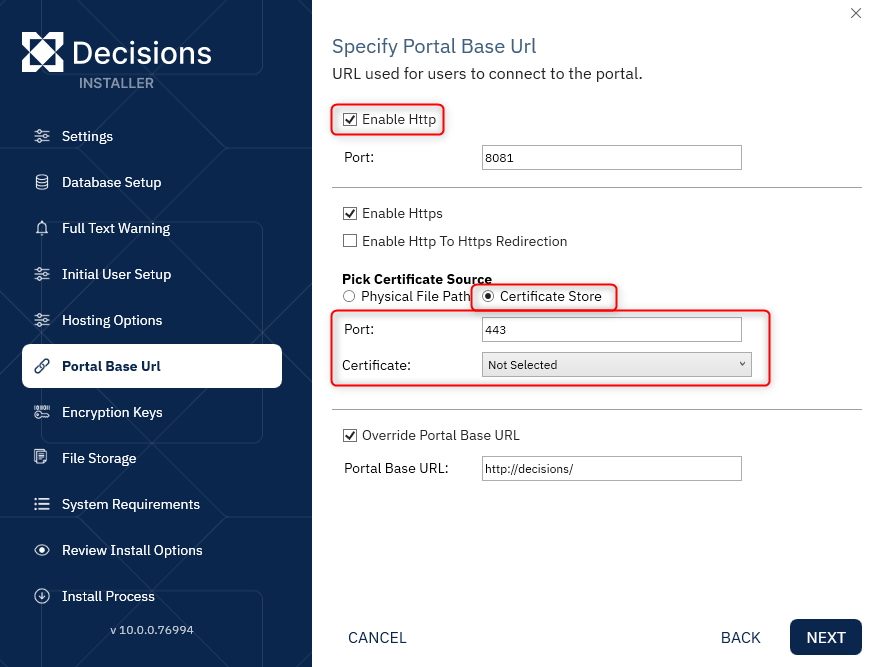
- From the Portal Base Url screen, check Enable Https.
- Under Pick Certificate Source, select Certificate Store.
- If required, adjust the Port value, then select the desired Certificate from the drop-down.
- Proceed with the rest of the installation process.
Settings.xml
In addition to DecisionsServerInstaller.exe, Certificate Store directions can be defined via the Settings.xml file.
- From the Local File System, navigate to C:\Program Files\Decisions\Decisions Server and open Settings.xml in a Text Editor.
- Locate the CertificateThumbPrint and HttpsCertificateLocation tags.
- Specify CertificateStore value to the HttpsCertificateLocation node.
- Provide the Certificate Thumbprint to its respective space.

- Save and close the file.
Self-Signed Certificate Generation Script
By default, Decisions Installations provides a Self-Signed Certificate Generator in the Decisions Server folder.
This Windows PowerShell Script allows the creation of a Certificate that can be used for testing v8 SSL configurations in self-hosted and IIS environments.
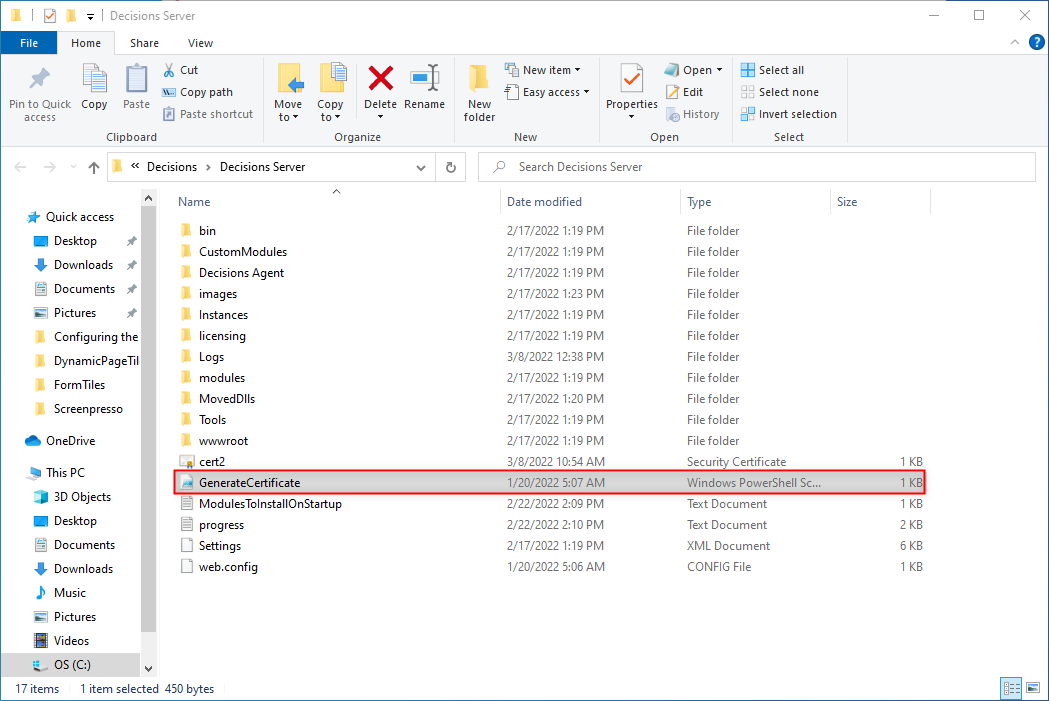
- From the Local File System, navigate to C:\Programs Files\Decisions\Decisions Server.
- Locate GenerateCertificate, then run it with PowerShell as an Administrator.
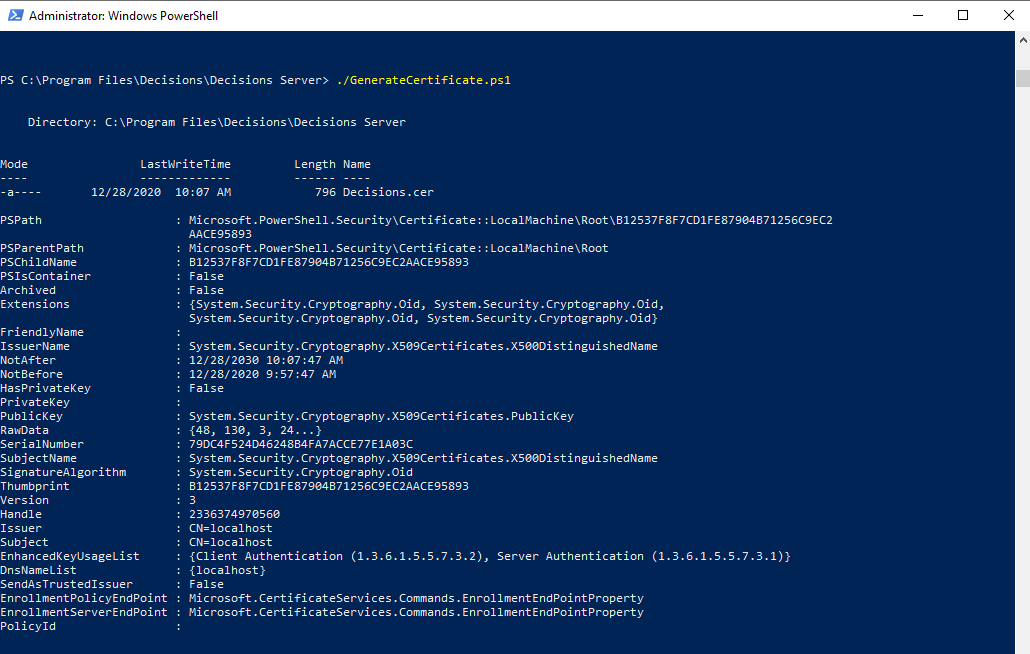
- From the PowerShell window, type "./GenerateCertificate.ps1". Then, press enter; verify that the script successfully creates a Certificate called "Decisions.cer".
Certification Expiration
If the Certificate for SSL expires, access to the server will not be available until fixed. Fixing this includes getting the new Certificate installed.
If the Certificate Name does not change, Recycle IIS. If the Certificate Name changes, then update the SSL Certificate in the Site Bindings to use the new Certificate.
STARTTLS Configuration
STARTTLS is an email protocol command that uses SSL/TSL to convert an Email Client's connection from an insecure one into a secure one.
When using STARTTLS with Decisions, users should configure their SMTP Settings as they typically would.
Explicit SSL
By default, Decisions requests that SSL is used explicitly. To enable this:
- Open DecisionsServerInstaller.exe; from the Installation Type screen, click EDIT SETTINGS.
- From the Settings window, navigate to expand Mail > SmtpServer.
- Under the SmtpServer category, set UseImplicitSSL to False and UseSSL to True.
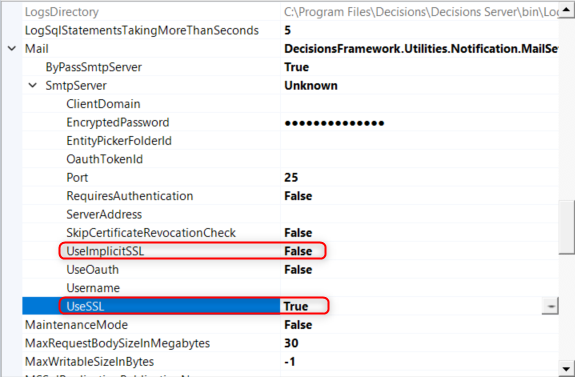
- Click Save, then restart Decisions via RESTART SERVICE.
Feature Changes
| Description | Version | Release Date | Developer Task |
|---|---|---|---|
| Restarts are no longer needed for renewed certificates. | 9.18 | December 2025 | [DT-045637] |