Overview
The Run Flow and Run Flow Drop Down controls allow End-Users to initiate Flows directly from a Page.
- Run Flow enables a Page to trigger a single, predefined Flow using a button-style control.
- Run Flow Drop Down enables a Page to expose multiple Flows within a drop-down action menu, allowing End-Users to select which Flow to run at runtime.
Both controls are designed for scenarios where a Page serves as an entry point for initiating backend processes through a guided user interface. Common use cases include patient portals, administrative dashboards, and internal tools where Users need to execute actions without navigating away from the Page.
Example
- In a Project, select the CREATE PAGE button on the top Action Bar. Select PAGE, provide a name, then select CREATE.
- In the Page Designer, use the Toolbox search bar to find the Run Flow component and add it to the workspace.
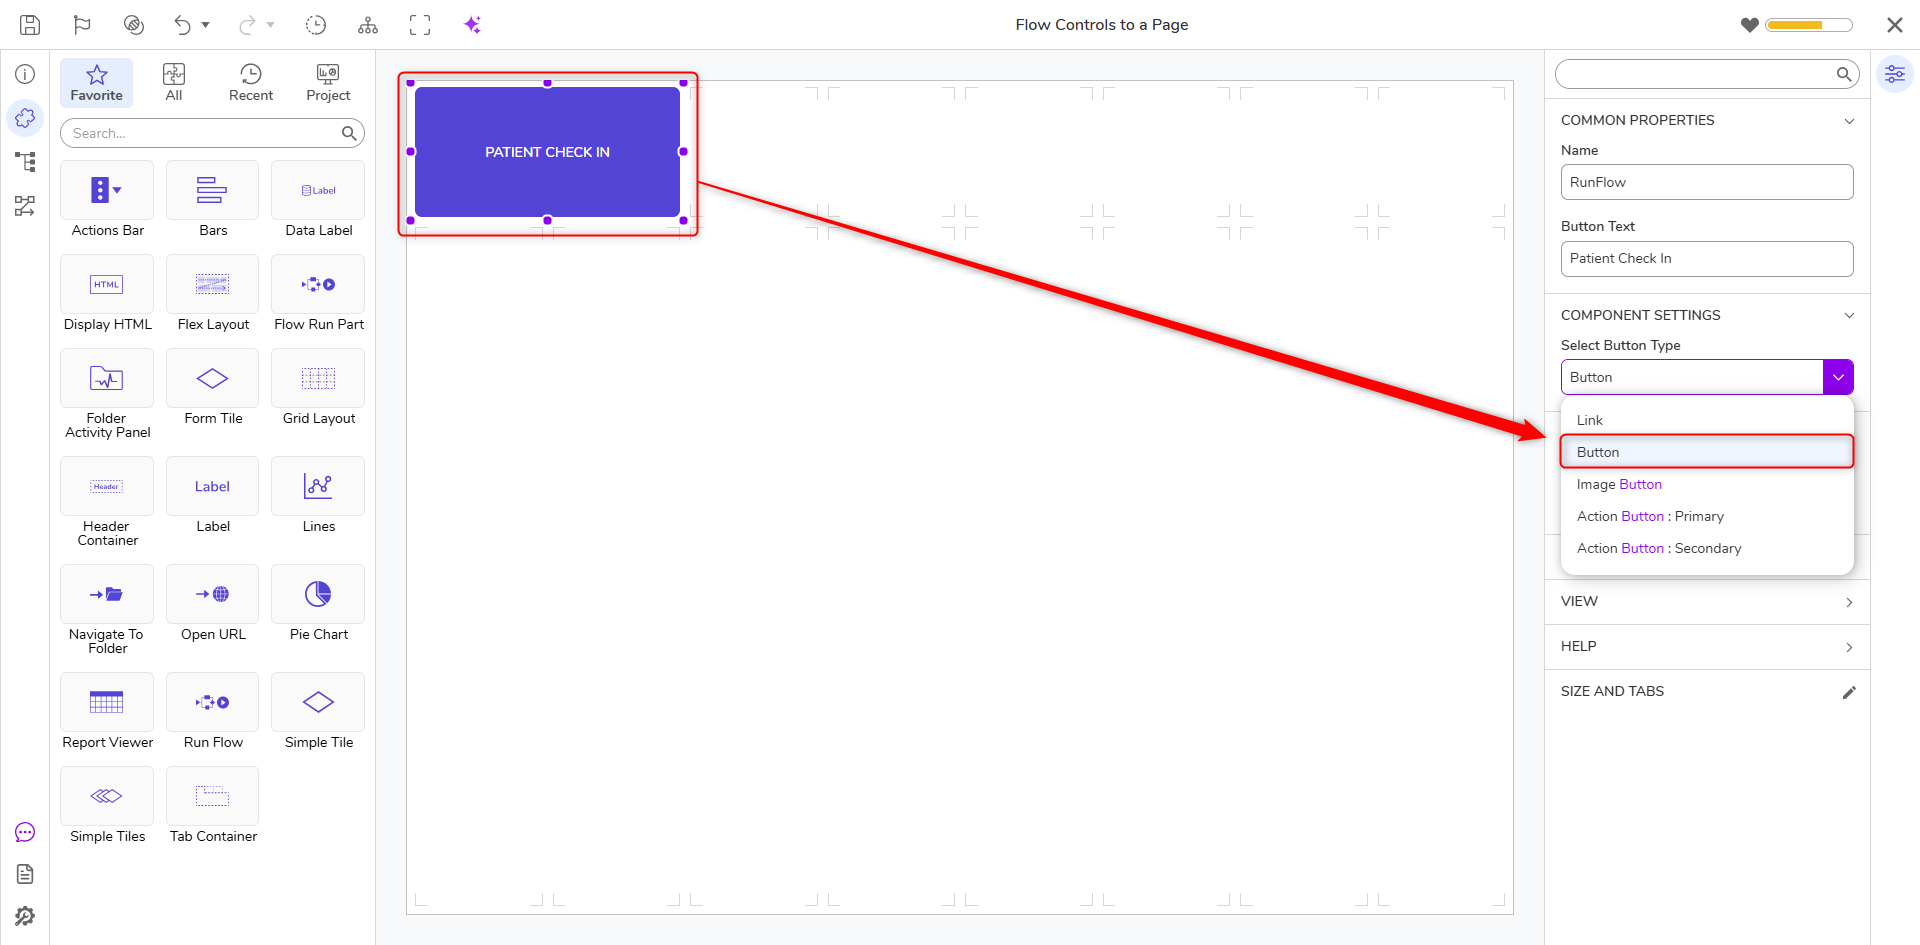
- With this component selected, navigate to the Properties panel.
- Select the PICK FLOW button to either pick an existing Flow or create a new one. This is the Flow that will initiate when the button is selected. For this example, a simple Flow with the Show Popup step was used to display a message when the button is selected.
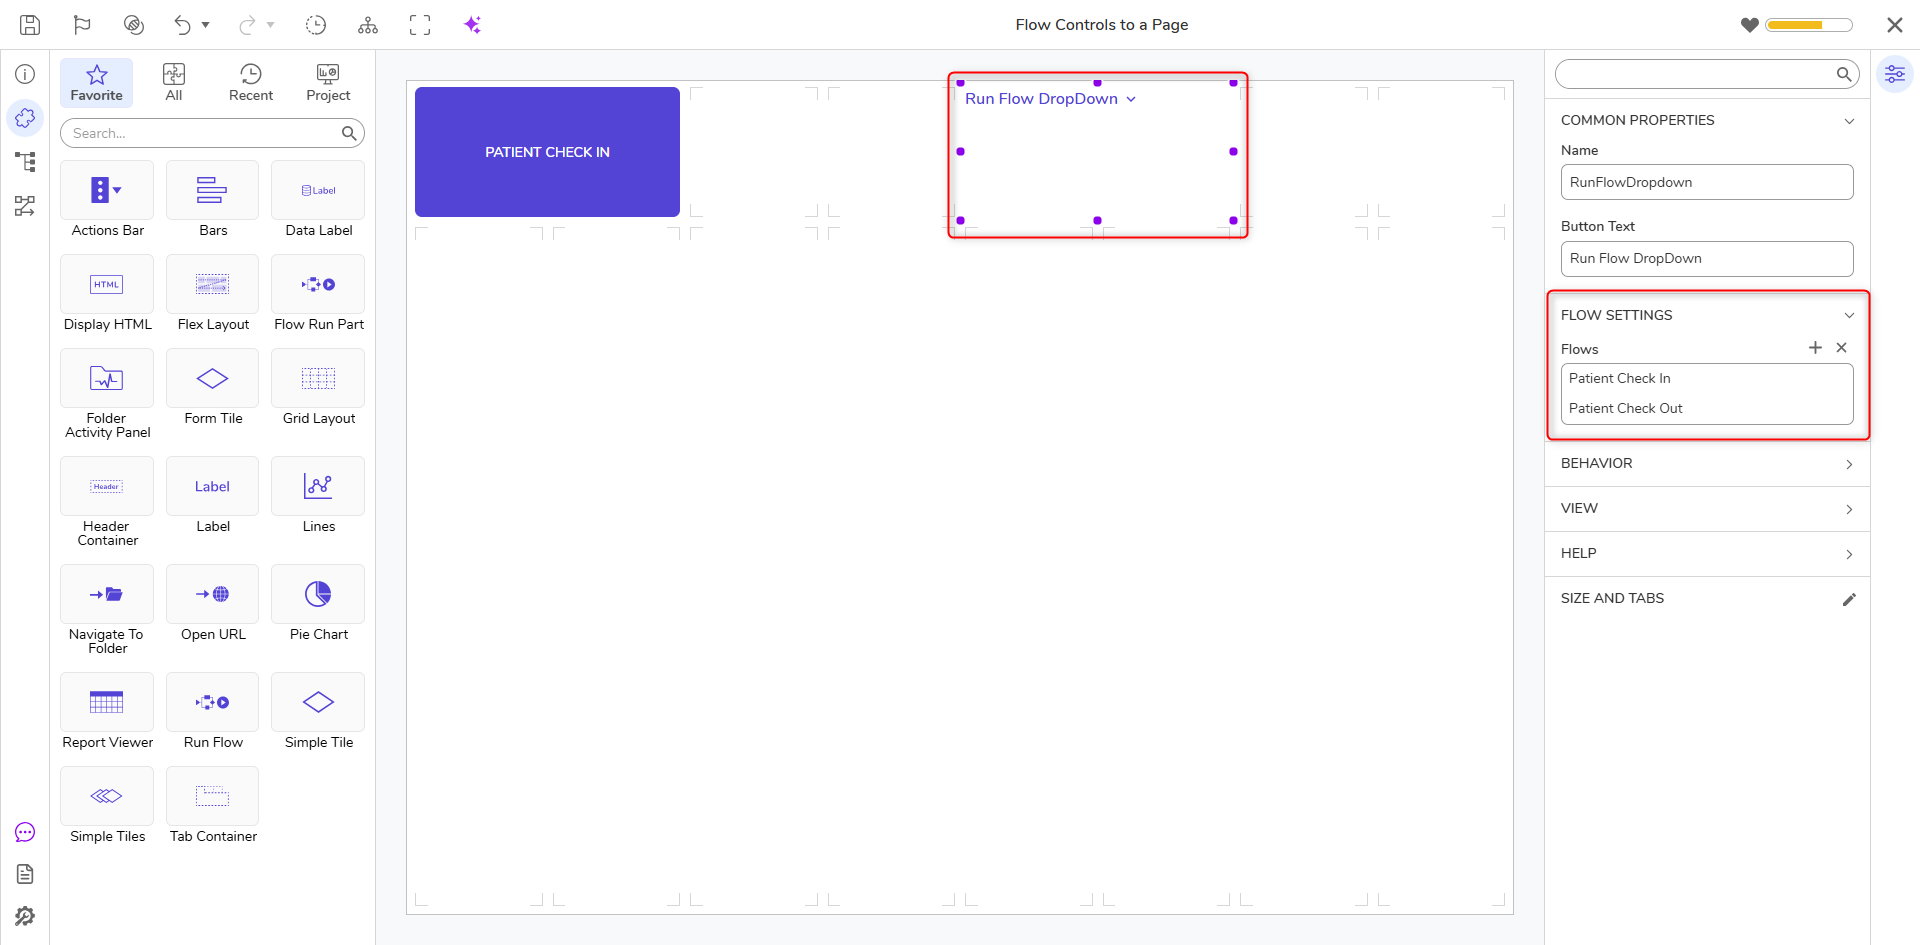
- Use the Toolbox search bar to find the Run Flow Drop Down component and add it to the workspace.
- With this component selected, navigate to the Properties panel.
- Select the plus icon next to Flows to either pick an existing Flow or create a new one. This will create an action menu of Flows the end user can run.
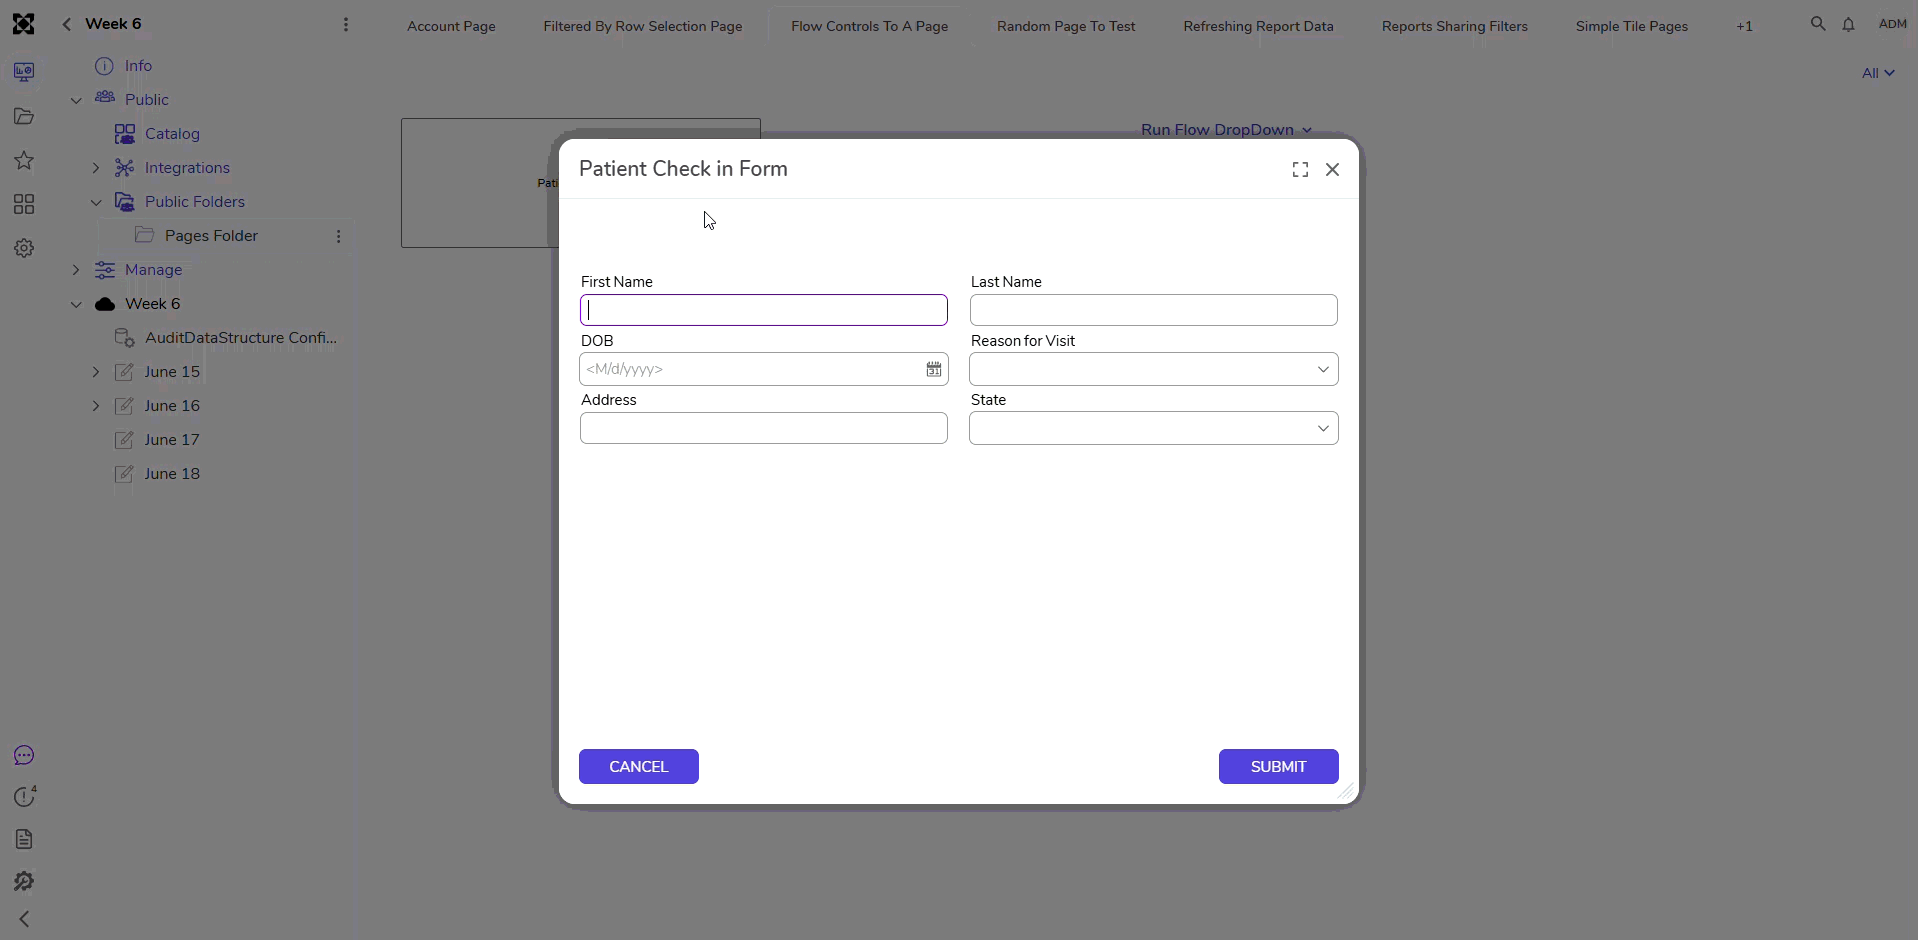
- To see the full functionality of this feature, the Page where the component was added will need to be applied to a Public Folder. For information on how to add a Page/Dashboard to a folder, please visit the Create Page/Dashboard article.
- Open the added Page tab in the folder and select the button actions to see that the Flow(s) is initiated on the backend.
Feature Changes
| Description | Version | Release | Developer Task |
|---|---|---|---|
| Added Run Flow Drop Down control | 9.19 | January 2026 | [DT-044473] |