Overview
A Swim lane is an element used in Flows to distinguish job sharing and responsibilities for a business process visually. Swim lanes are organized and divided into sections labeled as Lanes, with each Lane representing a person, group, or subprocess in a Flow.
Adding Swim lanes
- From a Designer Project click CREATE FLOW and create a new Flow.
- In the Properties panel for the Flow, expand the Advanced > Swim lanes categories.
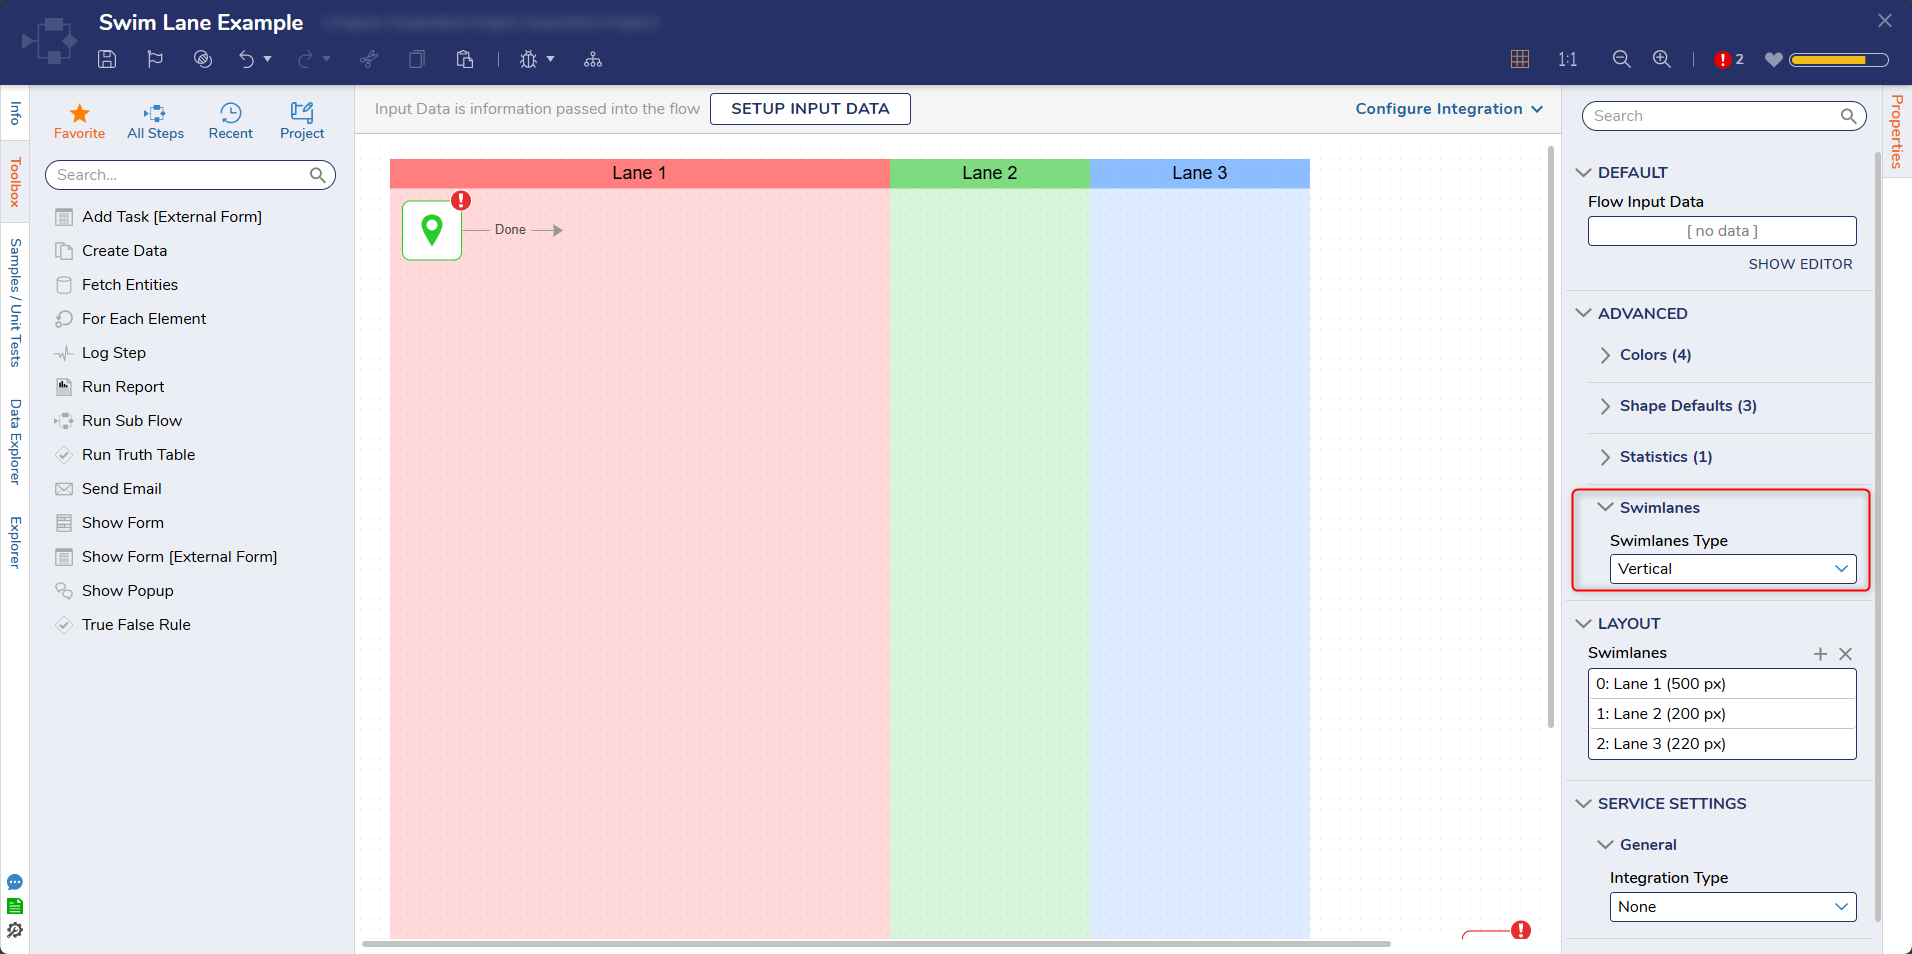
- Under Swim lanes Type, select Vertical from the dropdown menu. Below is a breakdown of the different options available for a Swim lane.
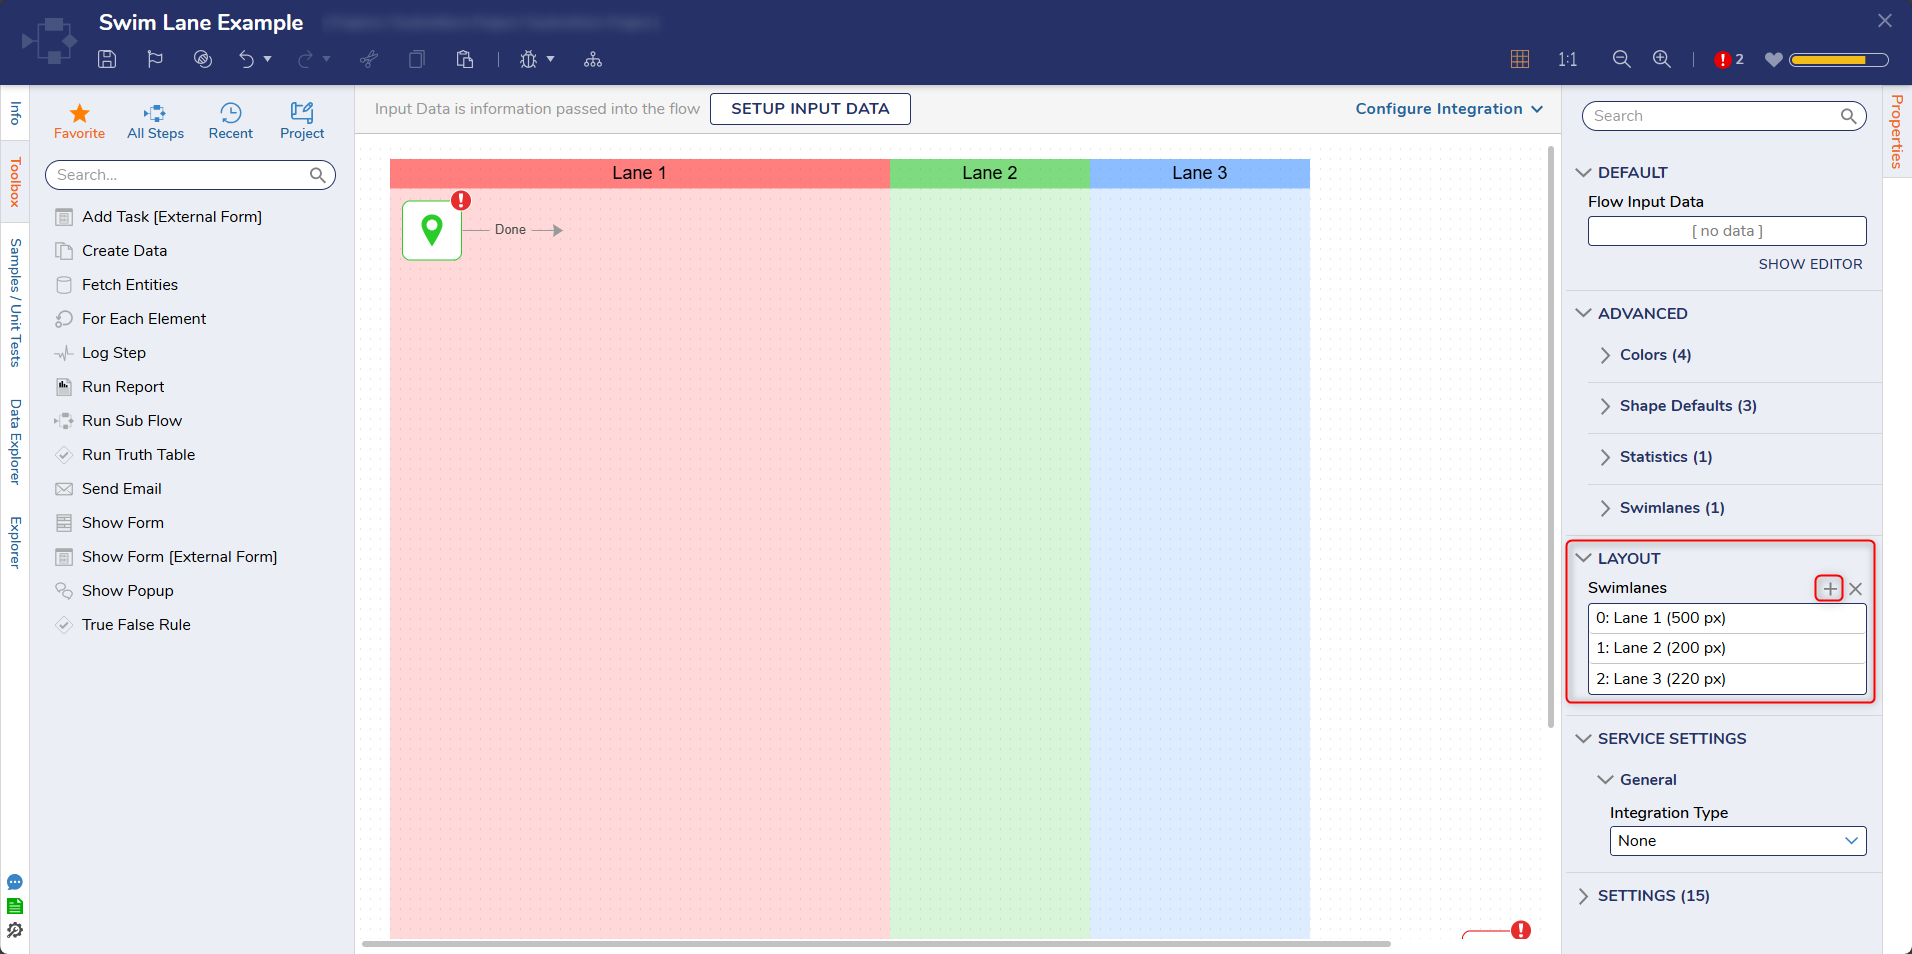
Option Description None Disables Swim lanes from appearing in a Flow. Vertical Creates Swim lanes in a vertical layout. Horizontal Creates Swim lanes in a horizontal layout. - The Swim lane will appear. Additional swim lanes can be added by hovering over the label for the control and select the plus icon. Additional Swim lanes can also be added through the Layout > Swim lanes section in the Properties panel.
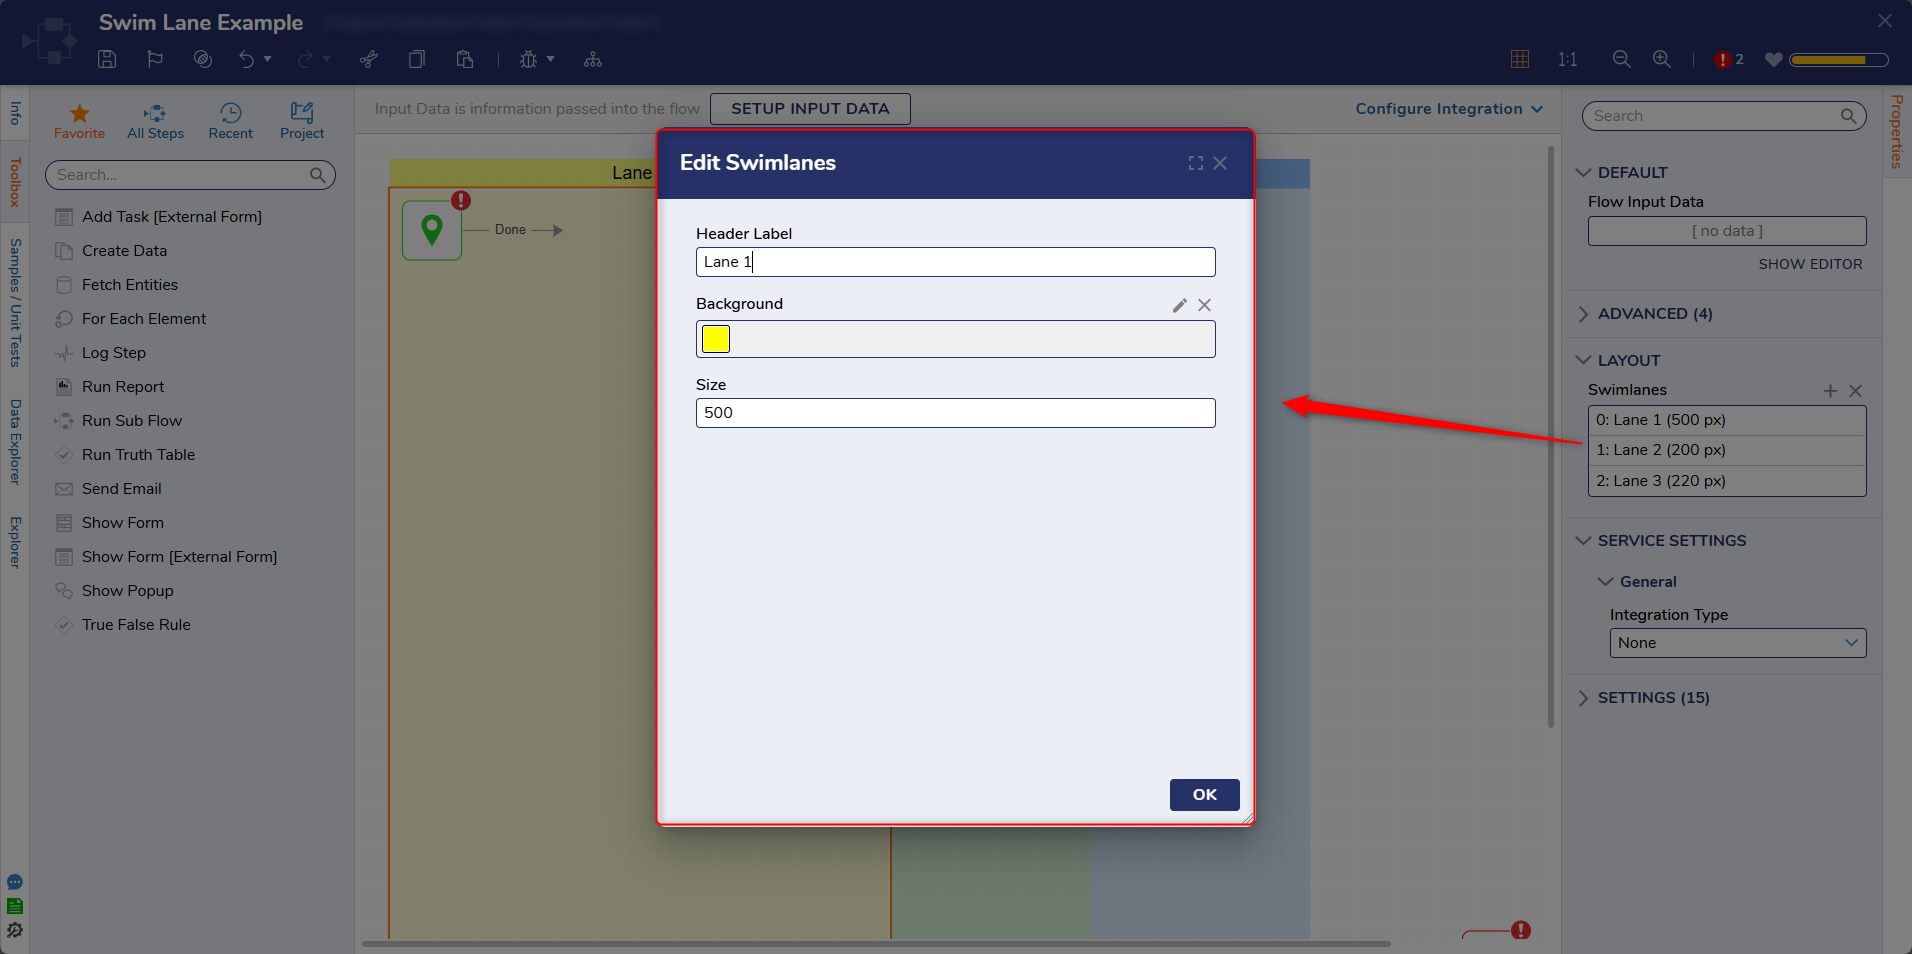
Editing Swim lanes
Once Swim lanes have been enabled, each lane's size, color, and name can be adjusted.
- In the Properties panel for the Flow, expand the Layout category.
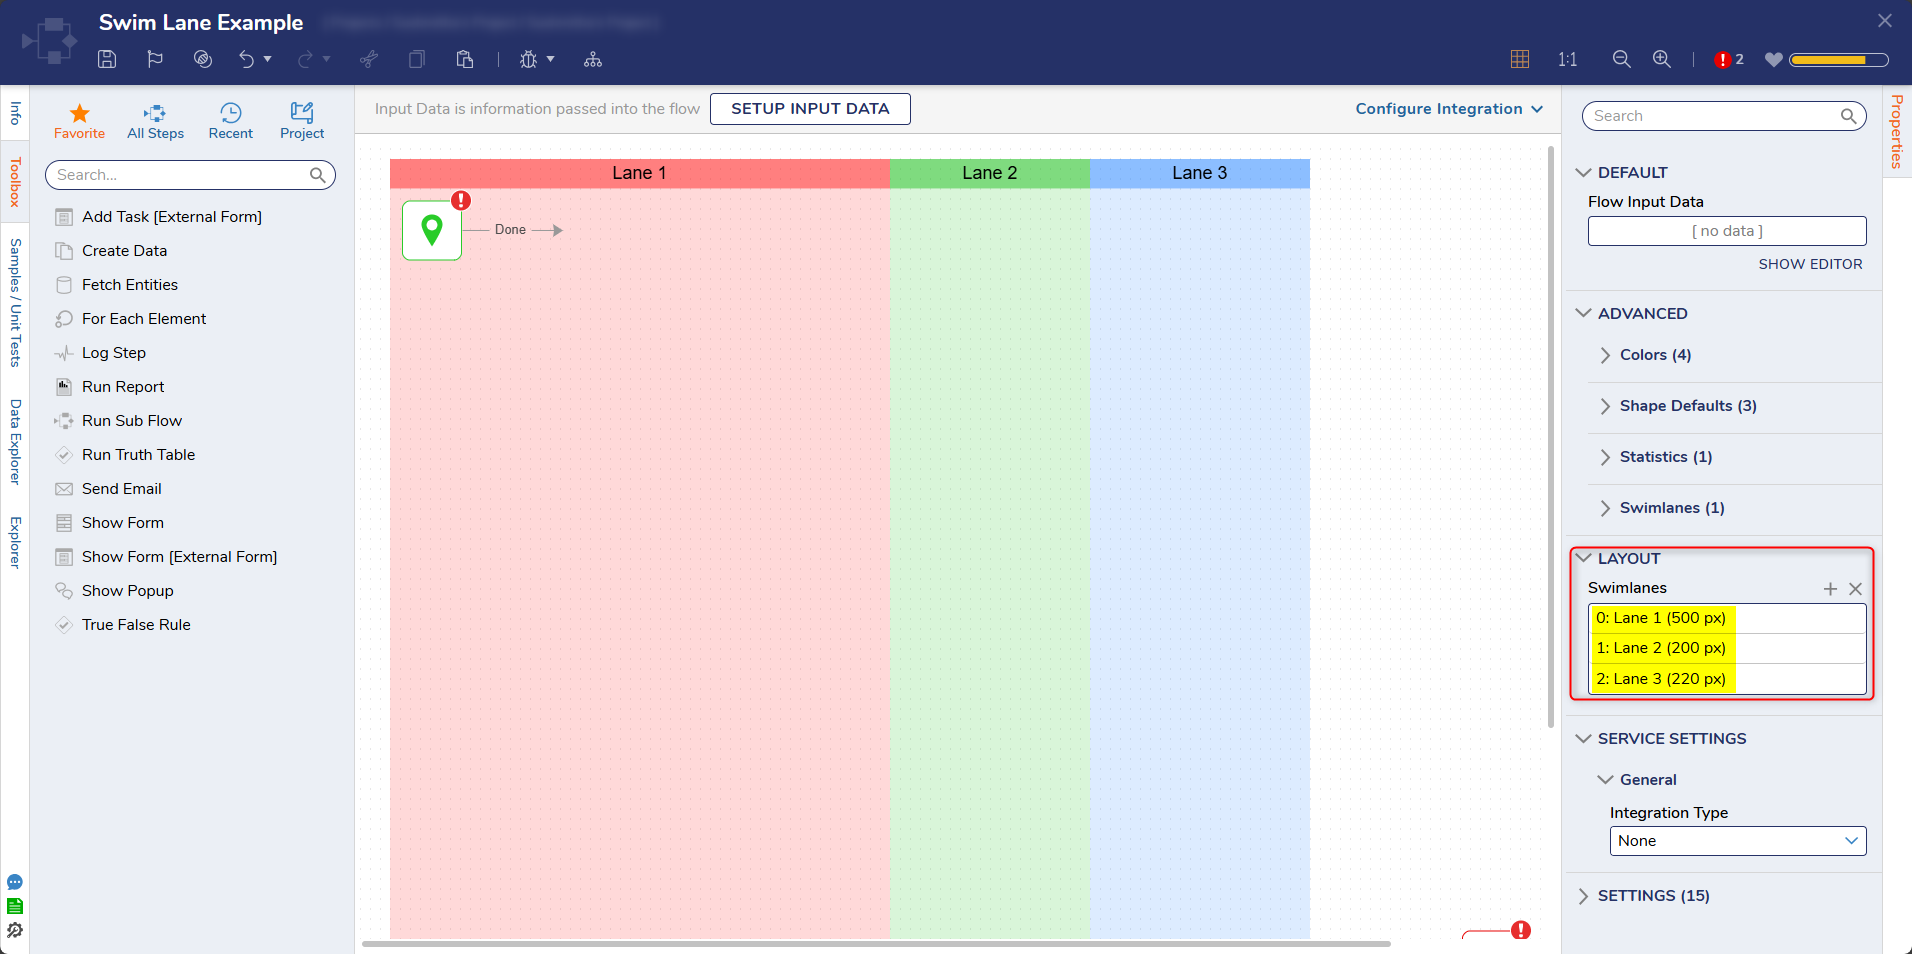
- Under Swim lanes, hover over and select the pencil icon next to the lane that needs to be adjusted.
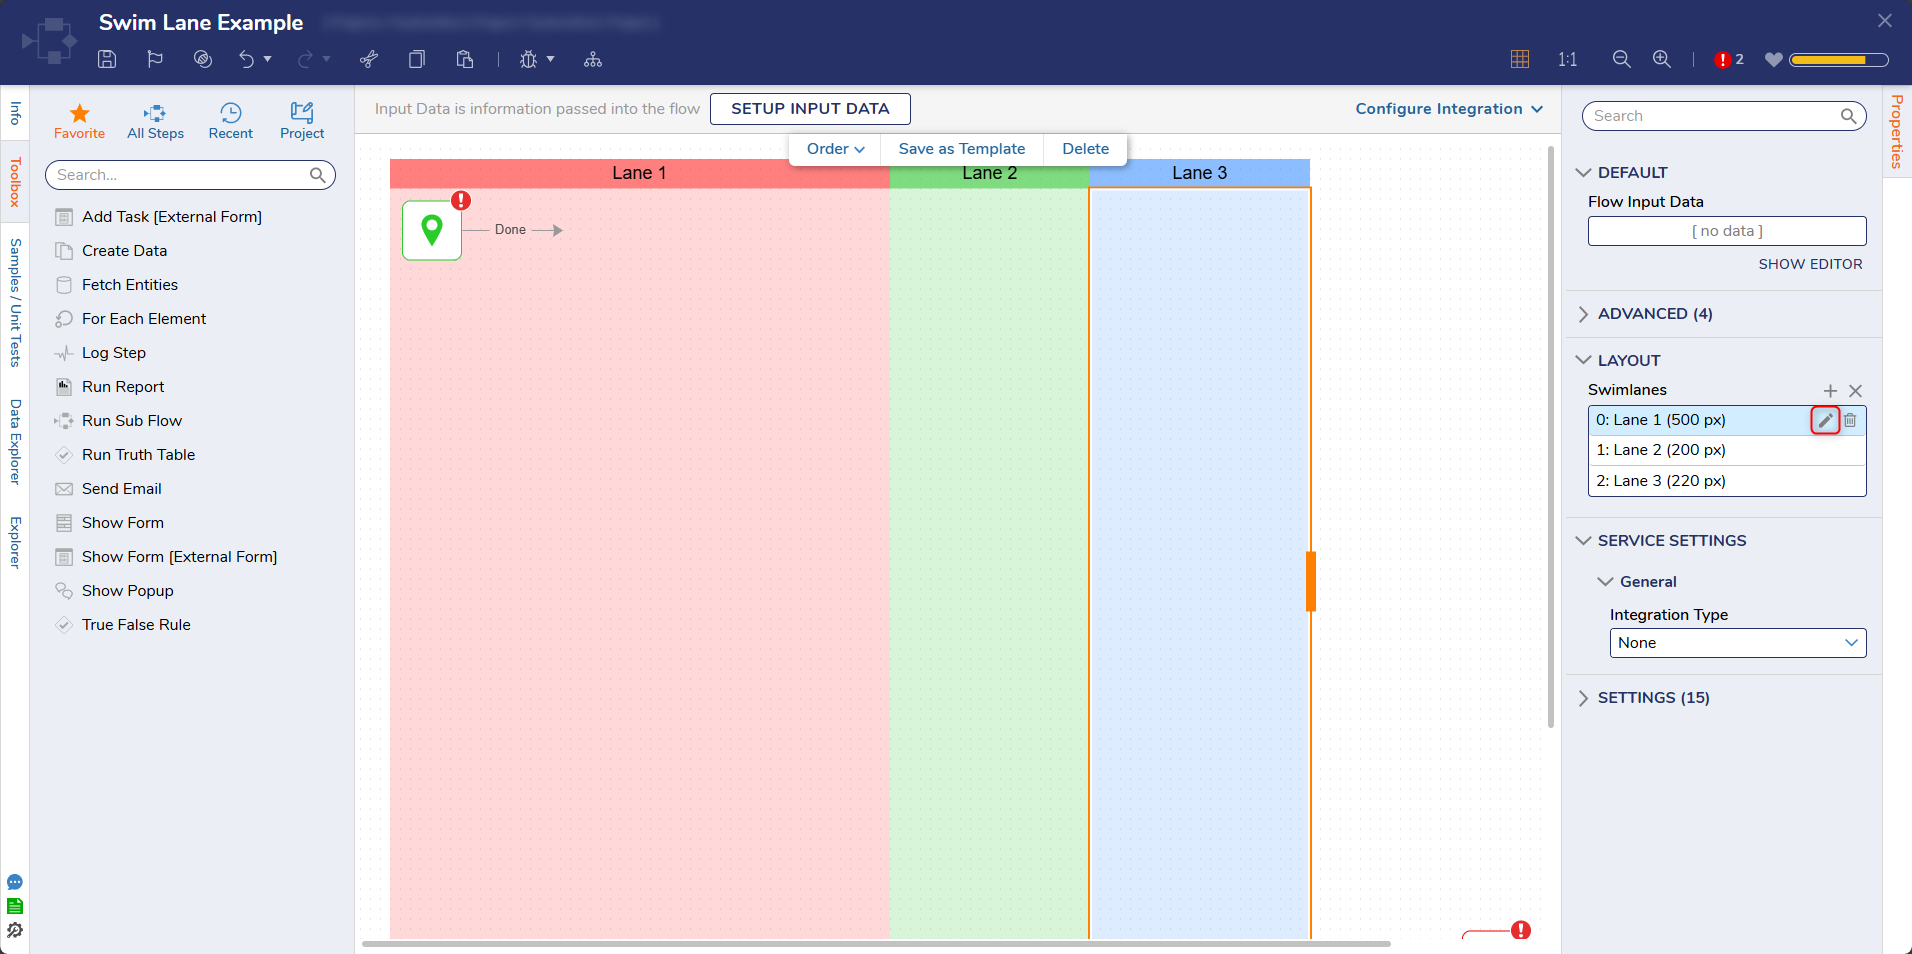
- The Edit Swim lanes menu will appear. Edit the Label, Background, and Size, then click OK.
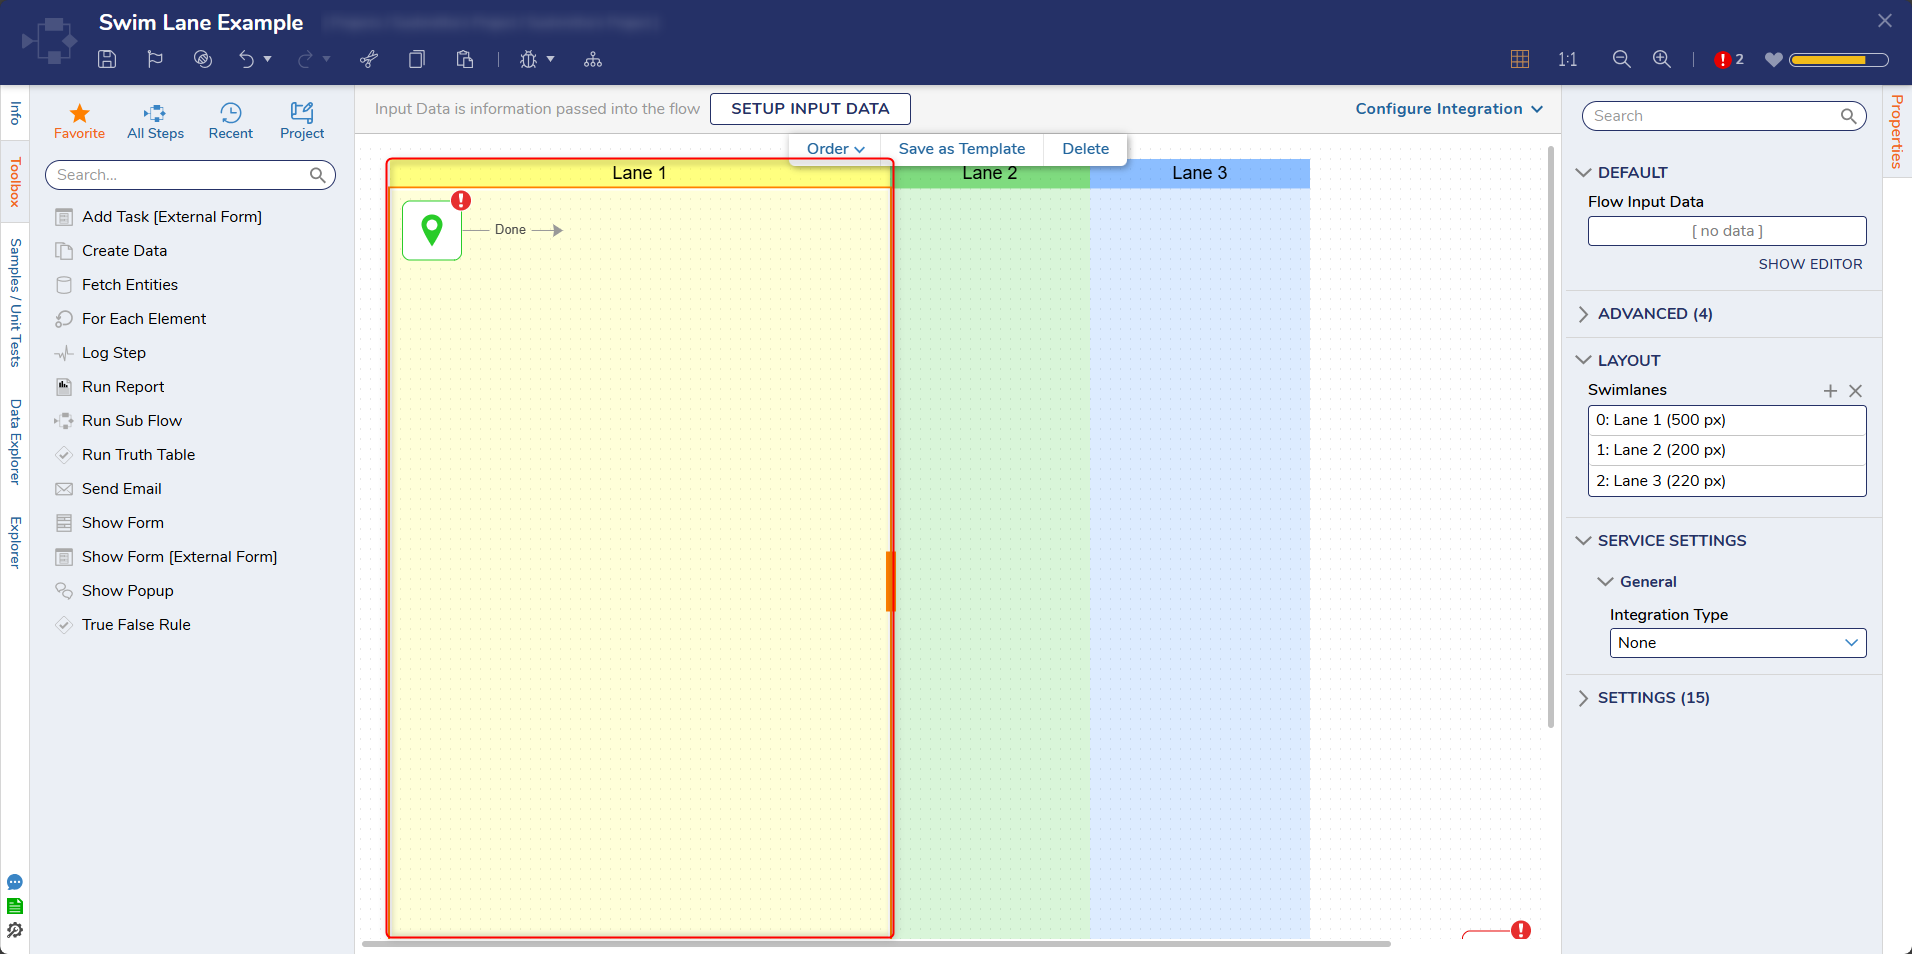
- The Swim lane will reflect the changes.
For further information on Flows, visit the Decisions Forum.