Overview
This article highlights all the UI enhancements to the Flow Designer, which will be available to users starting in v9.11. Below is a breakdown of each enhancement related to Flow Designer over multiple versions.
With the new enhancements to the Flow Designer in v9.11, a significant change has been introduced that affects backward compatibility:
Flows created or modified in v9.11 are not compatible with earlier versions of the platform. While these flows can technically be imported into lower versions (via manual import/export or Repository Server), they will fail to run or open for editing.
Key Implications:
- Manual Import/Export: Flows built in v9.11 must only be imported into environments running v9.11 or higher.
- Project Deployment: Deploying projects from a v9.11 environment to a lower version using the Repository Server will be unusable since the flows are incompatible.
- Upgrade Coordination: Ensure all environments are upgraded to v9.11+ before working with or deploying flows created in this version.
Please plan your upgrades and deployments accordingly to avoid disruptions.
Grid View
- Grid view is now enabled by default, and all steps will automatically snap to the grid. Whether dragging a new Step onto the canvas or repositioning an existing one, it will align with the grid layout (10x10px).
- Users can also use the keyboard arrow keys to move steps in grid-sized increments. Additionally, resizing a Step will maintain alignment with the grid.
- If needed, the grid functionality can be turned off by clicking the Grid button in the header.
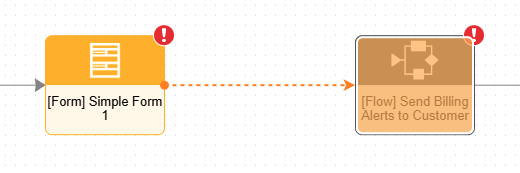
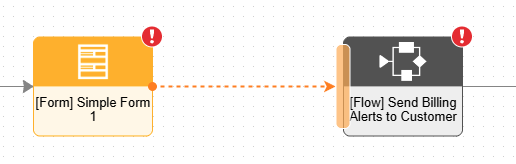
Updates to Step Color and Shape
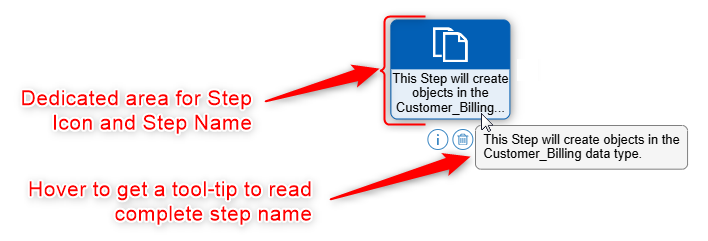
- Shape and Size:
- Steps now feature a larger, standardized size and a new shape for improved visual consistency. Most steps from the toolbox will follow this new design, with a few exceptions: Rule Type steps, Log step, Catch Exception step, and Steps under the Annotations category.
- If a Step has a long name that gets truncated, users can hover over the Step name to view the full name in a tooltip.
- Colors:
- Steps now come with new default colors that reflect their type and usability, making it easier to visually distinguish between different Step categories.
- These colors are available out of the box but can be customized. Users can update Step colors by navigating to Designer Settings > Flow Designer > Step Colors. Changing a color here will apply the update across all Steps in the platform.
- Refer to the table below for detailed information on the default color mappings.
Note: Steps with custom colors applied at the step level will not get affected after upgrading to v9.11.Step Type HEX Color Code Color Reference Steps Associated with Color All Steps #2392DB 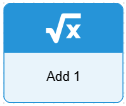
This is the default color applied to all the steps in the toolbox, except the following steps defined in this table. Run Flow or Sub-Flow Step #525252 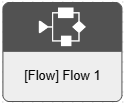
- Run Flow
- Run Flow by Path
- Run Flow w/ Instruction Return
- Run Flow For CSV
- Run Flows for List
- Run Flows in Cluster
- Run Flows For List [Batch Processing]
- Setup Process Folder And Run Flow, etc.
Show Form #FFB200 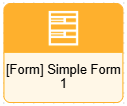
- Show Form
- Pick or Create End Form
- Add Task [External Form]
- External Form
- Show Form [External Form], etc.
Run Rule #1DB81D 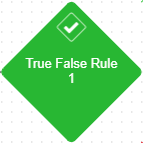

- Run Rule
- Pick or Create Matrix Rule
- Pick or Create Rule Table
- Run Rule Set
- Run Flow/Rule Set
- Run Rule Table
- Run Rule Chain
- Evaluate Dynamic Expression As Rule, etc.
Run Report #A818F0 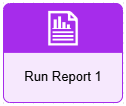
Run Report Step Create Data #005CB8 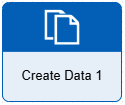
Create Data Step Steps under User Defined Types Category, Fetch Entities, and Fetch Distinct Values Step #00CCCC 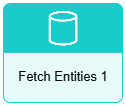
This color is related to all the CRUD actions a step can perform on a data Type/Data structure. - Fetch Entities
- Fetch Distinct Values
- All the Steps under the User Defined Category
Iteration Steps #E57017 
- Branch ForEach Step
- Branch ForEach Step (Chunking)
- For Each In Group Step
- ForEach Step
- ForEach Step (Chunking)
- Reset ForEach Step
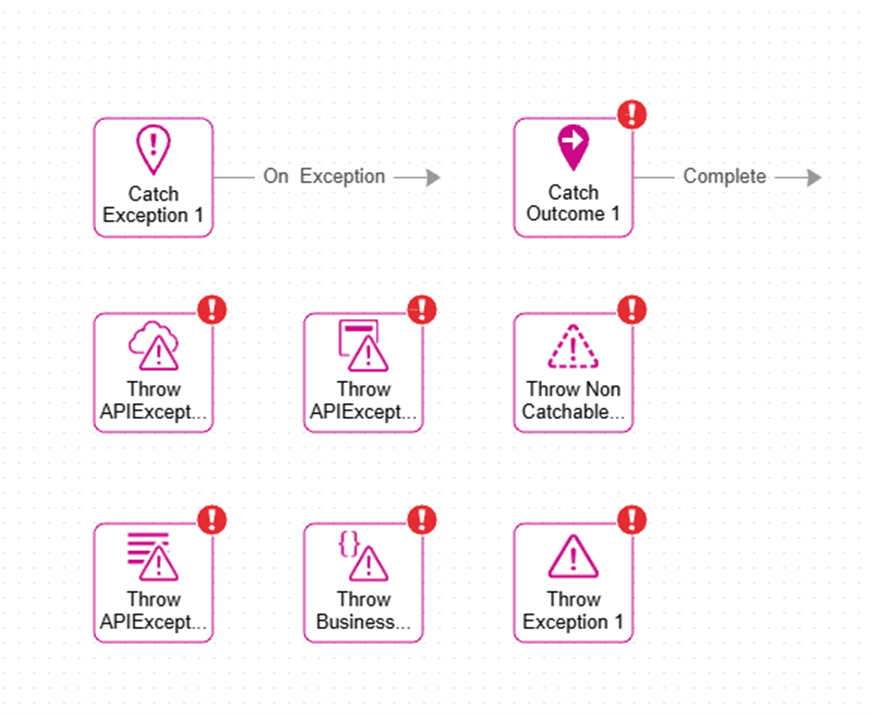
Error Handling #CC0088 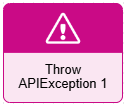
- Cancel Flow Execution
- Catch Exception
- Catch Outcome
- Log (Fast)
- Step Statistics - Get Run Stats
- Step Statistics - Store
- Throw APIException
- Throw APIException With Details
- Throw APIException With Headers
- Throw Business Rule Exception
- A Throw Exception
- Throw Non Catchable Exception
New Step-Level Action
Each Step now includes three new action buttons for improved usability:
- Info: Opens a layer displaying detailed information about the step, including its location in the toolbox, a description, and a link to its documentation. If the Step uses another designer entity as a child, the layer will also show the child entity's name, folder path, description, and a preview image.
Note: In v9.15, the step location under the step name is now a navigable link, which will take the user to the respective location in the toolbox.
- Delete: Deletes the step from the designer.
- Validation: Opens a layer listing all validations associated with the step. Users can choose to ignore or un-ignore validations directly from this layer.
Note: If a validation is ignored from the validation layer on a step, it will also be reflected as ignored in the designer header.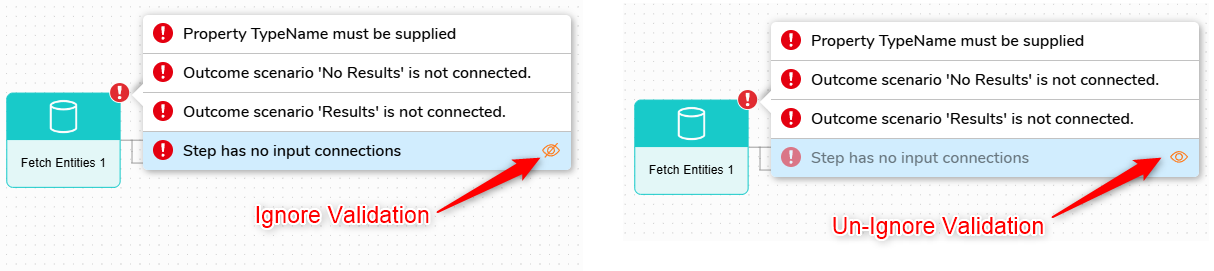
Auto-adjusting Connectors
Step connectors now automatically adjust to connect directly to the appropriate edge of the target step, providing a cleaner and more intuitive Flow layout. In previous versions, all connectors were directed to a single fixed point, making complex Flows harder to follow.
Connector Attachment Modes
Users can now connect steps in two distinct ways, depending on how they drop the connector onto the target Step:
- Attach to Surface (Dynamic): When the connector is dragged and dropped onto the surface of a target Step (highlighting the entire Step), it creates a flexible connection. This means the connector will automatically adjust its path to maintain the shortest connection as the target step moves around the canvas.
- Attach to Edge (Static): When the connector is dragged and snapped specifically to the edge of a target Step (highlighting only the edge), it creates a fixed connection. In this mode, the connector remains anchored to the same edge, regardless of how the target Step is repositioned.
Starting from v9.13, the above-mentioned connector attachment modes will be supported by the Start and End Steps as well. Users can change the position of the connector according to their needs and use cases for both the Start and End Steps.
Connector Labelling
Users can now double-click on a connector to rename it. This allows for clearer annotation of Step outcomes, making Flows easier to understand and review.
Note: Renaming a connector is purely for annotation purposes and does not change the Step's actual outcome name. It serves only as a visual aid to help clarify the Flow logic during design and review.
Panning the Canvas
Users can navigate the canvas by utilizing the following controls: holding Alt + Left Click, Spacebar + Left Click, or Holding Right Click while dragging the mouse to pan the view.
Note: Spacebar + Left Click was added in v9.12, and Holding Right Mouse Click was added in v9.13.

Dragging the connector beyond the Canvas
Introduced in v9.13, users can not hold and drag the connectors beyond the canvas to attach to a step that is already way beyond the current zoom view.
Redesigned Exception Steps
Here are the updated exception steps that were implemented in version 9.13.
Edit Designer Entities Directly from Canvas (v9.18)
Users can now directly edit child entities referenced within a parent entity using a new pencil icon displayed on the step itself. This eliminates the need to select the step, navigate to the Properties panel, and open the entity from there, making the editing process faster and more convenient.
Auto Connect Start Step (v9.18)
Added the ability to automatically connect the first step to the Start step when it is dropped onto an empty canvas, enabling users to begin building flows more quickly.
Step Placement Guidelines (v9.18)
The Designer now includes Step Guidelines to help users align and position steps more accurately on the canvas. As steps are moved or added, alignment indicators help create straight connections and maintain consistent spacing. Steps can snap to the center of other steps or align between two steps for balanced placement.
Users can also enable or disable guidelines at any time using the toggle available in the Designer header, allowing for either guided alignment or free-form layout based on preference.

Fit to Screen (v9.19)
A new icon is added to the Flow Designer that automatically adjusts the zoom level to fit the entire Flow within the available canvas area. When clicked, the designer zooms out as needed, ensuring that all steps and connectors are visible within the canvas bounds. This allows users to view the complete Flow at a glance without requiring manual zooming or panning.
These enhancements are designed to improve usability, clarity, and overall design experience in the Flow Designer, empowering users to build and manage flows more efficiently in v9.11 and beyond.