Overview
A Form Outcome Rule evaluates data provided by a control in the Form.
Example
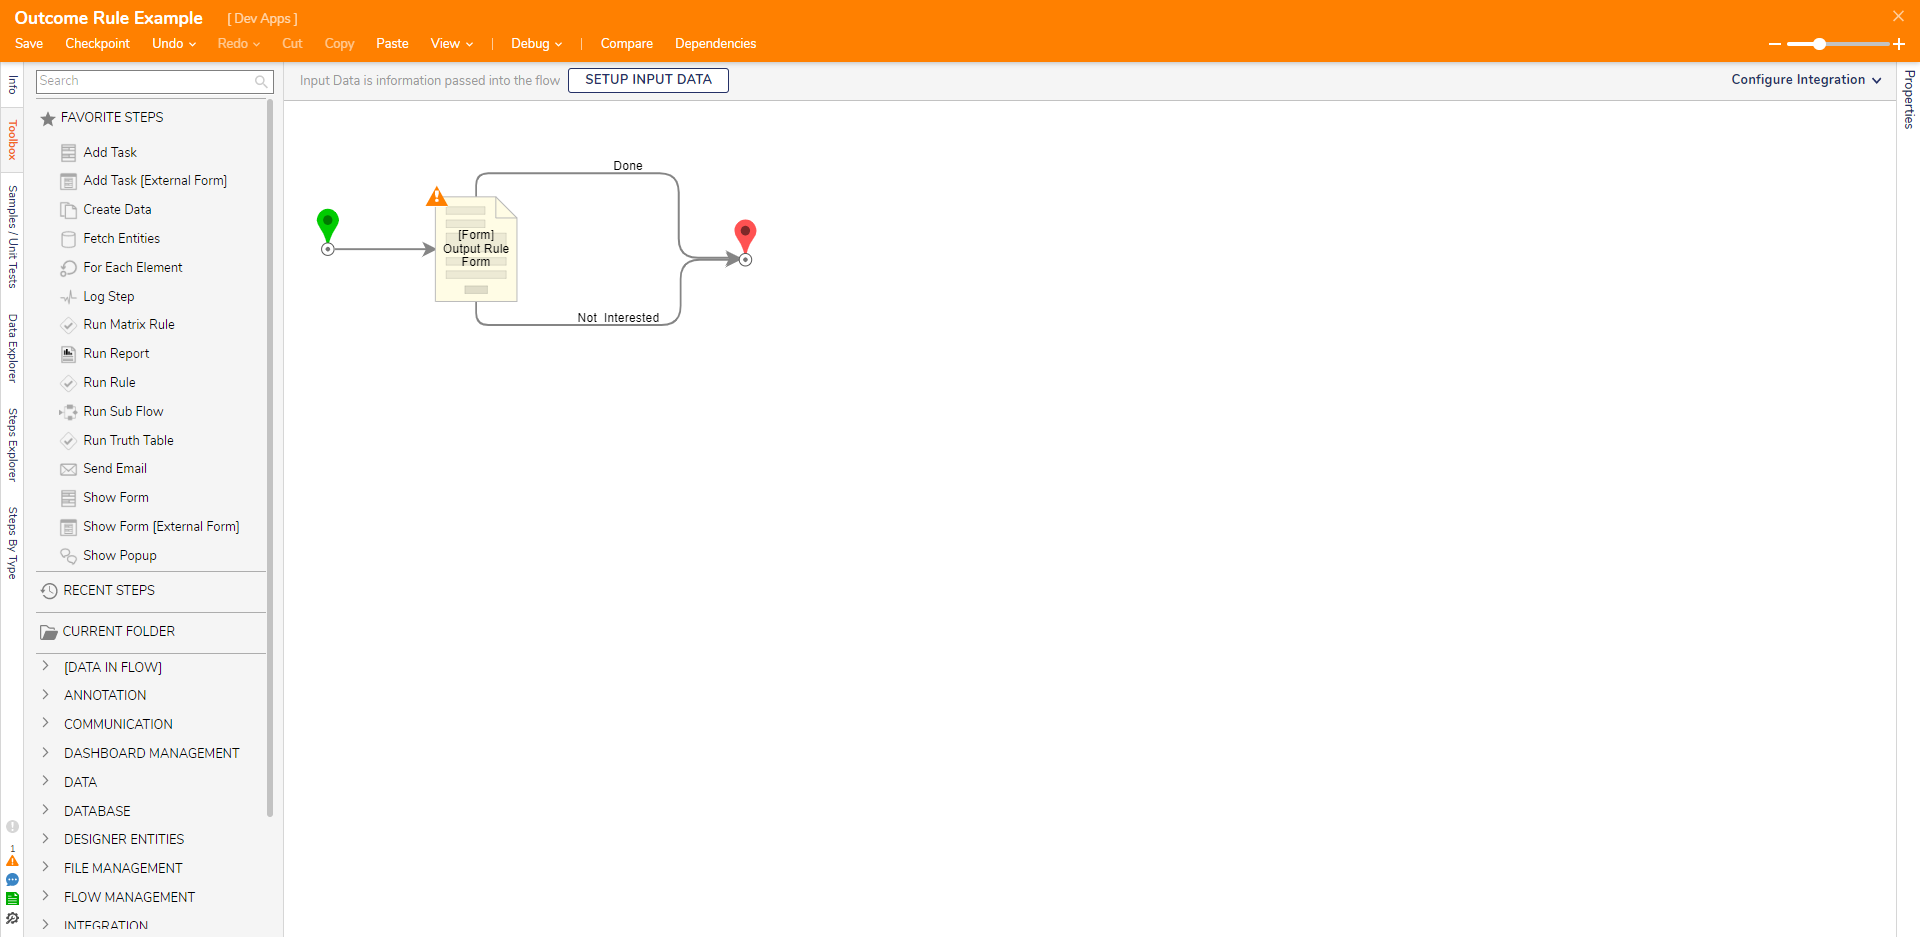
- In a Designer Project, click CREATE FLOW to create a new Flow.
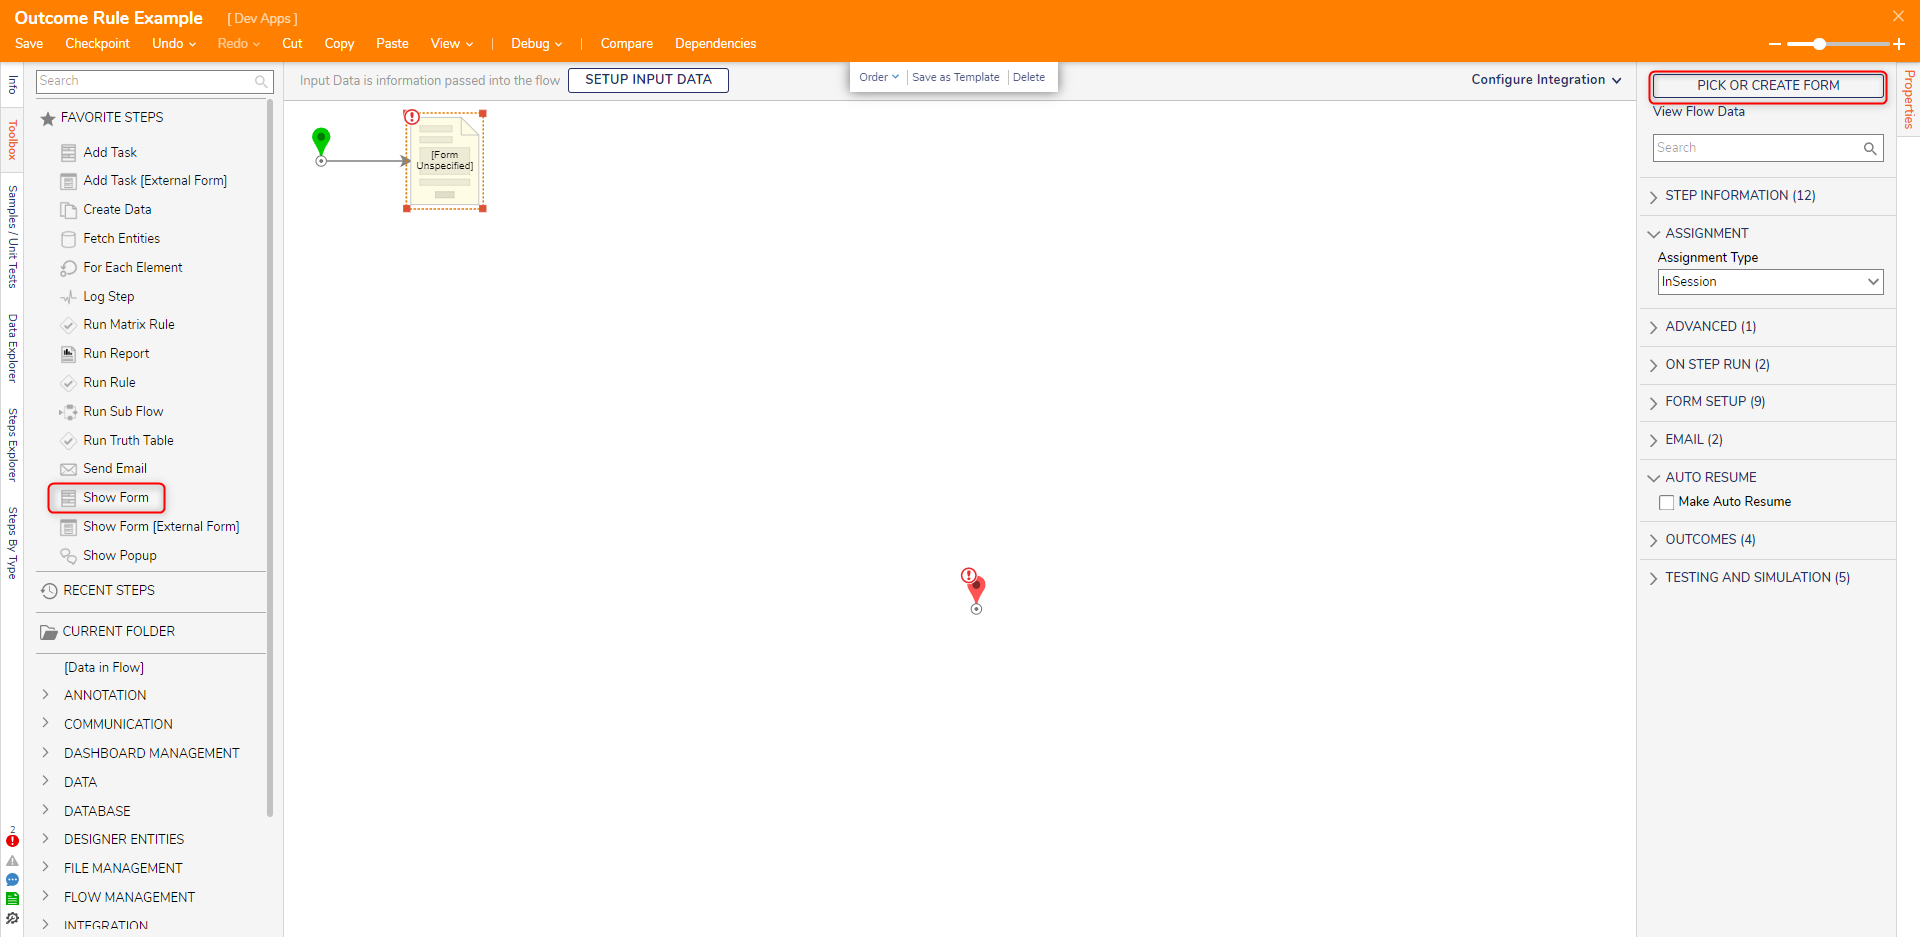
- Attach a Show Form step to the Start step. On the Properties panel, click PICK OR CREATE FORM and create a new Form.
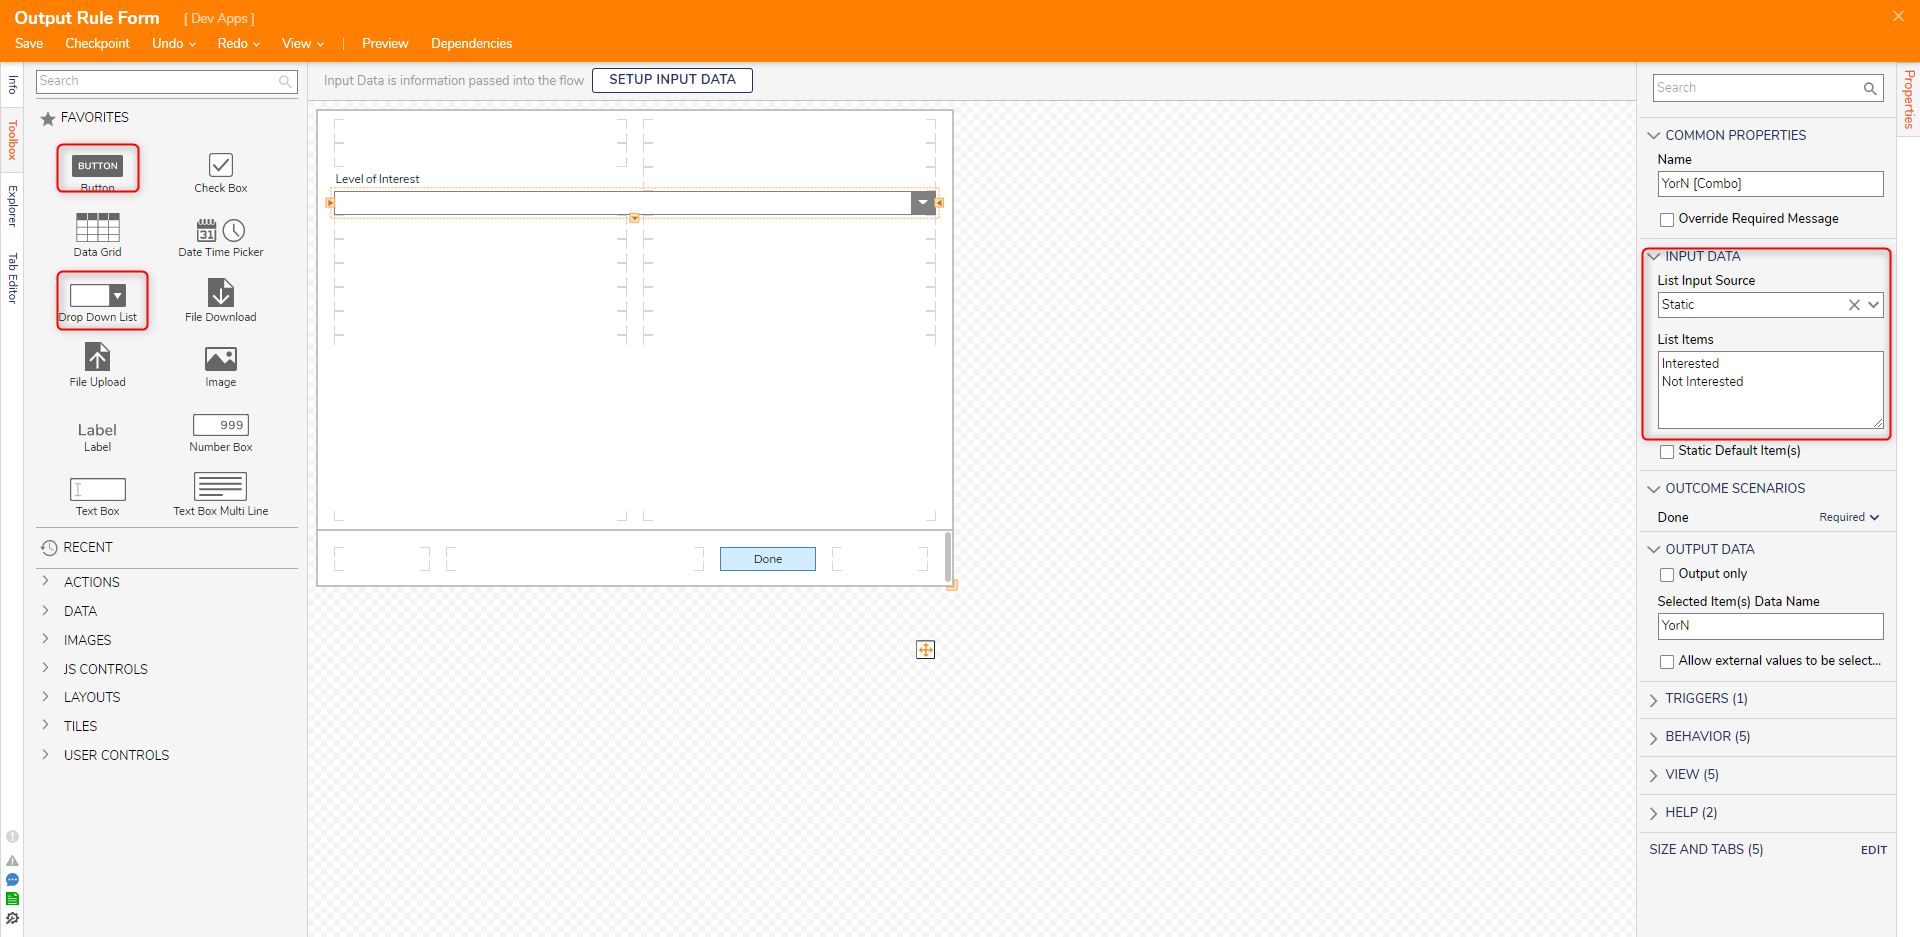
- Configure the Form to have a Label, Drop Down List (YorN), and Button (Done) control.
- Select the Drop Down List control. On the Properties panel under the INPUT DATA category, change the List Input Source option to Static and enter "Interested" and "Not Interested" options.
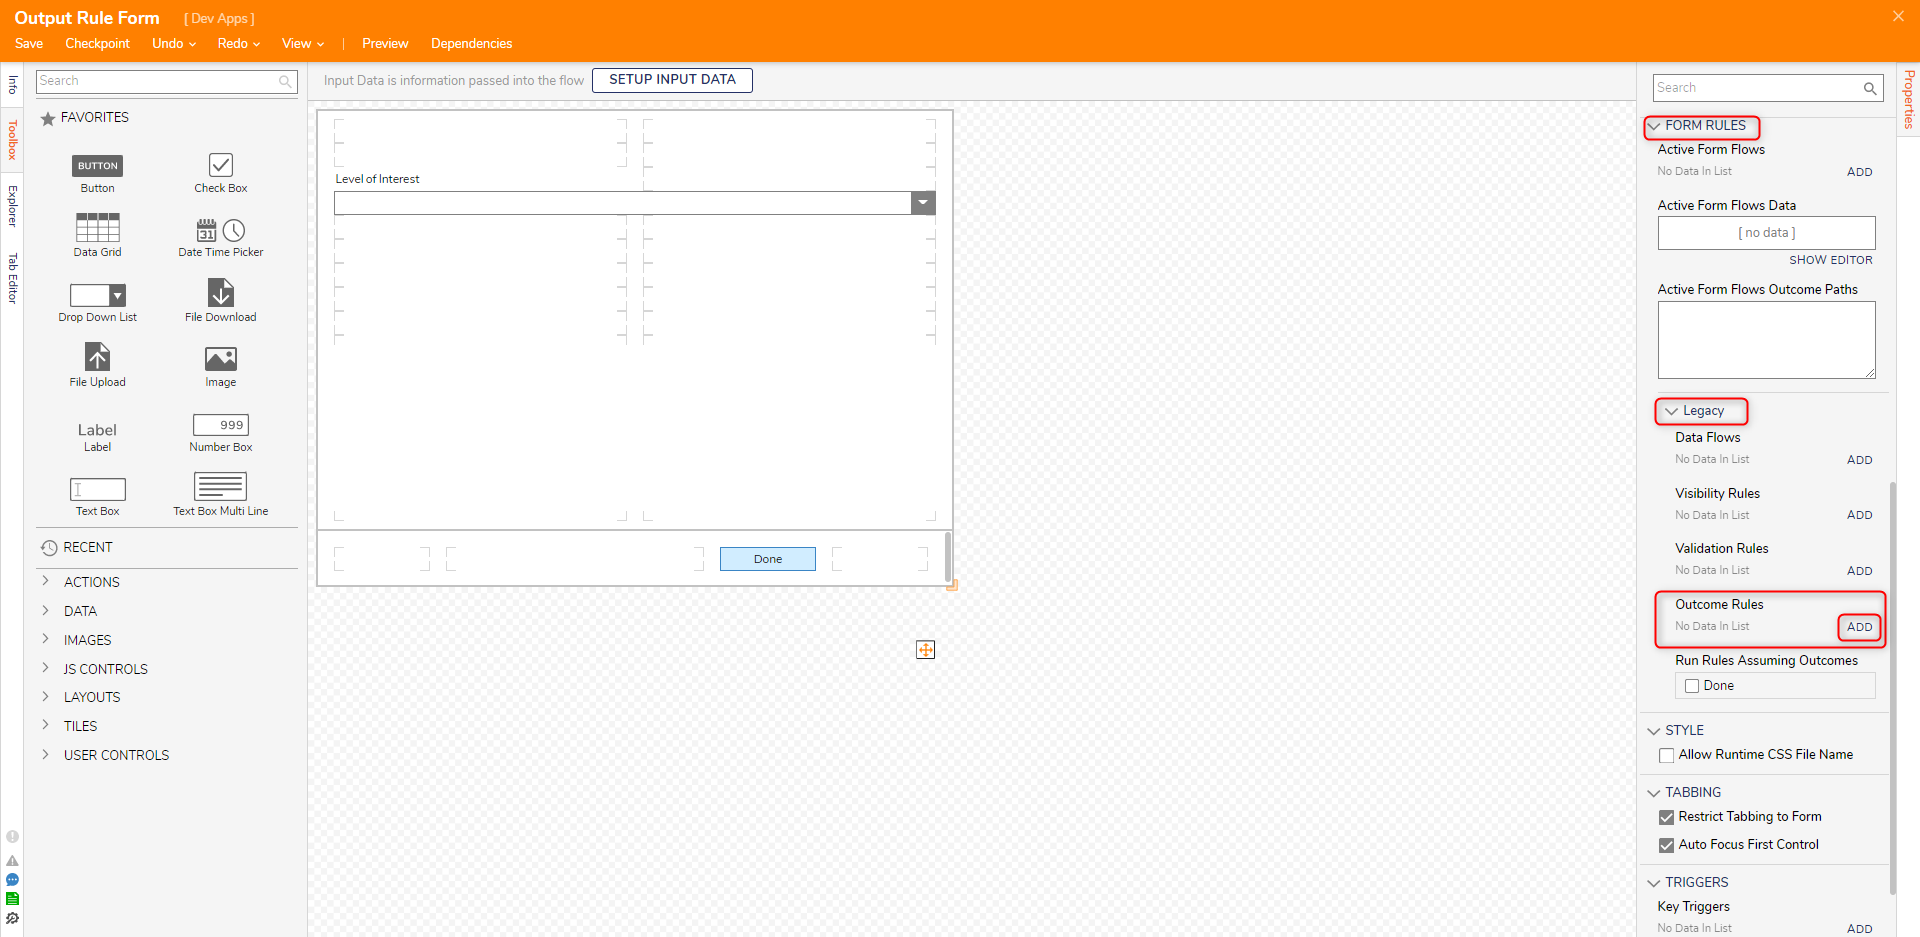
- Select the workspace. On the Properties panel, navigate to FORM RULES > Legacy > Outcome Rules and click ADD.
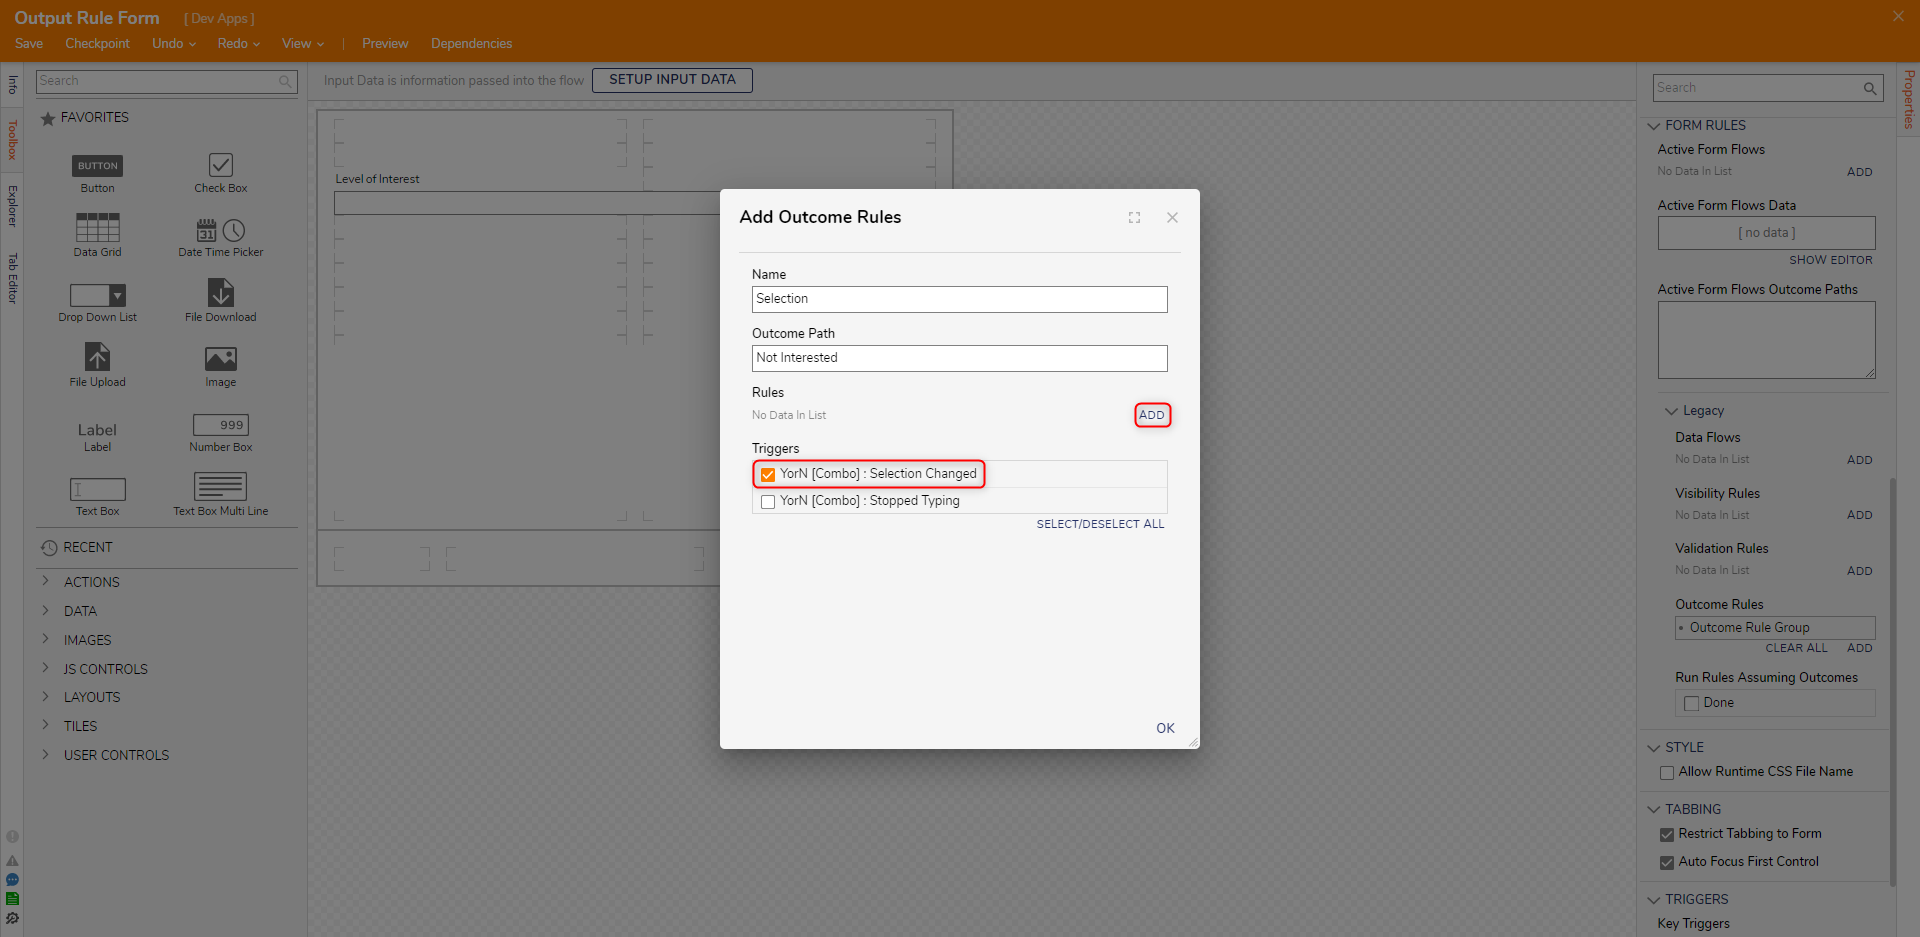
- In the Add Outcome Rules window, enter "Selection" in the Name field and "Not Interested" in the Outcome Path.
- Under Triggers, select the YorN [Combo]: Selection Changed option and click ADD under Rules.
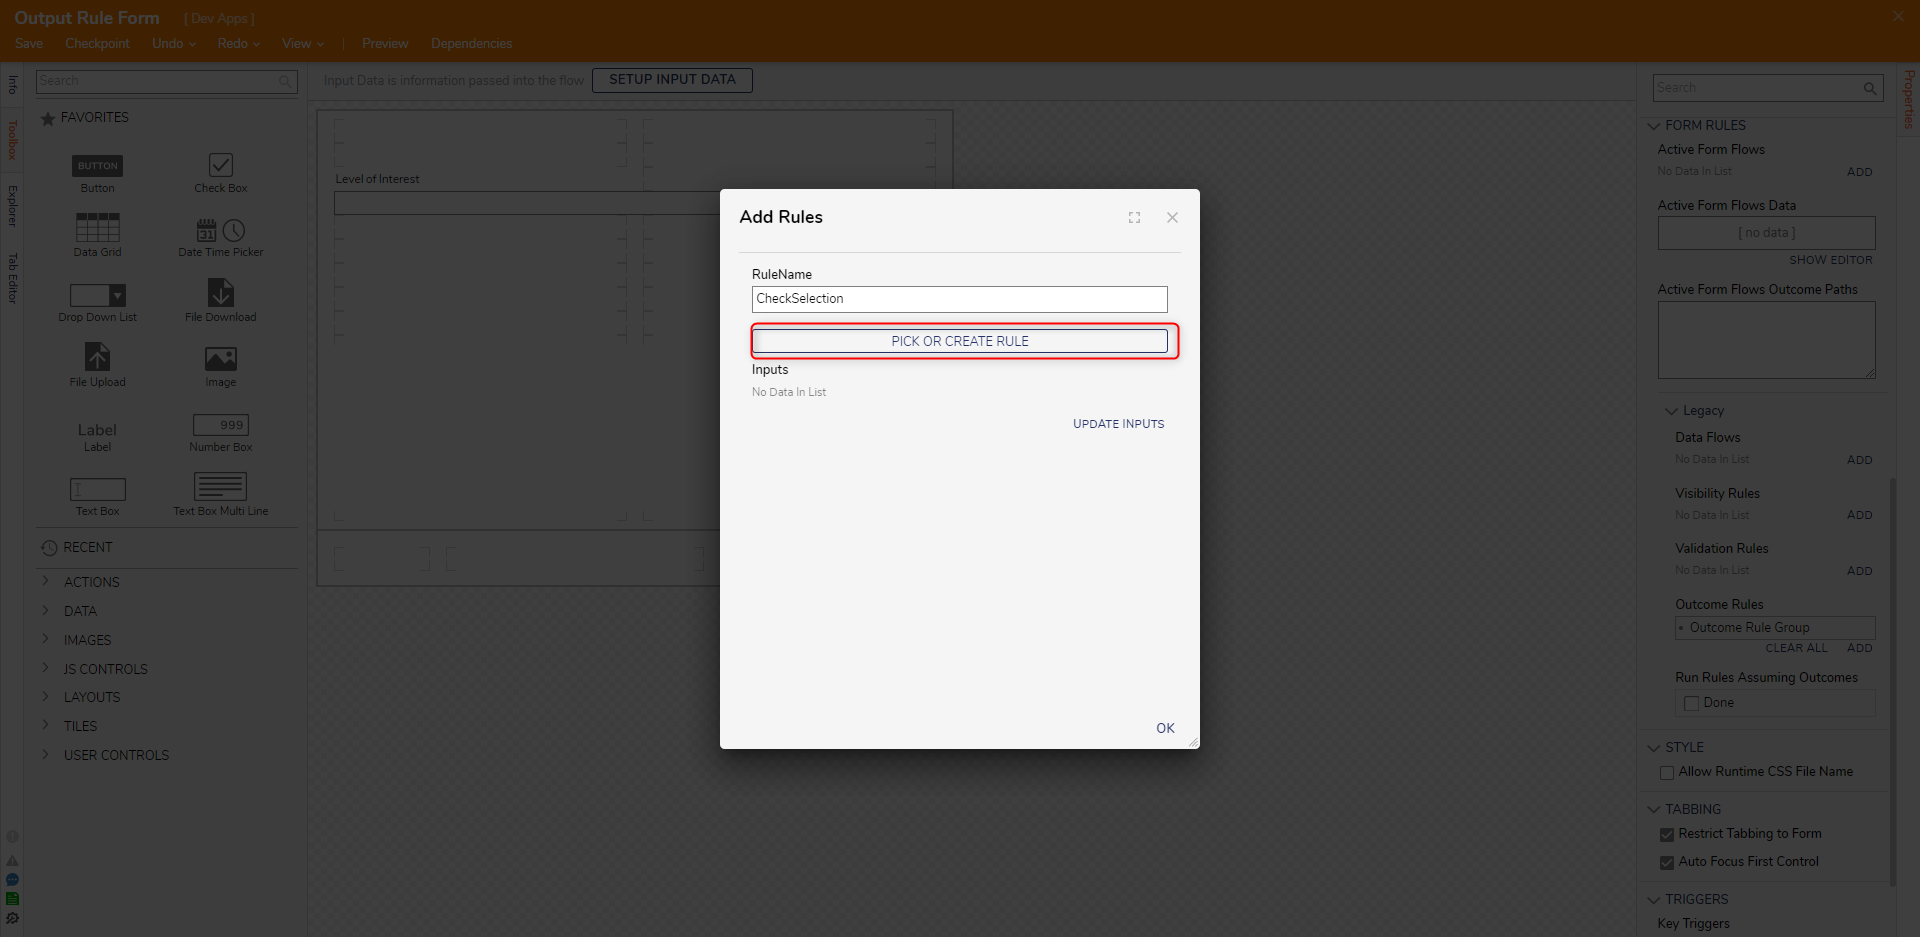
- In the Add Rules window, enter "CheckSelection" in the RuleName field. Click PICK OR CREATE RULE, select CREATE, and select Form Rule [Validation/Visibility] to create a new Rule.
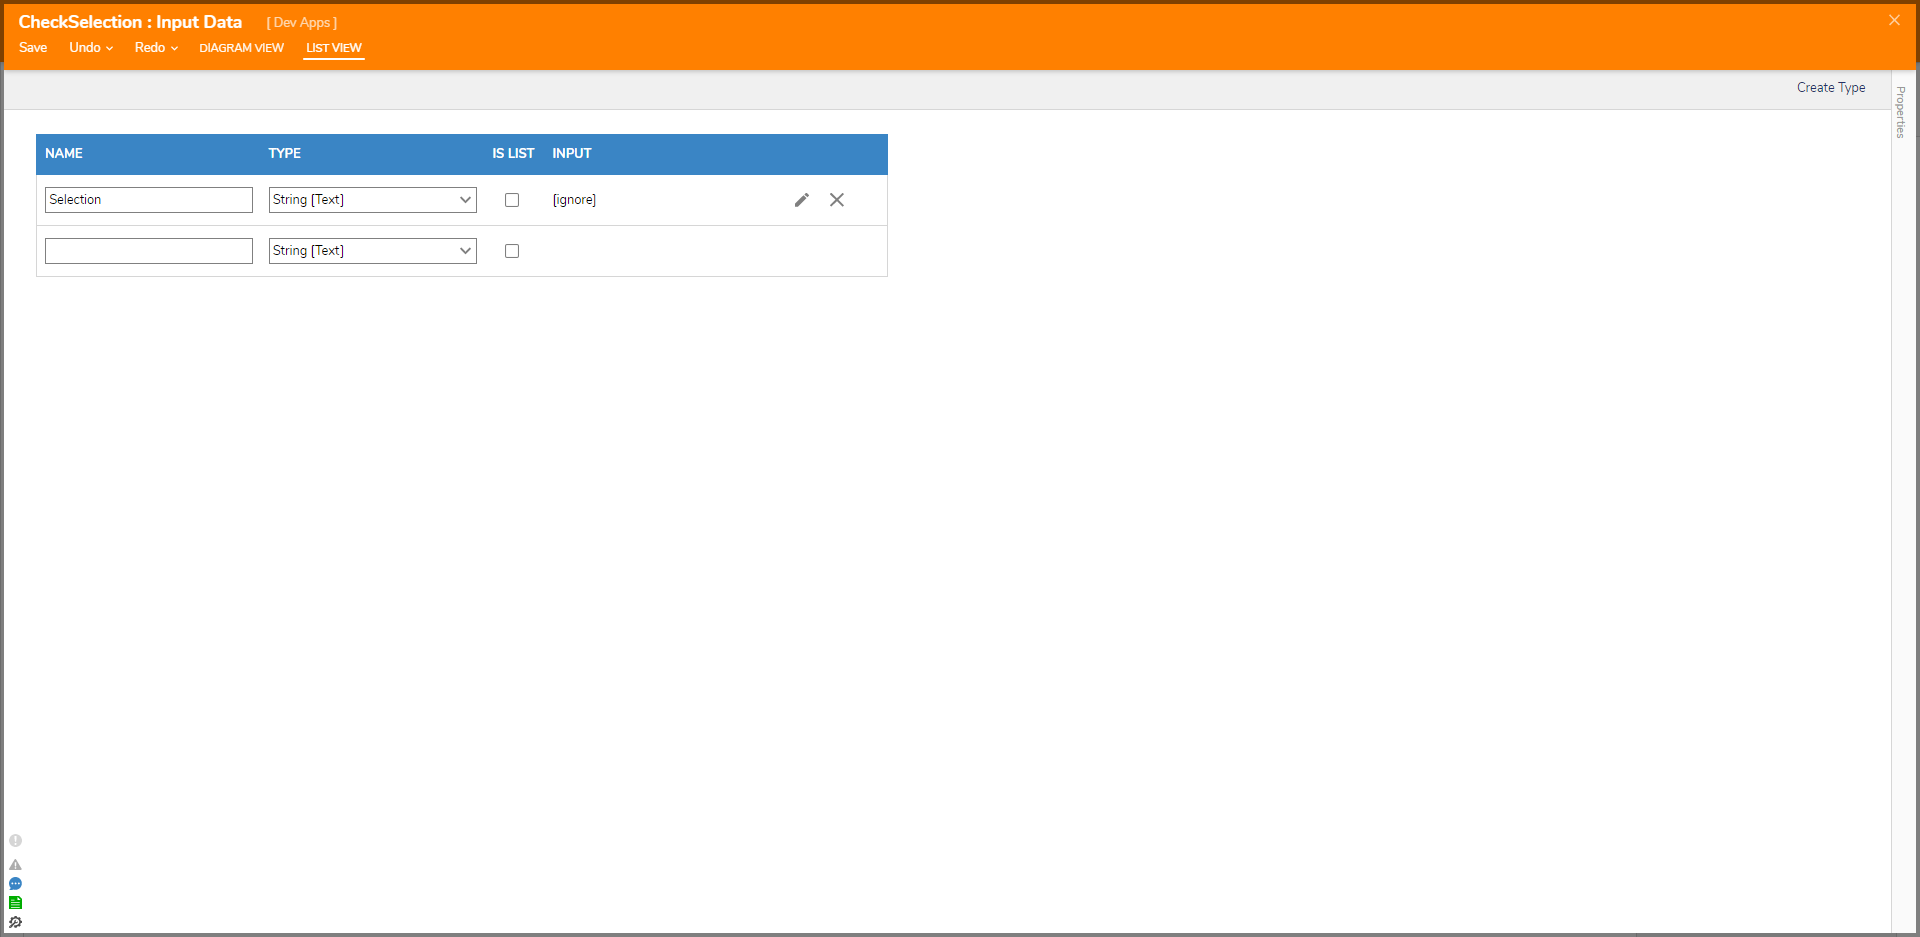
- Click SETUP INPUT DATA. In the Input Data window, enter "Selection" under NAME. Click Save and close the window.
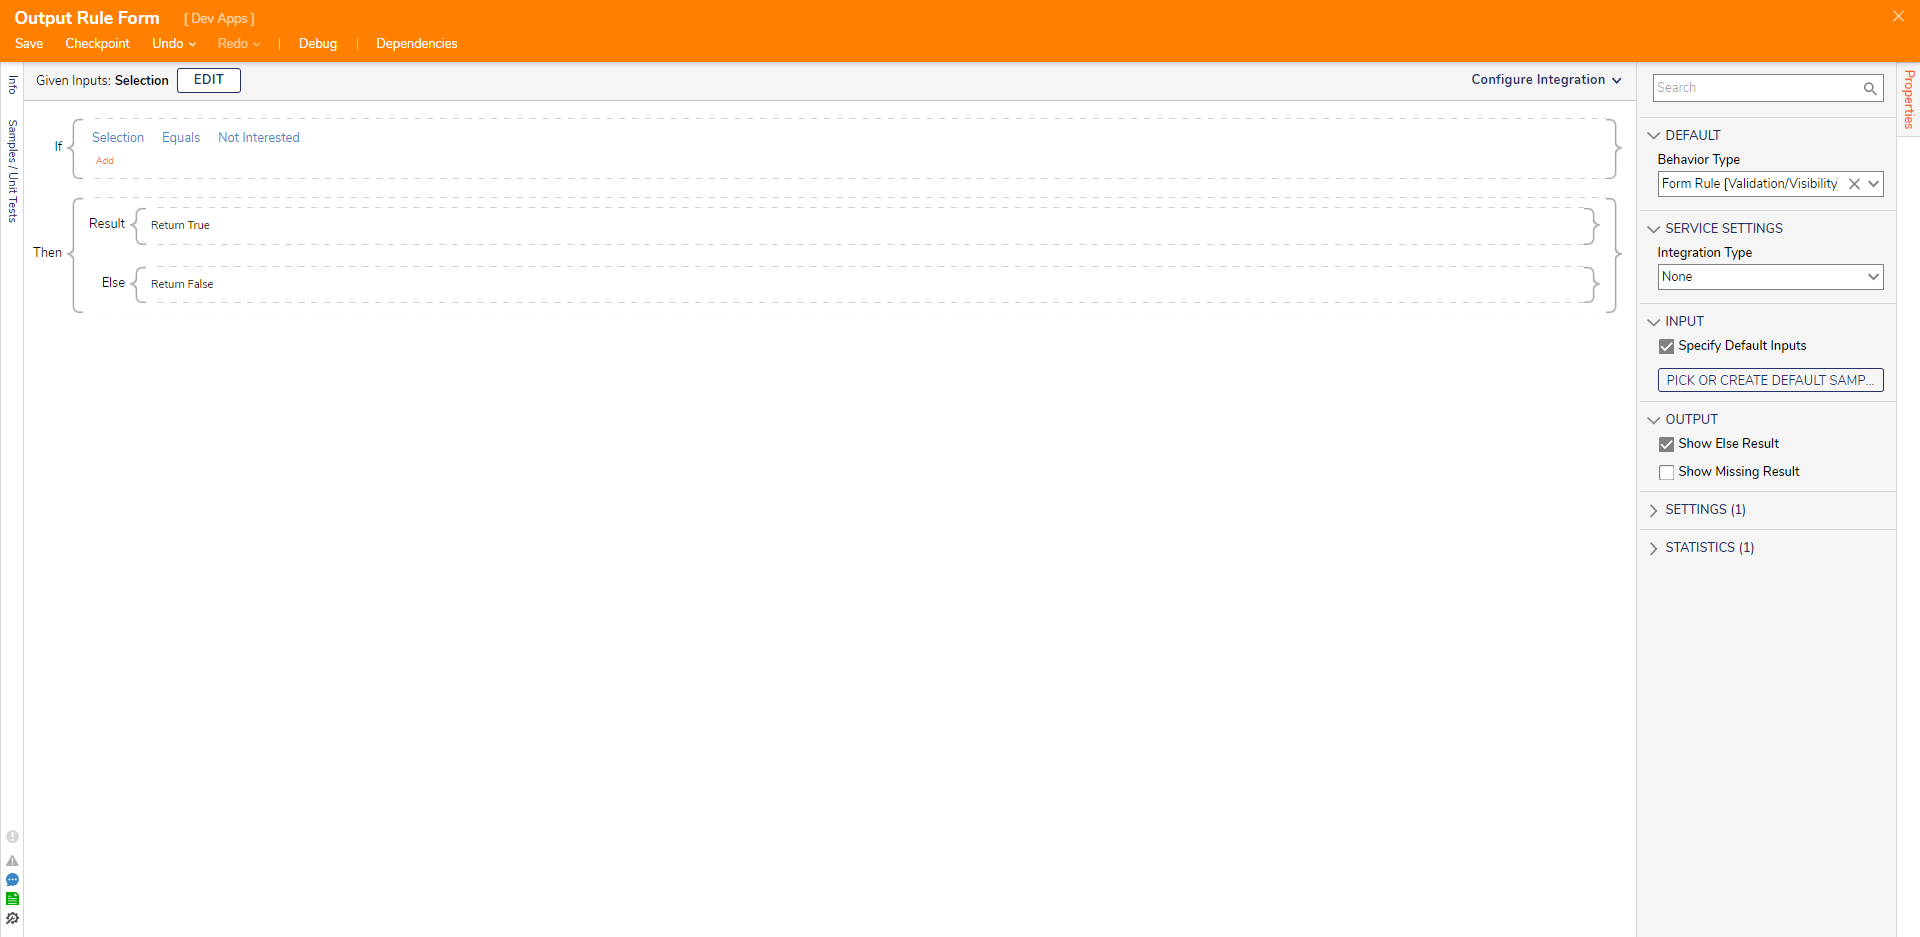
- Configure the Rule to read if "Selection Equals Not Interested." Click Save and close the Rule Designer.
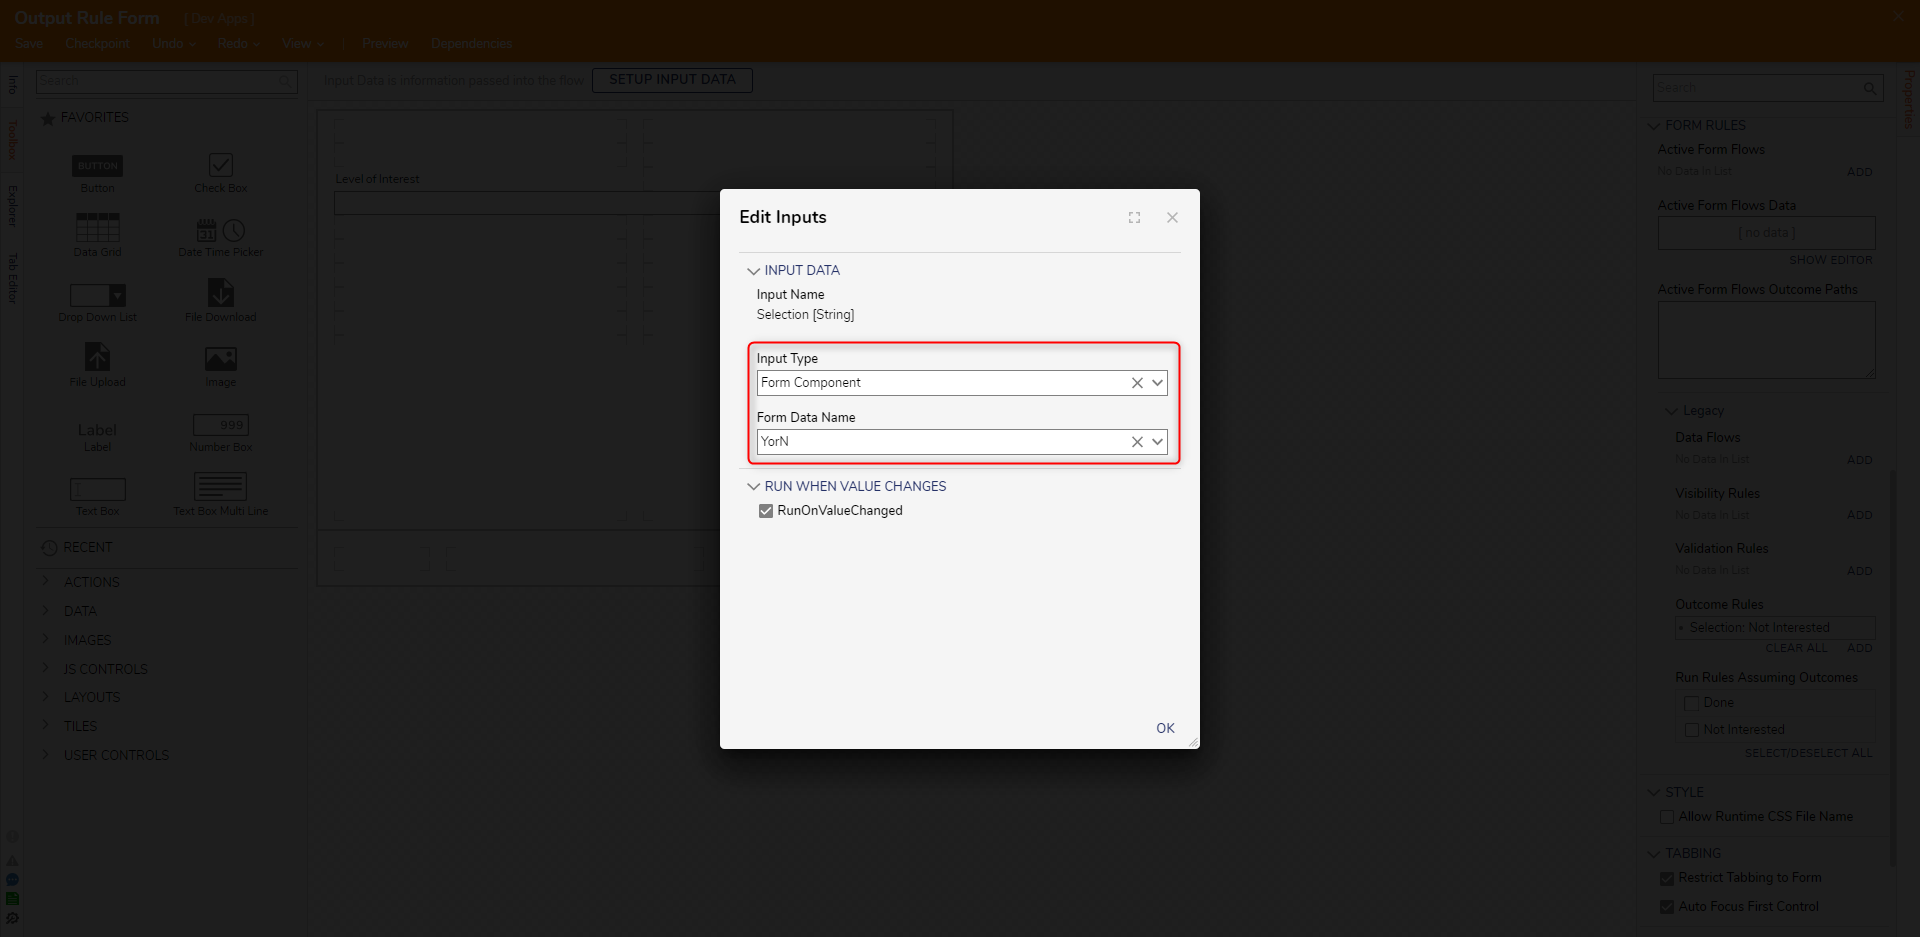
- In the Add Rules window, click UPDATE INPUTS. Click the pencil icon under Inputs.
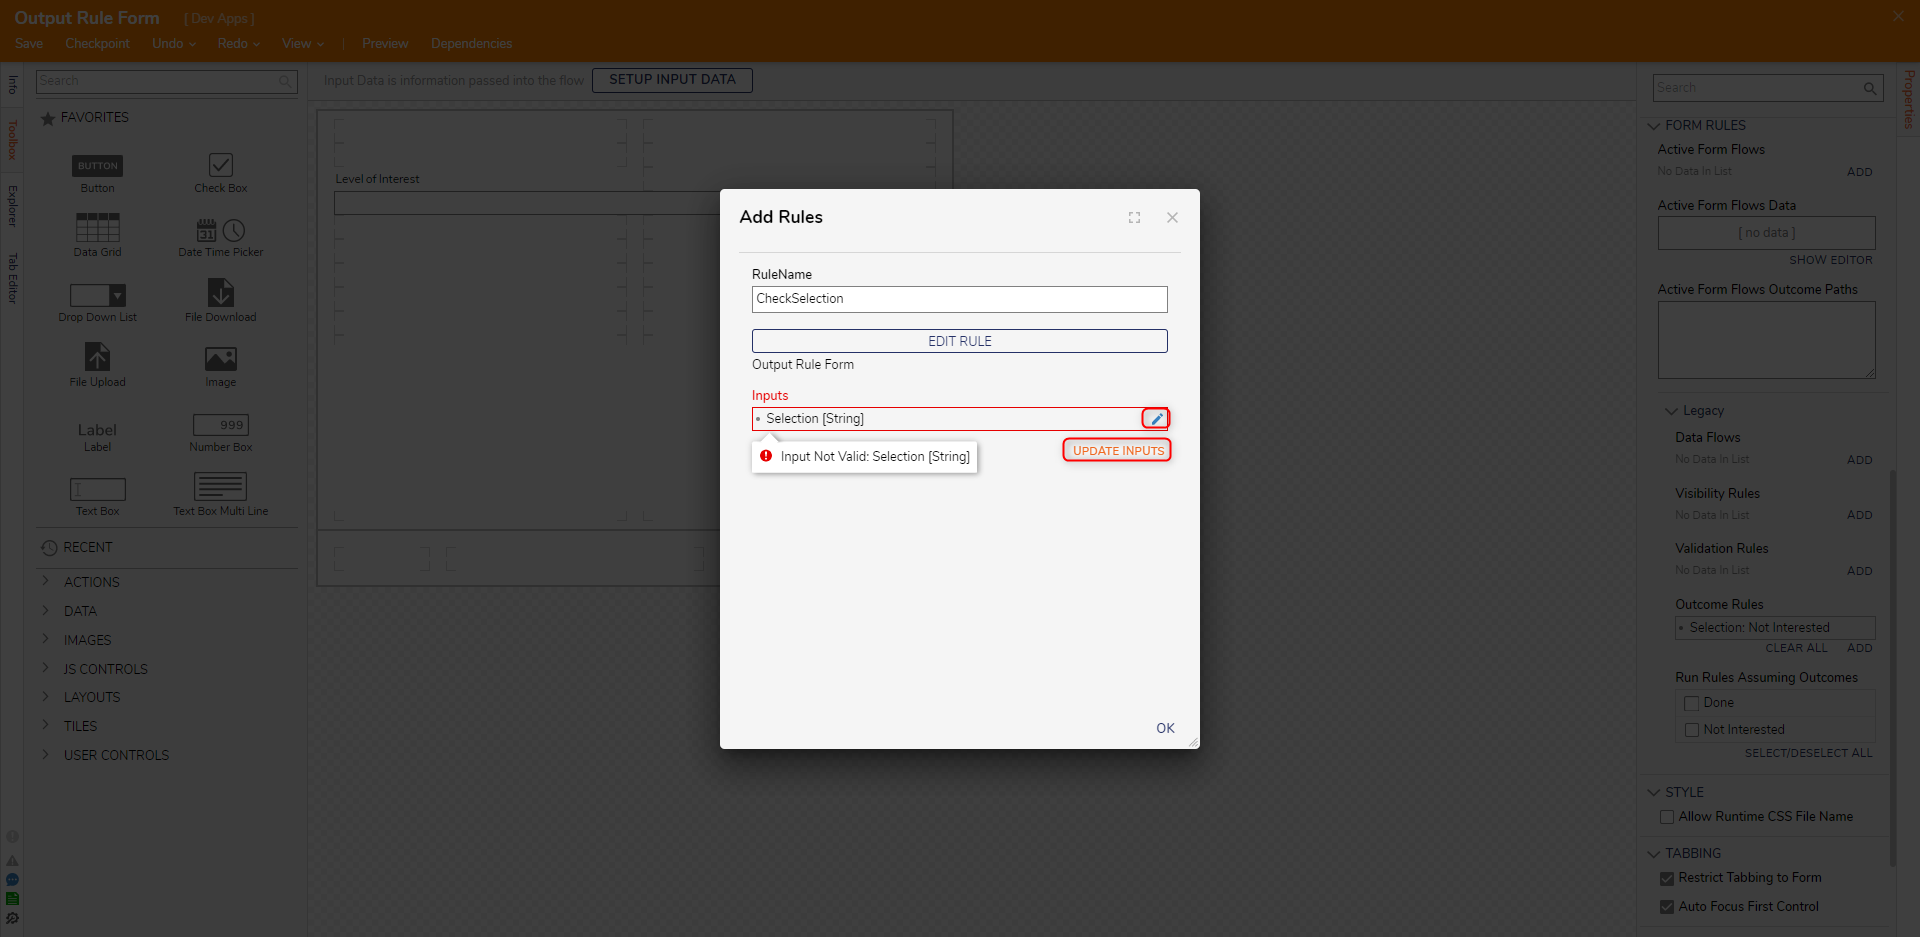
- In the Edit Inputs window, change Input Type to Form Component. Change the Form Data Name to YorN. Click OK.
- Select OK in the Edit Inputs dialog and the Add Rules dialog. Click Save and close the Form Designer.
- Connect the Done and Not Interested outcome paths to the End step. Click Save to save changes to the Flow.
Debug
- On the top action bar, click Debug.
- Select START DEBUGGING.
- When the Form displays, select Not Interested from the dropdown list to have the Flow continue on that path. Click CREATE NEW SESSION and select the Interested option and click Done to follow the Done path.
.gif)
For further information on Forms, visit the Decisions Forum.