Overview
When creating a REST Integration Service, Decisions offers a number of authentication types to give access to the Server being integrated with, without having to provide login or account information each time. One such feature is the use of OAuth. OAuth is an open standard for providing secured delegated access. The following document discusses how to use OAuth in conjunction with a REST Service.
- LoginURL - [base]:[port]/Login
- LogoutURL - [base]:[port]/Logout
- SAML - [base]:[port]/SAML/AssertionConsumer
- TokenHandler - [base]:[port]/HandleTokenResponse
The port number is only needed if Decisions is installed to a non-standard port, which would be anything other than port 80 for HTTP or port 443 for HTTPS.
Establishing a Provider
To gain access to OAuth Settings and the ability to create an OAuth Token, users must first establish an OAuth Provider. This setting is established by navigating to System > Integrations > OAuth > Providers and selecting the ADD OAUTH PROVIDER button within the Folder.
Once selected, the user may define the Provider's Name and a Description. Once that is complete, the user must define the following Provider Settings:
| Setting Name | Description |
| OAuth Version | Allows the user to define which version of OAuth is used in the Provider; either OAuth1x or OAuth2. |
| Token Request URL | Allows the ability to request a Token from the Integrated Service. |
| Token Refresh URL (Optional) | Allows the ability to access the API after expiration without inputting additional credentials. |
| Authorize URL | Enables access to the API. |
| Callback URL | The URL that the API returns to after running, typically to make any data changes or to POST to the API. |
| Default Consumer Key | Used as a means to identify the user or service that interacts with the API. |
| Default Consumer Secret Key | Acts in conjunction with the Default Consumer Key as a password to allow access to the API's functions. |
OAuth Settings
After establishing a Provider, OAuth Settings can be used with a REST Integration by scrolling to the Authentication Settings in the Add REST Service screen that appears when a user creates a new REST Service via the CREATE DATAYPES/INTEGRATION button in a Designer Folder.
From the Authentication Settings, toggling Use OAuth Settings triggers the appearance of the OAuth Panel below.
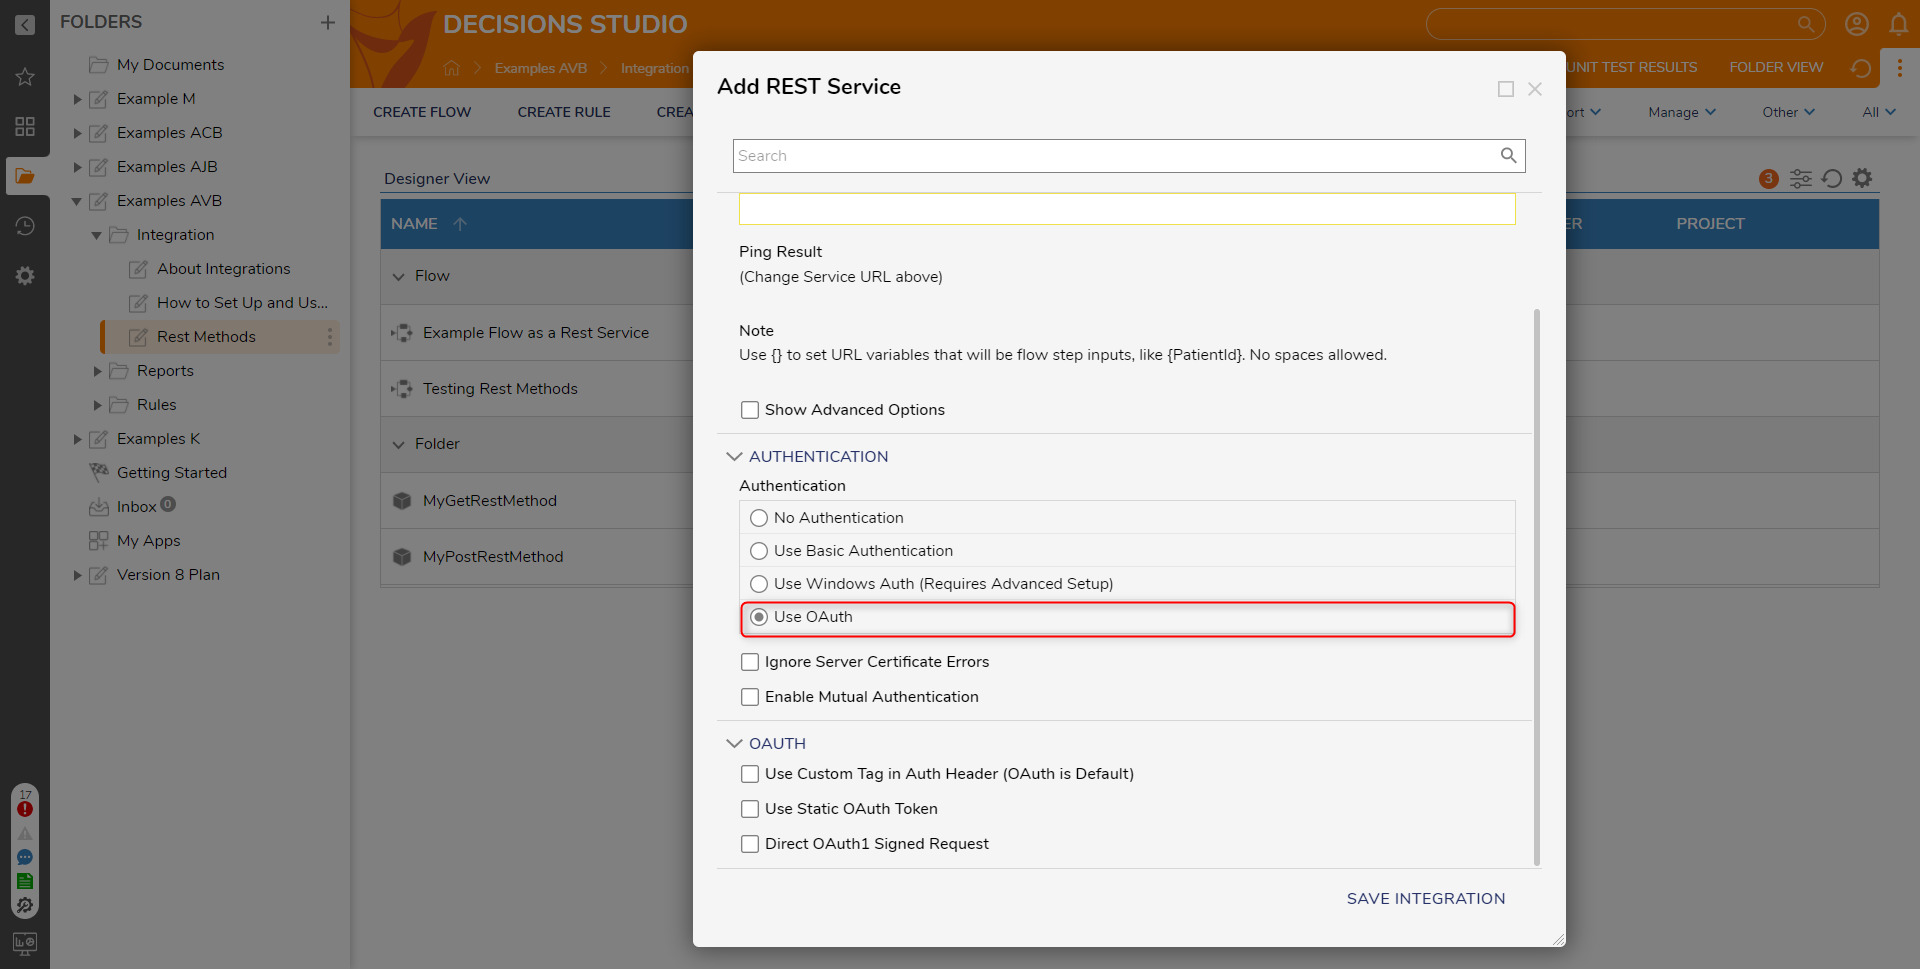
The OAuth Panel provides users with the following three options for OAuth :
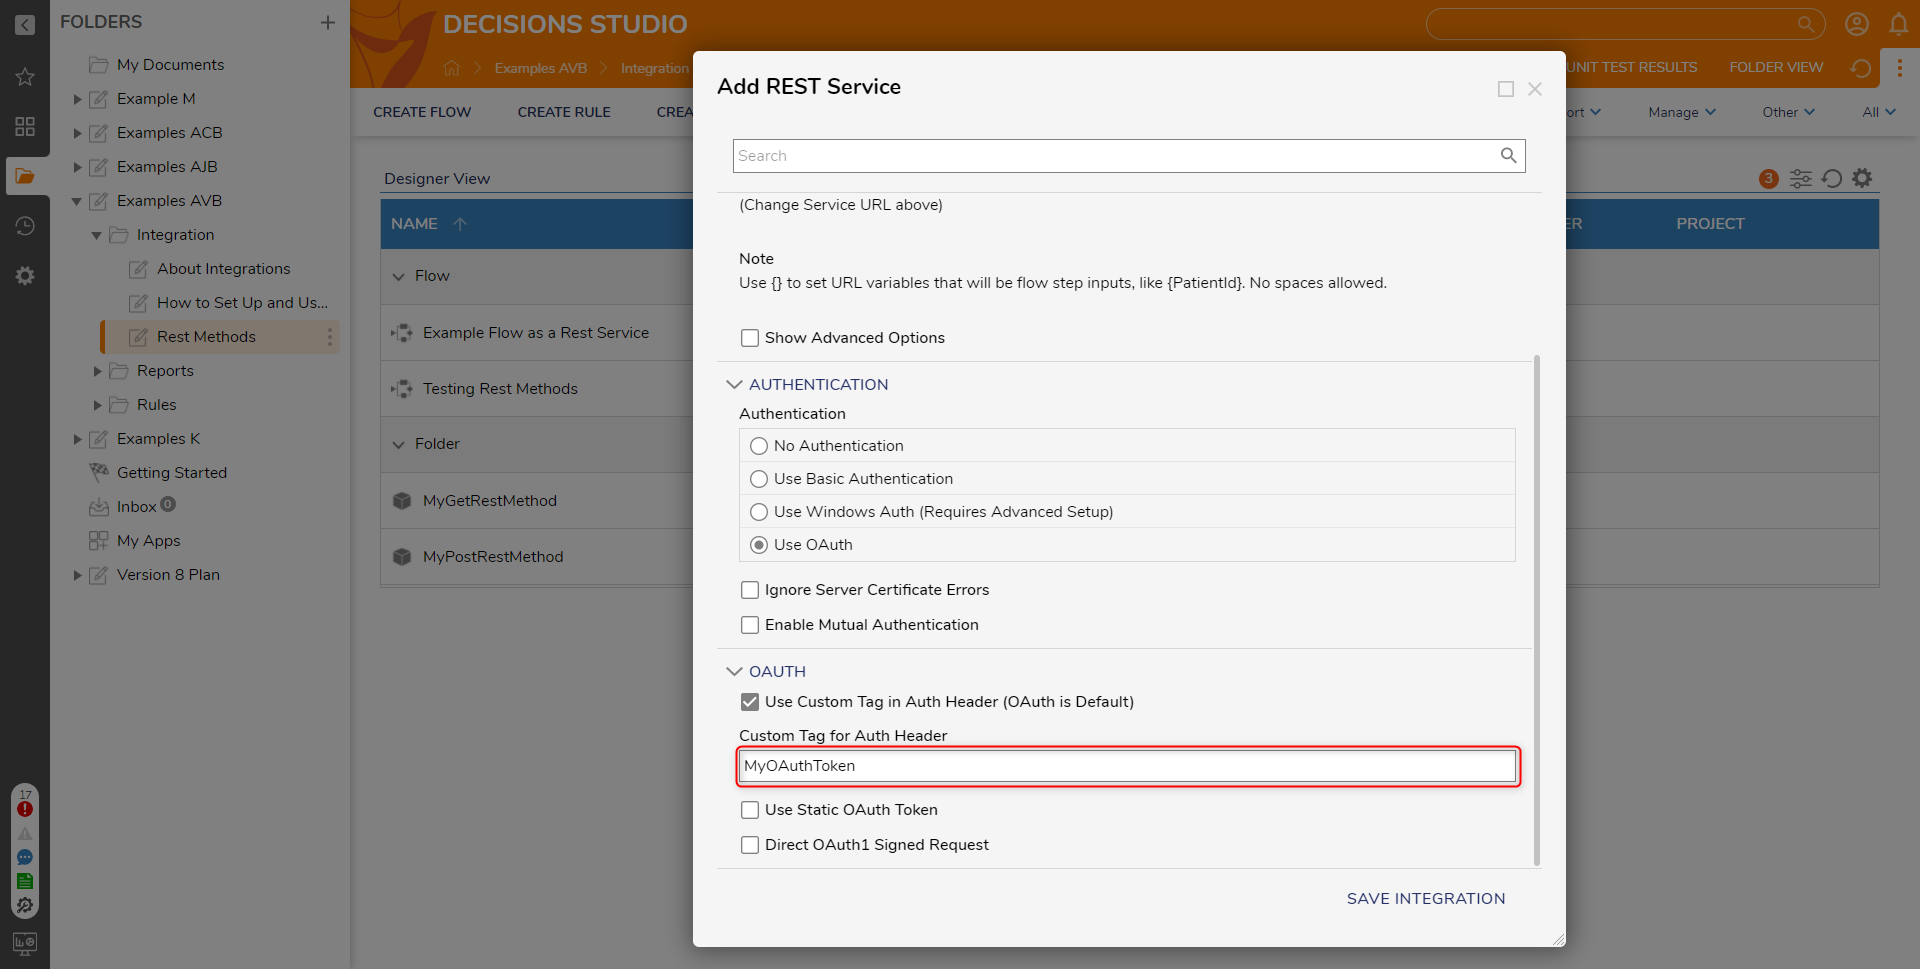
- Use Custom Tag in Auth Header (OAuth is Default): Allows the user to input a custom OAuth Header Tag.
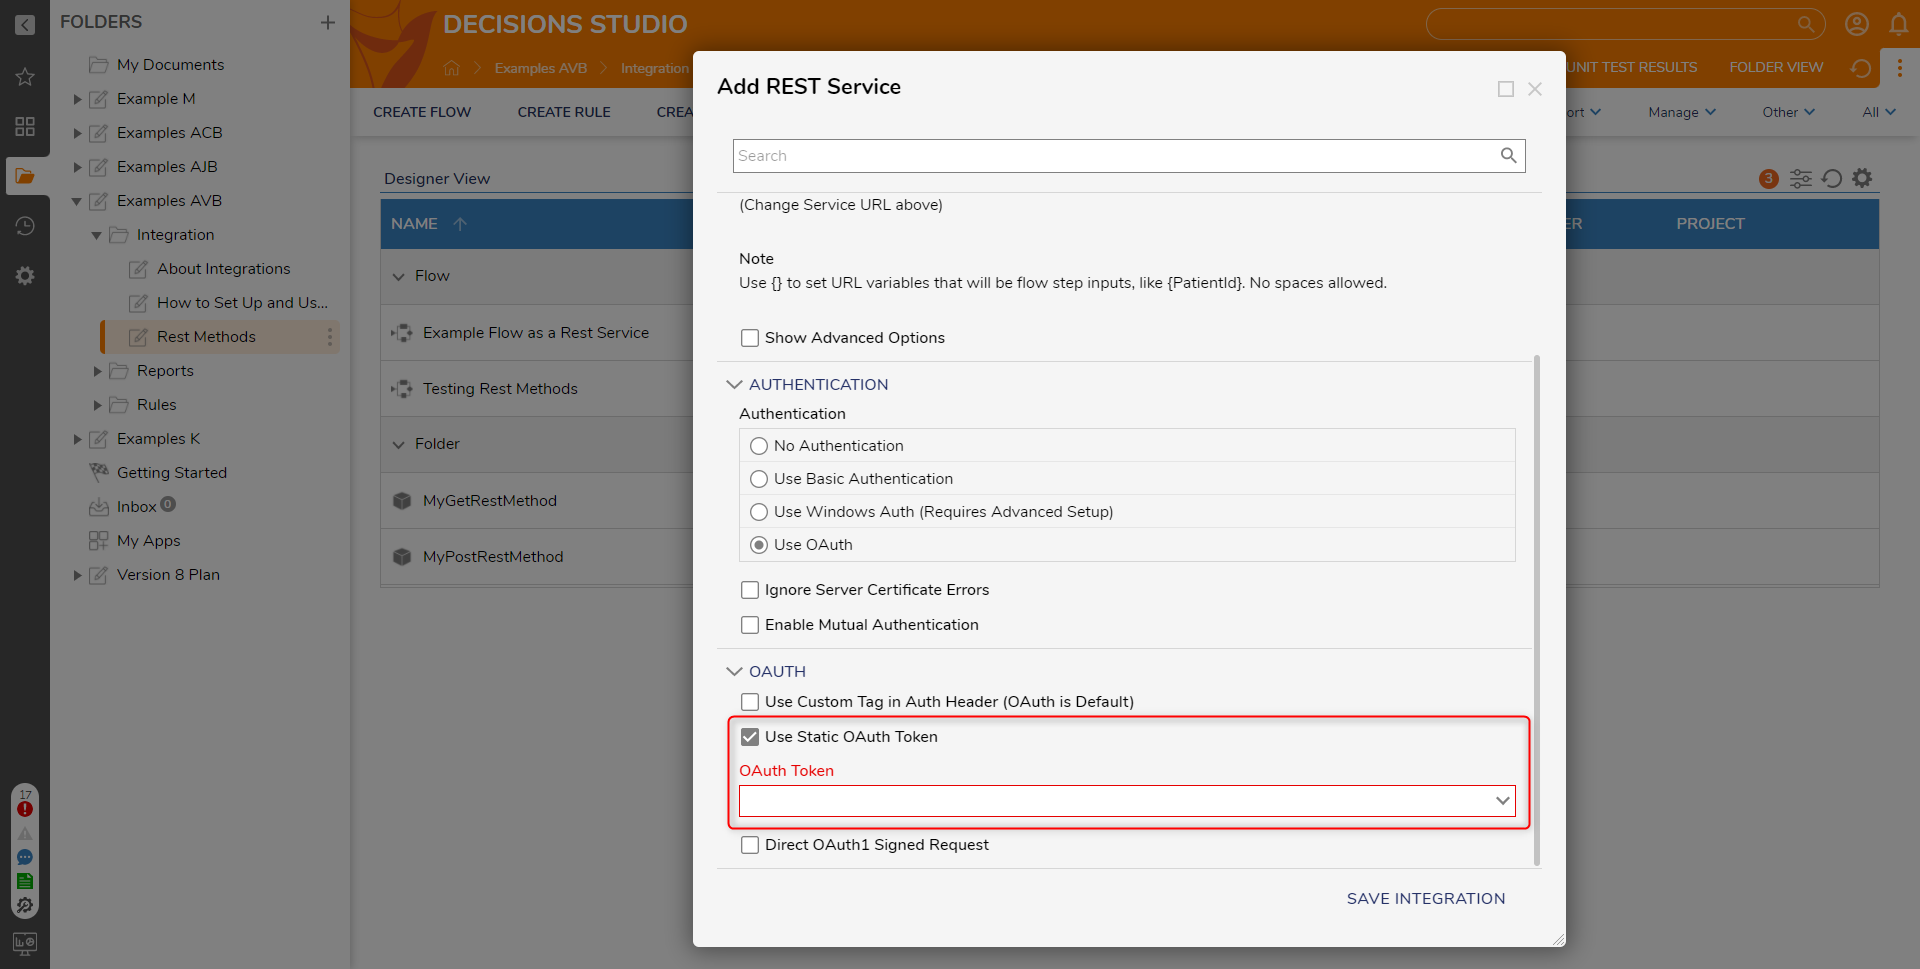
- Use Static OAuth Token: Provides the user a drop-down menu that allows the user to select a pre-made OAuth Token. Without this enabled, the Token will be available as the Input.Use Static OAuth Token Considerations:
- The OAuth Token drop-down requires at least one pre-configuration of an OAuth Token. To properly create and set up an OAuth Token, see Creating OAuth Tokens.
- It is advised to use a Dynamic Token rather than a Static one. Dynamic Tokens are different every time, much like how authentication codes change every ten seconds with Two-Factor Authentication. This helps improve security for the OAuth Token.
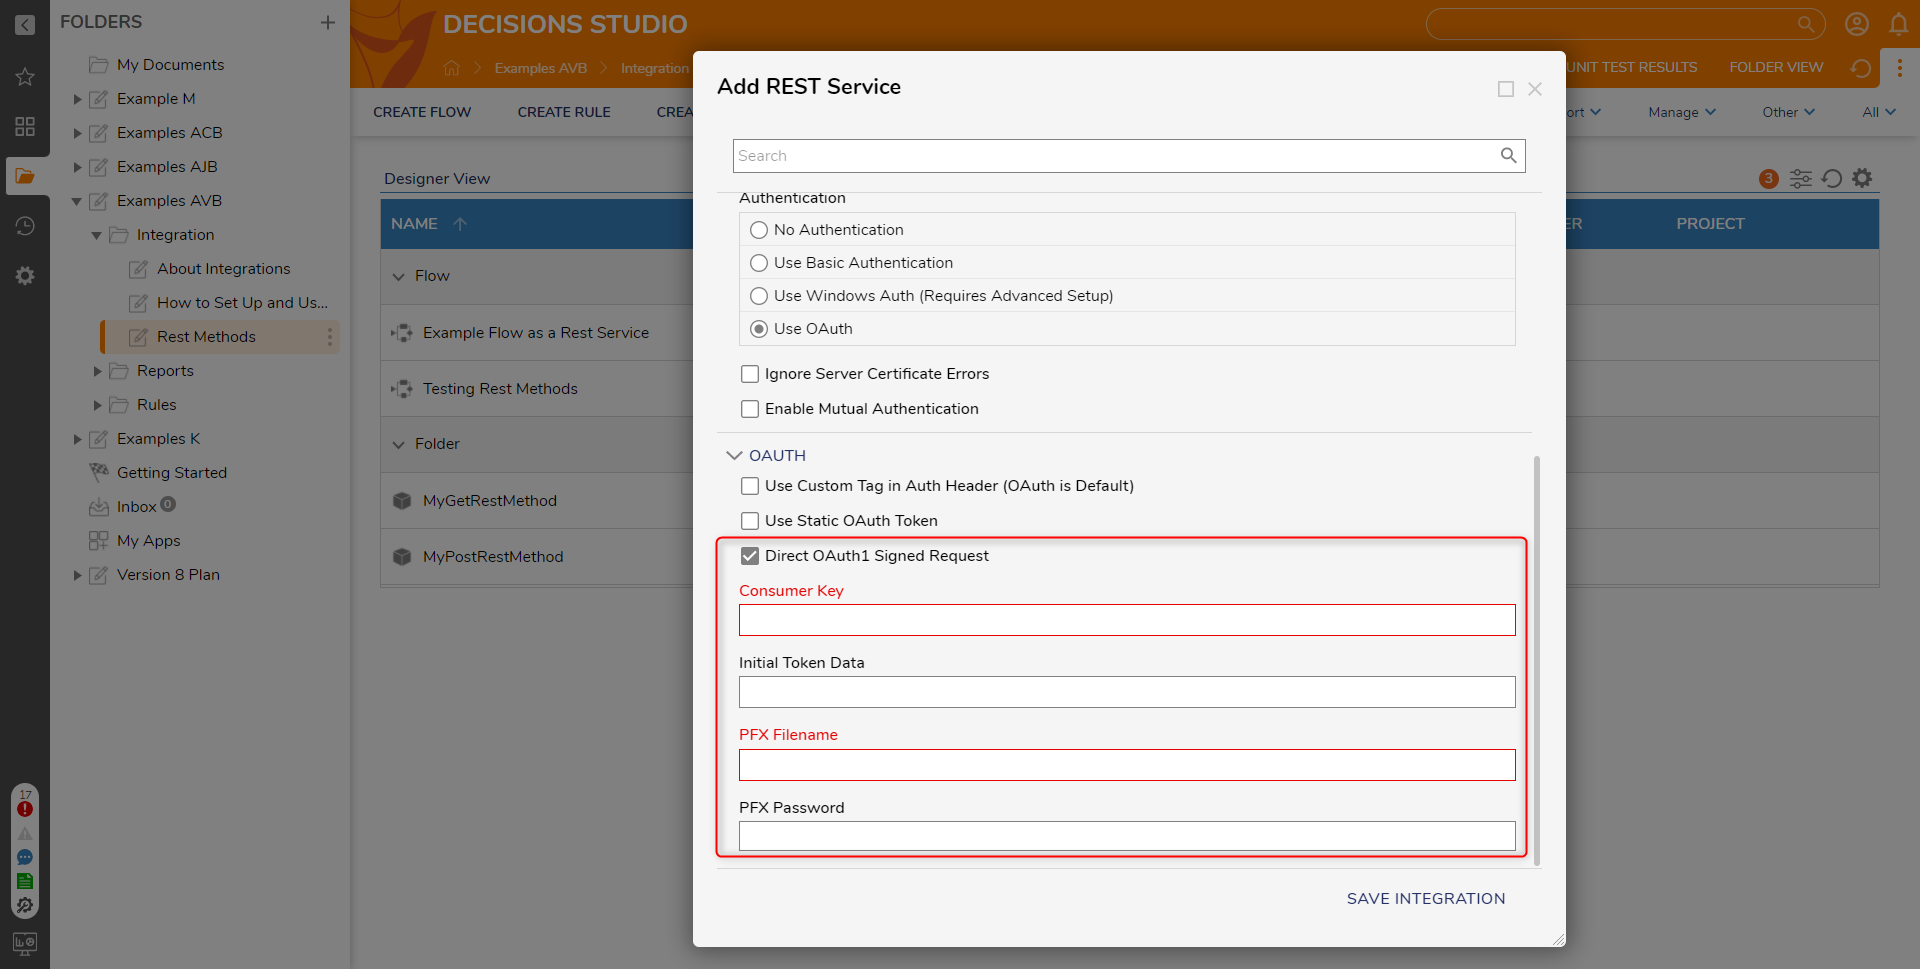
- Direct OAuth1 Signed Request: Requires the Consumer Key, Initial Token Data, PFX Filename, and PFX Password.