The REST Service integration holds configuration data that is shared between REST Service methods in the REST Service such as the base URL, authentication, and any custom headers. Each REST method is an HTTP call that can be made to obtain or send data.
Creating a REST Service
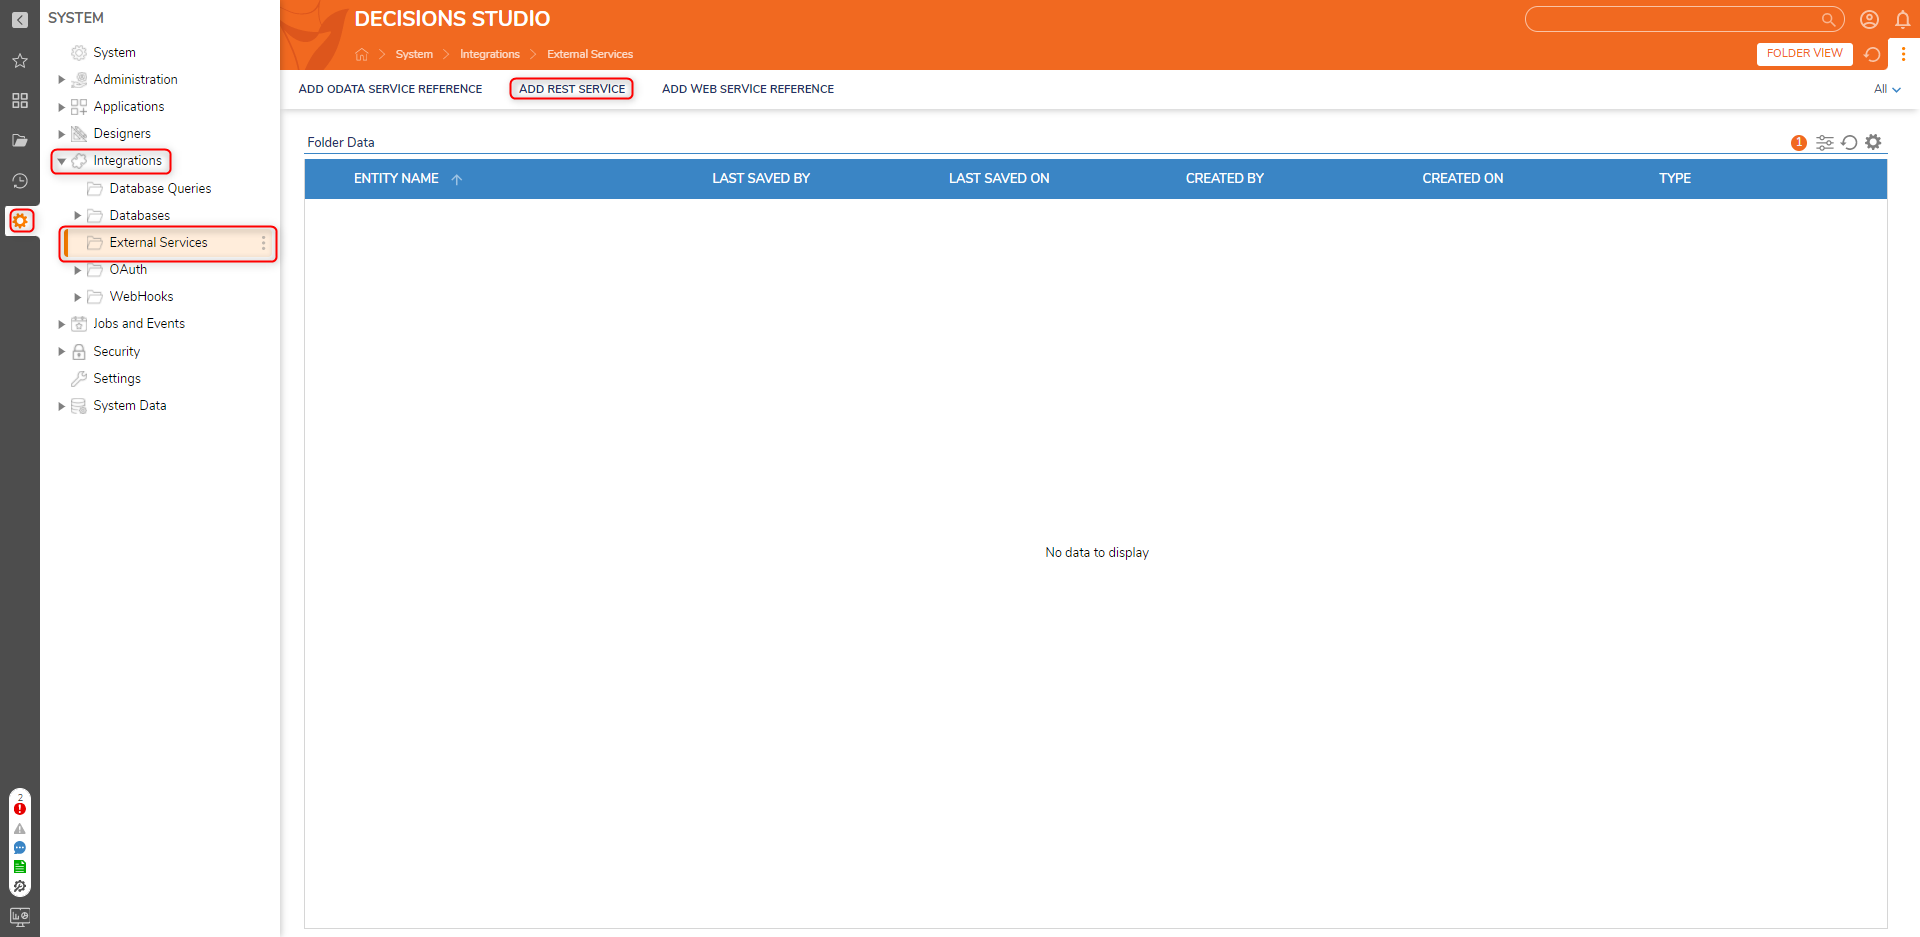
- Navigate to System > Integrations > External Services. Click ADD REST SERVICE.
- Enter the name and URL for the Service.
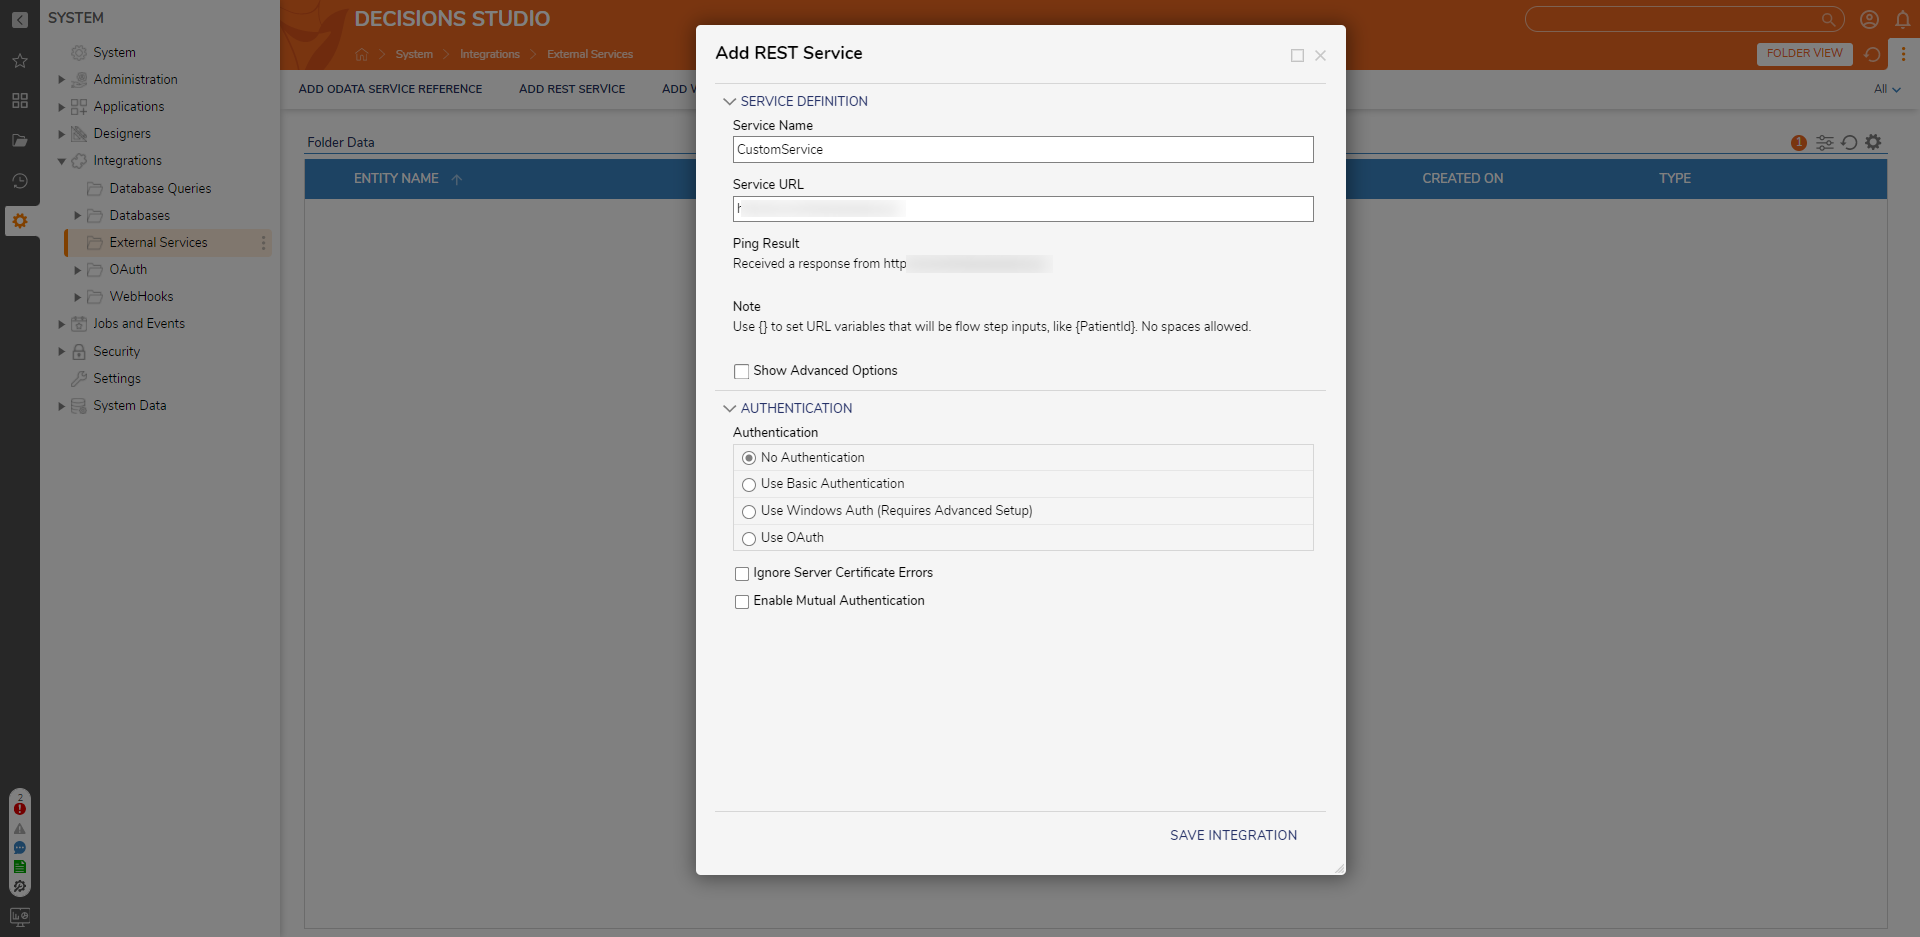 The Show Advanced Options settings will allow the user to define additional HTTP Headers. Any headers set here will be applied to all REST Methods for this service unless overridden in the REST Method.
 - After entering the URL, the Ping Result field will show the result of trying to reach that URL. Configure any necessary variables using braces to define them within the URL. These variables will appear as Flow step inputs. For example, a URL with a variable would be https://example.com/api/fetch/{requestId}/accounts.
- Configure the Authentication for the Service. Then, click SAVE INTEGRATION.
Variables
Variables can be defined as part of the URL in a REST Service or REST Method, as well as in the request body. These variables will appear as inputs to the REST Method Flow step, and those input values will automatically be inserted in the appropriate locations when the step runs.
To include a variable in a URL or request body, put the variable name inside curly braces, with no spaces (i.e, {myNewInput})
Variable definitions won't interfere with JSON in the request body because the variable name must appear with no spaces or other special characters. For example, this request body defines 2 variables (company name and count) and includes them inside the JSON: { "name":"{companyName}", "count": {count} }
Authentication Settings
After setting the necessary variables. Set the Authentication method for accessing the Service. The Authentication settings on the REST Service can also be overridden on each REST Method.
Basic Authentication
| Setting Name | Description |
|---|---|
| Pre-Authenticate Request | Includes credentials in the request header. |
| Use Static Credentials | Choose user and password here, rather than in the Flow. |
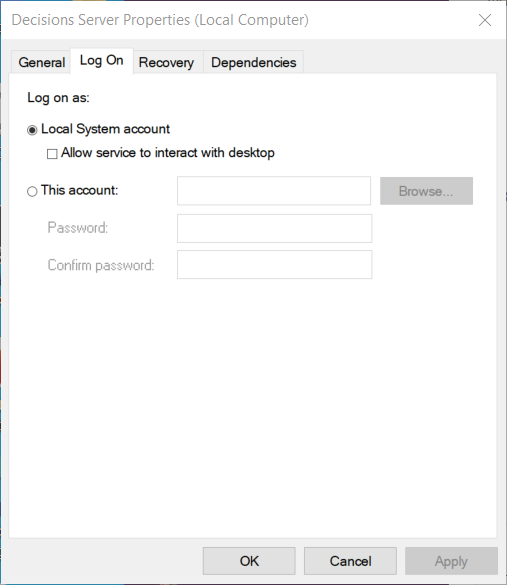
The user account that this will use is the account running Decisions Server and not the user account executing the step. This is the account Properties dialog window under Log on.
Windows Auth
Uses the Windows environment for authentication.
Use OAuth
From the Authentication settings, toggling Use OAuth Settings triggers the appearance of the OAuth panel below.
| Setting Name | Description |
|---|---|
| Use Custom Tag in Auth Header (OAuth is Default) | Allows the user to input a custom OAuth header tag |
| Use Static OAuth Token | Provides the user with a dropdown menu that allows the user to select a pre-made OAuth Token. Without this enabled, the Token will be available as the Input. |
| Direct OAuth1 Signed Request | Use OAuth1 to send a direct request signed with a private certificate. Provides the Consumer Key, Initial Token Data, PFX Filename, and PFX Password Input boxes. Consumer Key and PFX Filename are required for this option. |
Ignore Server Certificate Errors
Ignores certificate errors produced by the server when authenticating
Enable Mutual Authentication
Enables users to upload SSL credentials such as a P12/PFC Certificate and the P12/PFK Password.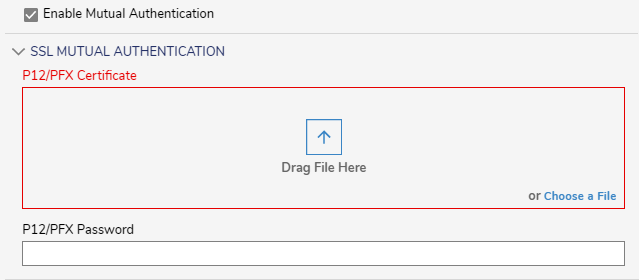
Defining Headers in REST Service Using Advanced Options
To help with such errors as Proxy Authentication Errors, provide additional information, or if additional Authentication that cannot be fulfilled by the Authentication settings is required, users may add Custom Headers to their REST Service to pass in that information.
- Under System > Integrations > External Services
- Right-click the desired REST Service and select Edit Service.
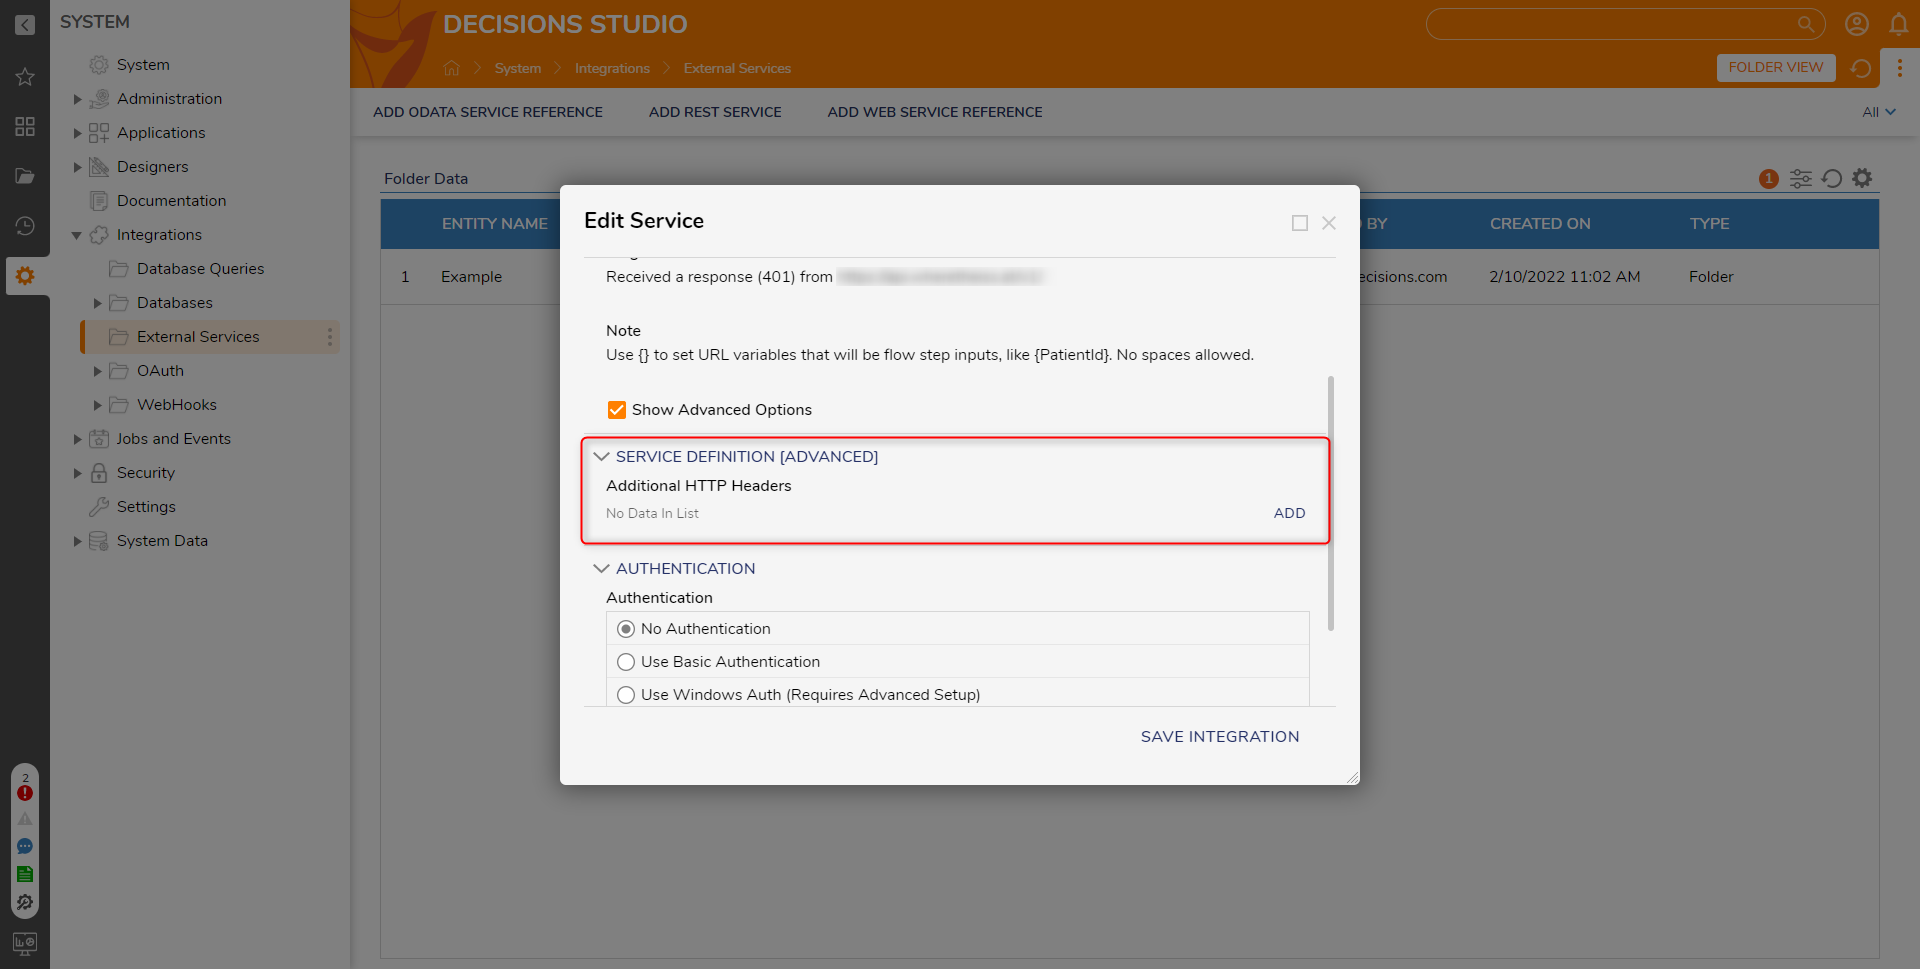
- From the Edit Service window, under SERVICE DEFINITION, check the Show Advanced Options box.
- Under SERVICE DEFINITION [ADVANCED] > Additional HTTP Headers, click ADD.
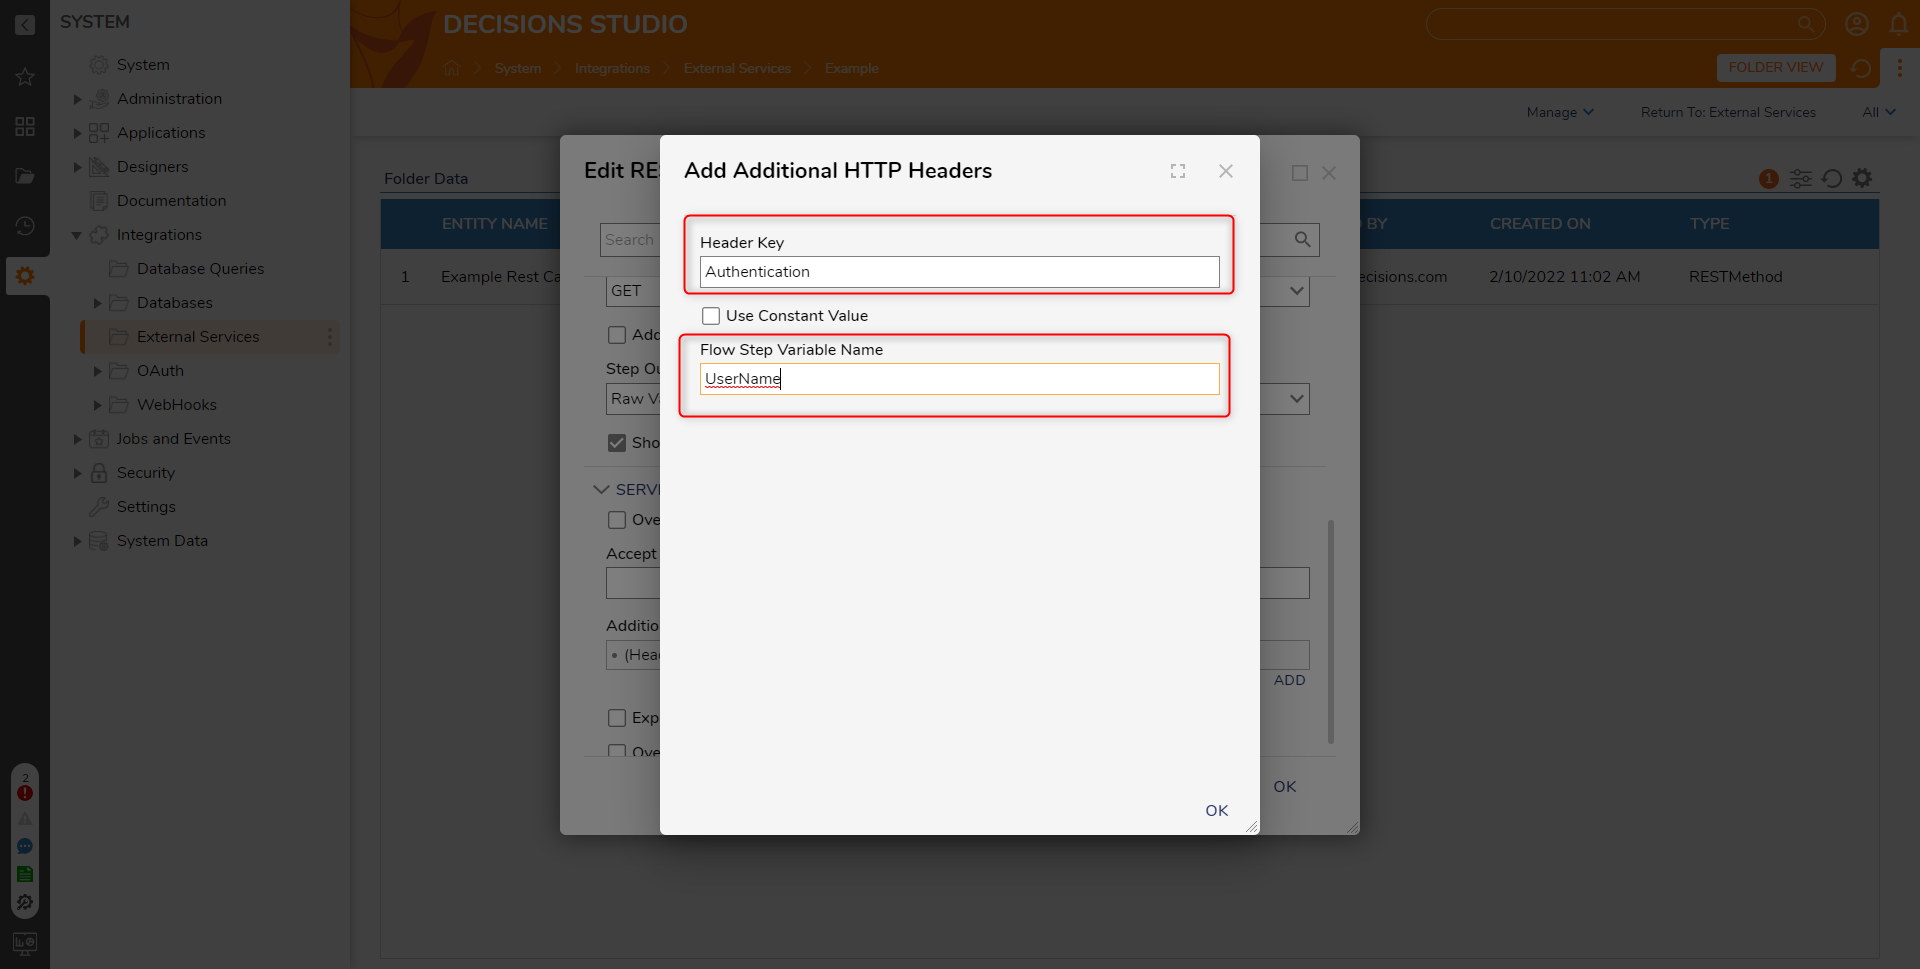
- From the Add Additional HTTP Headers window, provide the Header Key and the Flow Step Variable Name, then click OK.Note on Additional Header SettingsThe Header Key represents the name of the Header being passed into the call. The Flow Step Variable Name represents the Data Name that will be used as the step's input in the Flow Designer.
 Further on Additional Header SettingsTo find any Headers that may be required for the Integration via Flow, utilize API testing software such as Postman, and create a call using the Integration URL for the Service. Upon pasting in the URL, the Headers tab will populate with any Headers related to the Service.
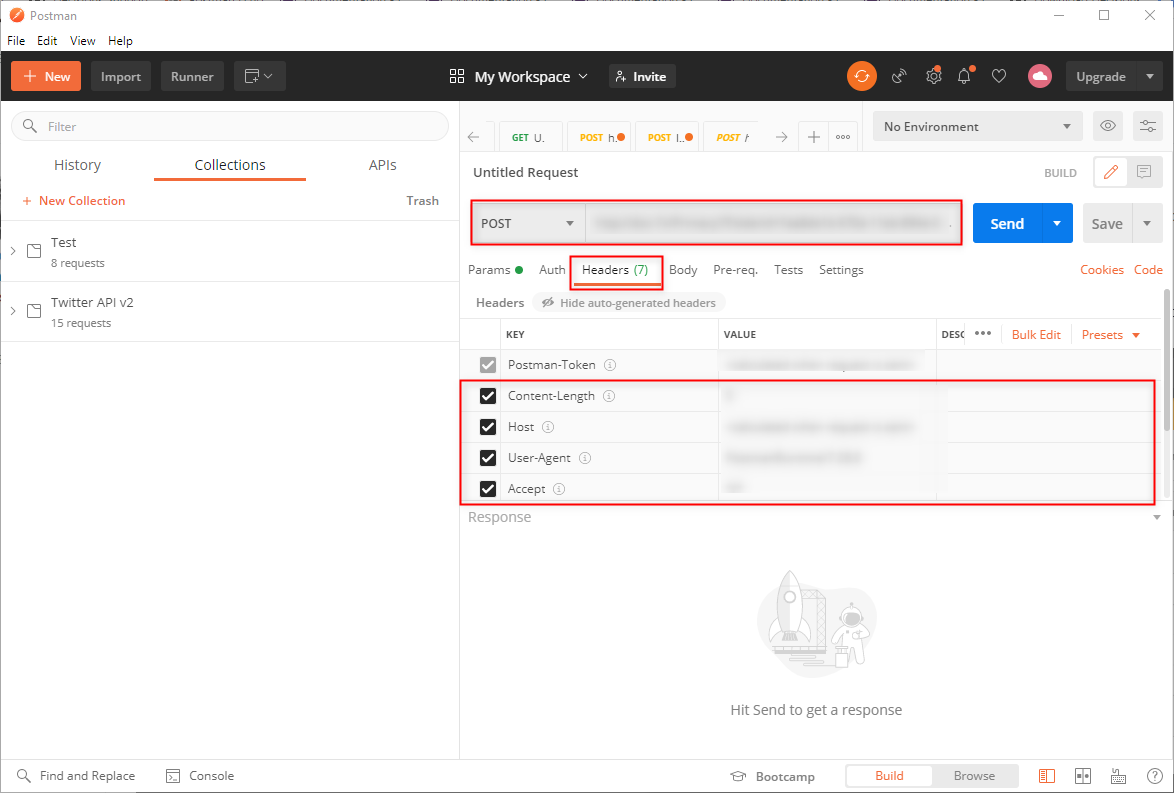
- After all desired edits have been made, click SAVE INTEGRATION.
