Two or more containers cannot be started at the same time.
For containers running on a new database, start only one first so it may set up the database, After that, start other containers one at a time.
This article will cover the steps to deploy a container onto an AWS (Amazon Web Service) environment. Containers will be created using Amazon ECS.
Prerequisite:
- An active AWS account
Deploying container in AWS
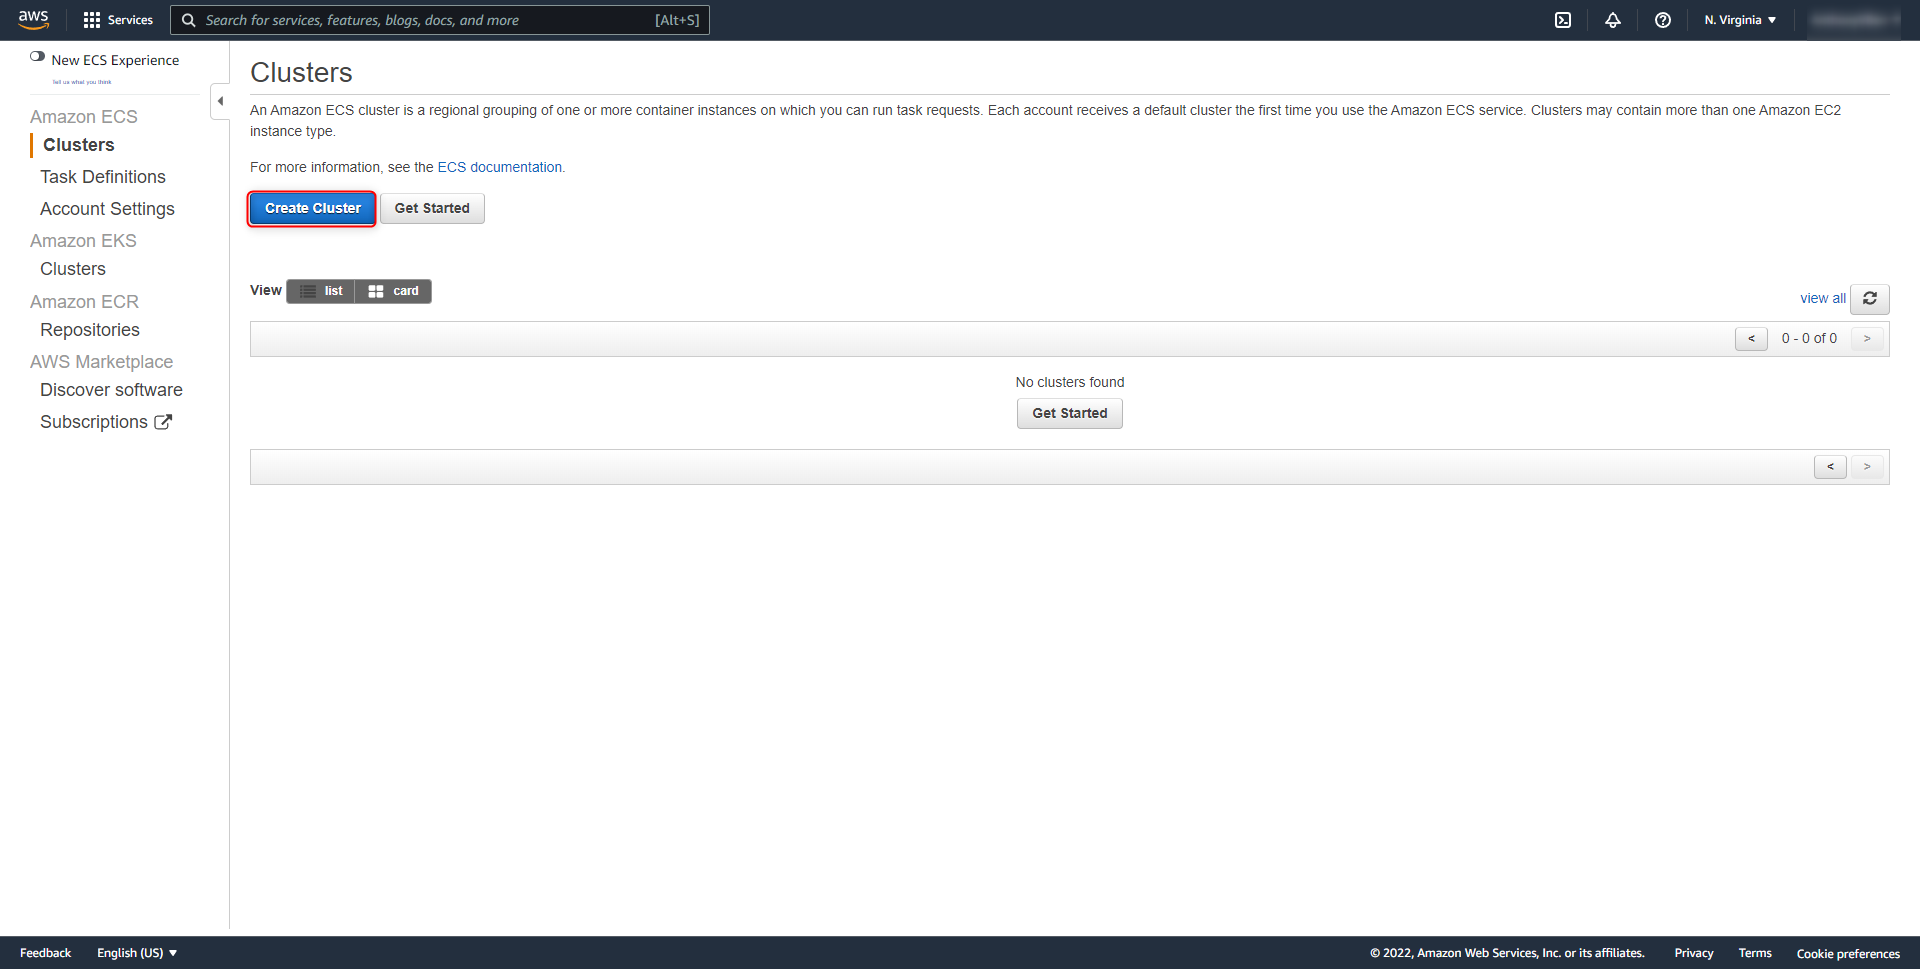
- Login to AWS portal. In the search menu, search for ECS.

- Select Create Cluster.
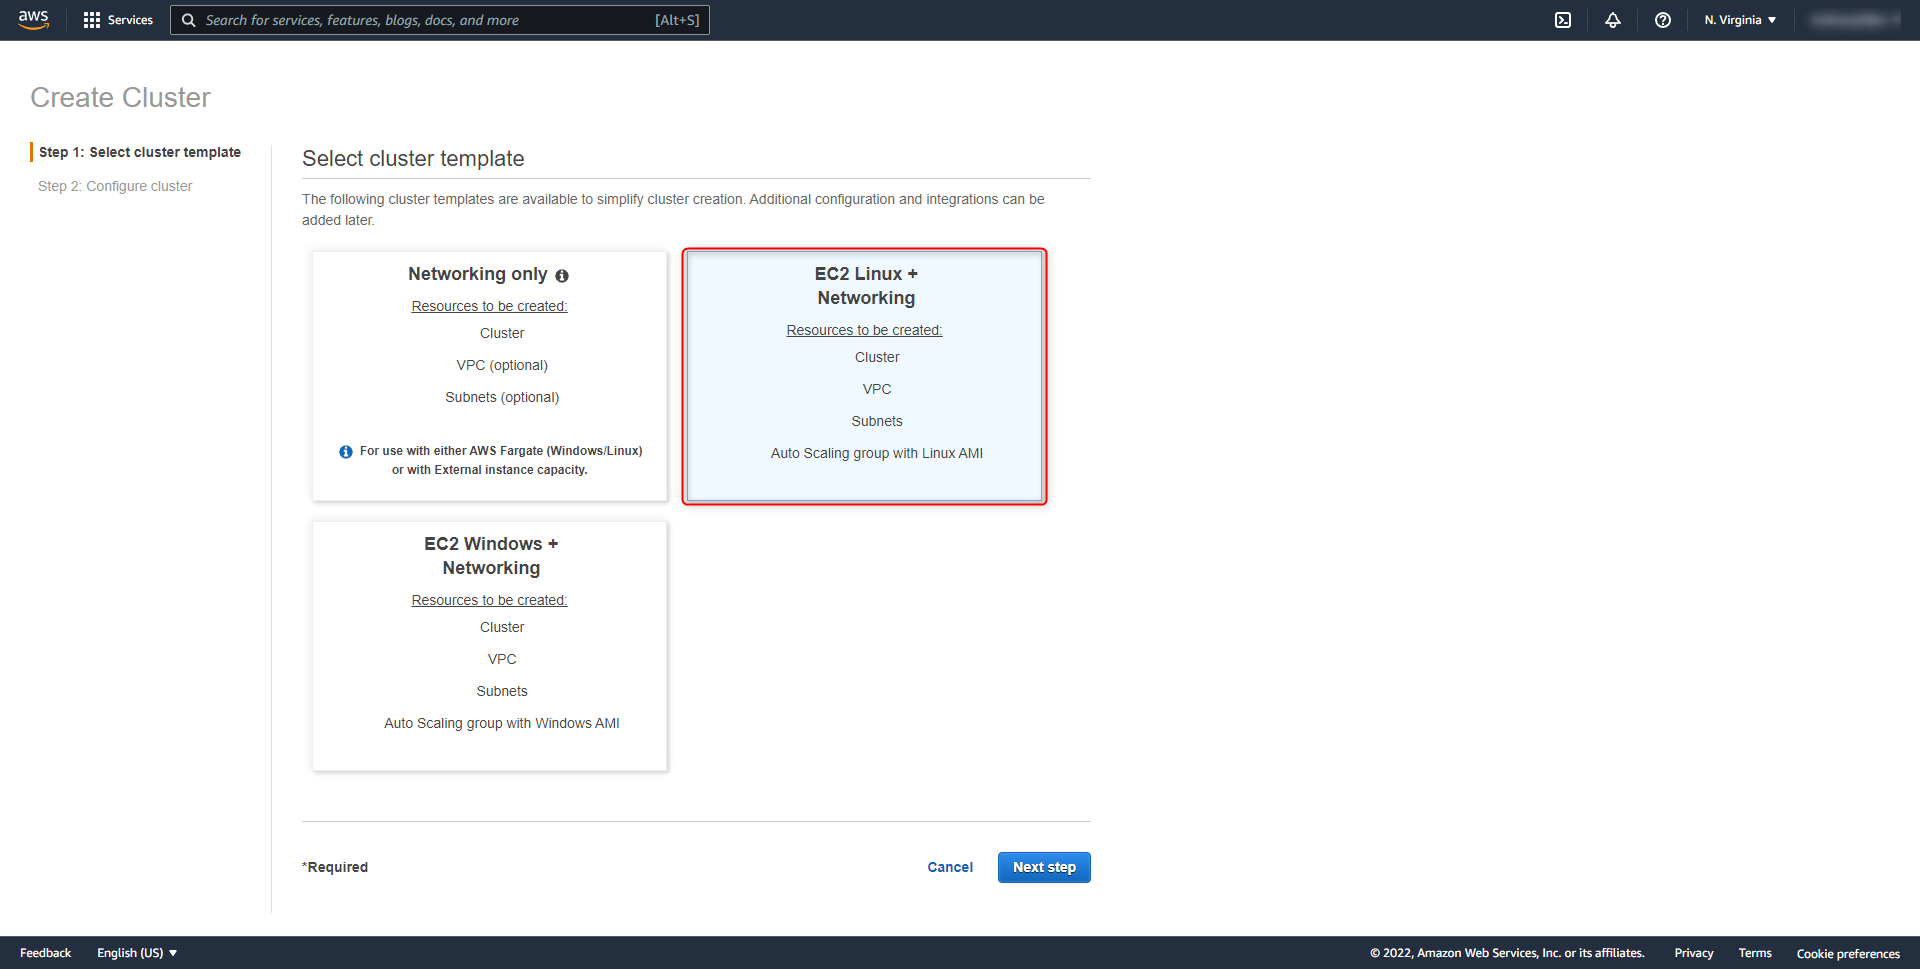
- Create a cluster with the appropriate template. This example will use EC2 Linux + Networking.
- Configure the cluster. For more information on recommended system settings, refer to AWS's section in the Installation Guide.
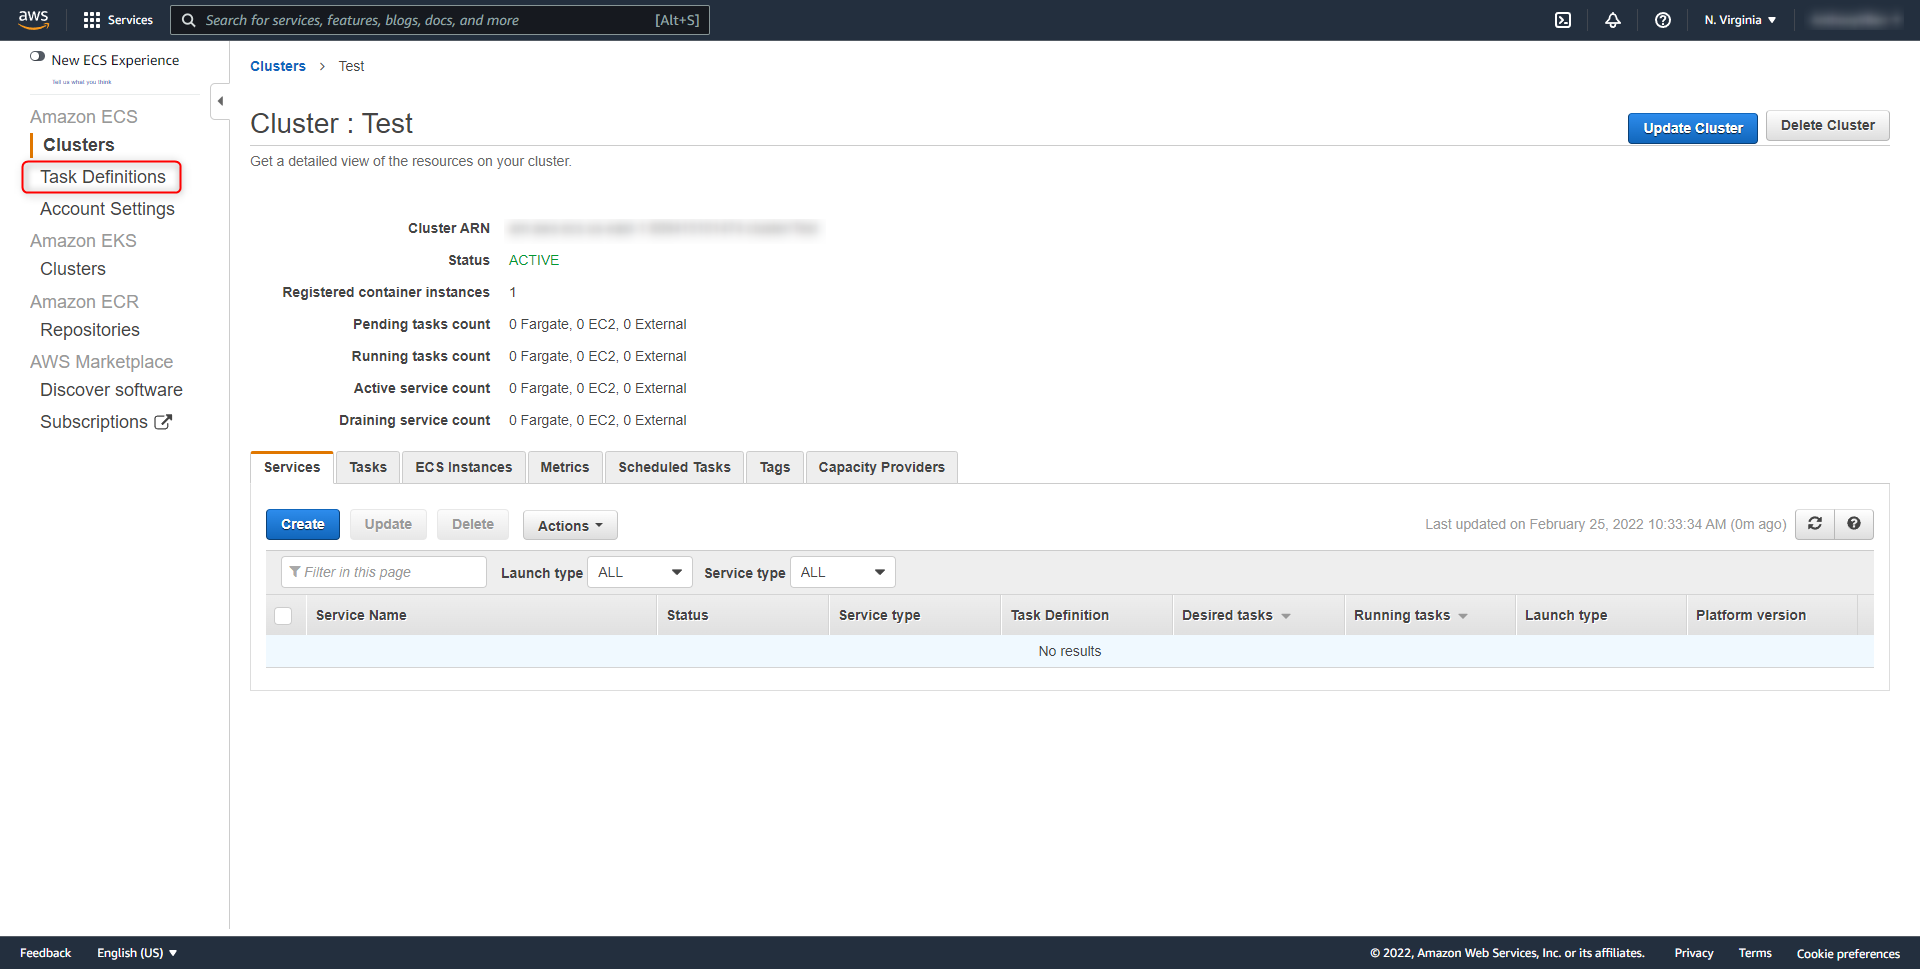
- Once the cluster has been configured, navigate to Task Definitions.
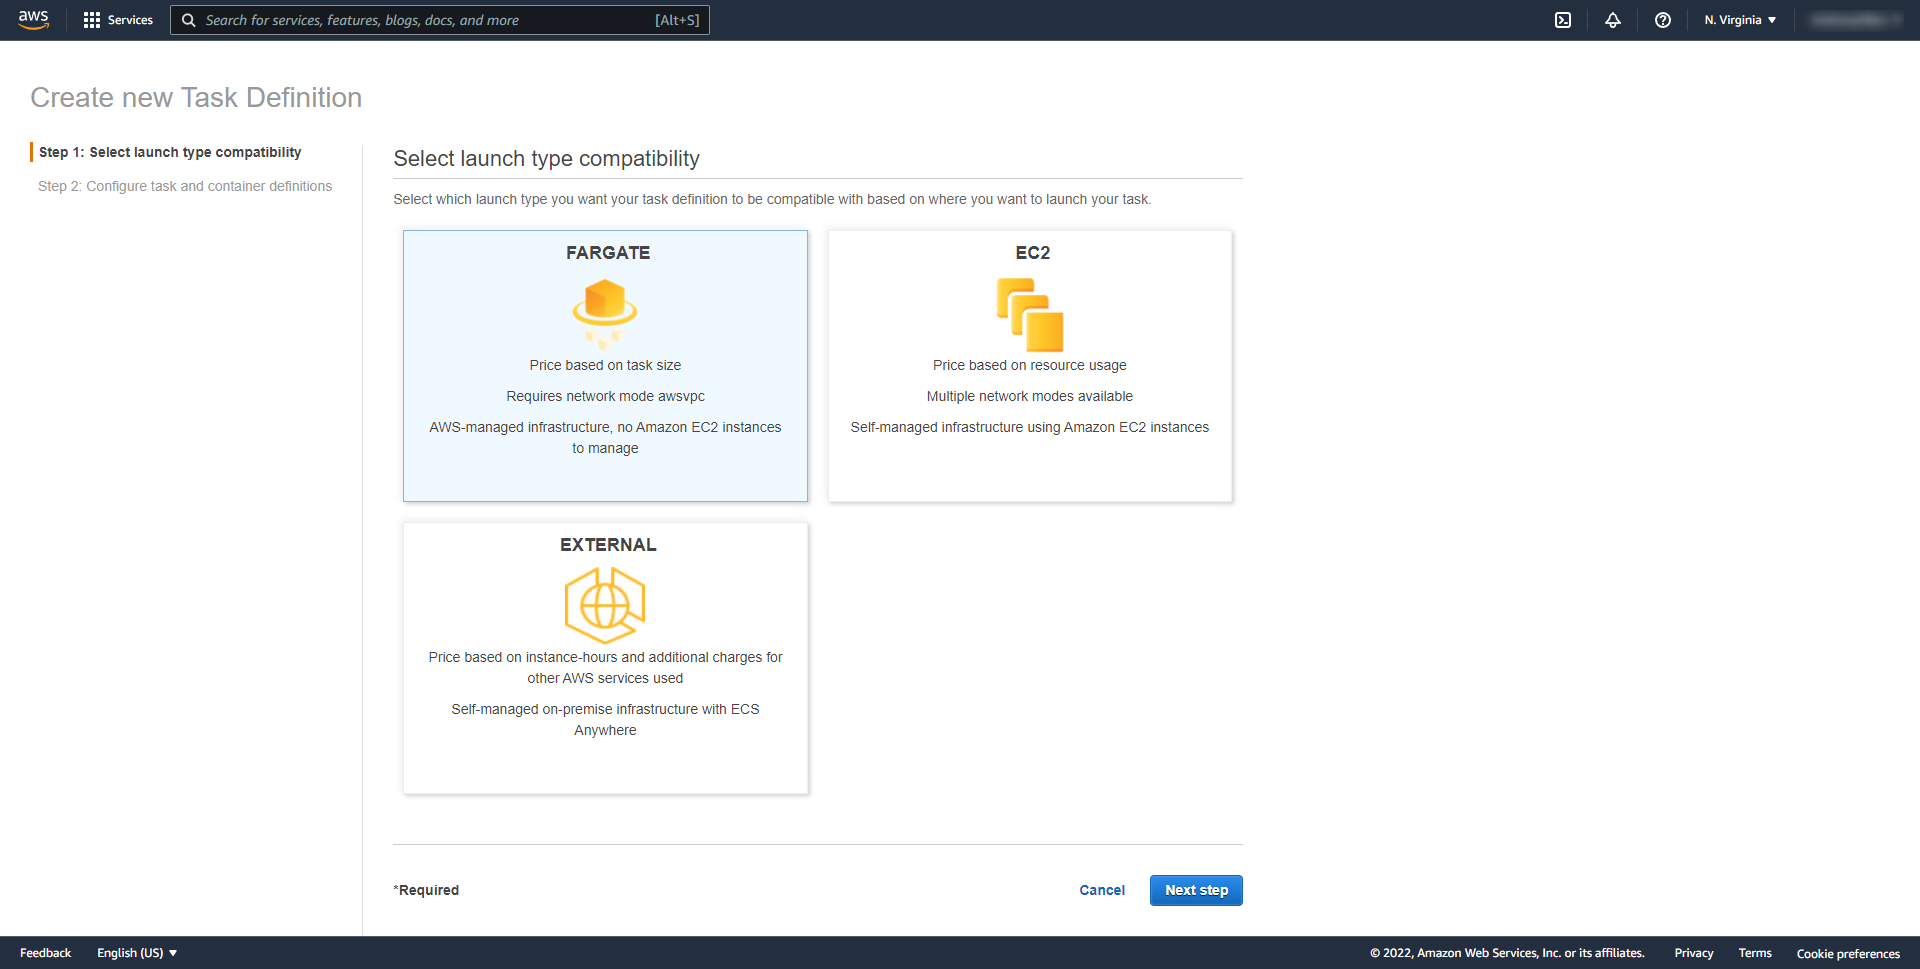
- Create a new Task Definition and select the appropriate launch type.
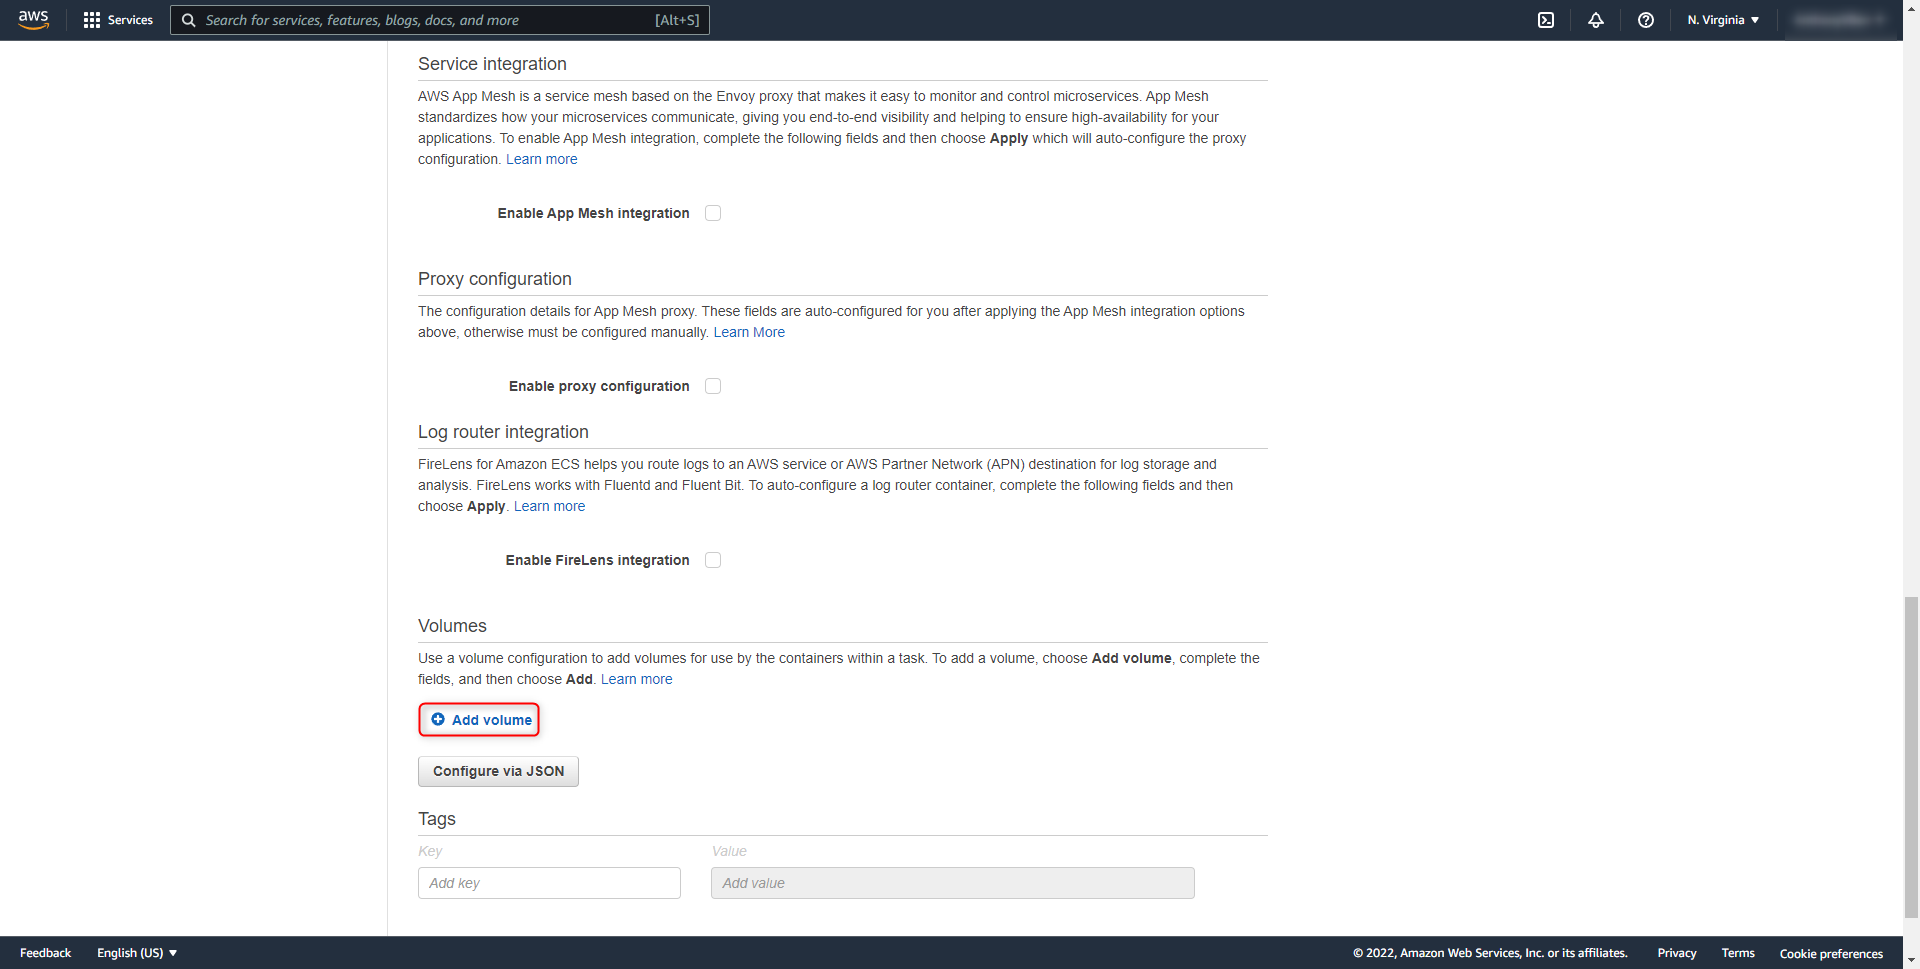
- Under Volumes, click Add Volume for the file storage.
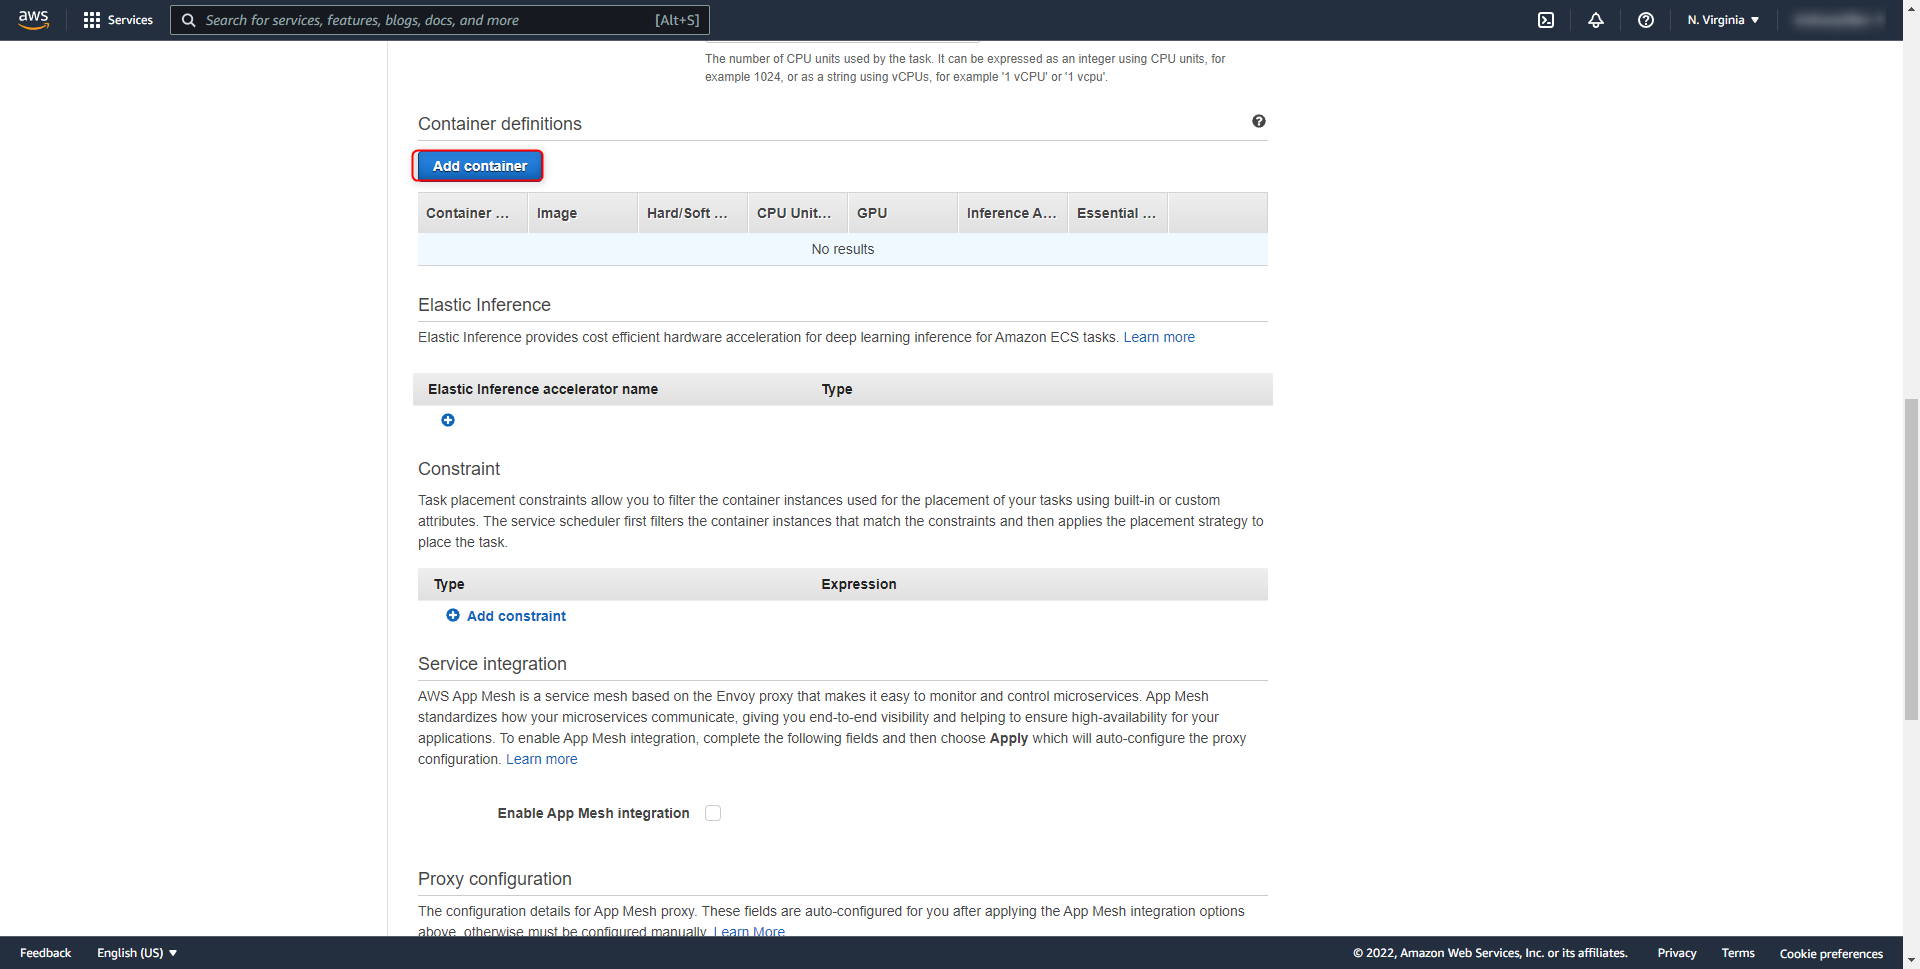
- Under Container definitions, select Add container.
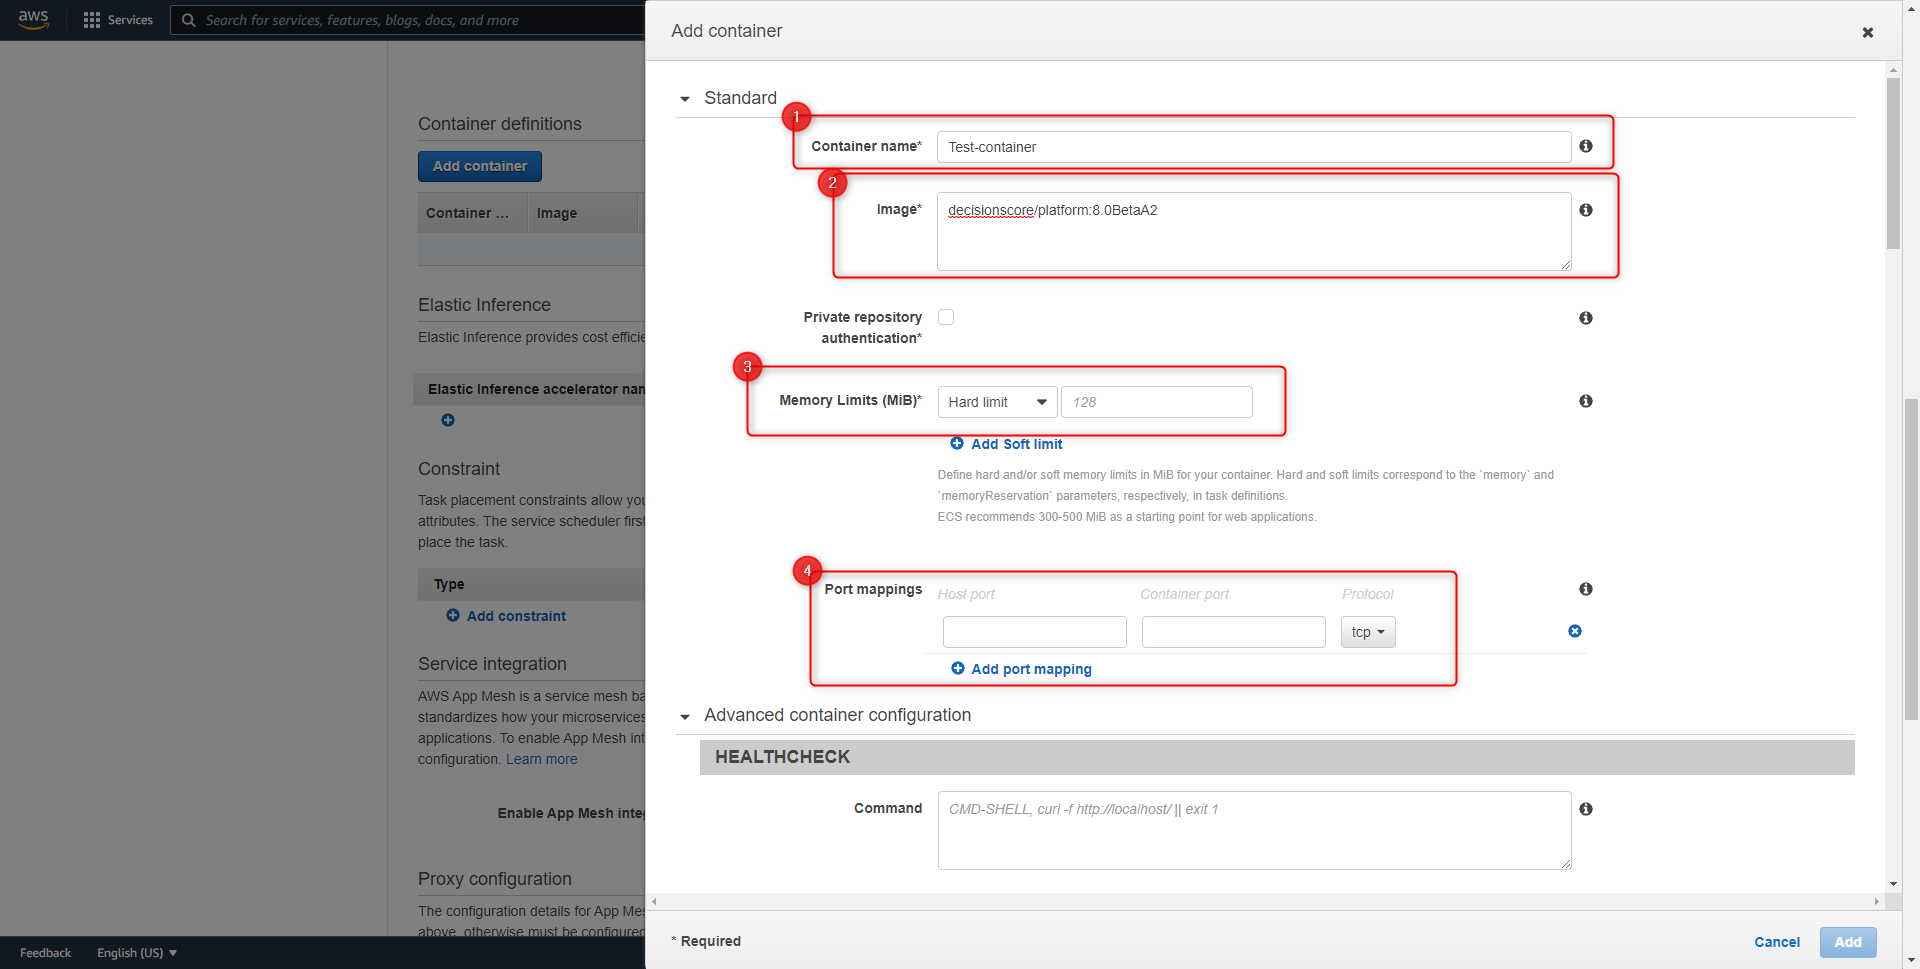
- Specify the container name and Image. The image can be found by navigation to the Docker Repo for Decisions. For the image, it is recommended to use decisionscore/platform:latest to use the latest image for the container.
- Specify a Hard Limit for the container.
- Under Port mappings, map port 80 of the host to port 80 of the container.
- Under the Environment variables section, define both the required and any optional environment variables to configure the container.
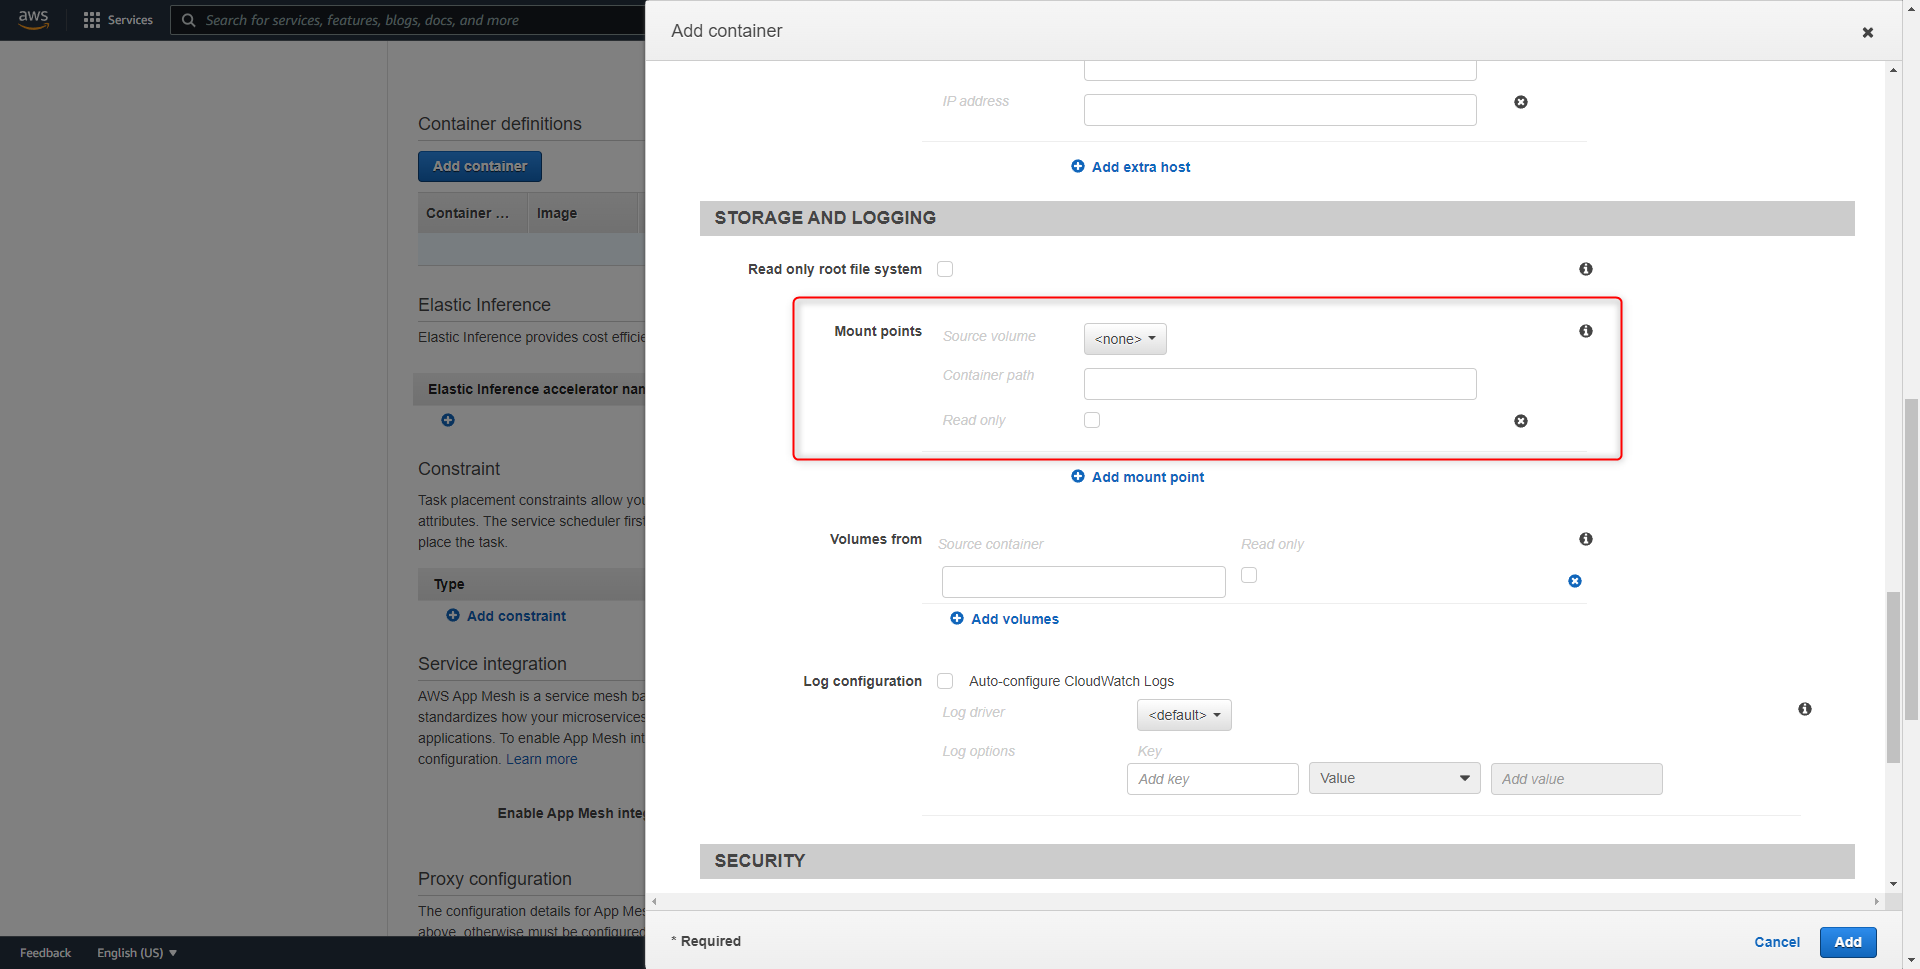
- Once the container environment variables have been configured, specify the Mount points to be the volume that was created earlier. Map the volume to the \filestorage path of the container.
- Once finished, save and navigate back to the Cluster. Select Run new Task using the created task definition.
Health Check for ECS
To run the Health Check for ECS containers, run the following in CMD-SHELL. For more information, refer to HealthCheck.
curl -f http://${HOSTNAME}/home/healthcheck || exit 1
Interval: 60s
retries: 5
startPeriod: 300s
Timeout: 30s
For further information on Installation, visit the Decisions Forum.