Overview
Users can create a Notification Flow to deliver custom notification alerts. Once a Notification Flow is created, it is added as a Notification Mode when configuring Notifications for a Folder and can perform similar functions to an Email or PopUp alert.
Example
The following example demonstrates how to create a Notification Flow that adds a comment to a Designer Project when a document is added and how to create a notification that uses the Notification Flow as a Notification Mode.
- In the Designer Studio, right-click on a Designer Project and navigate to Manage > Get Designer Folder ID. Click Copy Text and click DONE.
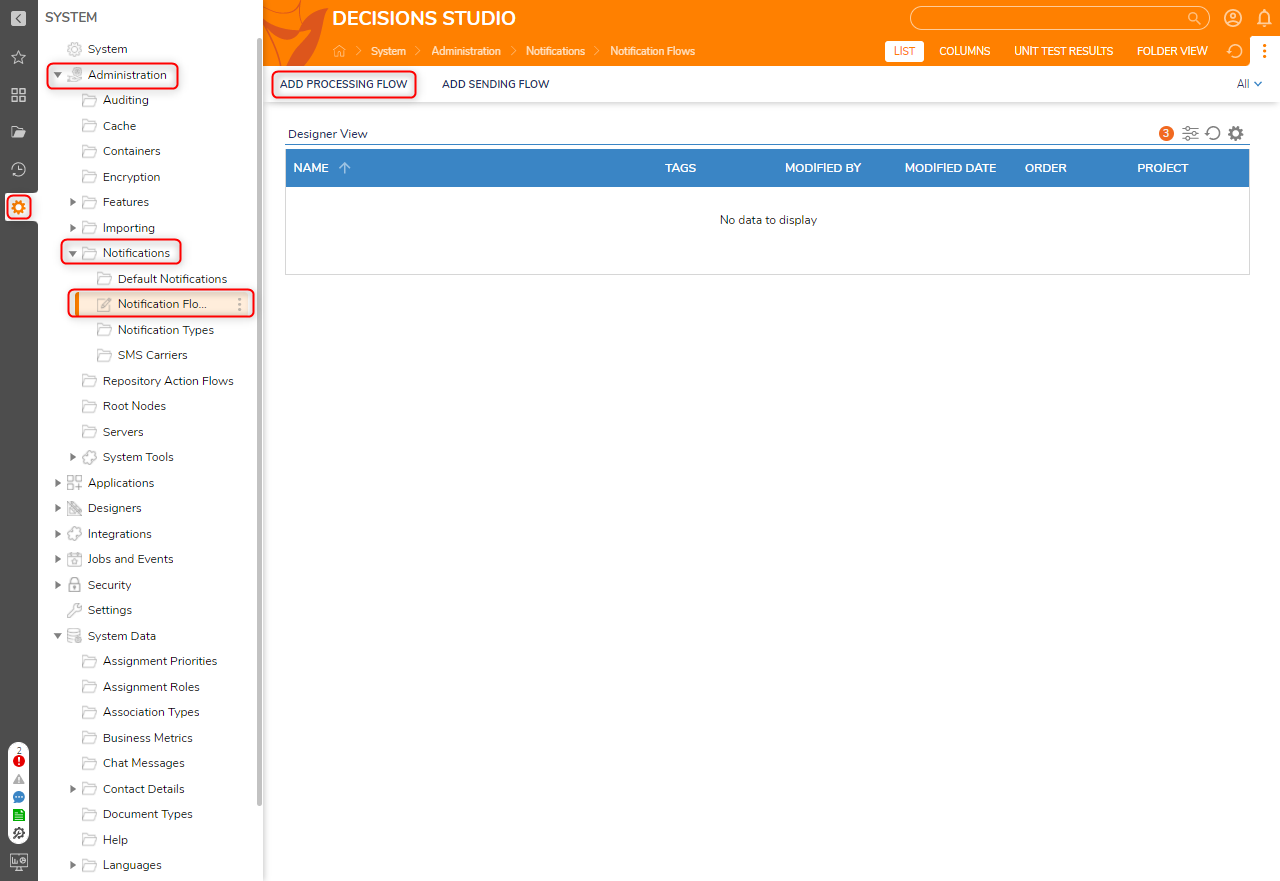
- Navigate to System > Administration > Notifications > Notification Flows. Click ADD PROCESSING FLOW.
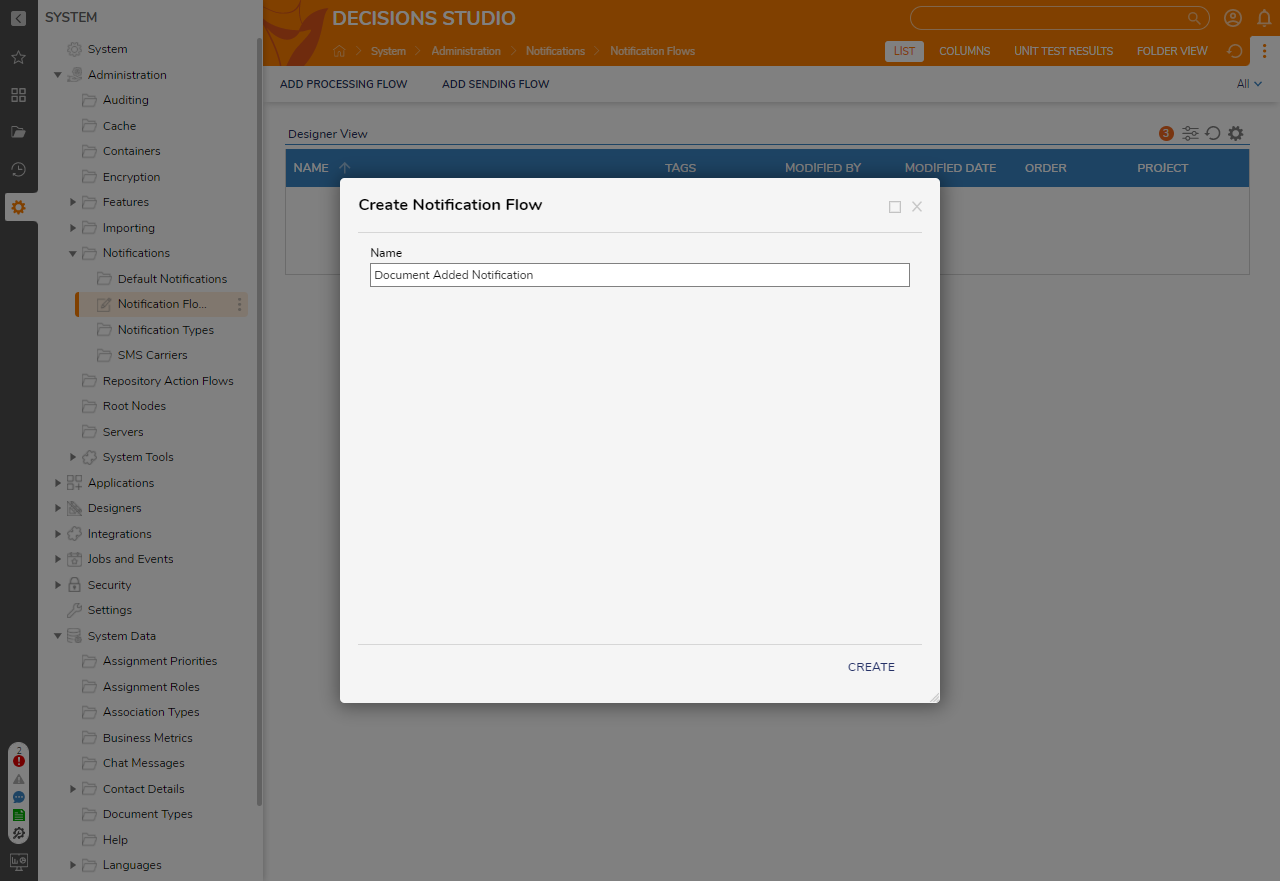
- In the Create Notification Flow window, provide a Name for the Notification Flow then click CREATE.
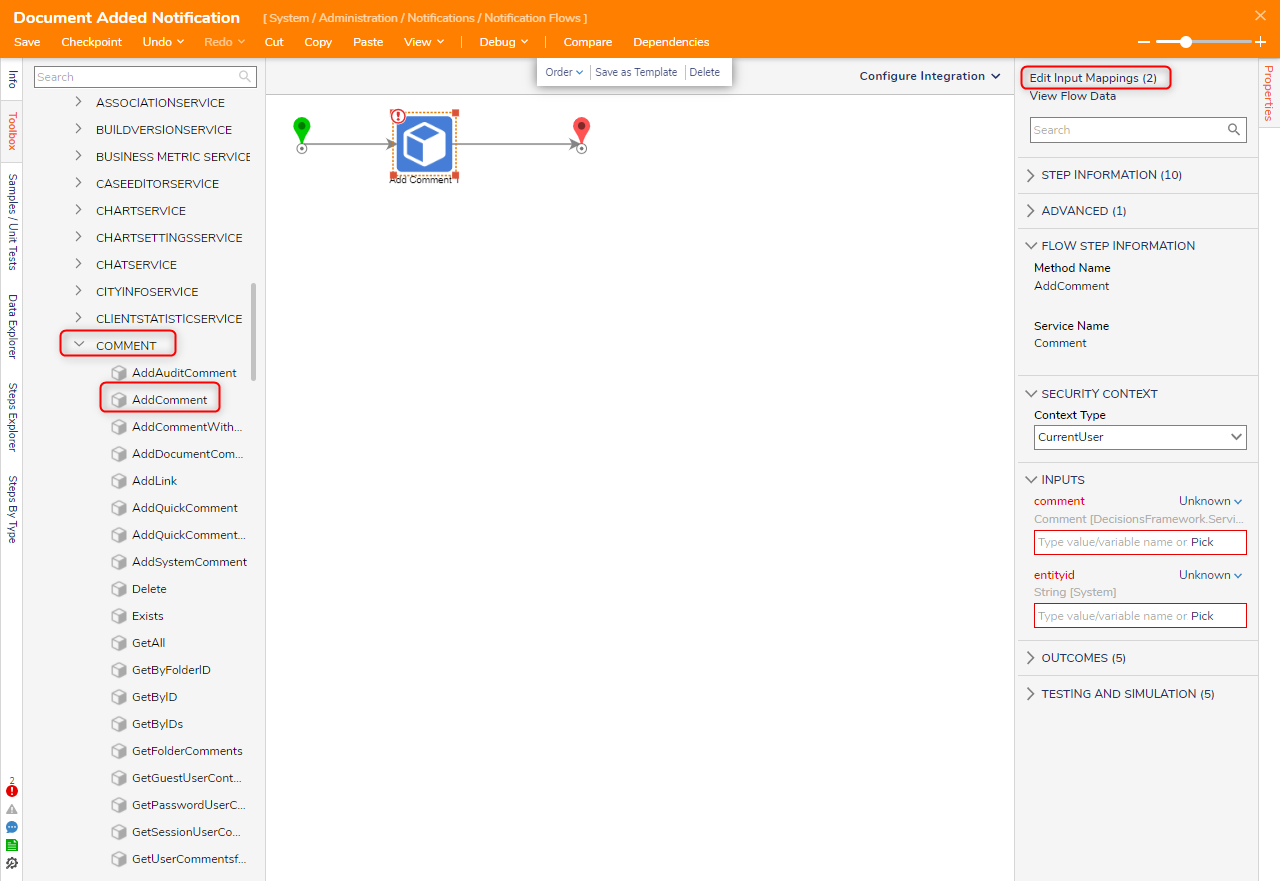
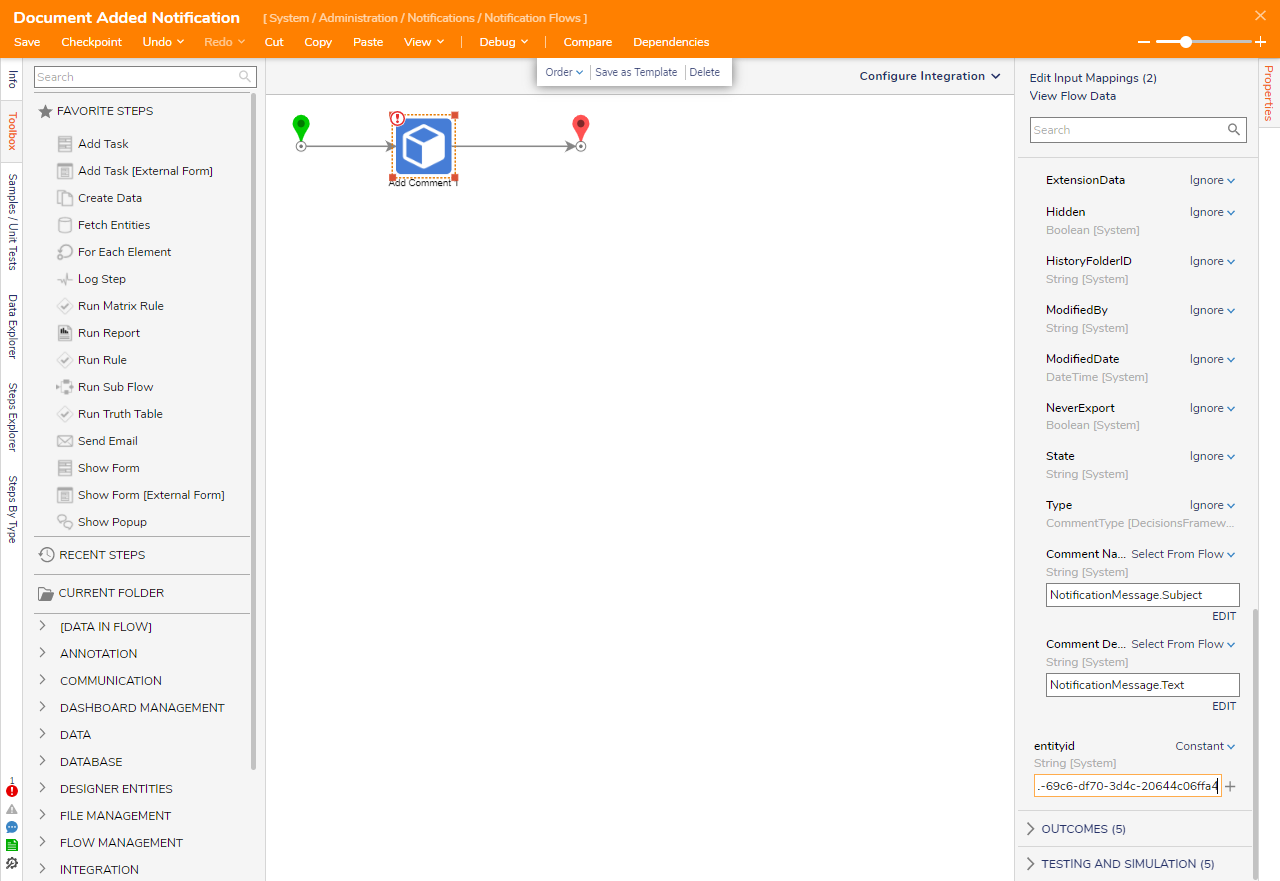
- In the Toolbox panel, navigate to INTEGRATION > INTERNAL SERVICES. Drag an AddComment step between the Start step and End step. the Flow. On the Properties panel, click Edit Input Mappings.
- Set the comment field mapping to Build Data. Expand Notification Message and map the Subject Field to Comment Name and Text to Comment Description.
- and the entityid field to Constant mapping. Click OK.
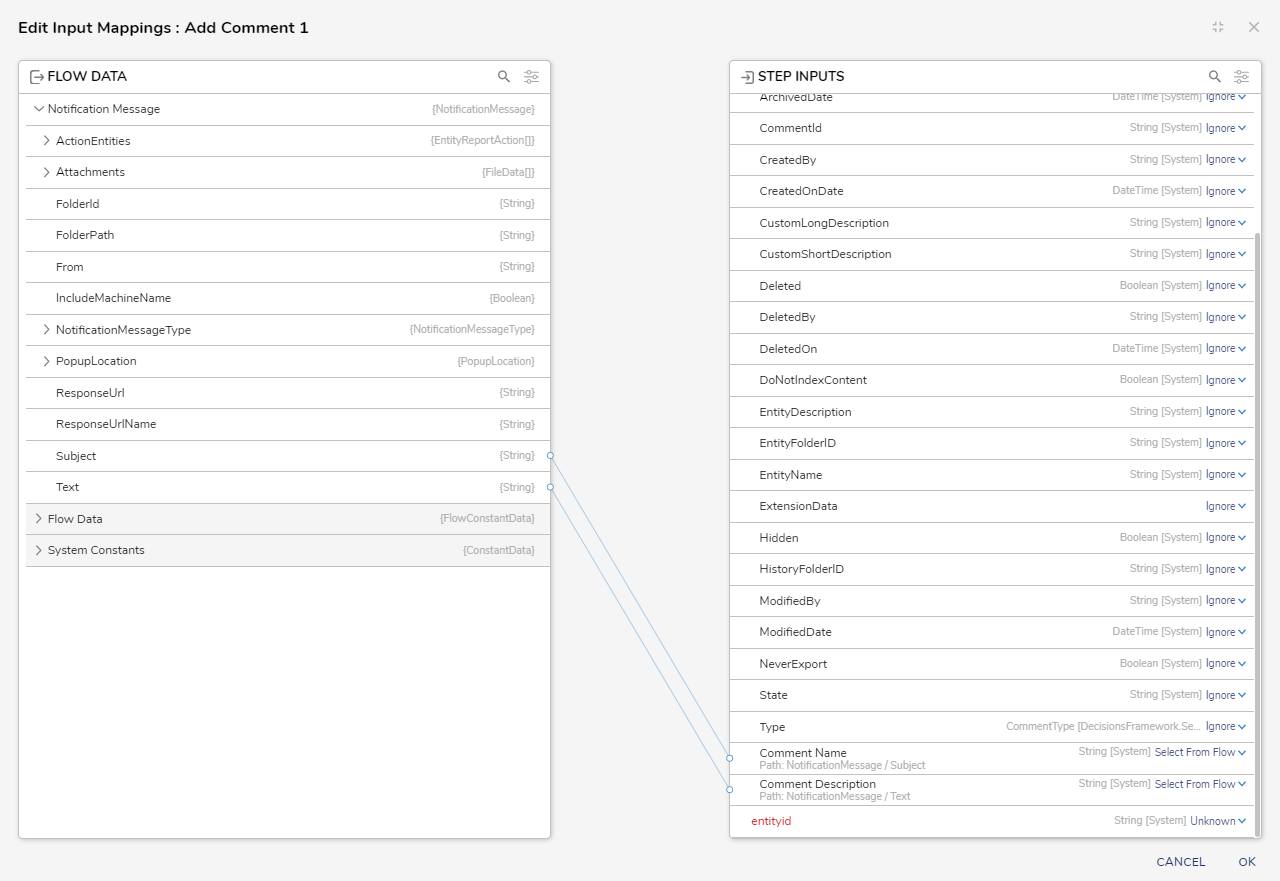
- Set the entityid field to Constant mapping and paste in the Folder ID. Click Save to save changes and close the Flow.
- From the Designer Studio, navigate to the Designer Project that is associated with the Folder ID used in the Processing Flow.
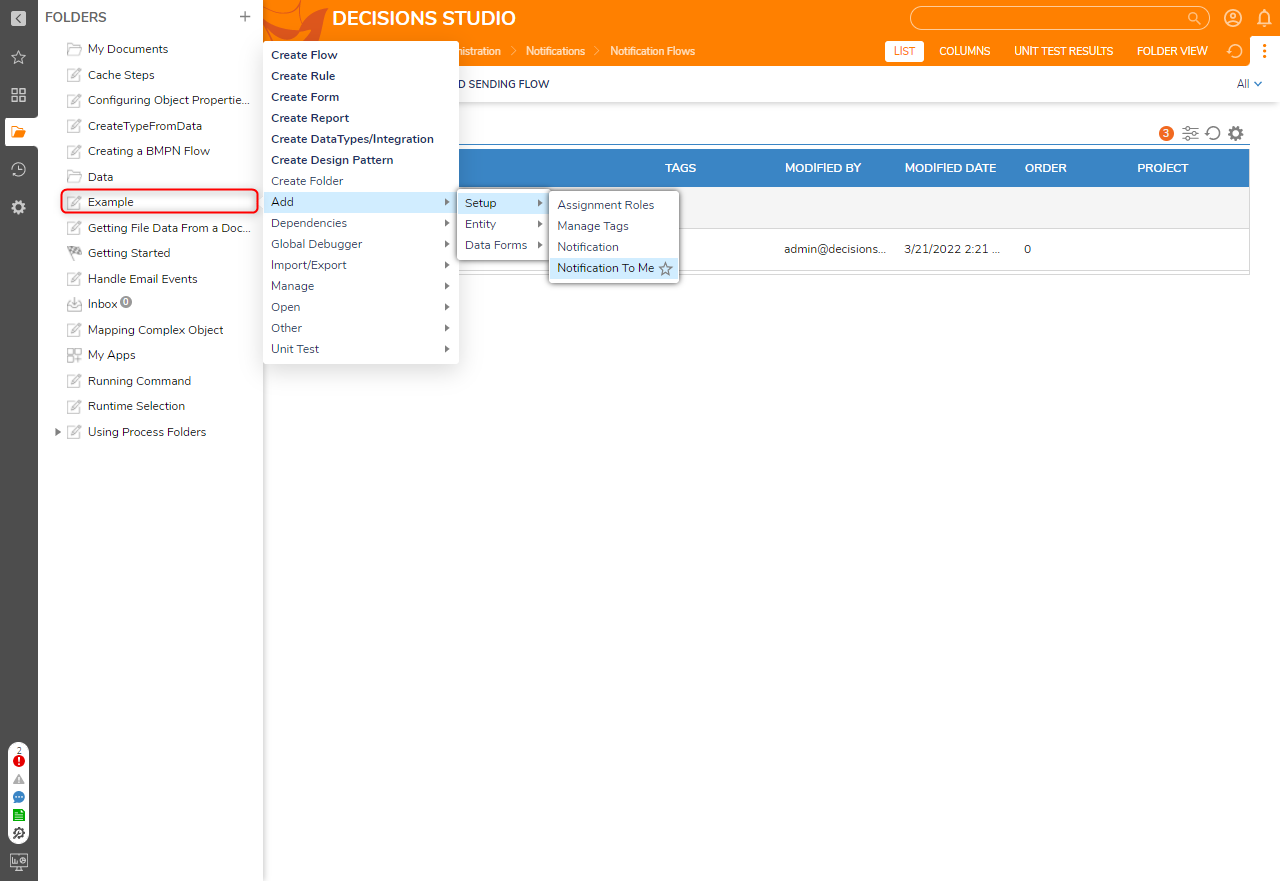
- Right-click the Designer Project and select Add > Setup > Notification To Me.
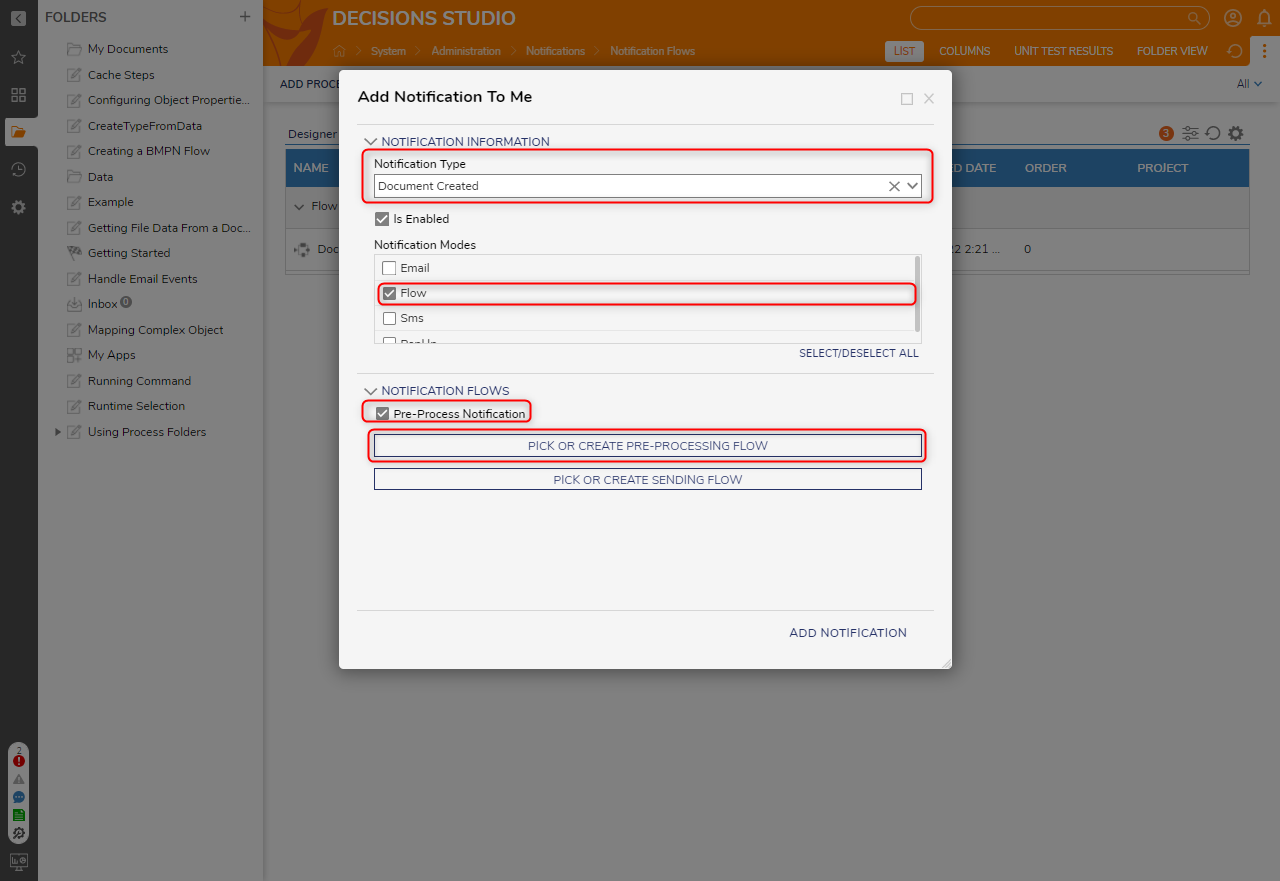
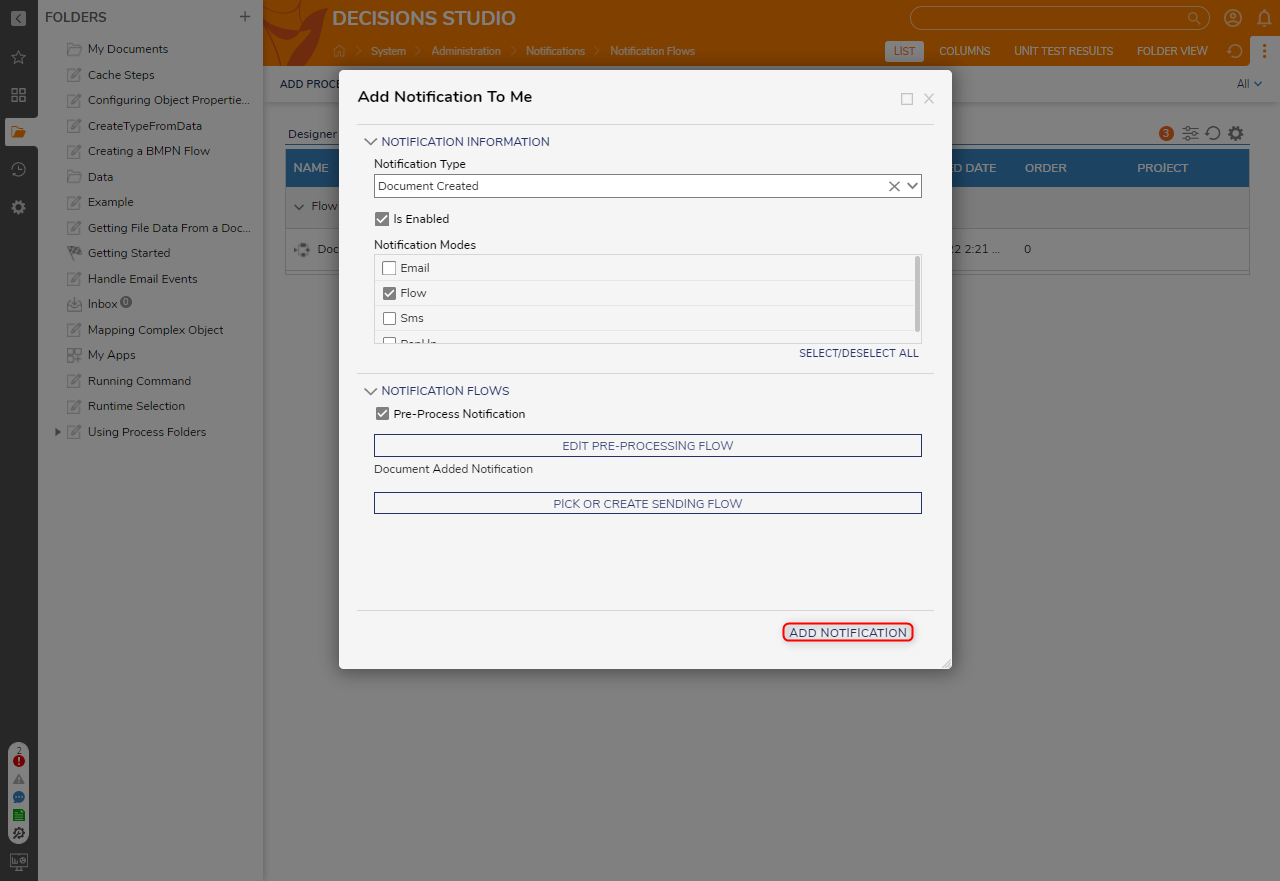
- Under NOTIFICATION INFORMATION, from the Notification Type dropdown, select Document Created.
- Select Flow under Notification Modes and check the Pre-Processing Flow box. Click PICK OR CREATE PRE-PROCESSING FLOW.
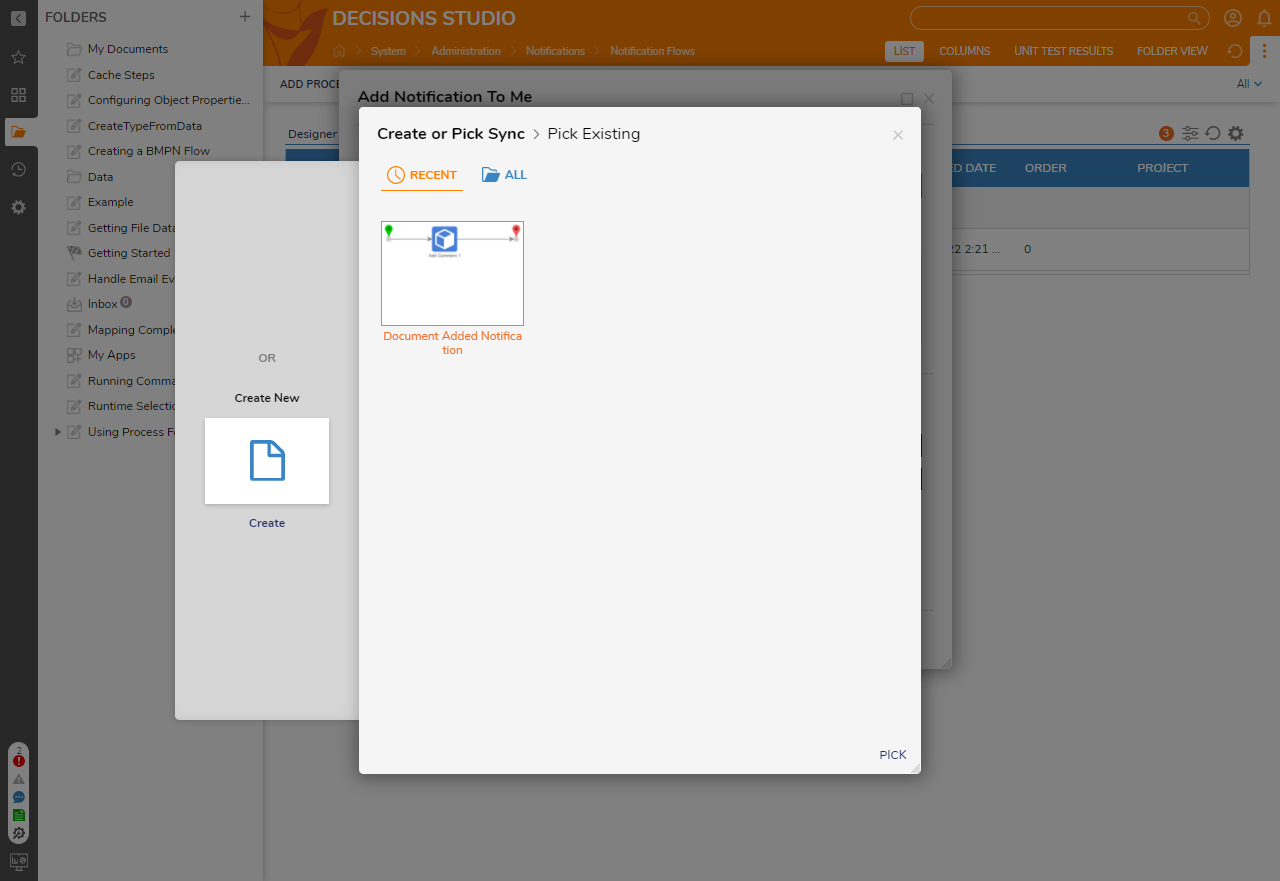
- Click PICK and choose the created Notification Flow. Click PICK.
- Click ADD NOTIFICATION.
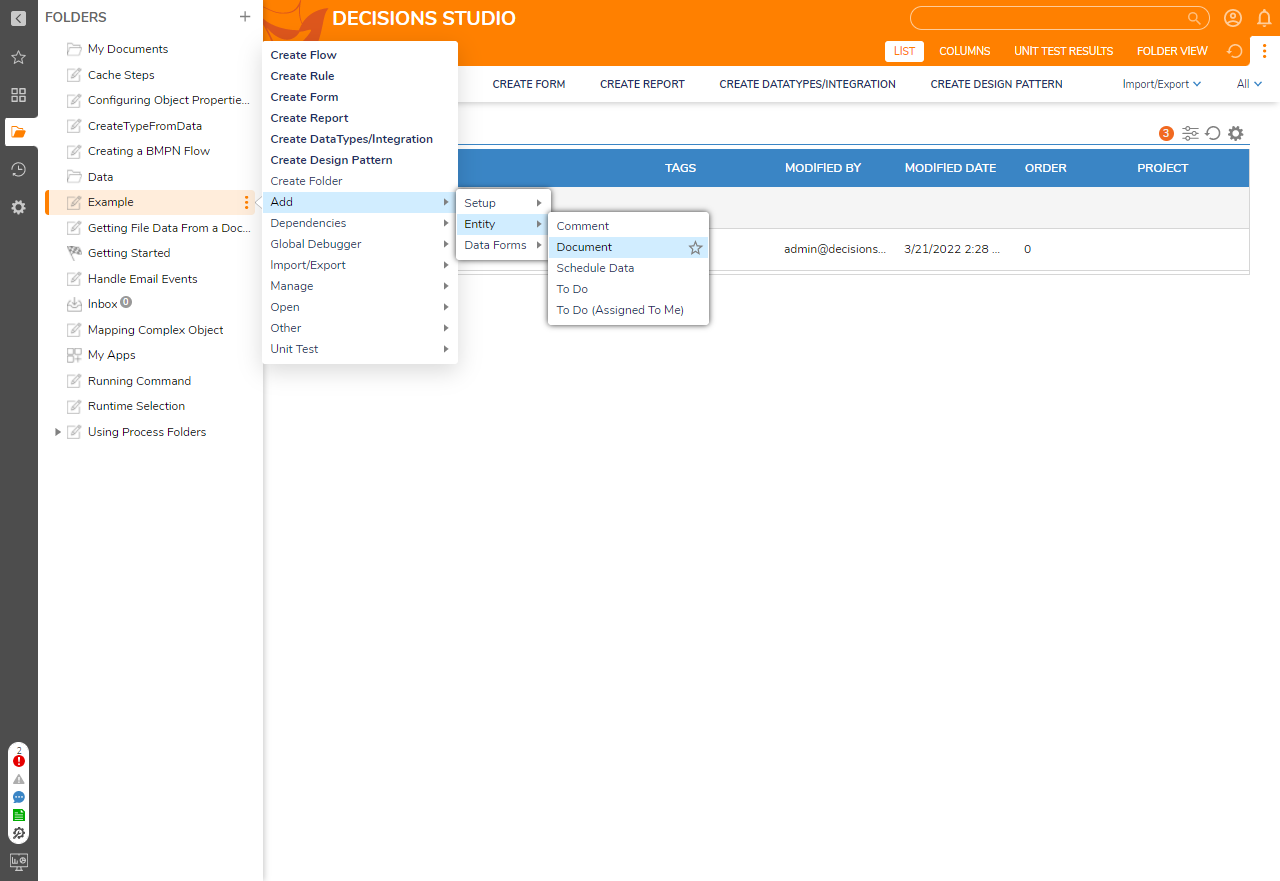
- Right-click the same Folder and navigate to Add > Entity > Document.
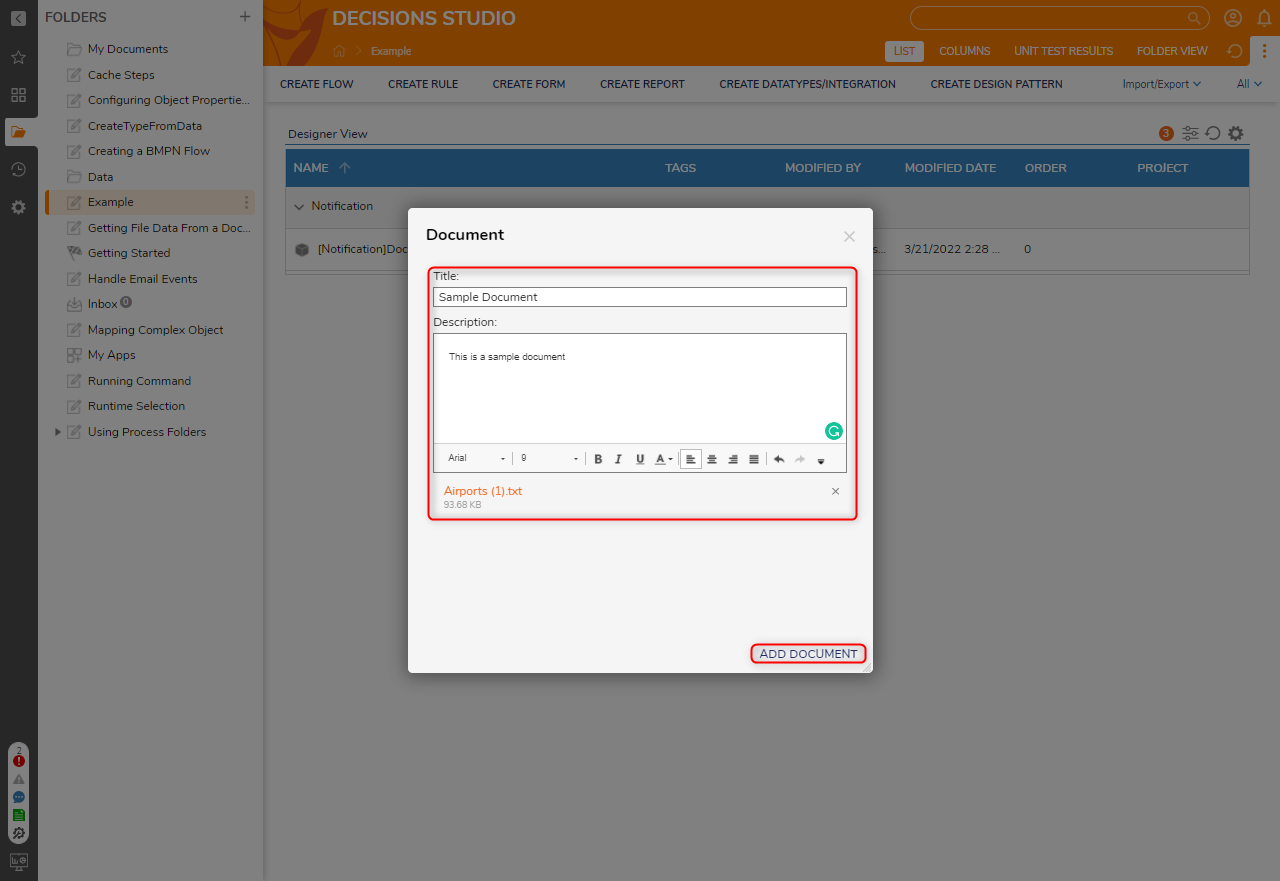
- Enter a Title and Description. Click CHOOSE FILE and add a document. Click ADD DOCUMENT.
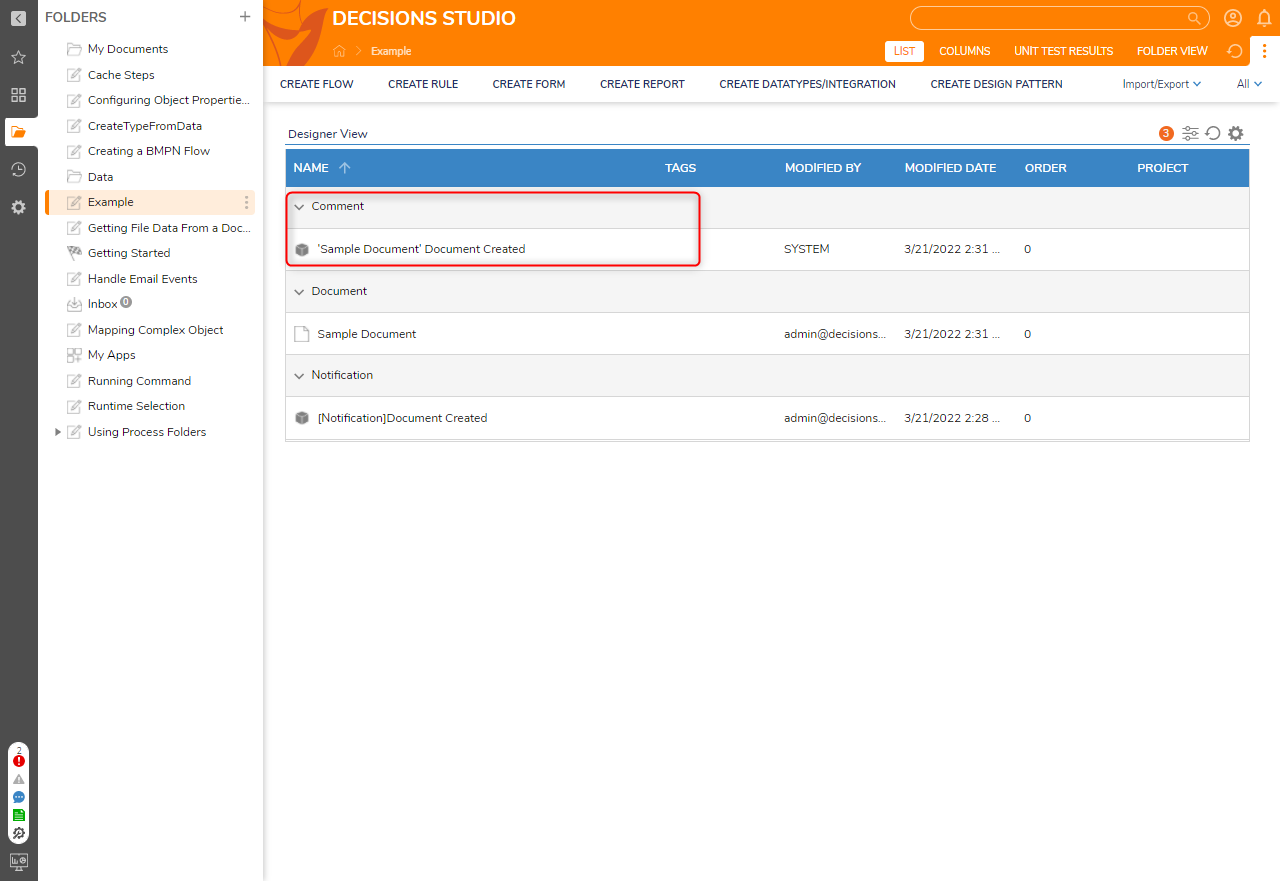
- After the document is added, the comment that was configured will also appear in the list.
For further information on Flows, visit the Decisions Forum.