Overview
A Matrix Rule is a Rule that can be made up of many different rows and columns connected with two axes. It is used to evaluate data with settings customized to each specific row or column. Additional Rule evaluations can be nested within each row or column.
When a Matrix Rule runs, it has an outcome result, where the columns and rows that defined the Matrix will create new cells for each result.
A use case of a Matrix Rule can be demonstrated through automated emails, with different emails and certain days of the week resulting in different outputs.
The screenshot below shows a sample Matrix Rule.

Create a Matrix Rule
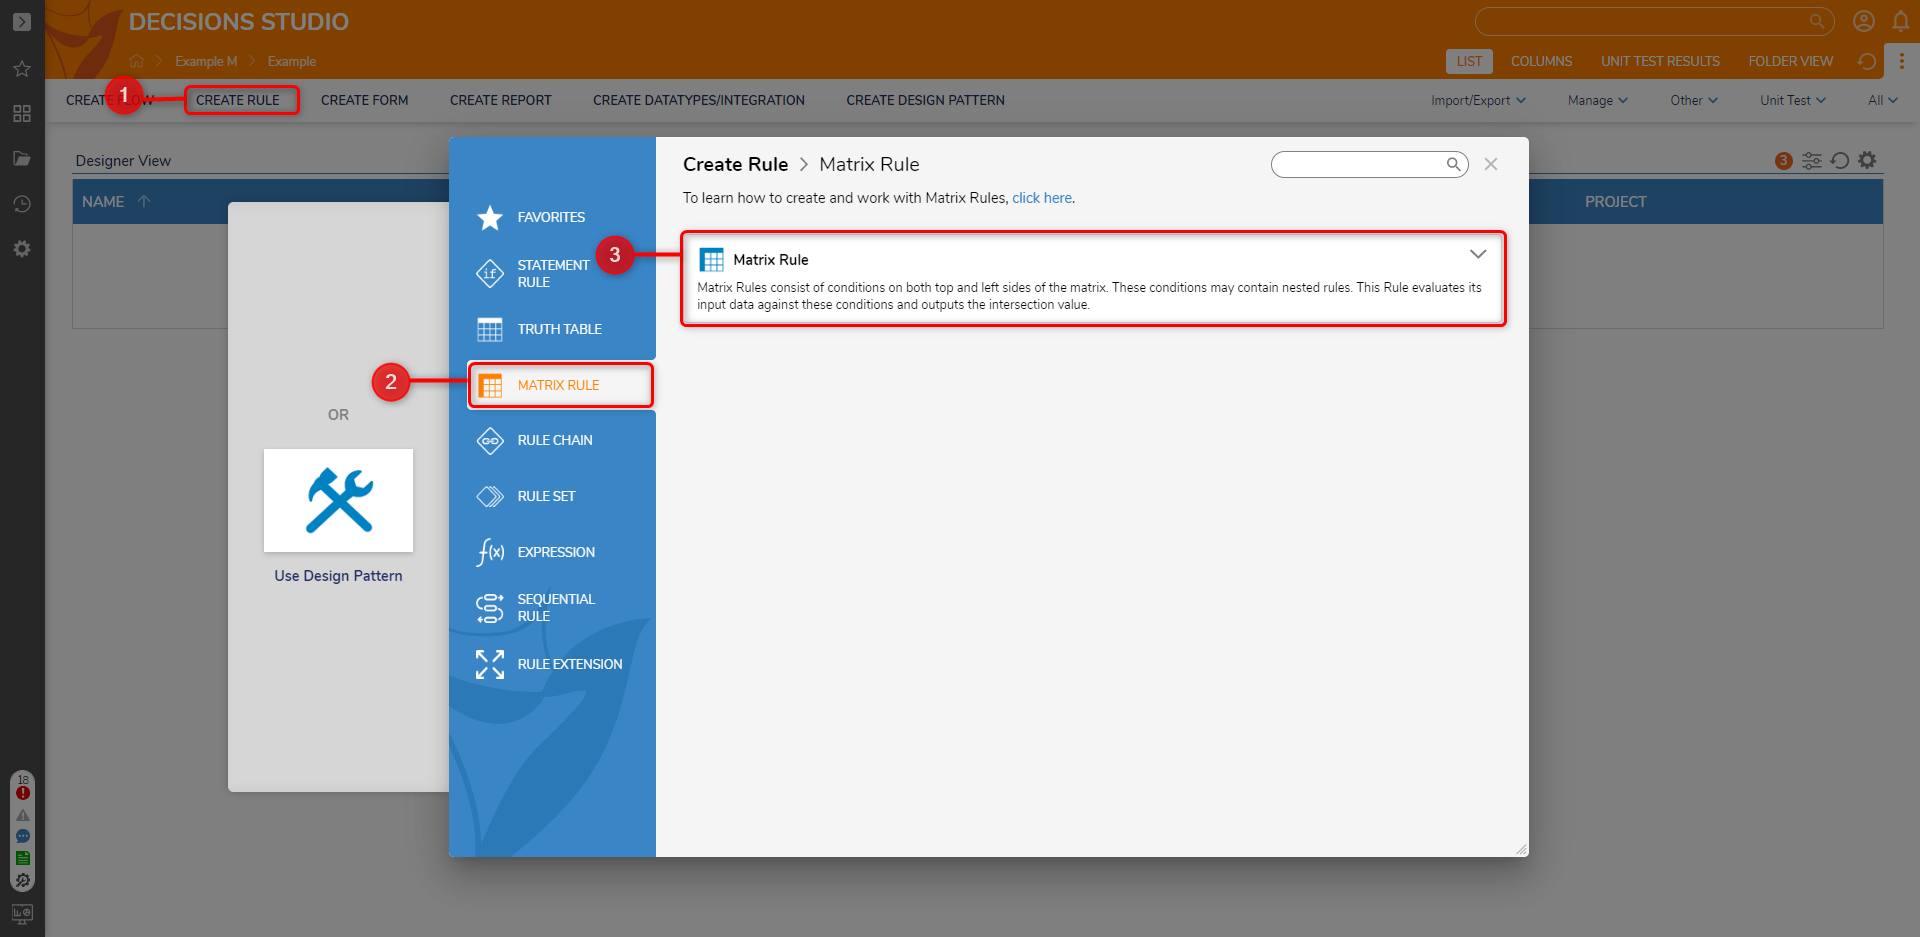
- In a Designer Project, select the CREATE RULE button on the top Action Bar.
- In the Element Gallery, expand the Matrix Rule section then select, name, and create a Matrix Rule.
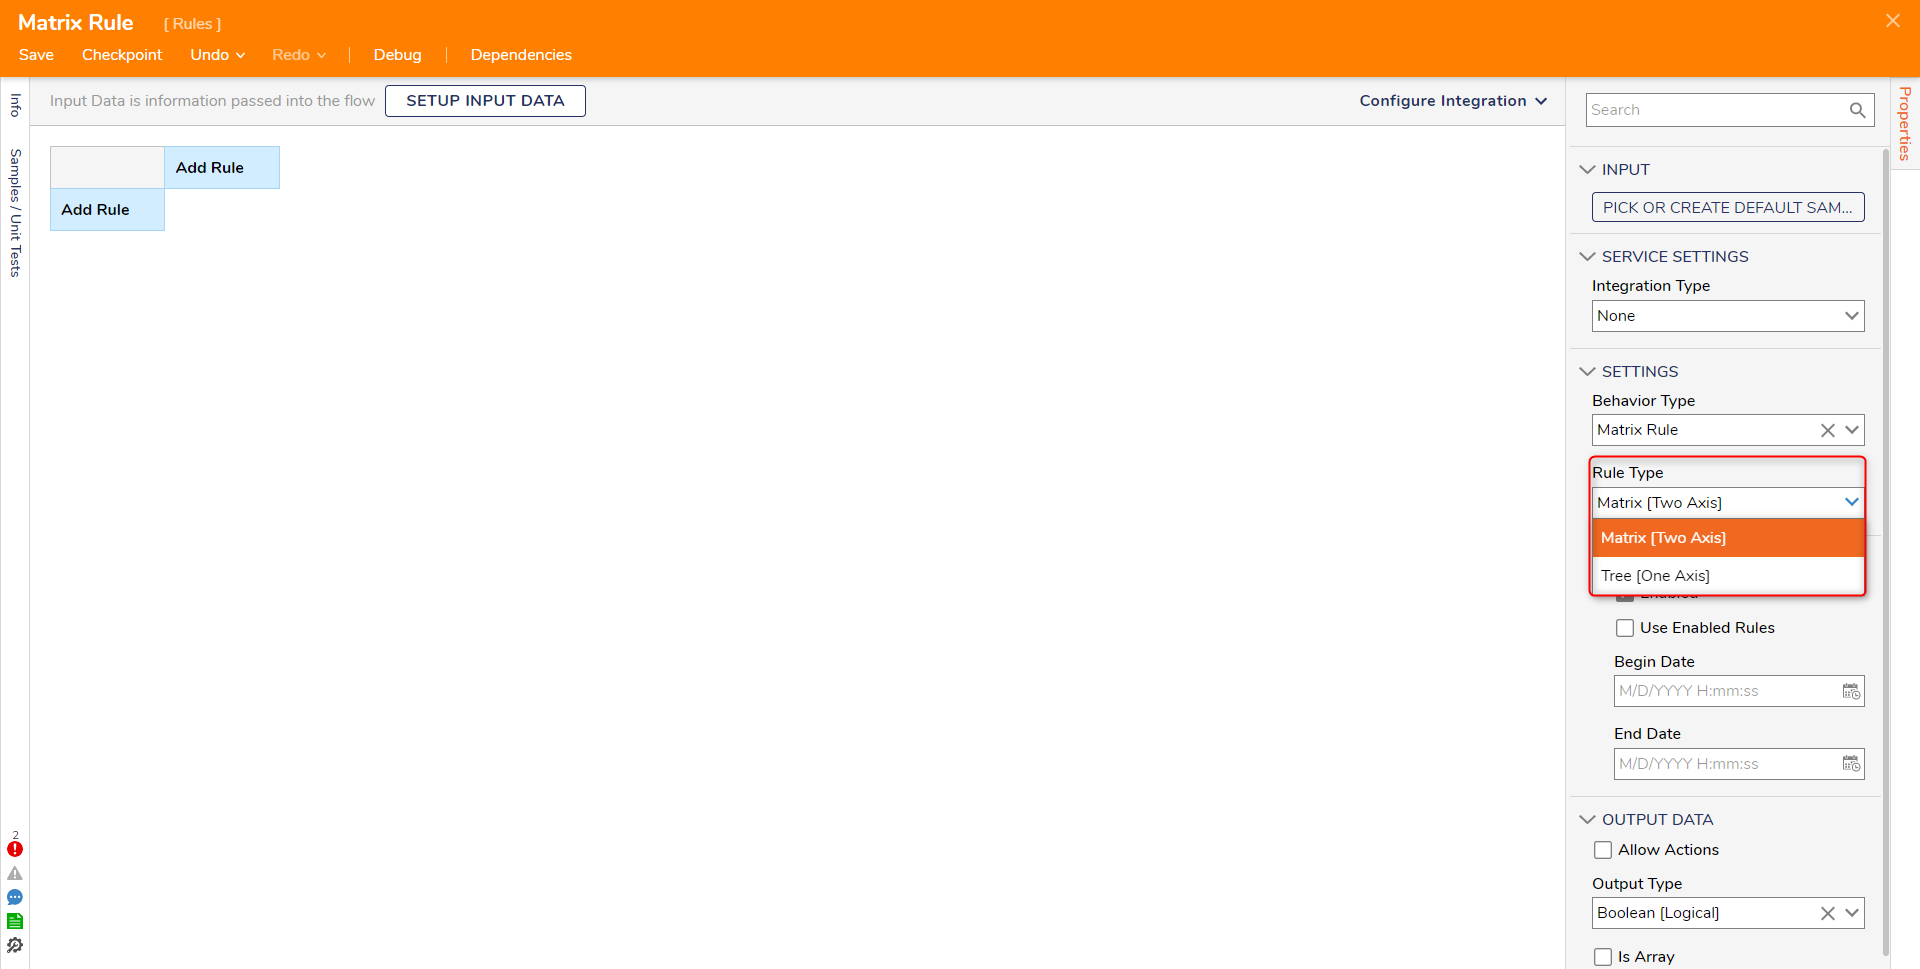
- The Rule Designer will open. In addition to Matrix Rules, Tree Rules can be created, which utilize only one axis instead of two. This can be configured in the Properties panel, Under Settings > Rule Type.
Setting Input Data
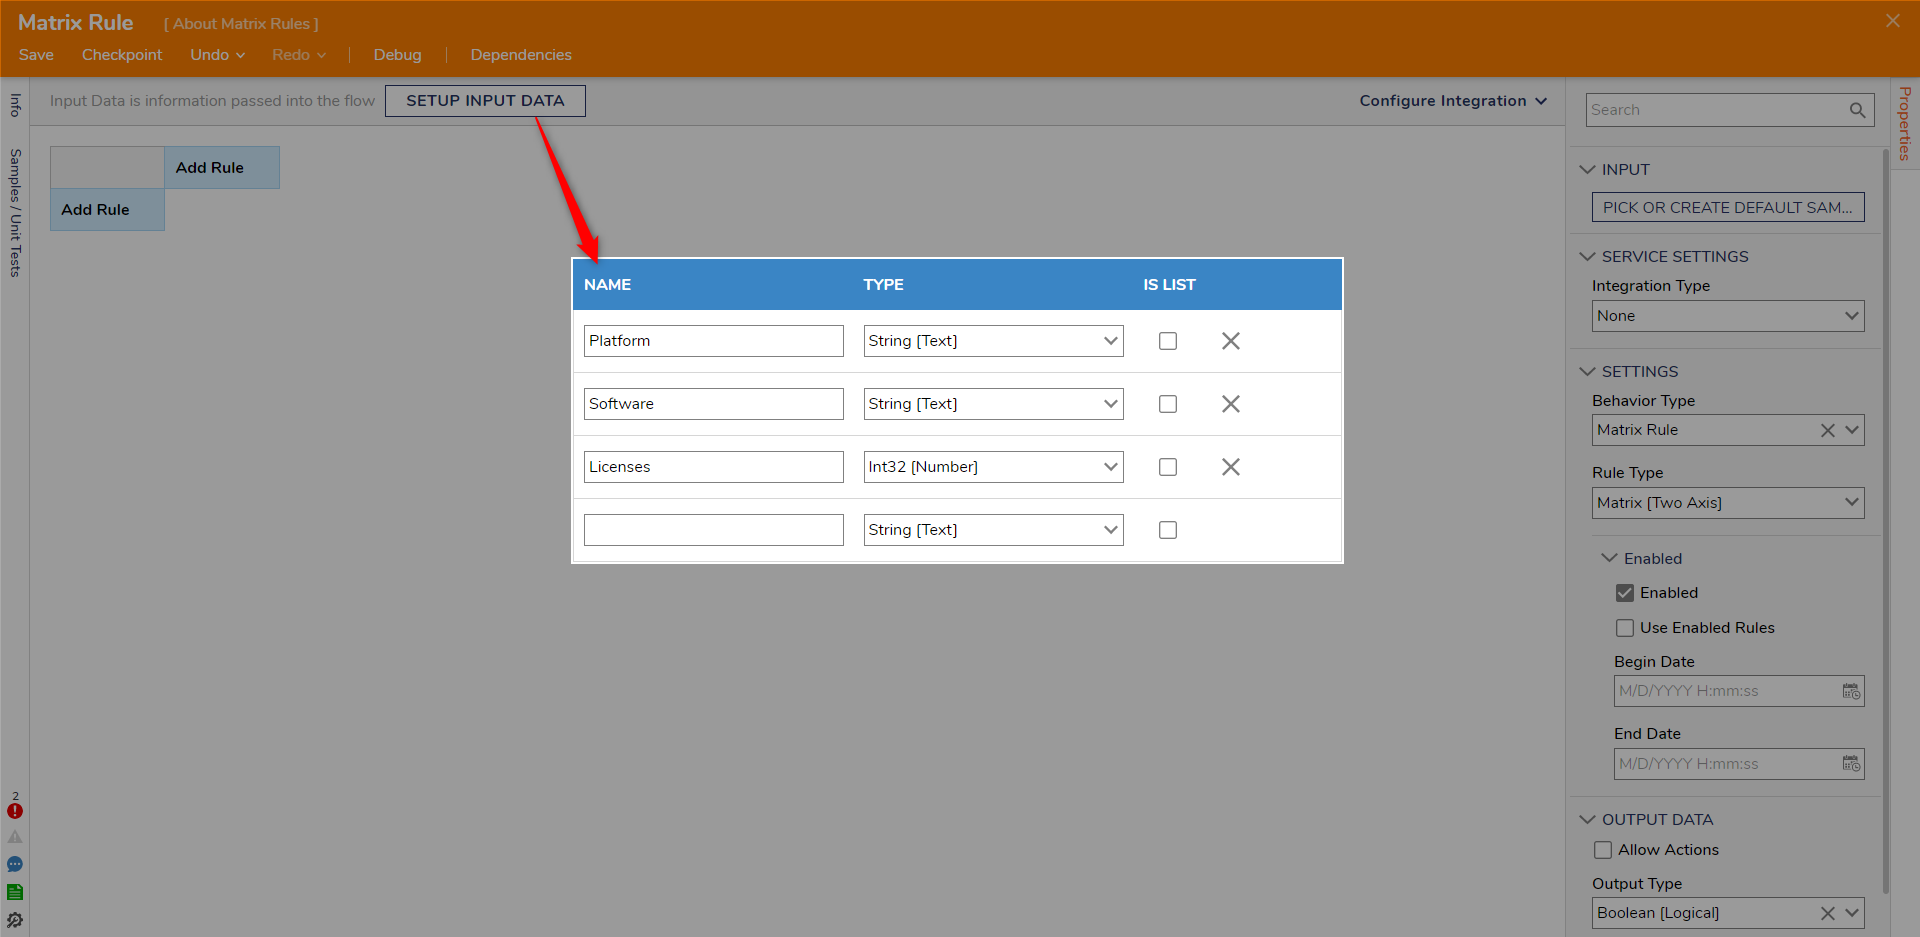
- In the Rule Designer, select the SETUP INPUT DATA button at the top. Then select Define Input Data.
- Configure the input data with Platform [String], Software [String], and Licenses [Int32]. Then, save and close the Data Definitions window.
- Change the Output Type to String [Text] under the OUTPUT DATA section.
Adding Rows
- On the left side of the Designer, hover over Add Rule and select the plus icon.
- Navigate to All Rules > Data > String Match Step and select it to appear in the text edit box.
- Change the name to something specific to the Matrix, then select ADD.
- Under the INPUTS section, select the Pick button for String to Match, then choose the Platform [String] input data from the list.
- Under the SETTINGS section, click into the Possible Matches box and enter some platform names as sample data. This example logic is configured to evaluate against two Platform values.
- Once the Possible Matches have been added, they will appear as a new row under the Platform Is Rule.
- Hover the cursor over a Software value and select the plus icon.
- Navigate to or search for the String Match Step, provide a relevant name to the step, then configure some sample data as Software values in Possible Matches.
- Select the Pick button under the INPUTS section for String to Match and choose the input data software [String].
- Repeat this process of adding a Software Is Rule and sample data to the other Platform value.
Adding Columns
- Hover over the Add Rule header at the top and select the plus icon that appears.
- Navigate to All Rules > Data > Numbers > Number Ranges, then provide a name relevant to the Matrix. This example uses "Number of Licenses" to indicate a range of License [Int32] quantities.
- Under the INPUTS section, select the Pick button for Number to Evaluate, then choose the Licenses [Int32] input data.
- Under the OUTCOME SETUP, select ADD NEW under the Number Ranges box to add an applicable range of numbers for the expected value. This example uses License ranges of 20-25, 26-50,51-75, and 76-100.
- Now that all of the possible input values for Platform, Software, and Licenses have been configured into the Rule, corresponding output values will need to be configured in the boxes where the pencil icon appears on hover. The values in this example are random Int32 values.

Debug
- Select Debug from the top Action Bar.
- Enter some values for the expected input data that match somewhere in the Matrix Rule.
- Select the START DEBUGGING to observe how the data is evaluated to reach an outcome in the Rule.

For further information on Rules, visit the Decisions Forum.