Using Testing Simulation in the Debugger
- 07 Dec 2020
- 1 Minute to read
- Print
- DarkLight
Using Testing Simulation in the Debugger
- Updated on 07 Dec 2020
- 1 Minute to read
- Print
- DarkLight
Article Summary
Share feedback
Thanks for sharing your feedback!
Overview
This function can be found in the Testing and Simulation section of a steps properties. Specify if this simulated data will run in production, the Debugger, or in unit tests. This is especially helpful when a user needs to simulate events such as specific outputs or values that aren’t easily replicated. This allows one to test different scenarios without needing the actual data to be in the source.
Example
This example shows how to utilize this simulated function on a Fetch Entity step.
Disclaimer
This technique can be applied to any step where it is needed to simulate data. The Fetch Entity and Show Pop-Up steps are not necessary, they were simply used to demonstrate how using these testing and simulation features is possible.
- From a Designer Folder and select CREATE FLOW. Then, select FLOW, provide a Name, and click CREATE.
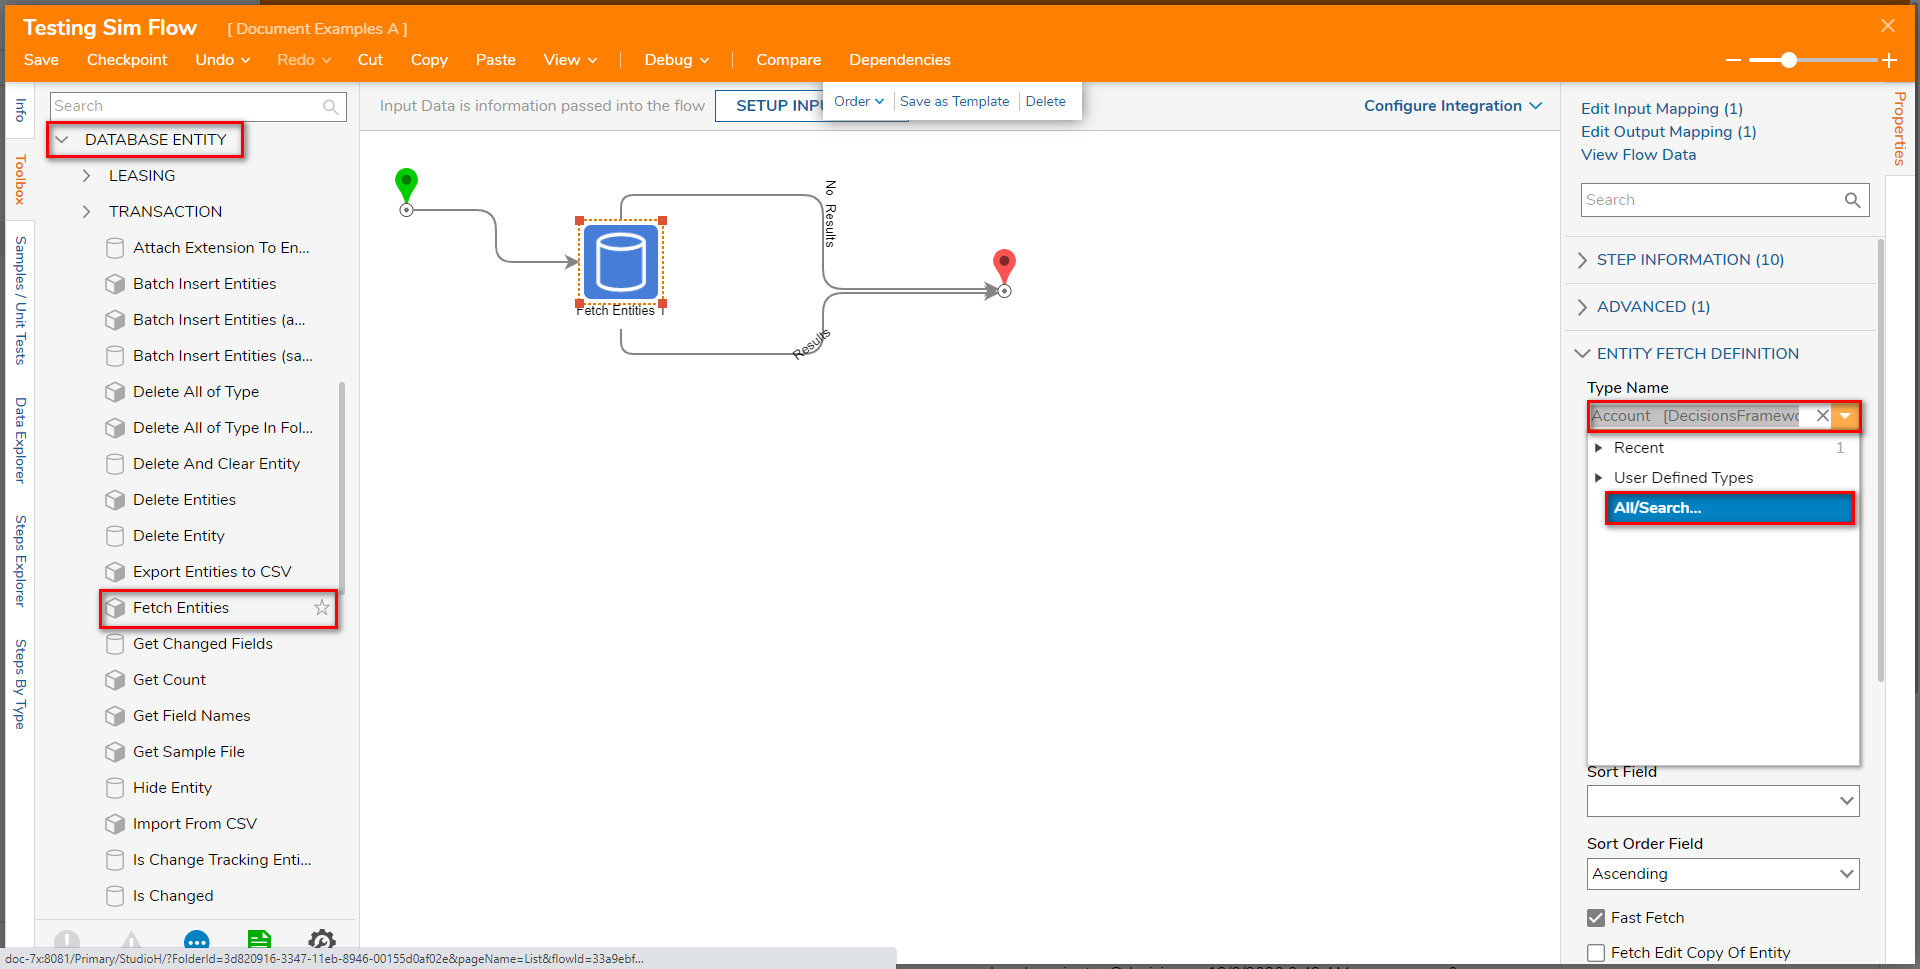
- Add a Fetch Entities step from the DATABASE ENTITY Folder in the Toolbox panel
- Connect both paths to the End step.
- Select the step to navigate to its Properties tab; under the Type Name dropdown, search for a select Account.
- Navigate to and expand the Testing and Simulation section. Here, decide if the simulated data will affect production, the Debugger, or Unit Tests. For this example, InDebuggeris selected.
Defining Use Simulation Behavior will display an S icon within a yellow circle on the step that uses the behavior.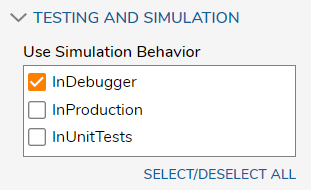
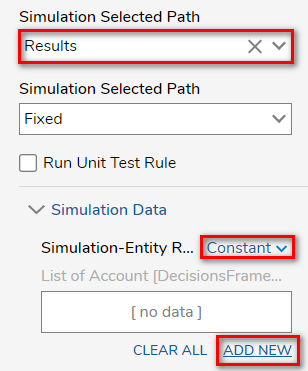
InDebugger Only occurs when running the flow via the Debugger. InProduction When the flow runs, the simulated behavior will be applied when the flow is run outside of the Debugger (ie: Run Flow, calling flow via API, etc) InUnitTests The simulated data will be applied when running a unit test which is different from running this through the Debugger itself. In the Simulation Selected Path drop-down select the “Results” path.
For SimulationEntity Result, set the data Input to Constant.
Select Add New and to configure the dummy data for the Debugger.
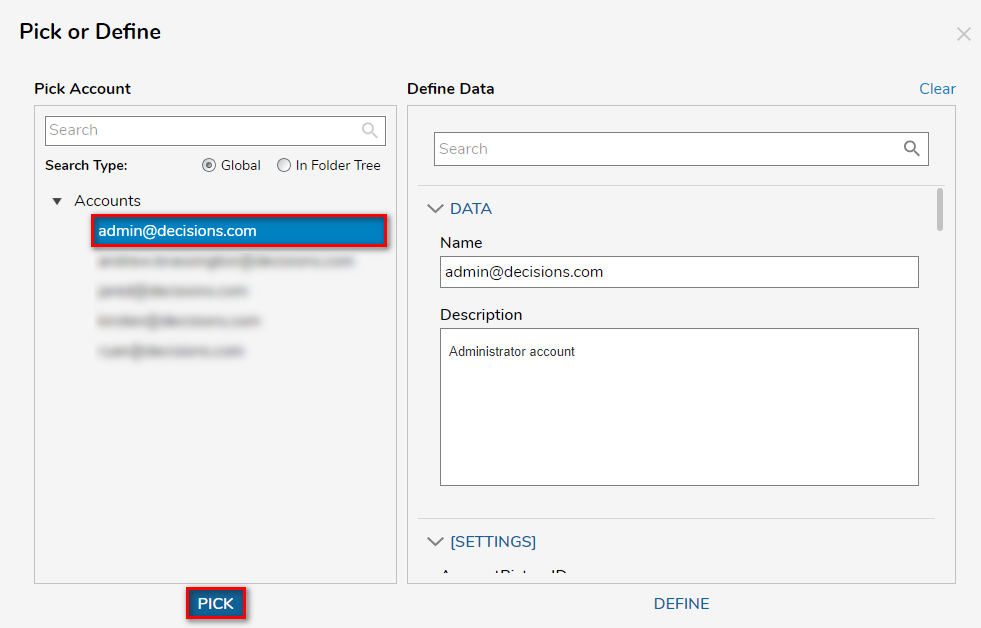
PICK an Account from the left.
From the FAVORITE STEPS category in the Toolbox tab, add a Show Pop-up step to the Results path.
From the INPUTS of the Show Pop Up step, Select From Flow map EntityResults.All EmailAddress.First to Subject.
For Message, set it to Ignore.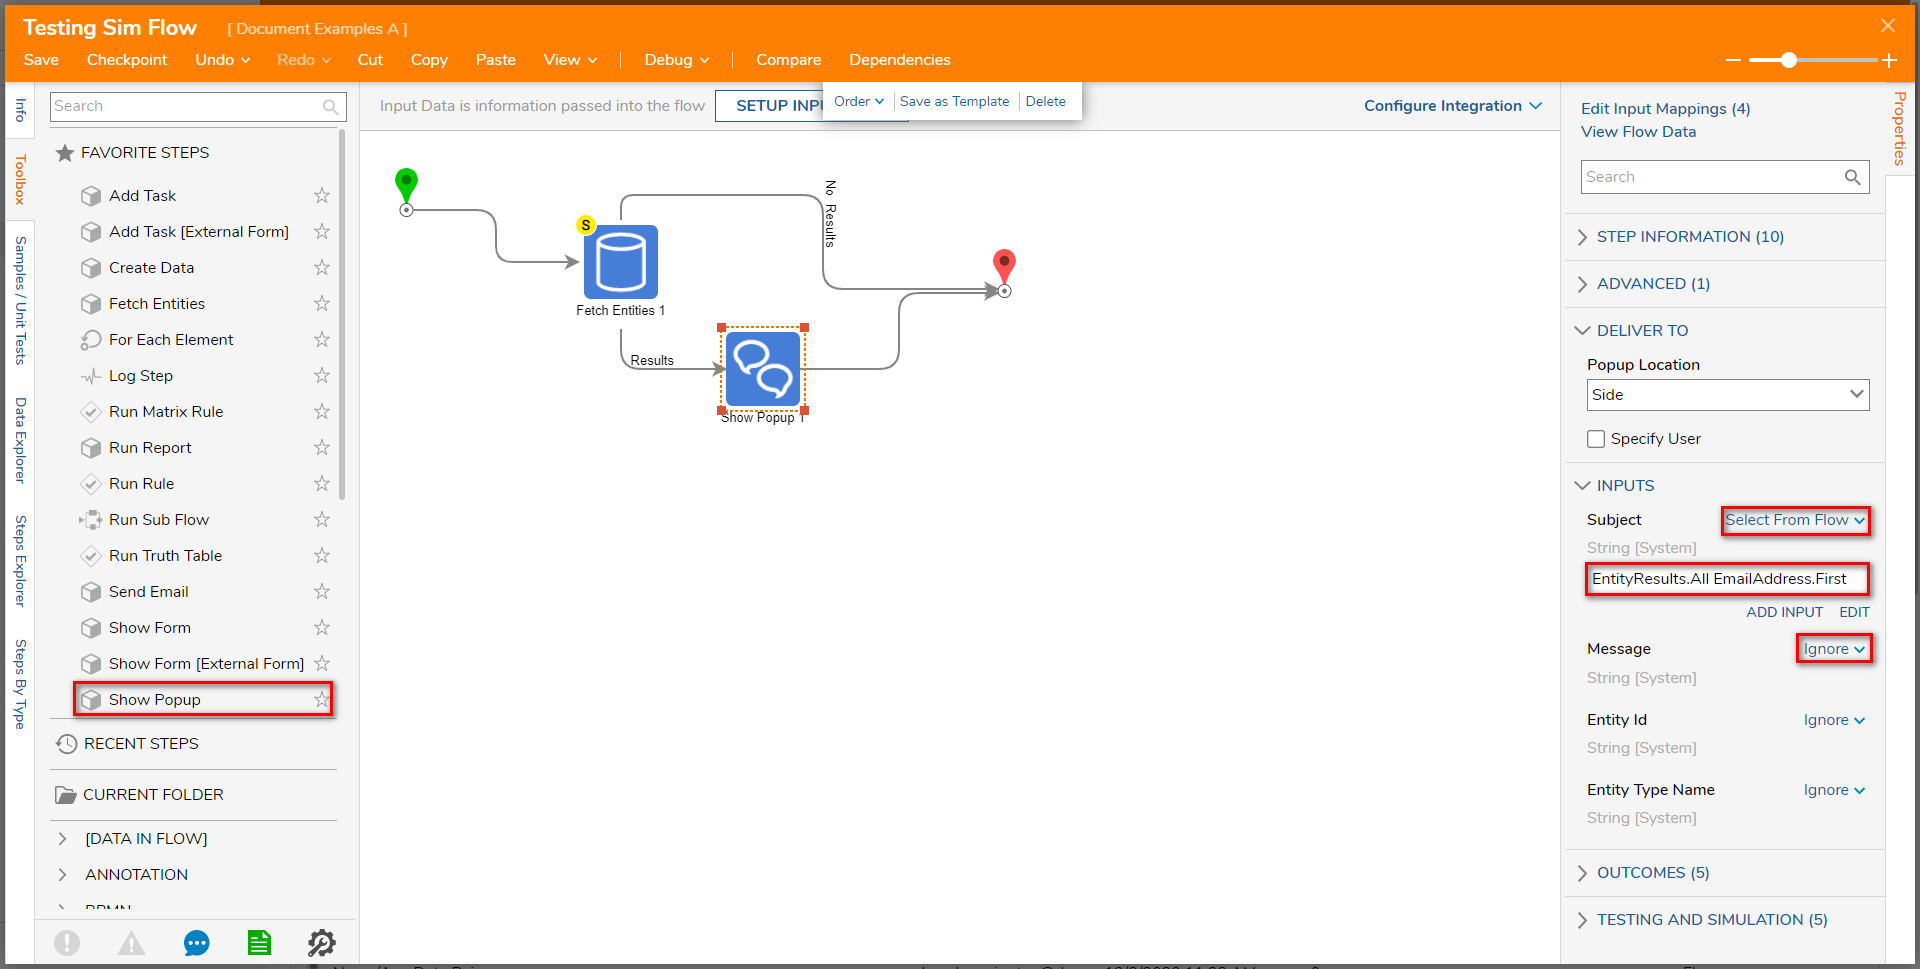
Save then close (X) the Flow if desired.


Debug
- From the Flow Designer, select the Debug link from the top Action bar.
- Select START DEBUGGING.
The Flow will run and the Account defined as the Simulation will display in the Pop-Up.
This demonstrates a successfully simulated result using the Testing and Simulation settings of the Fetch Entities step.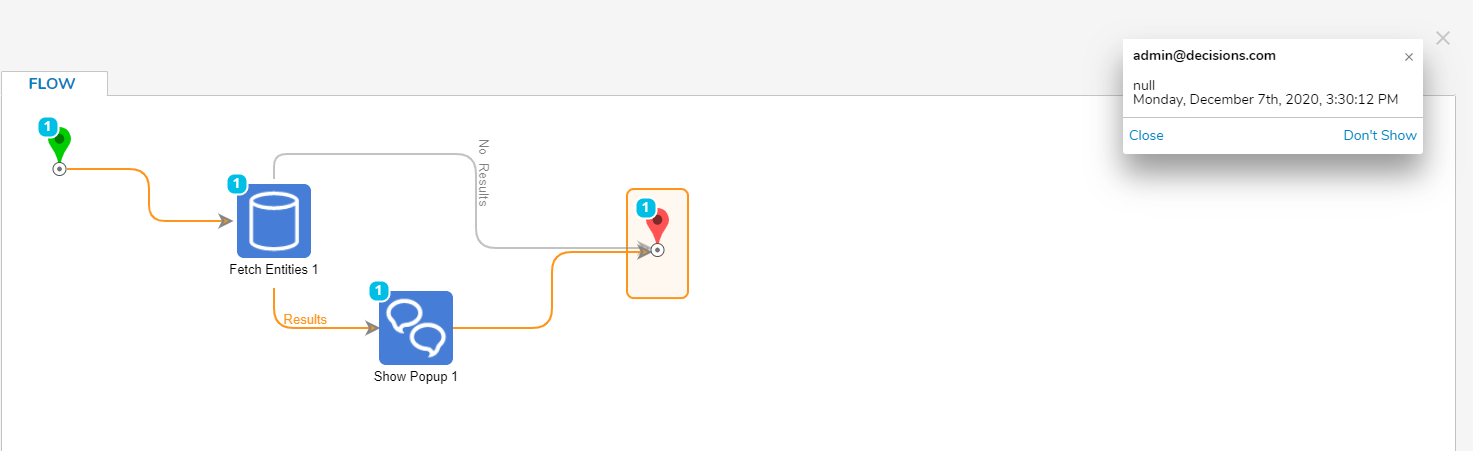

Was this article helpful?