Using the Mapping Step
- 26 Sep 2022
- 1 Minute to read
- Print
- DarkLight
Using the Mapping Step
- Updated on 26 Sep 2022
- 1 Minute to read
- Print
- DarkLight
Article Summary
Share feedback
Thanks for sharing your feedback!
Overview
The Mapping Step lets users map data from one object into another. For example, the Mapping step could be used if a Flow contains empty objects and a user wants to populate attributes to those objects. The Mapping step is best used when affecting multiple objects or attributes of an object.
Example
- In a Designer Project, click CREATE FLOW and create a new Flow.
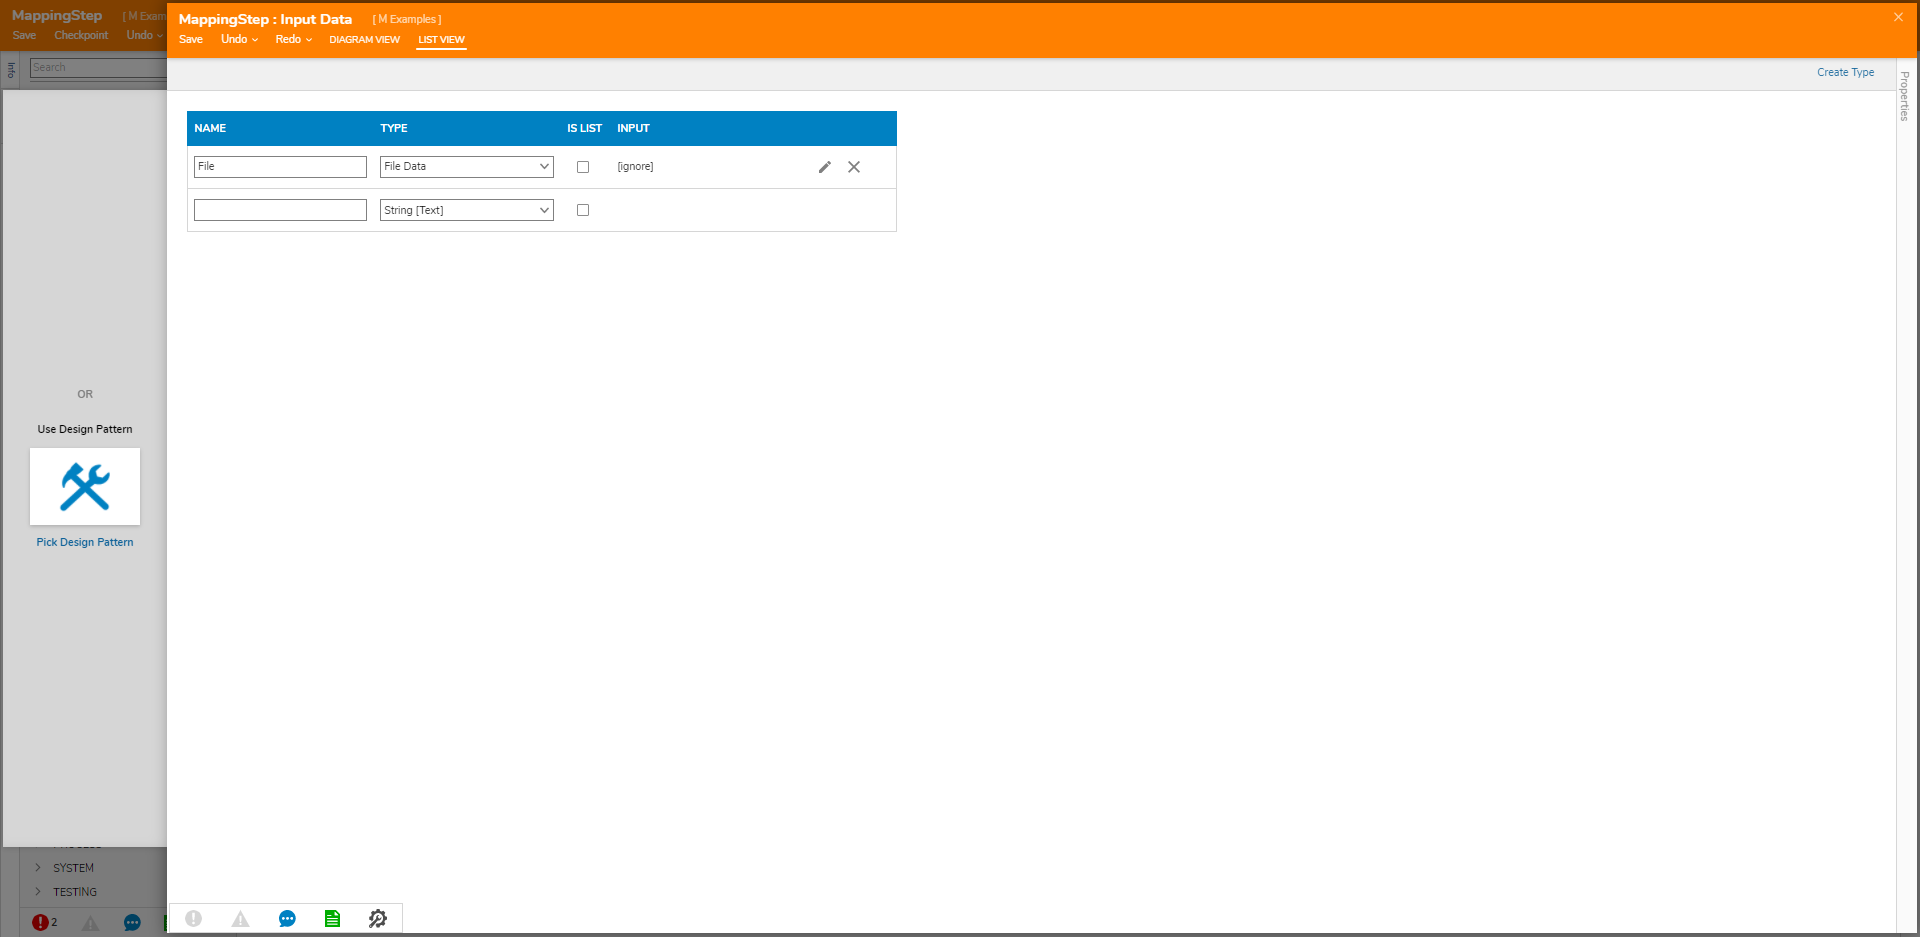
- Click SETUP INPUT DATA and click DEFINE. Enter "File" under NAME and select File Data from the TYPE dropdown menu. Click Save and close the window.
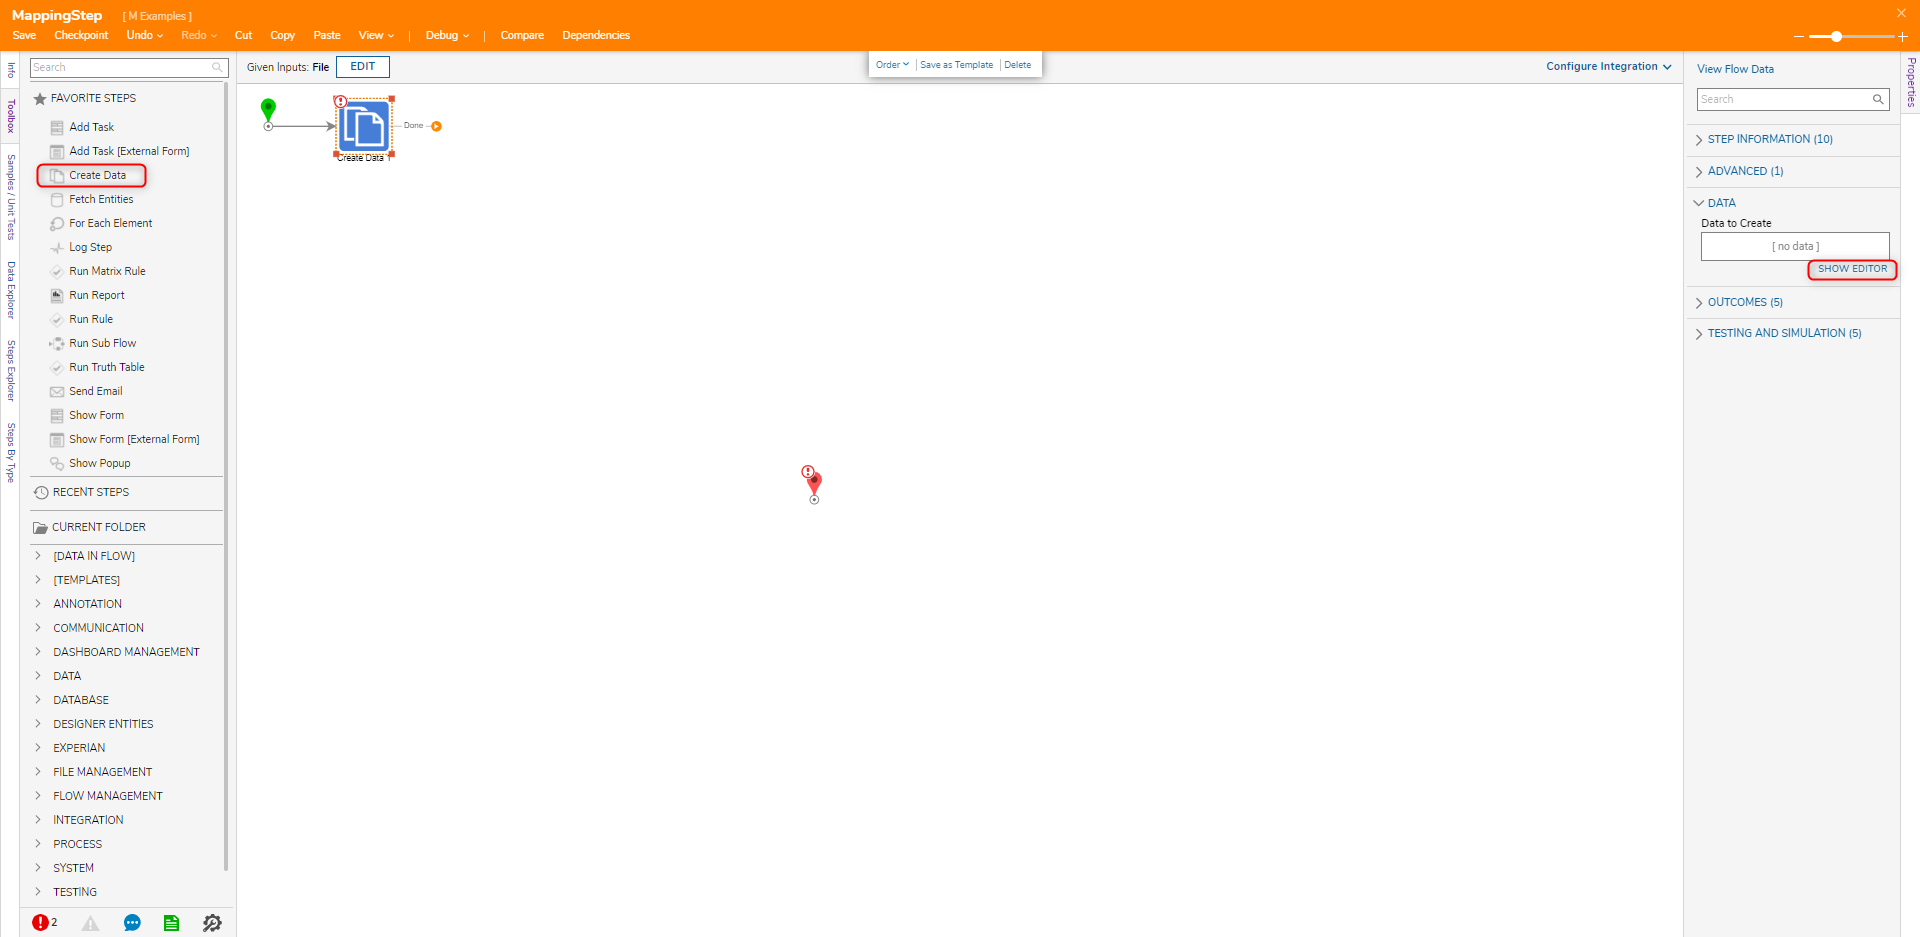
- Attach a Create Data step from the Toolbox panel under the FAVORITE STEPS category to the Done path of the Start step. On the Properties panel, click SHOW EDITOR under the DATA category.
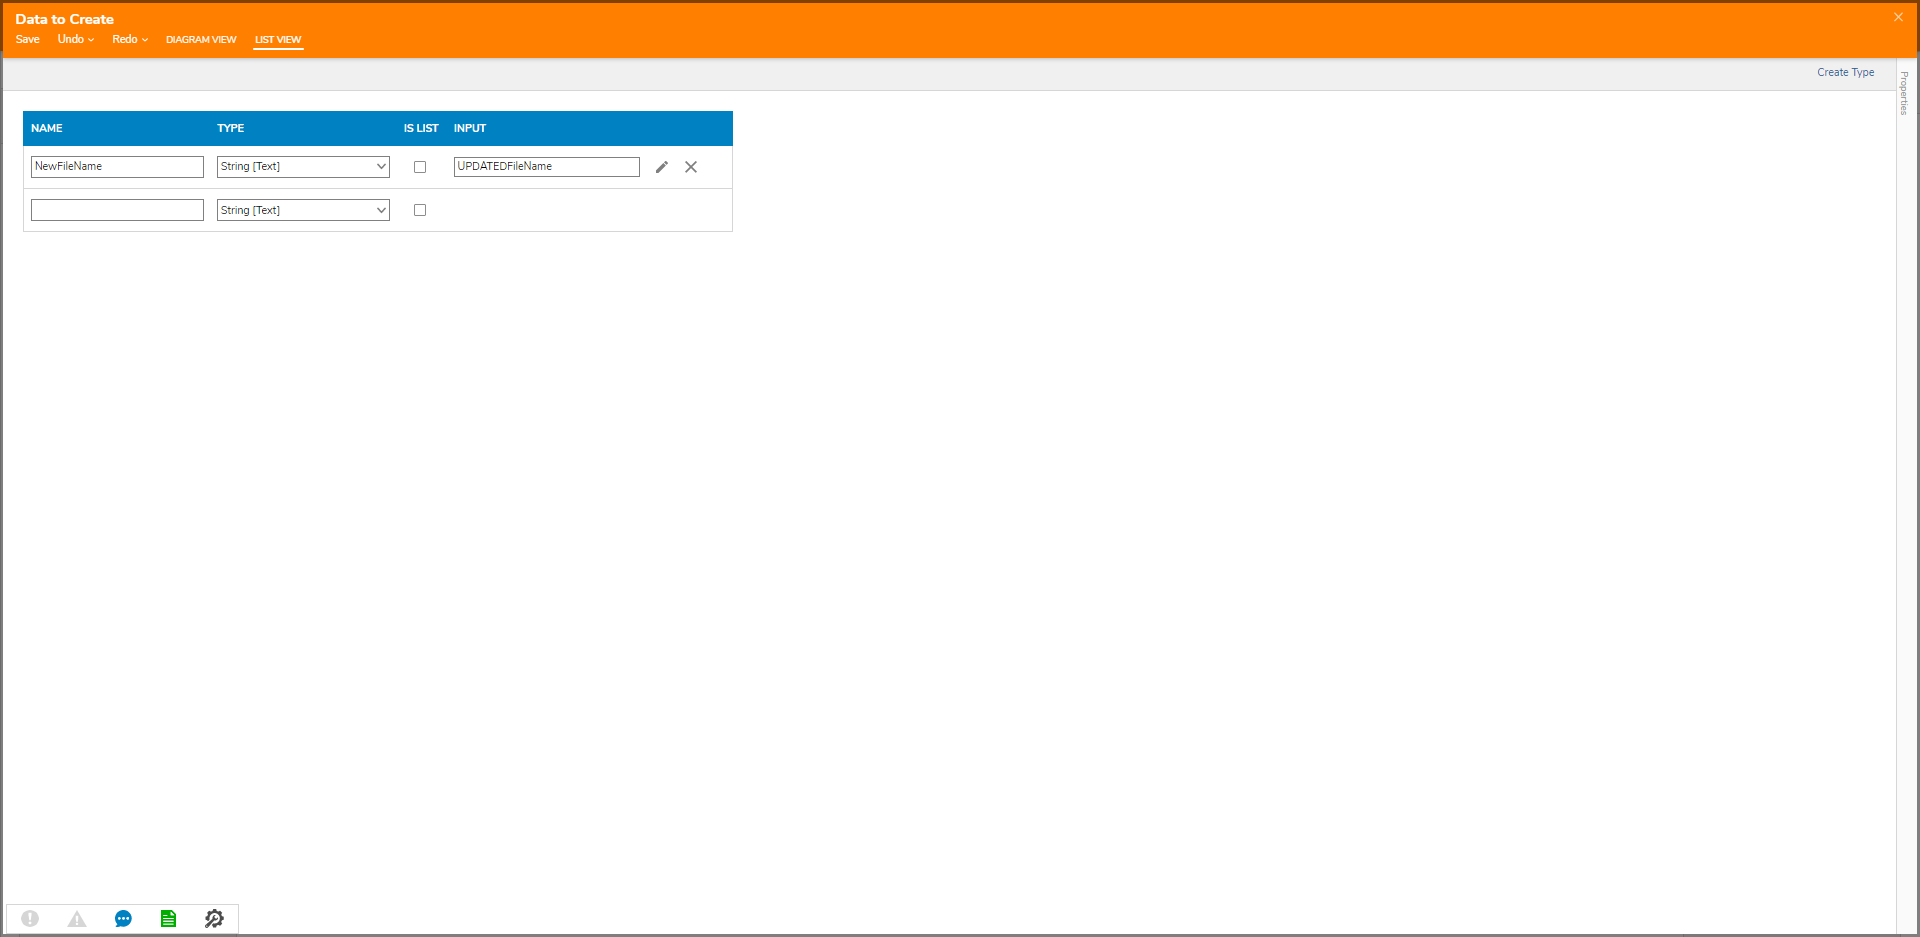
- From the Data to Create window, enter "NewFileName" under NAME and leave the TYPE as String [Text]. Define the INPUT as "UPDATEDFileName". Click Save and close the window.
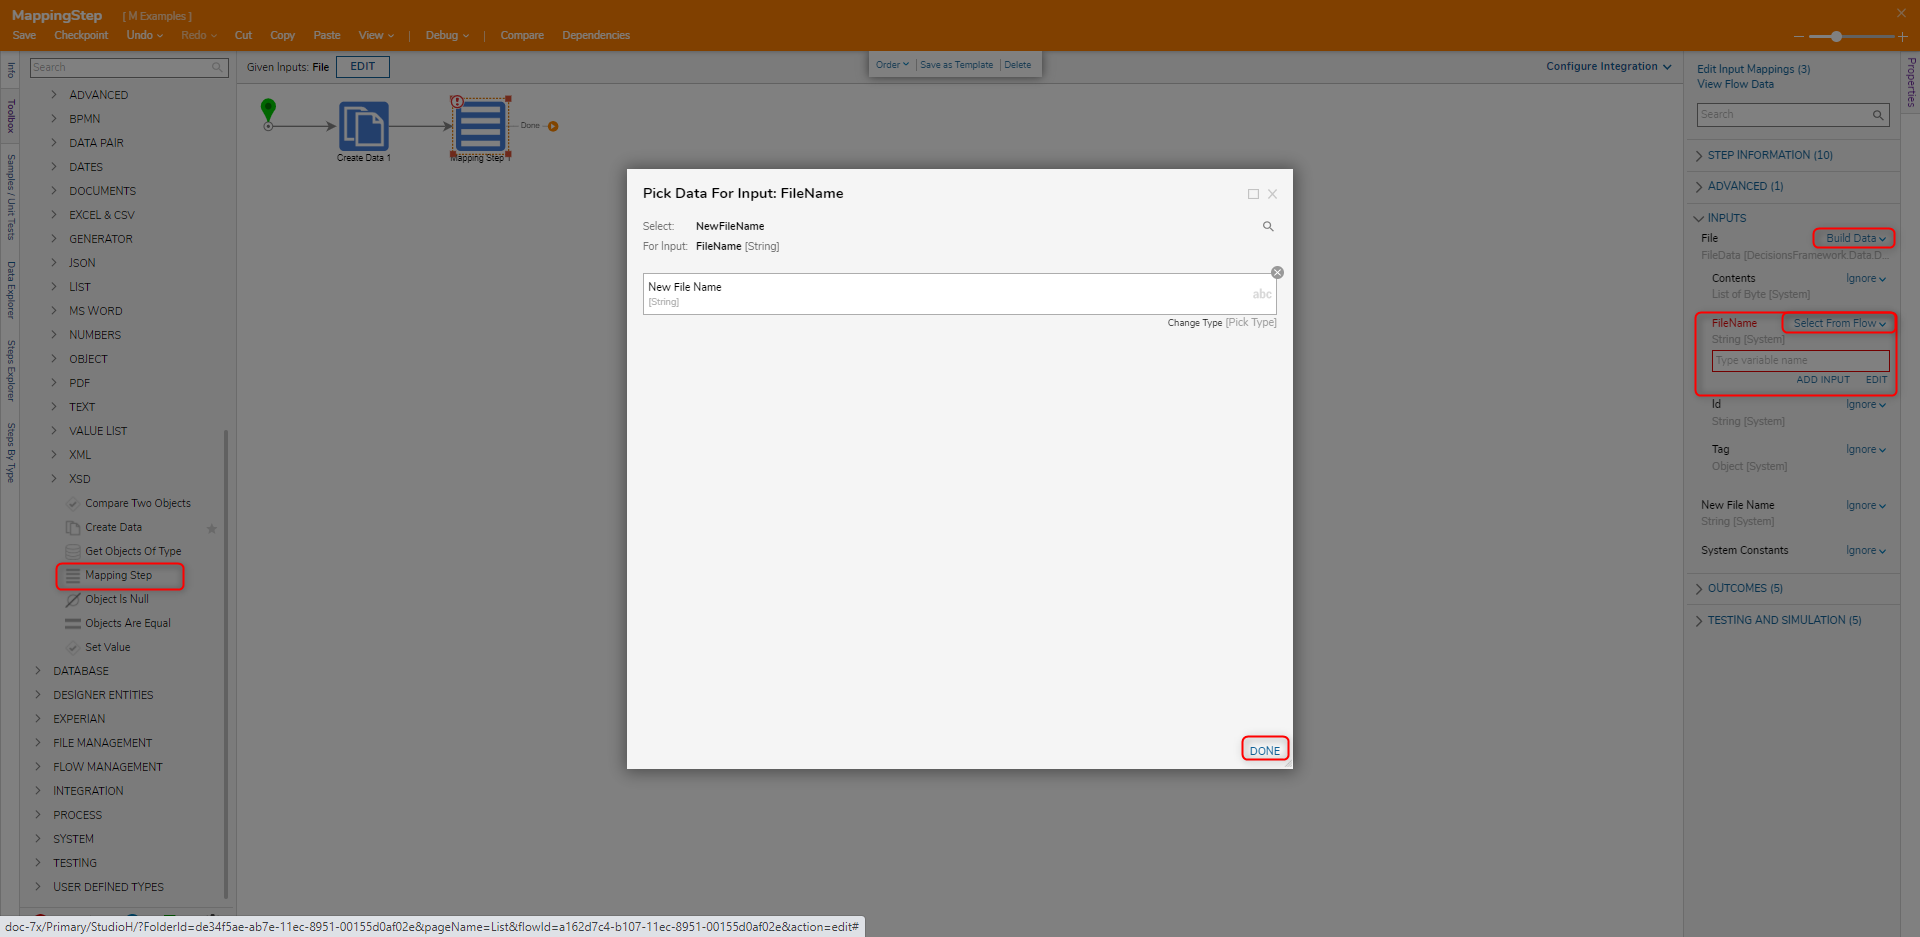
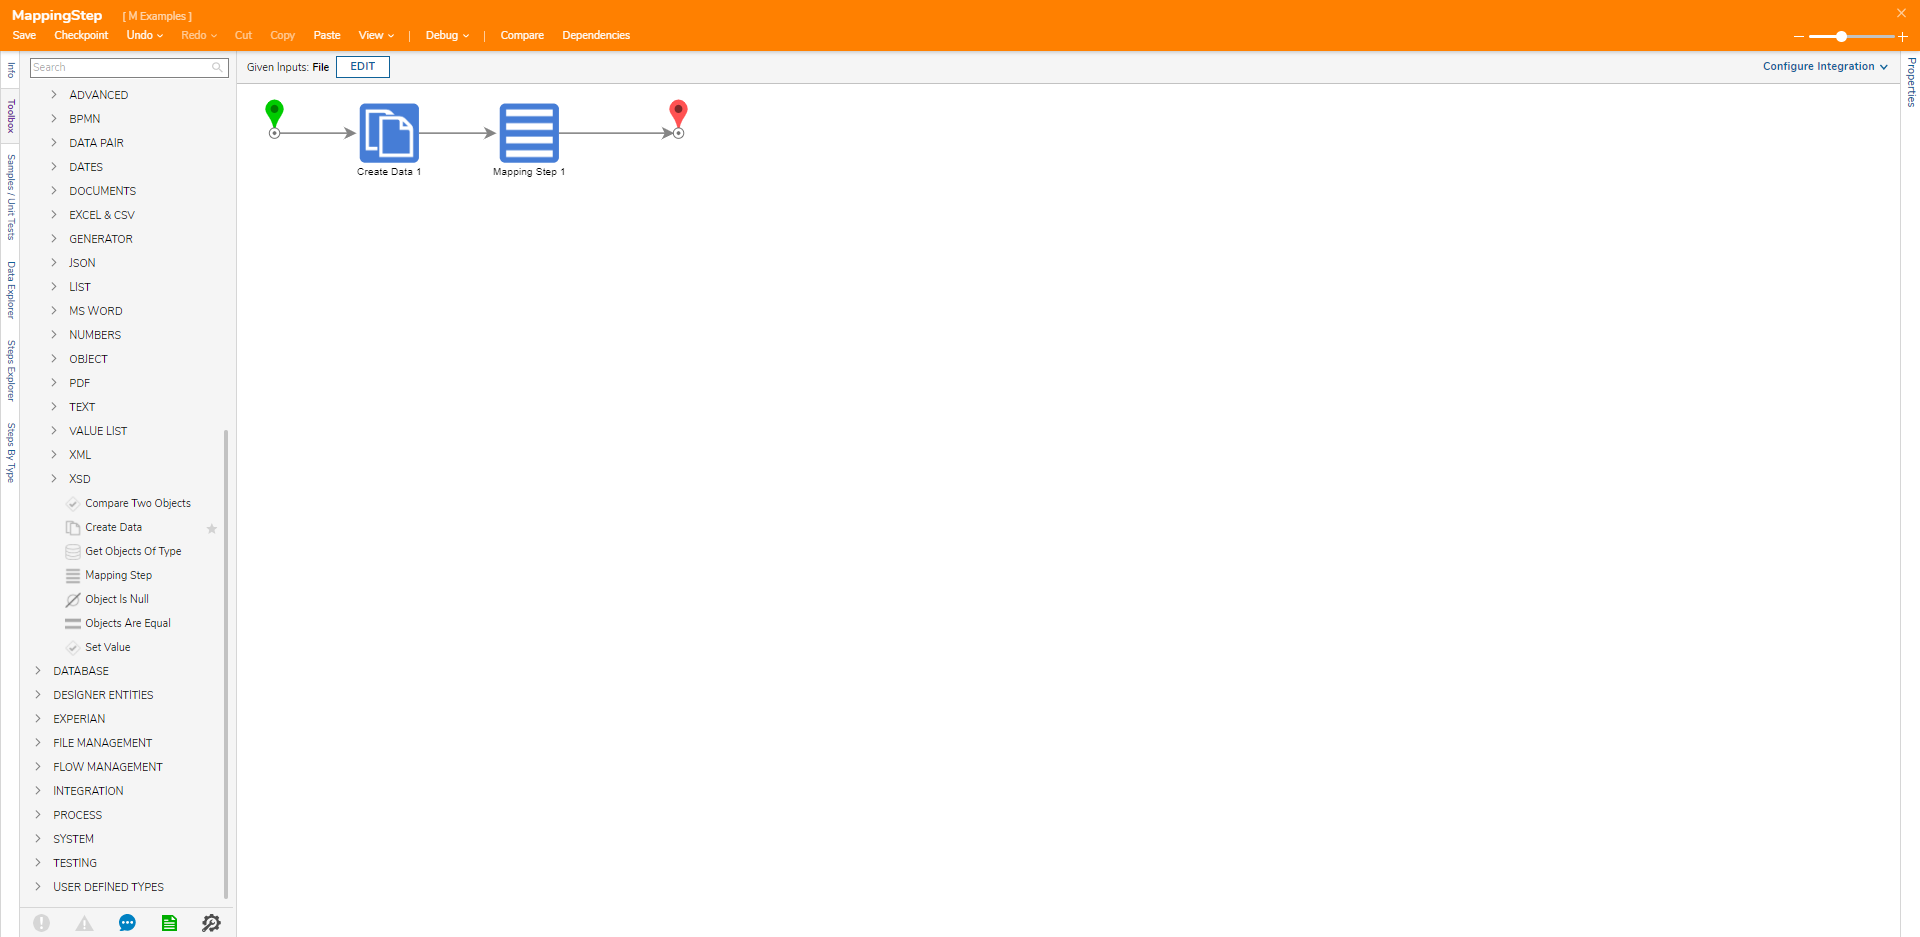
- Attach a Mapping Step from the DATA category to the Done path of the Create Data step. On the Properties panel, click Unknown next to the File field and select Build Data. Set the mapping for the FileName value to Select From Flow and select NewFileName. Click DONE.
 If using a database structure, add an Edit/Save step after the Mapping Step. This will ensure that changes are saved to the database. Without adding this step, the changes will only be done in memory and not in the database.
 - Connect the Done path to the End step. Click Save to save changes to the Flow.


Debug
- Click Debug from the top action bar.
- Click START DEBUGGING.
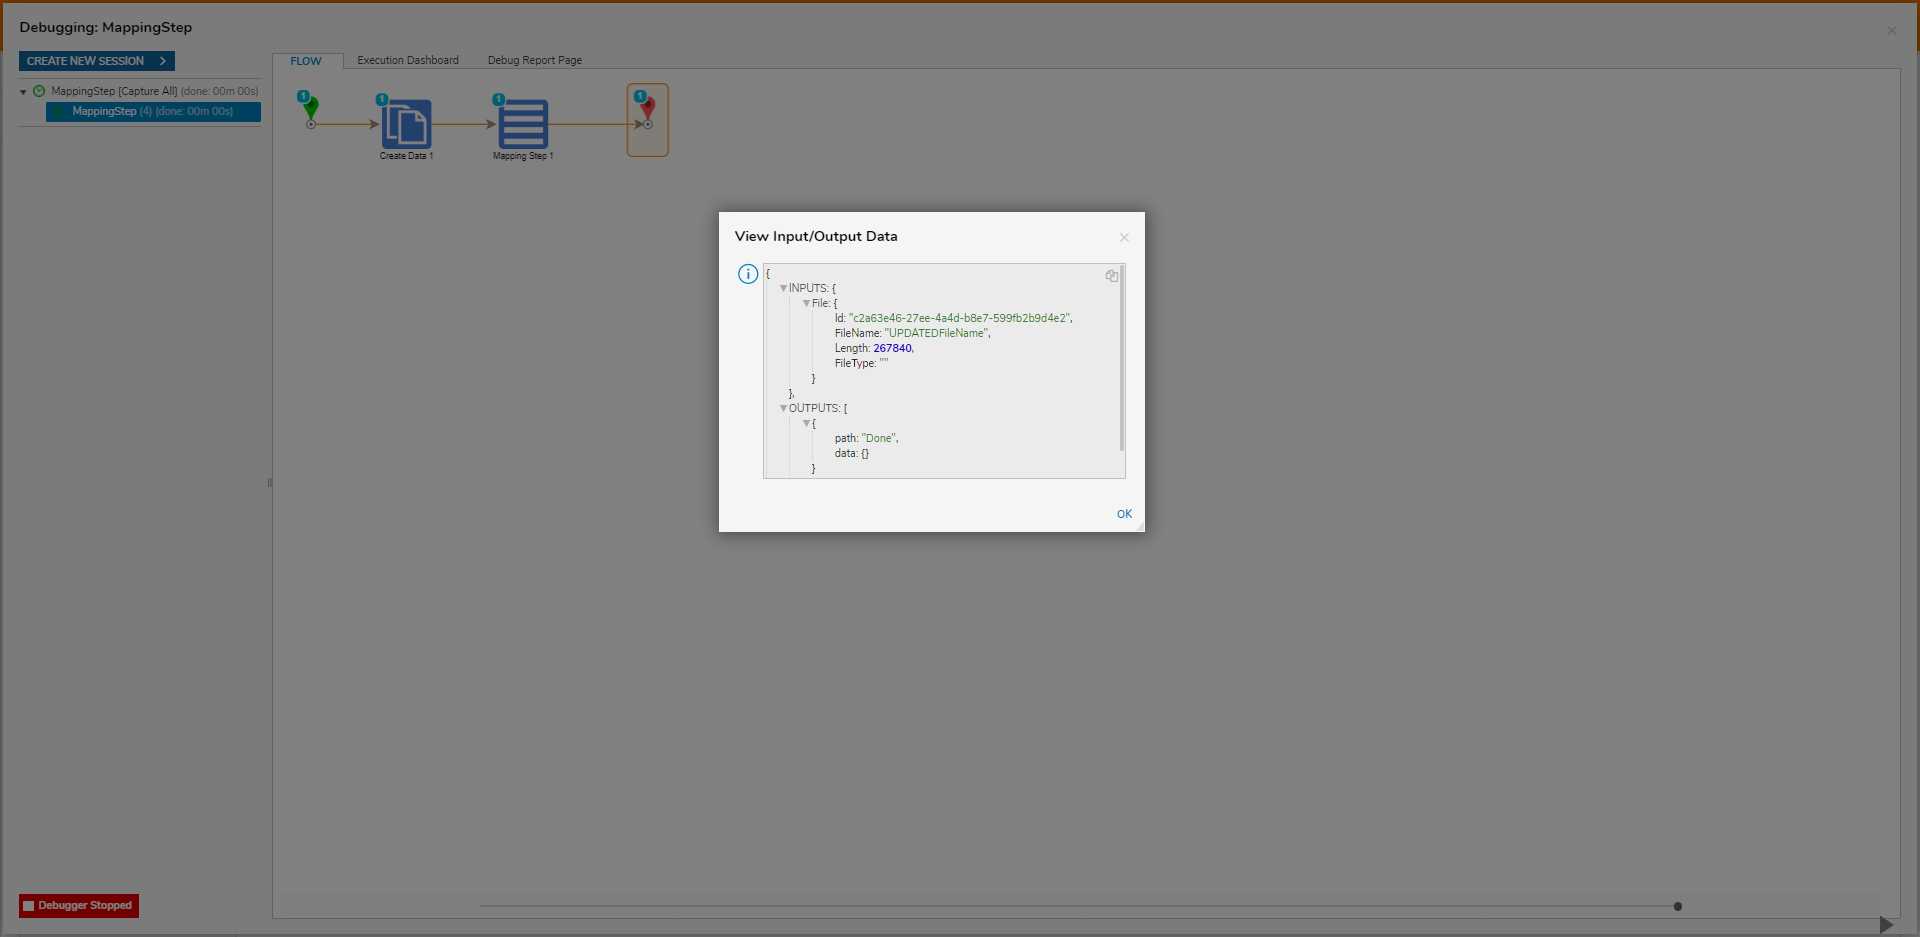
- After the Flow runs, select the Mapping step, select Execution 1, and select View Input/Output Data.When the Flow executes then the mapping step will change the FileName of the existing File.

For further information on Flows, visit the Decisions Forum.
Was this article helpful?